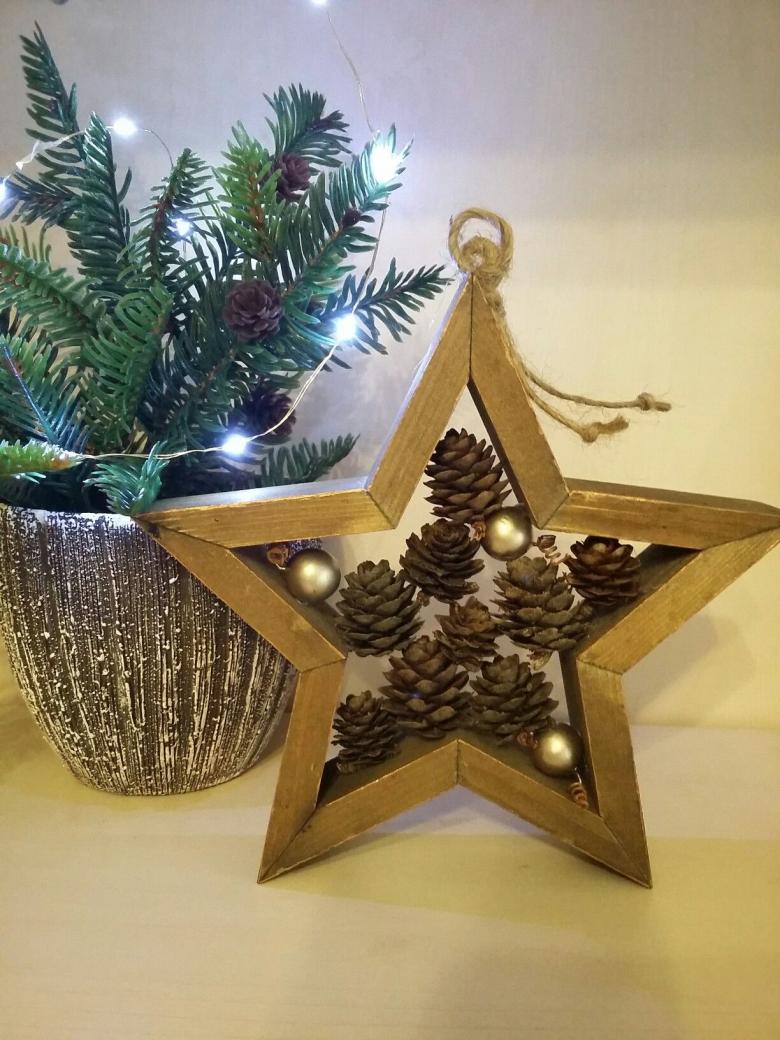
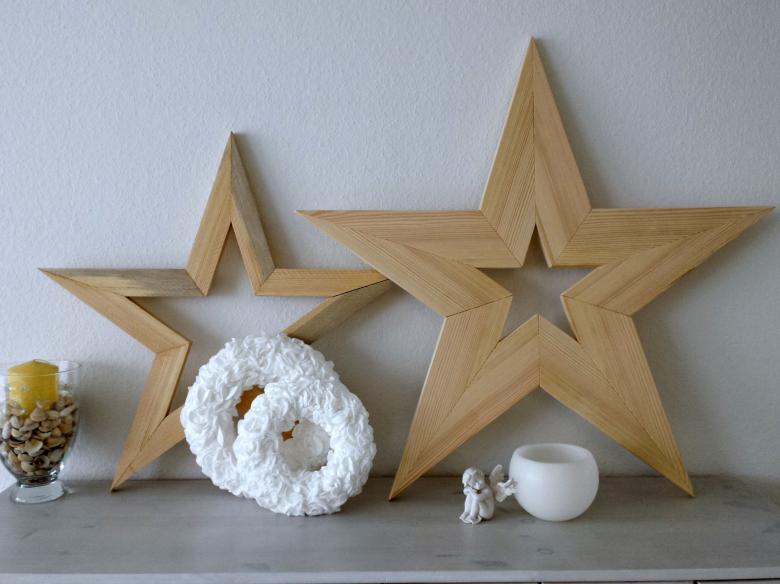
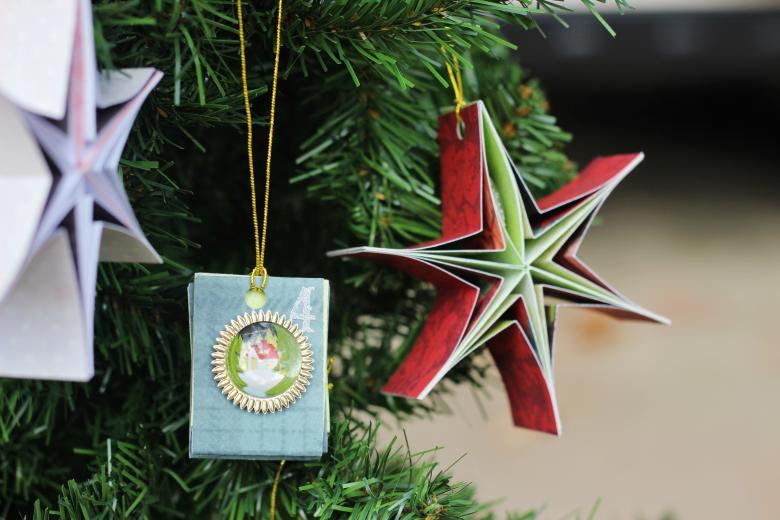
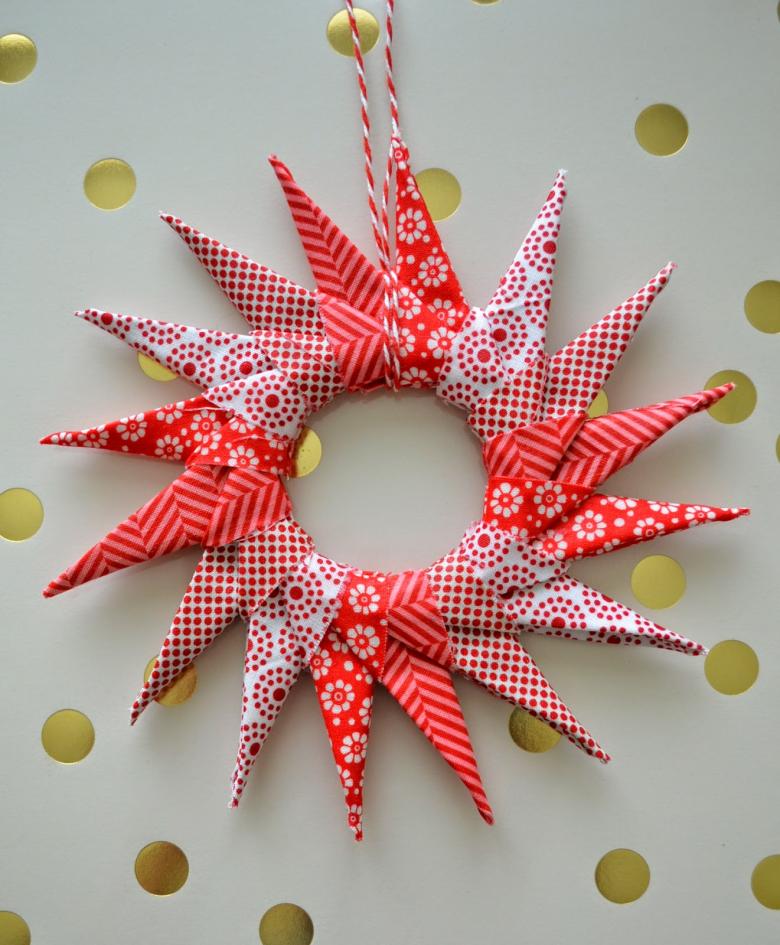
Handmade star - a selection of master classes on making from paper, cardboard, wire and mohair
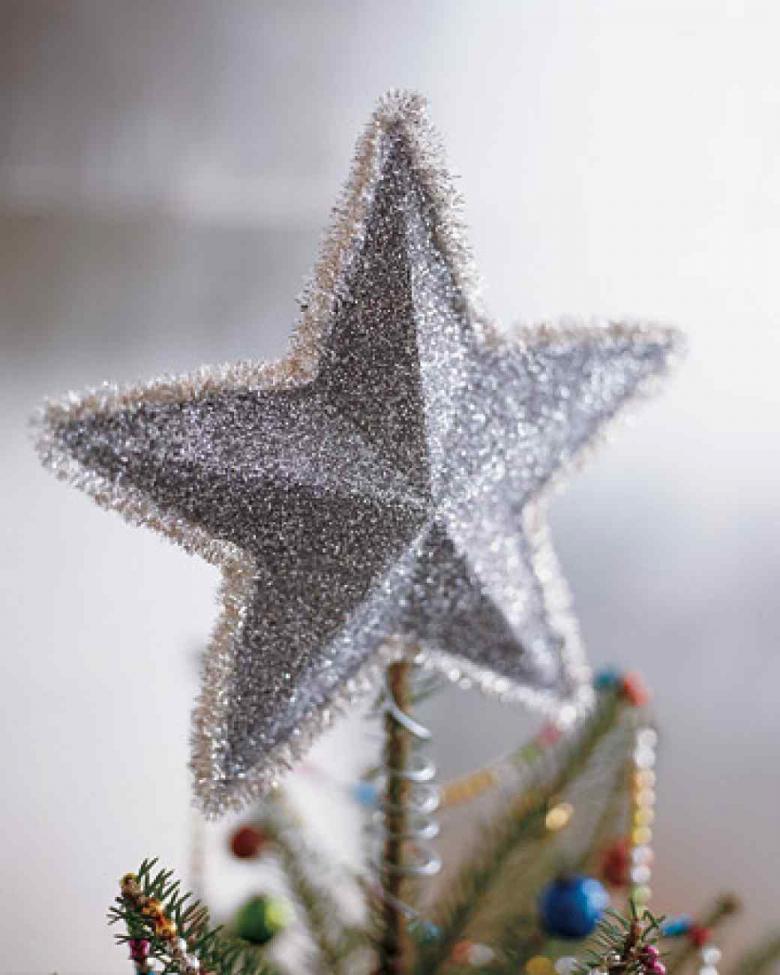
Outside our windows winter is rapidly approaching, which means that the New Year's holidays are not far away. The joyful atmosphere of Christmas and New Year's Eve can't do without a fancy Christmas tree. For those who have not yet had time to stock up on glass decorations, we suggest today to make holiday toys yourself. And we will start, of course, with the main symbol of winter - the Christmas star.
What materials we are going to prepare
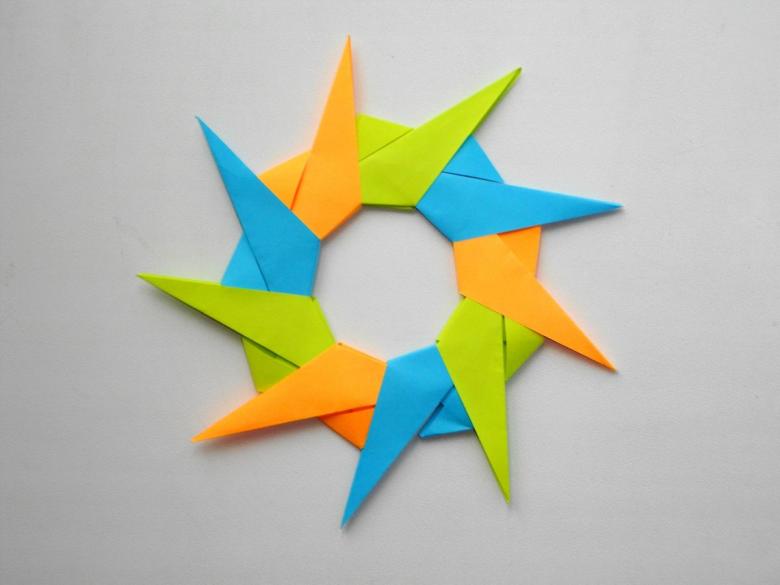
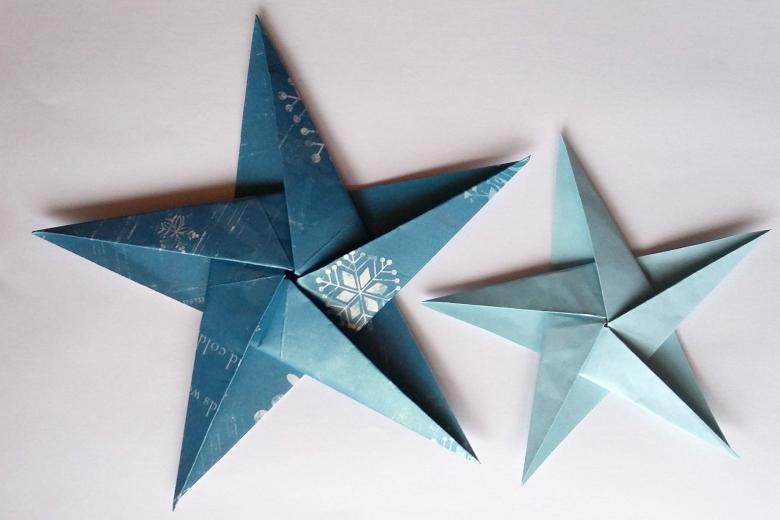
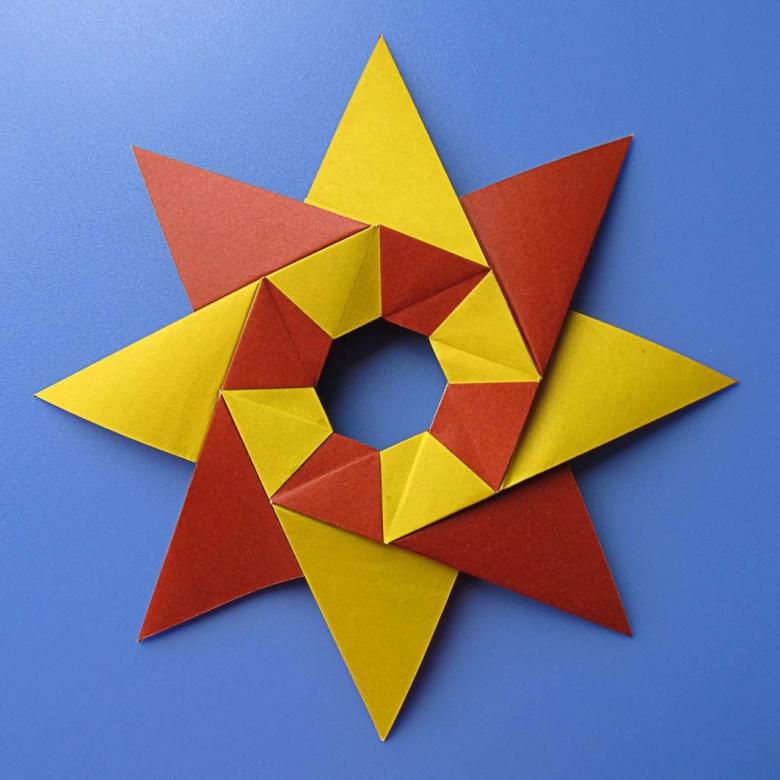
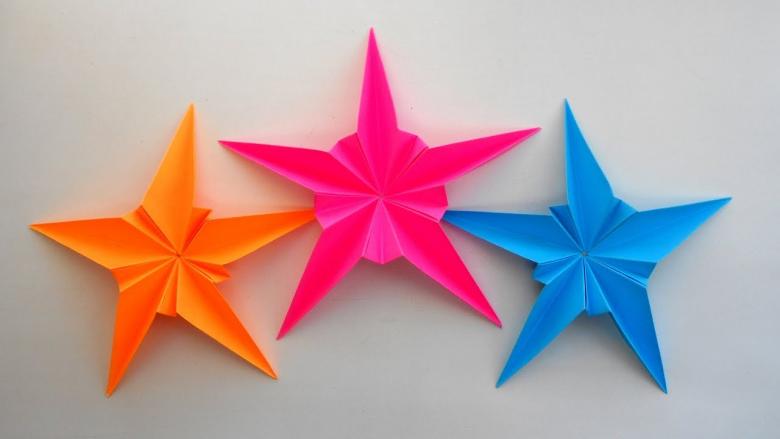
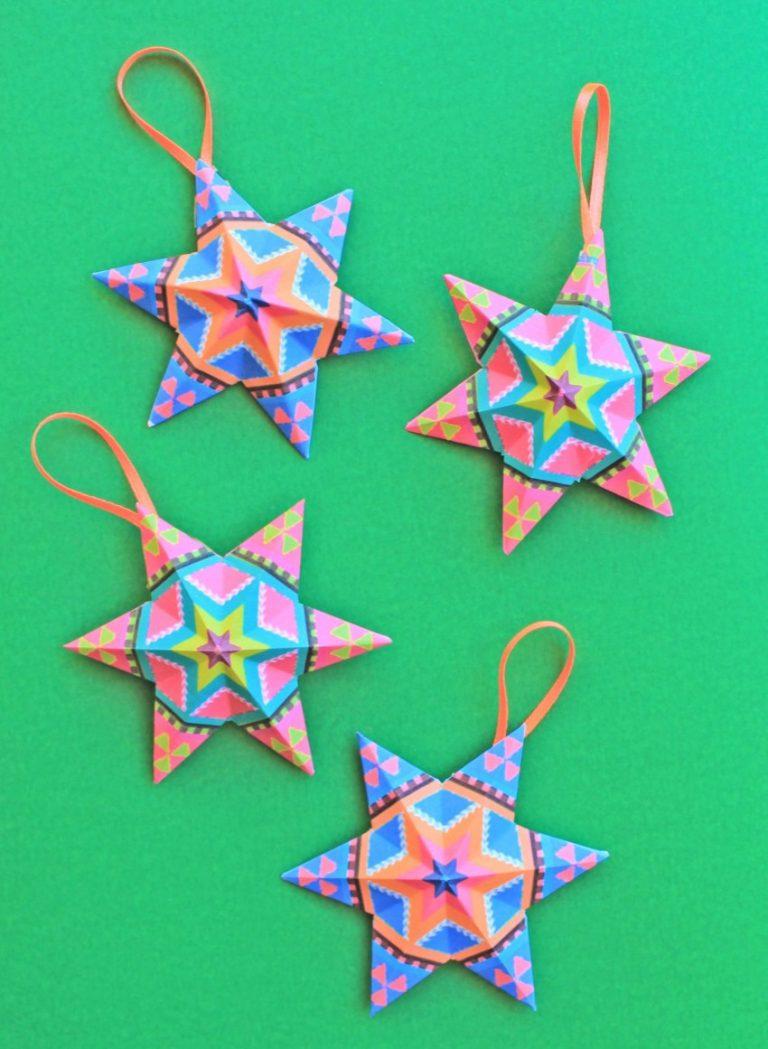
The human imagination knows no boundaries. For a long time already invented and described in detail such techniques as creating a star in origami, cut out of cardboard and colored paper. We will definitely break down these methods, but we will also gather for young craftsmen and needleworkers a number of master classes on the original design of star-crafts.

What we will need:
- Colored paper and cardboard;
- Glue, scissors, thread and needles;
- Fine wire;
- Paints and brushes;
- Accessories for decoration (beads, buttons, rhinestones, sequins, ribbons);
- A few ping pong balls or other round objects you don't need;
- Feathers and pine cones.
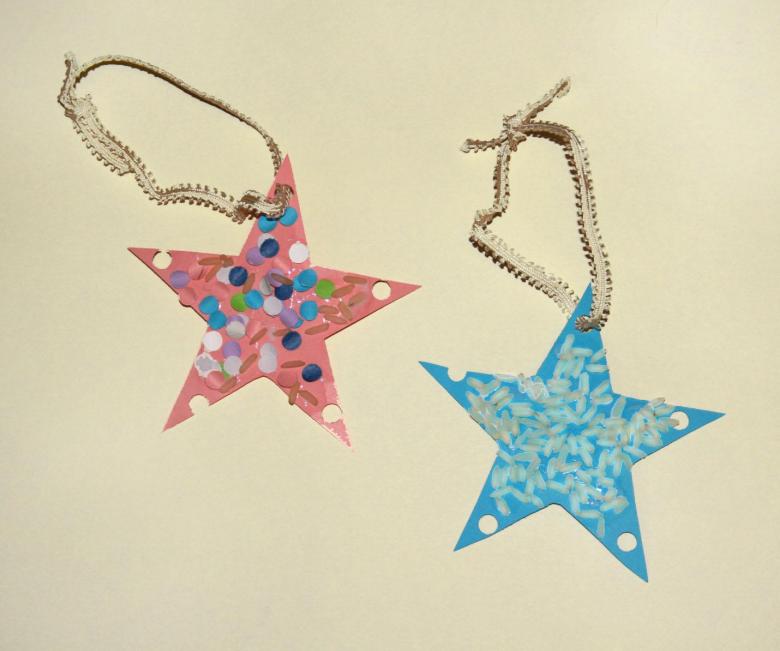
Master classes for artisans
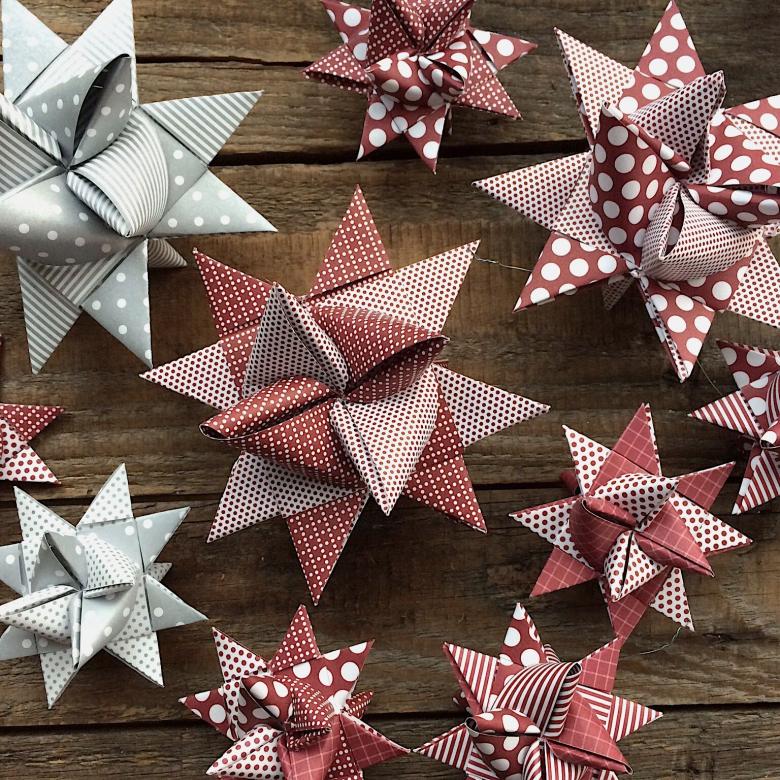
Star from colored paper
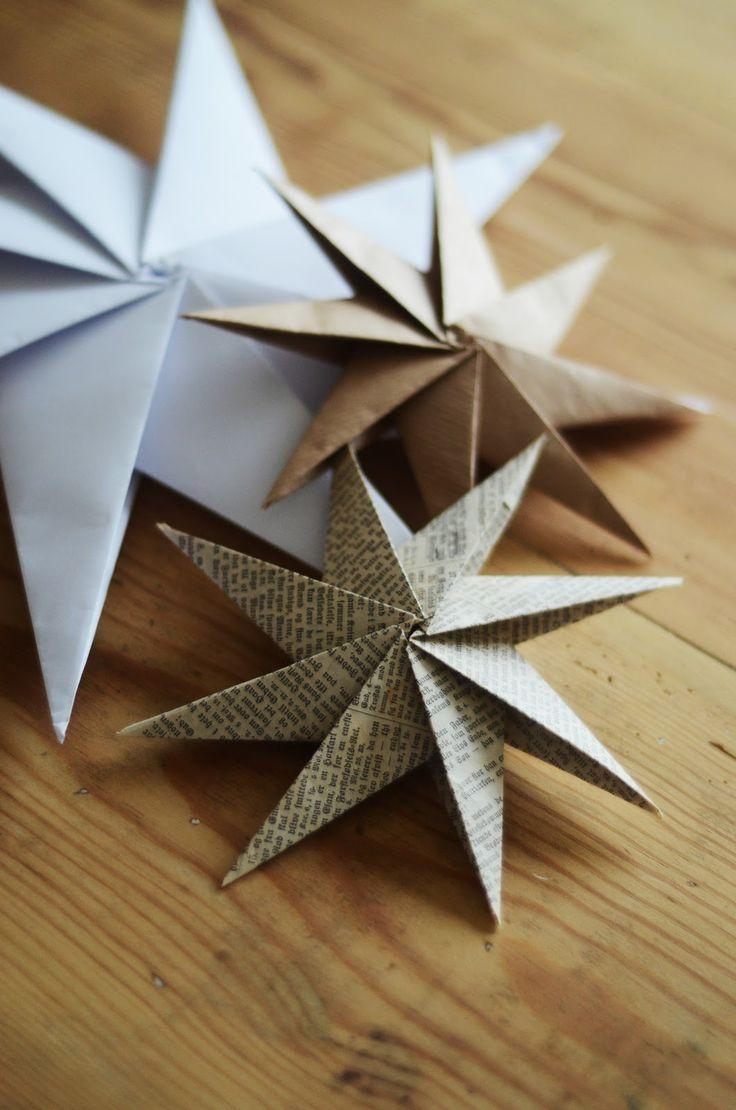
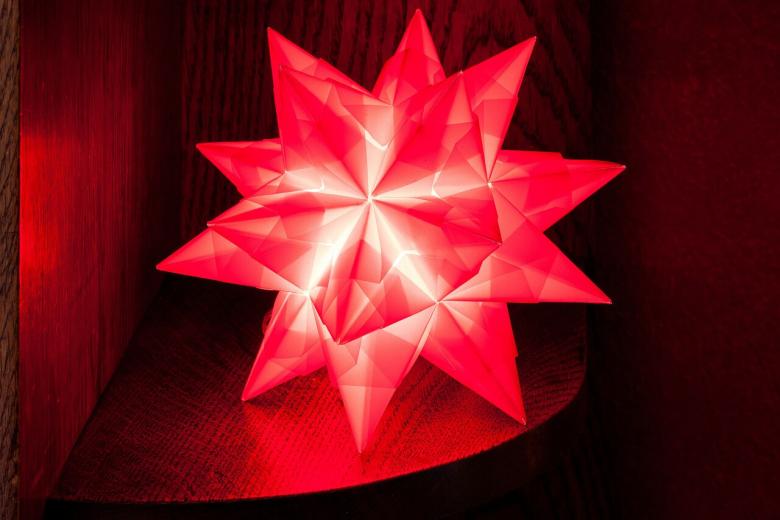
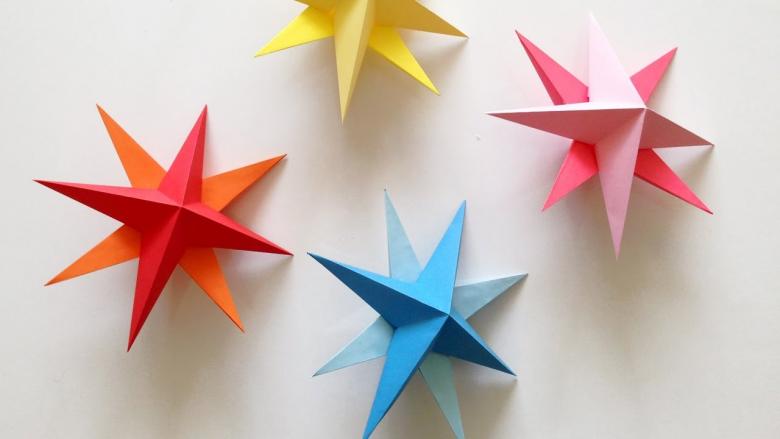
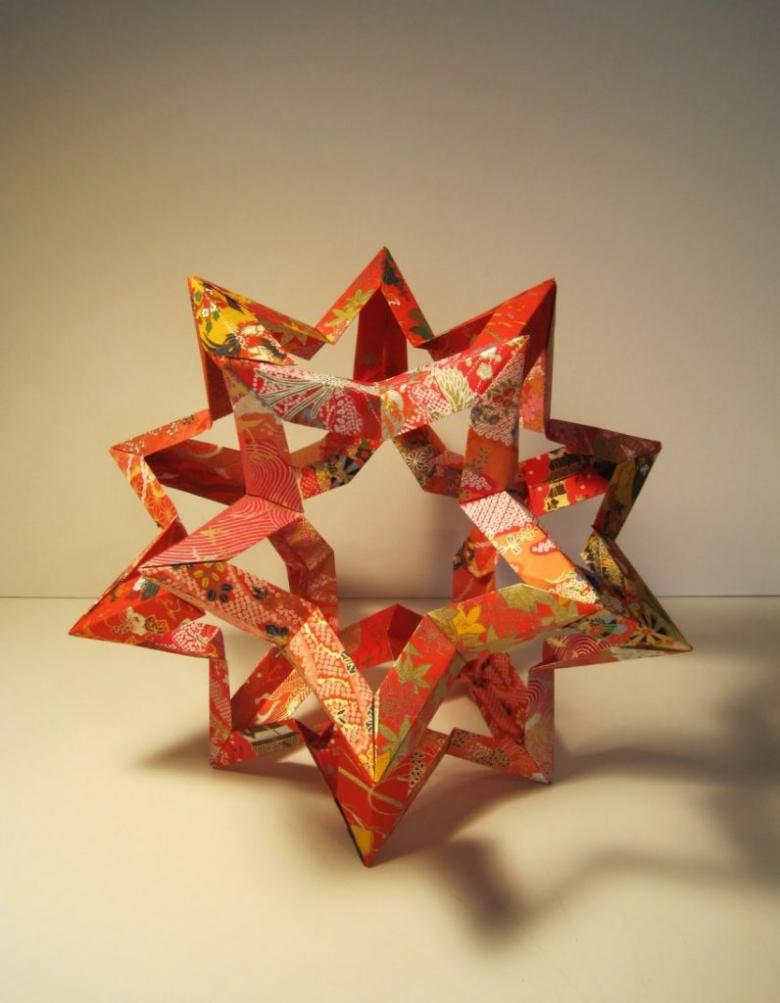
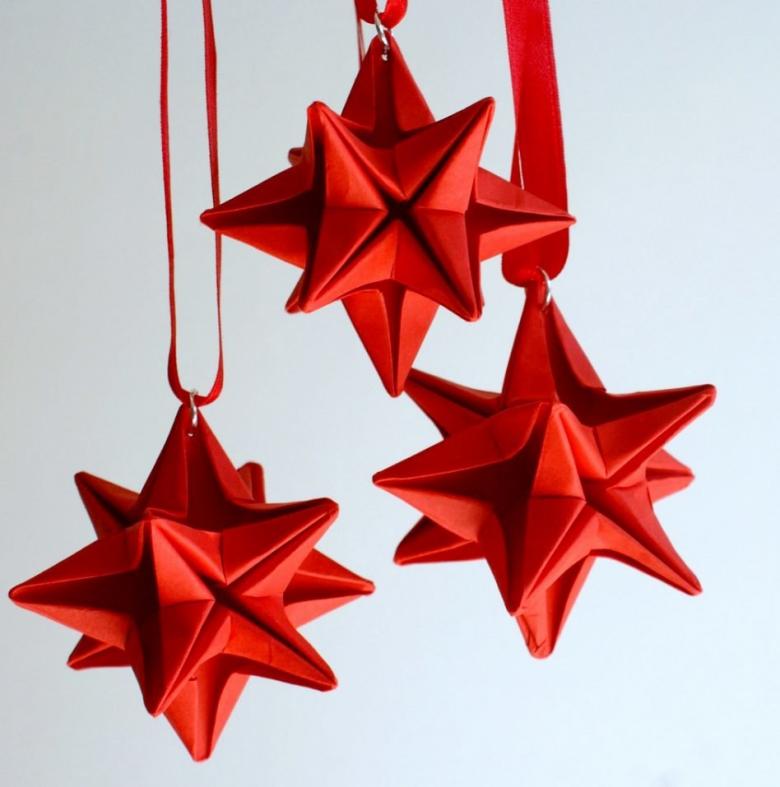
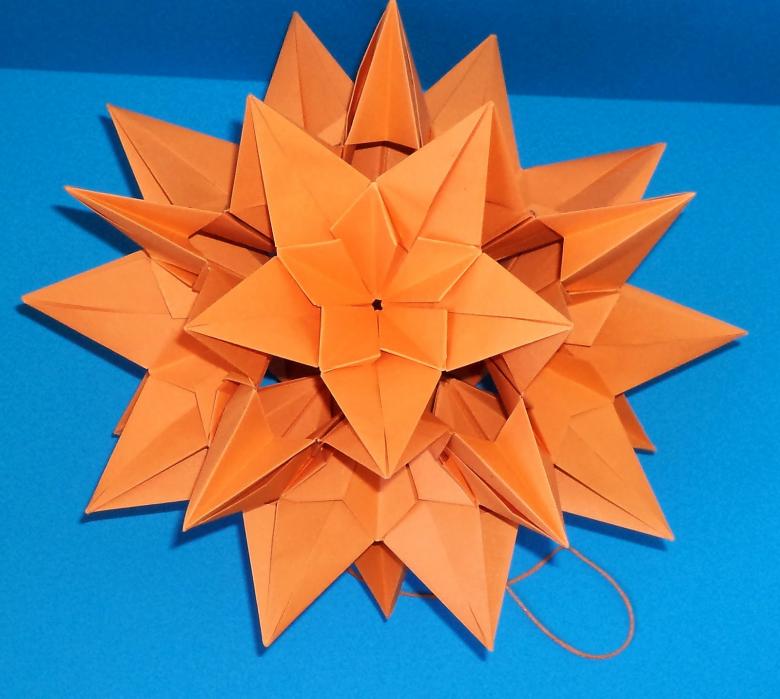
We will start the series of master classes with the making of a multifaceted star, which will decorate the house in the eve of the holiday.
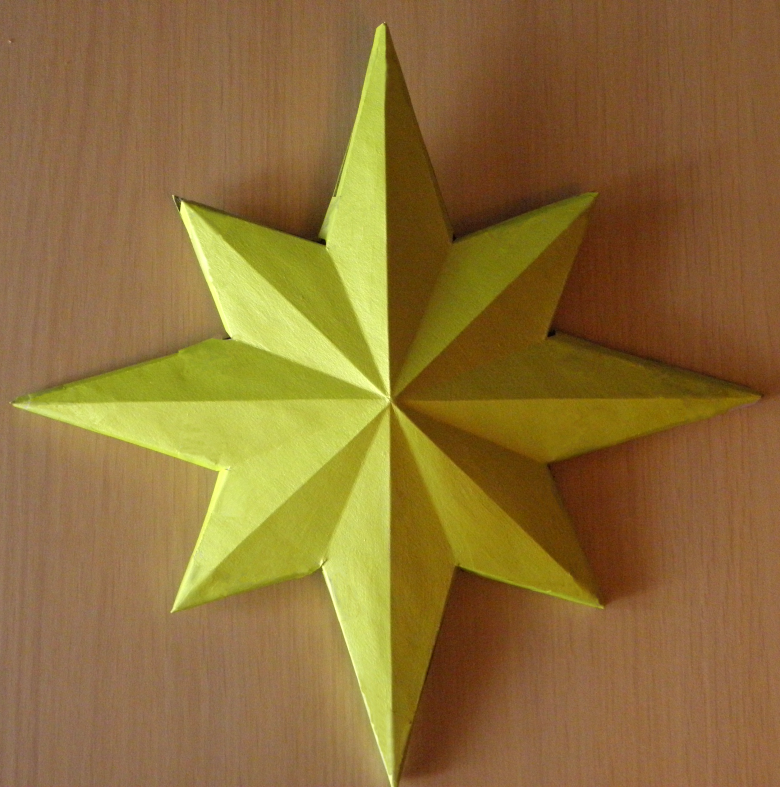
Step by step instructions for the master:
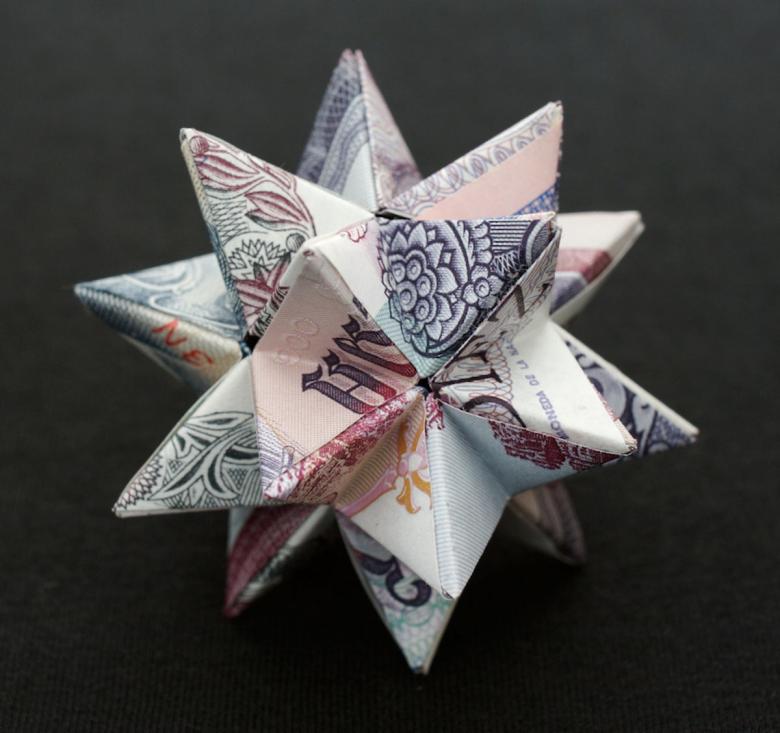
- Prepare modules for the star: from colored paper, cut out circles about 7-9 cm in diameter.
- Each circle is folded three times in half in three different directions.
- Make incisions along the lines of the folds.
- Roll the resulting piece into a cone and connect the edges with glue.
- Now you need to connect all the modules into one big star. Number of needles in our star can be different, your choice.
- To assemble the structure, you can use a base (ball, ball, frame) or just glue the cones together.

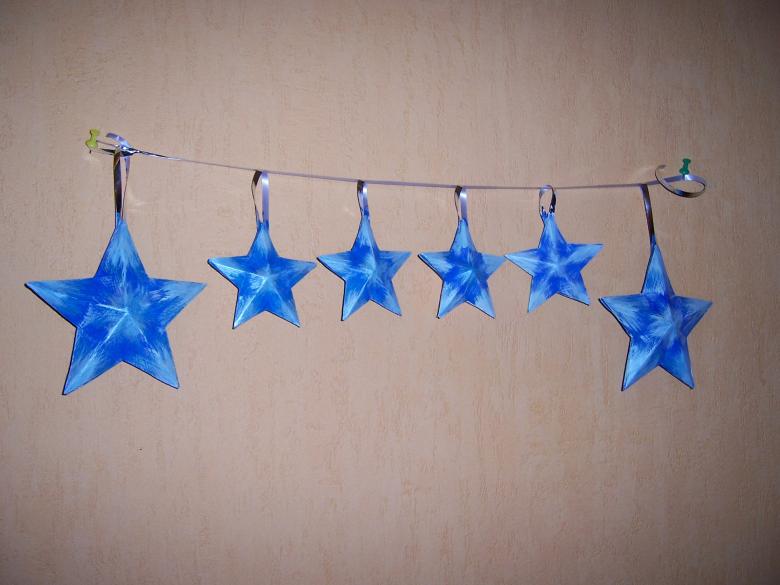
The resulting figures must be suspended from a colored rainbow or ribbon. To do this, make a hole in the top edge of our product and lead him to the suspension.
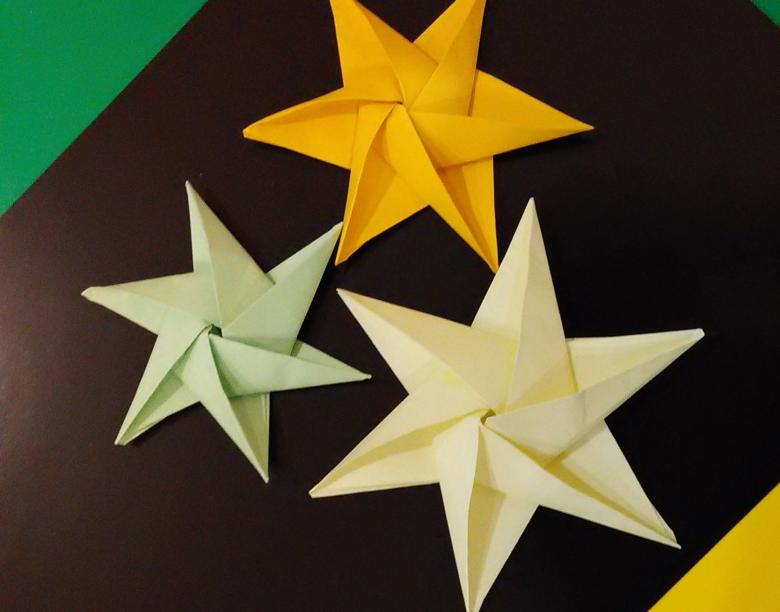
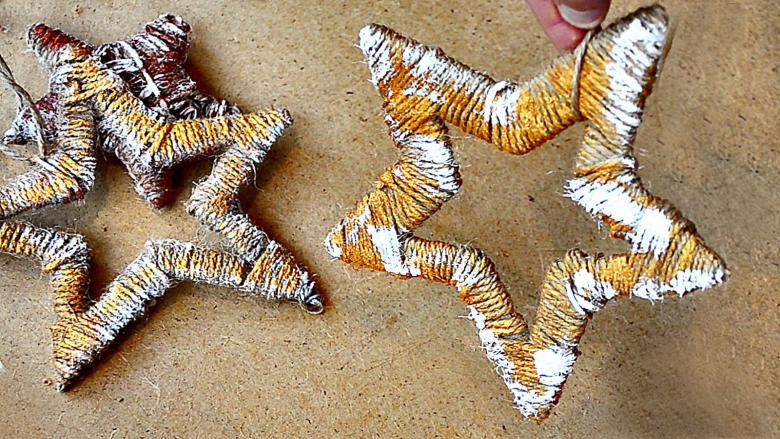
Star out of wire and mohair
Prepare the necessary materials:
- A long wire;
- A ball of red yarn with a lot of mohair (we need the volume, and mohair has a lot of fluffy fibers).
- Glue.
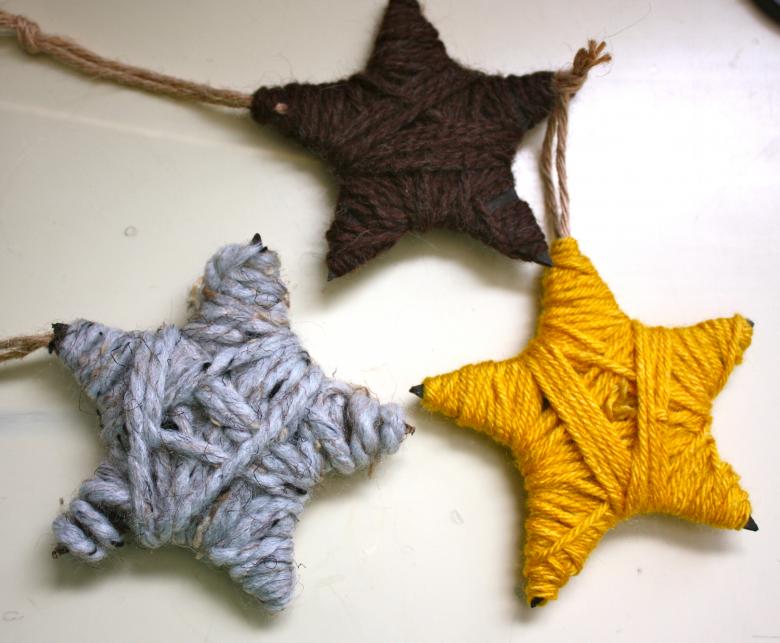
The detailed scheme of work:
- From the wire form a frame: find the right star for you - in shape and size.
- If it is difficult to make a metal support, use a simplified way. On a sheet of plywood or Styrofoam, place paper clips at the points of the star's edges. On these points and lead the wire, forming a figure.
- Now remove our support from the buttons and liberally smear it with glue. Next, we start winding the mohair onto the frame. You will need a lot of yarn, as a puffy star looks much more beautiful than a flat one.
- On the top "needle" we make a loop. All, now you can hang our figure on the Christmas tree, on a window or any other ledge.

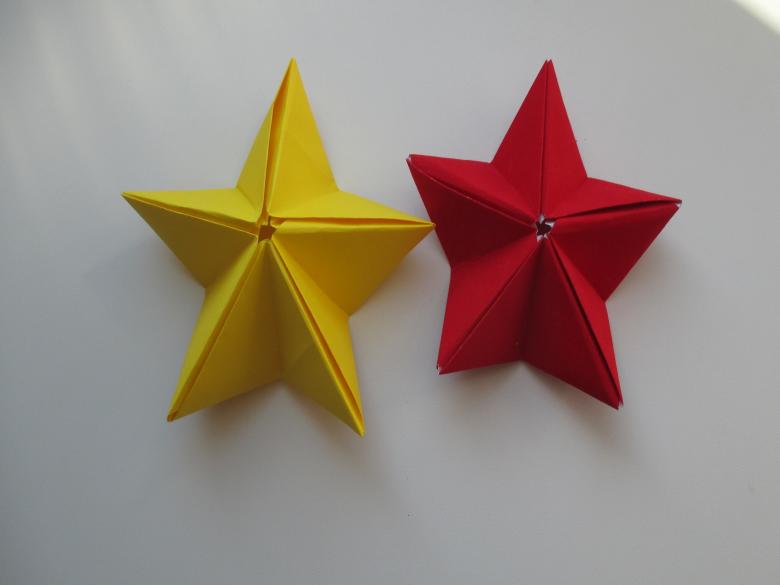
Three-dimensional star made of colored cardboard
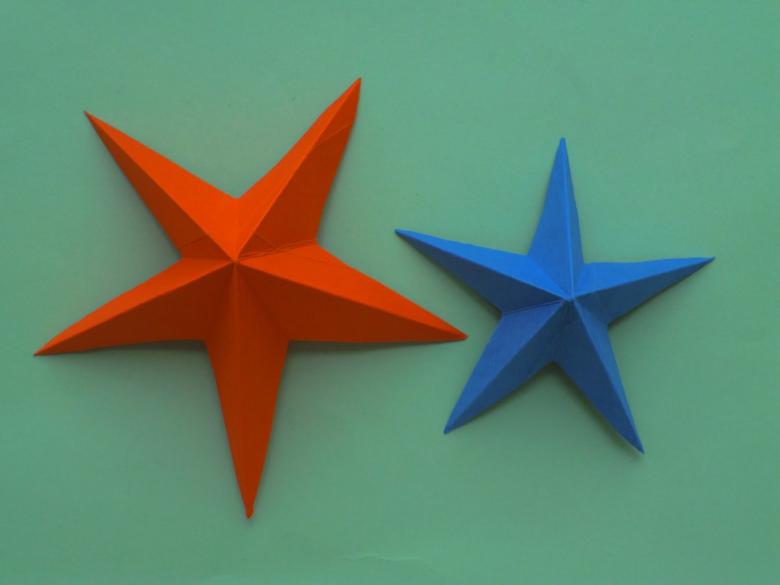
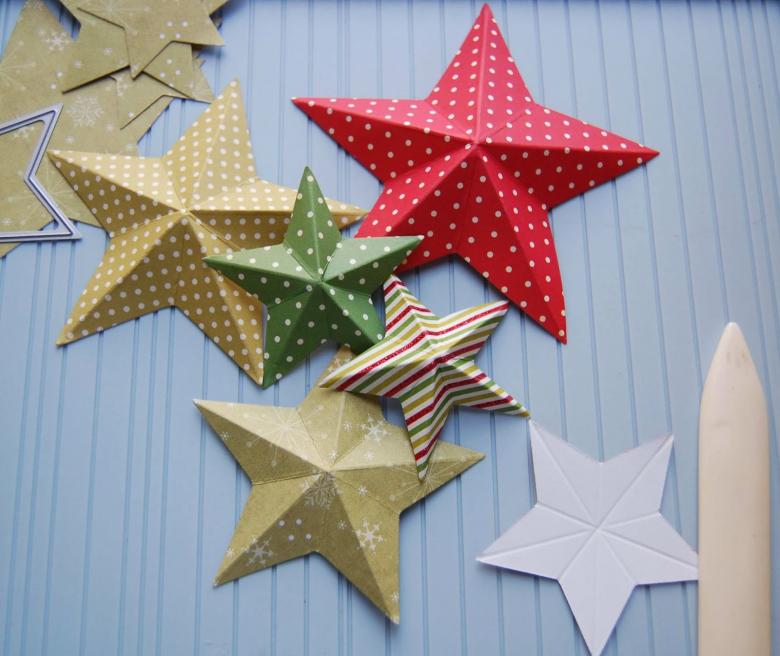
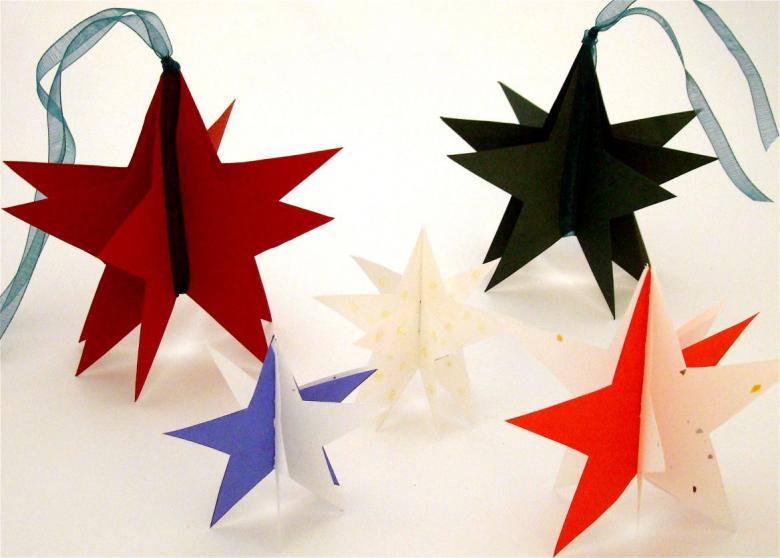
To create a three-dimensional figure with sharpened edges, we need colored cardboard, glue and scissors. If you want to pick up a particular version of the product, look at the photos in the galleries of crafts. There is an extensive selection, but the scheme for creating the figure is the same for all.
Step-by-step instructions:
- Let's prepare two sheets of cardboard of the same color, put them together.
- We need to bend the sheets together 4 times: vertically, horizontally, in two diagonals. Unfold the sheets back.
- Using scissors or a box cutter, make cuts in the direction of the oblique lines. The length of each cut is ¼ of the total length.
- Bend the edges of the cuts and glue the sides of our product.
- Repeat all steps with the second piece of cardboard.
- Connect the two halves with glue.
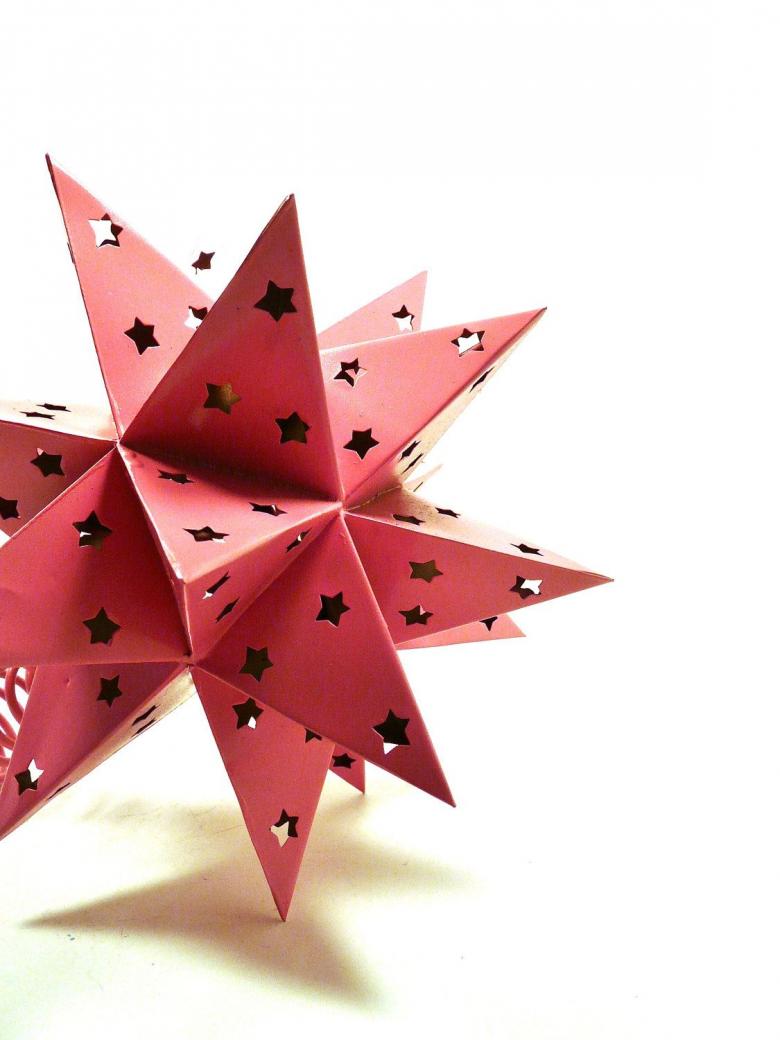
Our figure turned out volumetric and colorful, and additional shadows from the edges convey a unique author's style.
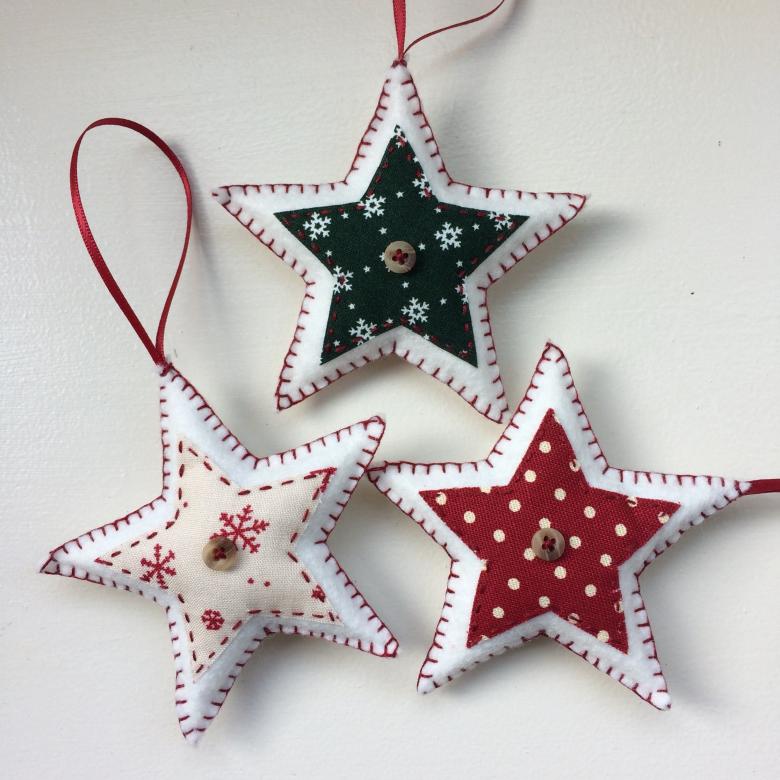
Decorative star made of felt and absorbent cotton
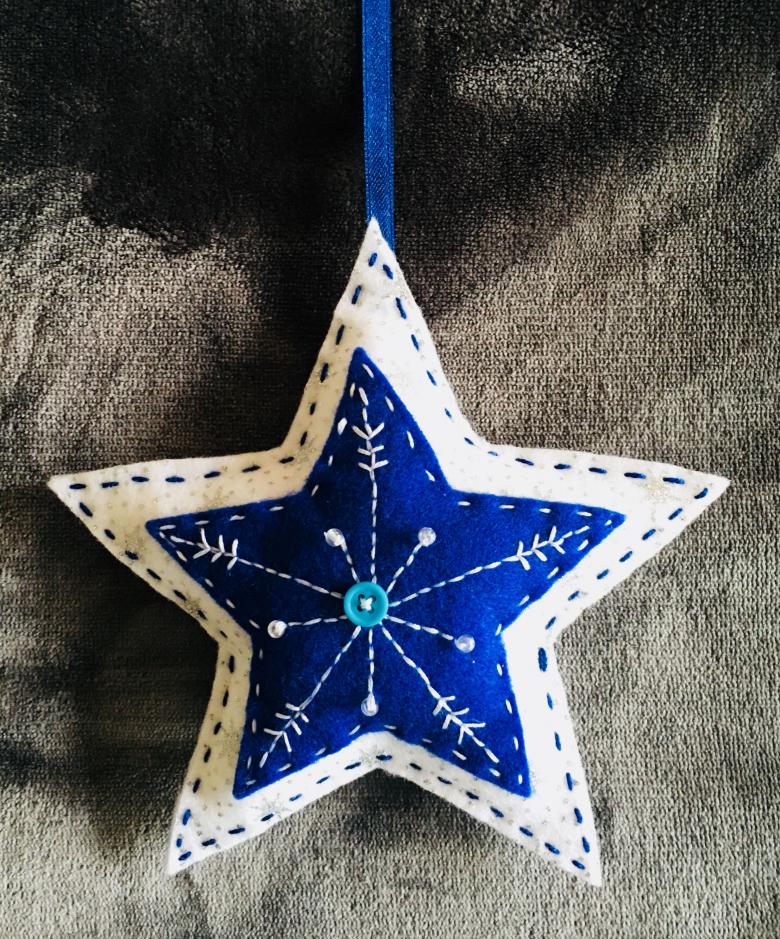
A small star pillow will create a unique atmosphere of coziness in your home. To create it we will prepare the following materials:
- Felt (or use any other fabric).
- Thread with needles.
- Scissors.
- Wool or any other filler fabric.
- Ribbons for decoration.
- Cardboard template.
Scheme for needleworkers and craftsmen:
- Fold the prepared fabric in two layers.
- According to the template, make blanks from the fabric, indenting at 2 cm from the contour of the pattern (for the formation of seams).
- Sew around the edges of the two halves of our star, and then stitch with fine stitches. Leave a "window" for the filling.
- Turn the base inside out and fill it with stuffing. "Window" stitch up.
- From the ribbons add bows or flower shapes, as you prefer. Sew details of the decor in the corners of the star.
- You can be creative and make a pillowcase for the openwork.

Magic wand for girls
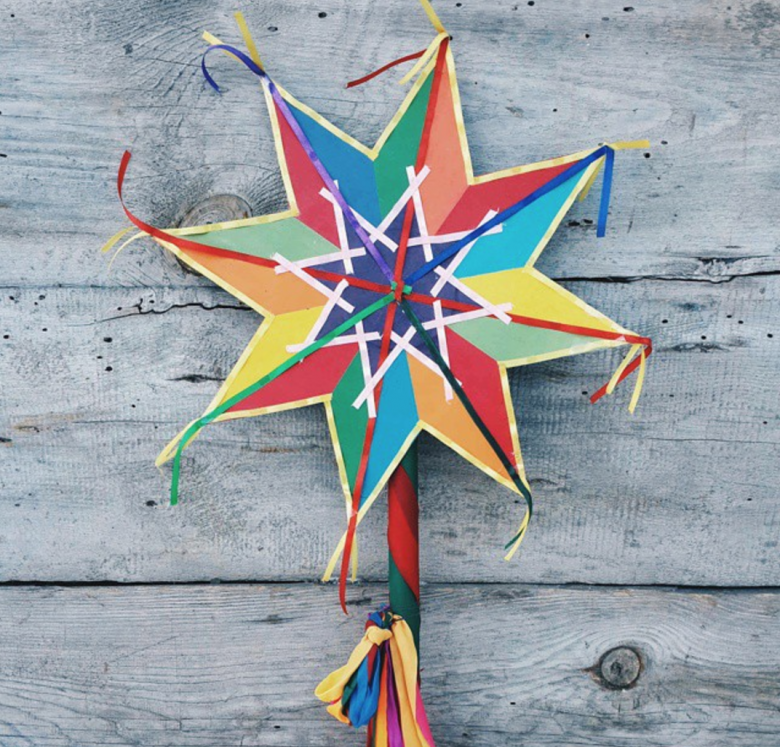
Every girl knows that the Disney fairy godmother has a little star on the end of her magic wand. And who among our princesses doesn't want to get the coveted wand for her birthday party? Today we will help make this dream come true.
Let's prepare the necessary materials:
- One or more chopsticks. If you can find a drumstick from a broken toy, that would be great.
- Illustrated paper or foil.
- A cardboard template in the shape of a star.
- Glue, scissors.
- Acrylic paints, brushes.
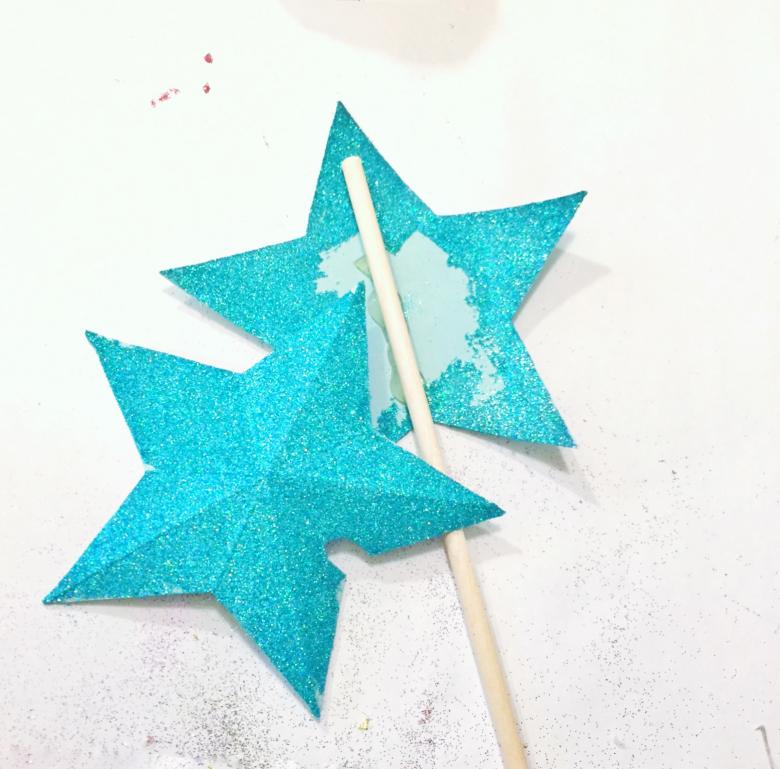
Step-by-step instructions for the master:
- Let's paint our wand base pink.
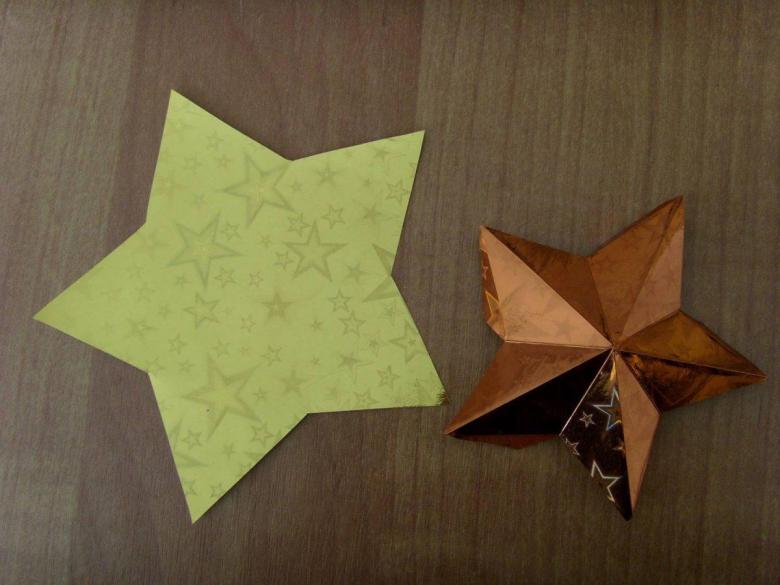
- Wrap the cardboard template with foil or illustration paper. Decorate the finished star with a feather or sequins.
- The figurine of the star glue on a stick-base.
Make several of these sticks, and a fun holiday for your little princess is ensured.

Star-card: an original invitation
Continuing the theme of holiday crafts. The star can also serve us as a name invitation. Prepare the following materials:
- Colored or regular cardboard.
- Glue, scissors.
- Template.
- Accessories for decoration.

Step by step schematic instructions:
- Fold a sheet of cardboard in half with the colored base inside.
- On the back of the template drawing a star shape. We cut it so that the two halves of the sheet was a common space.
- We have a model card, and now we have to decorate it. There are many options: you can cover the layout with illustrated paper or colored paper.
- Glue rhinestones around the outline of the finished star, and three beads in the center.
- Inside the star-card you can write both a greeting and an inviting text.
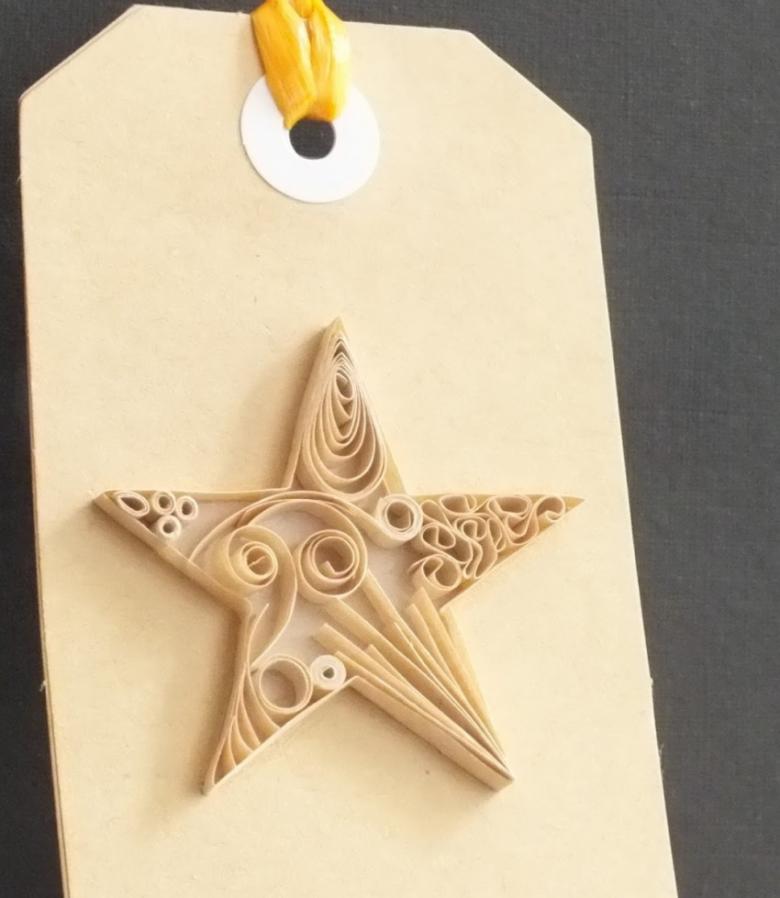
We have considered not all ways to create a handcrafted star. There are a huge number of master classes on how to make our holiday symbol. Watch the video tutorials and proceed to create your own star!

