Handmade snow maiden - master classes of the cone, origami, three-dimensional models
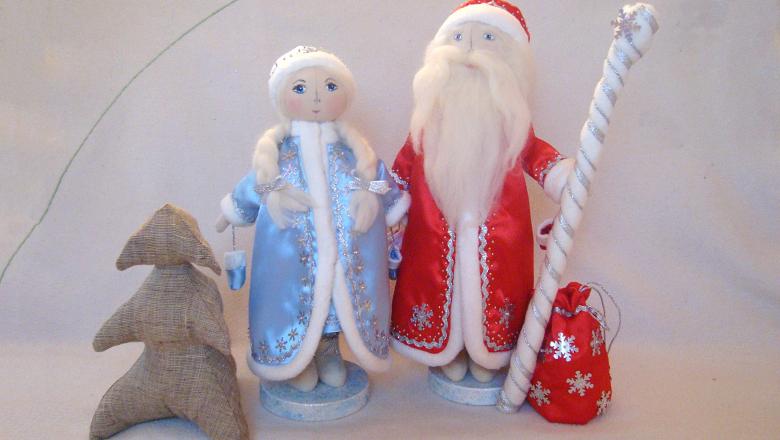
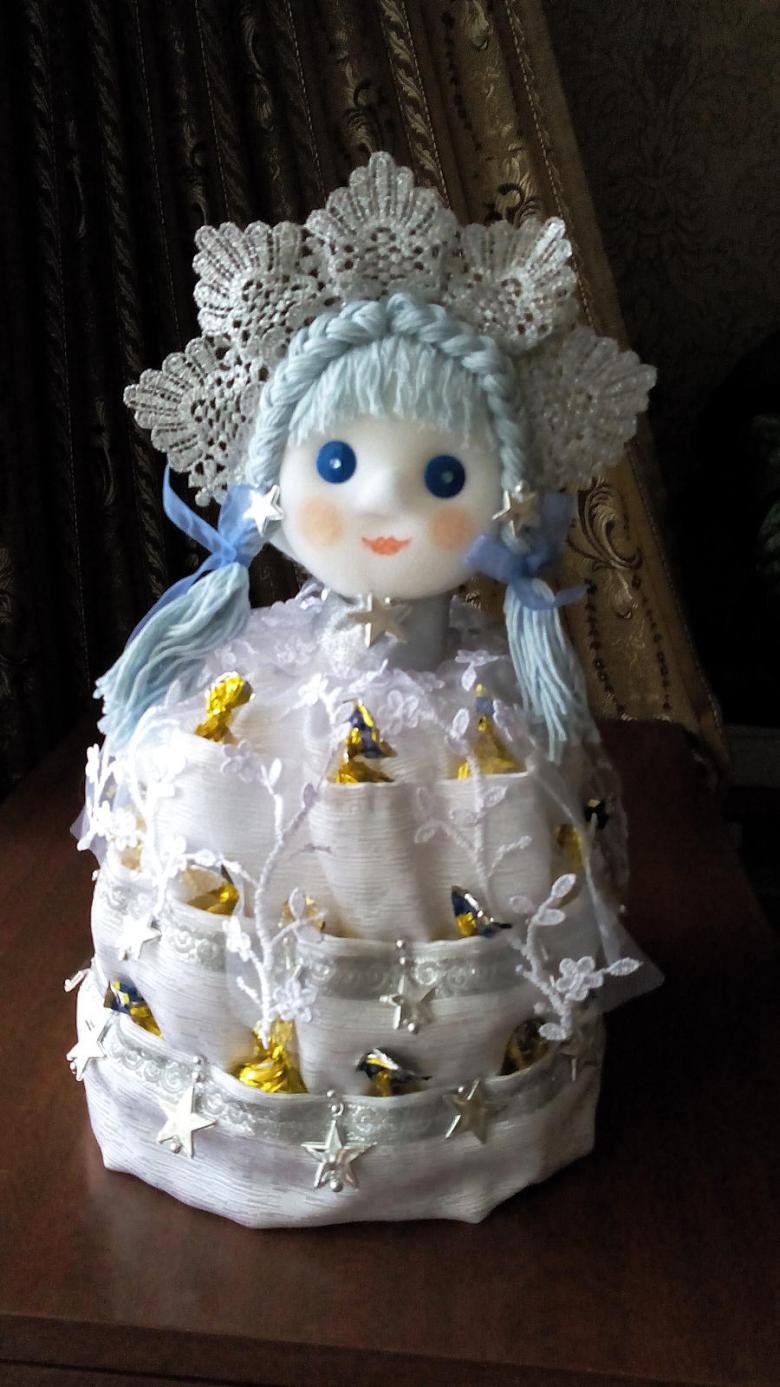
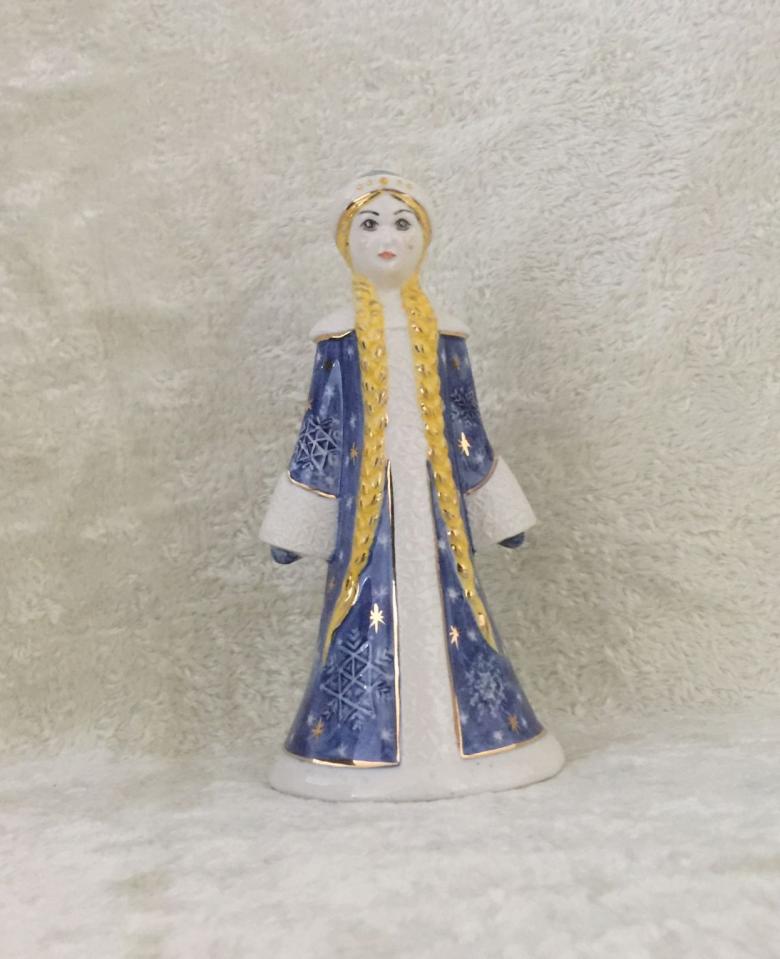
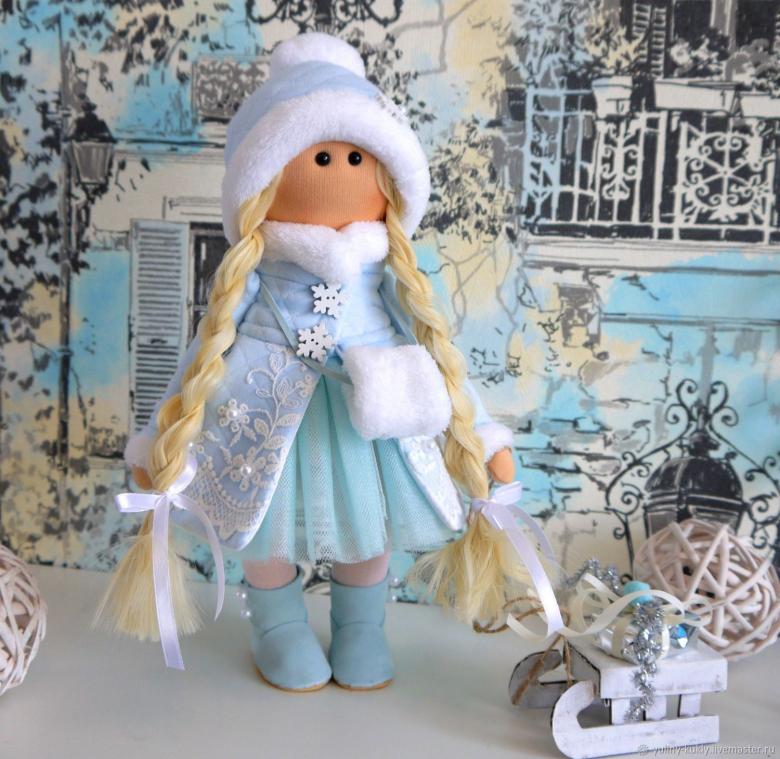
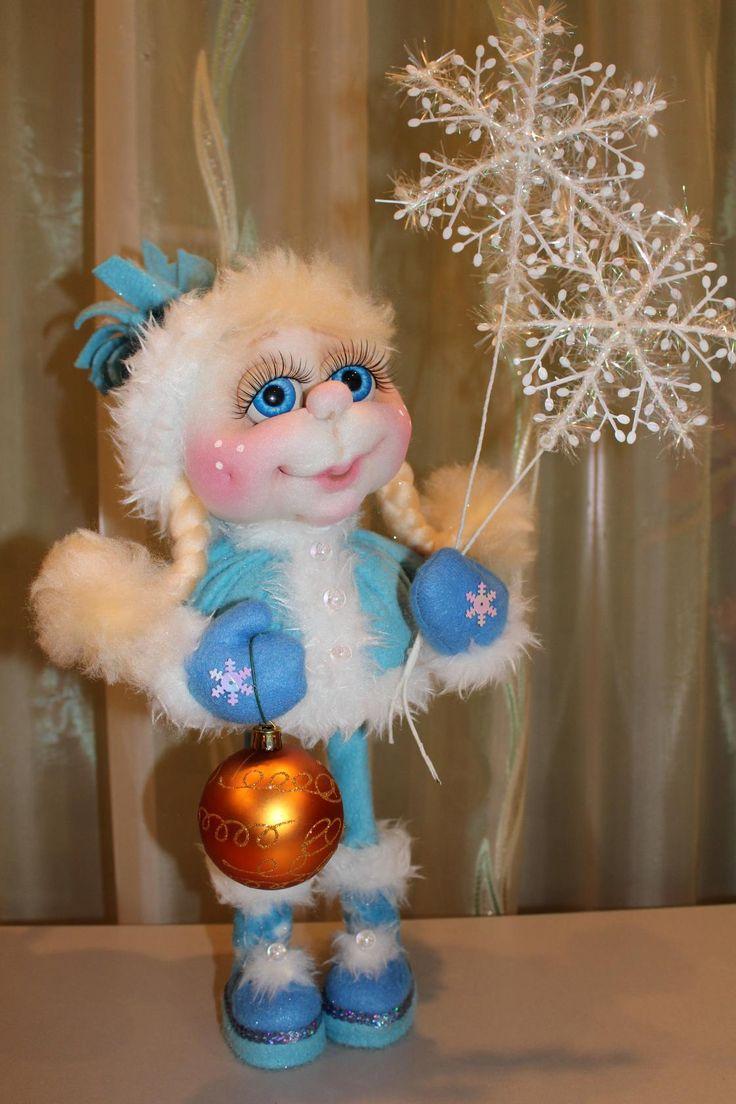
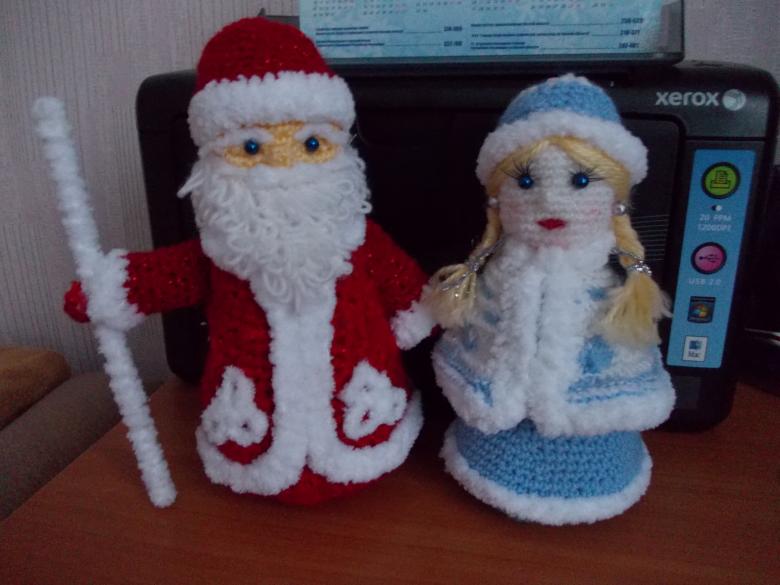
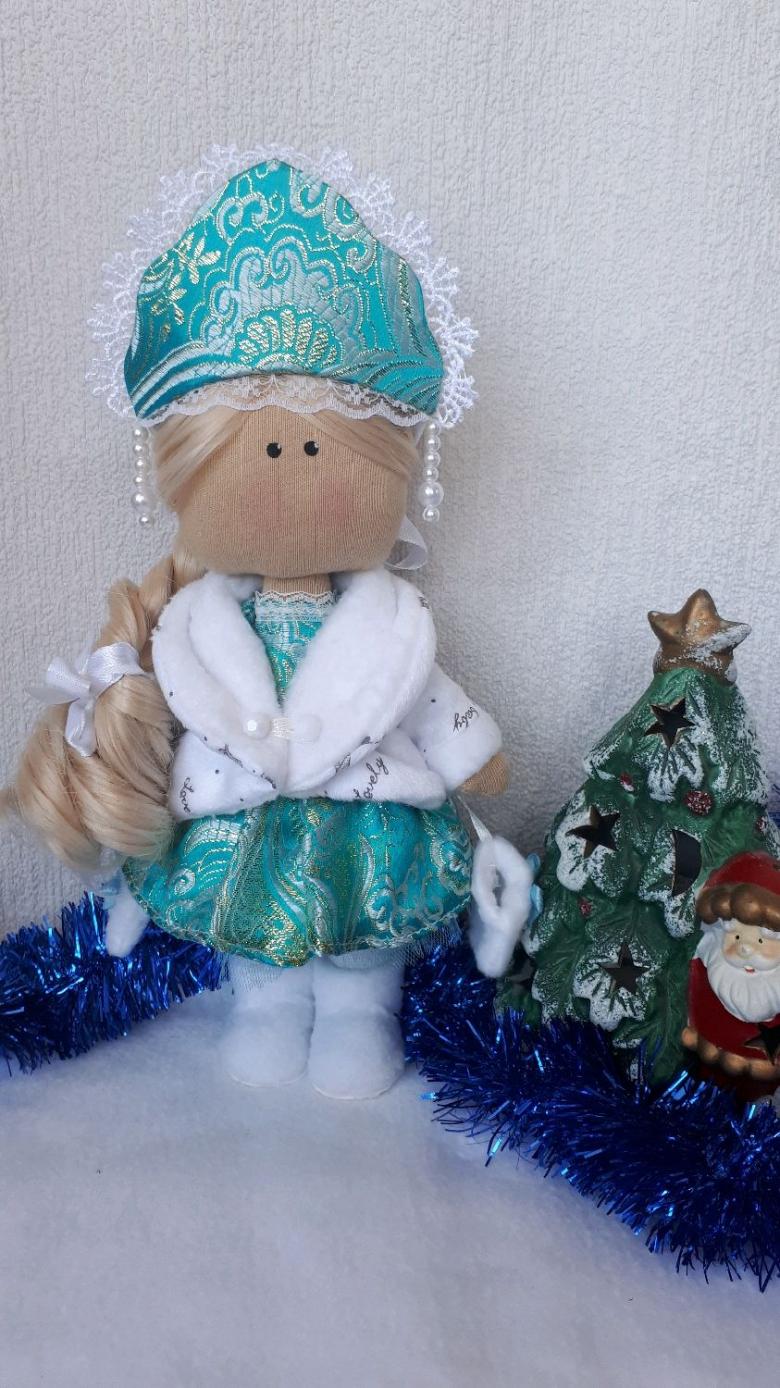
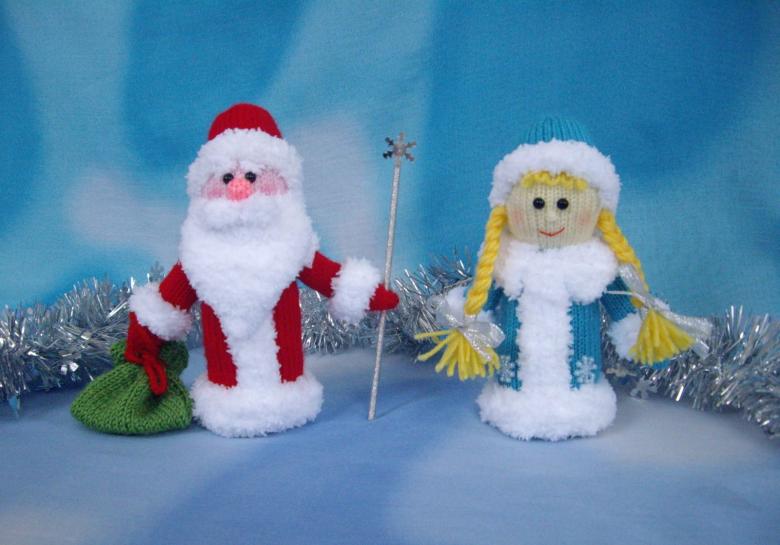
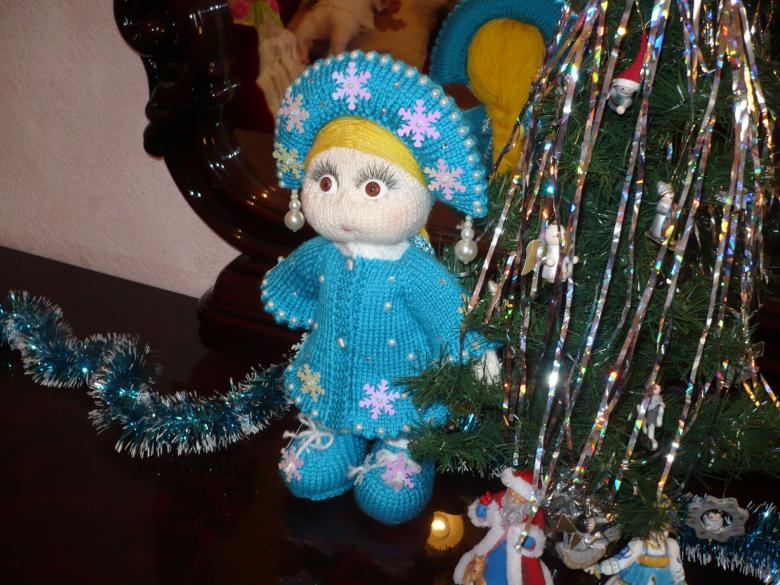
On the eve of the New Year. We want everything to please the eye. A wonderful addition to the Christmas mood will be the Snow Maiden.
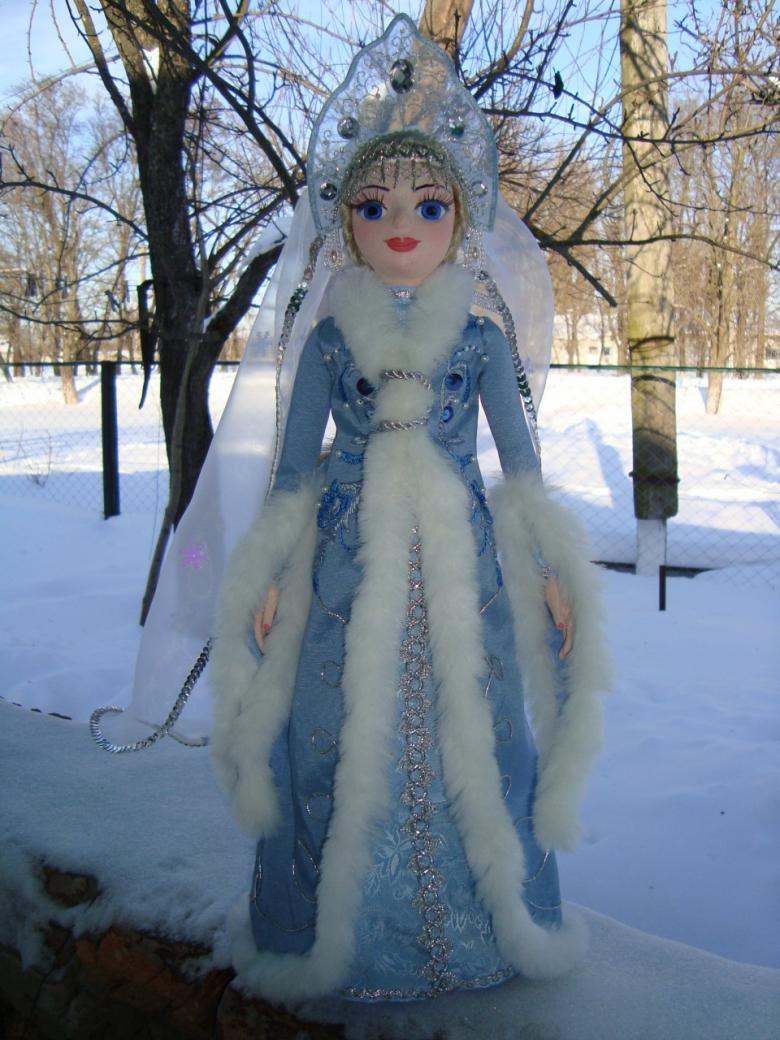
Such a handicraft can make any student. The main thing is the desire. Ideas and options to create a charming fairy tale character a lot. Make a snow maiden for school will decorate the classroom or auditorium. You can then make a photo for the memory with a beautiful Snow Maiden.Often for her manufacture paper is used.
Snow Maiden from a cone
Paper cone
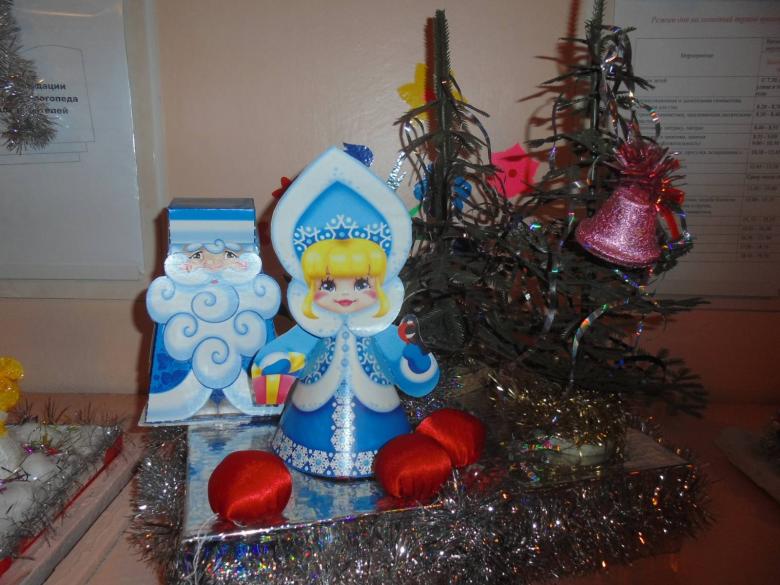
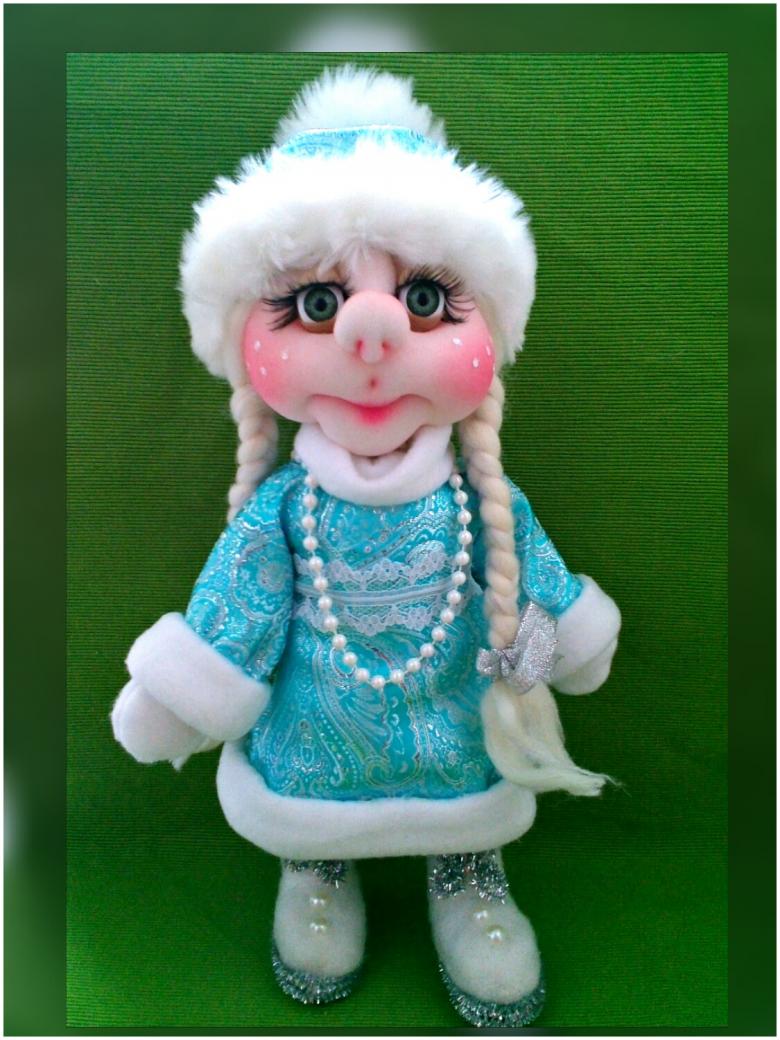
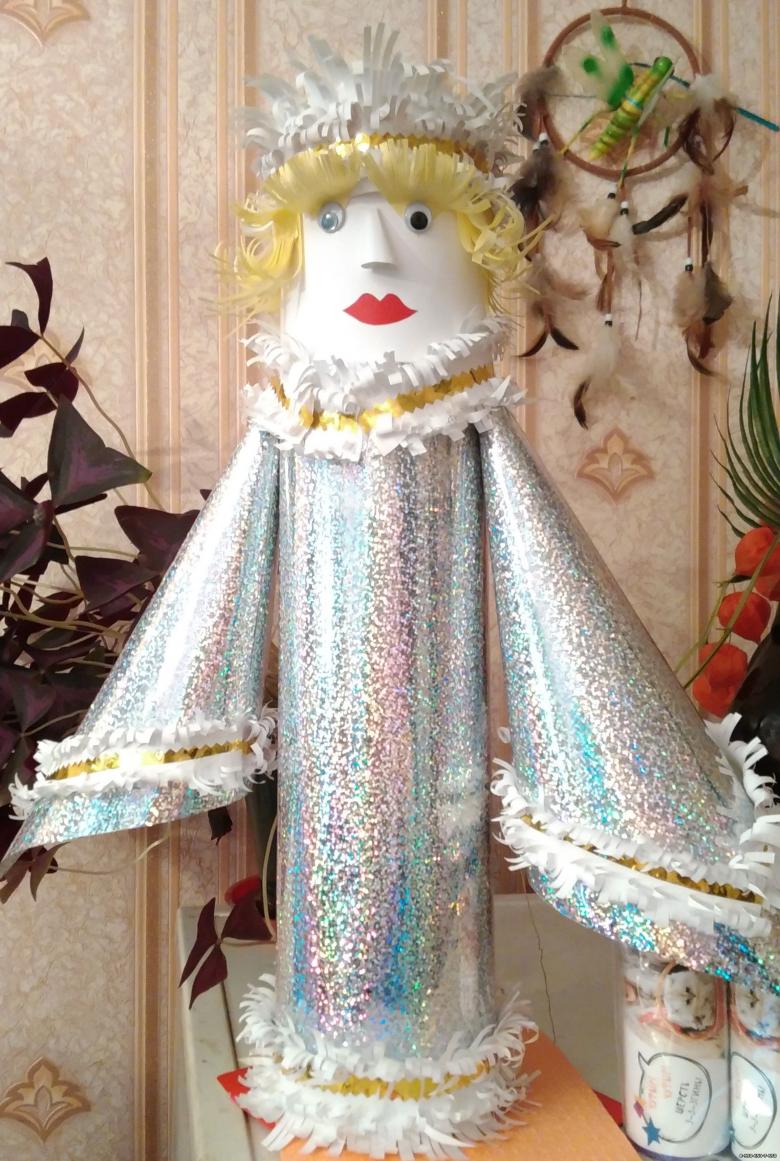
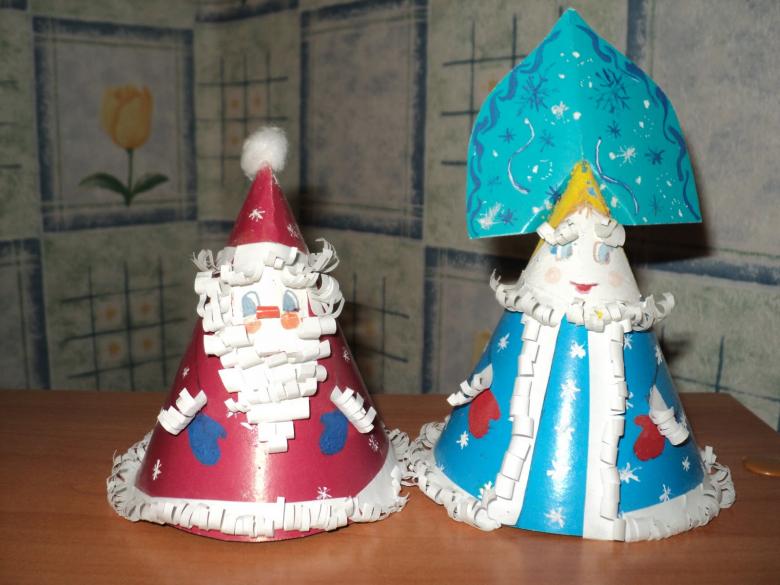
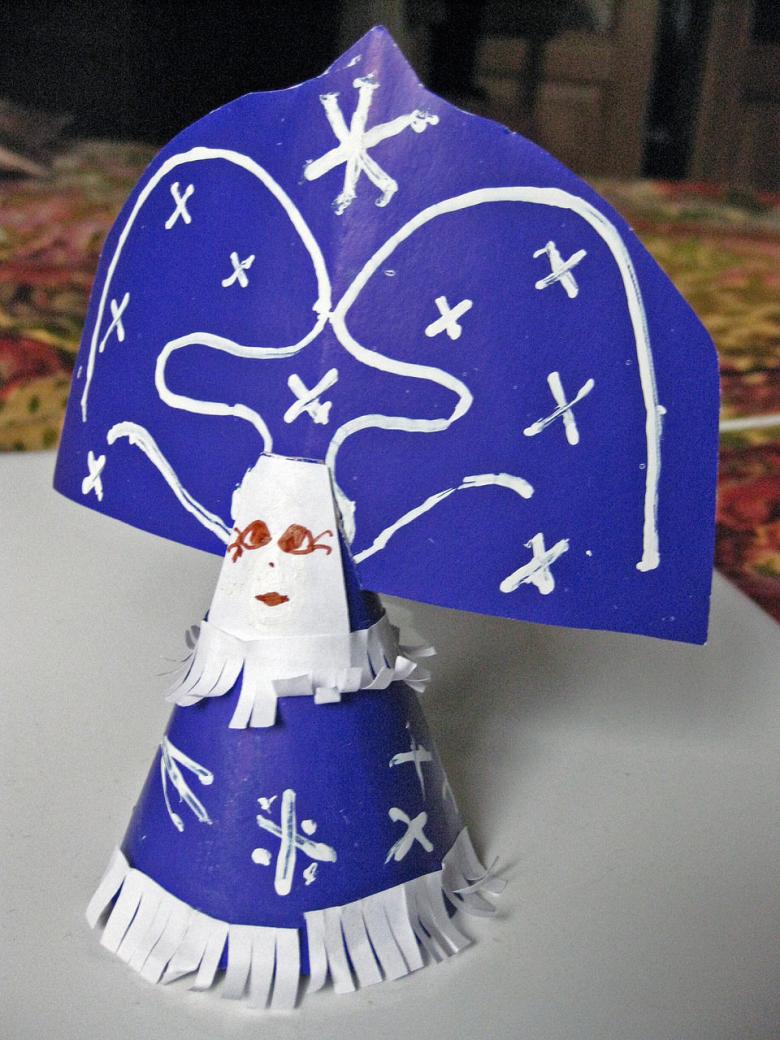
We take a cardboard bright blue or blue colors in an amount of 2 pieces. The first sheet is the coat. Make a cone out of it. The second sheet fold in half. Then cut the sheet. The first half is cut in half. Rectangles turn into sleeves Snegurochka coat. Glue the sleeves. Cardboard white or blue will need to make mittens.

Now take a white sheet. Fold it so that there are equal strips of width 2.5-3 cm.
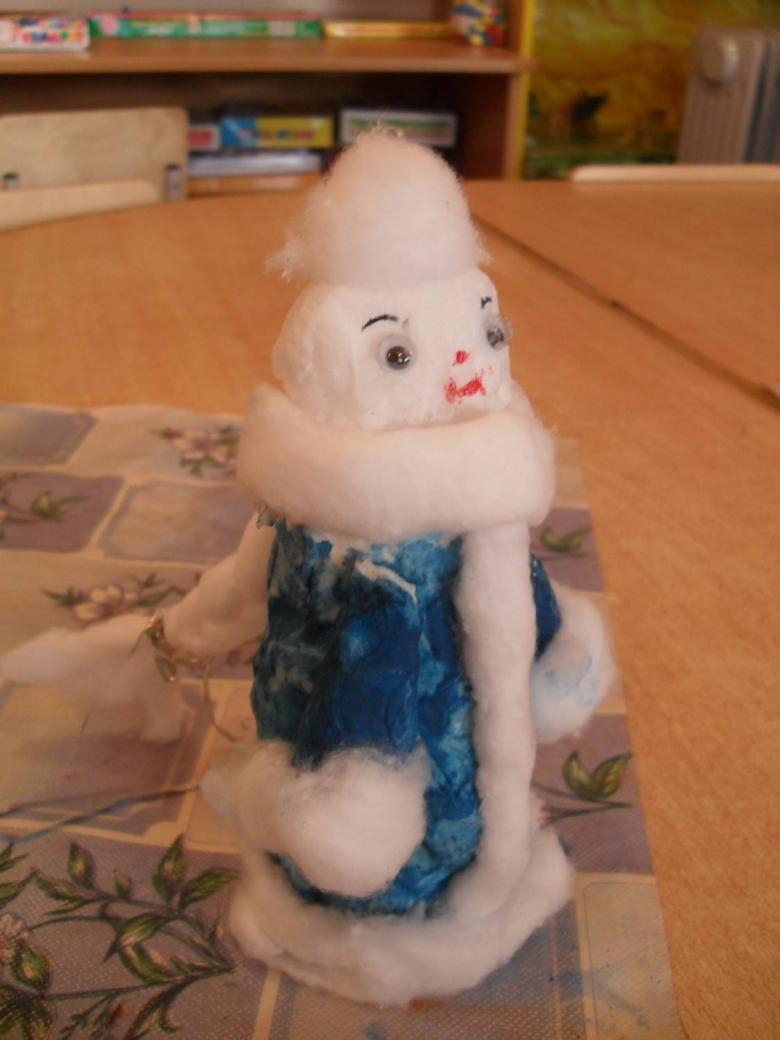
Now use scissors to make incisions from below. Apply glue to these strips. Glue the "fur coat" on the bottom, the front and the bottom of the sleeves. If you have on hand a tinsel, you can "fluff" out of it. Suitable is absorbent cotton. Only tinsel should be glued colorless glue "Titan", and paper and cotton with regular PVA.
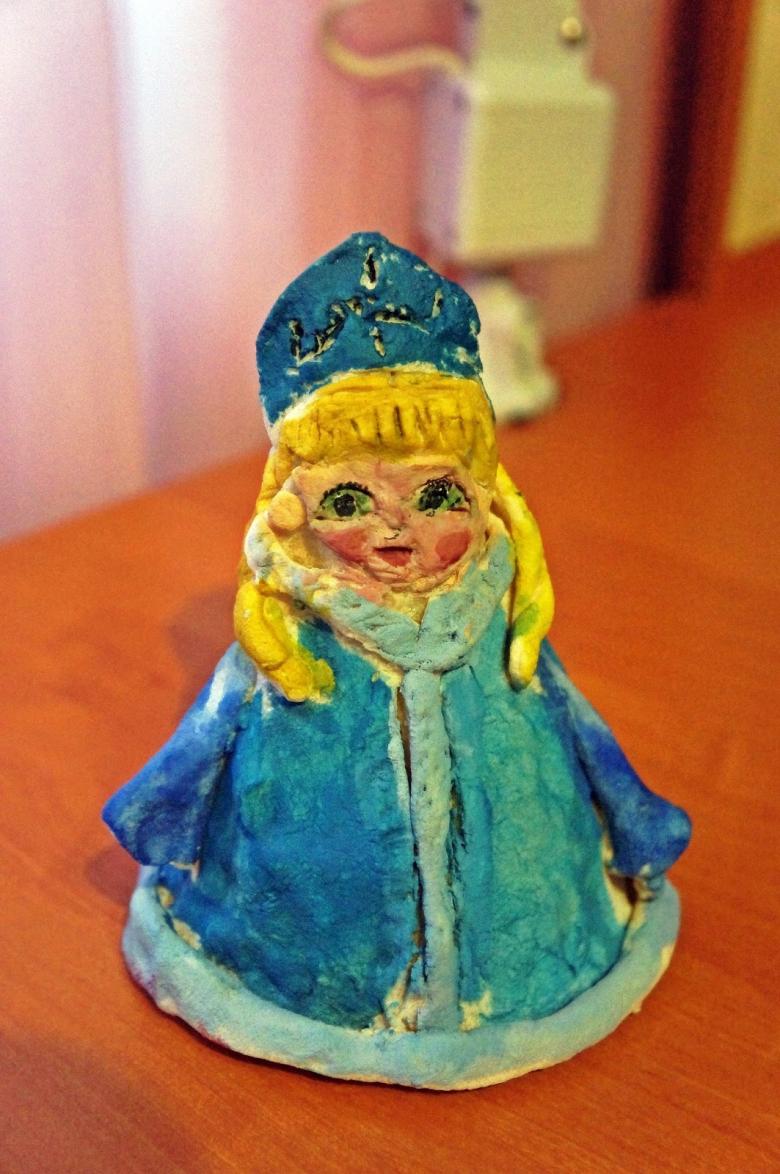
Now take the white paper and cut out the head of the Snow Maiden with the neck in a cap. Glue it to the cardboard. Draw eyes, eyelashes, lips with felt-tip pens. From the remnants of blue cardboard cut out a hat and glue it on. Tinsel or absorbent cotton make fluff on a hat.
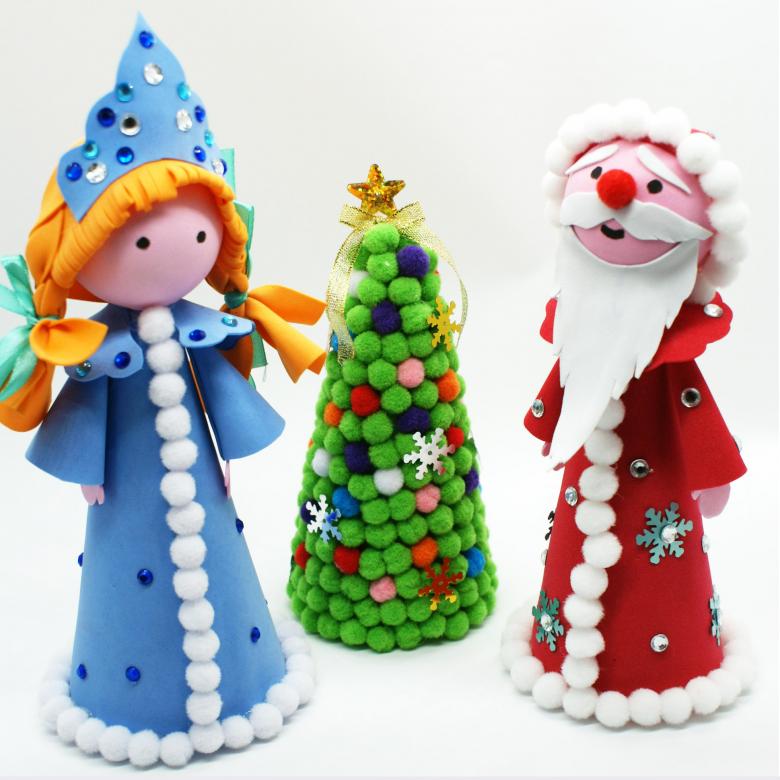
Now from knitting threads we make braids. It is better to take light threads: white, yellow. From a satin ribbon made bows, and tied at the ends of the plaits. The braids are glued on the inside of the head of the Snow Maiden. Now the most delicate process - gluing the head. When the head is ready you can decorate the coat fluffy collar. It can be made from absorbent cotton or tinsel (preferably a different color or shade).
The snow maiden is ready!
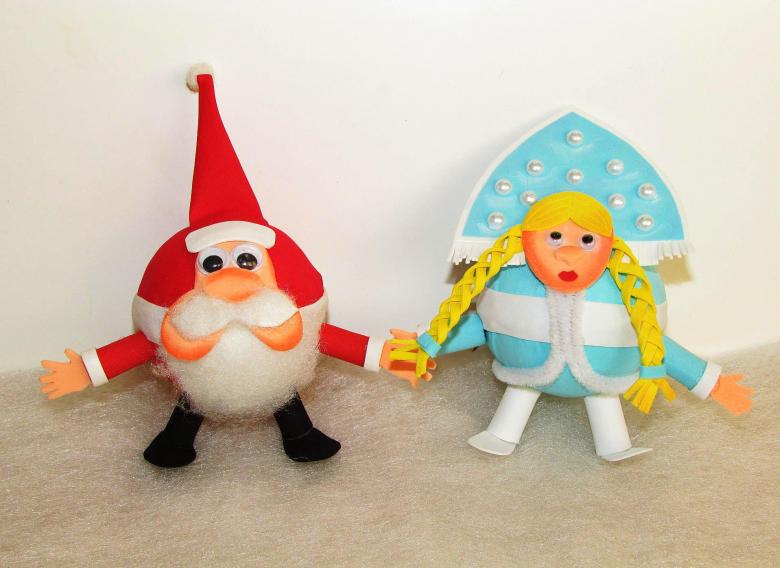
As an option for the head you can use a decorative ball of Styrofoam (sold in craft stores).
It is put directly on the cone. Transparent "Moment", "Titan" or PVA glue lips, eyes, eyelashes. Draw the nose. Cap is done volumetric. We take the cloth or paper.

The only difference - we glue the braids to his head without a hat. Cap put on top.
And now ready to go our snow maiden!
Cone with fabric
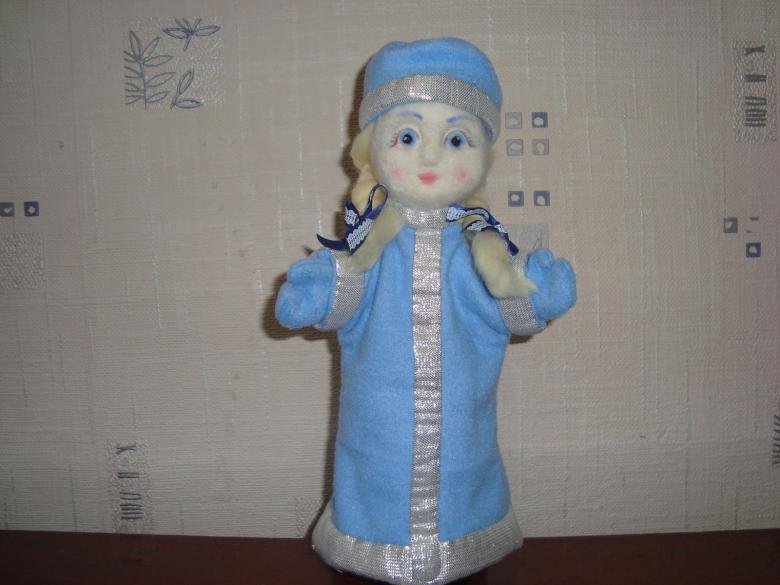
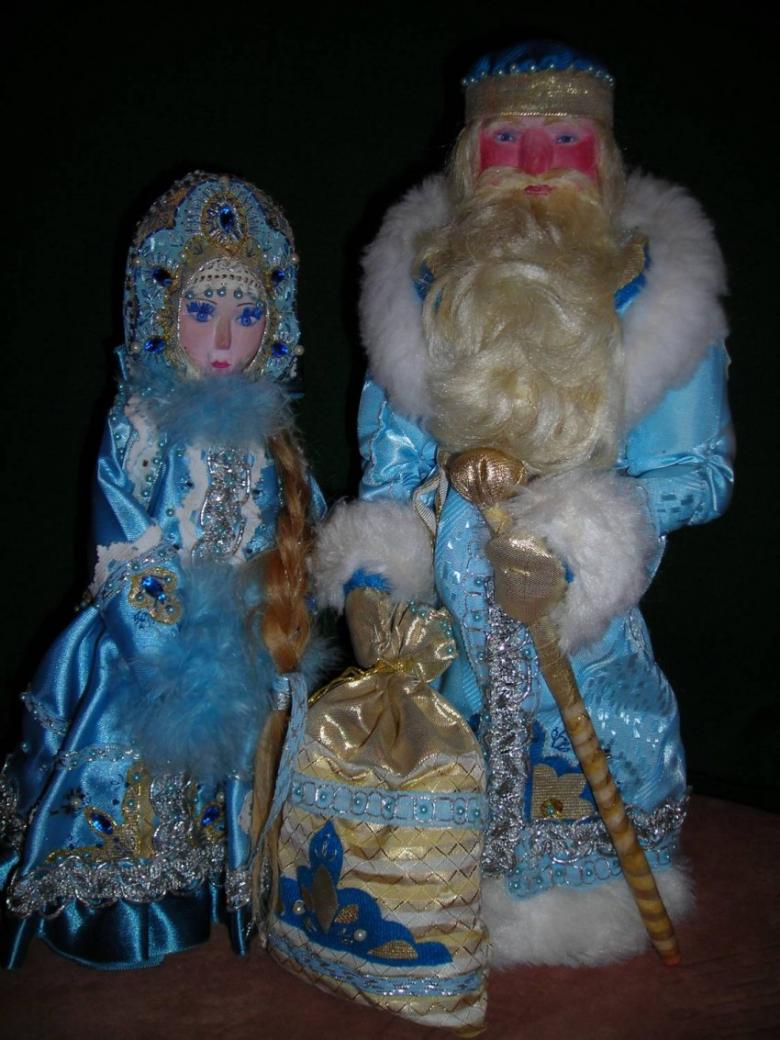
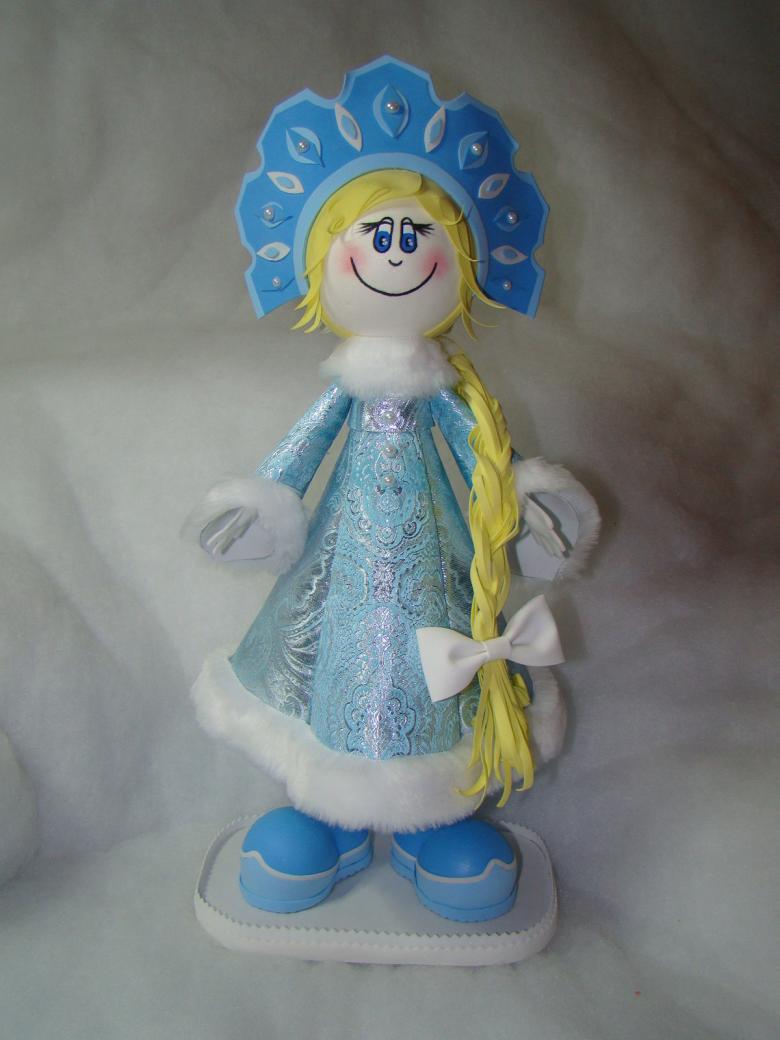
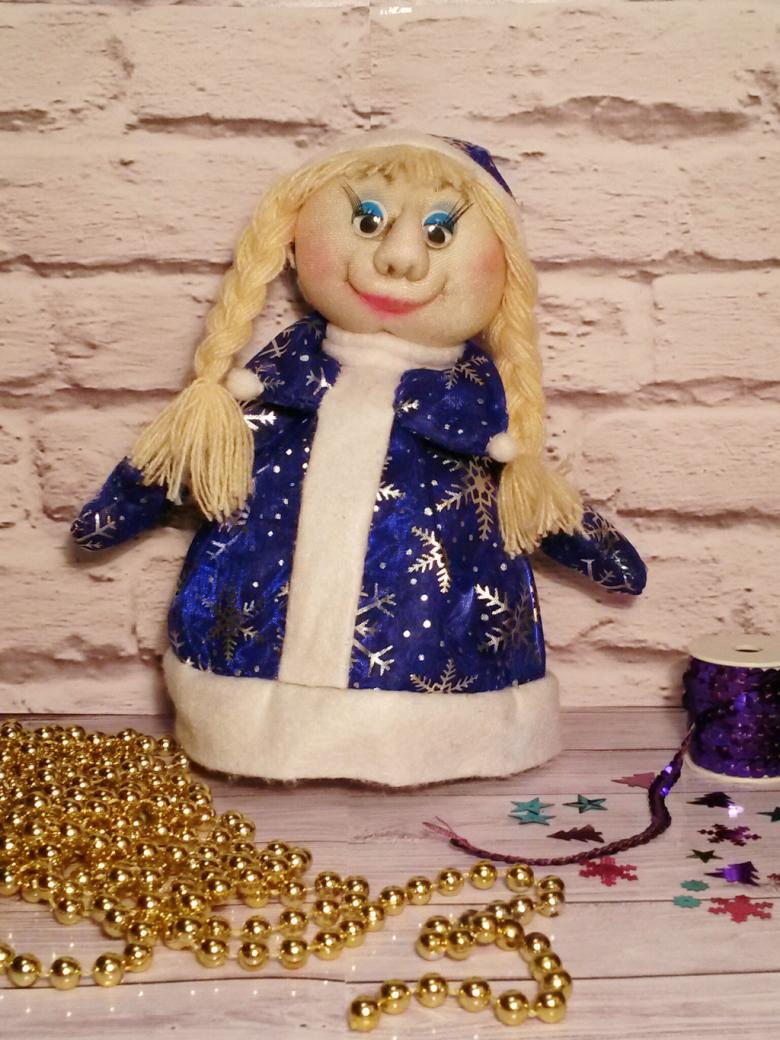
If, instead of colored cardboard, we take a piece of brocade in white or blue, and glue it to our cone, then we have the Snow Maiden will be dapper in a wonderful fashionable outfit.
The sleeves are also covered with brocade. And do not forget about the hat!
Volumetric Snow Maiden in the crown
- A square sheet of paper is folded diagonally.
- Small strips are bent on the left (1 cm wide). Bottom, too, bend them.
- Two sides with strips bent to the center.
- Lower corner is bent and hidden inside. "Coat" ready!
- Now the second paper square 15x15 fold diagonally.
- The corners of the triangle bent to the center.
- Now the triangles unbent.
- Left and right corners are bent up in turn. Then they align along the bottom edge.
- Then the square is unfolded. He turned to us the front side and inflected triangle. Opposite inflected the other corner.
- This angle unbent and bends that smaller. The one that is inside it.
- Corner bend in such a way as to form another figure (a strip of bending 2 times).Action is repeated with the opposite corner.
- The bottom corner is bent first to the center, and then unbent and bent again in a triangle. Only now to the line of his bend.
- Now 3 times a strip of bending through the triangle.
- Make the bends on two sides. Workpiece fold in half on the line of inflection.
- Corners are bent to the center and, as it were straightened out.
- Corners that we straightened, now bend back. Head done.
- For the crown, we need a square of size seven and a half to seven and a half. To start you need to fold it diagonally.
- The sides of the triangle, which we have, bent to the middle.
- Then they bend and straighten.
- Harvesting turn over the back side. Then unbent the topmost layer down. Then bent corner. Then it bends on the other side.
- Now the "face" Snowflake glued to the "crown".

"Coat" is pasted into the "sleeves" to get a nice figure of the Snow Maiden. The Snow Maiden's clothes are glued to the head. We have a wonderful craft for the kindergarten or school! We decorate the coat with rhinestones, sequins, and tinsel. It turns out a beautiful symbol of the New Year holidays!
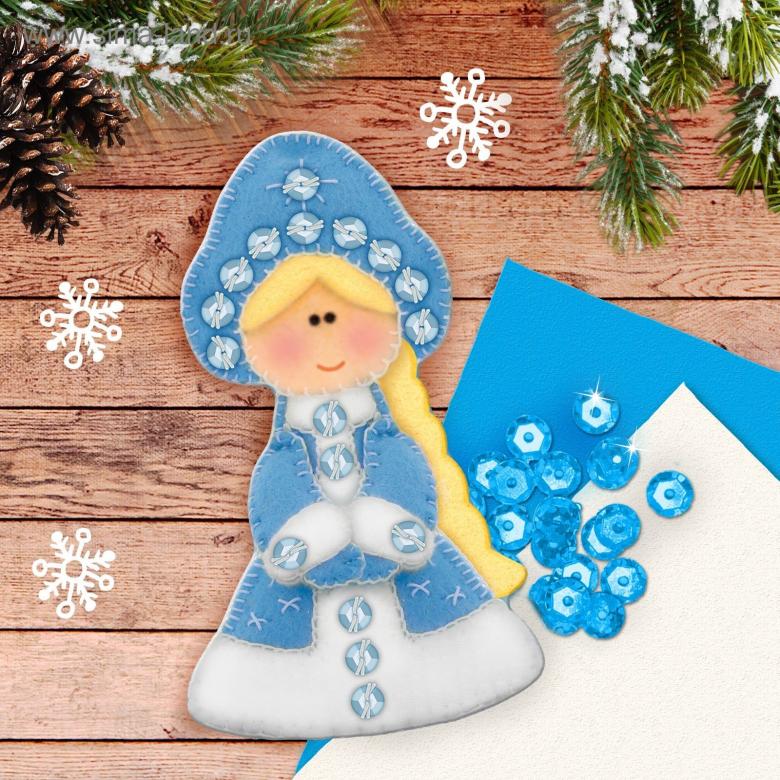
Origami Snow Maiden
Art of folding various figures from paper came to us from Japan.
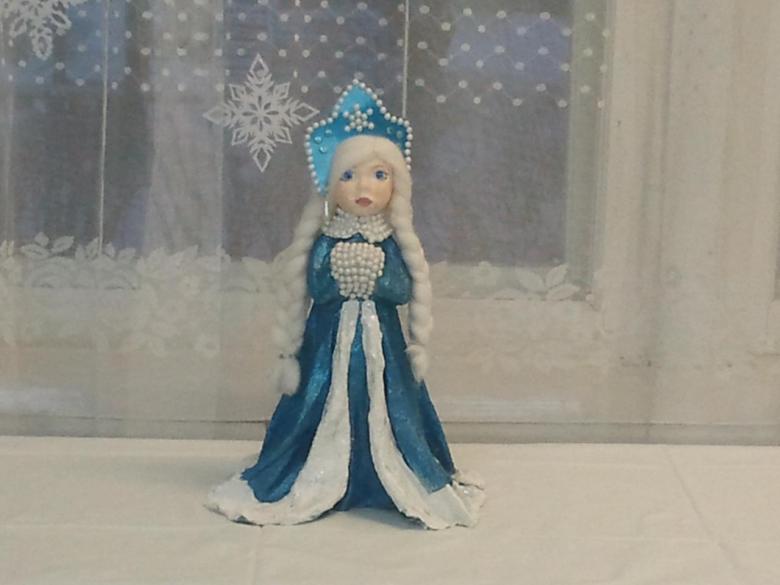
But it is so well accustomed to us that few people remember the homeland of these wonderful transformation of a single sheet.Origami comes simple and complex. There is for very young children. And there is for adults of many thousands of parts (modular origami). But no one would have thought that origami can make our Russian Snow Maiden!

A step by step guide.
- Cut a square. It can be blue or blue. It is necessary to fit the role of coat for the Snow Maiden. The square is folded on two sides. Then we unfold it, determining the axis. Vertical edges wrap. The upper corners to wrap the center. At the same time bottom edge tucked.
- Handicraft turn over to the other side. Take a pencil and draw a dotted line from the center corner upwards. Divide it into four smaller corners. Each side must be wrapped in the center.
- Those corners that we have protruding, we are hiding inside. Upper bend on the front side. Work have the front side facing up.
- White rectangle bend twice. Glue to the center of the coat.
- For the head we need pink paper. Two opposite corners are reduced to the center so that you can fold again. We draw a diagonal line. According to it bend material for the head. To get the rounded edge of the chin, bend the bottom corner.
- For the mittens we take two blue or white squares (depending on what they will decorate. If white snowflakes, the blue is better).
- Opposite corners are bent to the middle, so that one end was tucked at ten degrees. It is unfolded and the finger fold line for the mitten is determined. The mittens are glued to the coat.
- Cap is done as follows: the diagonal folds a blue rectangle. The corners at the top, you must bend to the center. Bottom strips are tucked in on both sides. The upper part of the hat is rolled back. Cap is put on the head of the Snow Maiden. Draw eyes, lips and nose. Hair can be glued a bow. Snow Maiden ready!
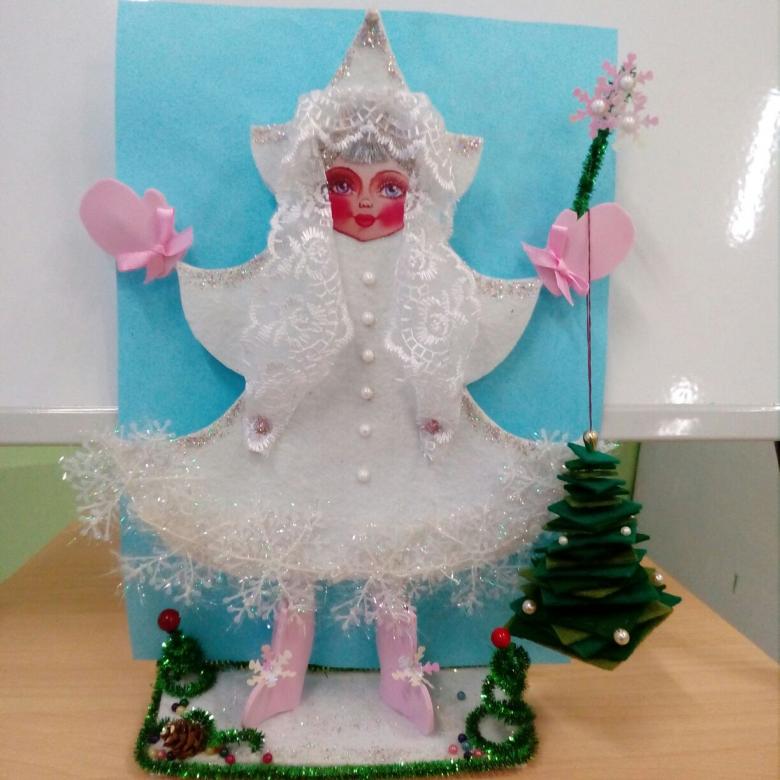
Such a simple handicraft is easy to make yourself. Arrange a master class for kids. Let them rejoice!

