A handmade paper heart craft - a selection of step by step master classes with photo examples
The red heart is such a familiar symbol of love and fidelity, family and strong relationships. Each of us recognizes this clear silhouette from afar.
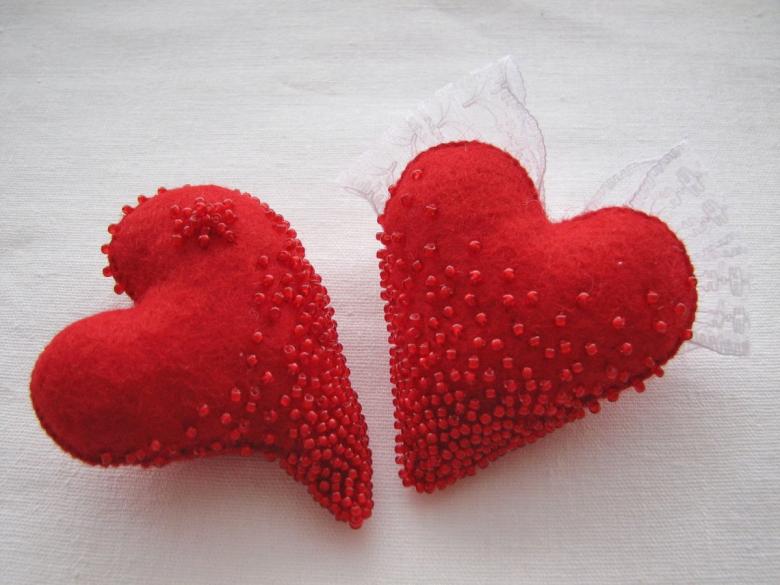
We buy little red heart cards for Valentine's Day, draw greeting sketches for our moms on November 24, and adore musical boxes shaped like a big heart. Why don't we, in anticipation of the holidays, learn how to make all these wonderful crafts with our own hands? So, let's get started.
What we can make a handicraft from
To create lots of heart-shaped crafts and fun accessories, we may need:
- Colored paper and cardboard.
- Scissors, glue.
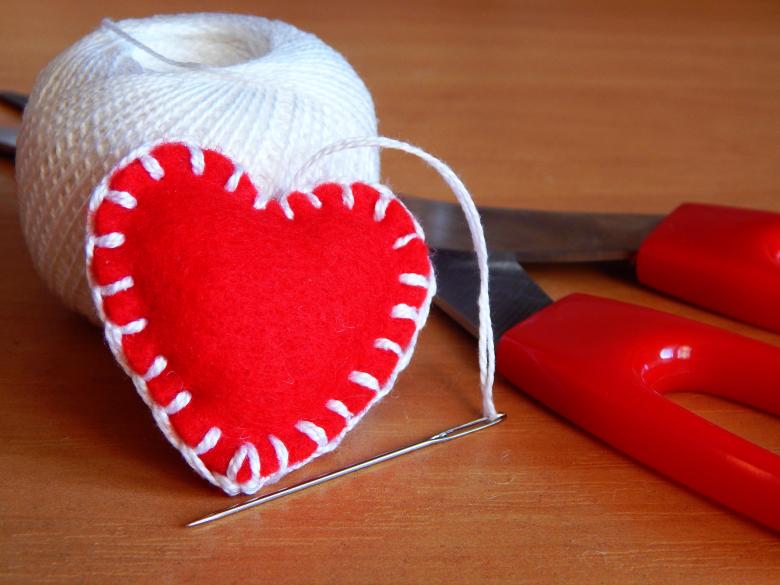
- Thread with needles.
- Paints and brushes.
- Metal wire.
- Set for quilling.
- Yarn, fabric (felt, guipure), filling (wool).
Crafts for beginners
Let's start our online course with a brief description of some general points of further work. If you do crafts together with a child, be sure to prepare a workplace: a comfortable and wide table, a separate box or box for sharp objects and scissors. In addition, properly prepared workplace will teach your baby to be organized and diligent.

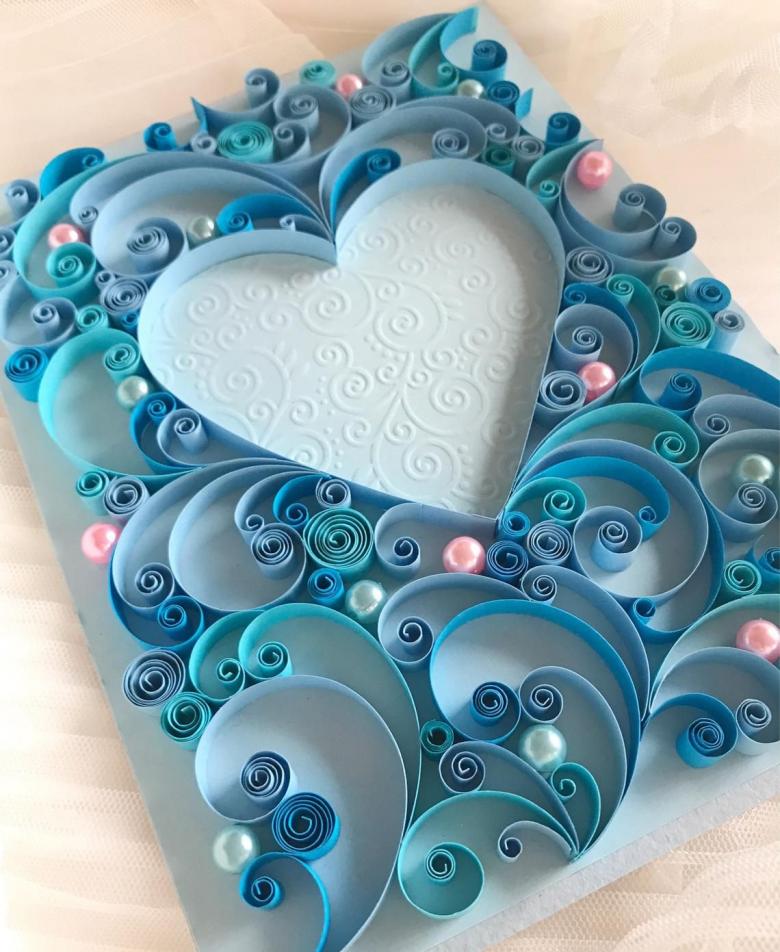
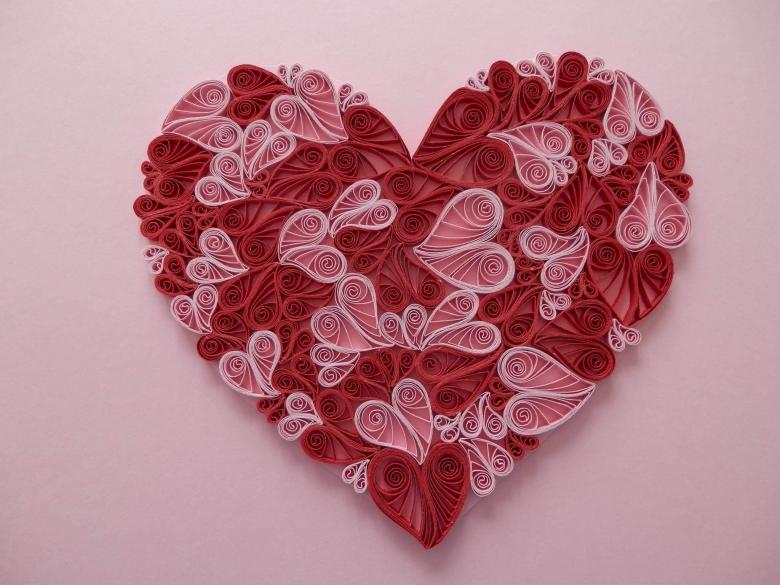
Openwork heart in the style of quilling art
We have already repeatedly encountered this technique of making crafts, let's turn to it today. Hearts, decorated in the form of applique from curled modules, will conquer any birthday boy or birthday boy.
What we will need:
- You can use a ready-made quilling kit, which includes a wand with a point, special paper or ribbons.
- Regular colored paper.
- A pencil.
- Glue.
- A set of paper clips.
- A sheet of cardboard or A4 paper.
- 1 satin ribbon.
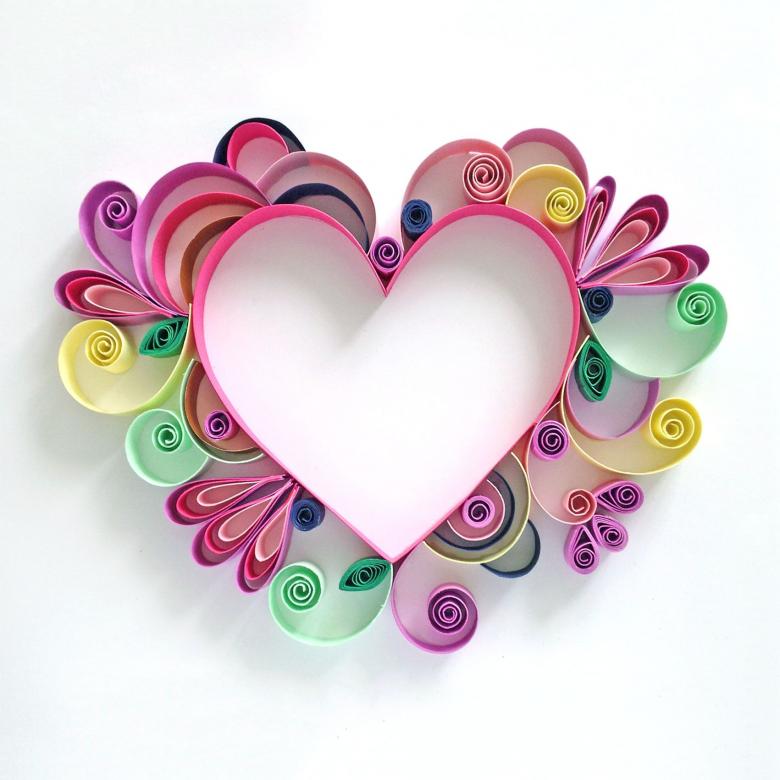
Step by step instructions for work:
- We use the cardboard or sheet of paper as a base for the applique.
- On it, we place clerical buttons in the order determining the contour of our figure, that is, the heart.
- Along the edge of the future frame of the figure, we apply a thin layer of glue, over which we lay a ribbon for quilling in bright red. We have marked the frame. Let's move on.
- Prepare the modules for the heart. Cut into long strips of red colored paper, or use existing ready-made ribbon. Scroll a pencil strip of paper in a certain order and remove the finished modules from the ribbon.
- Glue the modules on one side and lower them onto the cardboard backing inside the frame.
- The more densely you place the "coil" elements inside the frame, the richer our appliqué heart will look.
- Make a neat bow out of satin ribbon (preferably white). Glue it on top of the modules at the base of our heart.
Here we have ready our first gift. Give it as a gift with pleasure!
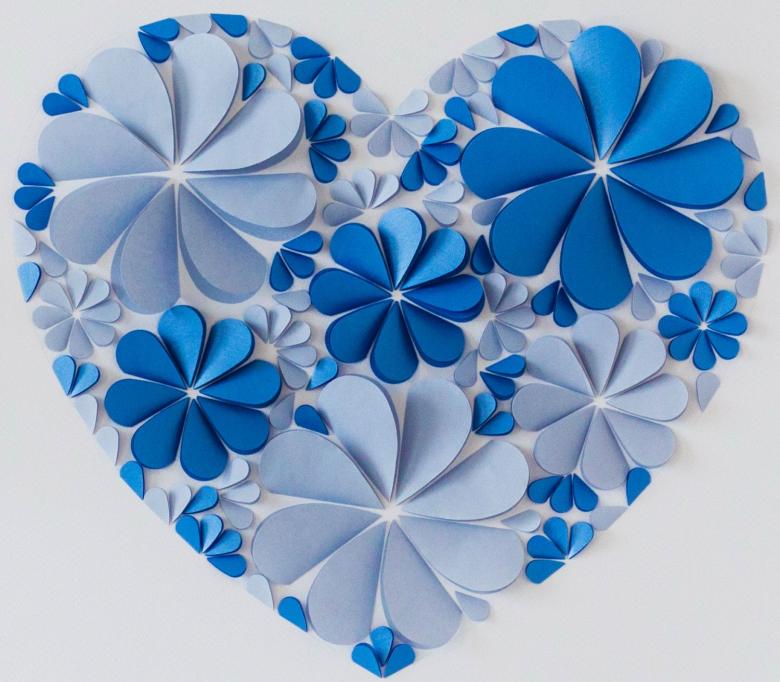
A box in the form of a heart for mom
Surely you've bought a lot of cookies in metal boxes in the shape of a heart. Or, if you did not buy them yourself, you may have seen such a container at your friends. For the following product, we will need such a box.
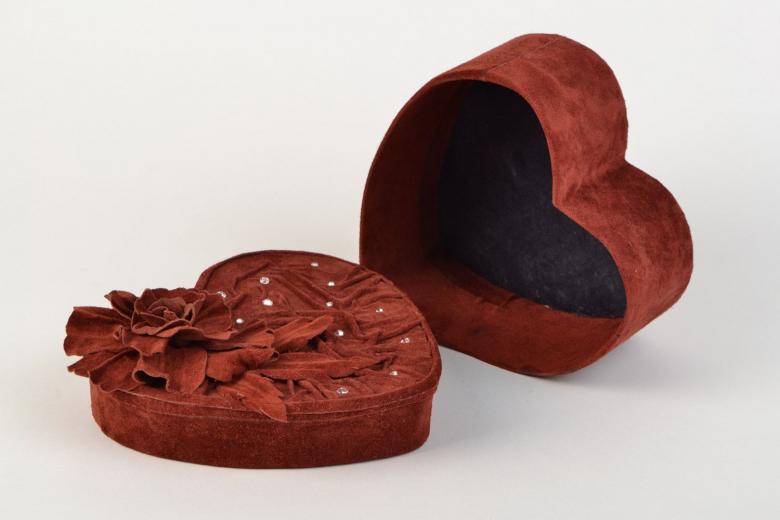
Prepare:
- A cookie box.
- Illustrated paper, a piece of guipure.
- Satin ribbons.
- Thread and needles.
- Glue.
- Colored cardboard.
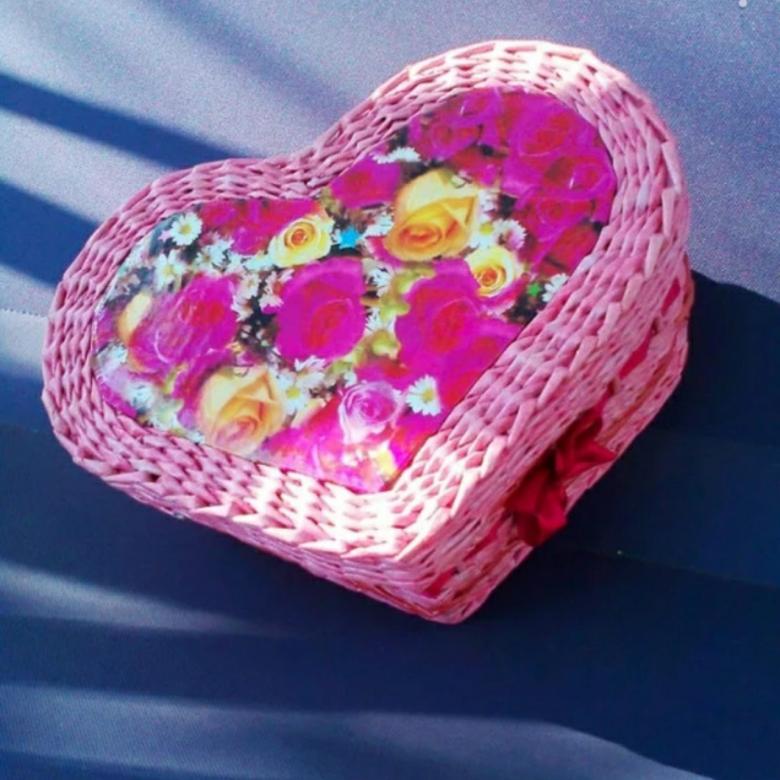
A step by step guide for making a box heart:
- Carefully measure your box, write down the results.
- Build a template, cut it out of cardboard.
- Using the template, cut out a wrap shape from illustrated paper.
- Apply glue to the sides of the box, wrap our blank.
- Separately prepare a blank for the lid. Glue the paper to the lid.
- From the white satin ribbon fold a beautiful bow, glue it at one edge of the lid of our box. Also, two white ribbons are glued on top of the lid, creating the effect of a gift wrapping shape.
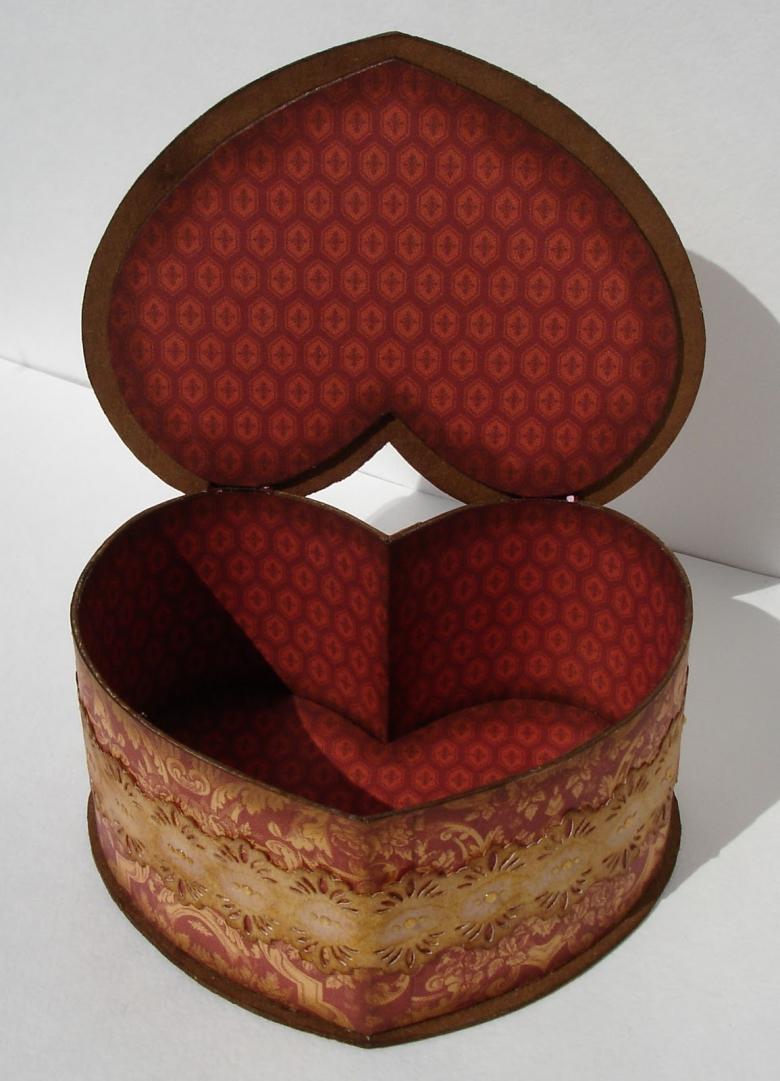
If you have the time and desire, you can put some guipure hearts inside the casket.
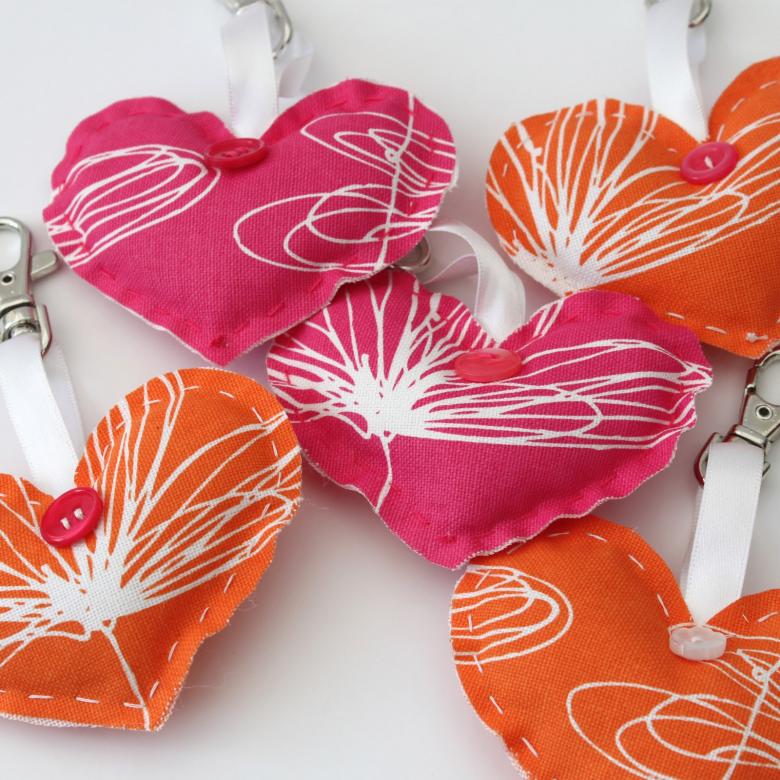
To do this, you need to sew a few ordinary fabric hearts and trim them with openwork fabric.We got an incredibly beautiful and stylish gift.
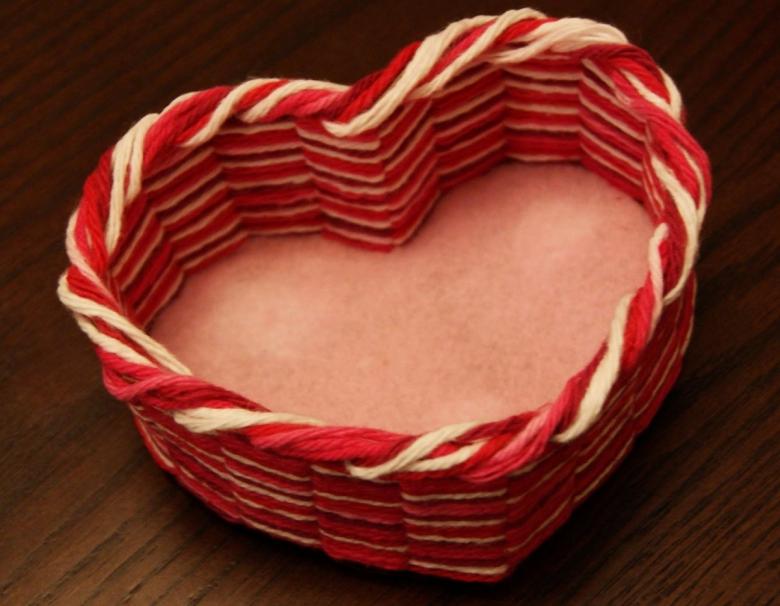
The three-dimensional paper heart
This is a very unusual way, but any beginner will appreciate it. You will not need any materials for work, except a sheet of colored paper.
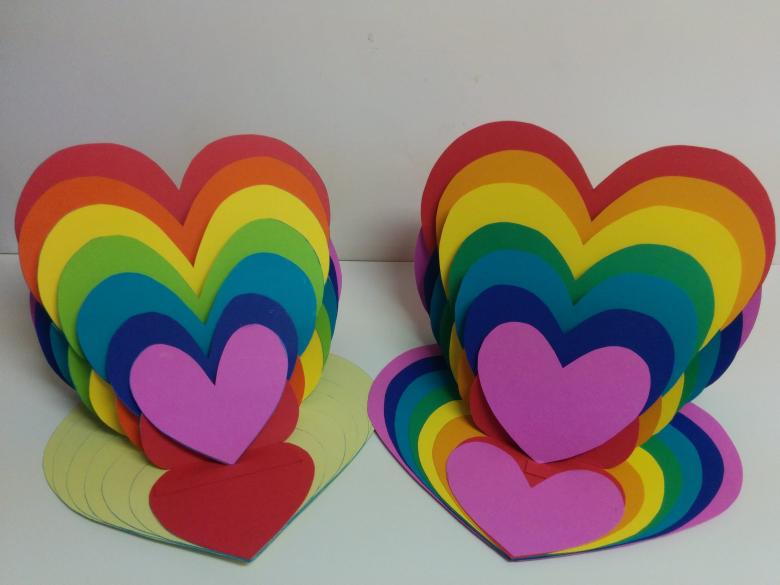
Step by step instructions:
- Fold the prepared sheet of paper in half and unfold.
- A couple of millimeters tuck the edges of our "sashes".
- Fold the piece of paper in half again, but now connect the bent folds.
- The resulting figure should not bend down the sides strongly, and the central notch to direct the top corners. We get angular, with chiseled faces heart.
- According to the technology we leave a hole at the bottom of the figure, through which we fill the product with air.
- The folds are straightened, and a handicraft heart is ready.
Such a figure will look great on a bookshelf in a child's room.
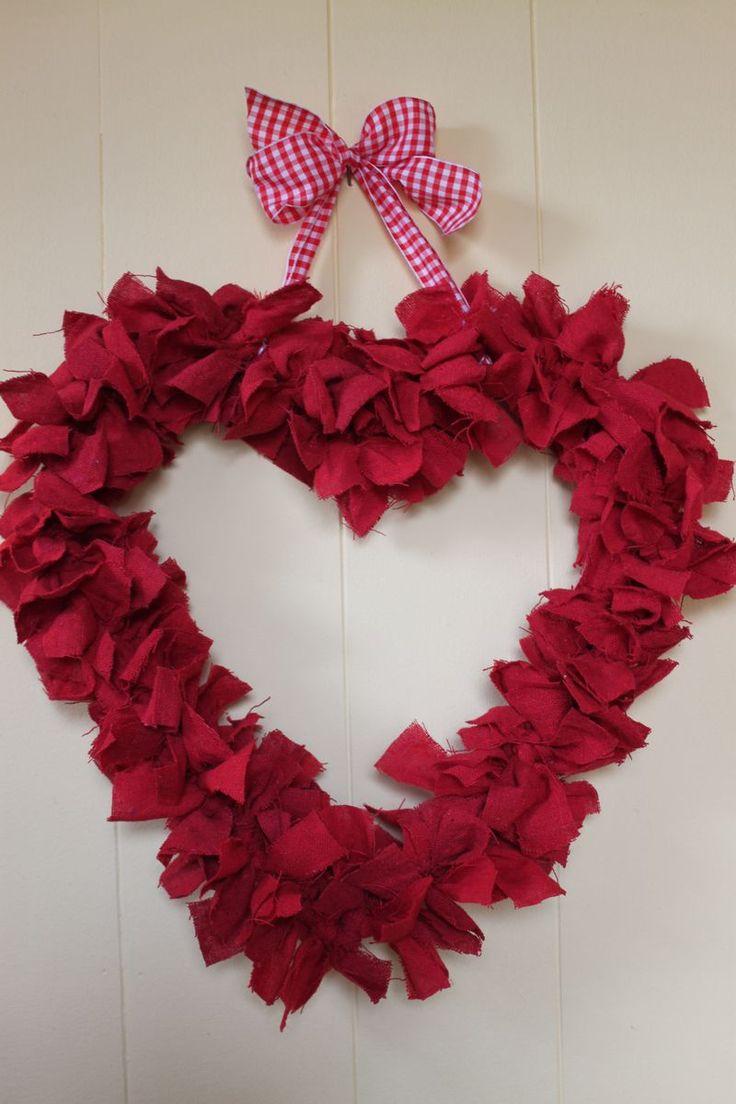
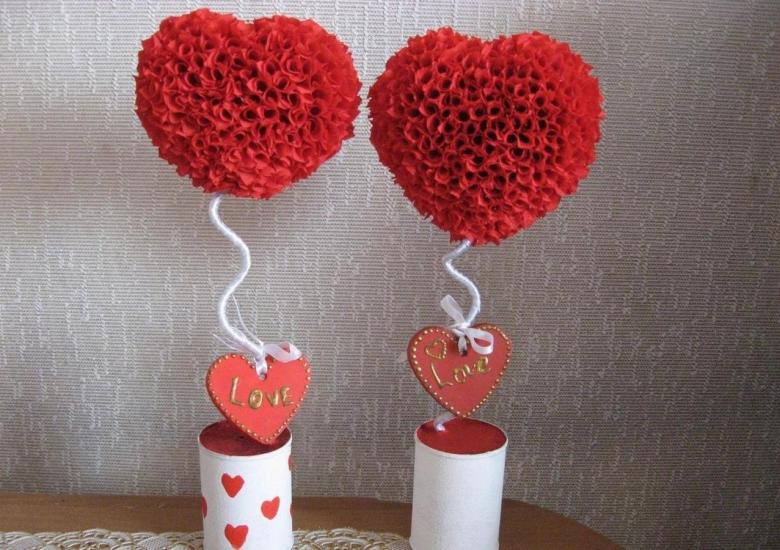
A gift-server of corrugated paper
Floral bouquets made of corrugated paper are now widespread, and have received their name - topiaries. It is not difficult to make them, but you will need maximum attention and manual dexterity.
What you need to prepare:
- Styrofoam as a base.
- Cardboard.
- Scissors or a box cutter.
- Corrugated paper.
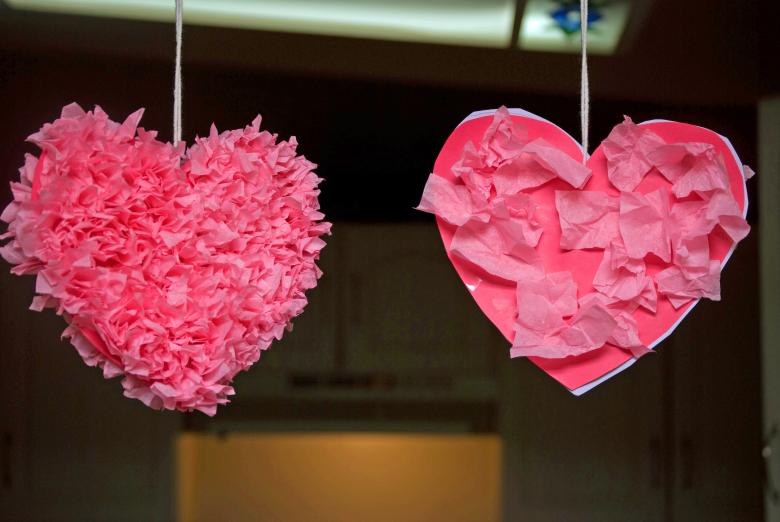
Step by step scheme for making a bouquet in the shape of a heart:
- We prepare the base of the foam plastic: draw the outline of our figure and cut it out with a sharp knife.
- We need to prepare the modules for the gift. Prepare a lot of squares of corrugated paper in red.
- Then work with a simple pencil. The end of the pencil to put in the center of the square. The edges of the workpiece lift and press to the end of the pencil. Then lubricate the resulting cone with glue and attach it to the foam base.
- Remove the pencil. Repeat the procedure repeatedly.
- The modules of our product should be as dense as possible - it will give a visual volume to our gift.
- The last step: find any wicker basket. In this basket, we will put our heart shape and decorate it with flowers from corrugated paper.

Holiday greeting card
This craft is especially relevant in the run-up to February 14. Today we will make a bright and easy to create greeting card.

What we will need for work:
- Colored cardboard;
- Glue;
- Ribbon guipure white;
- Scissors, pencil.

Step-by-step instructions for the master:
- Fold a sheet of red cardboard in half, backside out.
- On the back we draw the shape of the heart of the size we need.
- Cut along the contour of the blank. Unfold the piece. Take care that the two halves of the workpiece are joined together.
- From the guipure pattern, cut several hearts of smaller size, glue them randomly to the top flap of our card.
- Along the contour of the upper leaf we glue a thin band of guipure or any other openwork fabric.
- Inside the card, we can write any greeting, a wish or an invitation.
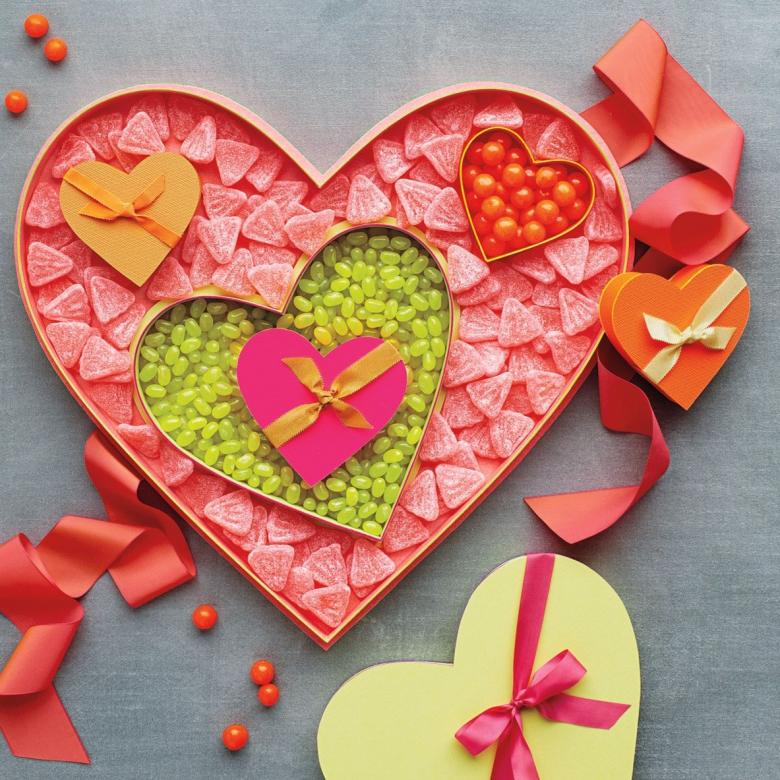
The huge red heart was, is and will remain the main symbol of love. Giving a heart to someone is a gesture of sympathy and appreciation. Give your family and friends a piece of your heart, in which you put all your emotions and inspiration!

