Handmade crafts for mom - a selection of excellent master classes for all occasions
We can prepare a gift for mom not necessarily on November 24, the official Mother's Day. We decide when to present the most beloved and dear to us woman in the world an expensive gift, whether it is her birthday, or the holiday of March 8, or the most ordinary weekday. Today we will create colorful and elegant handmade crafts for our mothers.
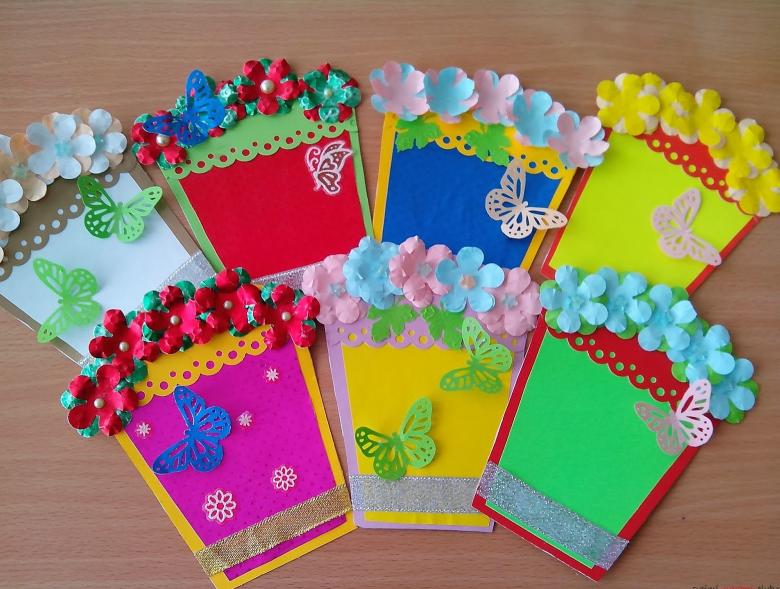
What techniques and works of art we will get acquainted with today
Due to the fact that this topic is relevant and extensive, we will work with a huge amount of materials:
- Colored, corrugated, and illustrated paper.
- Foil.
- Cloth materials (felt, guipure).
- Fillings for stuffed toys.
- In the obligatory order - the elements of decor.
- Thread and needles, paints and brushes, yarn.
This is not a complete list of all the materials that we will need.
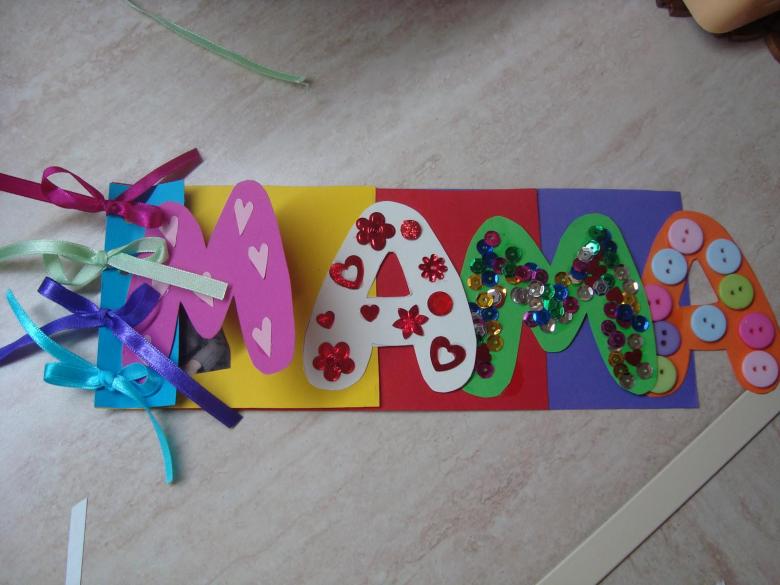
What models we will make today, using the step-by-step instructions:
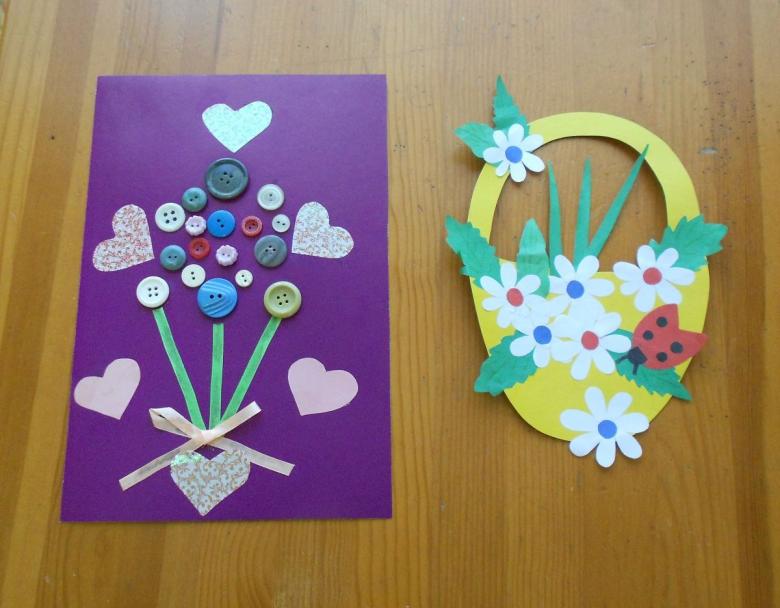
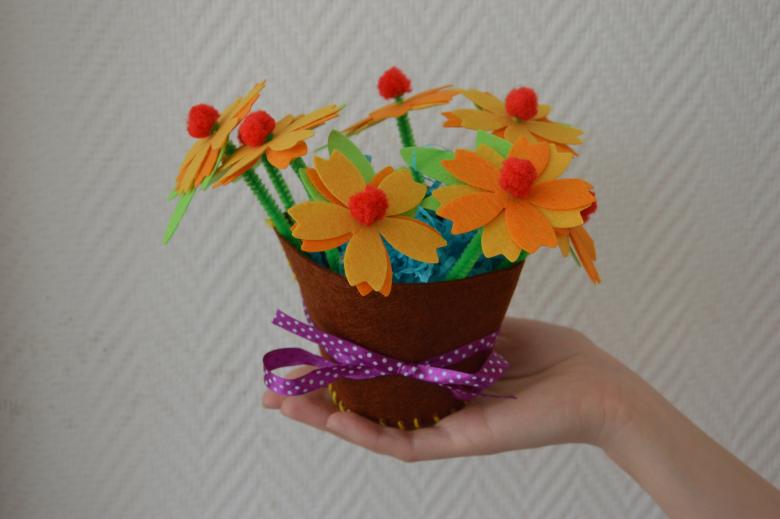
- A basket with flowers from corrugated paper.
- A pillow-heart made of felt with a stuffing and a pillowcase made of guipure.
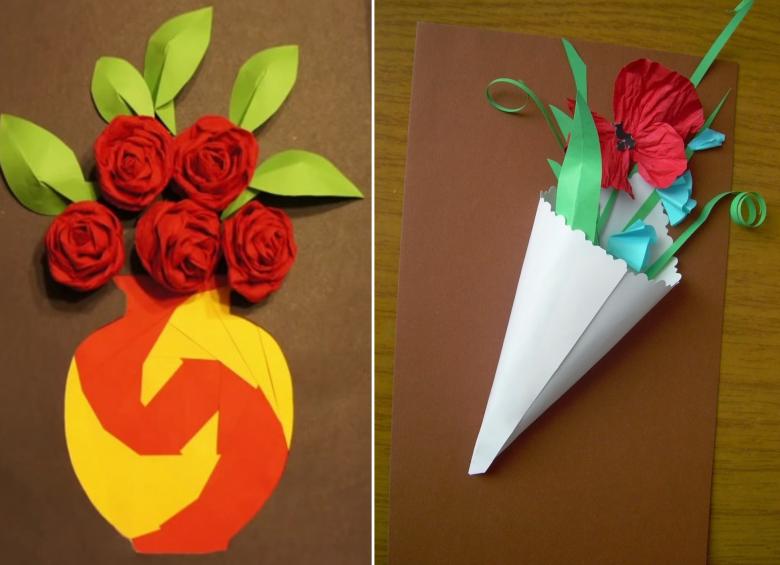
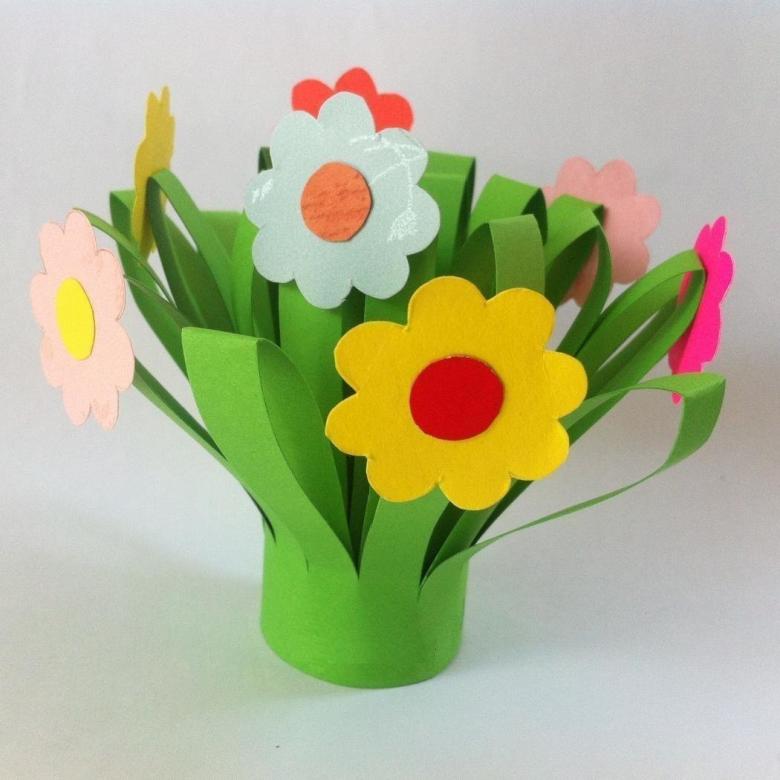
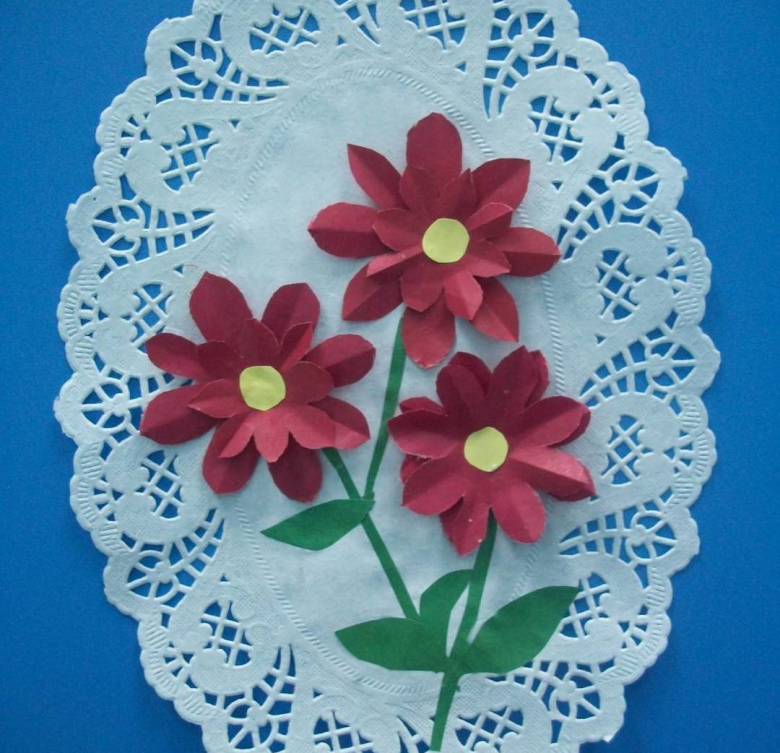
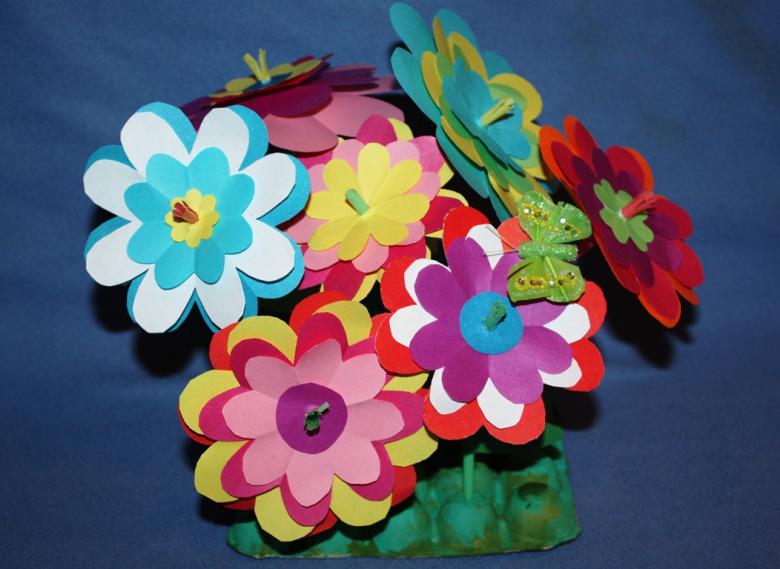
- Spring bouquet of colored and corrugated paper.
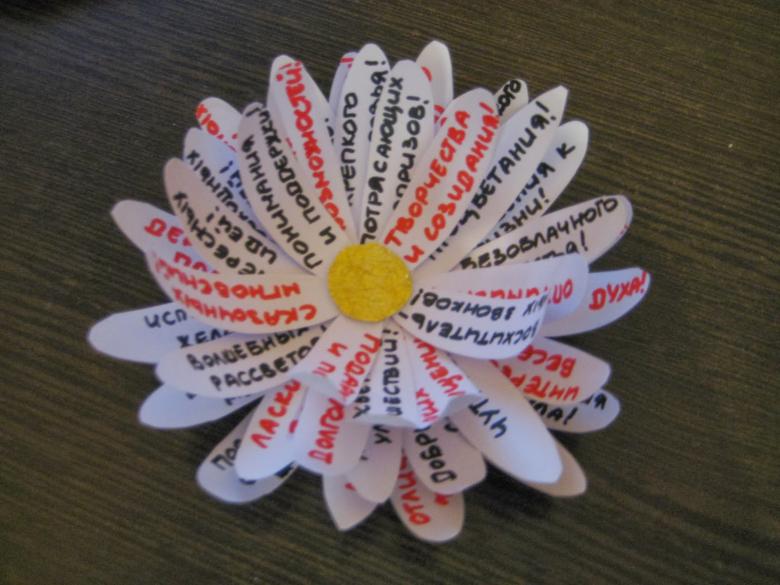
- A multilevel camomile with wishes.
Master classes for craftsmen with a description of the work
We've chosen a few original crafts that are sure to please your moms!
Basket with flowers from corrugated paper
What we need to prepare:
- A small wicker basket with a handle.
- Illustrated paper.
- Glue, paper clips.
- Some satin ribbons.
- Corrugated paper in green, red, yellow and blue.

A step-by-step scheme-guide for the craftsman:
- First of all, let's make a beautifully designed lining in the basket. Let's cut a square of illustrated paper (coloring choose with calm tones).
- Put the sheet in the basket will be in the diamond position so that the corners of the square slightly hanging out of the basket. If the paper does not hold well, you can glue it in several places to the inside of the basket.
- Next, let's create our bouquet. For the stems, we prepare a base - this is a floral wire or ordinary wooden stick (you can use chopsticks).
- Of paper we will cut out blanks for the flower - these will be circles with wavy edges. For each bud make a few blanks, and each will be slightly larger in diameter than the previous one.
- Fold the parts in a pile, aligning the center.
- Now you need to put the stem-wire through all layers of bud blanks. Carefully, trying not to damage the leaves, pass the stem through the center hole and bend it inside the bud. If you use a wooden stick, it should be glued to the base of the petals from the inside.
- Lift our blanks and lightly bond them with glue, forming a bud. To create a natural look, you can slightly curl the petals, using scissors.
- Cover the stem piece with glue and wrap it with green paper.
- From the same crepe cut leaves - slightly narrowed at the ends. Stretch them out a little and then release. This allows the material to acquire a characteristic carved structure. Glue the leaves to the stem.
- Dropping the finished flower in a basket and proceed to create the next one.
- You do not need to do all flowers on the same pattern. Introduce variety to your gift basket, present it as a bright and original surprise.
- Tie some ribbons in the shape of a bow on the handle.
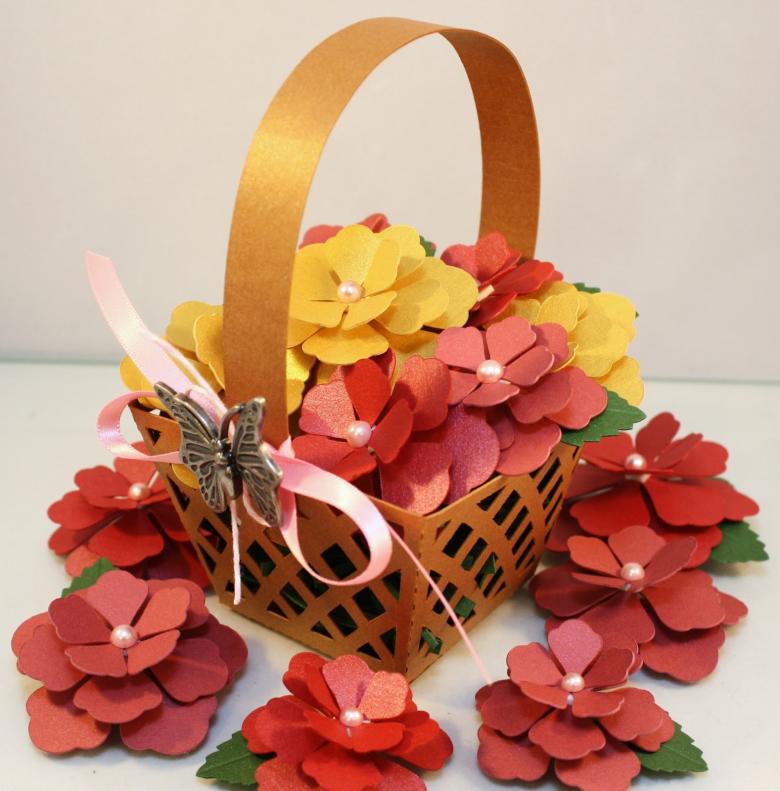
Before you give the gift, put some candy inside, mom will be very pleased!
Your basket of flowers is ready. You can make your mom happy right now, no need to wait for some special occasion at all.

Create a pillow-heart from felt and a pillowcase from guipure
This gift is not only beautiful, but also a practical detail of the interior. Let's proceed to making it.
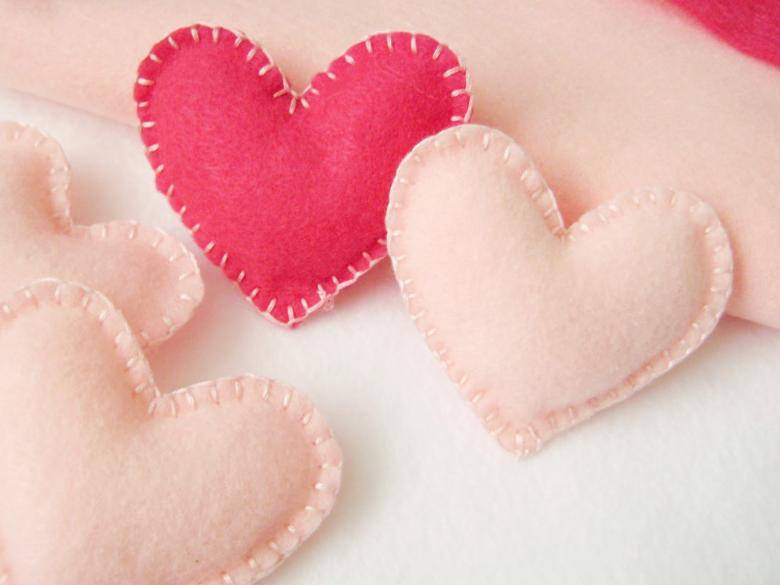
What we will need:
- Felt and filler fabric.
- Guipure.
- Heart-shaped templates.
- Thread and needles.
- Scissors.
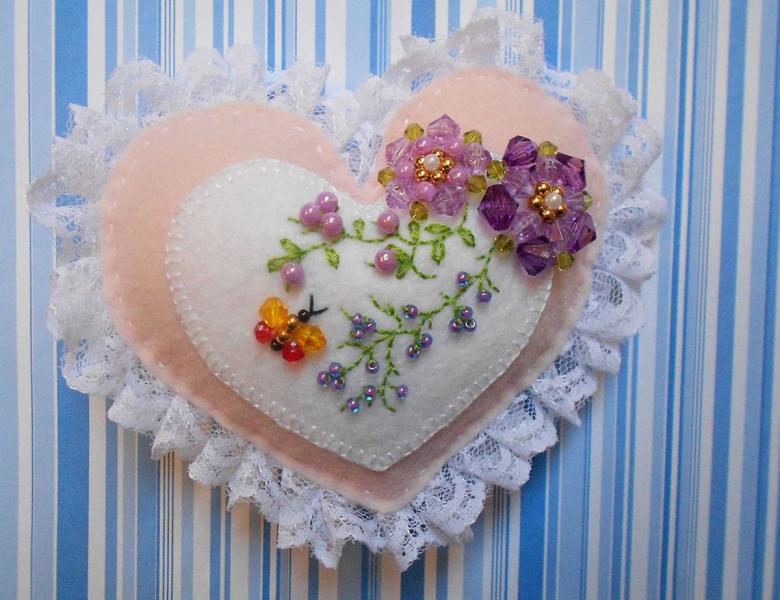
Step by step instructions for the master:
- According to the template of felt and guipure cut blanks for our product. The guipure workpiece should be slightly larger, so just step back 3-4 cm from the outline of the template.
- Fold the felt in half, wrong side out. Sew around the edges of the piece with big stitches, leaving a "window" for the filler.
- Stitch the edges of the pillow or sew with beautiful stitches. Turn the product and fill it with stuffing. Stitch up the "window".
- Now let's work on the pillowcase. Workpiece also fold in half, the wrong side out. Stitch the edges, leaving space for a slot. Our pillowcase can be removed for further processing.
- Turn the piece out and put it on the pillow-heart.
- Of course, such a gift should contain a greeting inscription, but today we do not consider this option. After all, often gifts for mothers are prepared by children, who are not yet able to perform such complex handmade processes. Therefore, separately from the craft, you can make a beautiful card or congratulate your mother in words.

Let's prepare a spring bouquet from colored and corrugated paper
To start the work, you need to prepare:
- Colored and corrugated paper.
- Glue and scissors.

Step-by-step scheme-guideline for the master:
- Let's take a piece of green paper and fold it in half.
- At a distance of 3 cm from the edge draw a horizontal line.
- On the other end of the sheet draw a set of vertical stripes, which are separated from each other by about 2.0 cm.
- Use sharp scissors to make cuts along the vertical lines. Each cut should not take a horizontal border on the sheet.
- Now unroll our workpiece, cover the bottom edge with glue and glue the bottom edge of the paper to it. We should have a kind of tube with slits, flattened on one side.
- Then we begin to carefully roll our workpiece along the horizontal axis. The slots expand, and we get the base of the flower with lots of patterned petals.
- It remains to make the bud itself of yellow corrugated paper. For this we prepare a few squares of crepe. Bend all four corners to the center and slightly glue their side edges. Glue the base of the buds to the petals.

Assemble a unique and colorful bouquet for your mom, wrap it in illustrated paper, and present it. You are guaranteed to get a storm of emotions from your loved one!
Chamomile with wishes
What we need for the work:
- Colored paper.
- Yellow cardboard.
- Scissors, glue.
- Pen or felt-tip pen.
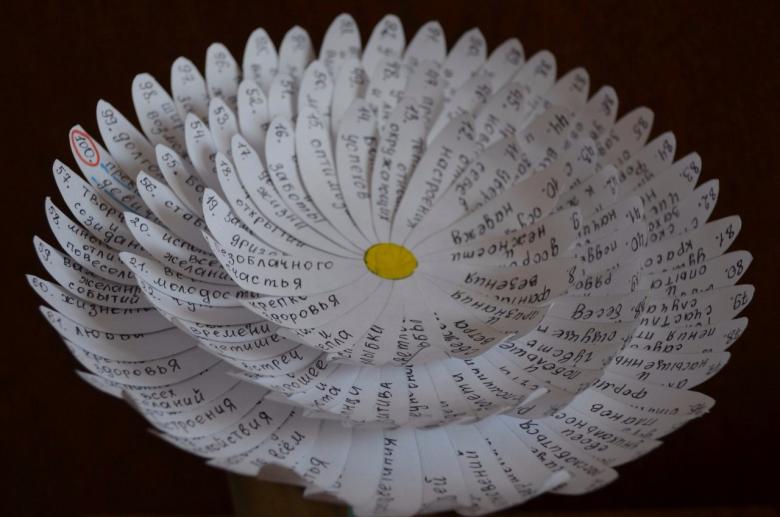
Step by step instructions diagram for the master:
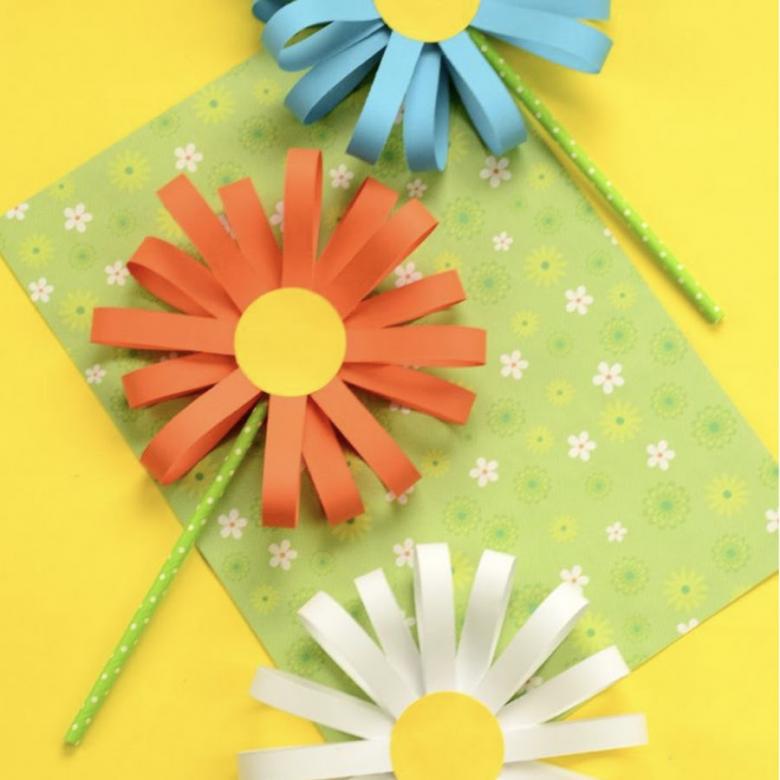
- Let's prepare the petals for our daisy. From colored paper cut long strips - we need at least 30 pieces.
- Roll up each strip, bending the top edge to the bottom. Glue them.
- Now on each petal to write a wish for our moms (use felt-tip pens of several colors to create a visual contrast).
- From the cardboard cut out 4 identical circles.
- Assemble our daisy. On the bottom circle glue the base of the petals with the inscriptions.
- On top of the yellow circle glue again. Next comes a layer of petals again. Arrange them so as to show the previous inscriptions. Next - again a yellow circle. And so use all the elements.
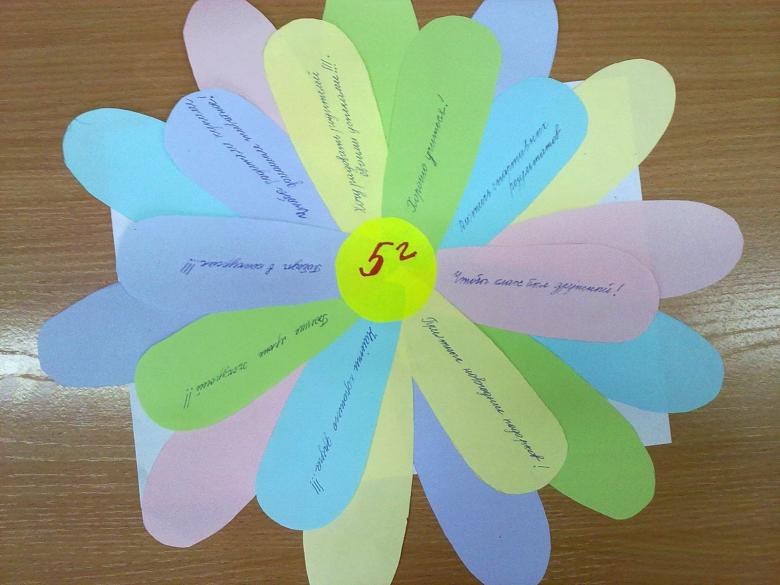
This handicraft is quite simple in execution. But if it is prepared by a child, he will need help in choosing and writing wishes for mom.
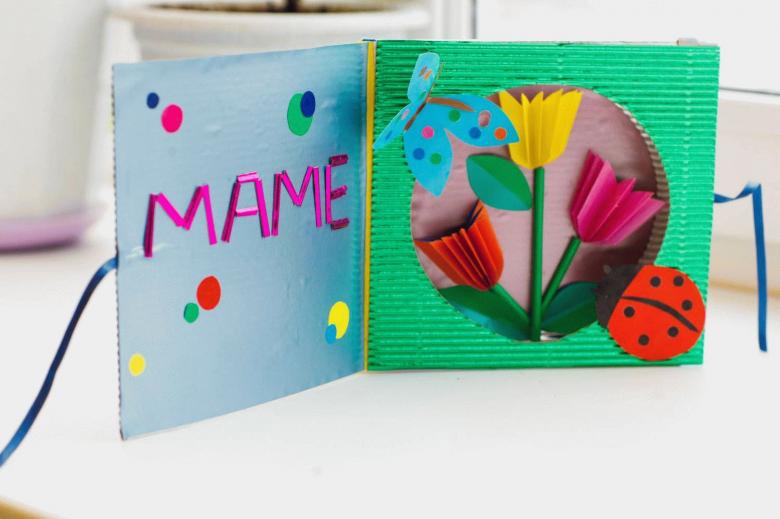
Actually, it doesn't matter what kind of gift you make for your mom. At any age, at any time, under any circumstances, she will appreciate it. Because it's a gift made with heart and love. Appreciate your moms and give them gifts more often. And we will help you with good tips!

