Handmade paper crafts - a selection of simple and clear master classes with photo examples
Children learn the world through play and creativity. They fantasize, invent, imitate incessantly, sometimes driving their parents and educators crazy. The inexhaustible flow of energy can be directed in the right direction, teaching the child the basic creative activities:
- applique,
- drawing,
- dancing,
- singing,
- sculpture,
- theater.

One of the universal forms of creativity is application and paper decorating: suitable for many children, it trains perseverance, fine motor skills, has a bright result, which you can not only touch, but also give to your beloved mother or grandmother. And even a craft can be taken to the exhibition in the garden and school, to decorate the room before the holiday, or find a practical application.
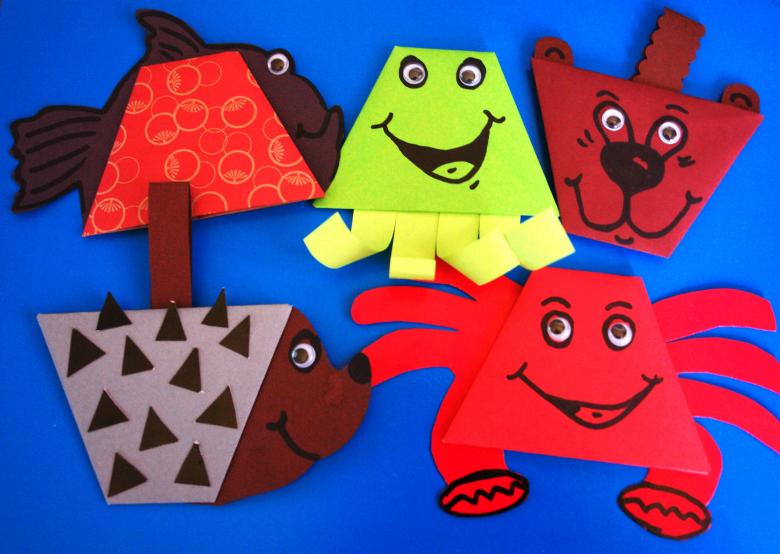
The traditional material for creativity is colored paper. It's inexpensive, it's easy to use - easy to find options for crafts for all ages. And if the creative work of paper did not turn out the first time, it's not difficult to try to make more. You can get ideas for inspiration in this article.
Bookmarks for books
Unusual bookmarks for book pages can be made from scrapbooking paper. The technique is simple, except for the paper you do not need anything else. A rectangular leaf is folded in half, you should get a 2-3 cm wide strip. The resulting band is bent across (also in half). Along the line obtained two ends of the strip bent at an angle. The result should be a blank, resembling an inverted house.
Four corners are bent so that the handicraft became similar to a heart. The resulting pocket will go into a page of the book. A bookmark-heart - a convenient and beautiful solution for young readers.
Decorating a room
Garlands .
Quite a lot of simple and beautiful options for garlands can be created by following the same algorithm. For the craft will need a strong rope (cotton yarn, thin twine), colored double-sided paper, a template, a pencil, glue. Attach template to colored paper, trace, cut out. The templates can be anything from butterflies and flowers to snowmen and Christmas trees.
With this work will cope kids from middle school or younger preschoolers under the guidance of adults. The resulting figures fold in pairs, put a rope between them, and glue. Younger children can decorate the figures with additional details from self-adhesive paper: colored spots can be glued on the butterflies, Christmas trees - Christmas balls. Children like to decorate parts of the garland in any order, and adults like the final result.

The chain
The chain garland, familiar from childhood, is very simple to make, but it looks voluminous and beautiful. Even the smallest children will be able to make it with their own hands. To make the garland, you need to cut strips of double-sided scrapbooking paper, 1.5-2 cm wide.
Then cut "links" - divide the strips into fragments of equal length. Glue a ring from the first fragment. Inside the ring to put the second fragment and glue - you get a second link connected to the first. Thus glue all the segments, putting each subsequent one in the previous one. Garland ready.
Harmonica .
Cut colored paper of two shades into an even number of strips. Connect the single-color strips together so that there are two long strips. The beginning of these multi-colored strips glued at right angles to each other. Then alternately bend one and the other strip to the middle at right angles until they end. Secure the edge in the same way as the original edge.

Rosettes
Another spectacular and interesting way to decorate the room - decorating with paper rosettes. Folding paper into a fold can handle even a baby, and in the hands of an older child can be trusted and scissors, and the whole work entirely. In order to make a rosette, you will need:
- thick colored paper, preferably double-sided;
- scissors;
- glue or thin double-sided adhesive tape.

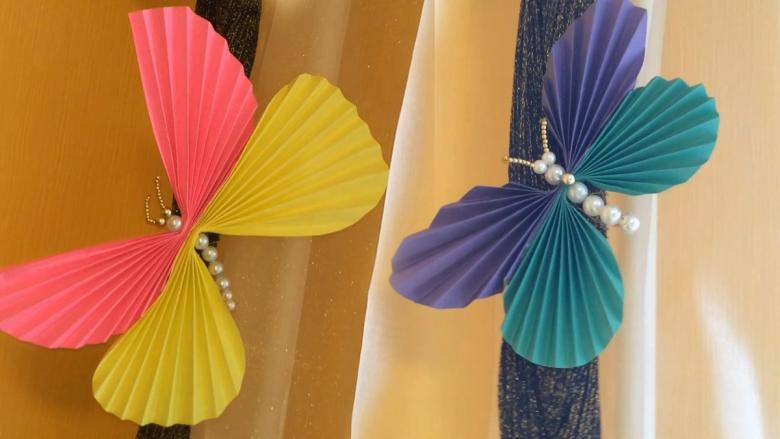
To begin with, you need to take a square piece of paper (or cut an ordinary sheet of paper to a square) and fold it into an accordion. Next, fold the accordion in half so that you get a fan. At this stage, you can form an openwork edge by trimming the ends in a semi-circle, triangle, or whatever your imagination desires.
Make 3 more of these blanks, then glue them together one by one. The edges of the first and last fan also glue by joining the circle. If you want, decorate the center of the craft with a circle of design paper, sticker, colored beads. The rosette is ready!
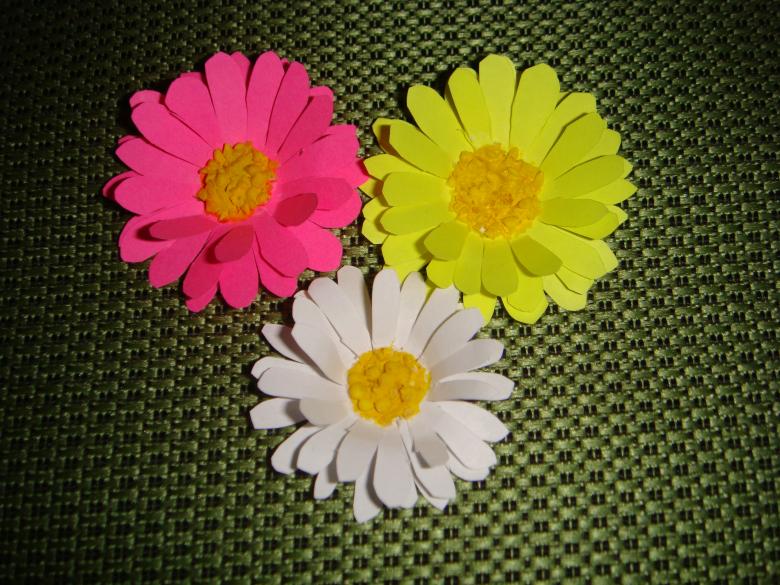
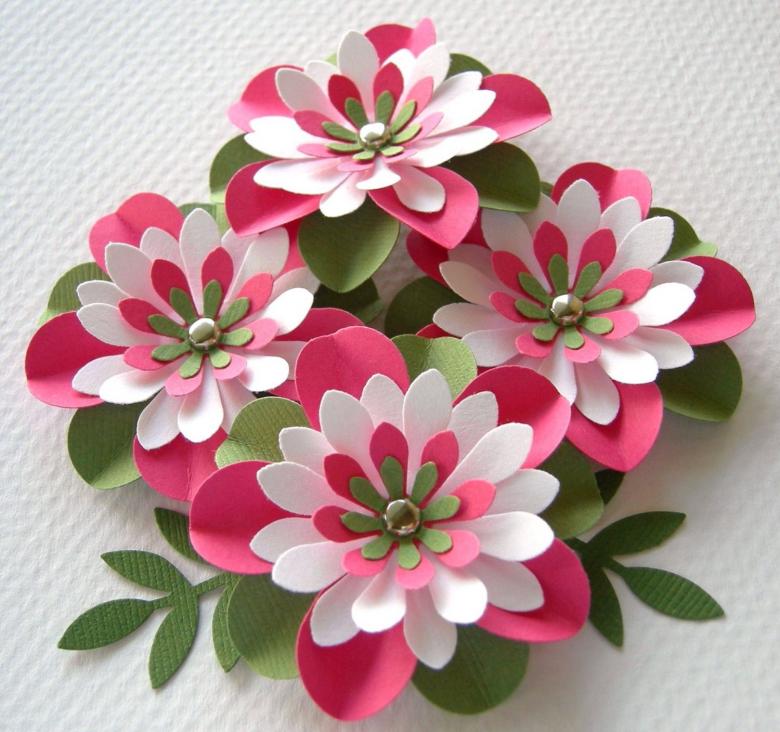
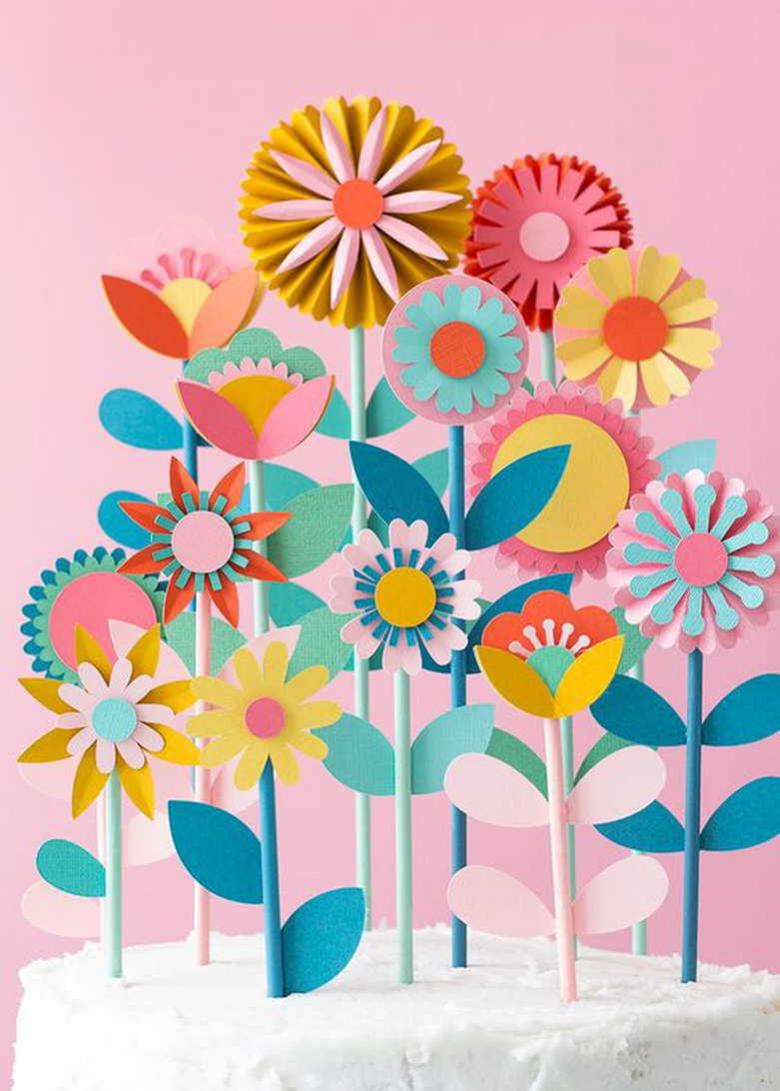
From the rosettes of different sizes can make flowers and beautifully placed on the wall. And the half-sockets make a great garland if you glue them together, alternating the wide and narrow sides.
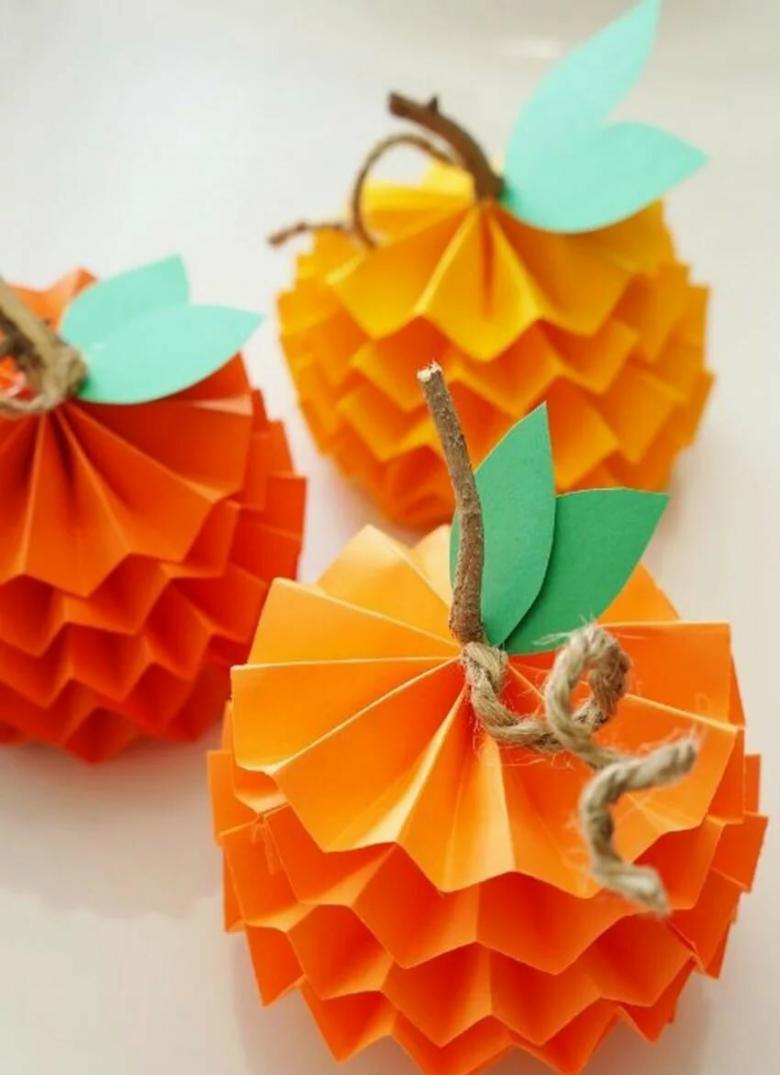
Fruit from the paper rosettes will also look original. For the craft will need to cut out of paper strips, width 4.5 cm and a length of 18 (2 pcs.), 23 (4 pcs.), 28 (4 pcs.) Centimeters. Fold the strips of accordion, paired glue. Form a circle of glued strips, glue into rosettes.
Should be 5 pieces. Place the smallest rosette on top of the others, the largest in the middle. Glue together, decorate the top with a leaf of green paper. If necessary, you can attach a rope to the top of the fruit, for which it will be attached to the wall, garland.
Postcards with applique
Paper applique on a greeting card "Apple".
A beautiful greeting card is easy to make with your own hands. For this you will need:
- a thick sheet of colored paper;
- A plain white sheet of A4 paper;
- Colored napkins (for example, pink napkins will do for an apple);
- glue stick;
- brown marker;
- pencil.

Step-by-step master class for creating a postcard
From a sheet of colored paper is cut off an even small strip (it can then be cut out a leaf). The remaining sheet of paper is folded in half. White paper is also folded and then glued together so that you get a double sheet. A pencil sketch of an apple is made on the white sheet, and the stick is painted over with a marker. The cut out green leaf is glued on with pencil glue.
The pink napkin is torn into small pieces, which should be rolled into small lumps. This work can even be trusted to kids. The number of lumps depends on the size of an apple. A layer of glue is applied to the paper rolled in half (carefully, without going beyond the pencil lines). Lumps of tissue paper are placed on the glue and pressed tightly.
The blank is glued to the card, and a greeting is written inside. The result is a great addition to the gift. A variation of crafts for little girls is a ballerina dress. It can be done on the same principle, but the tissues need to be twisted by a tube.
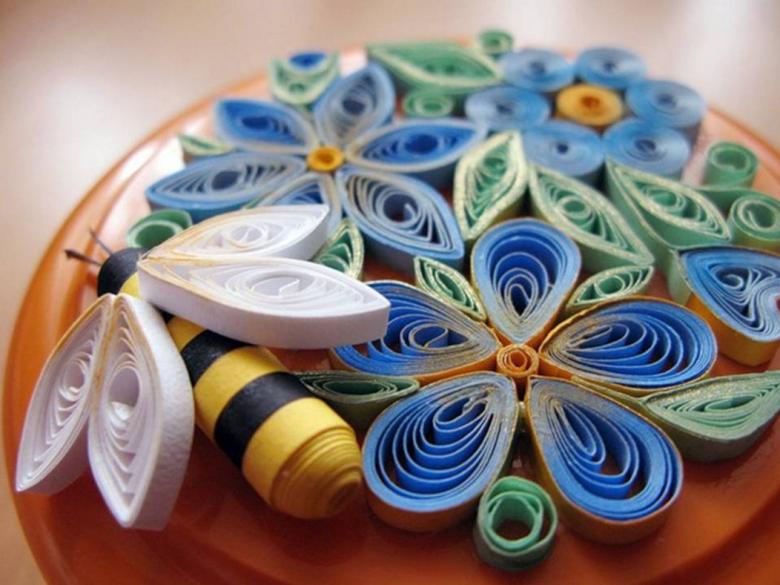
The hedgehog from paper strips
A cute hedgehog can be made from colored paper. For the work we will need:
- colored paper (for the body and needles, color at the child's discretion);
- a white sheet of A4;
- pencil;
- marker;
- glue-pencil.

Step by step instructions
An ordinary sheet of stationery is taken as a background. A semicircle is drawn on it, along which the hedgehog's needles will be glued. Brown or gray sheets are cut into strips, you need to bend them in half and glue the ends. Along the drawn line glued the resulting needles.

With a slight overlap to hide the pencil line, glued to the needles body hedgehog. Marker drawn mouth, nose and eyes. The original fake is ready.
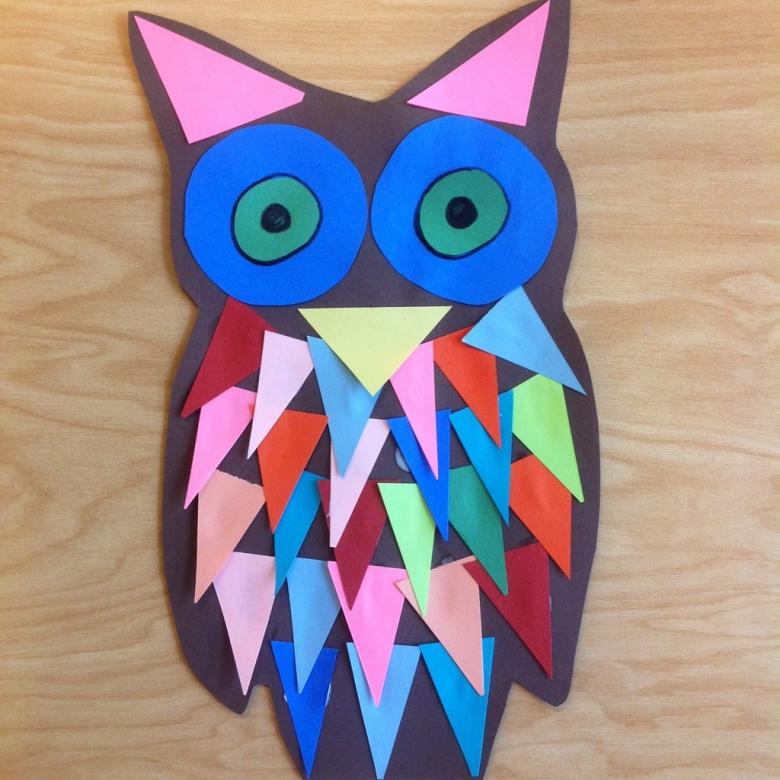
Handicrafts in Japanese style
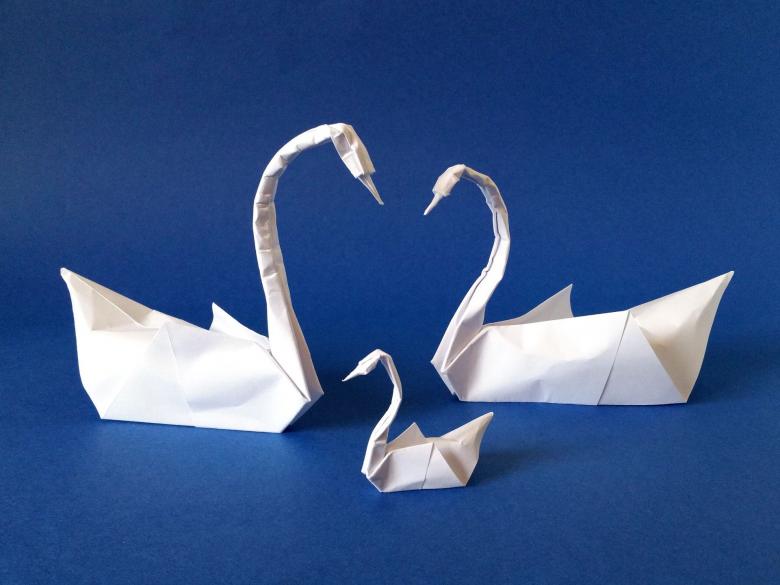
In Japan, paper crafts - a true culture. Only techniques of performance - more than a dozen, and certainly how many types of deployment and does not count. Here are some interesting master classes from the Land of the Rising Sun.

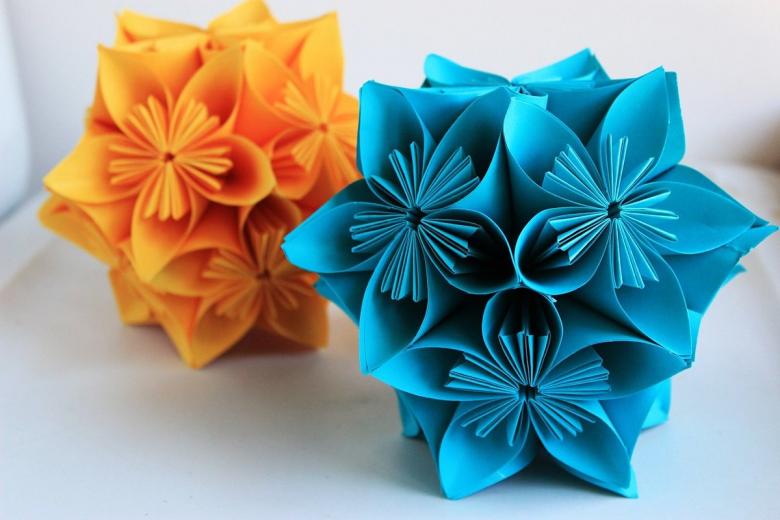
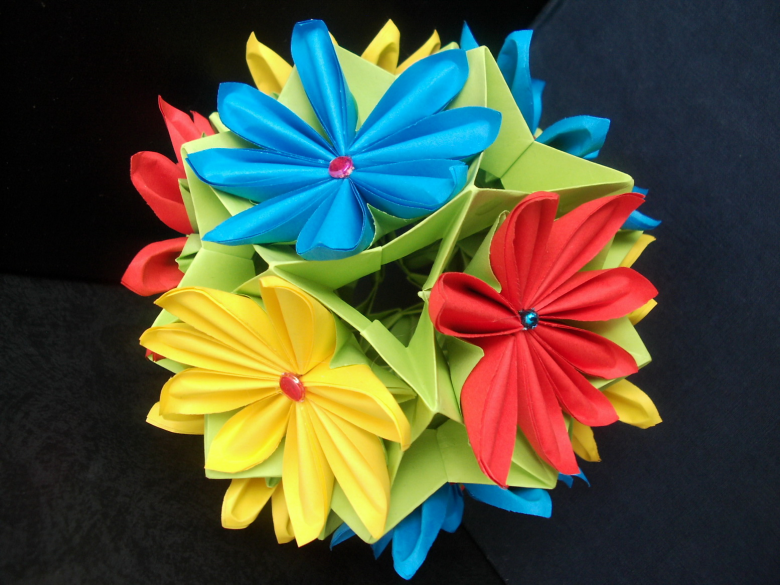
Kusudama .
To make this unusual crafts you will need only a glue stick and a square sheet of double-sided paper in two colors. Fold the square sheet diagonally to form a triangle. Right and left corner bend to the top. Now bend the right flap to the right rib, and the left flap to the left.
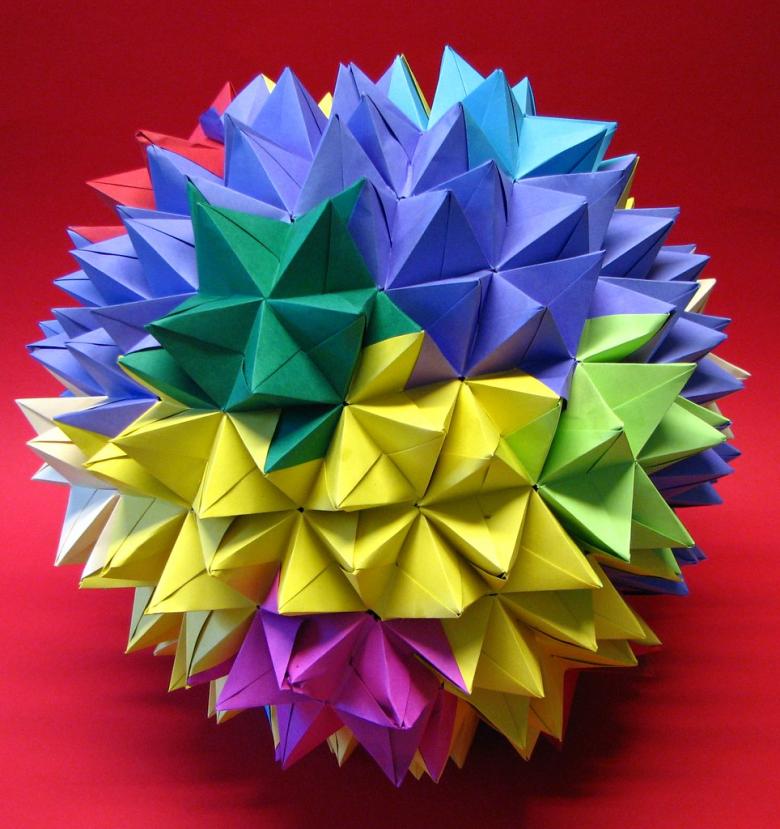
You get two pockets. Open these pockets, bend their corners down. Now, once again bend these pockets inside. The sides are two triangles, which should be glued together very carefully, without making a fold. So you get one petal. Make four more petals in the same way and assemble the flower. A total of 12 inflorescences to add, from which to form a ball, glue. Volumetric ball of flowers ready!
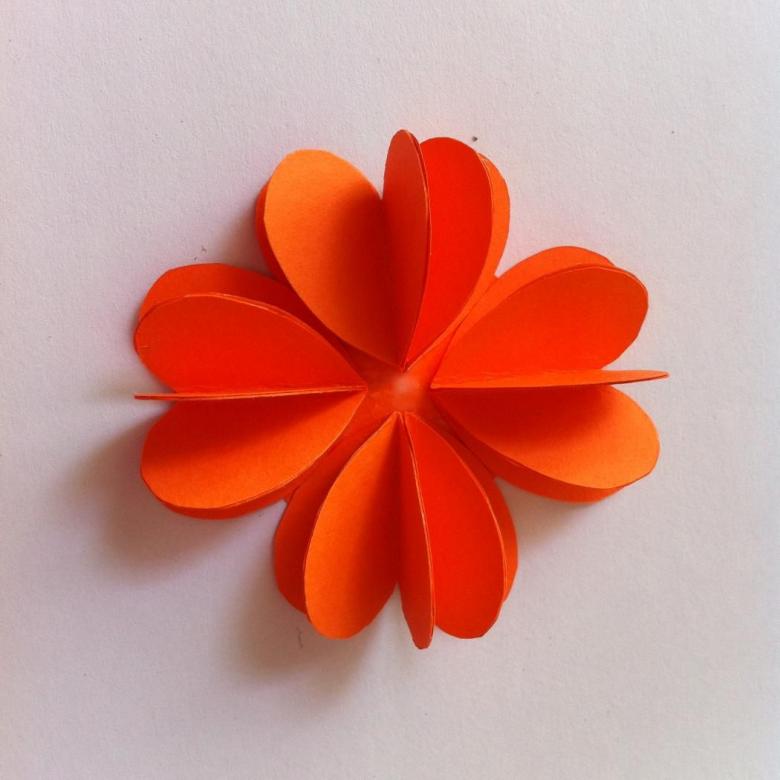
As you can see, there are a lot of options for creative works. Children's paper crafts will not only decorate the house, but will also become a pleasant family activity, able to give a sea of positive emotions to both adults and kids.

