How to draw a beautiful heart in pencil - step by step master classes for beginners
Admit it, everyone since childhood dreams to learn how to draw a heart beautifully and nimbly, right? The biggest challenge in drawing hearts is keeping symmetry. So, many beginners get one side of the heart bigger or smaller than the other. If this is the case, be sure to read our article, which will definitely help you master this tricky skill. If you manage to master and put into practice the tips from the article, then later you will be able to draw even three-dimensional images without any problems. And, undoubtedly, even a child will be able to depict hearts from our master class.
A method for beginners
First you need to understand how to draw a heart for beginners. Beginners need to train their hand and learn how to build the correct shapes of the drawing. To create a drawing, we need only three items: paper, a pencil, and an eraser.
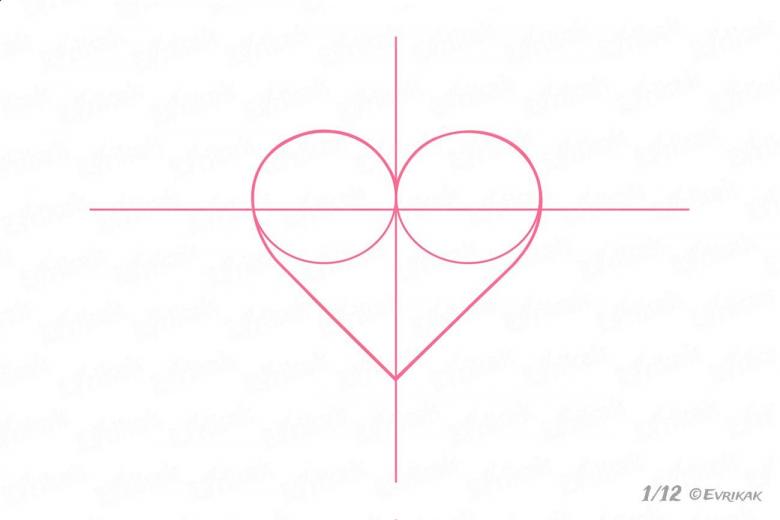
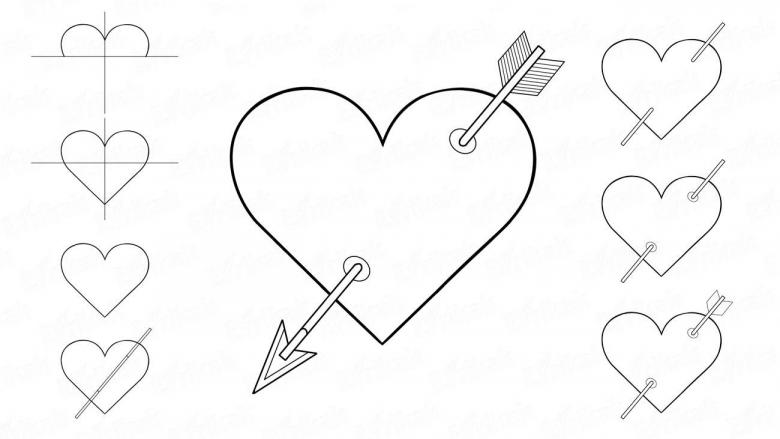
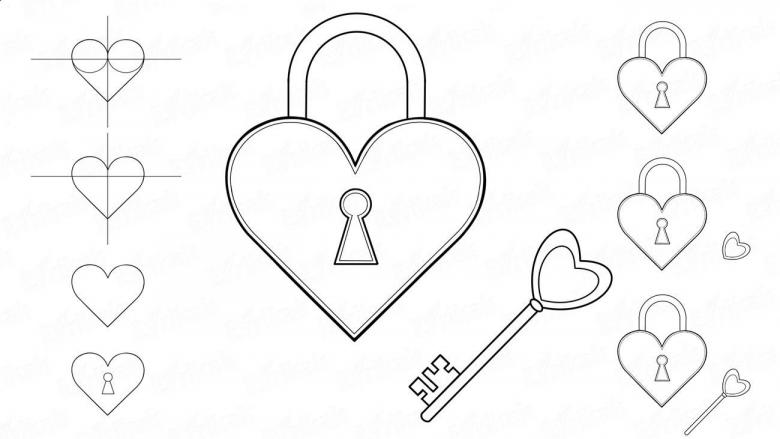
If you want the hearts to always be aesthetically pleasing and harmonious, when drawing them, you must follow the principle of symmetry. This is quite easy to achieve. Just observe the following steps:
- Draw two circles on the sheet, which are localized horizontally. These circles should be drawn equally, so that the heart turns out symmetrical. Make the upper semicircles a little more clear, because they will be the top of our heart.
- It is better to sketch the circles by hand, they don't have to be perfectly shaped. This will help you train your hand. After all, the more you practice, the faster you will learn to draw well.
- Drawing a cross. The vertical line goes between the two circles. It is not necessary to draw the line outside the figures, it will not be needed there.
- Draw a horizontal line. This line should be perpendicular to the other, and the line will be in the middle of the two circles. From the points where the line and the circles intersect, draw two lines to the bottom point. Its location choose yourself, it does not play a big role.
- We make the contours of our image. Remove all unnecessary lines with the eraser.
Our work is ready! It's not so hard, right? And with more practice, the work will be even easier.

A Heart with Pattern
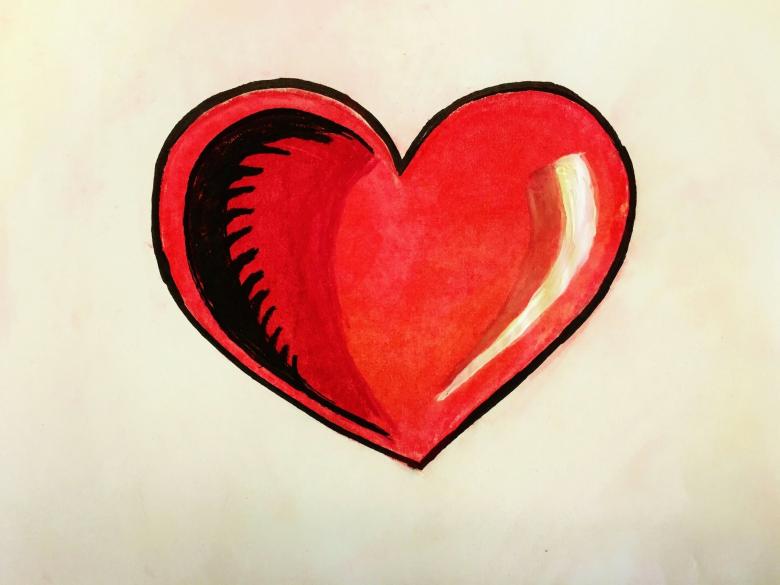
This variation you can draw with bright felt-tip pens or gel pens. Such a heart will look very effective.
- In the middle of our sheet we write the word "love" in English. The letters are drawn no more than two cells wide and no more than three cells high. Try to make the letters the edge of the letter curved, it will give a romantic touch to the drawing.
- From the middle of the inscription start drawing the left side of the heart. Draw another extra line. Connect them and make their bottom pointy. Repeat the same steps on the right. Note that the top and bottom edges of our heart should not touch.
- Draw two arcs, and connect them with lines that will be black.
- Decorate the sides of the picture with small patterns in the form of arcs and large black dots.
- The last step is to paint the middle. For this we use red. And you can leave the inscription itself white.

The image is very interesting and eye-catching, but it did not take us much time and energy to do this work, and it will be even easier in the future.

Drawing for Valentine's Day
A heart with a declaration of love would be a perfect choice for Valentine's Day, your partner will definitely be happy with such a cute sign of attention. Here is our master class:
- At the top of the paper we deduce two arcs. These will be on the same level and connected in the center.
- A little lower we draw two horizontal lines. In the future it will be a ribbon, so place the strips away from each other. You also need to make these lines longer than the heart on the sides and get them behind the heart.
- Place the ends of the ribbon above it. Draw it with two triangles on the sides.
- The final step in drawing the ribbon: draw two lines at a slight incline. And then combine them at the bottom to form an angle. In the ribbon we write any phrase. However, be sure to try to place all the letters evenly, so that everything looks as beautiful as possible.
- We add a couple of highlights at the top of the heart. Paint the picture with a red felt-tip pen or pen. The outlines of the ribbon will be dark blue, and the ribbon itself will be blue.
The image is very romantic. Such a gift with their own hands will be a great way to surprise your other half.
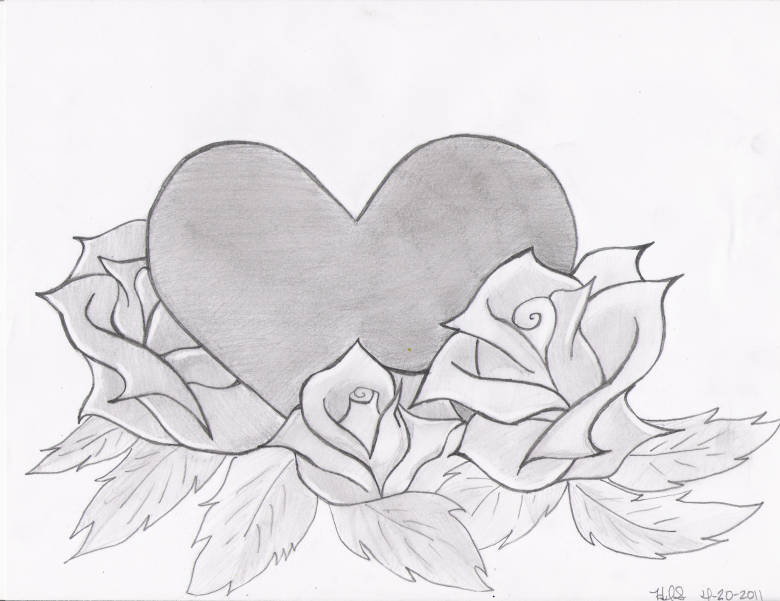
A heart made of paper
With the following step-by-step instructions, you can learn how you can depict a heart with a pencil, using a drop of water. What do you need to do? A square of paper (size 10 by 10 centimeters), all other objects remain unchanged.

At the end, the heart will acquire a volumetric appearance. This technique can replace the previous technique. With this technique, you will not need to depict geometric shapes. Let's begin:
- We will need a paper square. Fold it in half. Draw a drop on it. This drop should be cut out. From this drop should end up with an even heart. Such a drop is a great template to always draw the heart symmetrically.
- Position the template on the paper and outline it exactly along all the curves. Then you can begin.
- First use the strokes to make the shadows. Start shading from the top right. Closer to the edge, the color should become more and more saturated. It is desirable to use a soft pencil.
- Continue shading. In approaching the opposite side, the shading should become more and more transparent. At the very edge, it should become almost imperceptible. Use the eraser to achieve this effect.
- In conclusion, it is necessary to draw clear contours. To add volume to the heart at the opposite edge, make the outlines brighter there. Also, you can add volume by using highlights.

Our work is ready! Indeed, at first it seems that it is difficult to make such a work, but it is not so, if you repeat all the steps exactly as in our lesson.
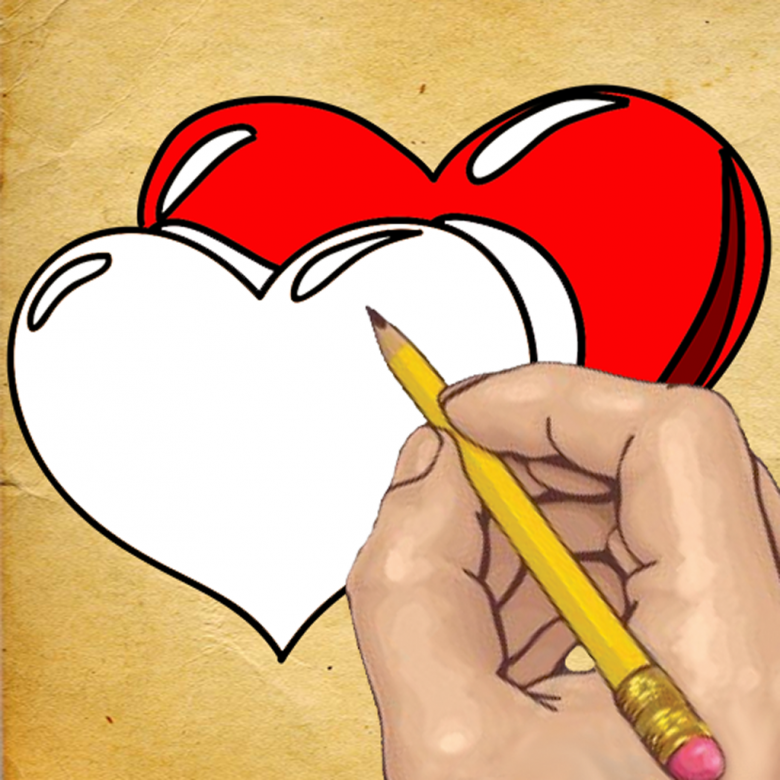
Three-dimensional heart
The next task you will definitely be able to do with ease. The drawing set remains unchanged.
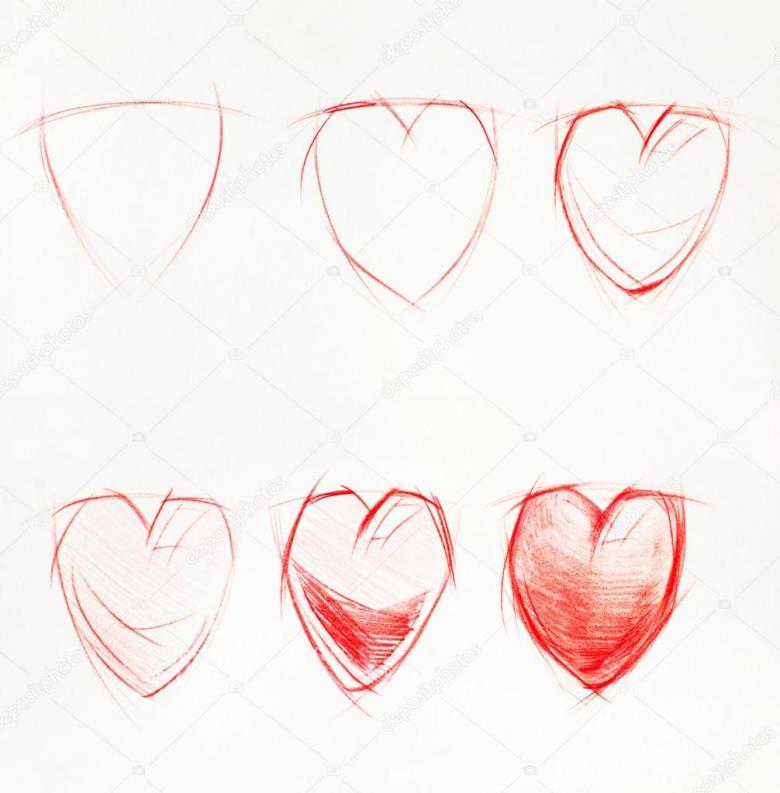
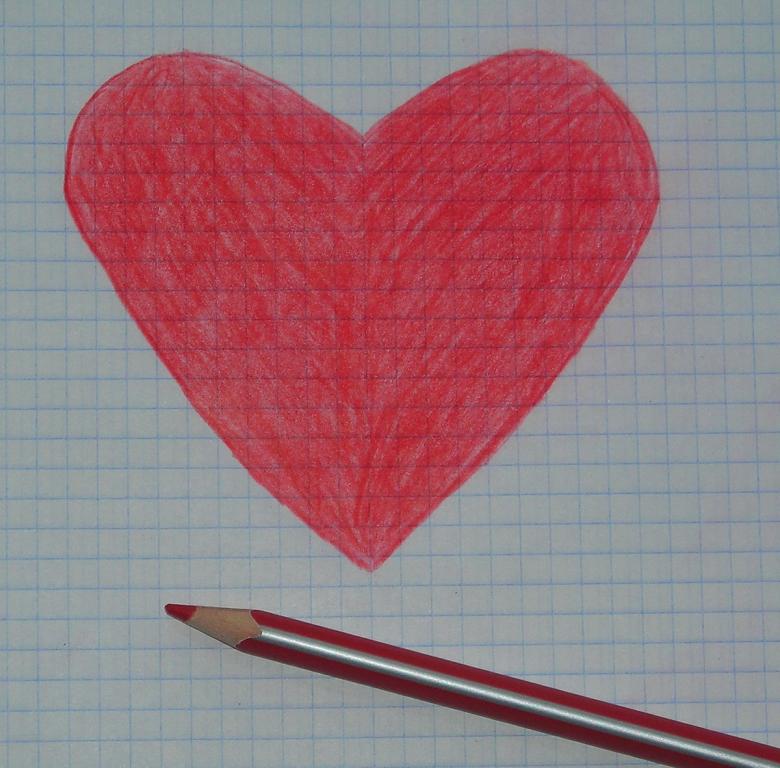
- In red pencil we will sketch the shape of a heart. You can do this sketch any way you want.
- Make the outlines clear. Pencil a shadow between the upper semicircles.
- On the right side depict a thin line. In the center divide it into two parts. The central half fill with black. The rest neatly shaded. You will also need to connect the transitions between the stripes. This will give them smoothness.
- You can start painting our heart with a red pencil. Start painting it from the side where there is a shadow. Draw the first colored line, press harder on the pencil to give brightness. However, be careful that the transitions are not so noticeable. Paint the second part, starting from the bottom corner. Towards the center the color should become less bright. The left side on top should be very faded.
- The picture is almost complete. Perfect the picture by making all the transitions smoother. Take a piece of paper and wipe the picture with smooth motions.
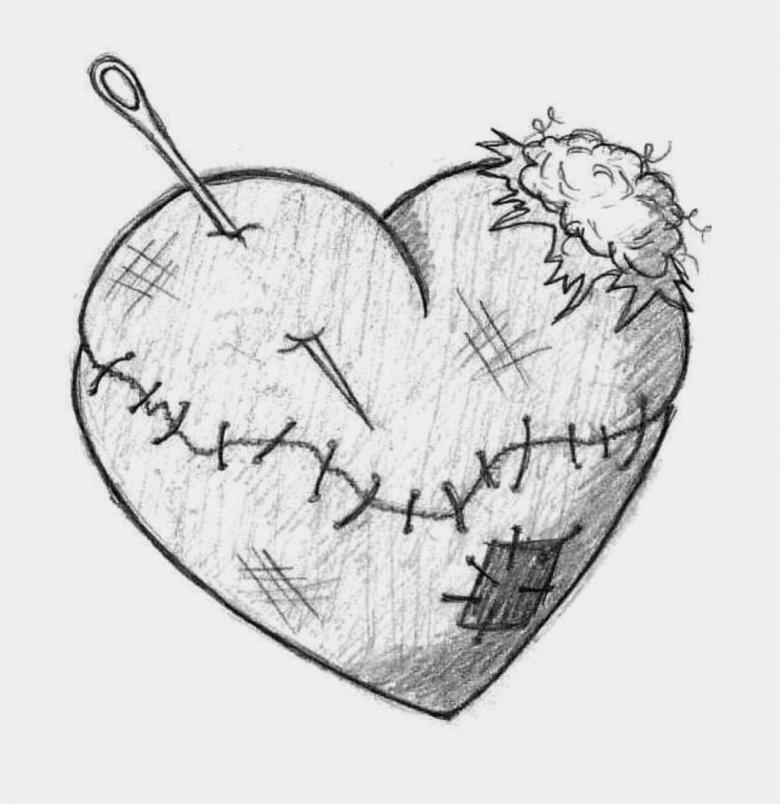
That's it! Our master class is finished. We hope that you managed to depict beautiful and romantic drawings.

