How to make a box with his hands - the creation of a gift box, origami
For gifts is very important to its decoration, in other words, packaging. What to do if you can not find a suitable option in the store or want to make your gift original and memorable. A beautiful box for a gift you can make with your own hands. To implement the idea does not need a lot of experience in such work and a lot of time, and the result will pleasantly please.
Making Gift Boxes
To make a beautiful gift box with your own hands, you will need thick paper or cardboard and decorative elements. Depending on the shape of the box you may need glue, but there are also prefabricated versions that do not need to be glued and dried.
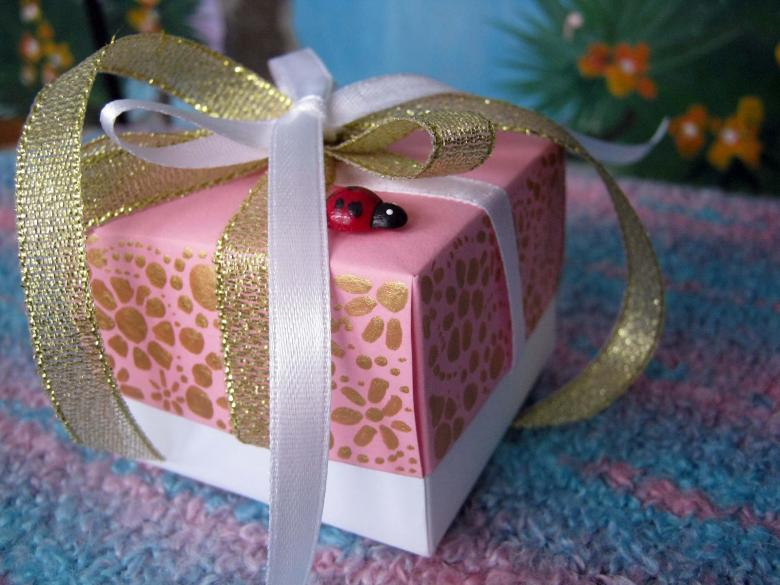
It all depends on the imagination of the craftsman and the size of the desired product. The design of gift wrapping can come up with your own, take a ready-made package or look up the idea on topical sites on the Internet.

How to make a box for a gift
A worthy and convenient option for gift wrapping will be an original box, made by hand. Depending on the volume and shape of the gift and the desire of craftsmen, the gift box can be almost any shape and size.
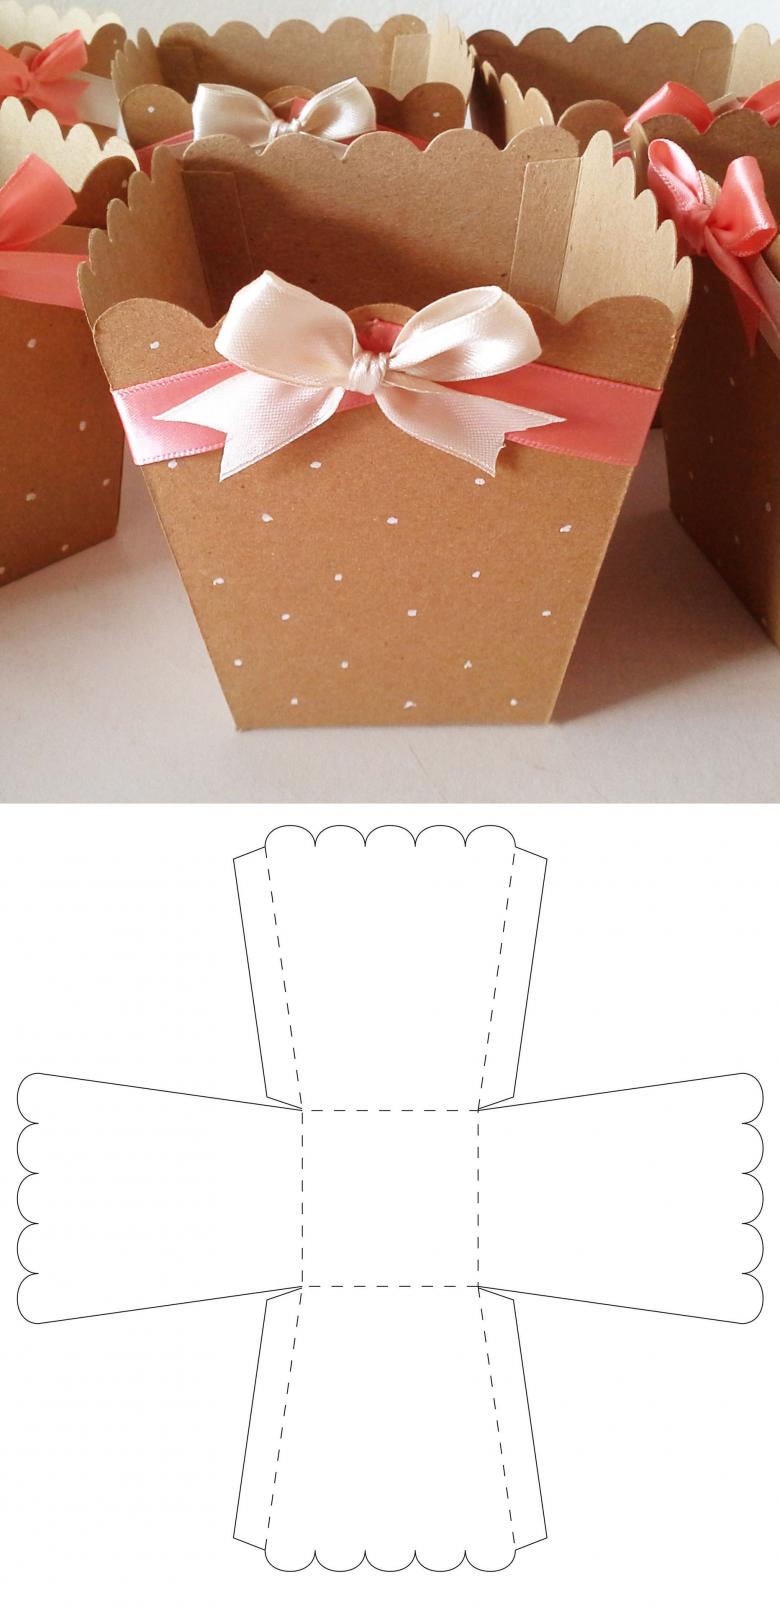
A small box for a gift
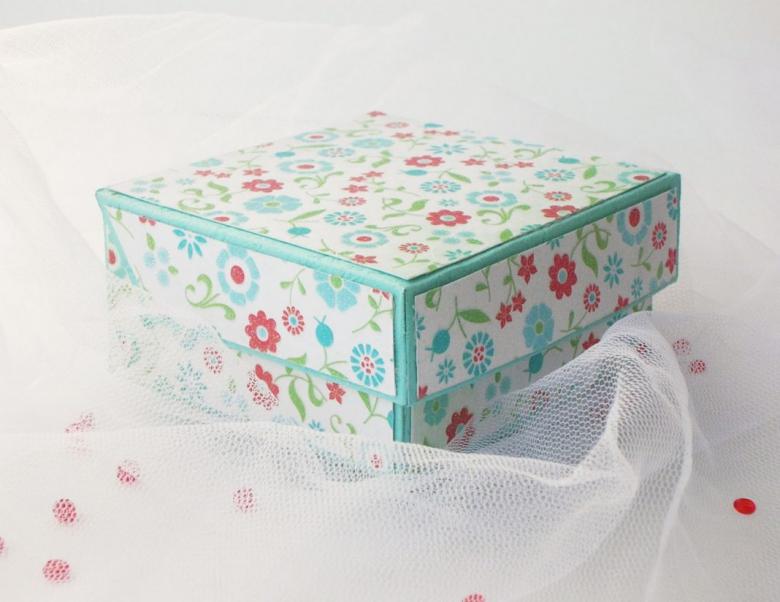
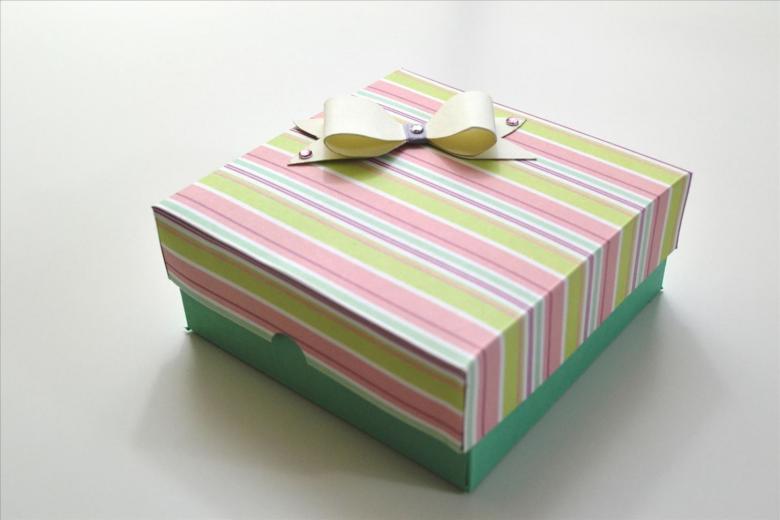
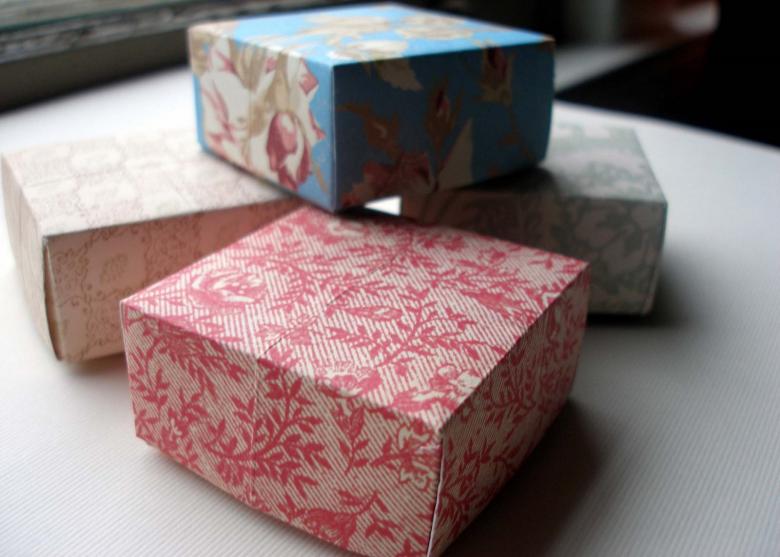
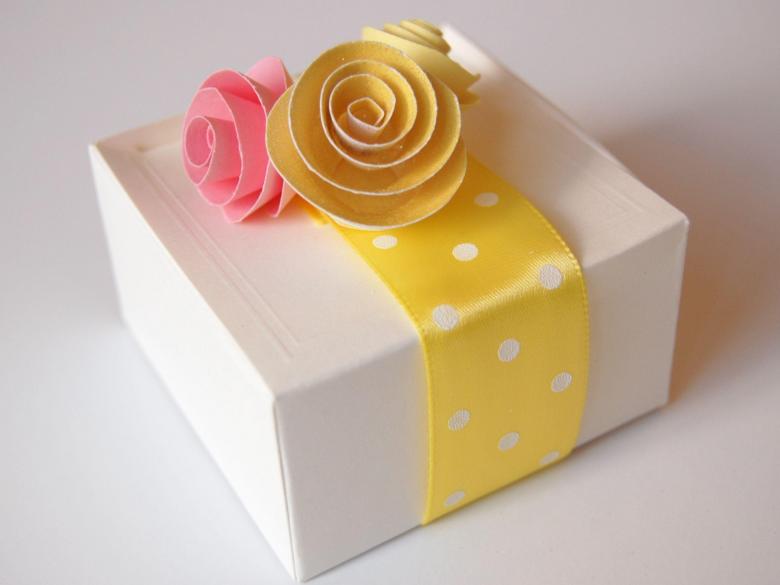
For a small souvenir it is not difficult to glue a classic box shape from dense white cardboard.

Step by step master class.
- The first step is to cut out two squares from a sheet of cardboard. For the bottom part you can take the size 17 x 17 cm, in this case the sides of the square will be larger by 1 cm each for the lid pattern.
- On the finished square parts you need to draw intersecting diagonal lines. You can mark them with a simple pencil with a stiff lead or a needle. In this case the lines will not be later thrown into the eyes.
- Each corner must be bent so that its top coincided with the intersection of the diagonals.
- Then this part should be bent so that the line of the fold coincided with the diagonal. Bend must be aligned. To bend the cardboard look neat, on the inside of the fold line can be drawn with a needle on a ruler.
- Manipulation done with each corner, receiving as a result of 3 folds on each side.
- The opposite side of the folds should be trimmed a little. It is more convenient to use a sharp knife.
- Corners without cuts should be rolled to the middle of the folds and wrap them inside.
- Fold the ends and fasten.
Box ready. Its second part is made in the same way. Further, the product can be signed or decorated, depending on your desire and imagination.

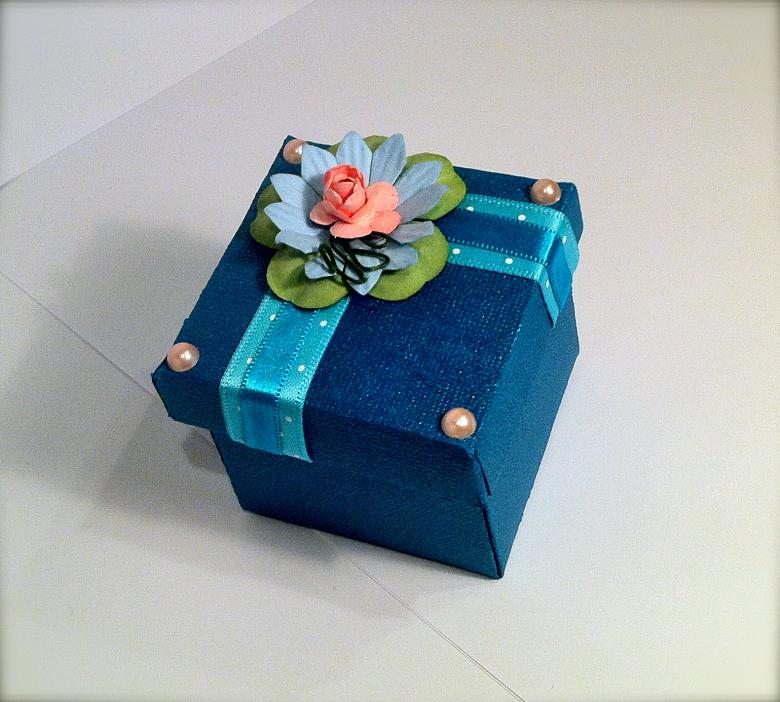
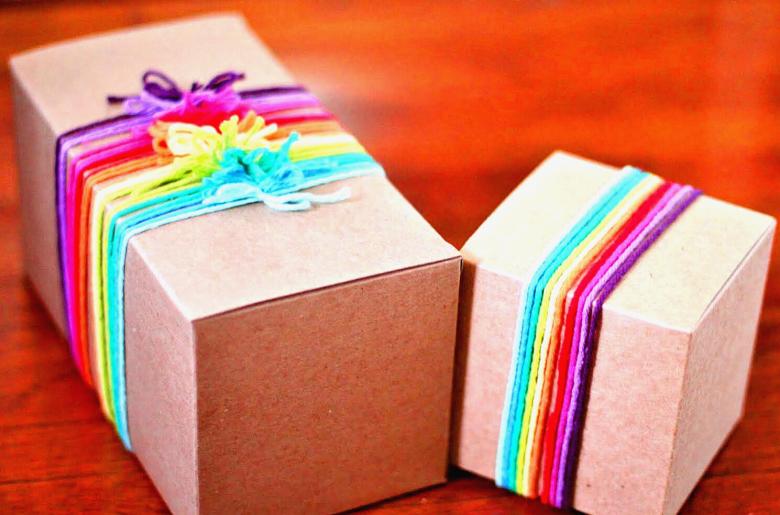
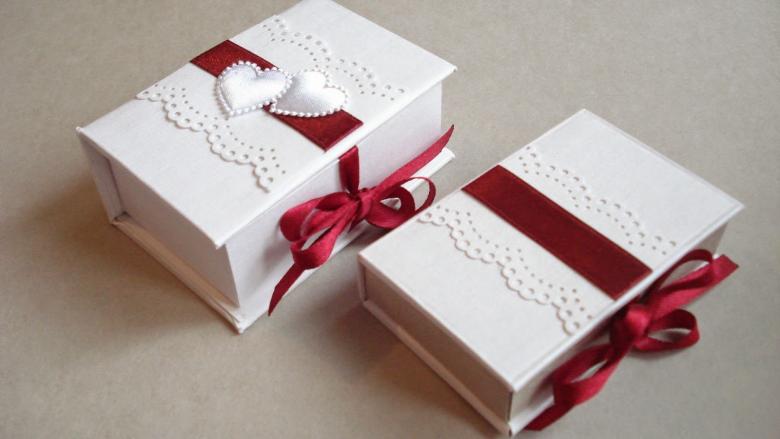
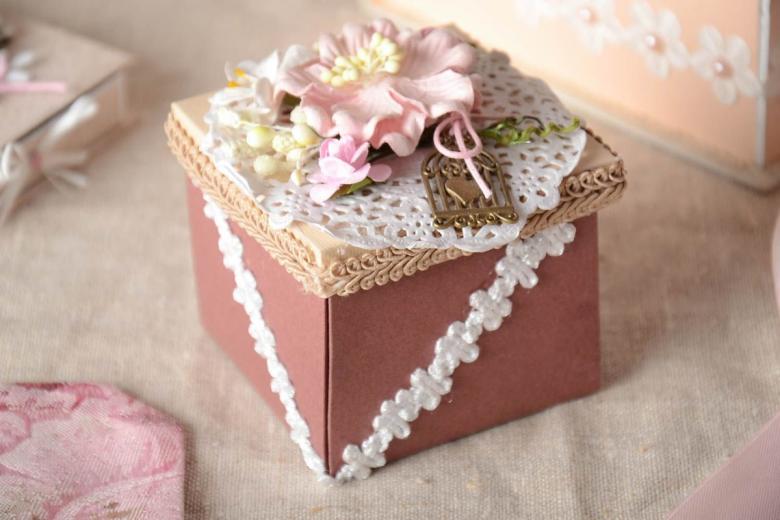
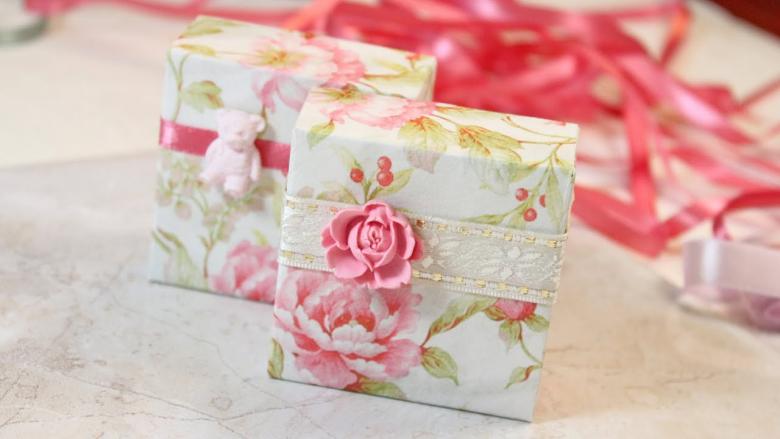
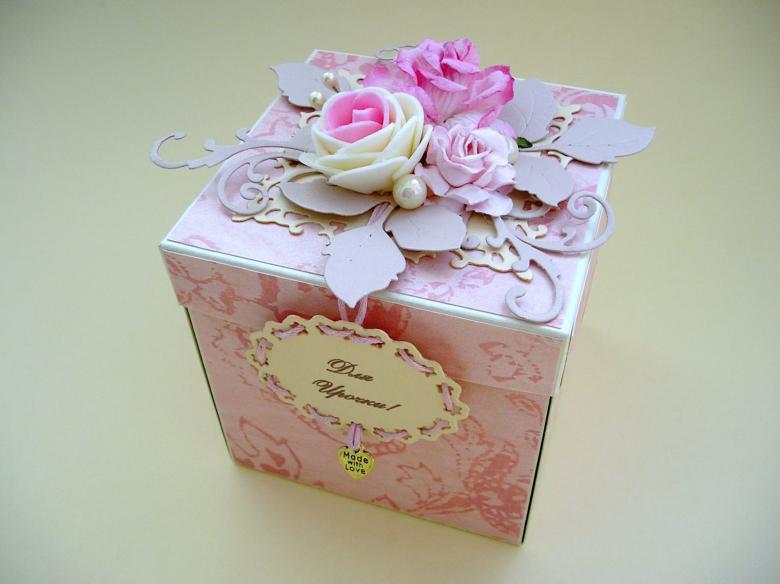
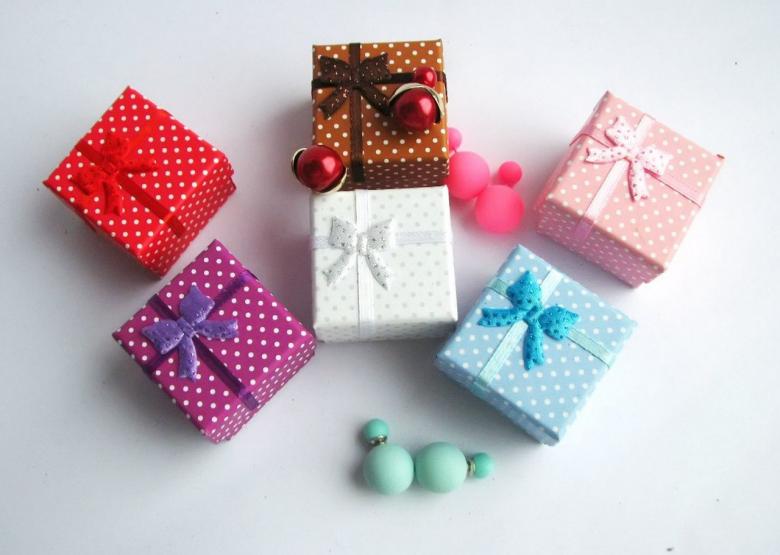
For decorating you can take ribbons, wrapping or colored paper, beads, rhinestones, stickers and any other appropriate subjects.

The box is round
Depending on the shape of the gift, sometimes a round box may be more appropriate and convenient for wrapping. It is also not difficult to glue from cardboard.

Step by step master class.
- The first thing to do is to cut out four circles. In this case, the diameter of the two blanks for the bottom of the lid should measure out about half a centimeter more.
- Then measure and cut out rectangular details of the sides with seam allowance. The width of the strips depends on the height of the box and its lid.
- Circles are wrapped with strips and glued.
After the glue dries, the resulting package is decorated according to the idea.
When marking the details of the package, it is important that the size of the future product corresponds to the size of the contents. A round box can be made in any height from flat to quite high.
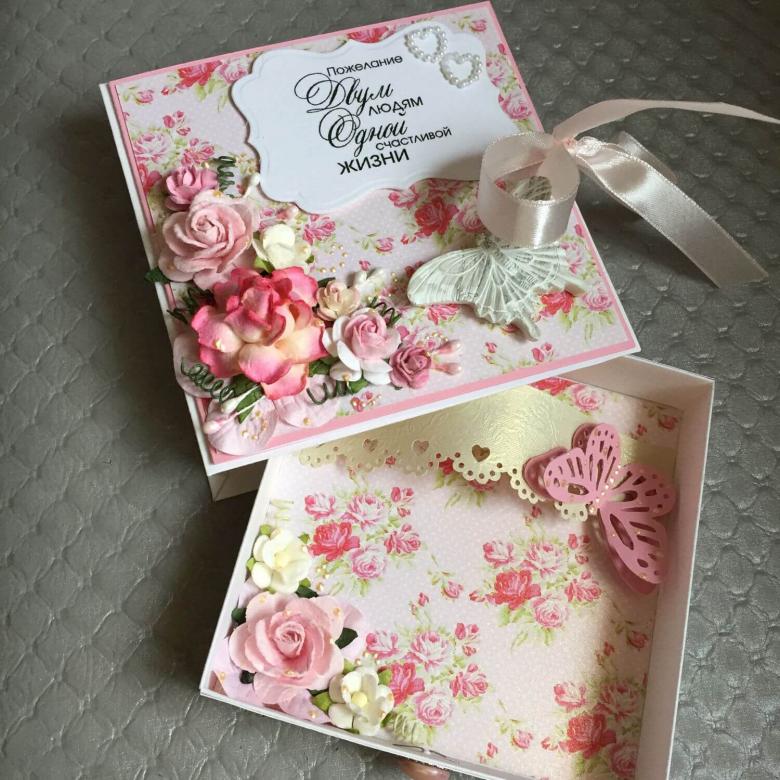
Rectangular gift box
You can make a box of rectangular shape for gift wrapping or storing small items quickly.
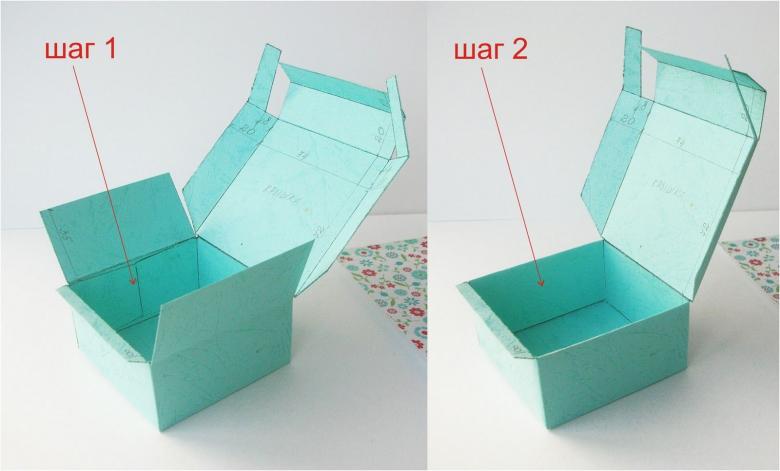
- For its manufacture need a cardboard sheet of A4 or half of it. The piece from which the bottom will be formed, must be half a centimeter in size on each side.
- From each edge of the measured 15 centimeters and draw stripes. You can use a needle instead of a pencil. In this case the fold line will be more accurate. The main thing is not to break through the material with a needle.
- Make incisions in each corner along the line of the long side of the part to the intersection of the dashed lines. There will be 4 notches on each of the pieces.
- The cuts are bent and fixed with glue.
Convenient and easy-to-produce packaging is ready.

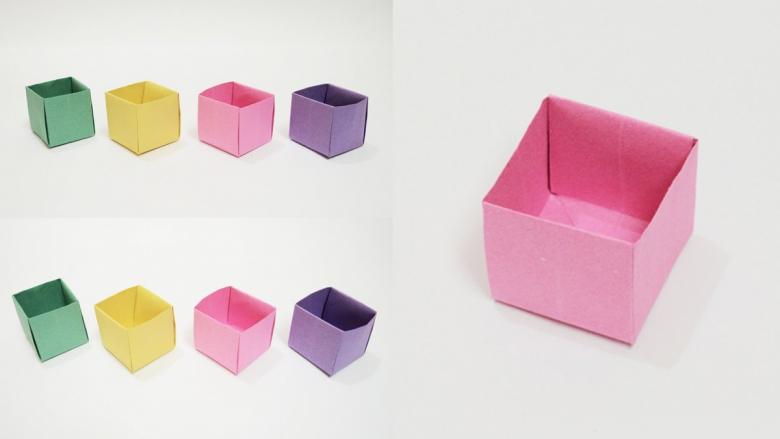
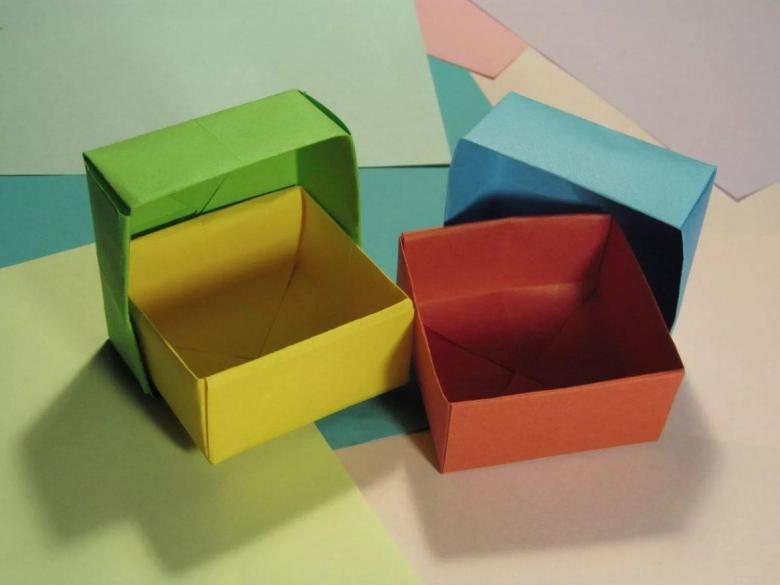
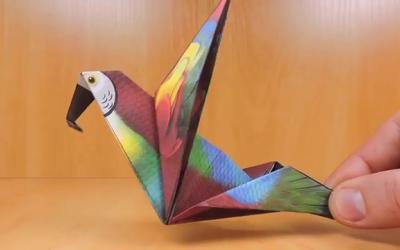
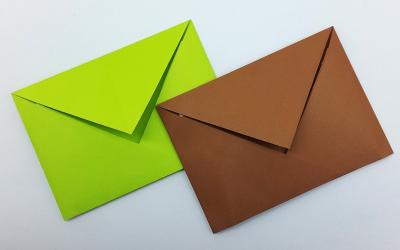
The prefabricated boxes origami
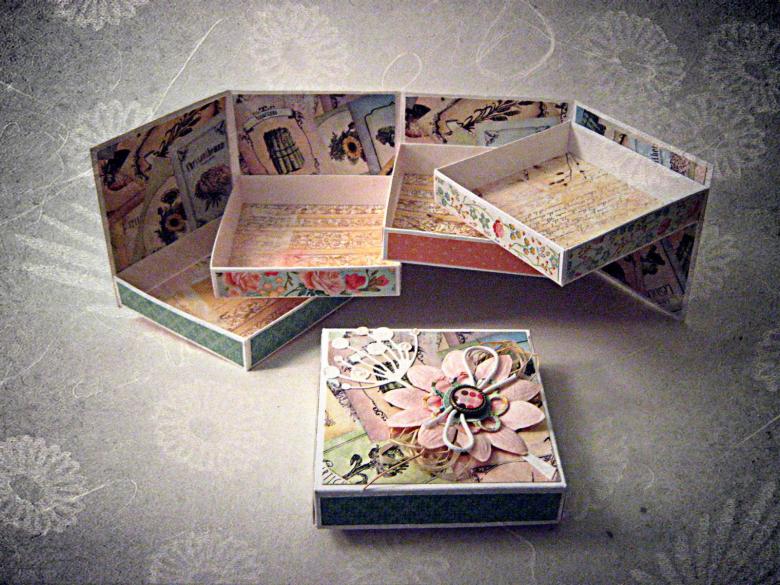
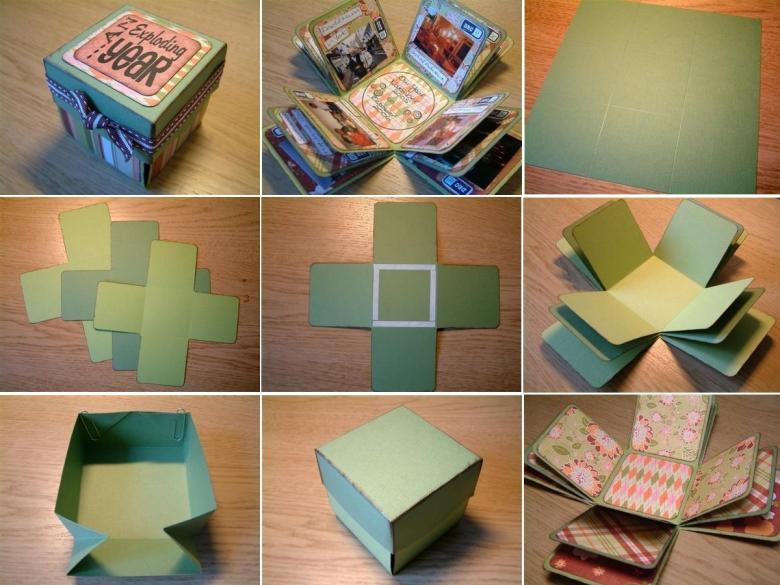
Look interesting and attractive collapsible boxes with the original shape.
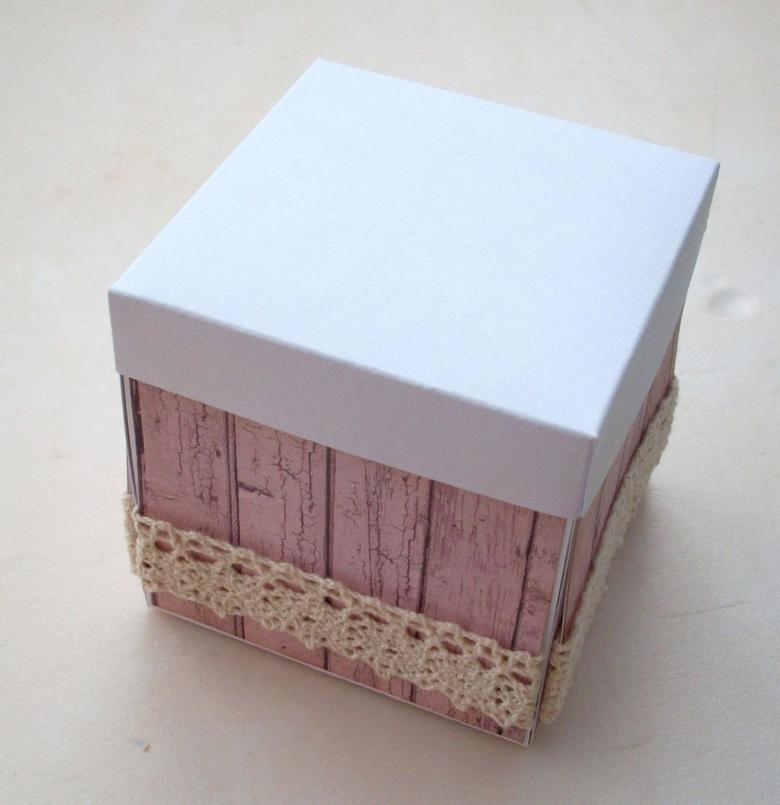
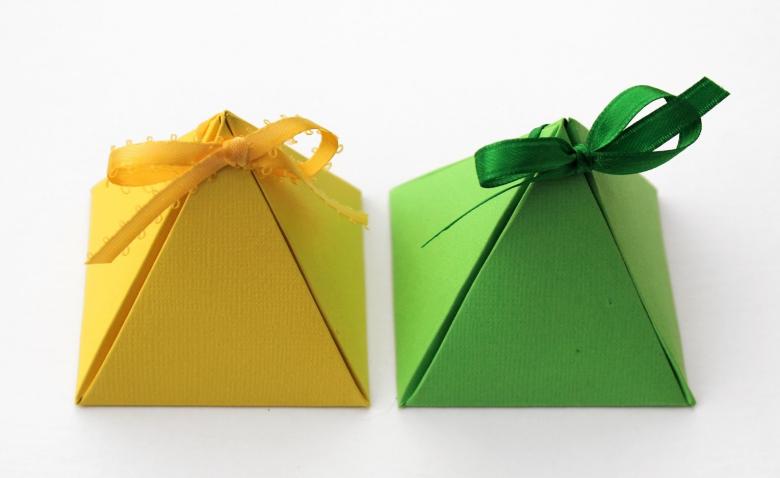
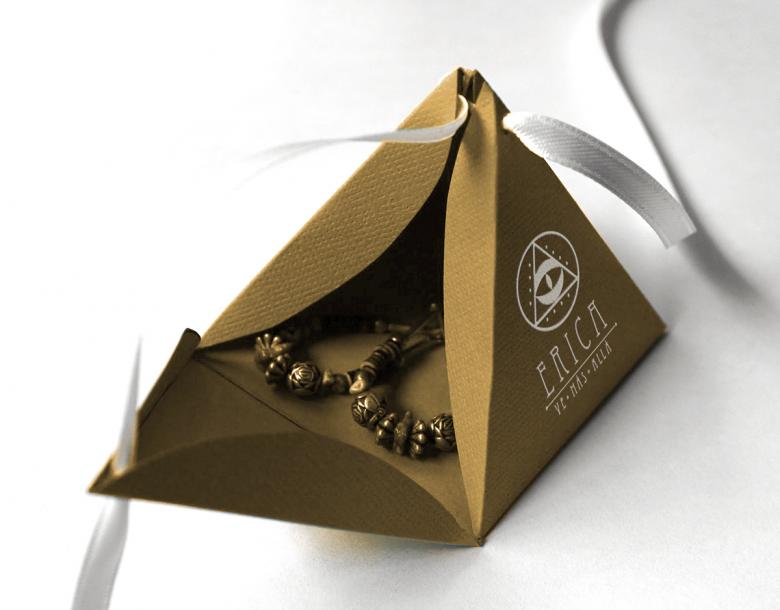
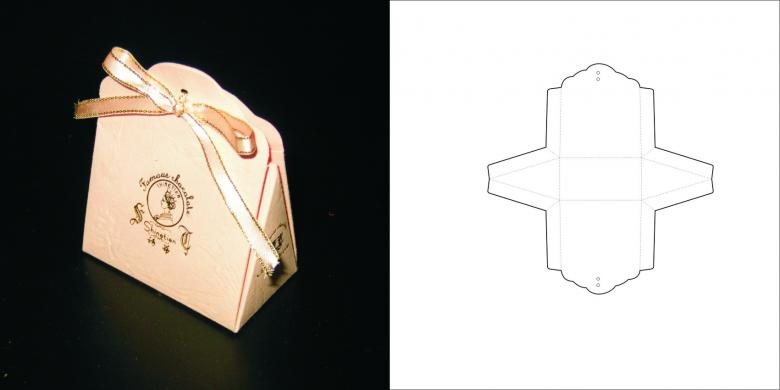
Pyramid
Small gifts can be placed inside a busy box-pyramid. It is not difficult to make.
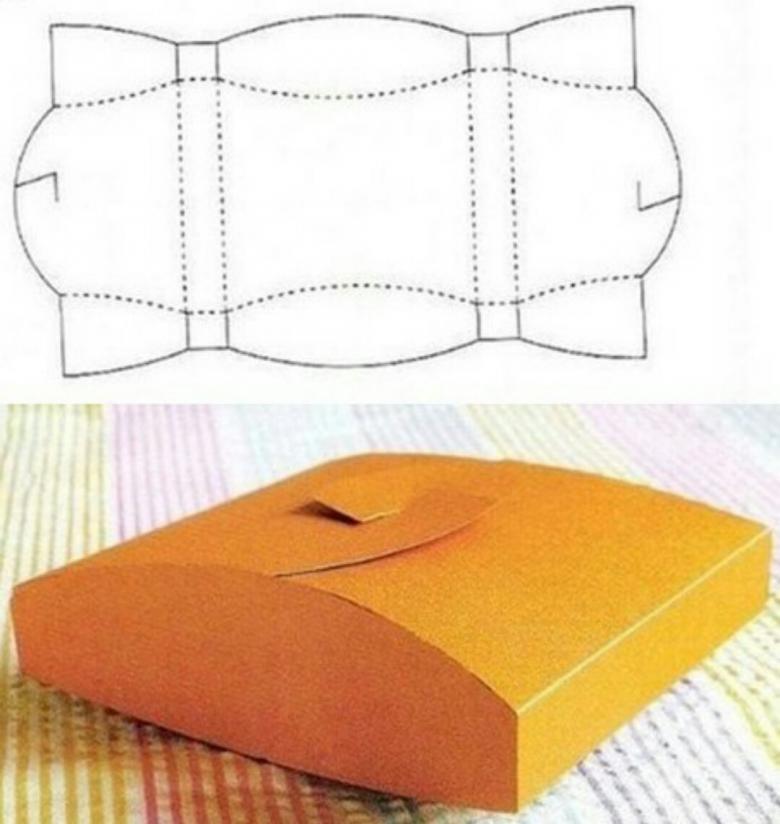
The pattern can be downloaded from the Internet, or you can draw yourself.
- The basis is a square bottom, from it draw the walls of a triangular shape.
- The outer sides of the triangles are made in the form of arcs.
- The tops of the triangles complement the holes for the ribbon.
- Finished pattern is folded along the lines of folds.
Put the gift inside and tied a beautiful ribbon.

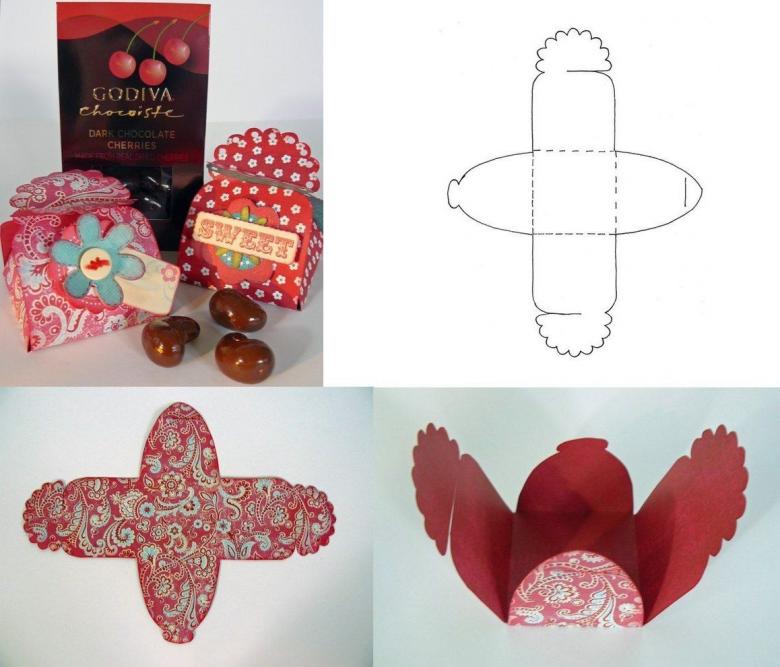
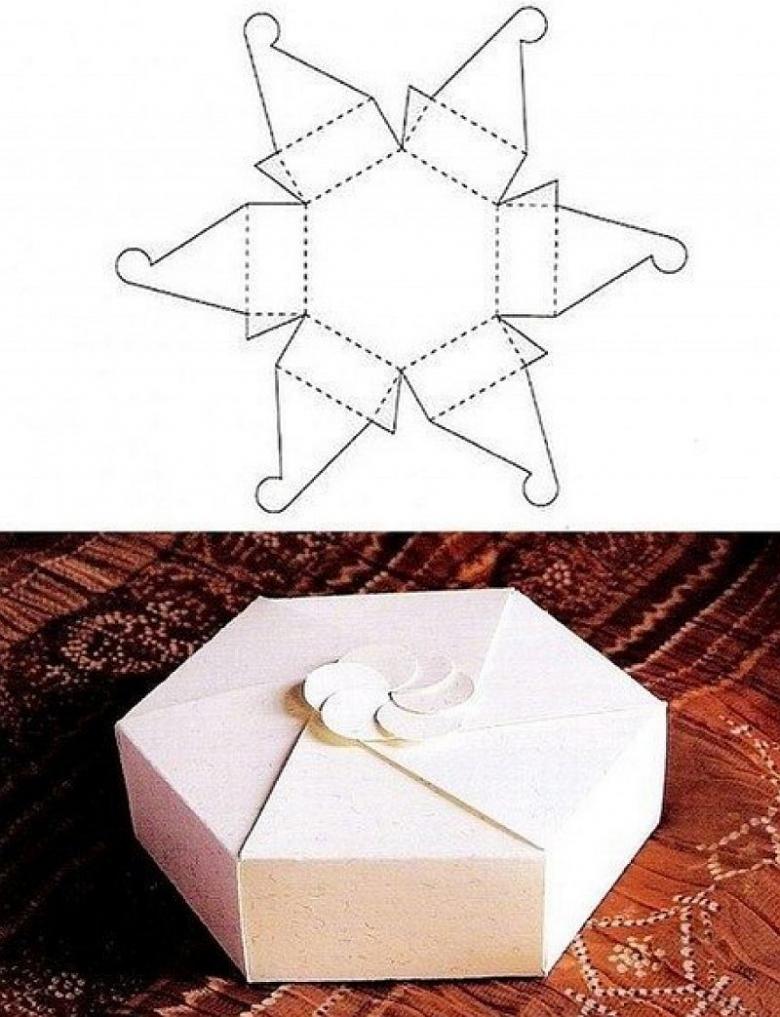
Gift wrapping in the form of a flower bud
For its manufacture need a template. Blank cut out, fold along the lines of bending. The box is painted or complemented with decorative detail.
Putting the gift inside, petals are folded and fasten their teeth together.
Ready-made templates, assembly diagrams and images of similar boxes in the art of origami can be found on the Internet.
The original boxes
If you want to make an unusual package, you can show imagination and craft a stylized container for the gift.
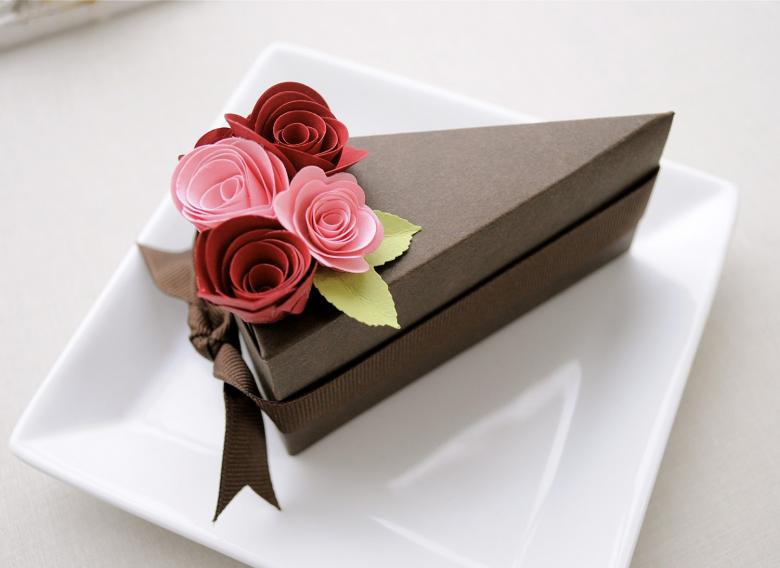
A box for a cake
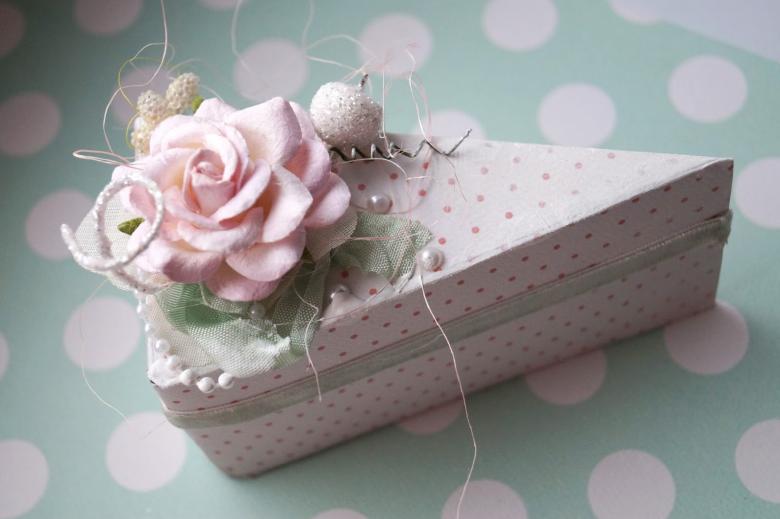
Not a bad idea would be to decorate a package for a gift in the form of its contents. For example, you can make a box in the form of a cake.
To work it is necessary to stock up on satin ribbons, velvet paper, fabric braid and various decorative elements.
- Dimensions and shape blanks in this case are copied from the finished container from under the cake.
- It is more convenient to use double-sided adhesive tape to fasten the details of the blanks and decor elements.
Particular attention should be paid to the design of the lid. You can copy the design of a real cake or a suitable picture from the Internet.
It is important to make the package durable, so that the contents are not damaged.
Similarly, you can decorate packaging for other gifts.

Decorating pre-made boxes
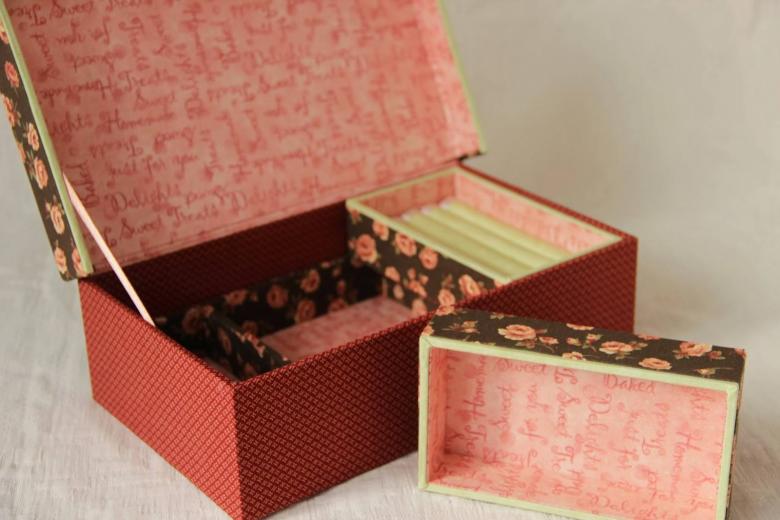
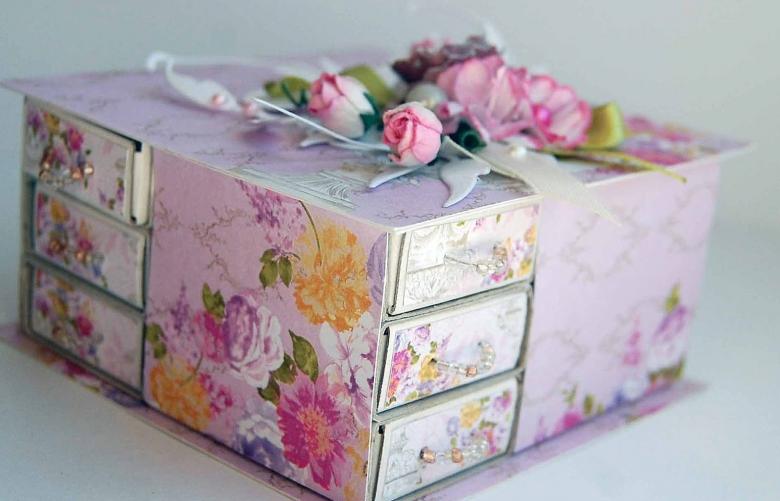
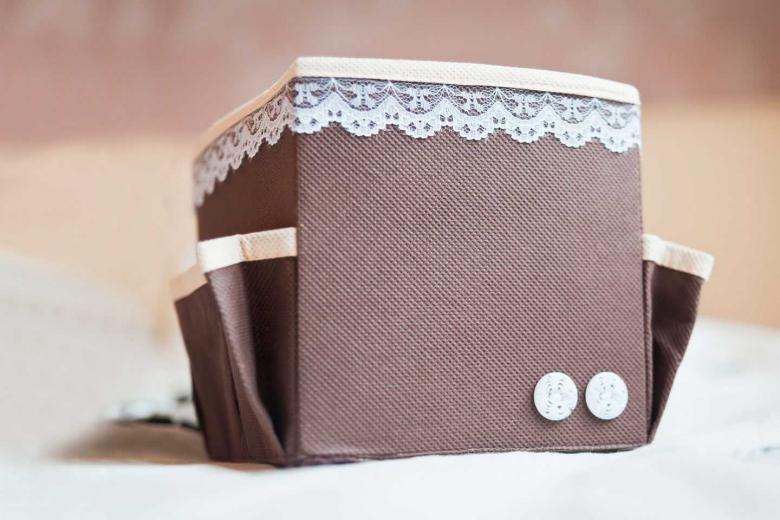
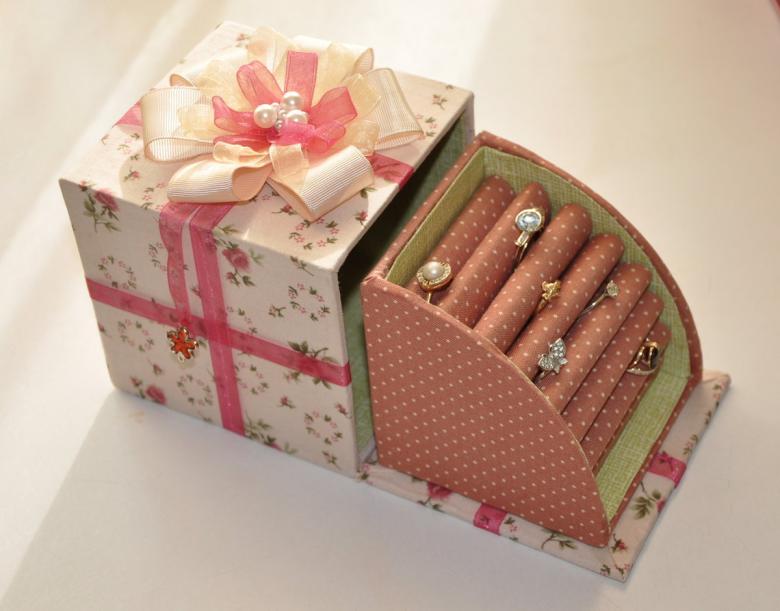
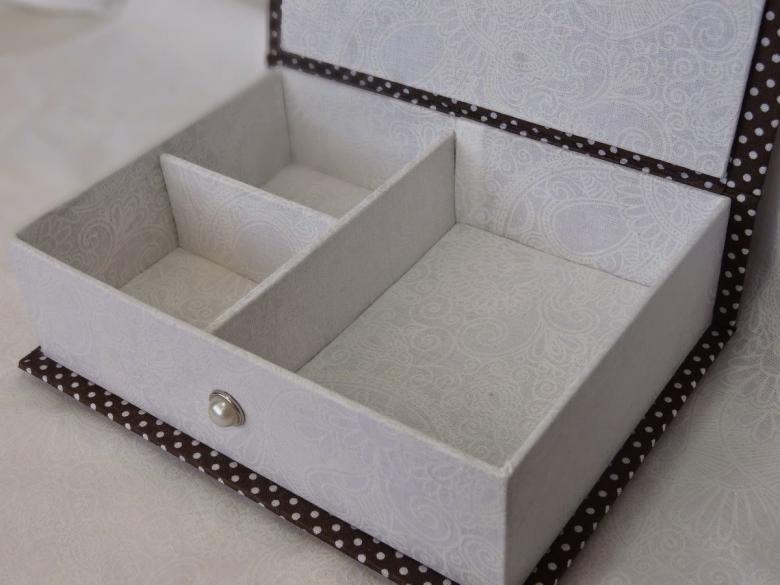
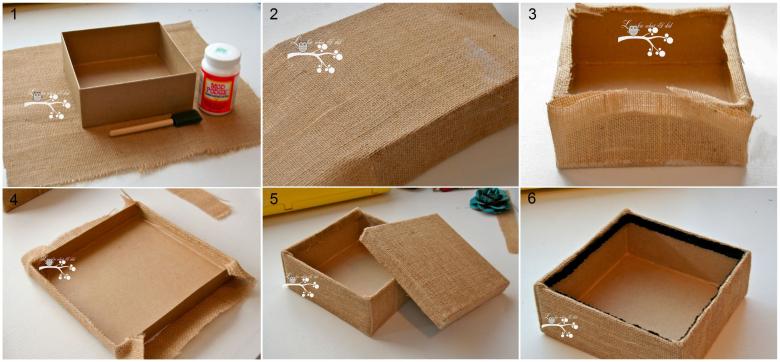
If you want to make with your own hands an unusual box for a gift or storage items, you can take a ready-made product as a basis. A good basis for decorating will be shoe boxes, they are durable and easy to form.
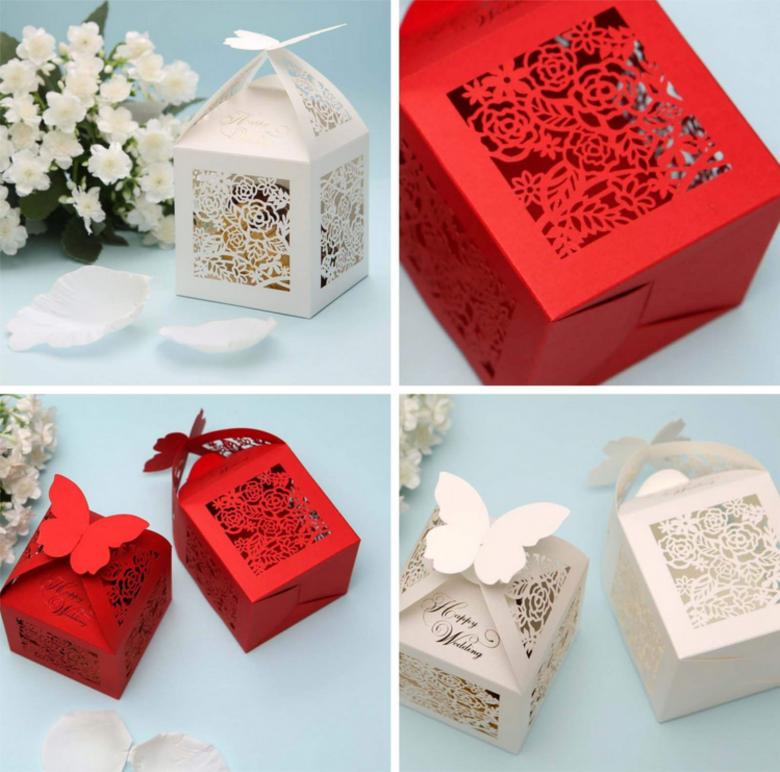
To decorate it, you can use gift paper, lace or thick fabric, for example, linen or denim.
In addition, you should stock up on PVA glue, scissors, tape, ruler and trim elements.

Details for gluing cut out based on the shape and size of the base. They are glued using PVA glue. It is important to apply the glue evenly and carefully smooth out the glued fabric on the surface of the base, otherwise bubbles may form.
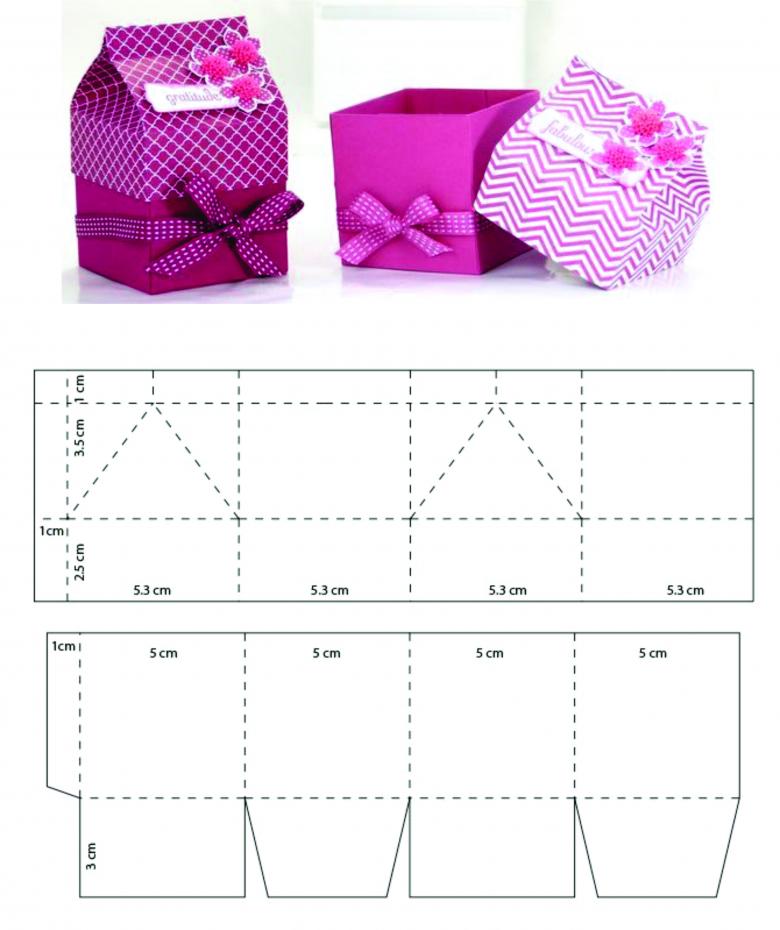
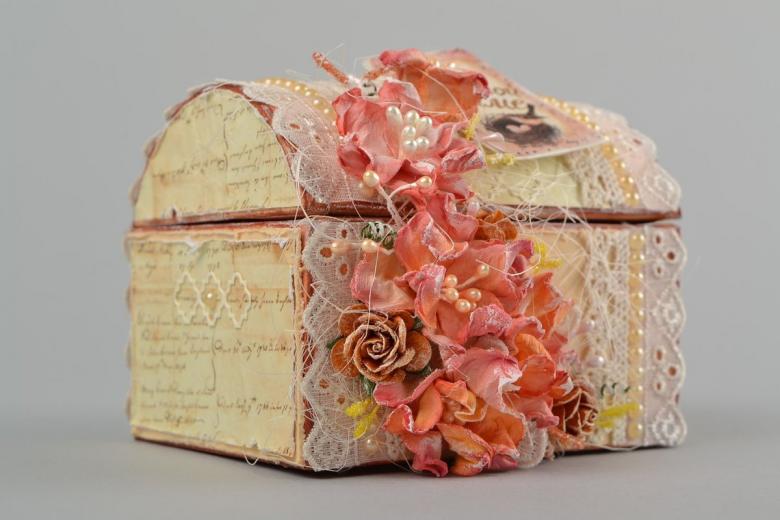
After the product dries, you can start decorating. Depending on the idea or theme of the gift, you can decorate a box in the New Year or folk style.
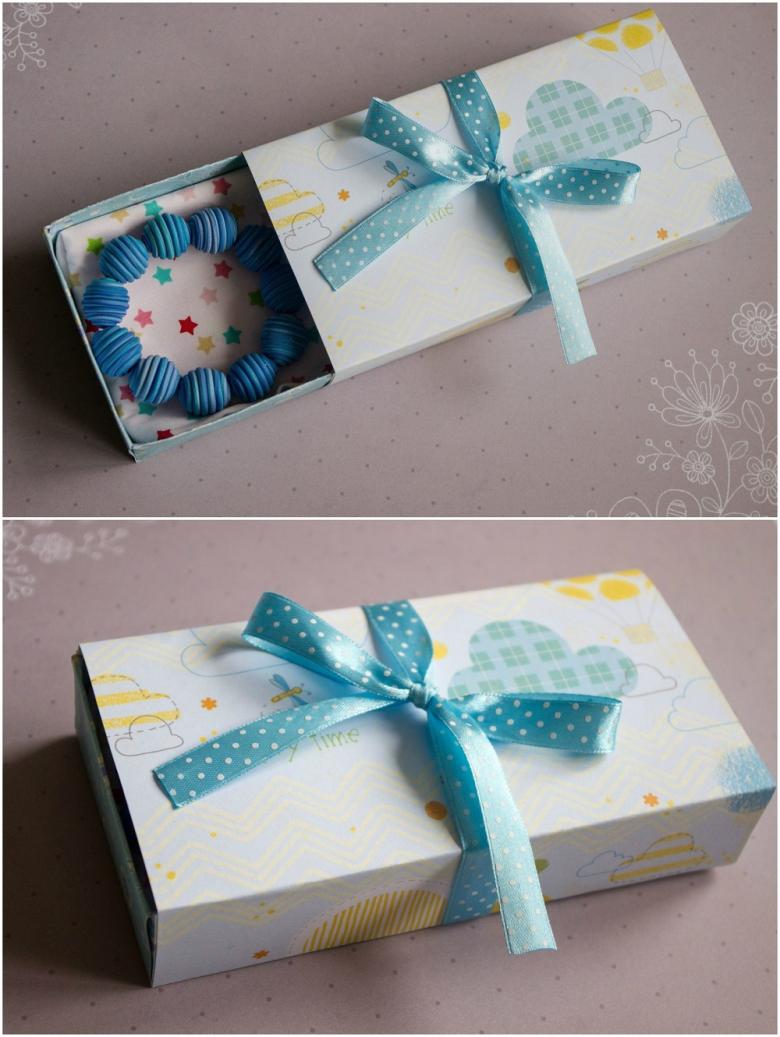
Styrofoam box
You can also use unusual materials to make original packing boxes. For example, a building material for thermal insulation called Foamplex. It does not absorb moisture, is strong, but easy to handle and glued well.
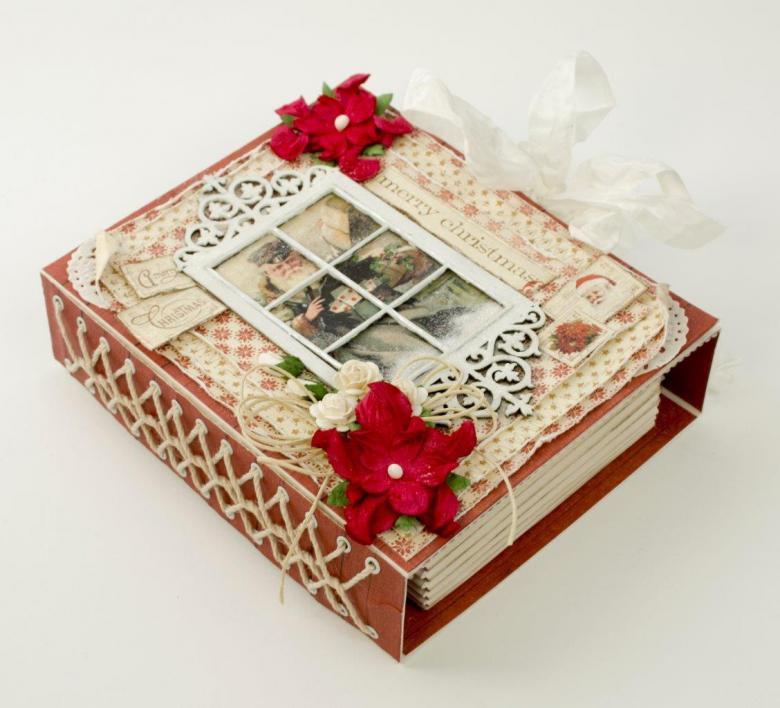
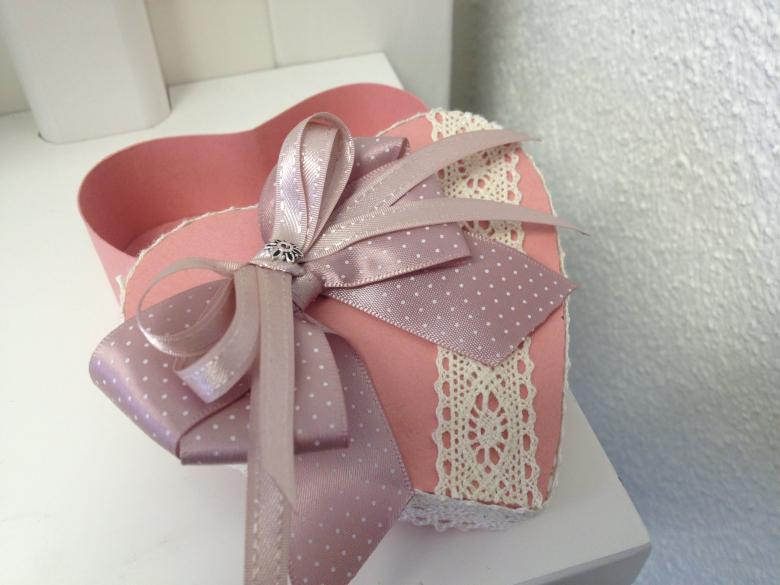
Box in the shape of a heart
To work first of all, you need to make patterns from paper. You will need a heart-shaped bottom and two details for the rims. Having cut out parts from paper, it is a good idea to make a "fitting" for the size of the bottom and the rims.
- After that, cut out parts from the foam plastic sheet with a sharp knife.
- The edges of the parts are processed with sandpaper.
- It is better to glue the parts with hot glue.

Making boxes for gifts and storage items is not complicated, but a fascinating creative process. Original decoration will make any gift more enjoyable, and homemade boxes for storing small things will not only decorate the interior, but also help save the family budget.

