How to draw a star step by step in pencil - an overview of popular options, photo ideas and examples
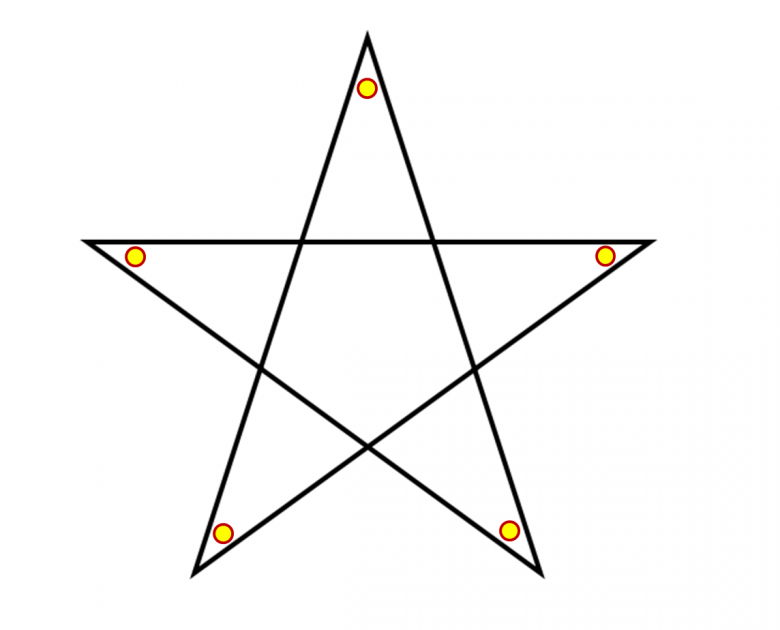
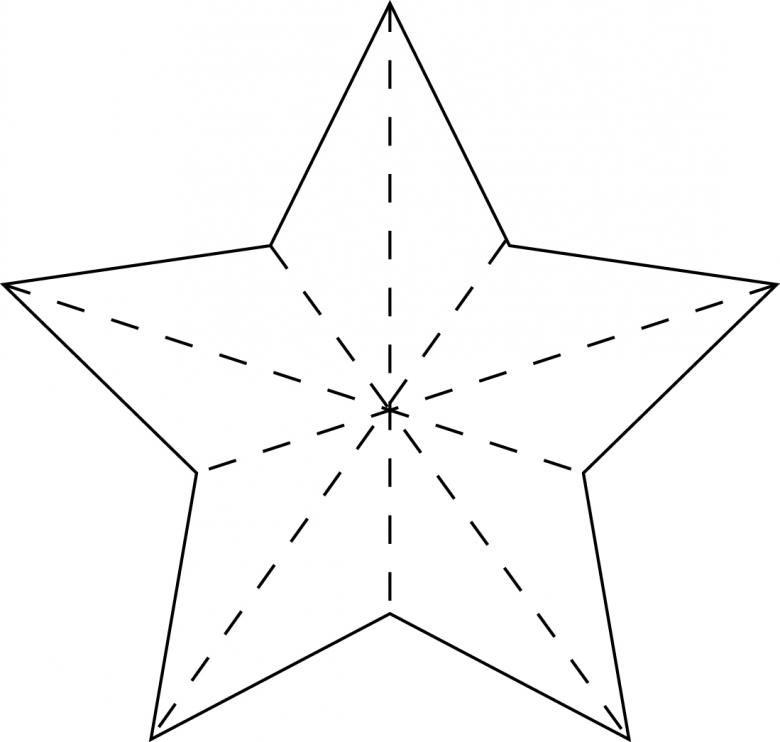
Star - one of the most common figures, which is suitable for any type of activity - drawing, crafts, embroidery. However, to draw an even, as with the picture, the star is not possible for everyone. But what if you want to decorate a postcard for a gift with your own hands? In this case, there are four lessons that can help you in your work.
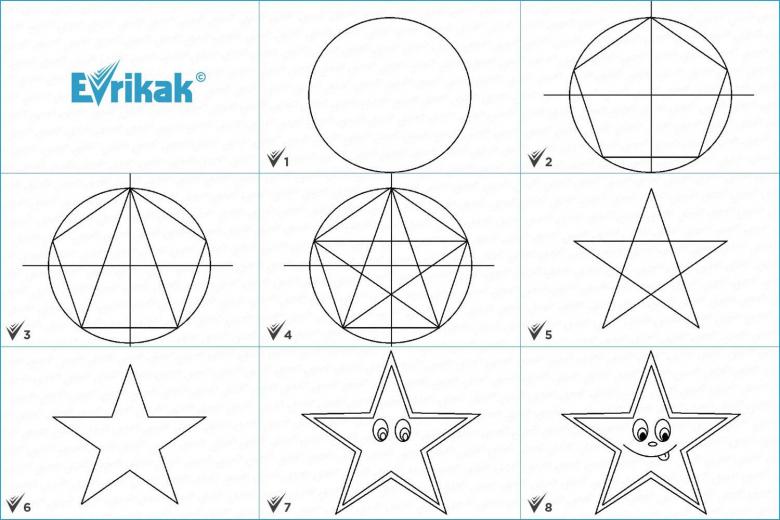
Star with a compass
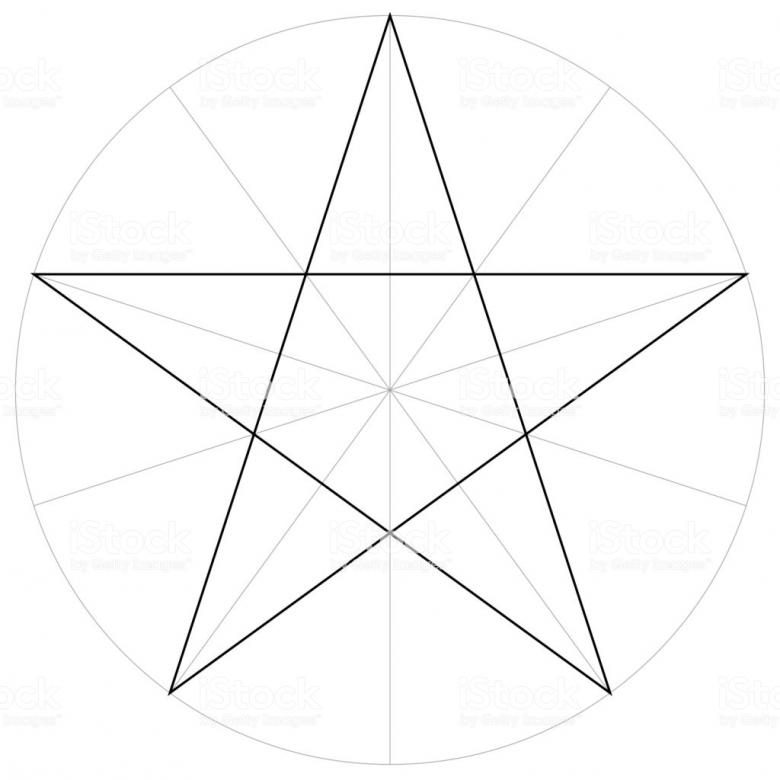
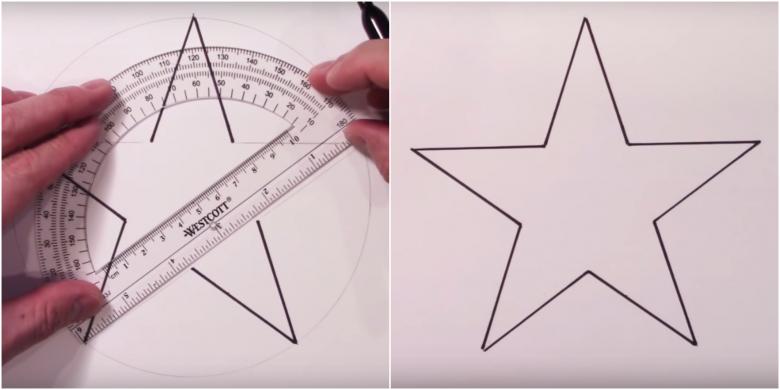
Using the compass, familiar from school days, it is easy enough to draw a five-pointed star, especially since the most ordinary things are needed for the drawing:
- a sheet of paper
- A compasses (mechanical or with an inserted pencil).
- a ruler.
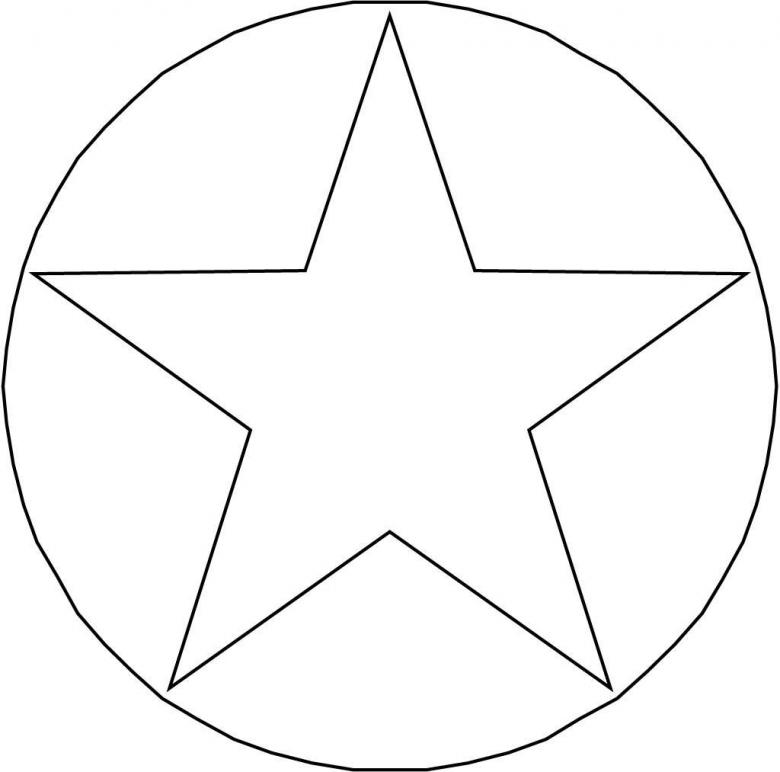
A star is drawn in several steps:
- Set the axis of coordinates. That is, draw two lines perpendicular to each other.
- Place the compasses in the intersection point of the lines and draw a circle with a radius equal to the distance from the intersection point to the edge of one of the lines.
- Place the compasses in any of the outermost intersection points of the main lines. To determine the radius of the second circle, select a point on the chord that is just past the midpoint. Draw two circles on opposite sides of the extreme point.
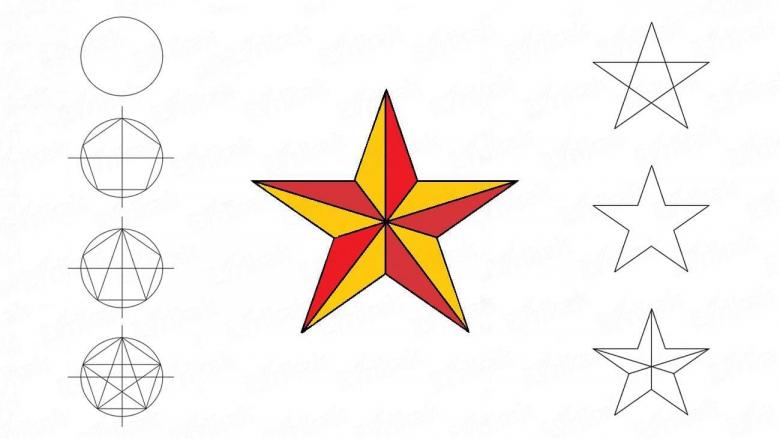
- Select any point on the intersection axis. Connect the point on the upper chord, the intersection point of the major axes and the lower chord. Inside the quarters of the circle you should have two more points with which to work further. Connect the two points inside the circle with a line.
- Repeat the same on the other side.
- Mentally divide your circle into upper and lower halves, left and right, determine the star's tip.
- From the tip, use a ruler to draw a line to the point marked with the compass on the lower right chord.
- From this point draw a line that passes through the point of intersection of the line from point 4 and the diameter of the main circle.
- Draw a line parallel to the diameter of the circle. It should intersect with the upper right chord.
- Connect it to the point on the bottom left chord.
- Complete the star drawing by connecting the straight line to the vertex.
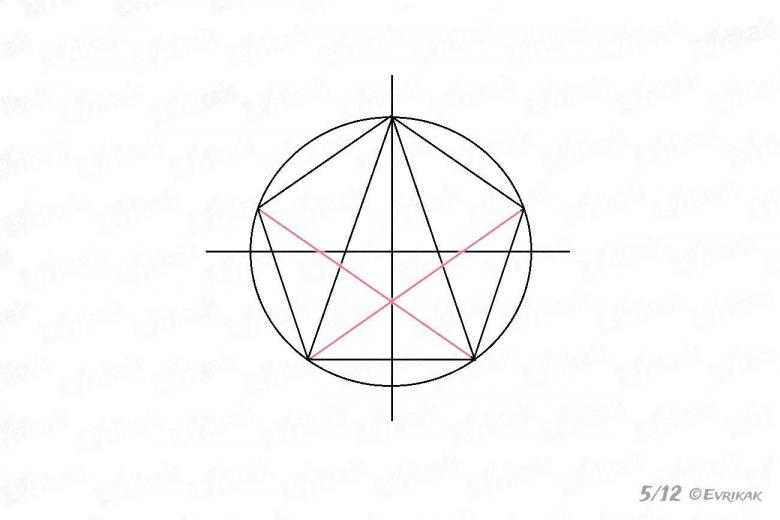
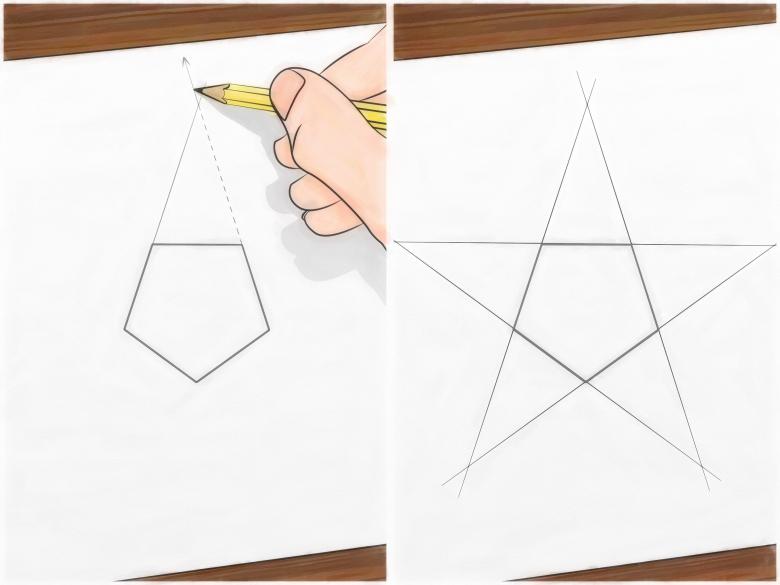
Star without using a compass
The compass provides a way to draw the star straight. But what if you don't have a compass handy? Or just lazy? You can draw an even figure with a pencil and ruler, too.
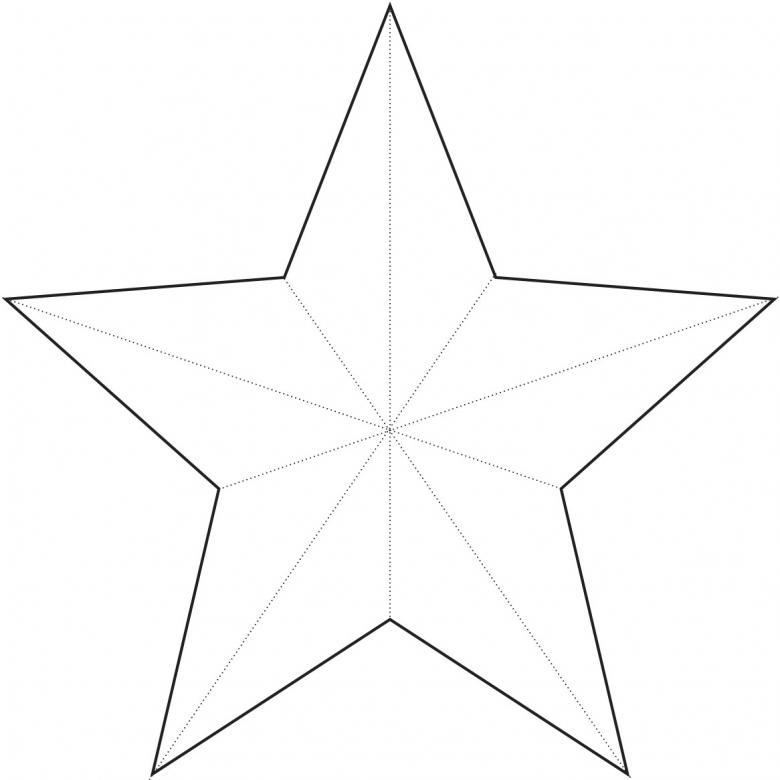
- Choose in advance what size the star will be - the length of the edge depends on it.
- The basis of the figure is two parallel lines at a distance equal to the size of the rib (you determine it yourself) divided by 1.55. For example, if the length is 7 centimeters, the distance between the lines - 4.5.
- Draw a vertical line perpendicular to the previous two and passing through their centers.
- Work with the top line: from the center step back the number of centimeters, equal to the selected length of the side (7), divided by two - in our case it is 3.5 centimeters. Put points on either side of the middle.
- On the bottom line we do the same scheme, then the length of the side (7) divided by three - we get the distance of 2.3 centimeters.
- Let's construct the last point - the top. For this purpose, divide the length of the side (7) by 2.6 - the distance will be 2.7 centimeters.
- Connect the resulting points and the star is ready!
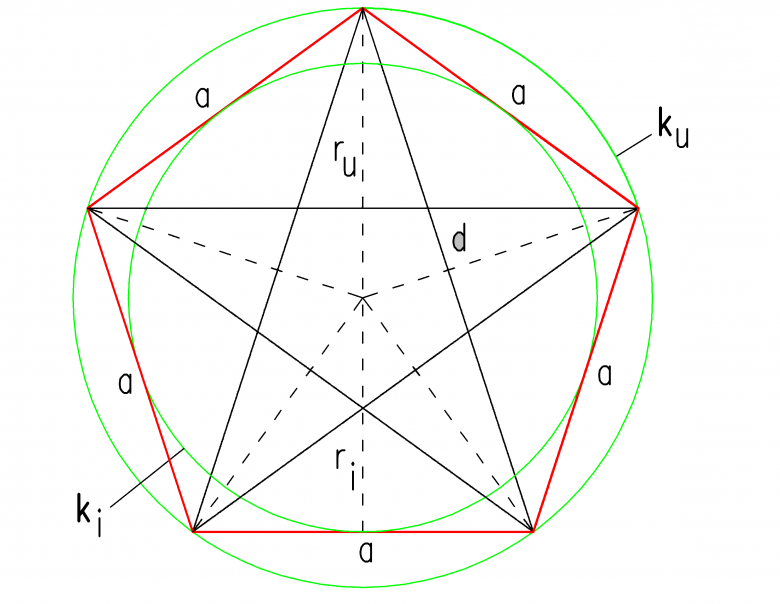
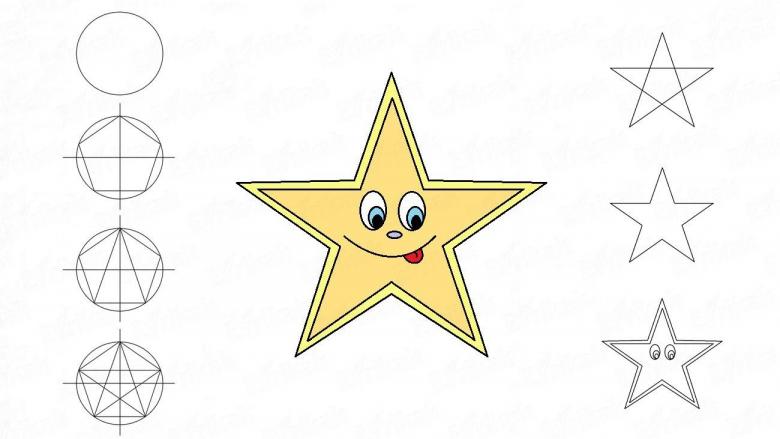
Children's version of the star
Here already do not need detailed accuracy in the performance. Work on crafts with children - this is, above all, an opportunity to have fun together, so there should not be any difficulties.
All the same materials will be needed - paper, pencils (you can also use colored pencils), eraser

You choose the size of the star yourself.
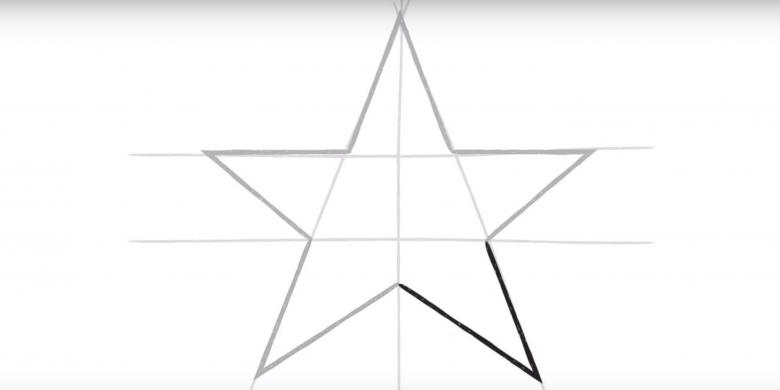
- The first thing you should do is draw a vertical line. Then it can be erased, so do not put too much pressure on the pencil.
- Determine the center of the line and draw two rays from it with an equal angle at the top and then at the bottom. This is the "framework" of the star.

The hardest part is over! Now all that's left is to connect the resulting points, but even this can be done in an original way.
- Smooth, indirect lines connect the resulting points - let the edges of your star will be convex.
- The star is complete, but by imagining, you can think of a face with eyes, nose, mouth, eyelashes. It all depends on your imagination.
- The last step is coloring. In addition to pencils, you can use paint, glitter and any other materials.

Star with the help of notebook squares
An ideal option for those who want to brighten up a boring class or a long conversation on the phone. A notebook page is almost always nearby, and the pencil itself lays in your hands.
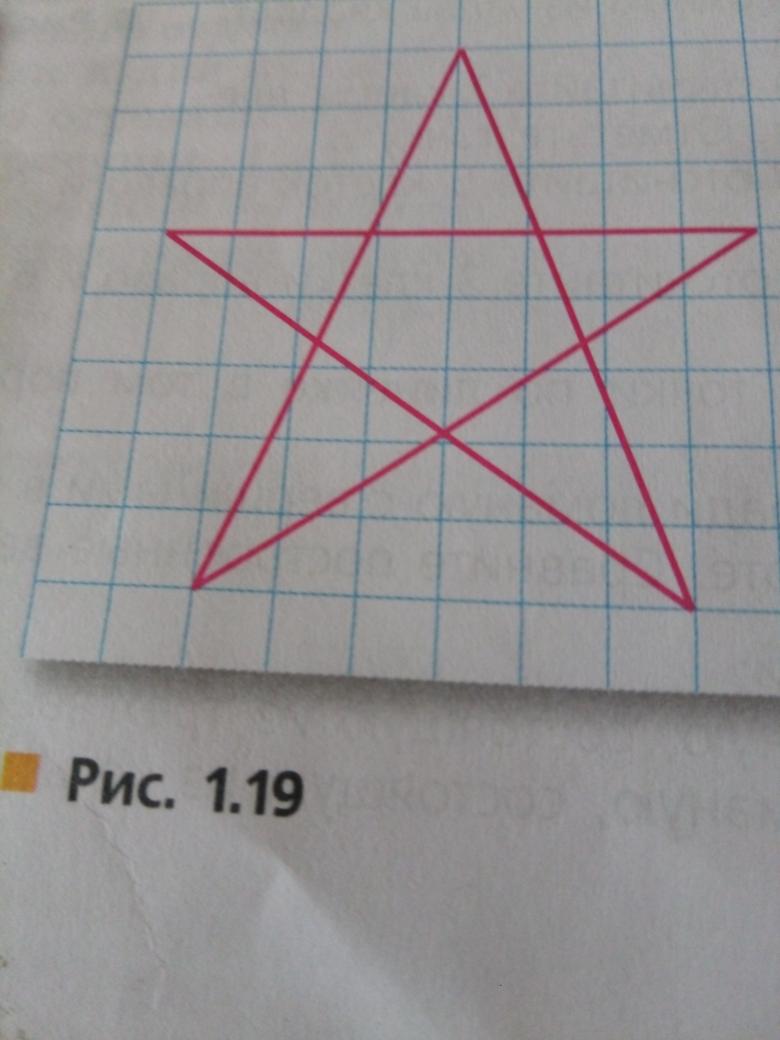
The main thing in this drawing is not to get tangled up in the squares.
- Circle the cell anywhere in the middle of the sheet - this will be the top.
- Circle one cell from the bottom right and tear from the top.
- Next, indent one more cell down and right/left and circle two cells.
- Repeat step 3.
- Now go one cell down, but already go around the cells not down, but sideways - these are the ribs of the star. Their length - four or five cells.
- Then go diagonally one cell at a time, going down and to the right/left respectively. You will know when to stop.
- Determine the bottom two points of the star and draw more cells as you wish.
- The last thing left is to join. You can use both single squares and bypass two squares.

The star is ready. The number of squares, the size of the star depends only on your desire. Once the framework itself is drawn, the squares can begin to paint or think of funny faces for the star. Using colored pencils, an ordinary drawing can be turned into a cheerful picture.

