How to Draw a Giraffe in Pencil and Paint - Step-by-Step Sketches for Beginners
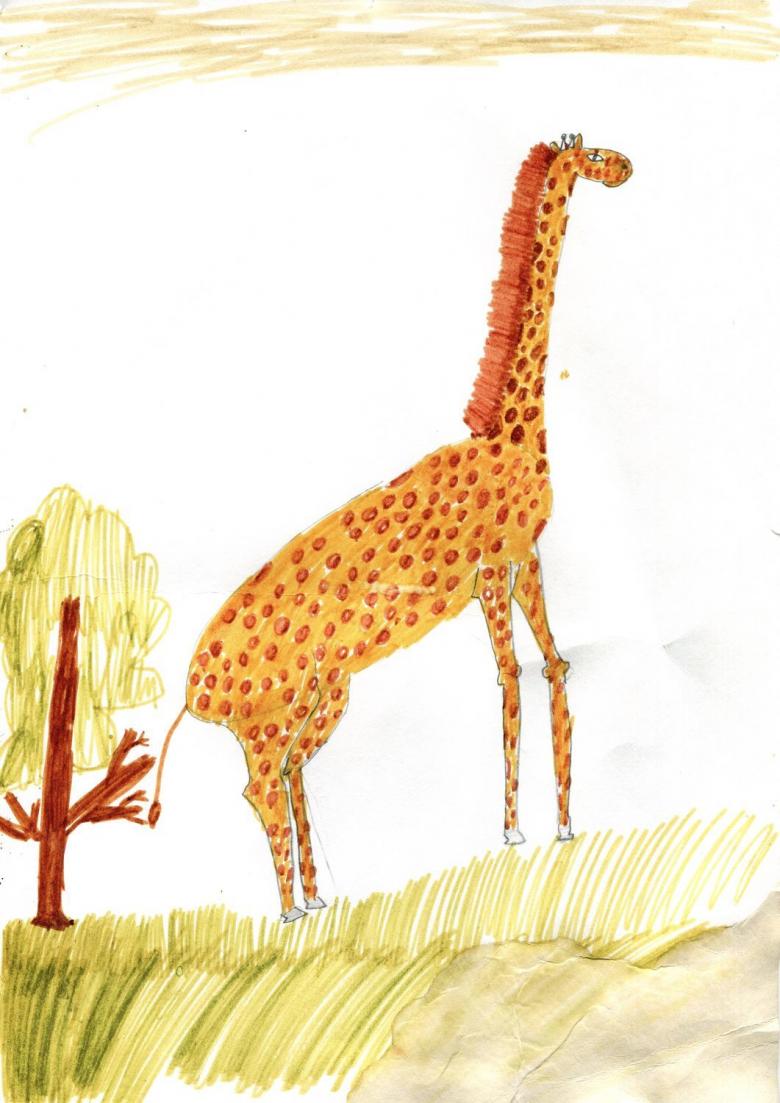
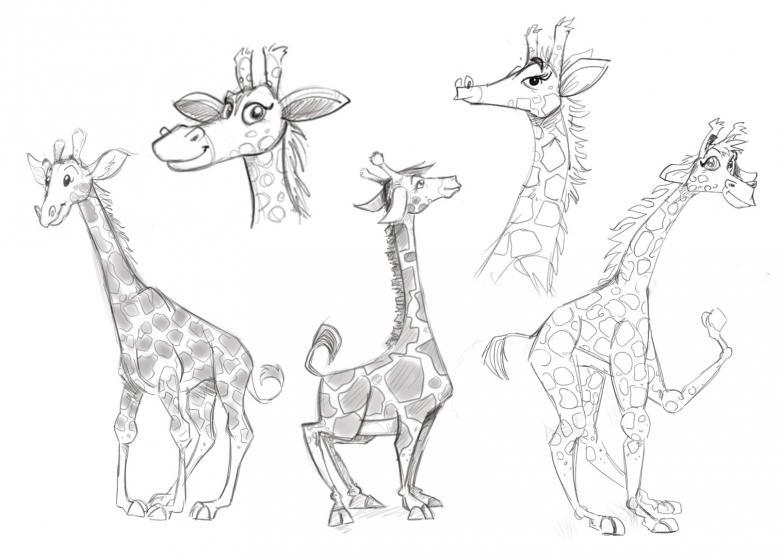
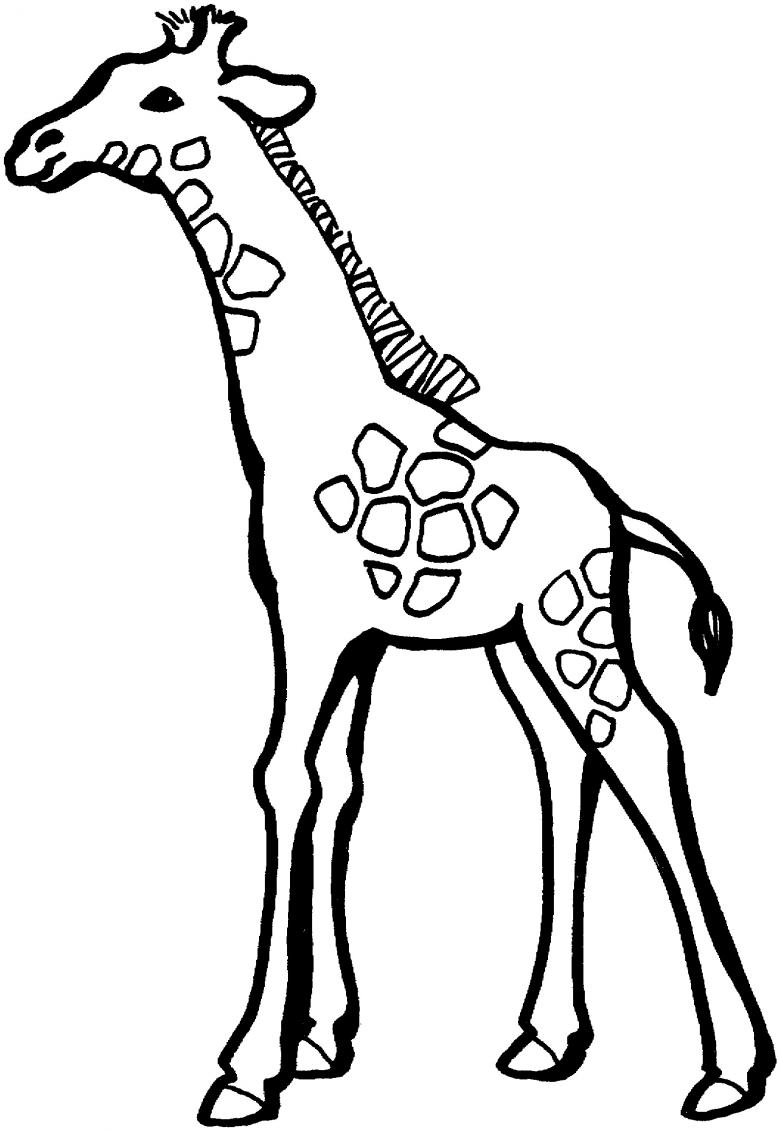
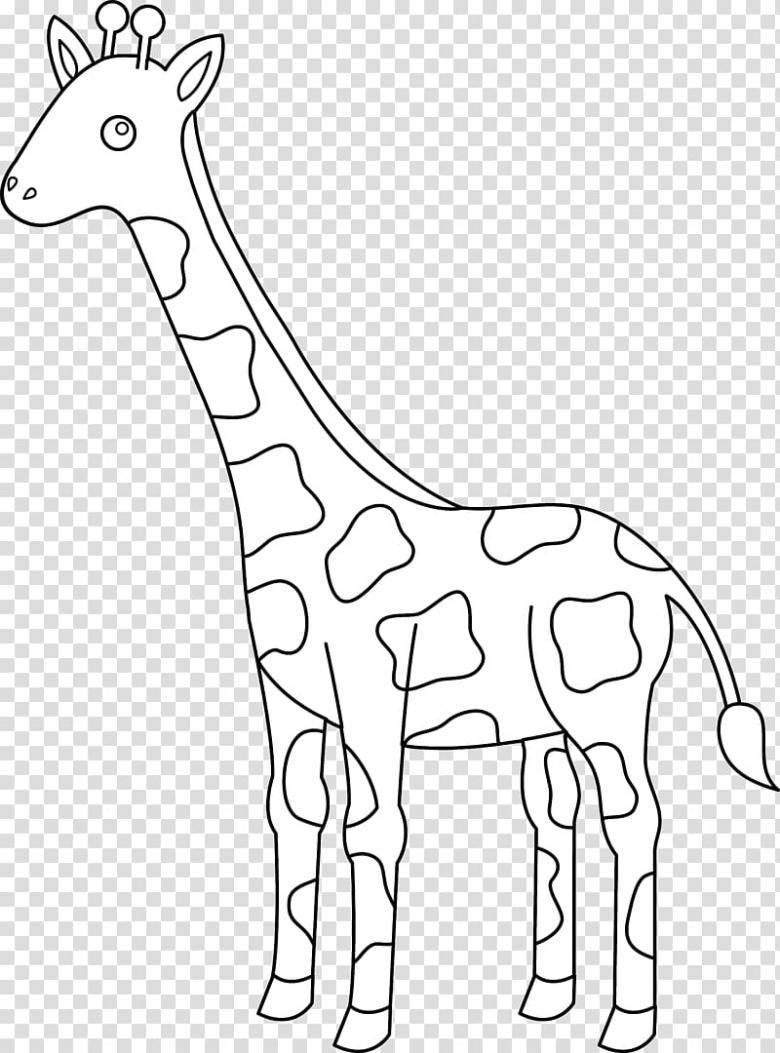
The giraffe is the jewel of Africa's animal diversity. The adult male grows up to 6 meters. This is enough for this giant to peek through the second-floor window of a modern multistory building. Children admire the size and majesty of the giraffe, so they enjoy drawing it with a pencil, pen, marker or paint.
Let's draw a simple doodle thanks to pencils
If you have previously drawn animals, then it will be easier to cope with the upcoming lesson, as the process will be similar. Especially if the theme was the transfer to paper of a realistic image of a horse. In this case, the difference lies in the addition of a long neck and features of skin coloring. Based on the instructions of an experienced artist, the work will take no more than ten minutes. However, it is necessary to prepare carefully:
- Prepare a standard A4 album sheet;
- Take a black pencil;
- Add an eraser to the list;
- Colored pencils will be needed for coloring;
- We will use a black pen to create some details and highlight the outlines of the drawing.
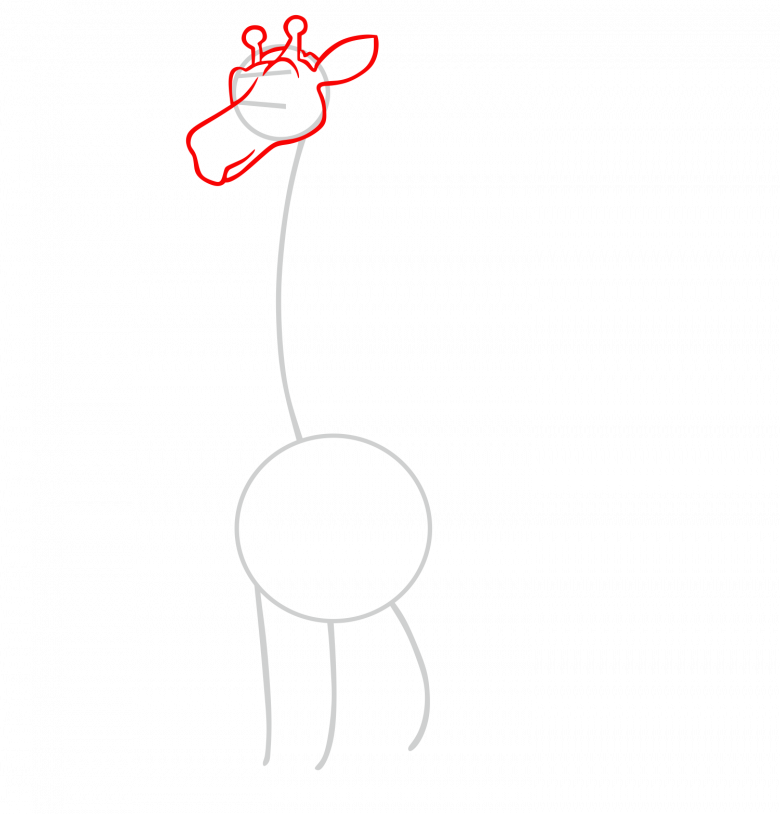
Is everything ready? We have not forgotten anything. Let's start step by step to do the first way suggested by the master of fine arts:
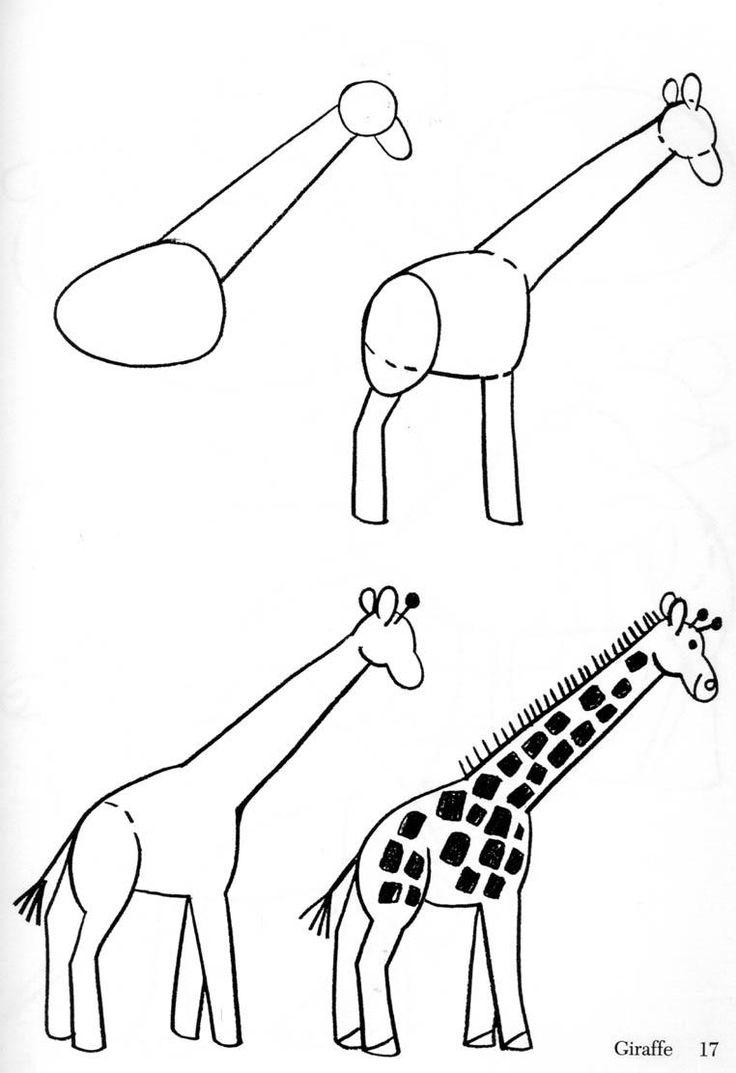
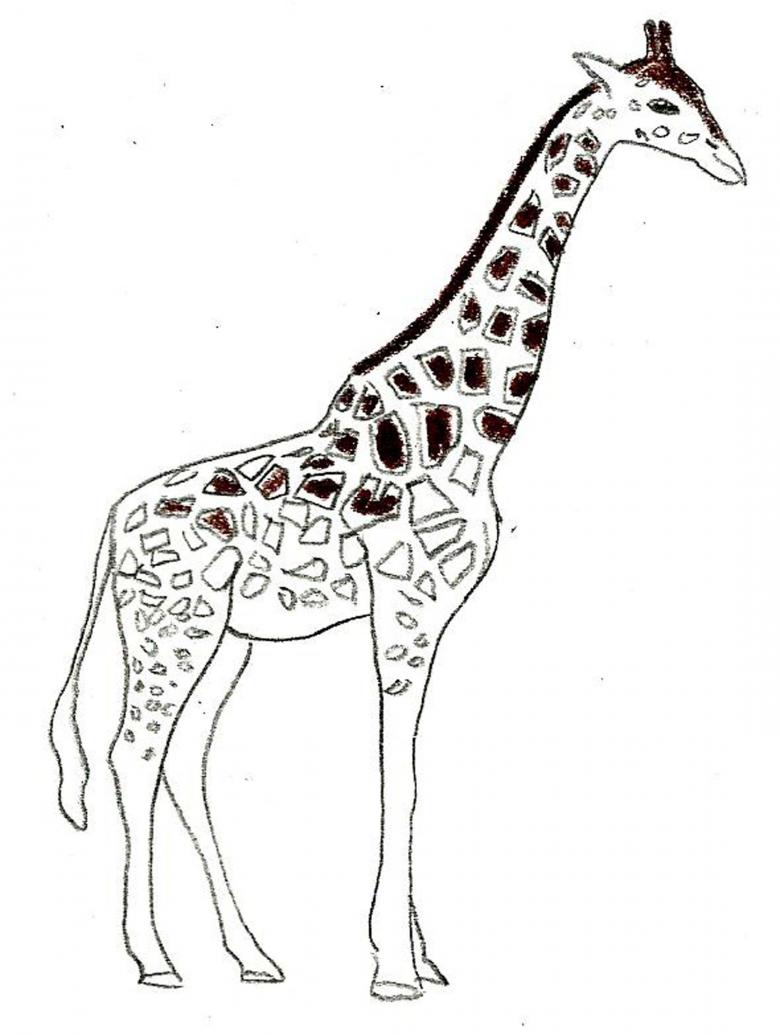
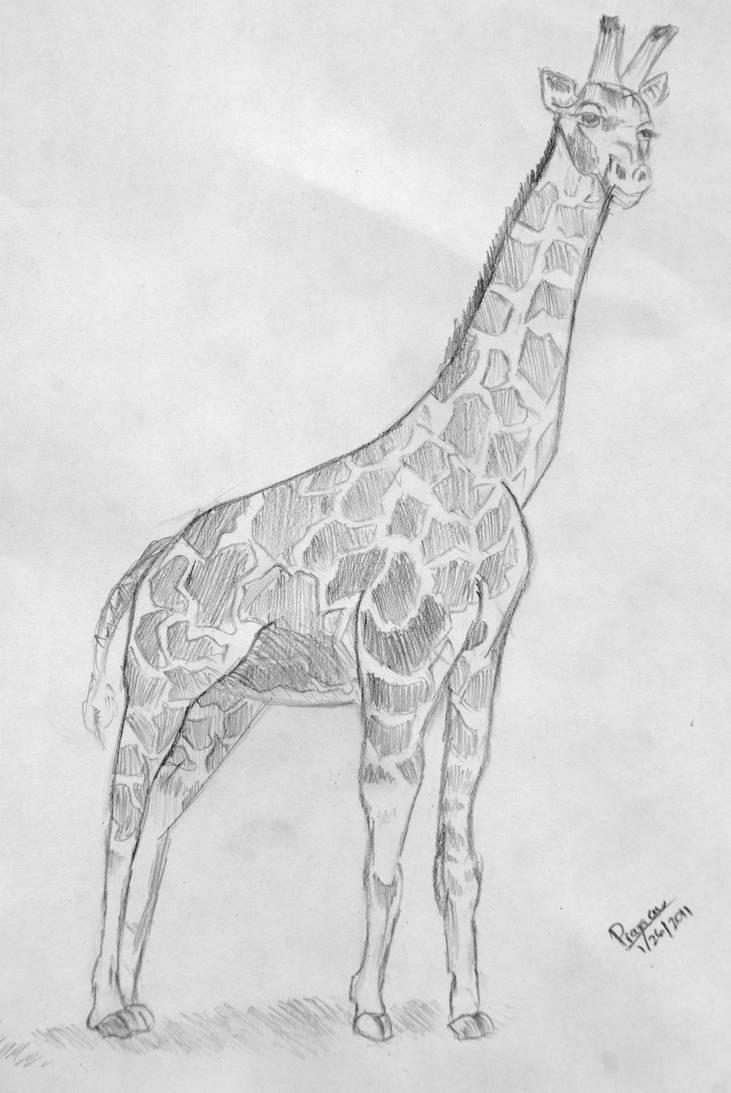
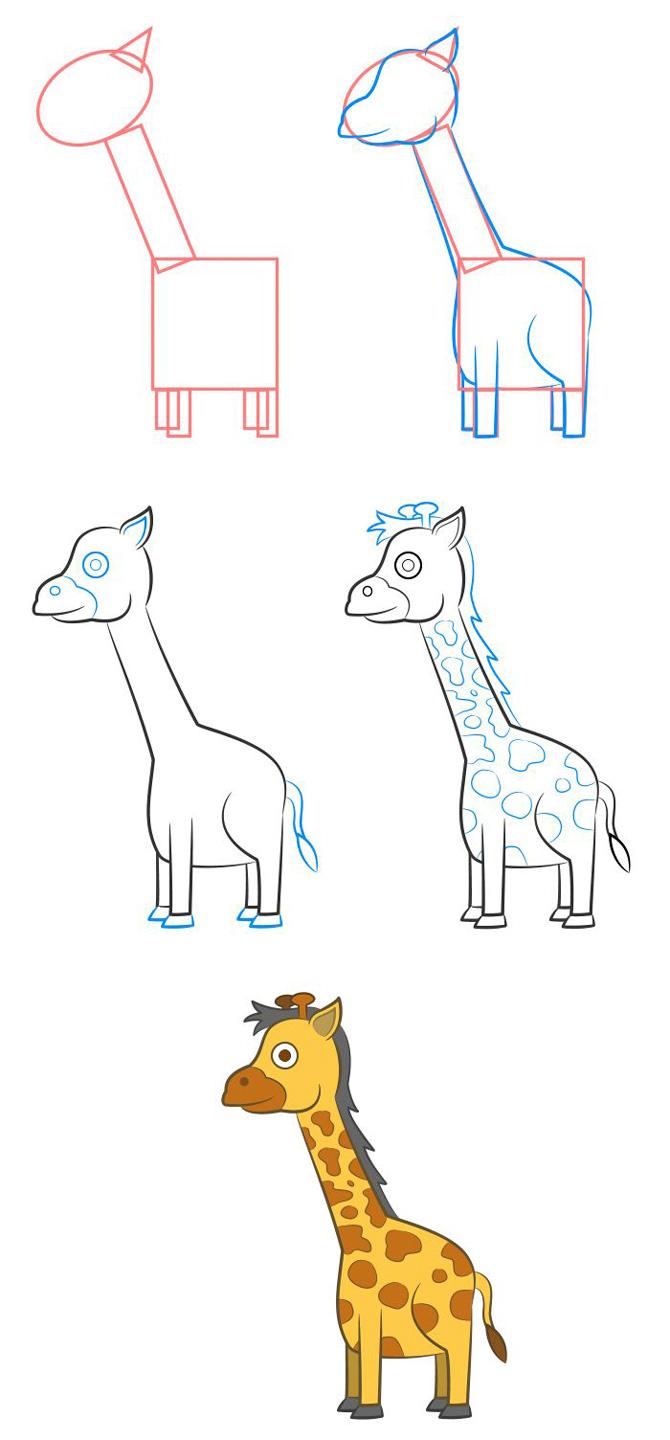
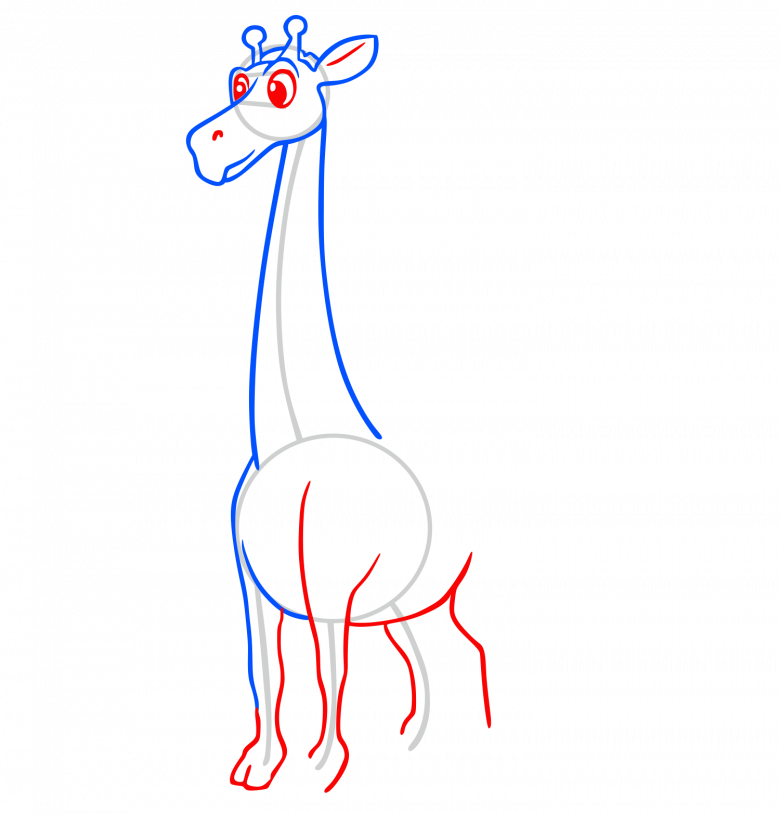
- Choose a height for the image of the giraffe. Highlight the boundary of the placement of the image of the giant, thanks to the two lines. Create a sketch of the future head and torso. In the first case, it is enough to draw a circle, in the second, use an oval shape.
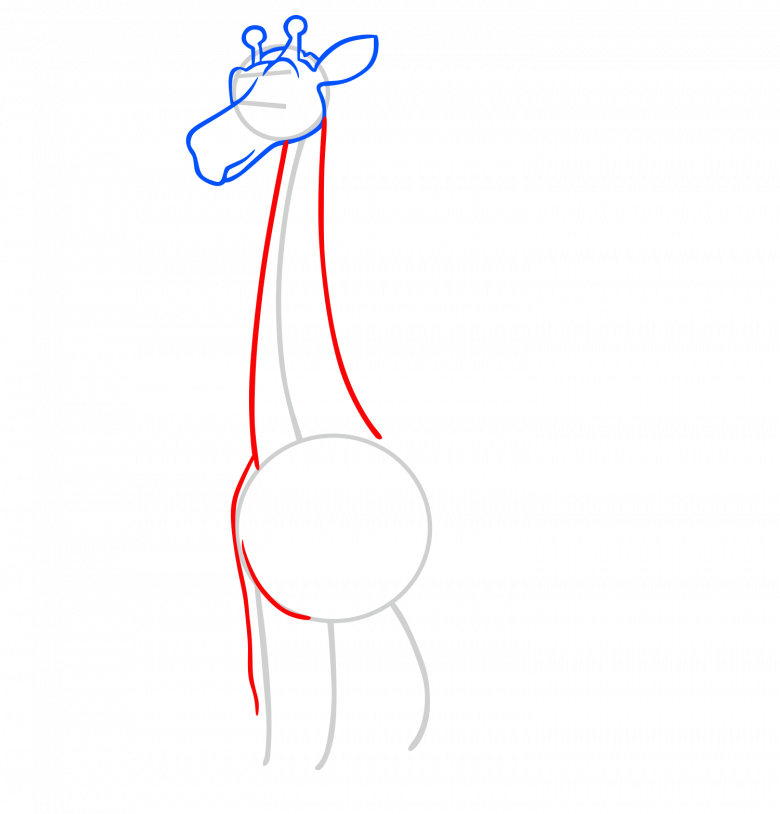
- Head and torso advantageously connect thanks to the curved lines. This will help shape the neck.
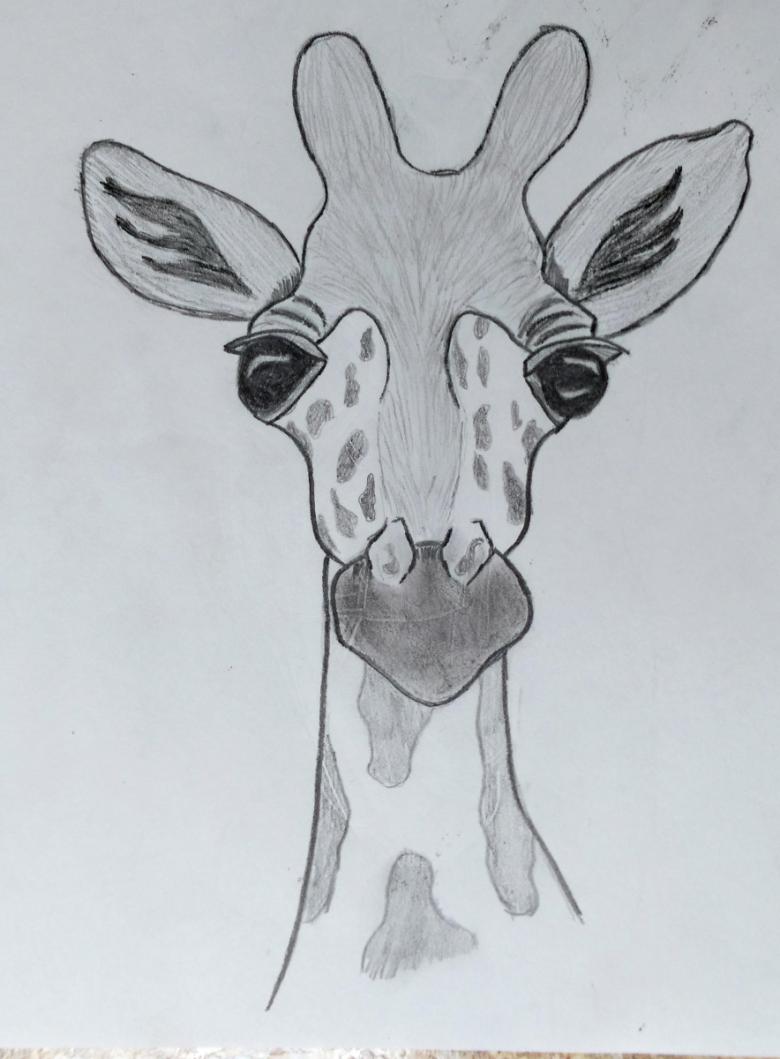
- The head must be detailed first. On the right, draw a petal to indicate the location of the ear. Add a line to increase its volume. On the left side of the circle, form the giant's face. Draw an eye inside the circle, highlight the eyelid.
- Draw a zigzag line on the head - this will be the hair of the giraffe. In the thick wool, put out a small horns.
- Draw long legs, highlighting the emphasis on the hooves. In the back of the torso add a tail with a small brush at its tip. Do not forget to finish drawing the eye. Add a pupil and highlight the beautiful highlights.
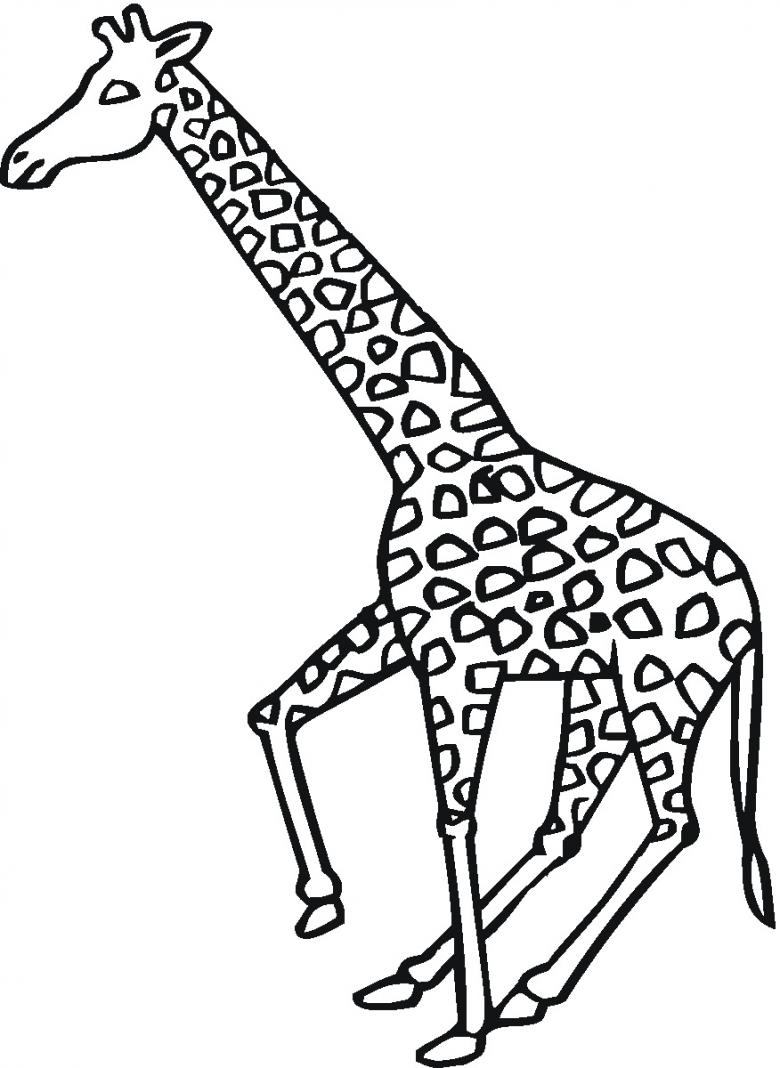
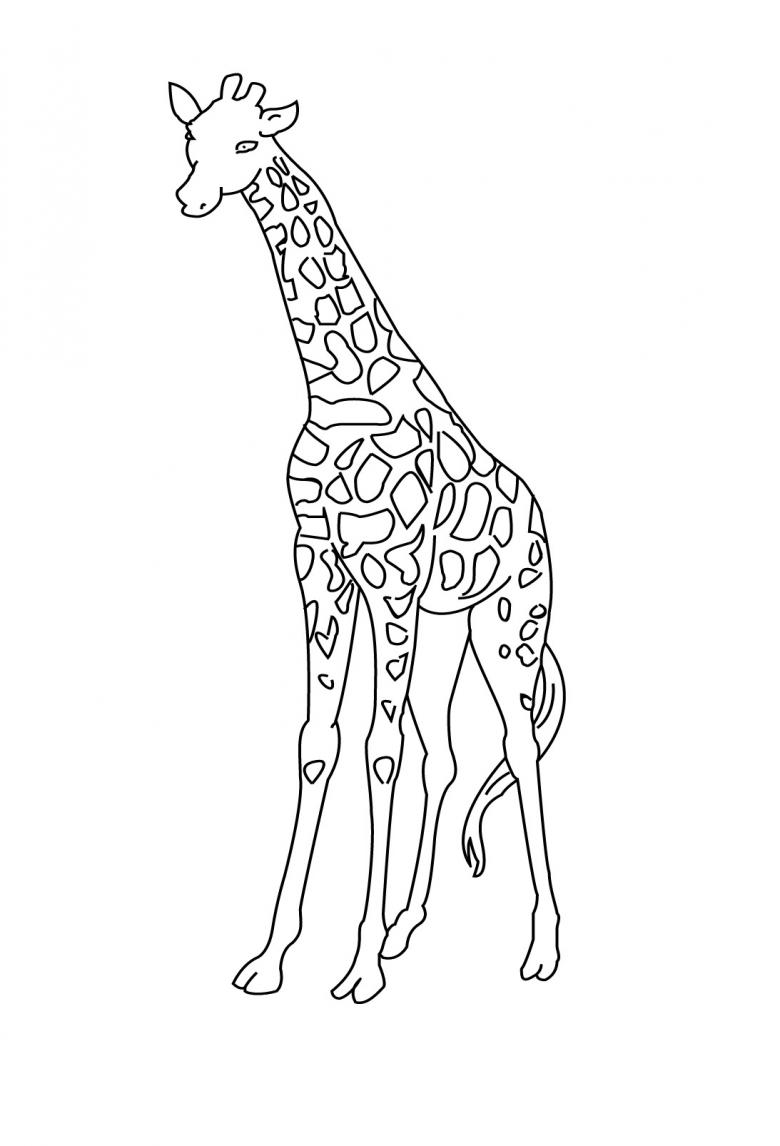
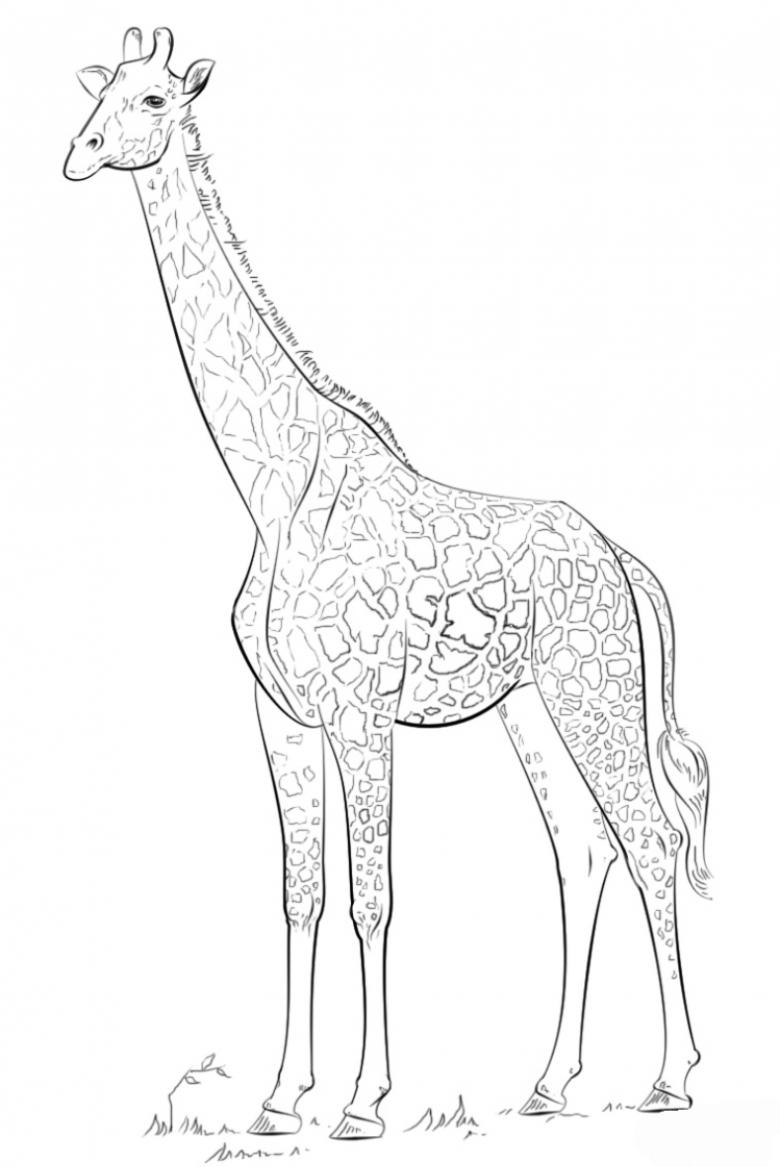
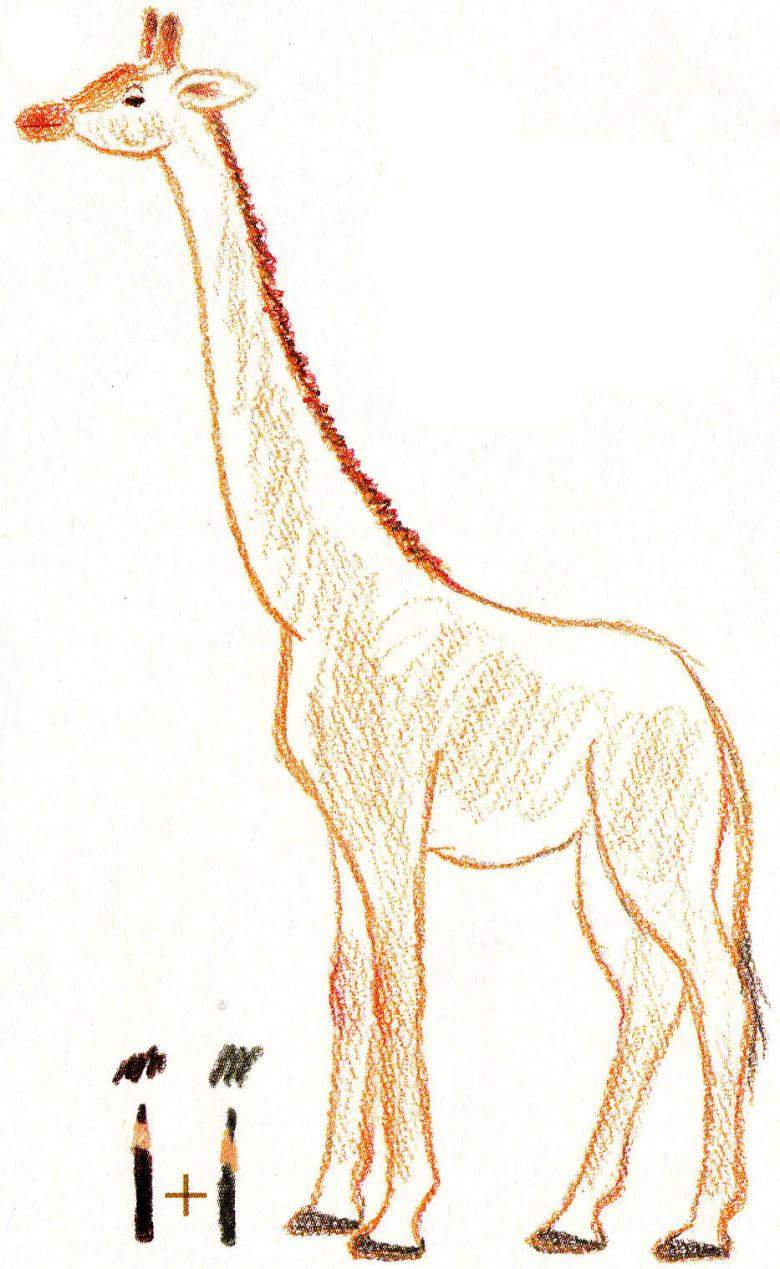
- The basis of the image is ready. To check, you can compare with the real photo. Add details with a black pen. Increase the sharpness of the outlines, and paint over the eye. Expose the beautiful nostrils and draw the mane. Emphasize the separation of the hooves from the legs.
- Start coloring. Apply a brown shade to highlight the hair around the head and neck, the horn point, the central part of the ears.
- Spots all over the body are also advantageous to paint in brown, since this is the animal's natural coloring. For the hooves and tassels of the tail, apply a black pen. Cover the rest of the departments with yellow and orange hues. However, without fanaticism carry out adequate coloring.
Even a child will successfully cope with this task thanks to a clear plan and a detailed sample. But then it will be a little more difficult. Ready for a new challenge to test your artistic skills?
Paint a full-length giraffe?
Perhaps thanks to the first workshop you drew a giraffe for the first time? Admit it was difficult? Of course not! But now it will be a little more difficult, because you need to develop your skills with versatile techniques. Now use gel pens to create a beautiful and bright drawing. Use a cell sheet. After acquiring the necessary skill, you can switch to white paper. Move on to drawing:
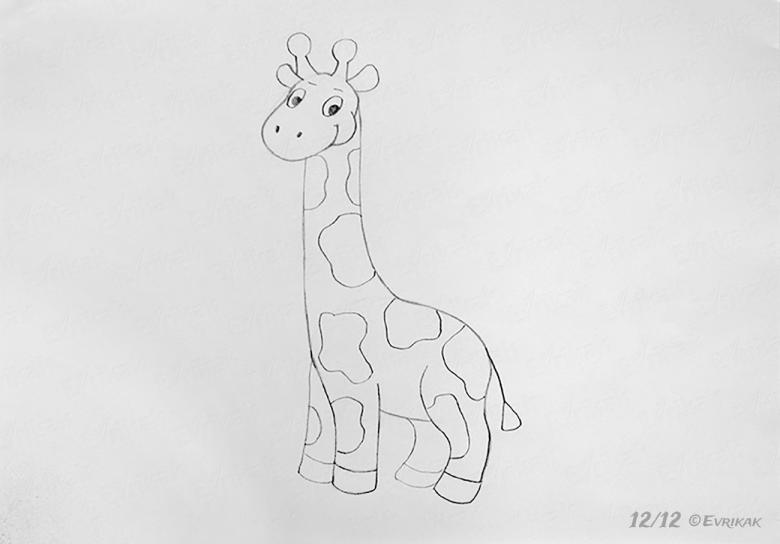
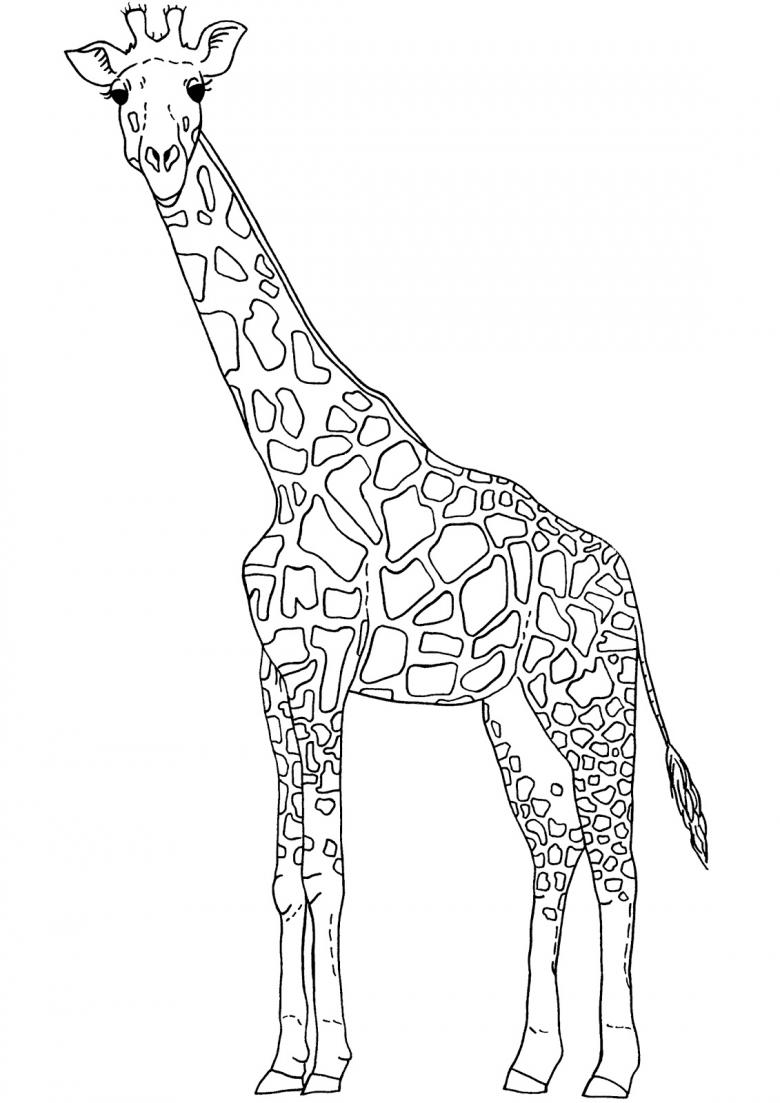
- Use a black pen to create clear outlines. The oval will be the front of the head. Draw two curved lines at the top to highlight the horns. Ears on the sides, shape them in the form of petals. Between them add a woolly head.
- Let's begin to detail the head. On the ears add the middle. Highlight the eyes round shape with small pupils. Add not large nostrils and a smile thanks to the arc. How easy is it? This is influenced by the experience gained in the first example.
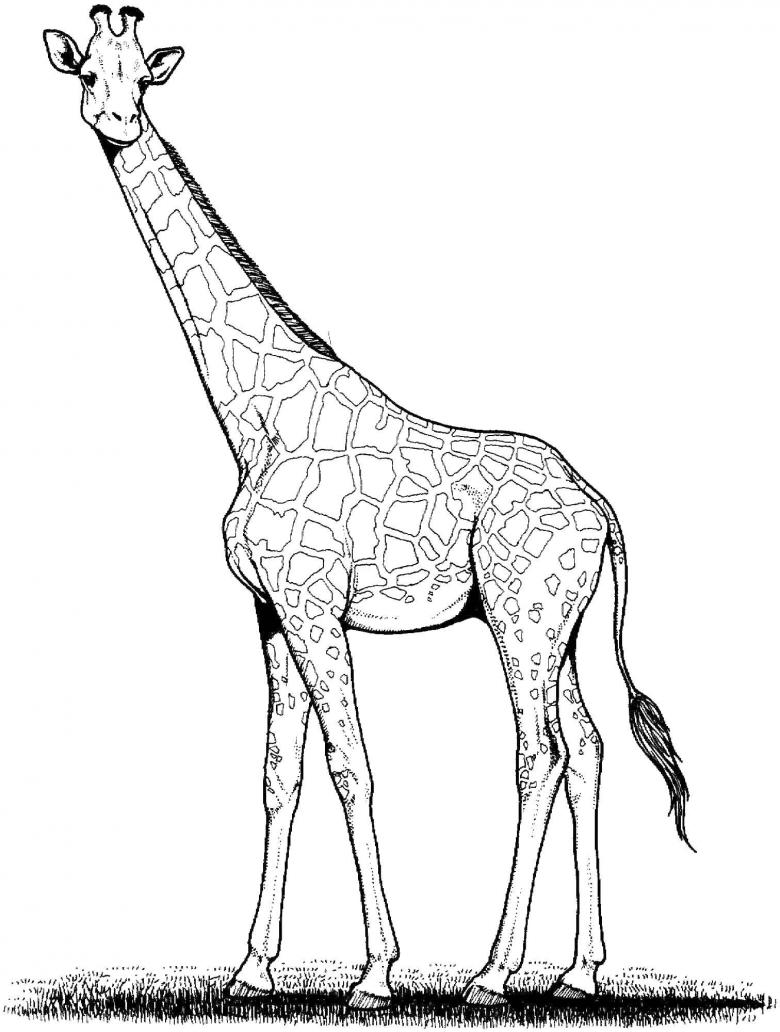
- Draw the bottom of the giraffe. Step down six cells from the head. Two lines indicate the neck. From it, draw arcs to the bottom to form the torso. Complete the sketch with two lines to mark out the location of the legs. Make an emphasis on the hooves, and shade their area. Draw the image of the hind legs.
- It is necessary to apply spots on the giraffe's body. Cover the whole body with them. Use different sizes.
- Paint the giraffe in bright colors. Let the giraffe be kawaii with gel pens. Use orange for horns and spots. Cover the main part of the body with yellow. Use blue for the eyes and green for the grass with a variety of flowers and plants.

You have done well. Congratulations. But the next example will help you develop your abilities even more. Let's move on to the next one.
Draw a giraffe with paint.
This step will be the most important step in the learning process, because after learning it, you will have an arsenal of different ways to depict the giraffe. We suggest relying on gouache. However, in addition to it we will use:
- Regular black pencil;
- An eraser;
- A sheet of paper;
- A set of brushes;
- A container of water;
- A palette.
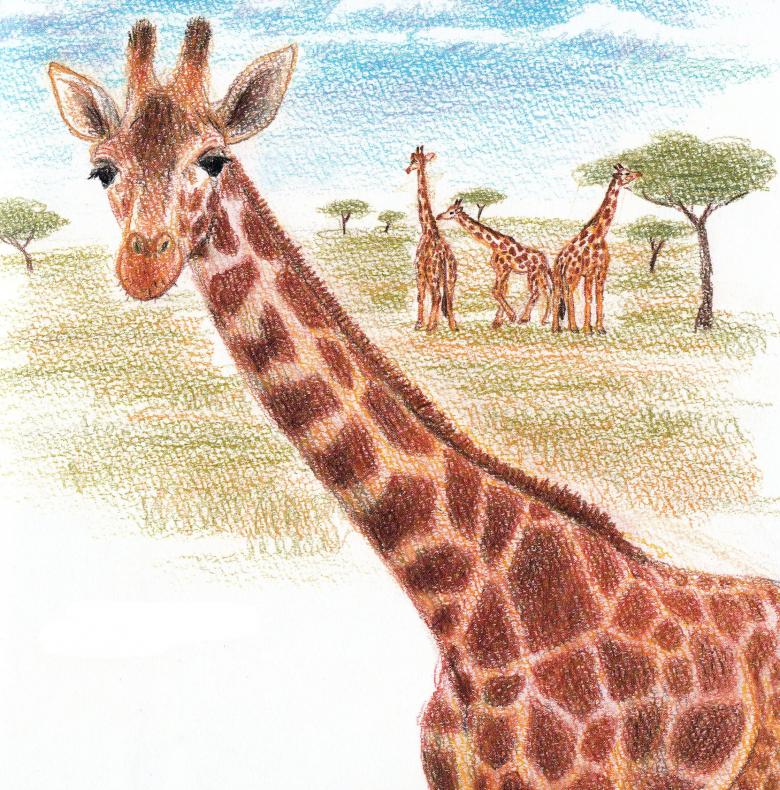
So that you can learn how to work with paint, we won't use an overly complicated example. However, you'll have to be careful about completing all the steps of the example. Are you ready? Have you got the patience? Then let's get creative:
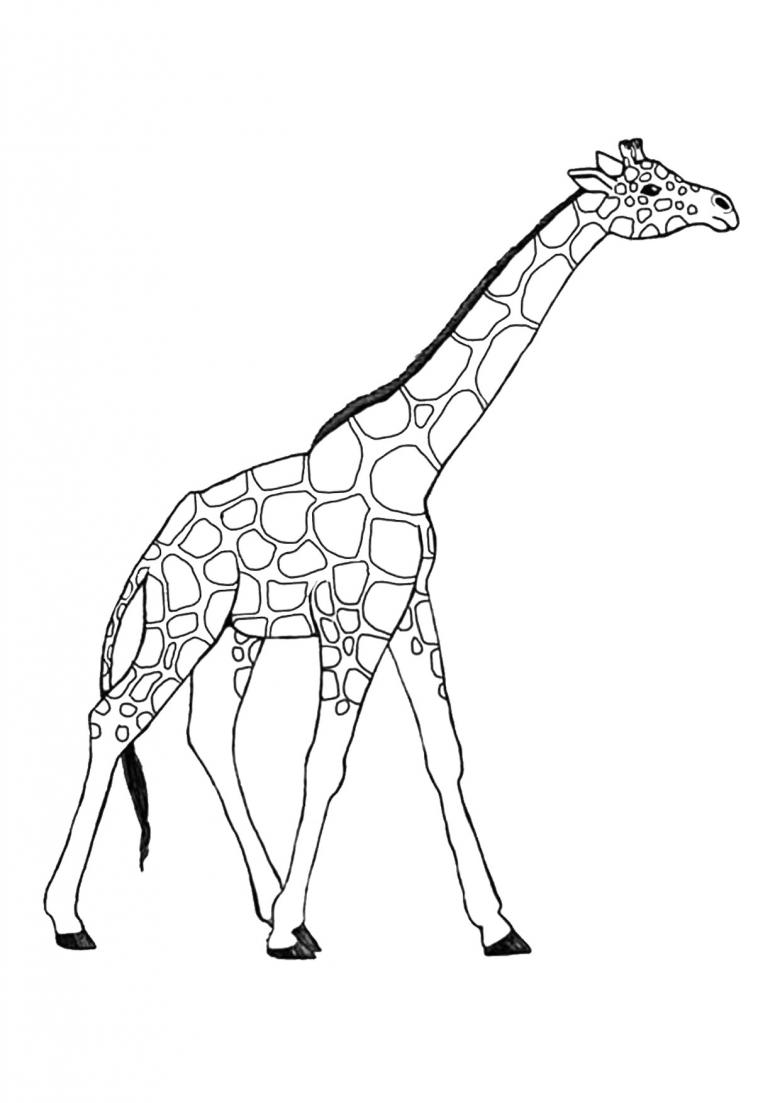
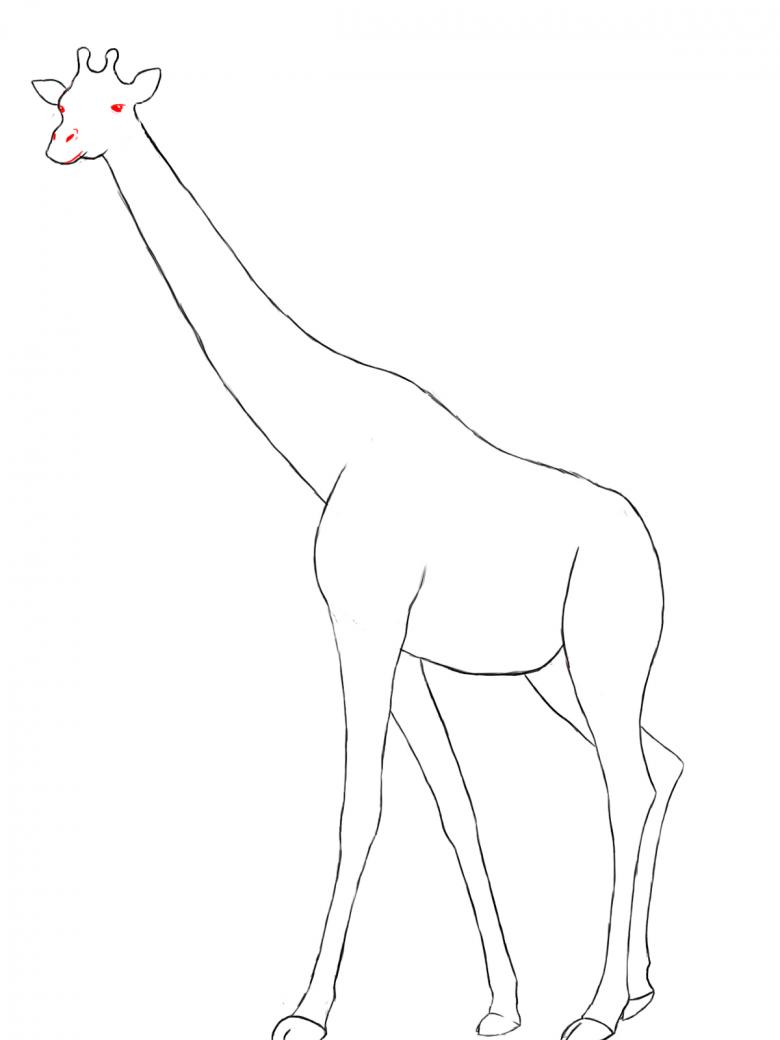
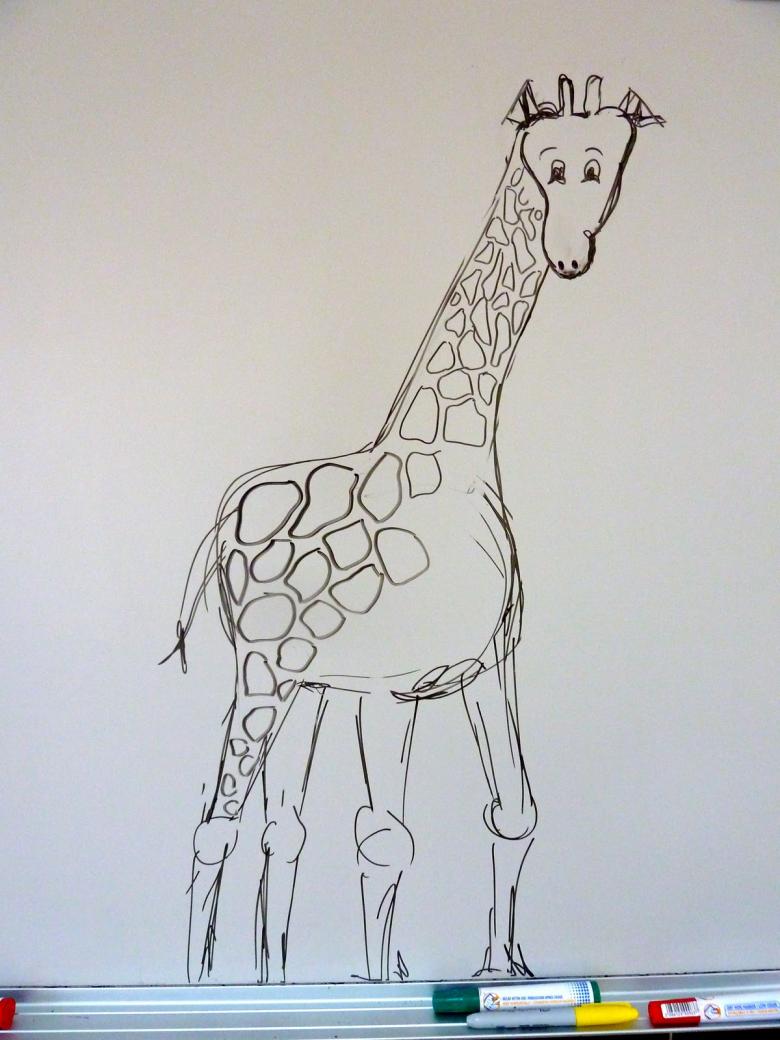
- Make a detailed sketch thanks to a pencil. Make the body oval, the head round, the neck and legs long. Recall the experience gained in the first instructions. Add all the necessary parts of the body: horns, hooves, eyes, wool and mane.
- To the back, finish up the tail based on the accent toward the tassel. On the finished sketch, it is left to add spots of varying volume.
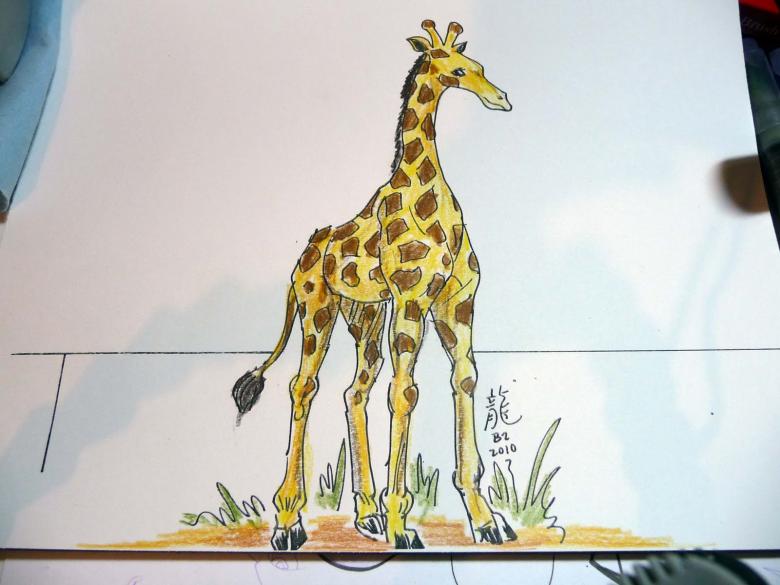
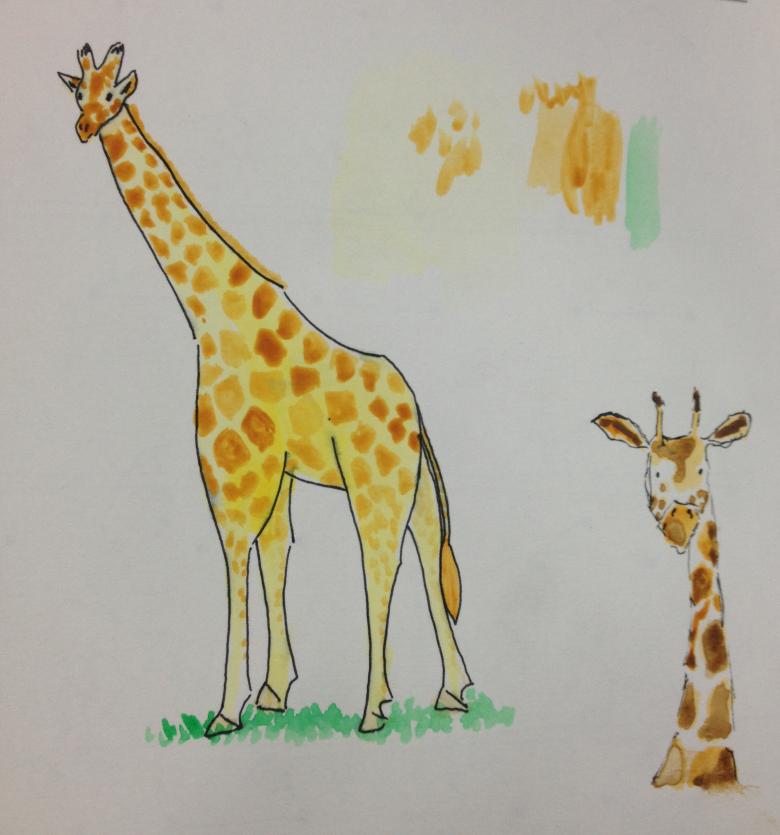
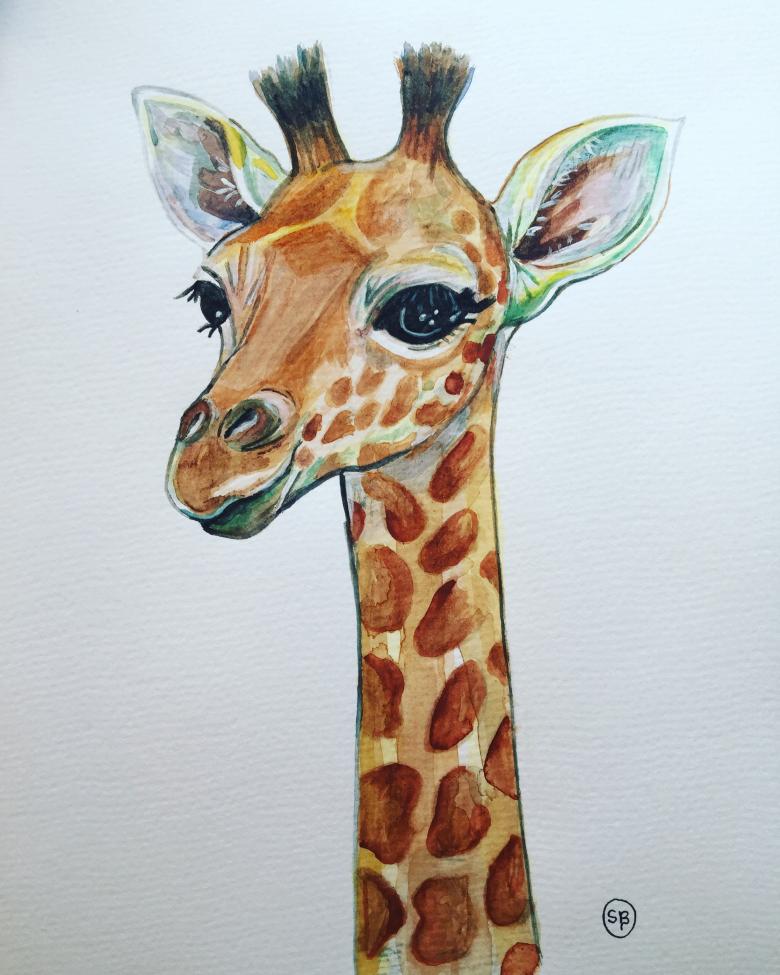
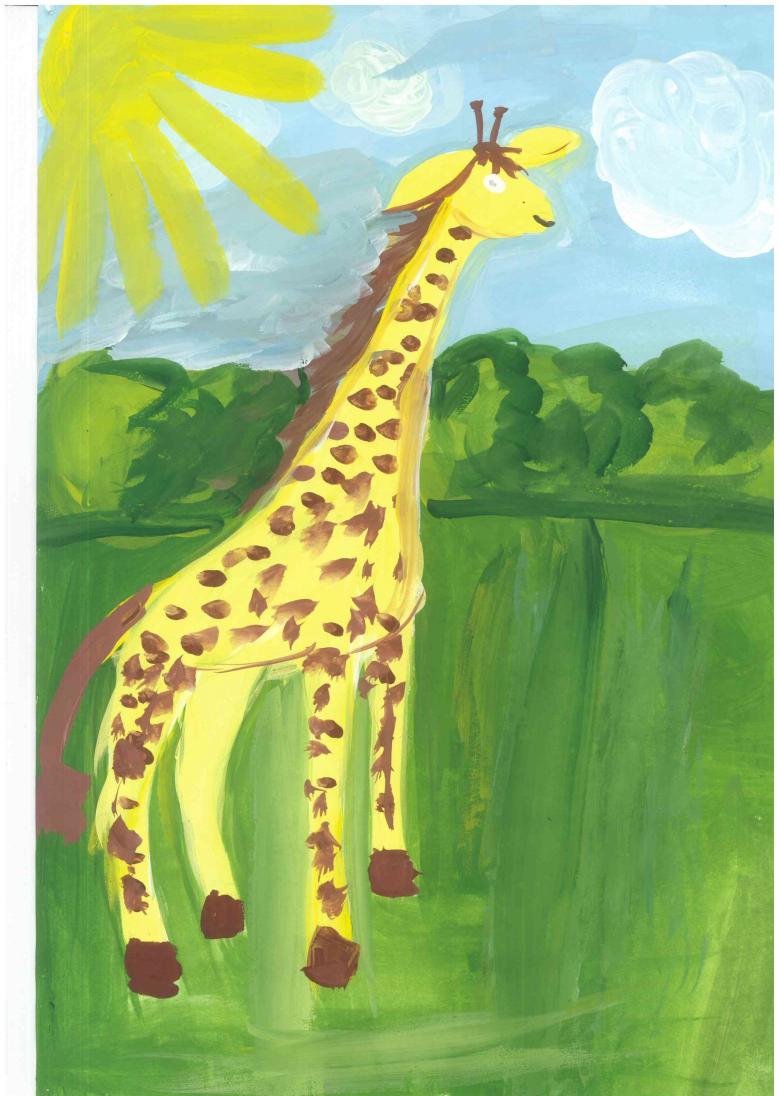
- See how tall and beautiful the giraffe forms thanks to the detailed sketch. Begin coloring. Use yellow as the main color. Use a thin brush to ensure neatness. Avoid using too much water. We do not need to blur the colors, on the contrary, it is important the saturation and brightness.
- We will make the stains. Do not change the brush. We use a brown color. Apply it to the tail and hooves.
- Leave the main drawing to dry. For the background, mix blue with white. Use lettuce for the bottom and green for the grass.
- Paint the eyes in blue. Black mark the contours and mane of the giant.
We have done a good job today. Now you know how to work with gouache. But after a little rest, come back to us again - we will definitely prepare a new master class.

