How to draw the earth: a step-by-step description of how to draw a landscape and landscape
Earth appeared in the universe many billions of years ago. According to the facts known to mankind today, this is the only planet in the solar system inhabited by living organisms. Most of its surface is water. The rest is made up of continents and islands located at the north and south poles.
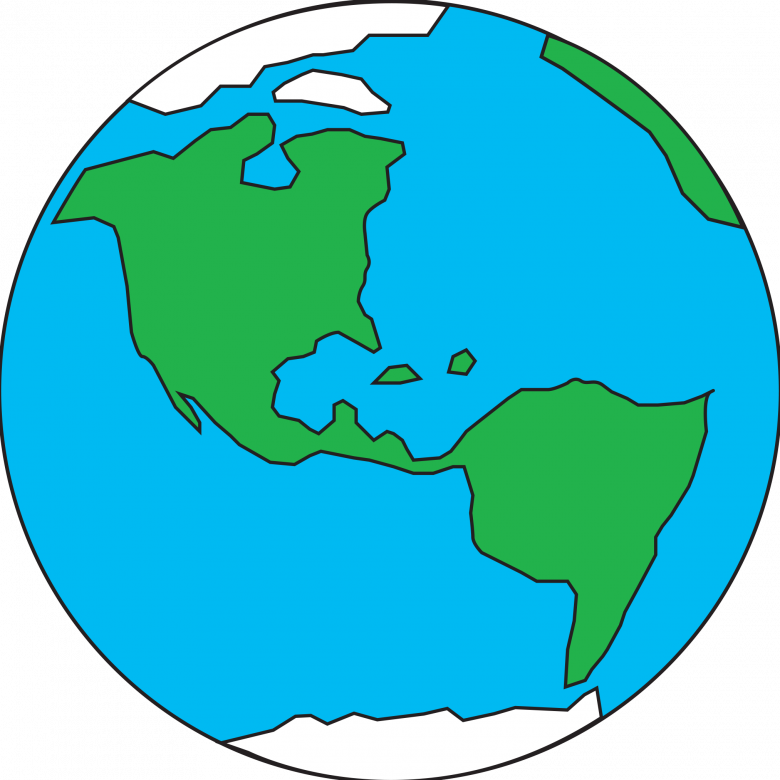
Our planet is made up of six continents: Eurasia, Australia, Africa, Antarctica, North America, and South America. About 7.5 billion people live on them. Every year this figure is increasing. Also on Earth there are five oceans: the Pacific, Atlantic, Indian, Arctic, and Western.
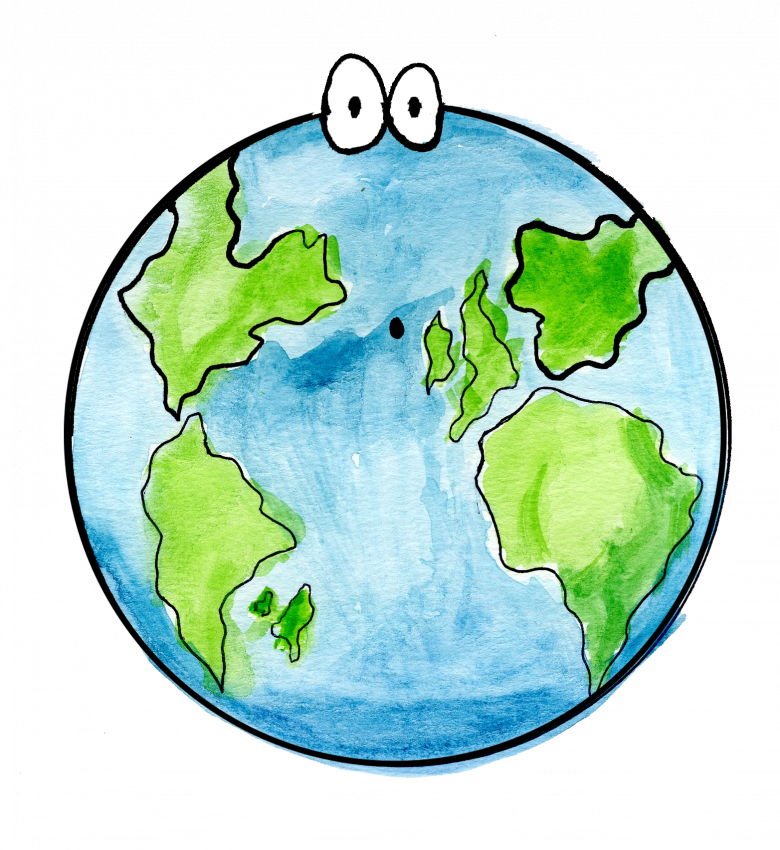
The latter was only defined as a separate species by the International Hydrographic Organization in 2000. Gradually the appearance of the planet is changing, this is due to the disconnection, shifting and compression of the platforms.In this article we will look at three step-by-step master classes with which you will learn how to easily draw the Earth as it is today.
Drawing with a pencil
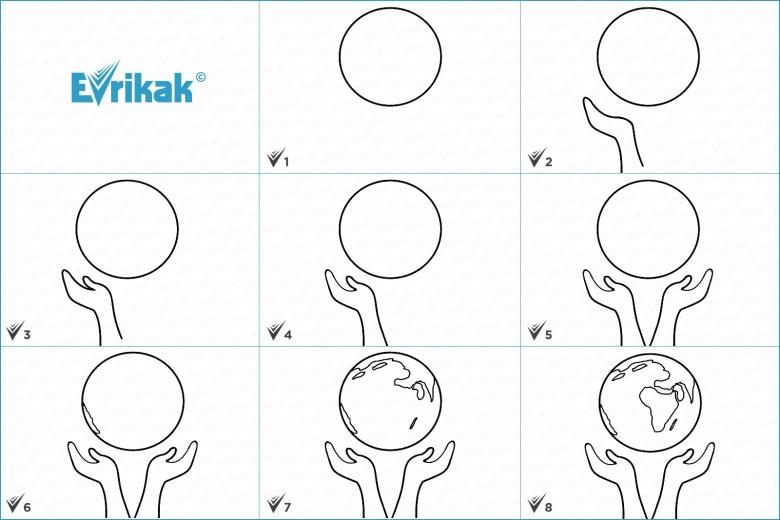
We should probably start with the easiest lesson. For it you will need a sketchbook, a pencil, a ruler and an eraser. Such an exercise will be able to learn a child of any age.
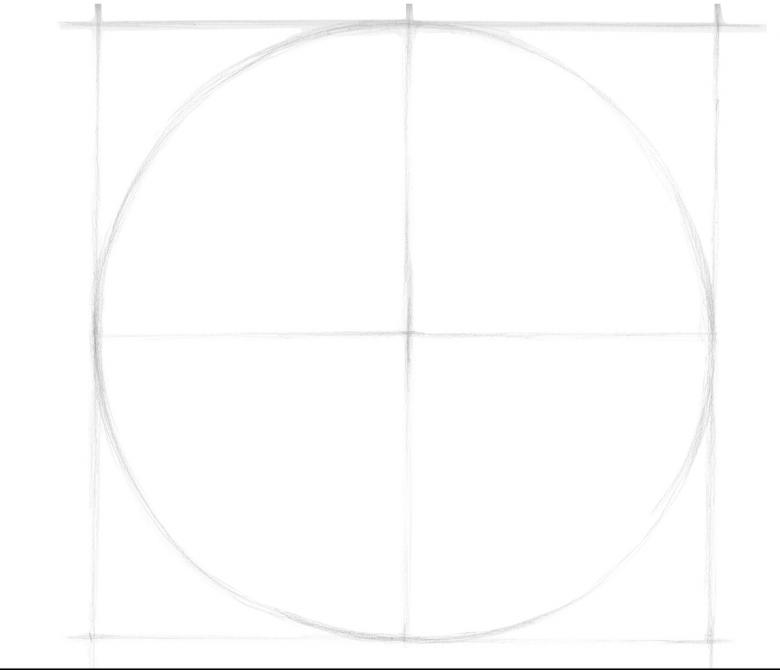
- In the first step, in the center of the sheet you should draw two squares. Their size depends on the size of the future illustration. Then divide them in half, both horizontally and vertically. These sketches are necessary to create an even circle in the future.
- Draw four arcs, which are in contact first with the sides of one square. Then do the same with the other.
- Connect with each other all the segments in a single unbroken line. And here the silhouette of planet Earth has already appeared.
- If you want, you can speed up the process by using a compass. Thanks to him the circle will be as flat as possible.
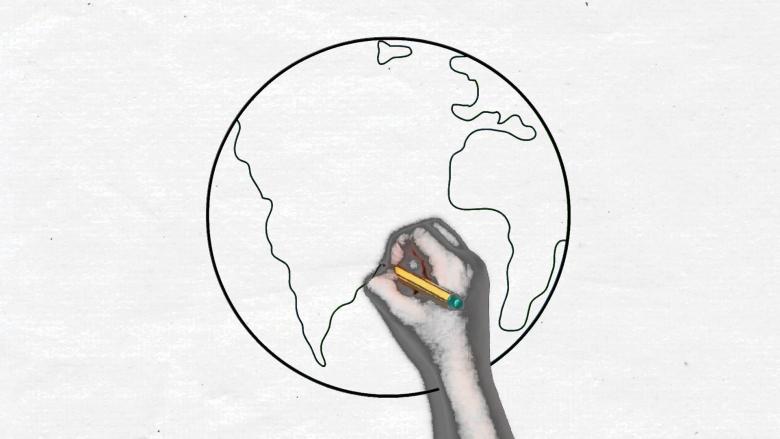
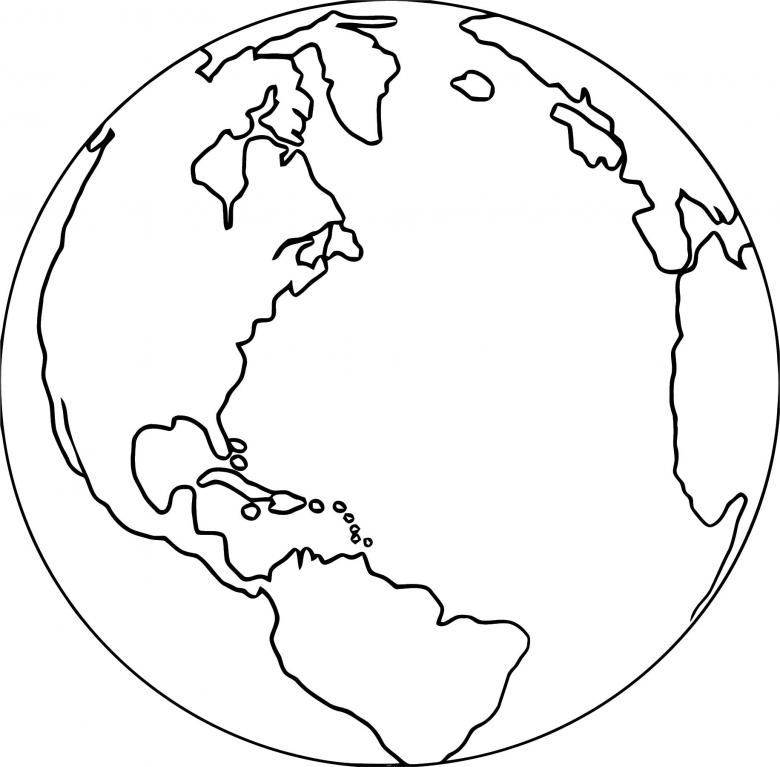
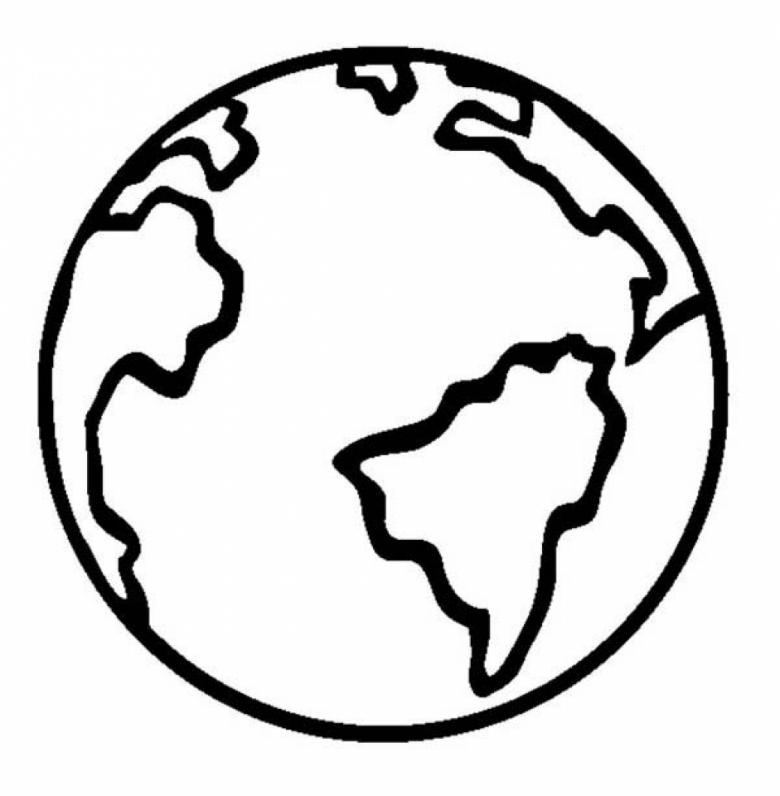
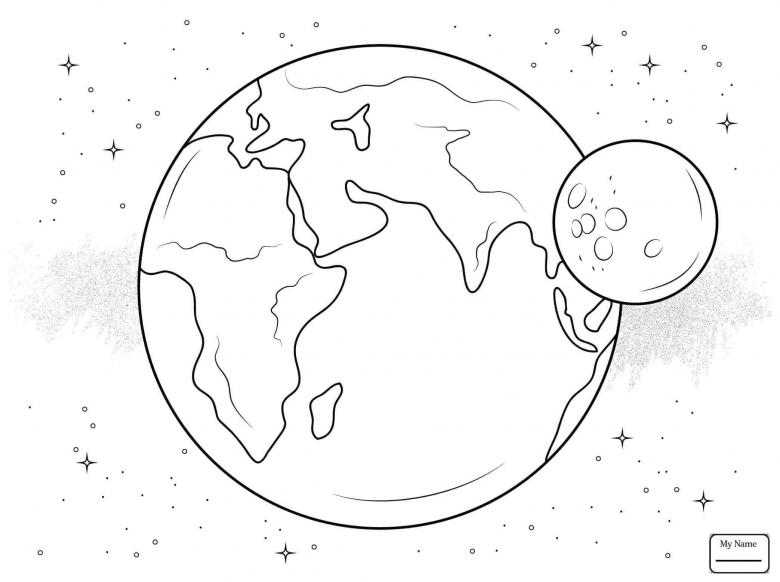
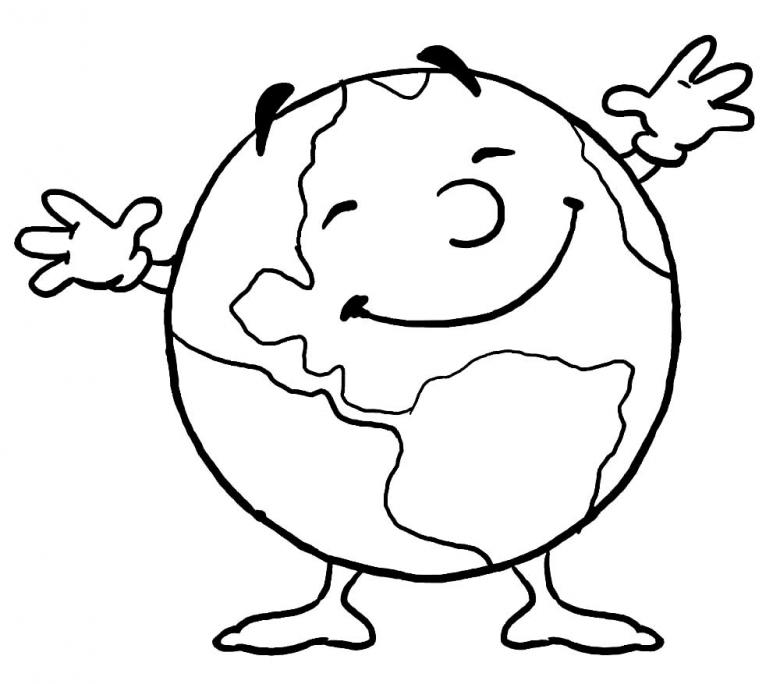
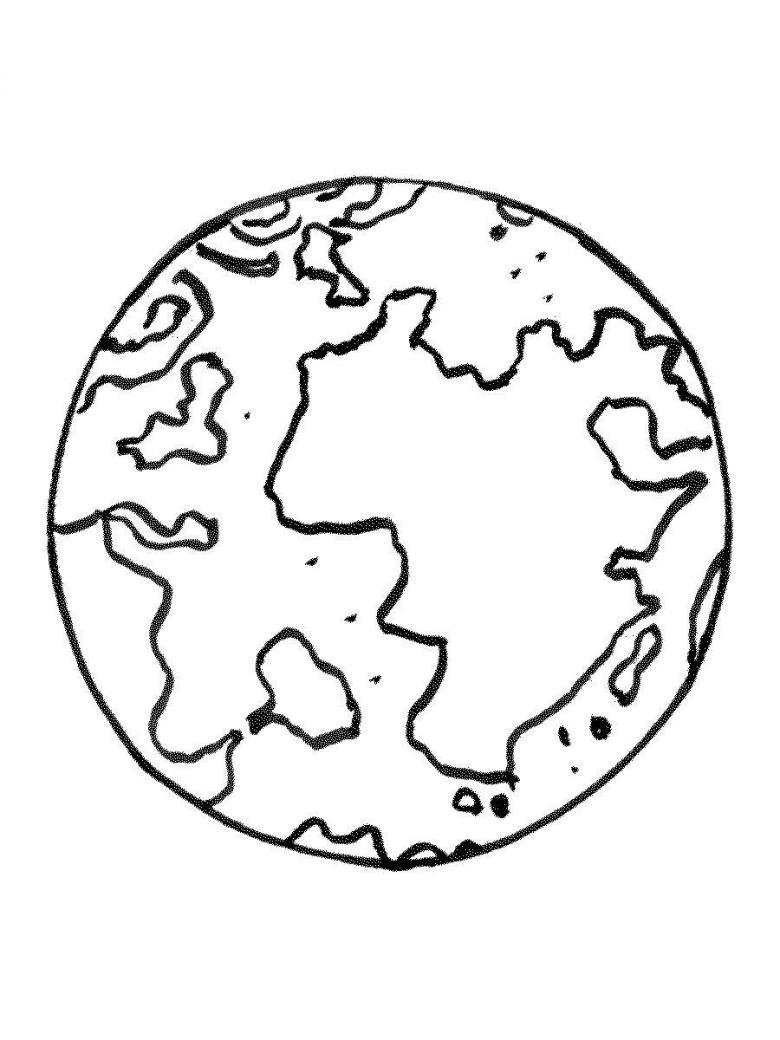
- Now draw the continents, islands and oceans inside the resulting sphere. The fragments where there is water, shaded completely pencil. This will give clarity to the picture.
- Erase with eraser unnecessary lines, which are no longer useful. Complement the drawing points like stars and dilute them with stripes, which will serve as the embodiment of space around the earth.
Improving the technique of drawing
When the simple master class is mastered and the hand is more or less stuffed, you can proceed to the next, slightly complicated task.
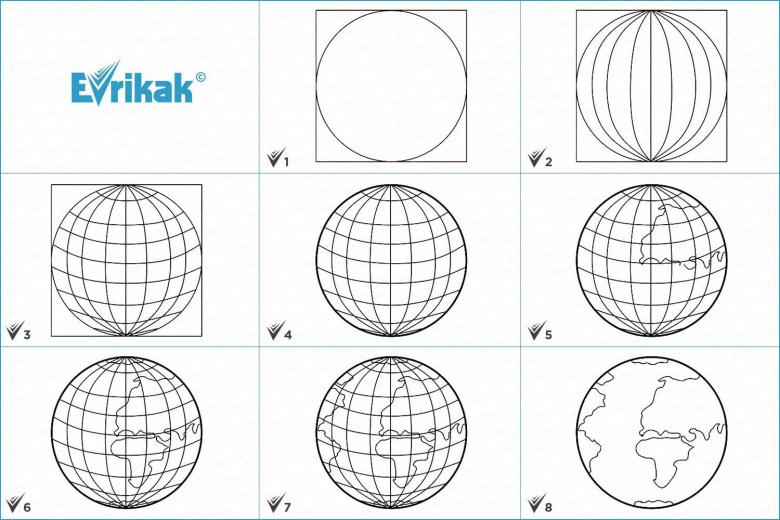
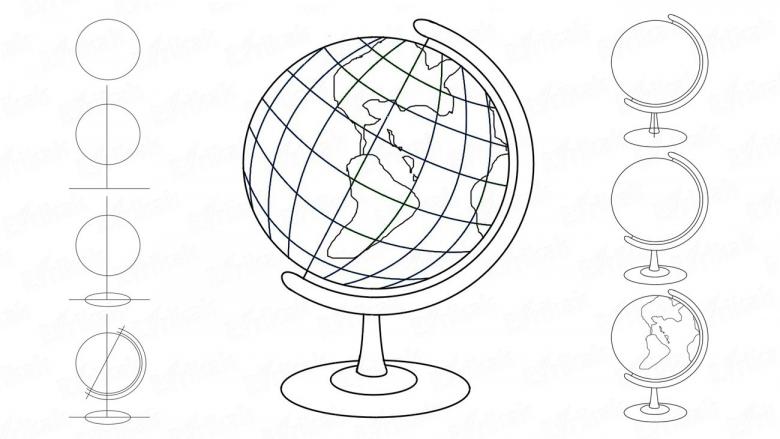
- In the middle of the paper depicts a square.
- In it we place a circle. To draw it, use the same methods as in the previous lesson.
- Divide the figure in half. Starting from the left side, trace part of the figure with curved lines from top to bottom.
- Do the same on the right side. Try to create a mirror sides.
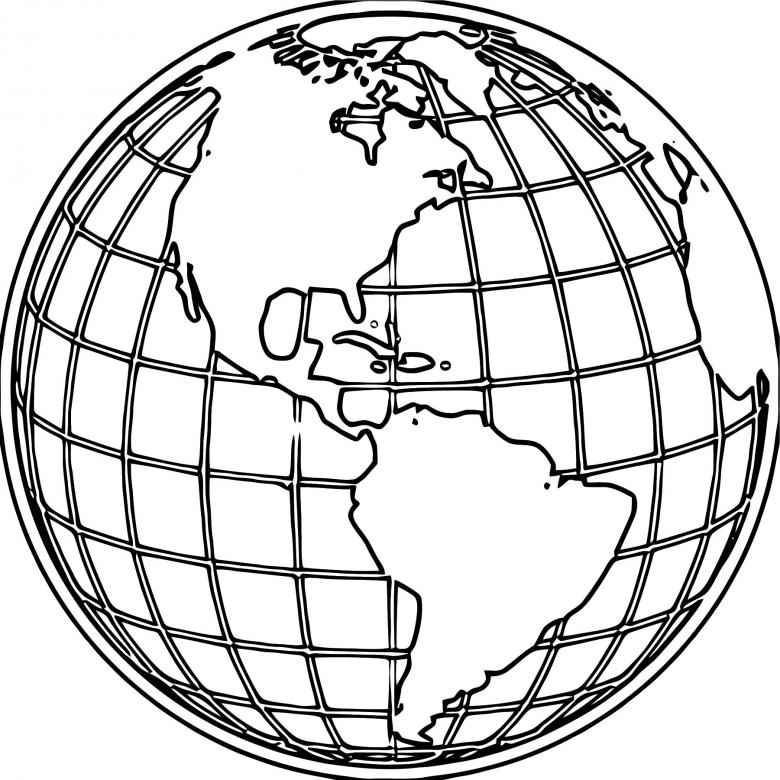
- Now draw similar strips horizontally, distributing them evenly all around the circle. You should get a degree grid.
- With eraser erase elements of the square.
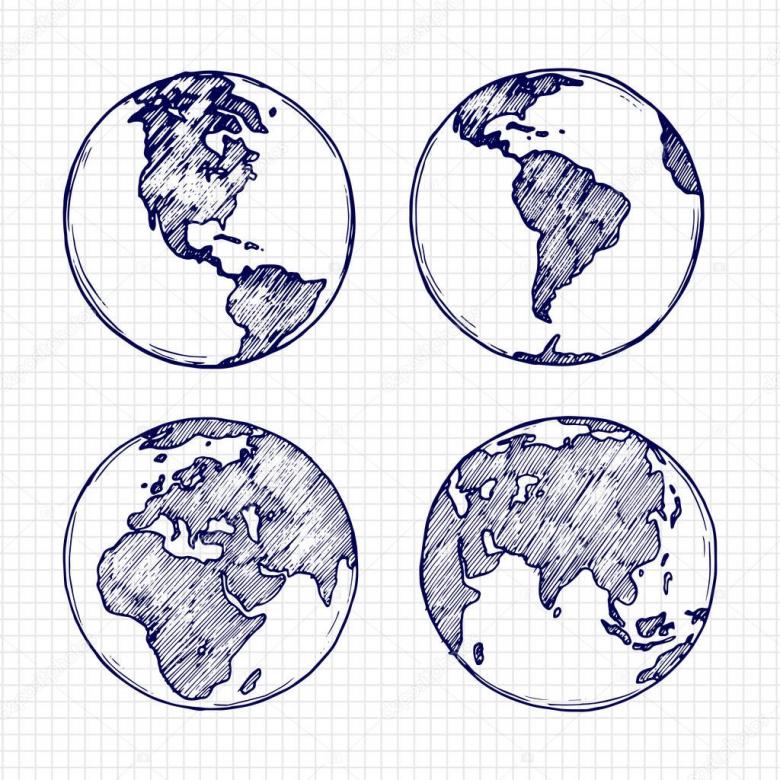
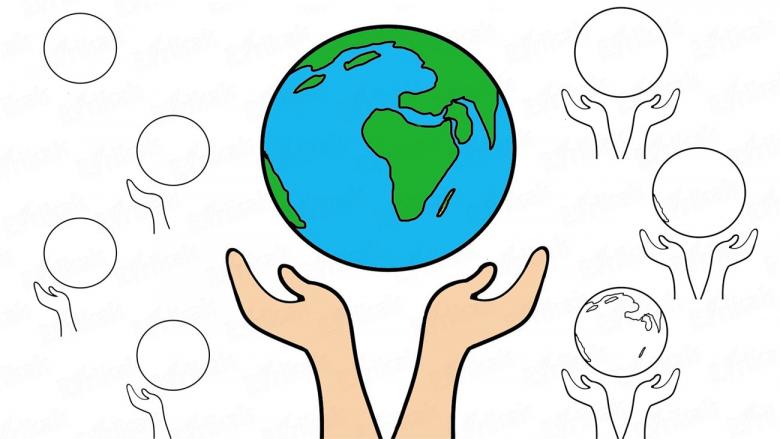
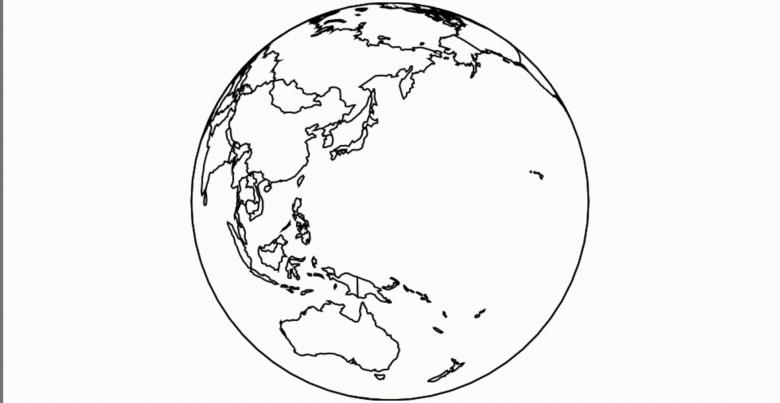
- Visually divide the resulting sketch into four equal parts. At the top right, depict Eurasia.
- Then under it outline the silhouette of Africa.
- Next, derive Antarctica and the Arctic.
- Focusing on the cells, draw the North and South America on the left.
- The next step is to remove unnecessary lines.
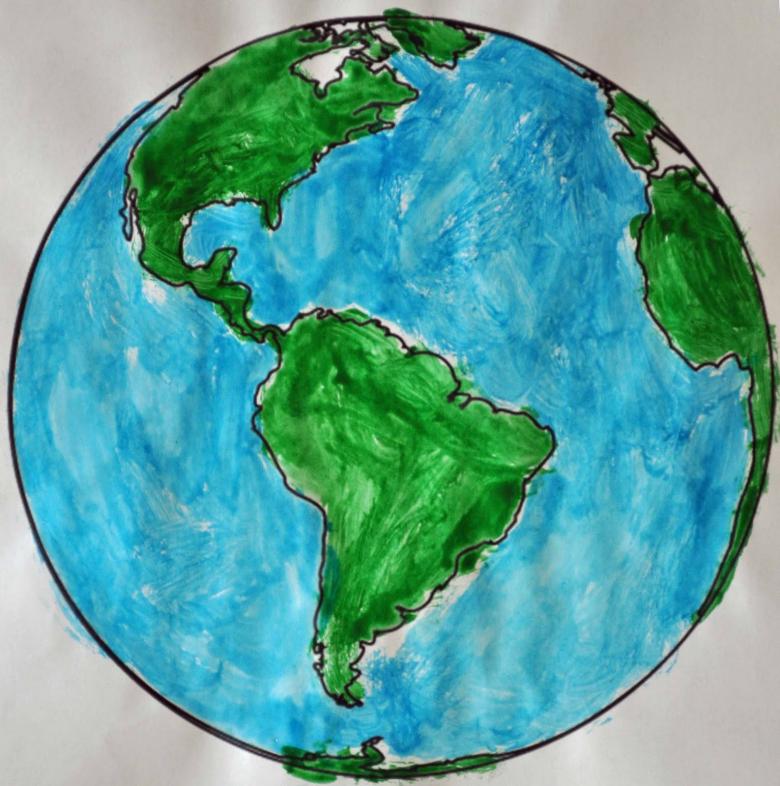
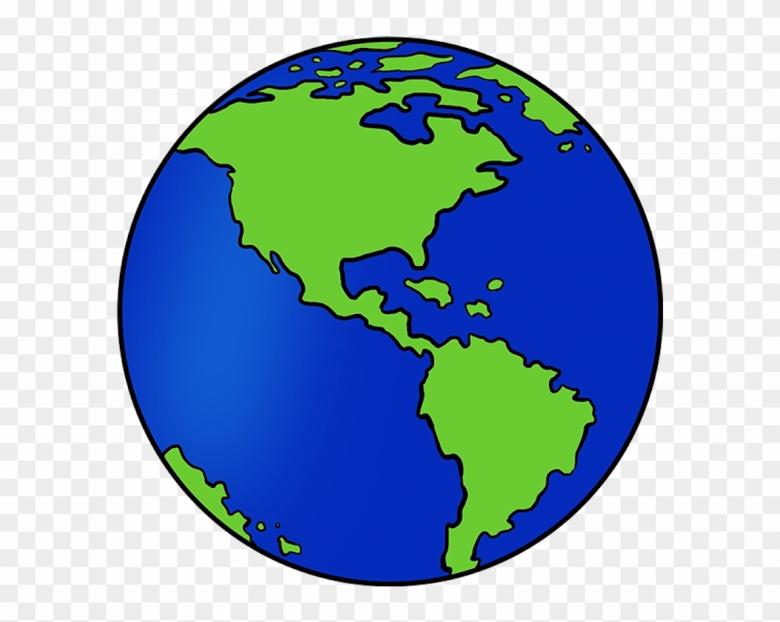
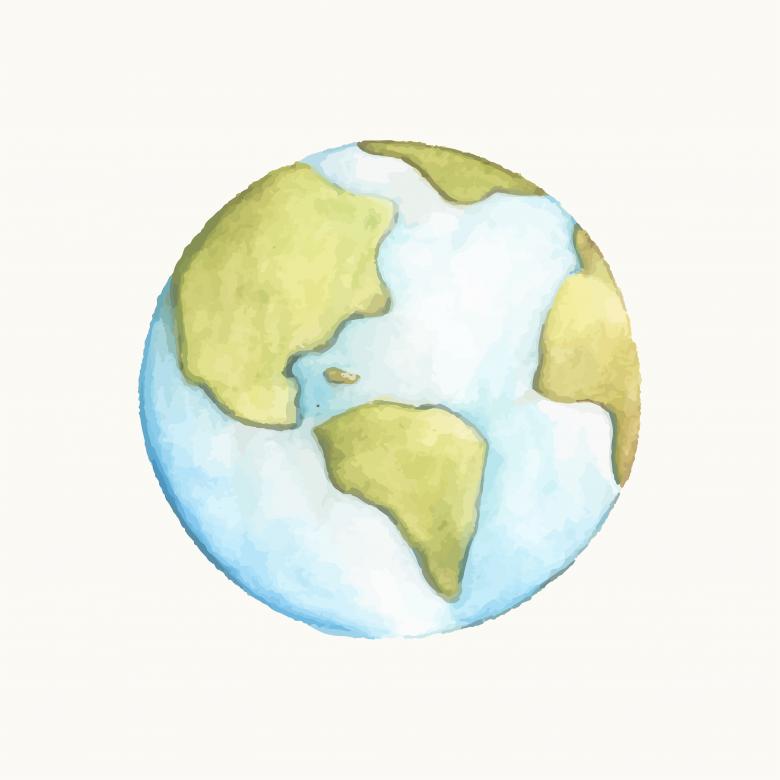
- It remains only to paint the illustration. Apply pencils of green and blue colors. For brightness of the picture, use felt-tip pens or gouache.
Drawing the earth from a photograph
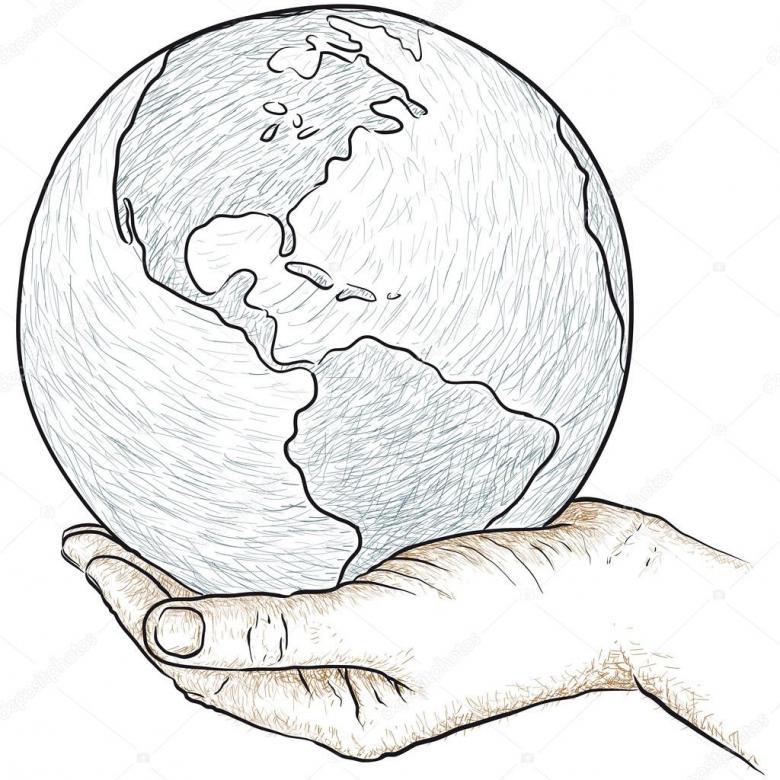
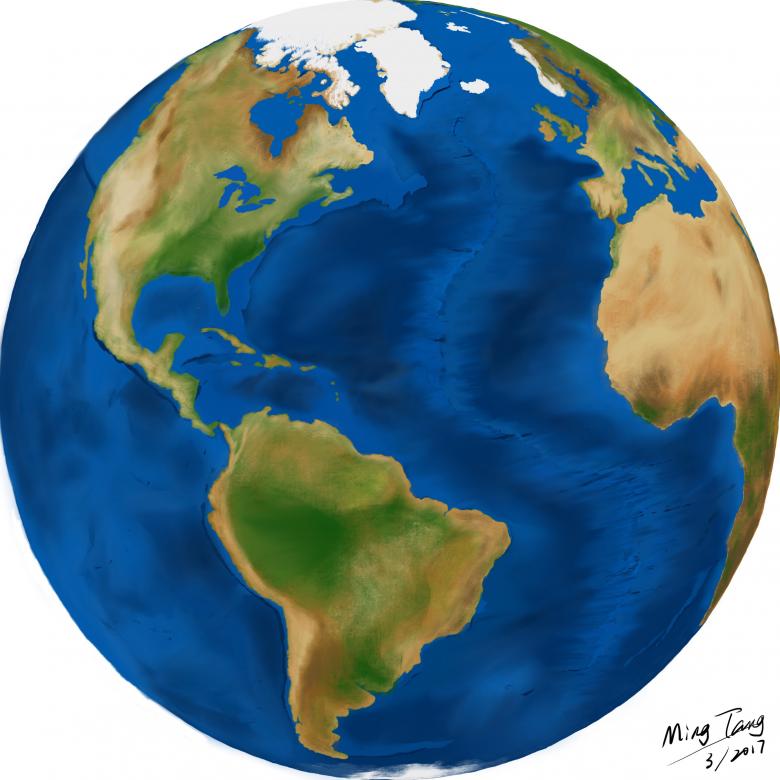
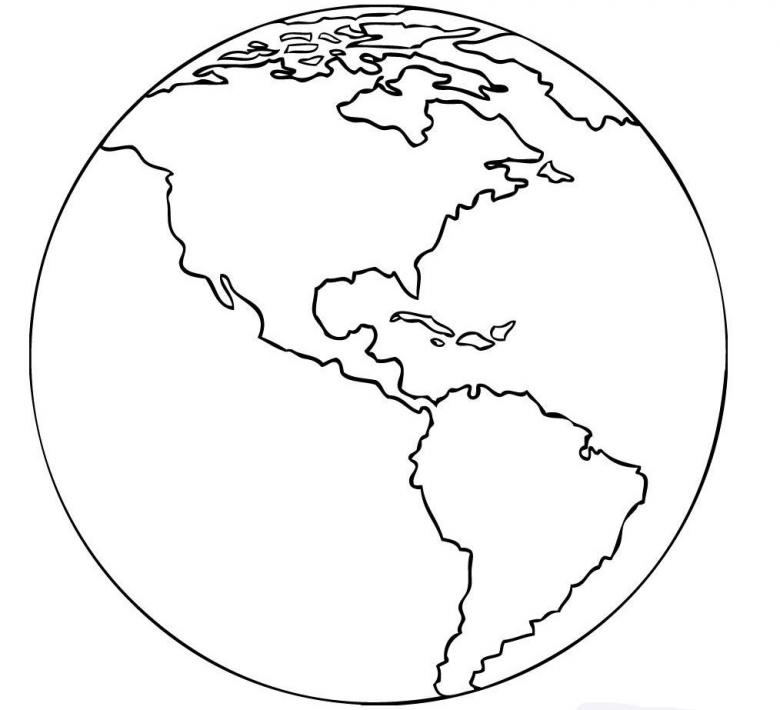
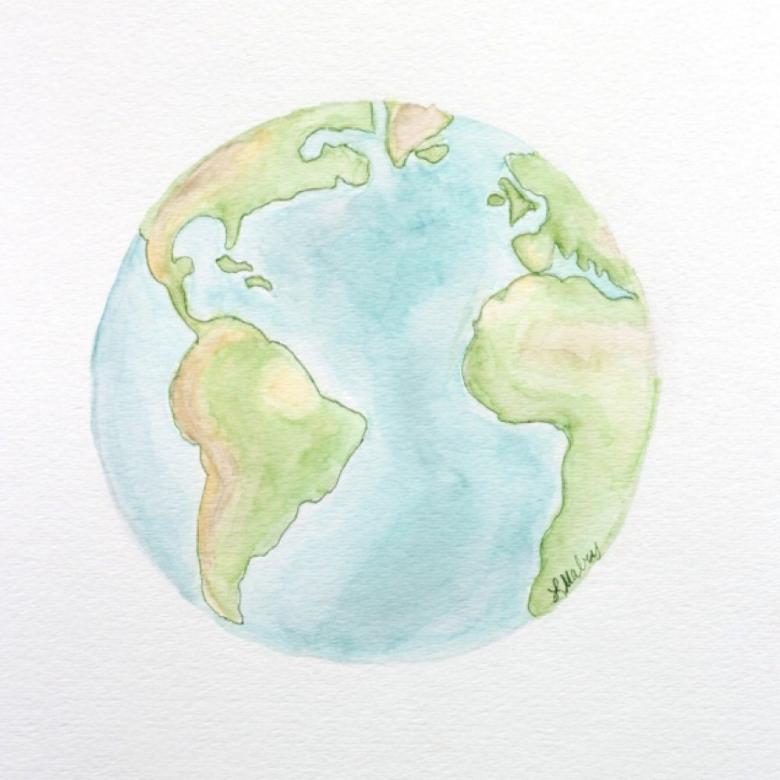
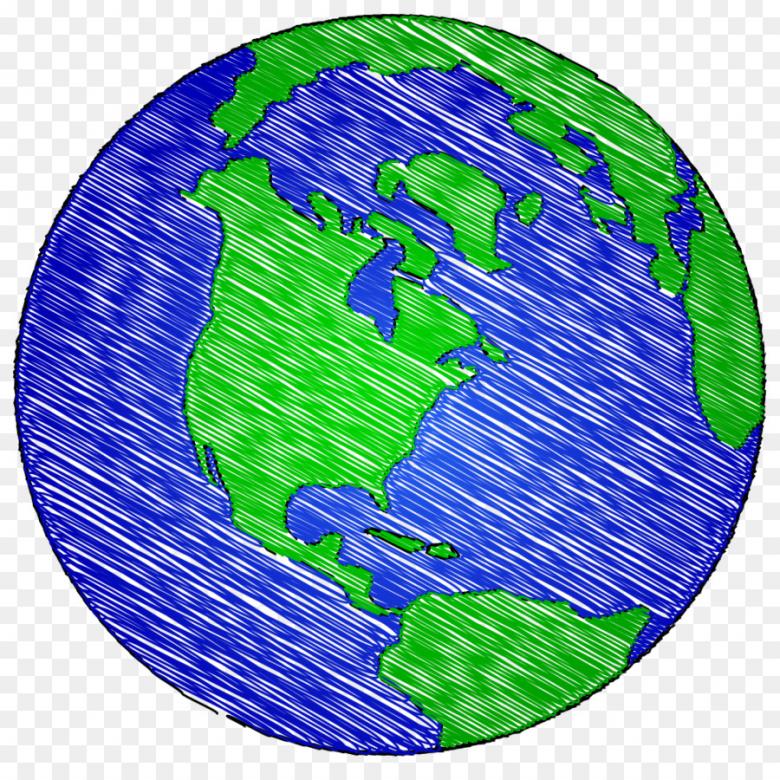
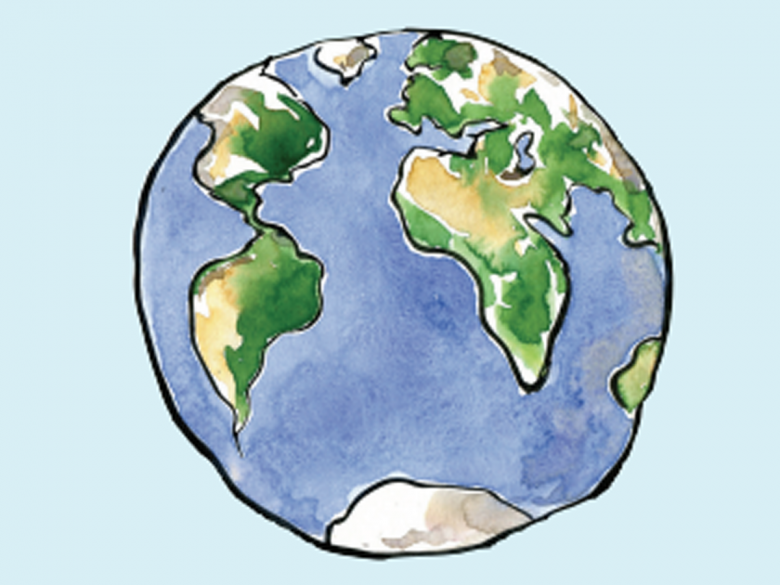
This job is the most difficult one. It requires a lot of time, diligence and attention. In order to correctly depict the details of the drawing we will rely on the photo of the planet Earth, taken from space.
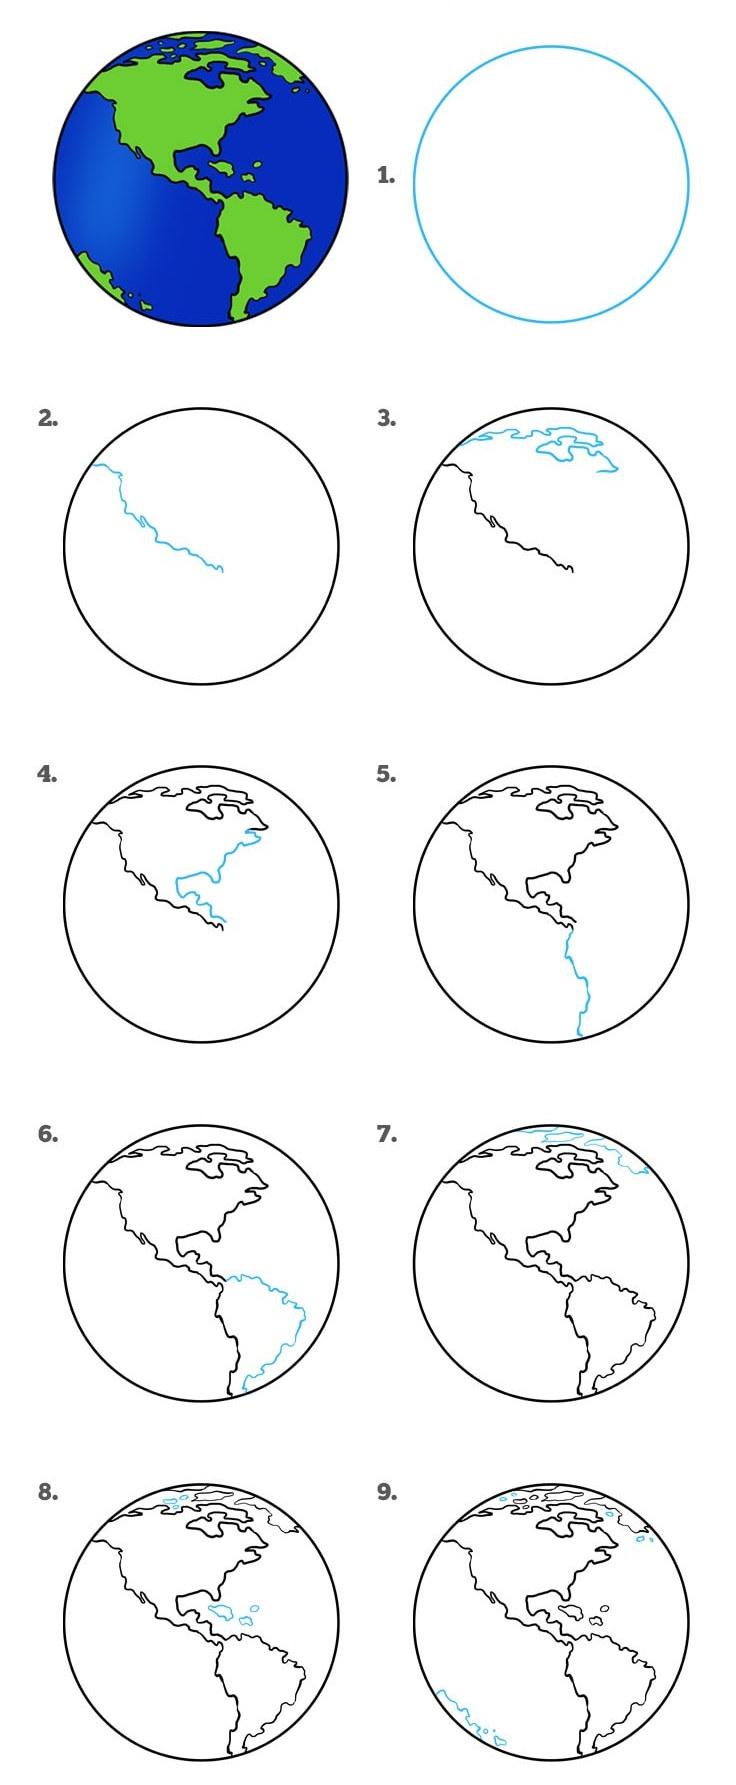
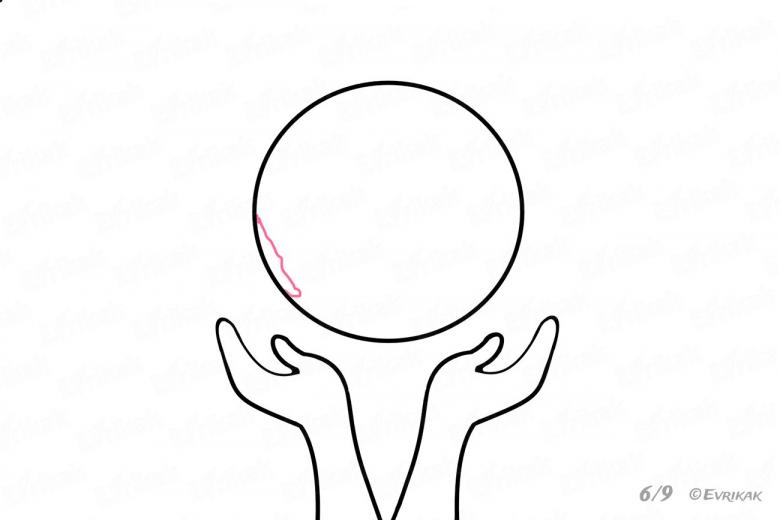
- Standard at the first stage is deducing a circle.
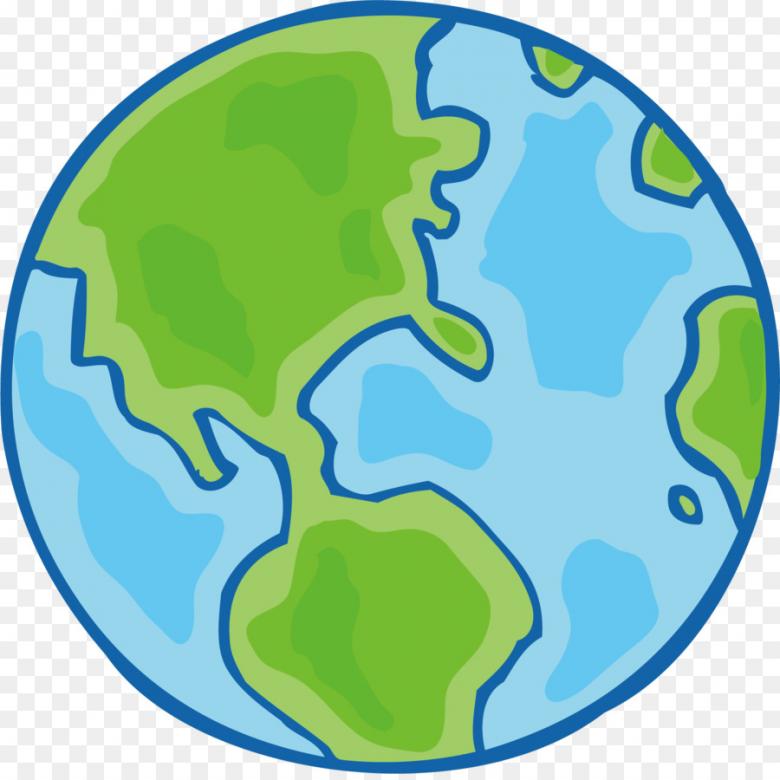
- Draw from the top to the center of an uneven, curved line. It will serve as part of the territory of the North American continent on the Pacific side. Draw your eye to some of the elements of the segment. Sketch them as accurately as possible. This will give your work geographical clarity.
- Next, just above, the next more curved strip that represents the other side of the continent. Emphasize where Alaska and Canada are located.
- Finish outlining the silhouette of this piece with a third curve, but don't connect it to the first.
- Circle the western zone of South America with the serrated line. This will be easy to do as it does not have strong curves.
- Now draw a winding line parallel to it. It is its east coast.
- At the top of the circle, dilute the drawing with details in the form of irregular shapes.
- Then in the center create several different sized islands.
- Bottom of the globe add small figures.
- And at the last stage remains only to paint the resulting picture.
To perform this master class was not so difficult. Isn't it?
Planet Earth is the most unique part of the universe, which contains many secrets and mysteries. Try to study each of its continents and oceans individually. Draw them on a scrapbook. It will help you get a clearer idea of the curves of the borders of different territories. Thanks to this, you will then be able to easily create a drawing that is not only beautiful, but also geographically correct.

