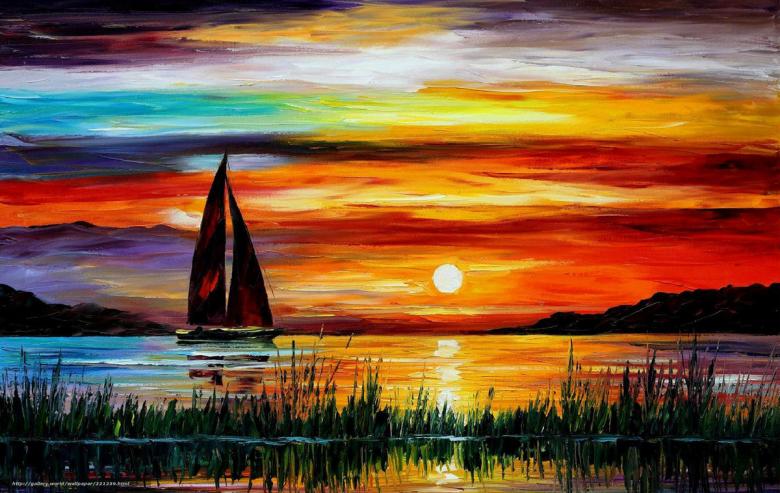
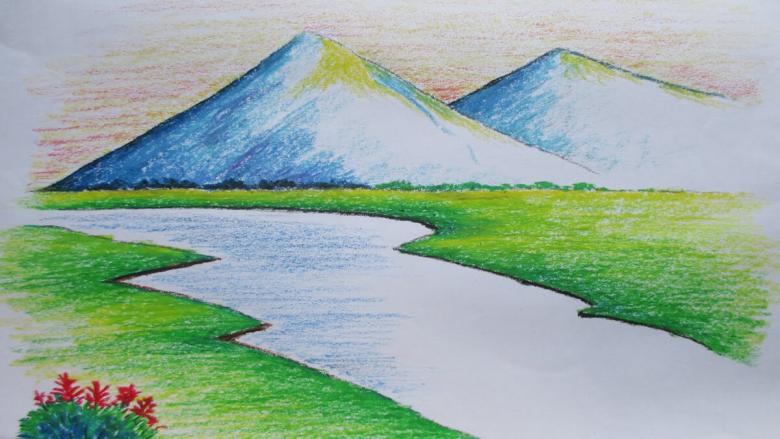
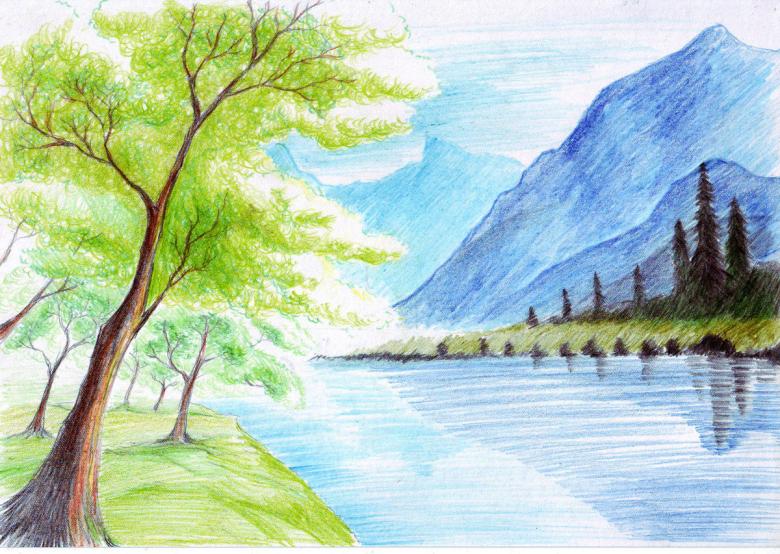
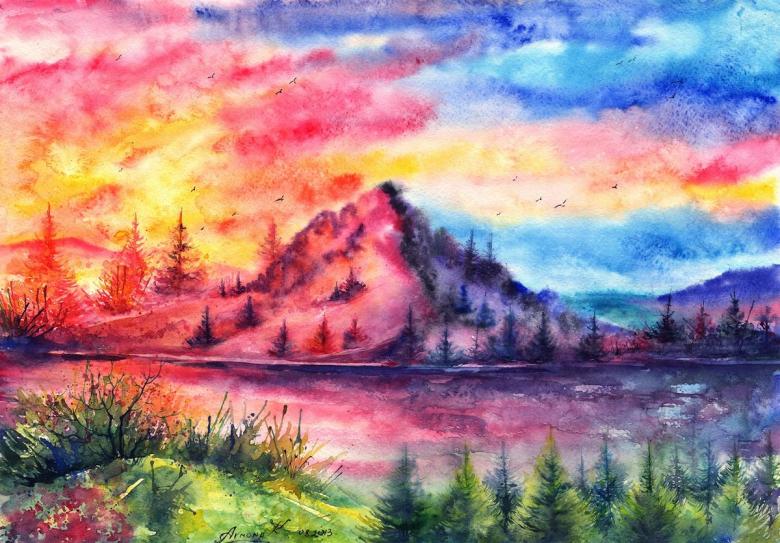
How to draw a landscape - learn how to draw a beautiful landscape with your own hands from A to Z
Nature is a very powerful source of inspiration and therefore the desire to capture it appears in many people. People take photos of nature, shoot amateur reports and depict favorite landscapes on paper with a pencil or paint.
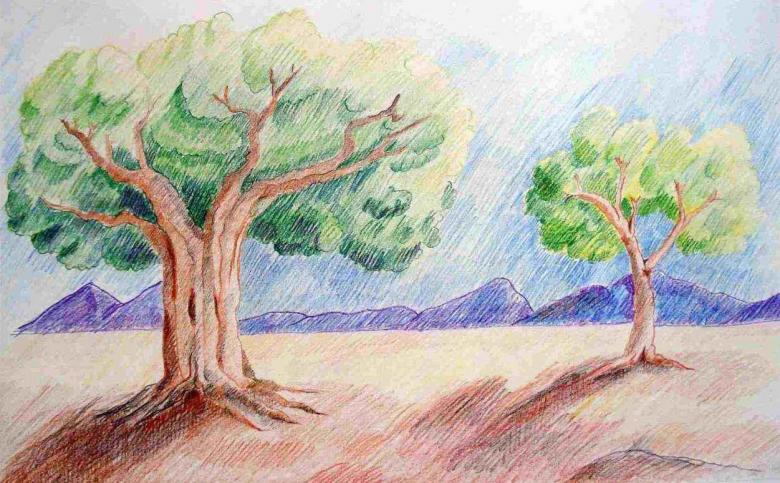
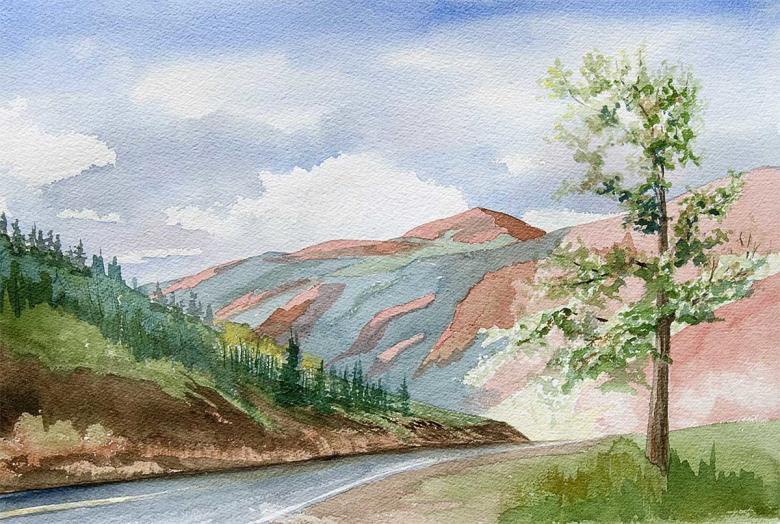
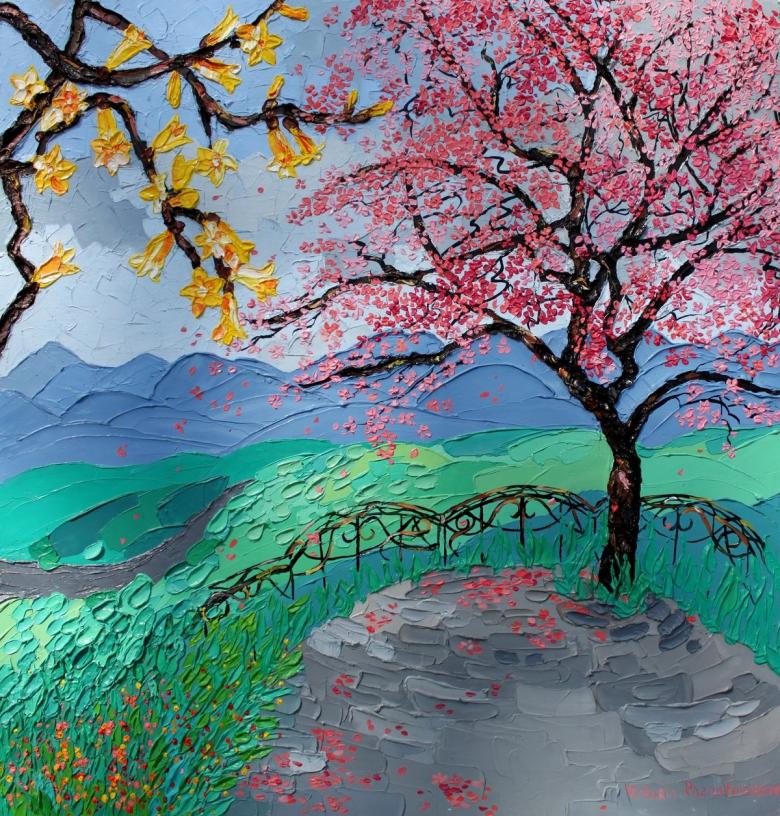
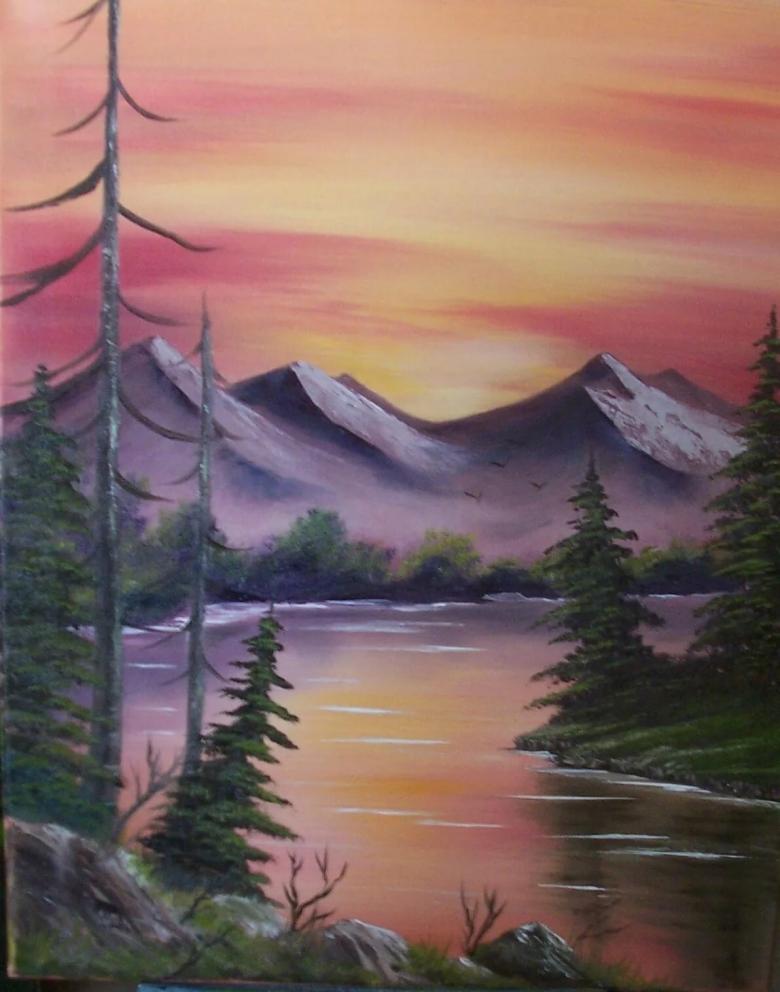
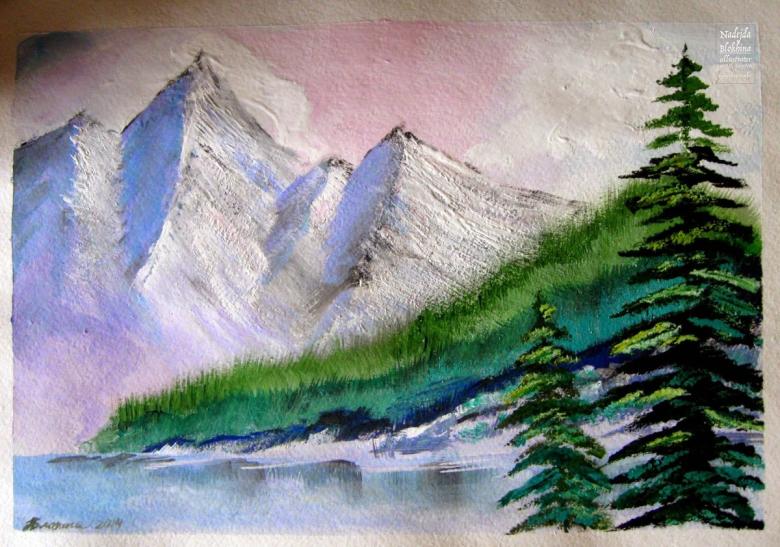
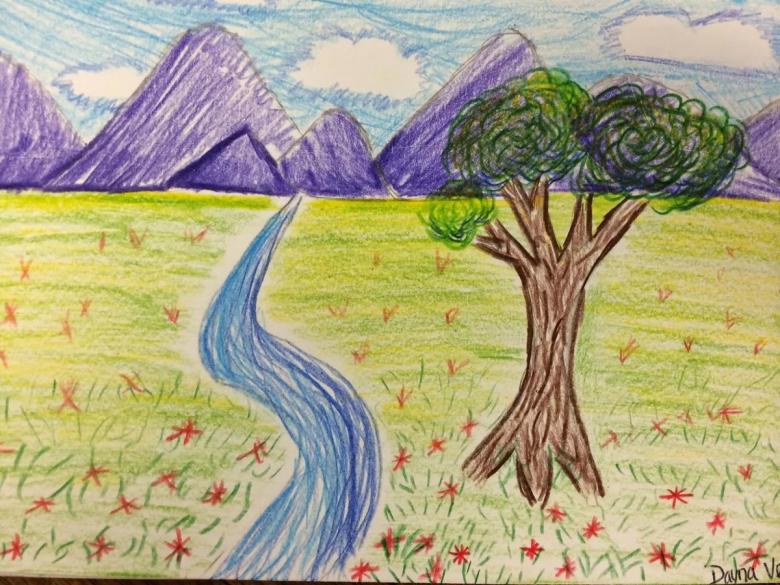
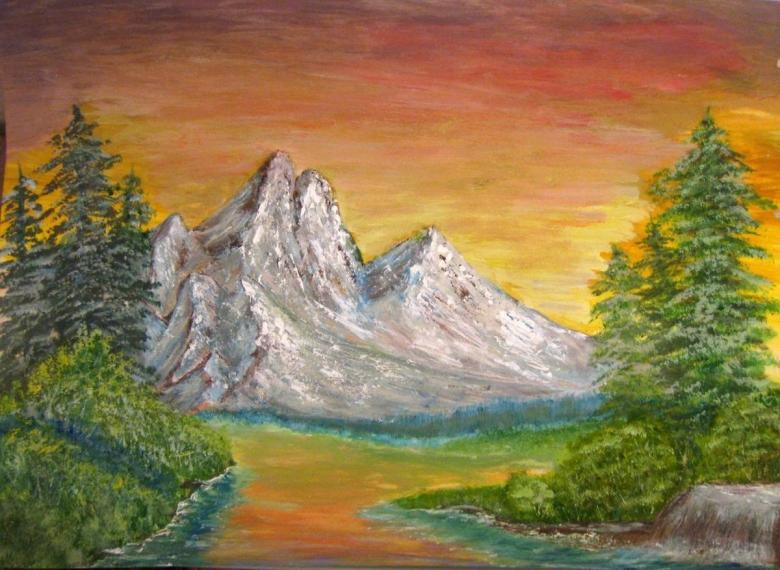
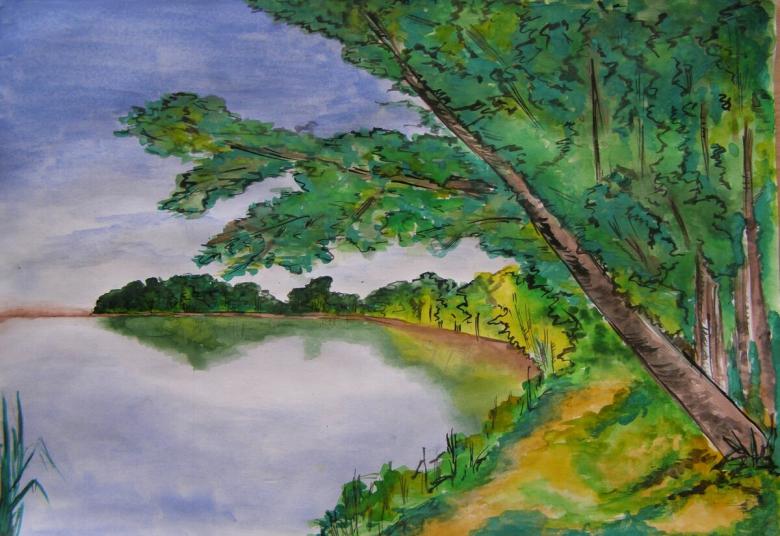
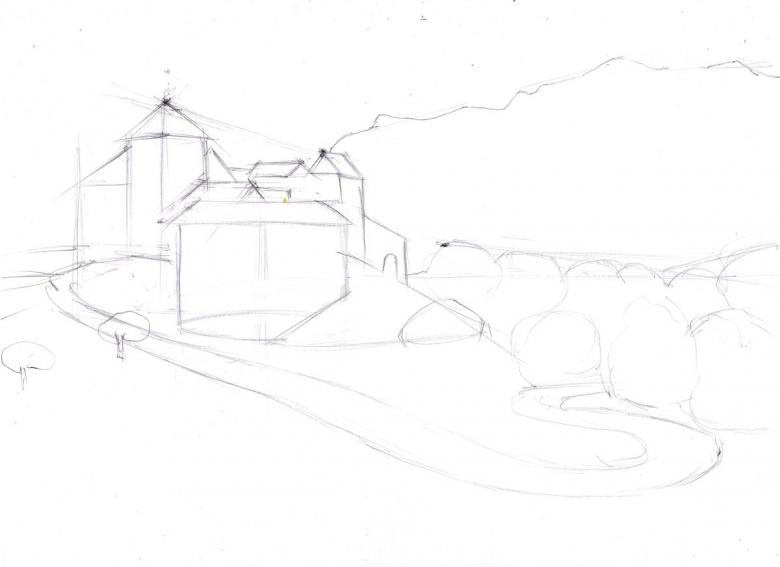
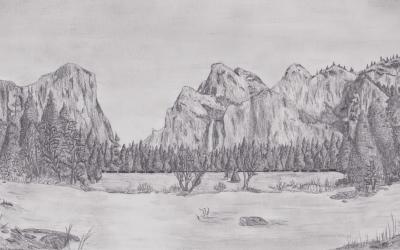
A landscape is a picture of a natural landscape. Also in the picture can include natural phenomena, animals, city streets.
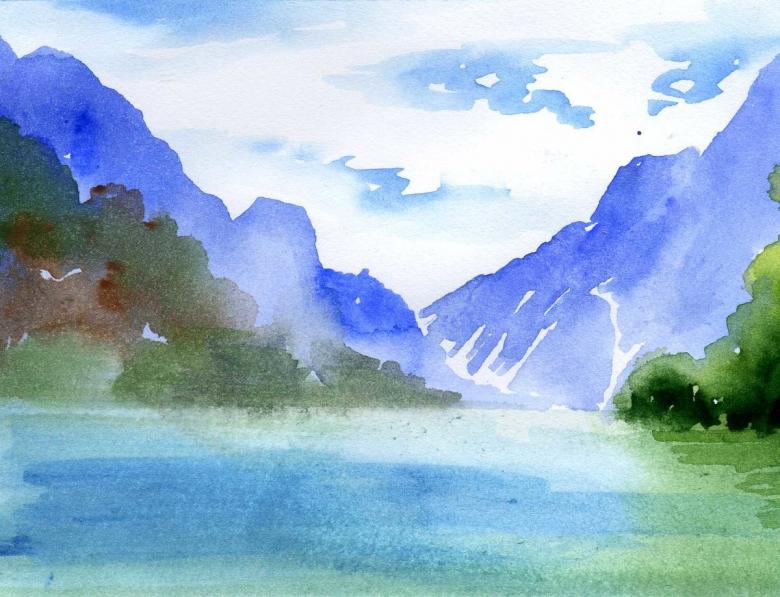
Landscapes can be quite diverse: urban, rural, architectural, marine, and so on. But here we are going to do some simple lessons about how to paint a landscape. And the first will be a simple pencil landscape.
Lesson 1: Landscape with a simple pencil
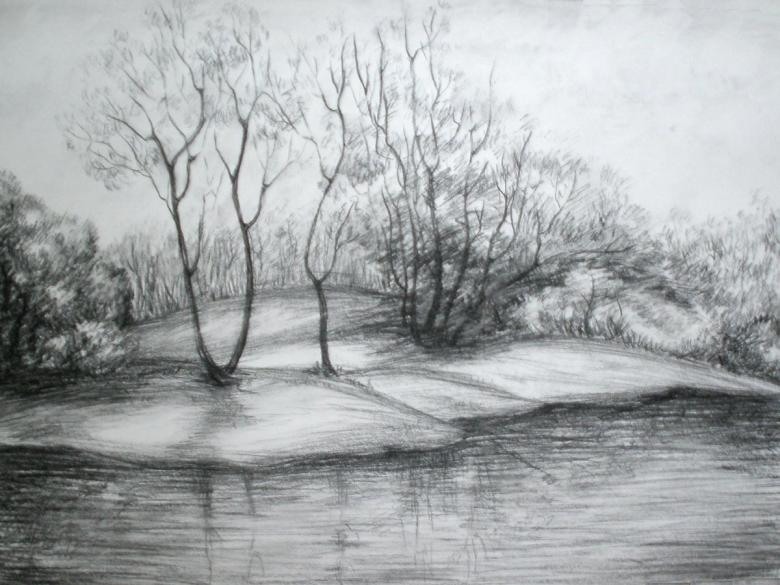
The pencil technique often seems difficult for a beginner artist. However, after this master class you will see that it is very simple.
- Step 1. you have to start drawing from the horizon line. To do this, you need to mentally divide the sheet of paper into three horizontal parts and draw a line separating the lowest third. This will be the lower boundary of the coast. Now draw the upper boundary of the shore. As a result, the visible part of the island should resemble a hilly area.
- Step 2. In the corner of the sheet on the left we mark another piece of land.
- Step 3. Now you need to shade the sky. The strokes should be strictly in one direction (upwards and slightly to the right), confident and clear movements without much effort.
- Step 4. Now it's time to trace the river. Pay attention! Here we will do it with horizontal strokes of the pencil. Strictly to one side. It is more convenient to do it from left to right.
- Step 5. Short strokes with pressure on the pencil shading the coast. The strokes go up and down.
- Step 6. On a small area of land to the left, draw the trunk of a palm tree. It will reach almost to the very top of the drawing. At first we mark the trunk with a thin, slightly curved line to the left. Then make it thicker to the bottom. Paint with a simple pencil so that it stands out well against the background. You can use a darker pencil for this, or a softer one.
- Step 7: Draw the branches of the tree. Without the leaves, it should look like a firework tree. With leaves the palm tree branches will look like big feathers.
- Step 8: Next, paint the grass under the palm tree. It should be the same shade as the leaves of the tree.
- Step 9. If desired, using the eraser, we lighten some parts of the palm tree, giving it volume.
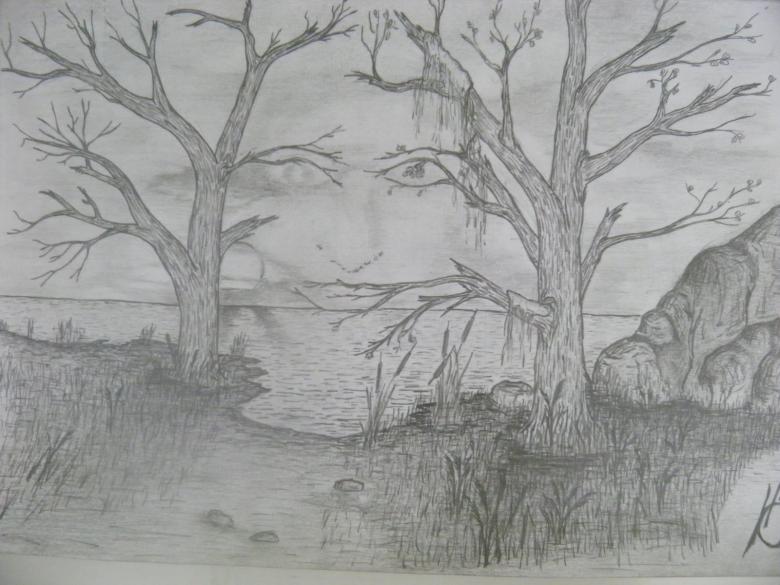
On the far side of the sushi you can draw small outlines of several palm trees.
Done! This master class can be repeated even by a child!
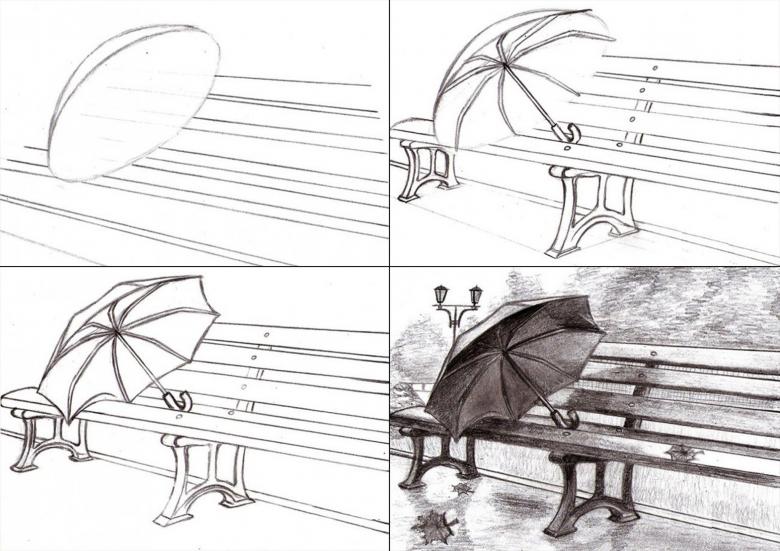
Lesson 2: A simple summer landscape
You can draw a landscape of any season: summer, winter, autumn, spring. A landscape dedicated to any holiday: Christmas, Harvest Day, Labor Day, etc.
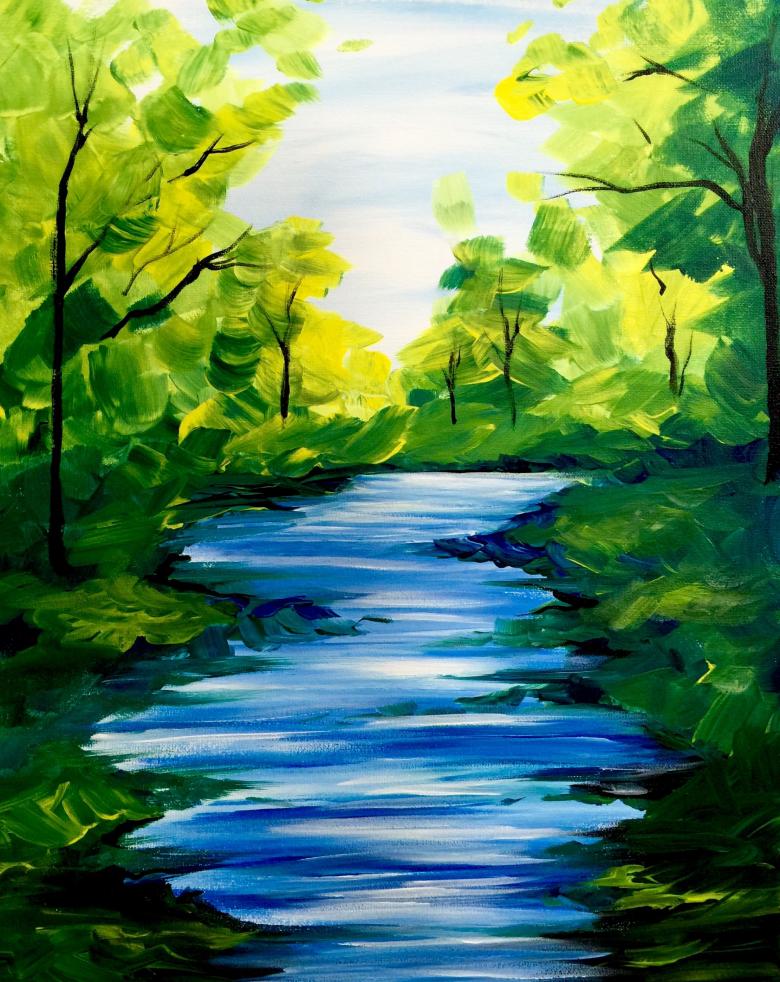
Our next lesson will be dedicated to depicting summer, many children's favorite time of year.
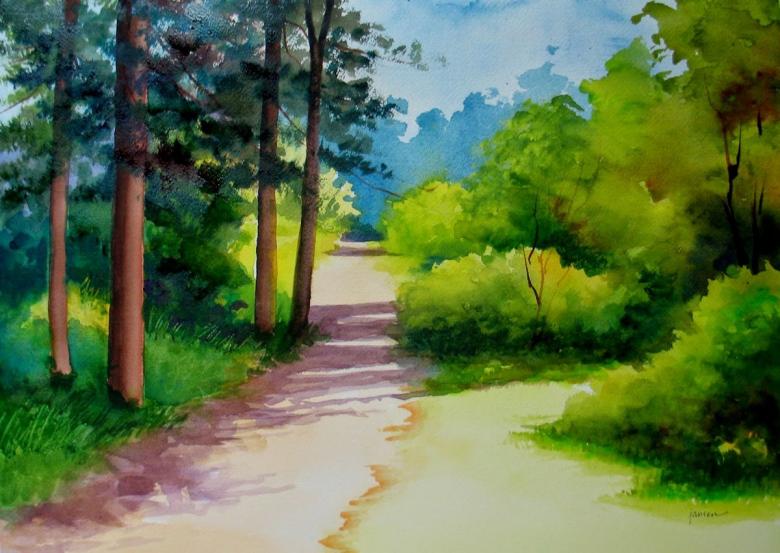
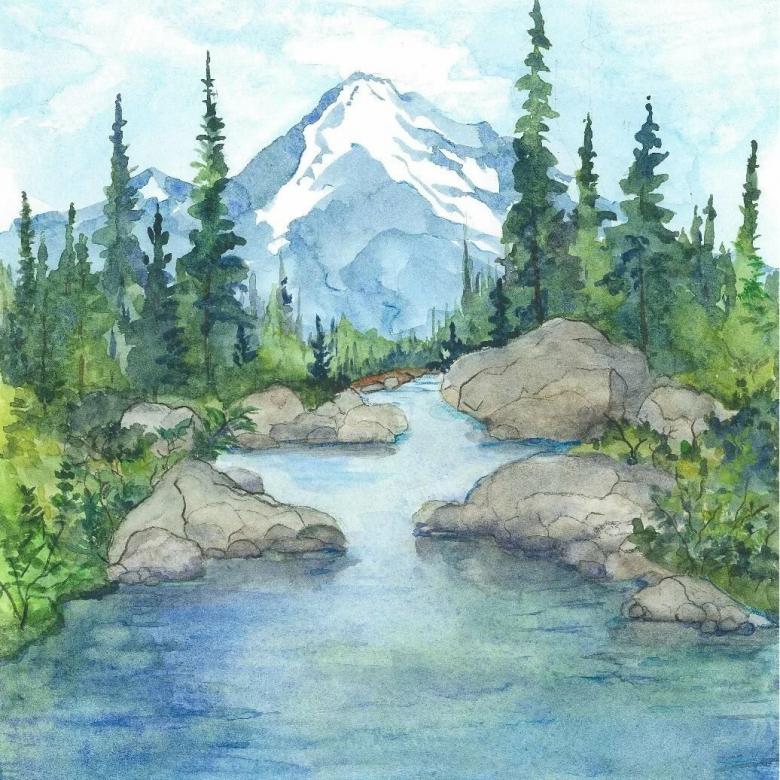
- Step 1. We will have a river in the picture. So let's start drawing its contours. Draw two curved lines. They should start on the right side at the top of the future landscape. Draw them from one point. Then the distance between them increases - the river widens and a big stream "flows" to the bottom left corner of the picture.
- Step 2: Give realism to the river. Draw short lines along it, as if it were current. Draw a couple or three stones in the path of the stream. The stones should be irregular in shape and different in size.
- Step 3: Now we outline the landscape along the sides of the river. Shrubs are marked with a long wavy line. We make them in different shapes and sizes.
- Step 4. Draw an intermittent forest path on both sides of the stream.
- Step 5: Add small details to the drawing: pebbles, grass, high ground in the background. Maybe someone wants to depict berries on bushes, or a sitting bird.
- Step 6: We paint the resulting picture with colored pencils, gouache or watercolor paints.
In this step-by-step manner, you can easily paint a beautiful summer landscape with a river and greenery.
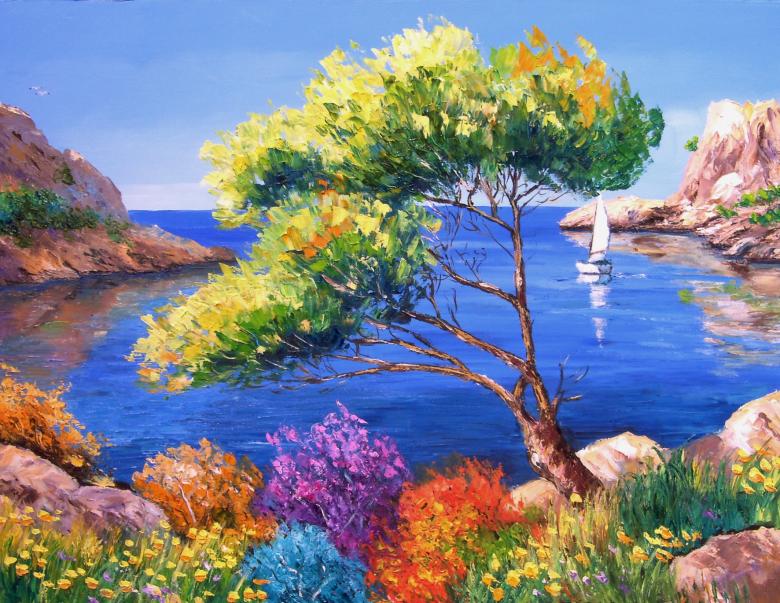
Lesson 3: Autumn Landscape
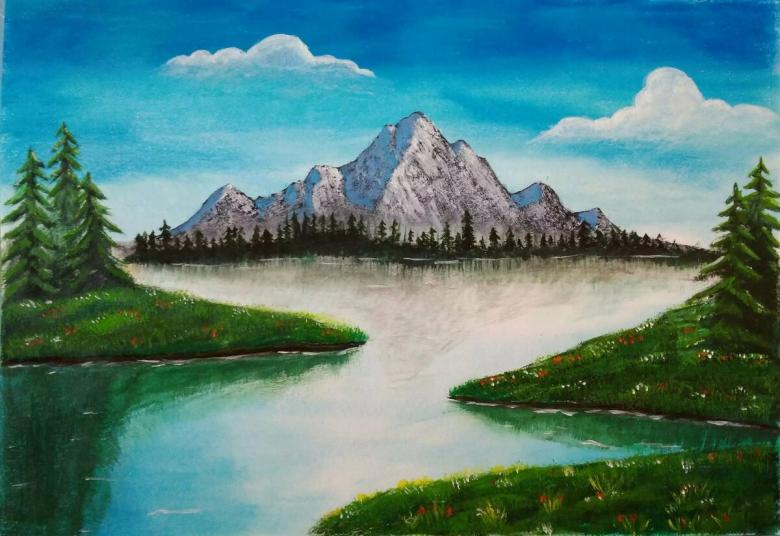
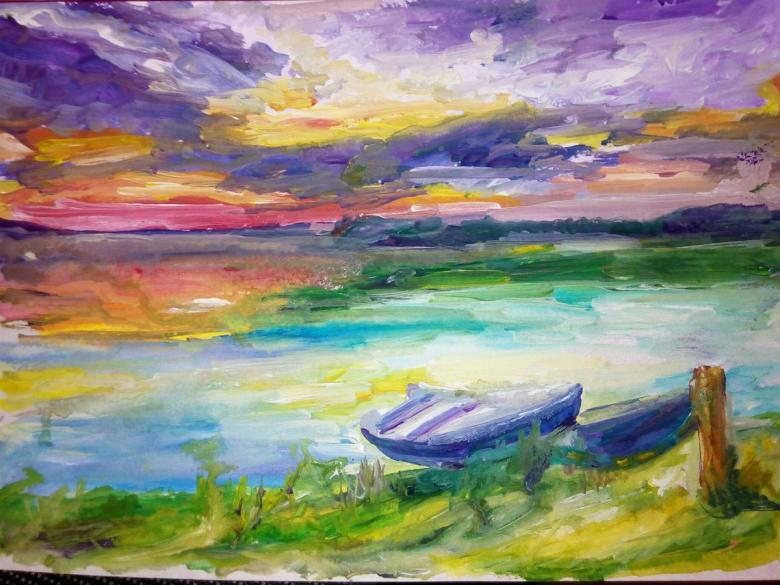
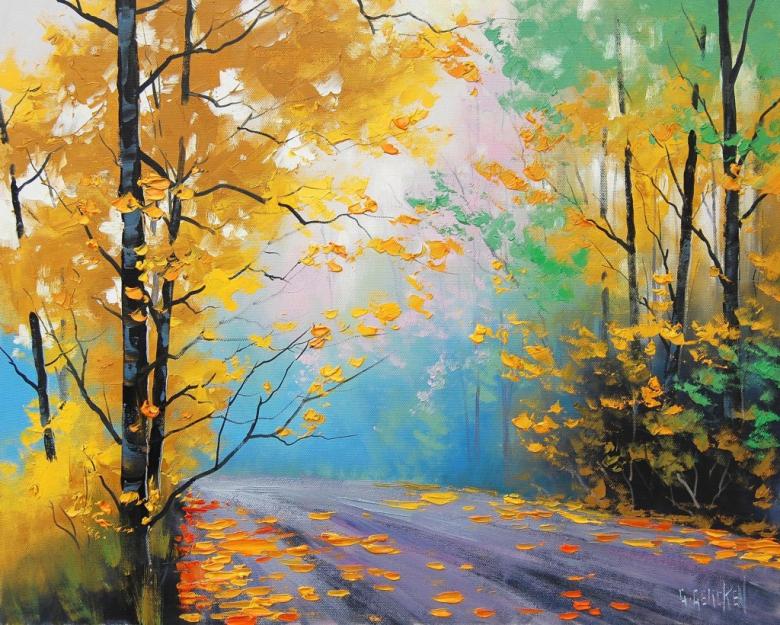
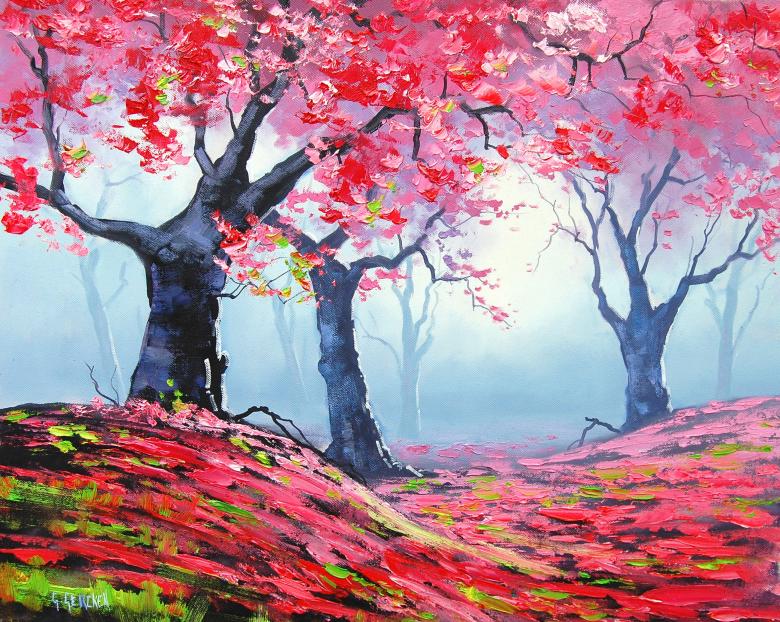
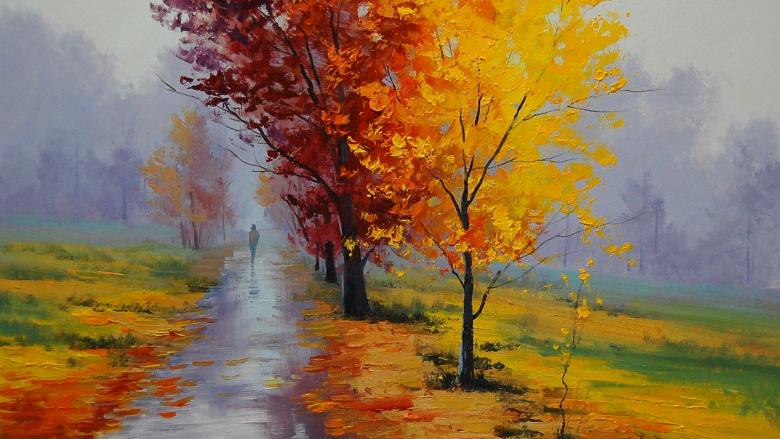
You can also depict a beautiful autumn landscape with only paints. It will be a fascinating process and the picture will turn out very bright! Relieffully and freshly such a landscape will look when executed in oil on canvas. However, if they are not available - any other paints will do.
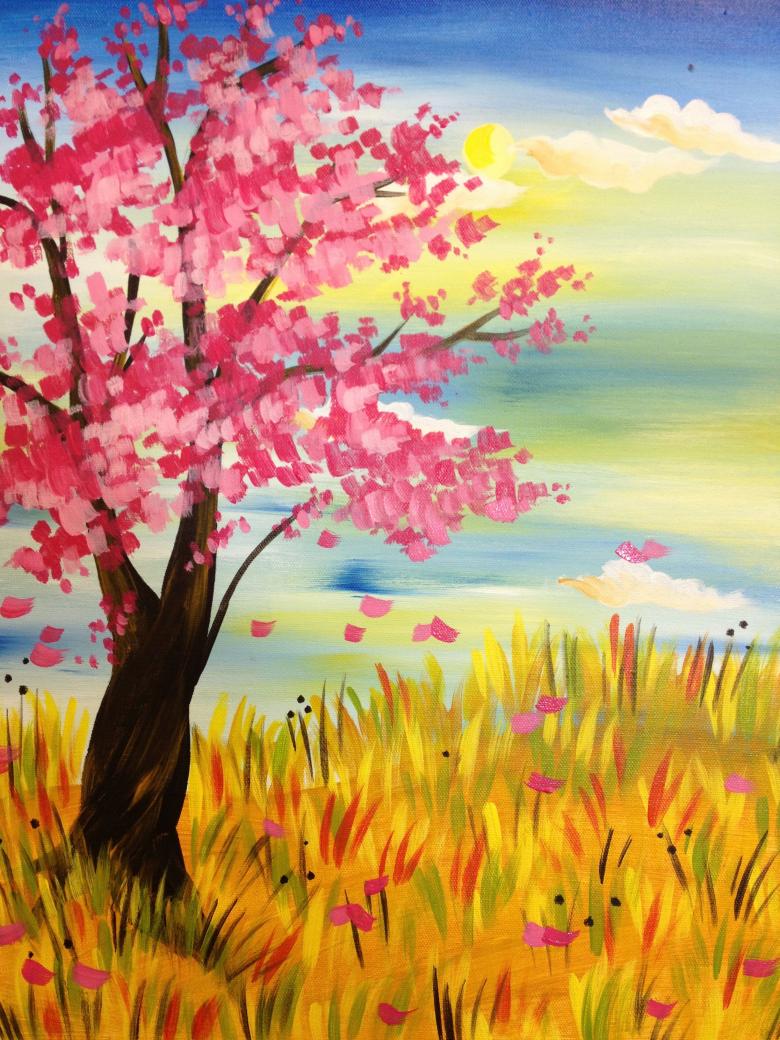
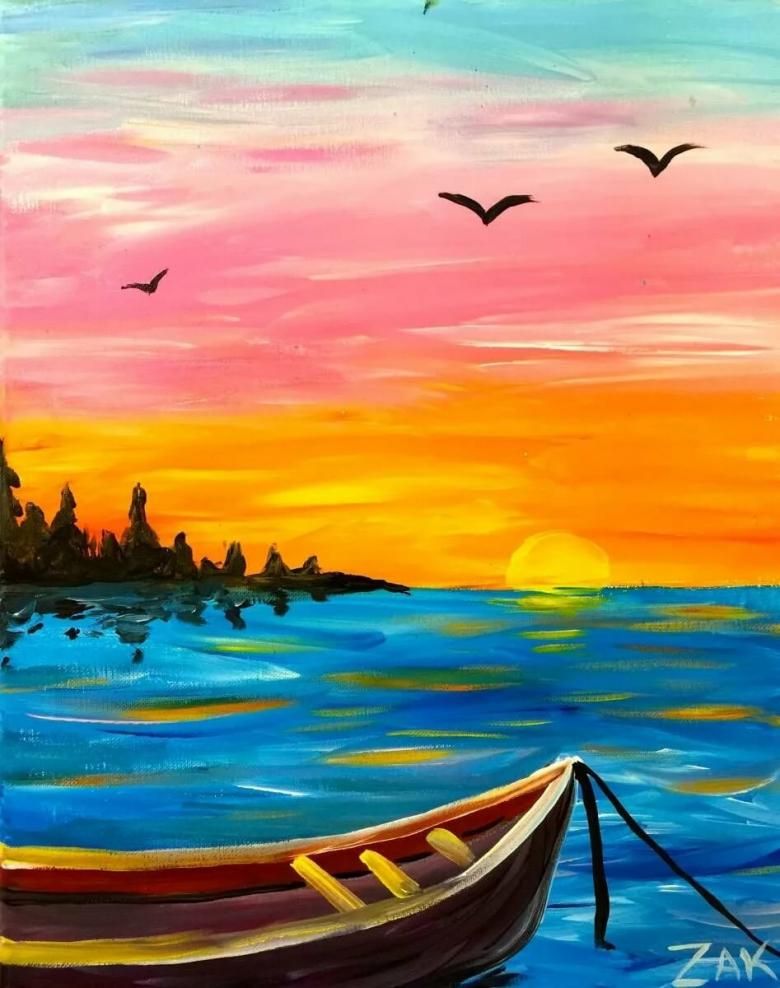
Step 1. As is often the case, we start with the horizon line. We take a blue or blue paint and lead the brush from edge to edge of the sheet from left to right. The line doesn't have to be straight and crisp, like a ruler. After all, this is a landscape of nature, and here you don't often find anything correctly shaped!
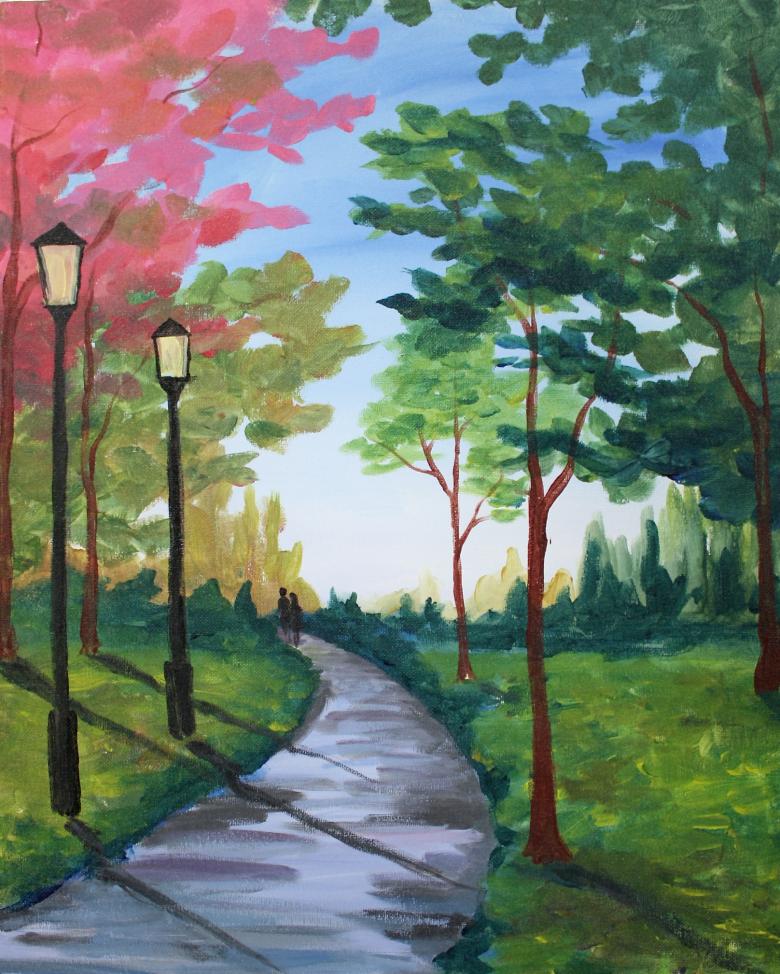
Step 2: Paint the skyline. This is the area that is above the horizon line. The sky will not be painted in a single blue color. We will apply some sort of gradient to make it more believable. The very top of the sky will be blue, and the part adjacent to the horizon will be lighter. To do this, the blue paint will be mixed with the white on the palette. Important: When filling the sky with color, move the brush in one direction.
Step 3. Now it's time for water. The colors of this area will be mirrored in the sky. Closer to the horizon it is light blue, below it changes to a deep blue hue.
Step 4: Clouds. And here many people make a mistake, they outline a cloud outline and then begin to paint over the resulting figure. But this is not the way to do it! Take a medium-diameter paintbrush, take a white paintbrush, and draw a small cloud with short, tapping strokes. With this technique, we give the cloud softness, transparency, volatility.
Now, in the same way we need to depict a few more clouds. All of them should be in the upper part of the sky.
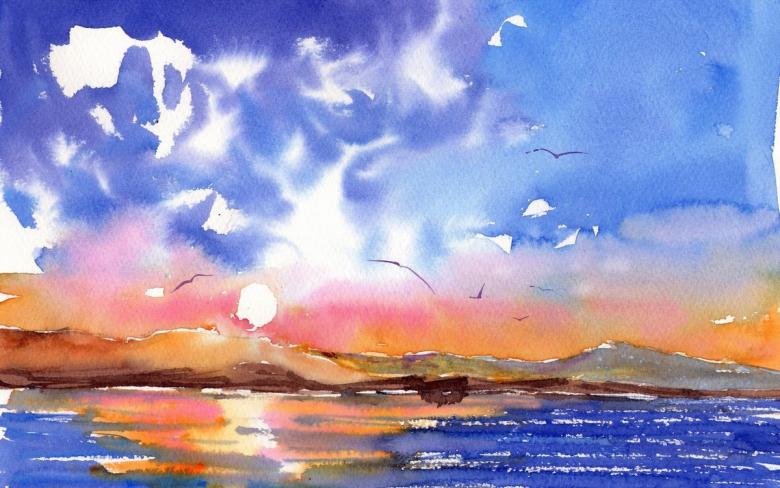
Step 5. We will depict the coast in several steps. The first piece of land will be located right on the horizon line. Its outlines will be a little bit short to the left edge of the canvas. But at the other end it will be a broad band to the left making it seem as if it keeps stretching far beyond the border of our picture.
At the first stage we draw the land with a dark brown color. Then, without letting it dry, go over some areas with light brown. On the third time - yellow.
There will be a second section of drying. It will be located in the lower left corner of the picture. You will need to do the same manipulations as with the first coast.
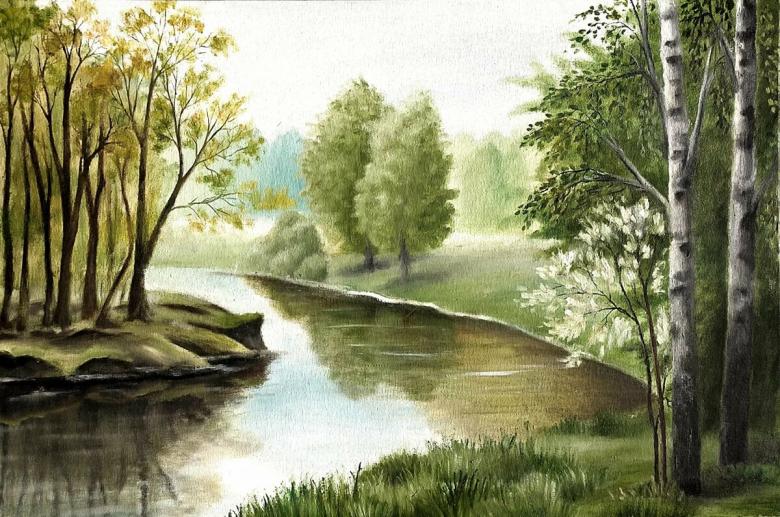
Step 6: On the long stretch of land, draw the trees. To do this, use a small brush of dark brown paint and draw the trunk and branches. So depict the two blanks of trees. Next, with the same color will draw the base for the bush and still leave room for a birch. To represent the trunk of the birch, you need to take white as a base and mark the lines on it with black paint.
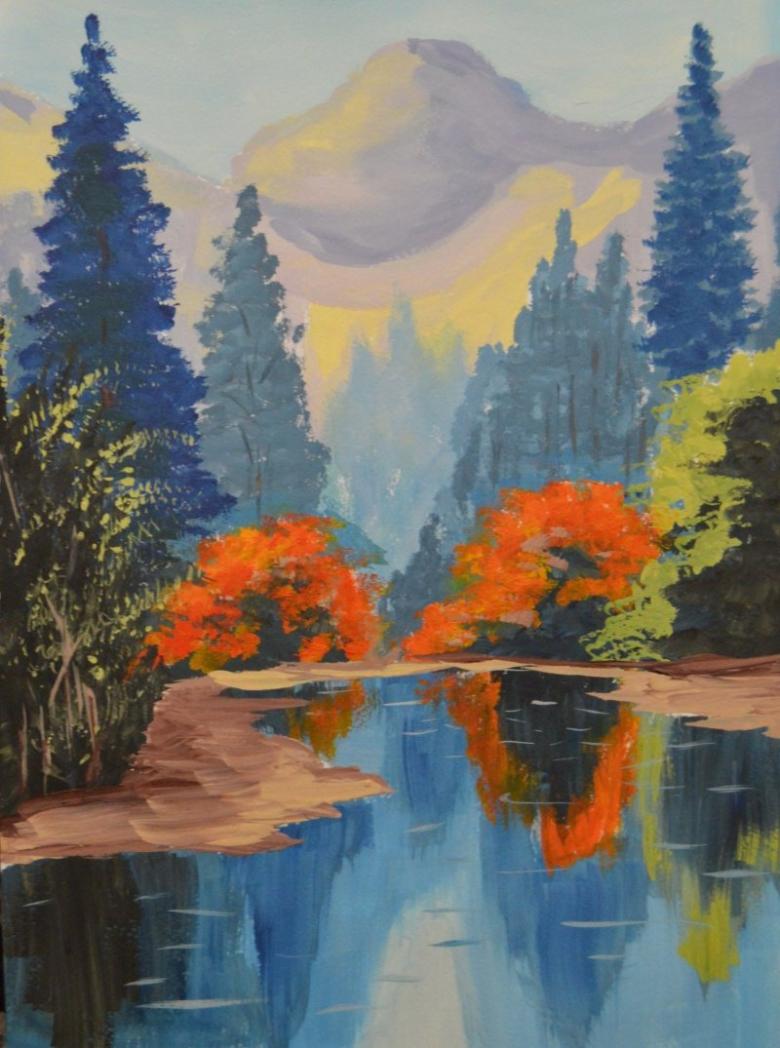
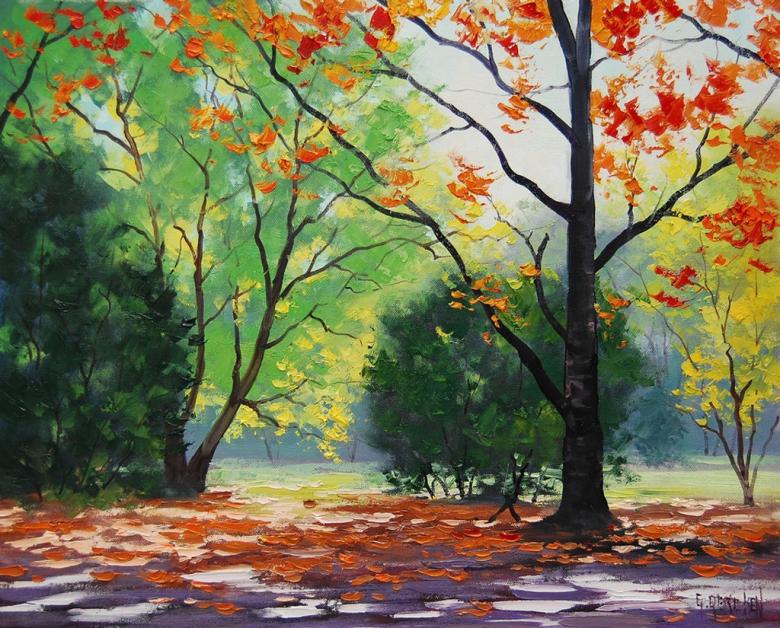
Step 7: Autumn leaves. In this technique is not required to depict the leaves in detail. It is enough to indicate the yellow-orange-green crowns of trees and shrubs. To do this, take a medium brush with yellow paint and use the same brush strokes as for the clouds to complete the outlines of the trees. Then we do the same with orange and green.
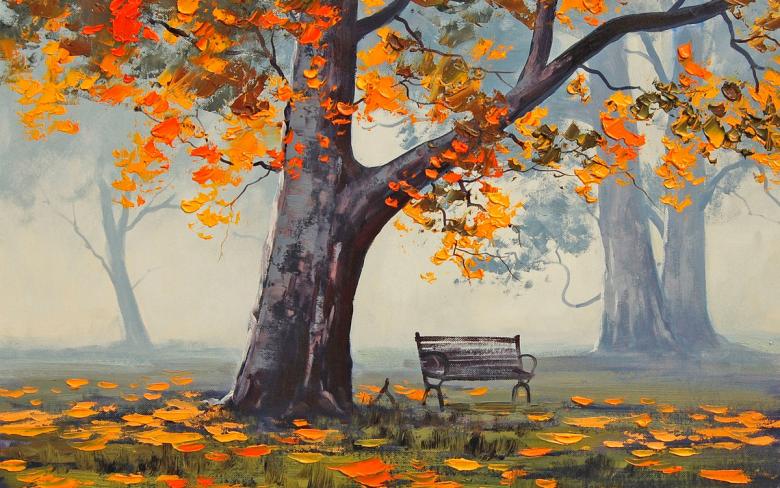
Step 8. Let's take care of the bank in the corner of the sheet. Here, dark brown paint should be used to make a tall trunk with several powerful branches at the very top. This is how spruces grow. Now draw a prickly green crown, framing the branches.
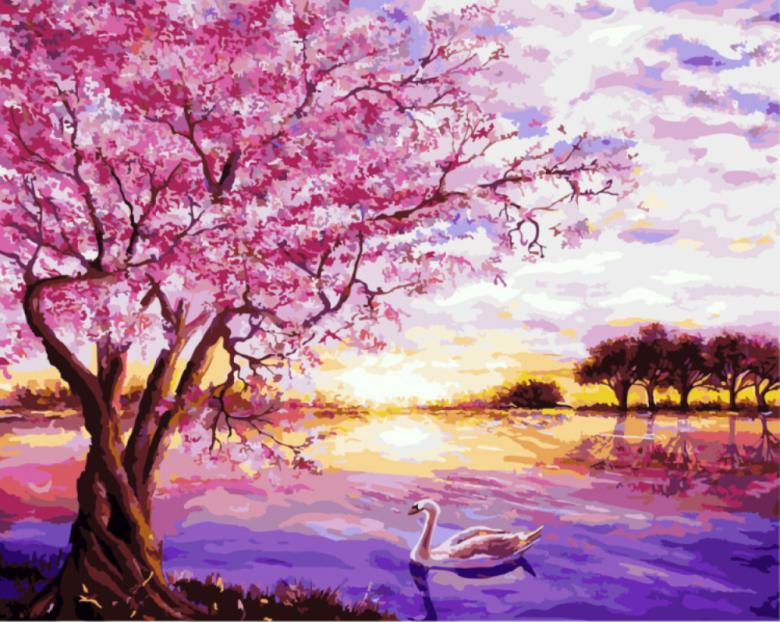
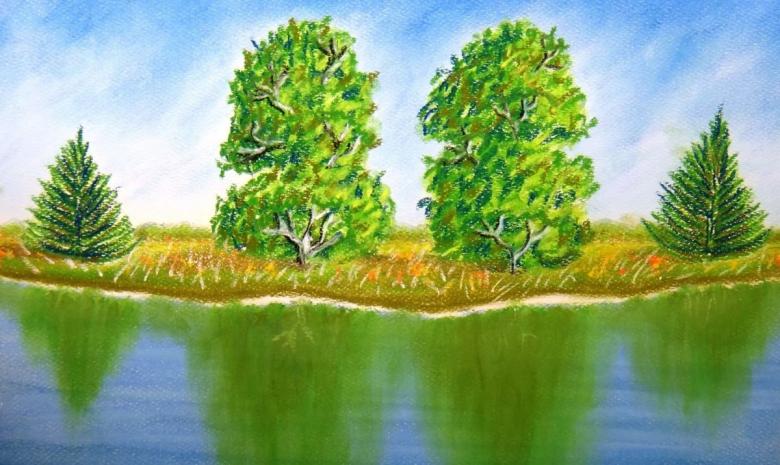
Step 9. For more realism, you can draw the reflection of trees in water. For this purpose it is necessary to take the same paints with which we drew the trees, but the reflection should be more vague and lighter by a pair of tones.
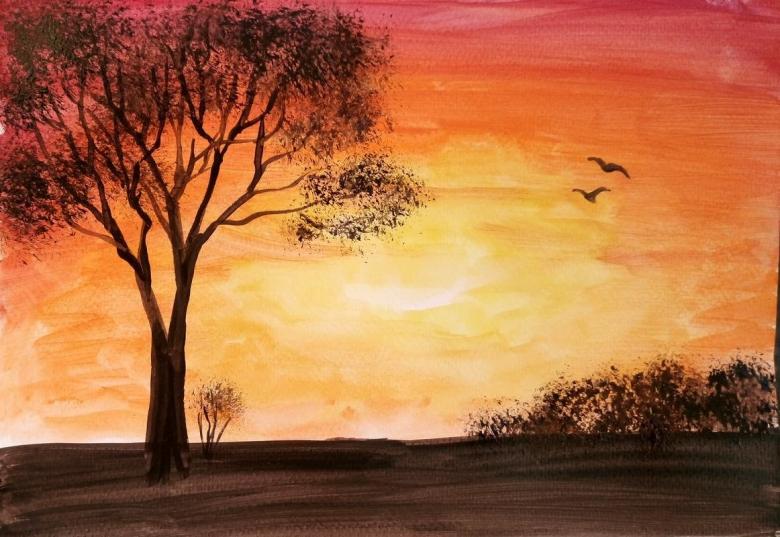
Done! A beautiful autumn landscape can be placed in a frame under glass. Especially if it is a drawing of your child. The young artist will be pleased that his picture adorns your living room or bedroom.

