How to draw a bunny in pencil - step-by-step master classes for beginners
Images of the bunny are used on postcards, in the entertainment industry. The image of a cute little animal is also often found in the toy industry. Every artist or illustrator should know how to draw a quality image of a bunny.
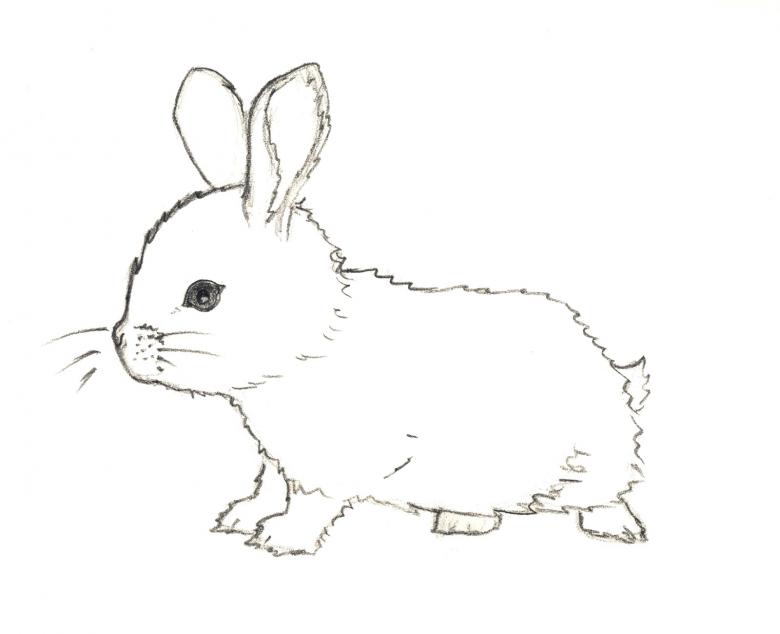
To do a drawing of a furry animal, it is enough to have a simple set of stationery. Of which you may need a simple and colored pencils, eraser, felt-tip pens, watercolor paints and brushes, shaped stencil, compass.
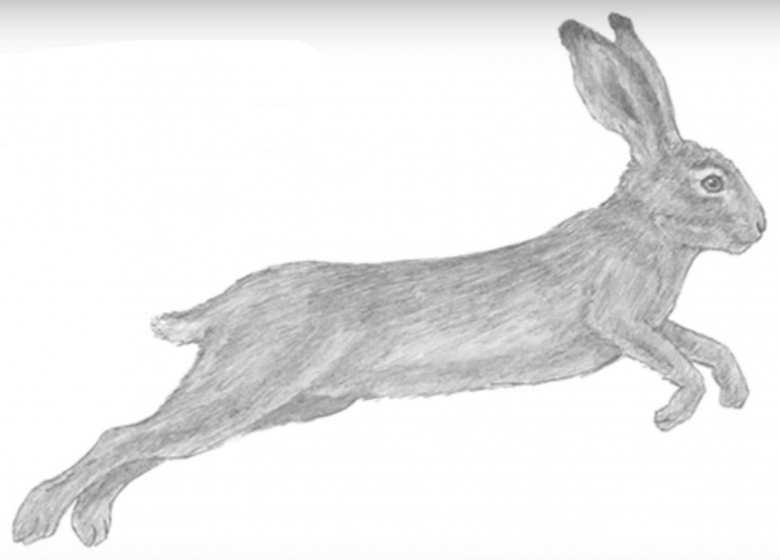
There are many standard ways to perform the image of a rabbit, which do not require expensive equipment and not the above items.
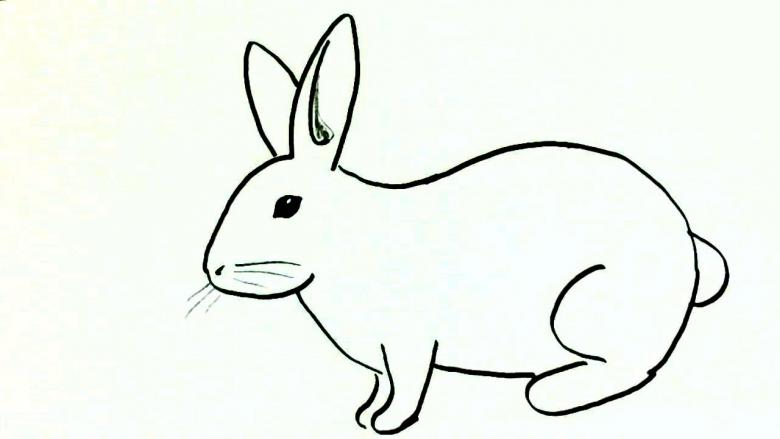
At the same time, you should use specialized applications (MyPaint, The Gimp, Artweaver, Paint.net, ) or a scanner and programs for processing scanned images (PhotoScape, FreeOCR, Scan Corrector A4) to transfer the drawing to your computer.
Stages of drawing a bunny with a pencil
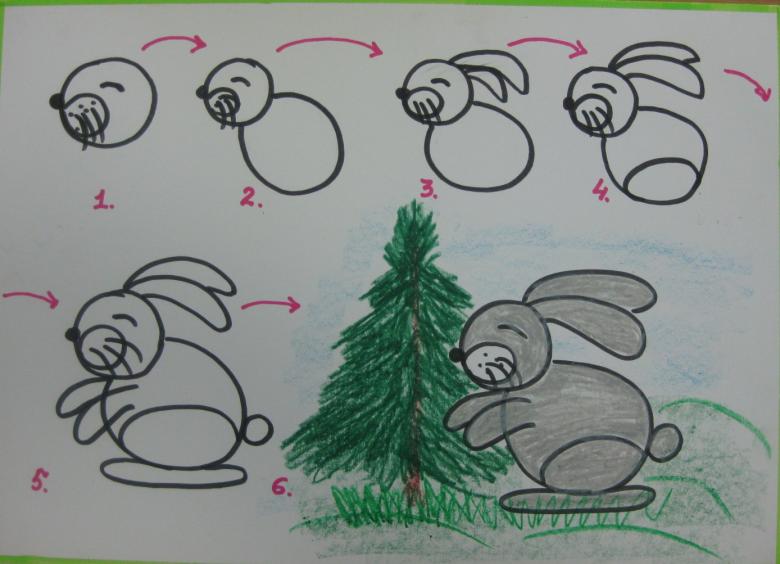
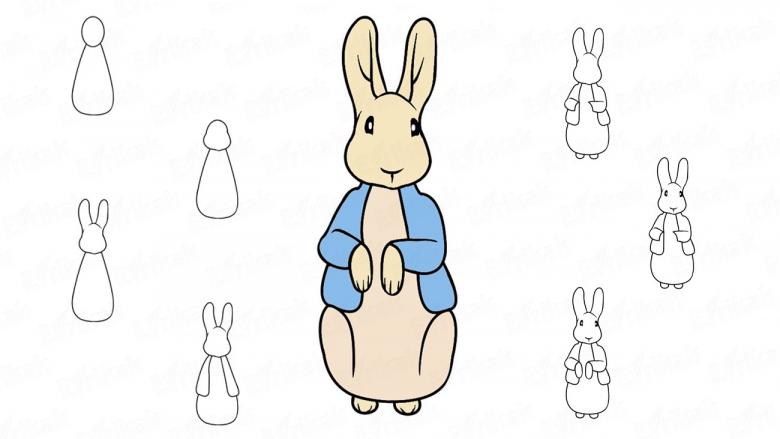
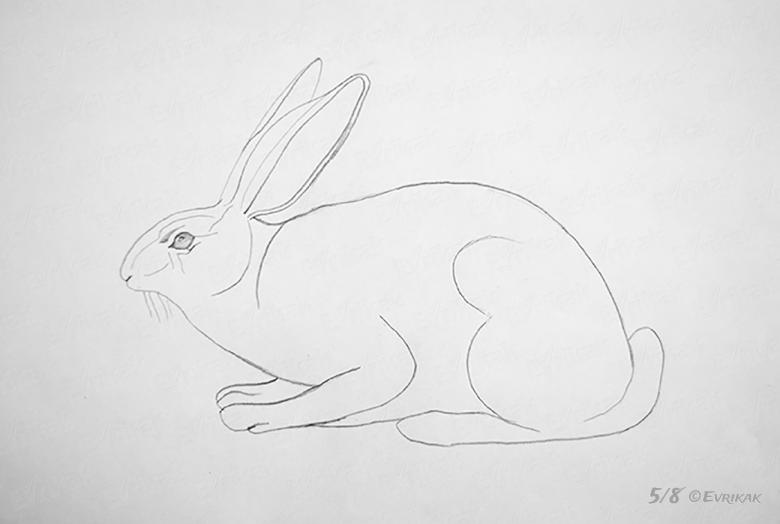
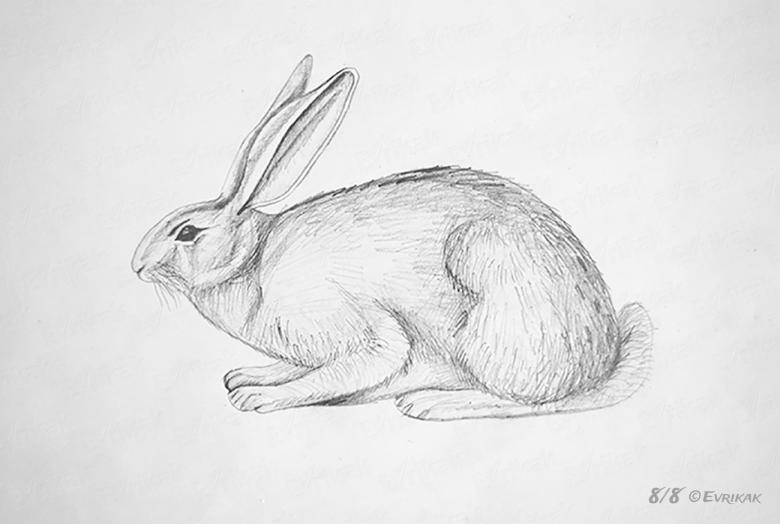
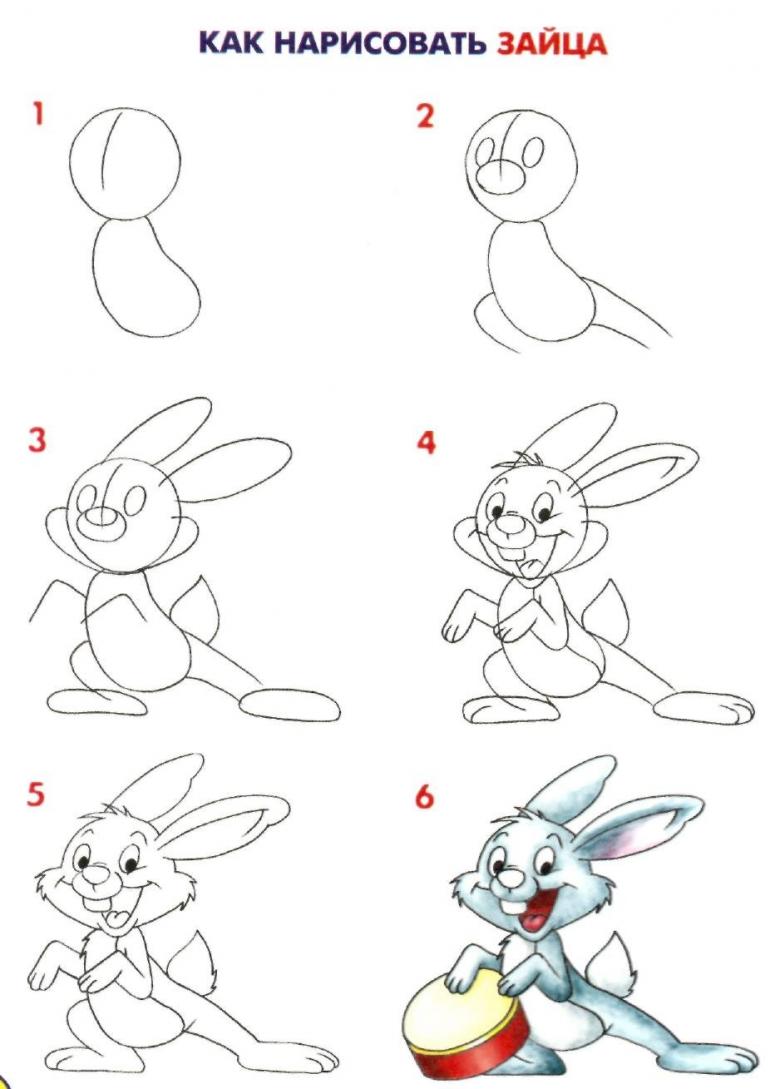
To depict an ordinary rabbit on paper is easy enough. For this you need a simple pencil and doing the following steps:
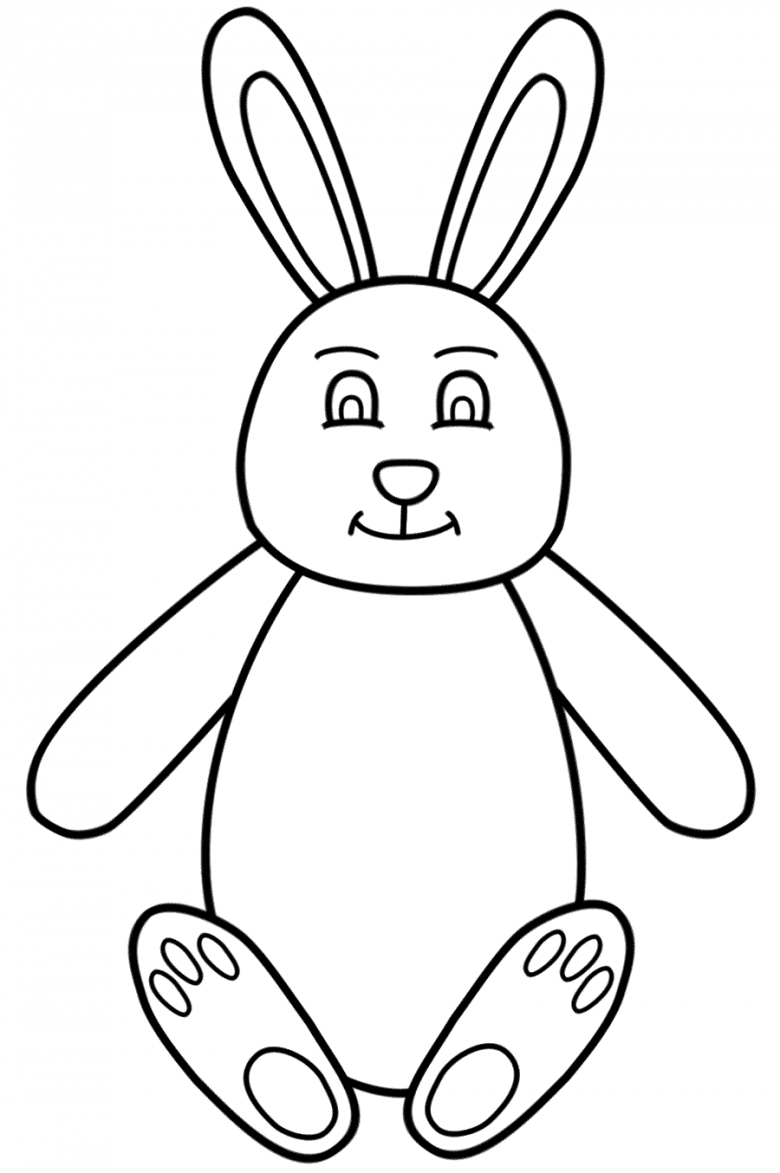
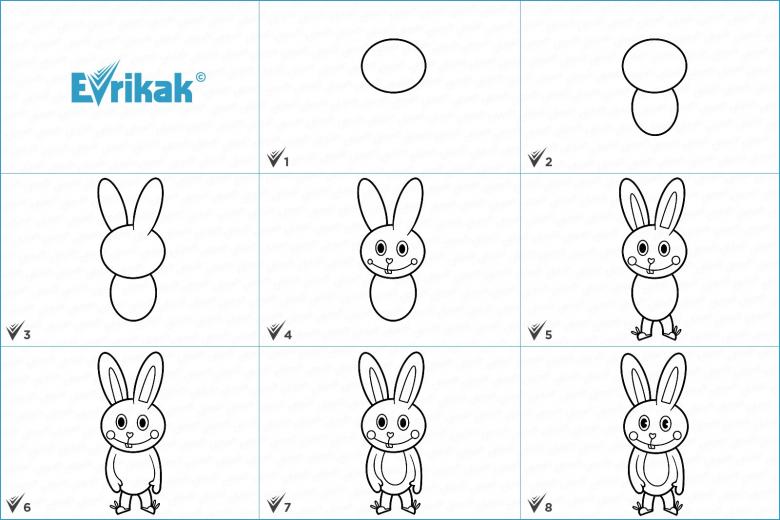
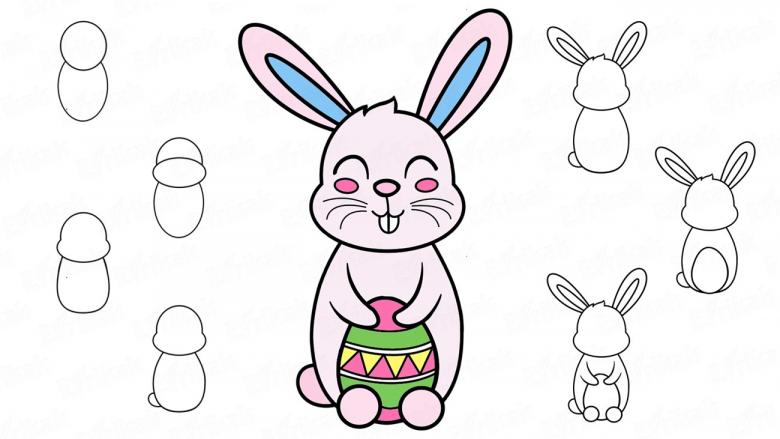
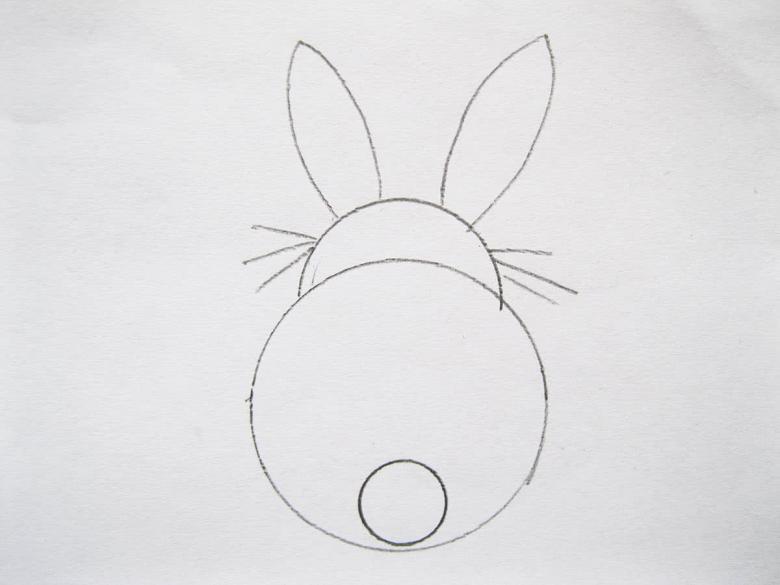
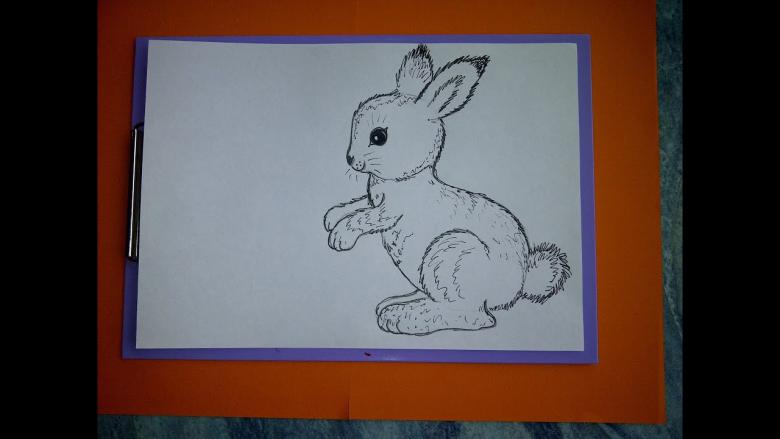
- Drawing a circle and dividing it into 2 parts of equal size, which is the outline of the animal's muzzle. An oval torso is dorisovyvalnym to the head.
- On the above muzzle added to the bunny nose and eyes, and the body are drawn front and back paws. The illustration is made so that the hare stands on two hind legs. Then images of ears and tail are made.
- Auxiliary lines are erased with an eraser, outlines are outlined.

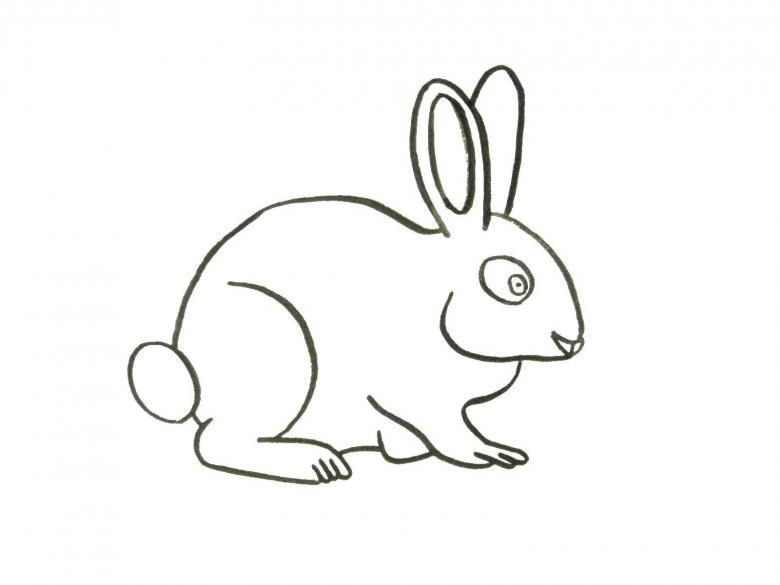
After that, the child can start coloring the rabbit with colored pencils or felt-tip pens. This scheme will not depict a four-legged rabbit, as the animal in the picture will be ugly.
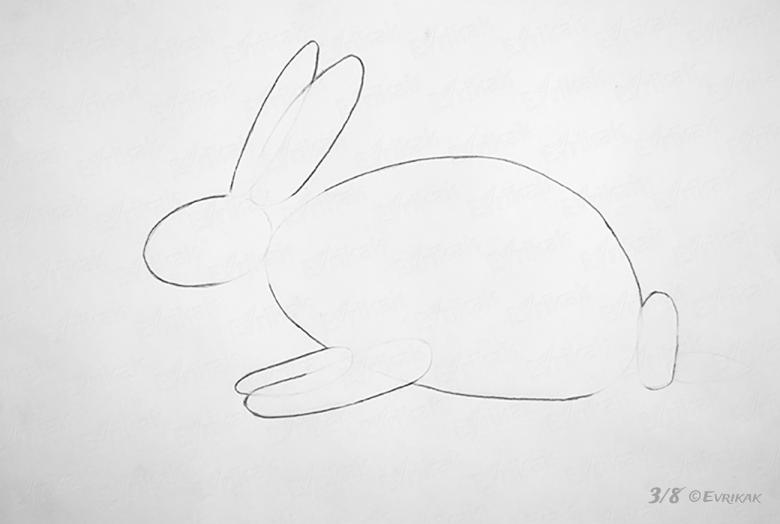
Illustration of a cute bunny on paper step by step
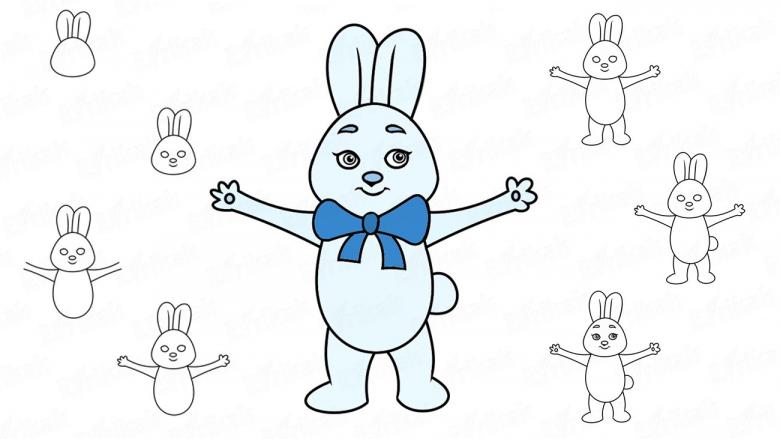
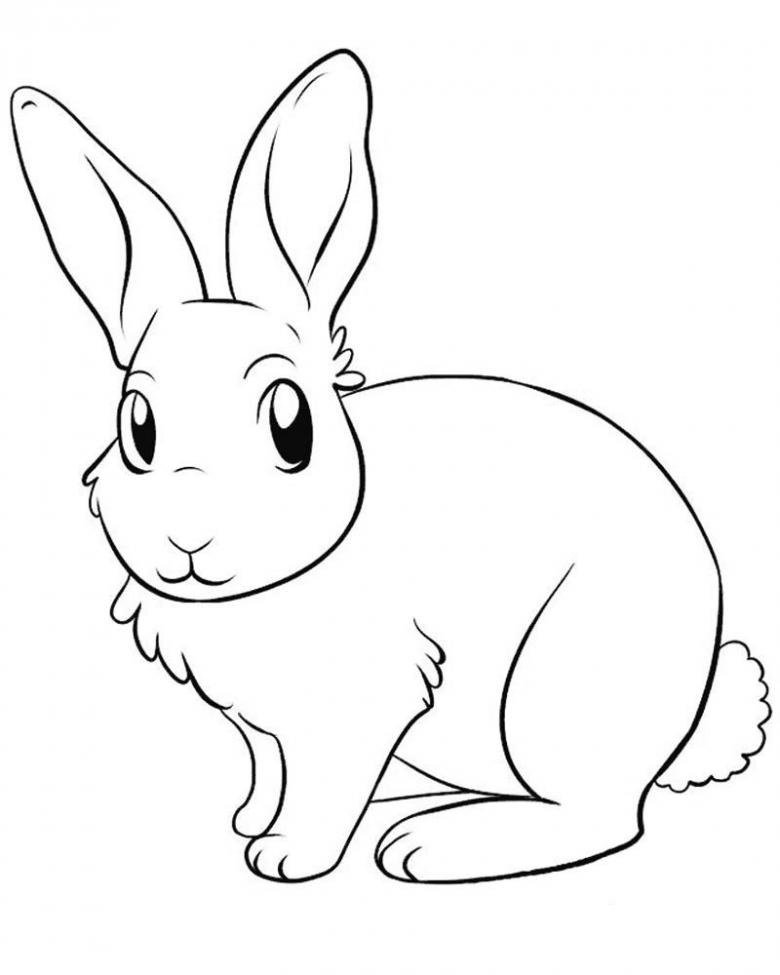
To perform his task hunter to draw a cute little animal, you should prepare a marker, a sheet of paper and multicolored felt-tip pens. The process is performed in the following sequence:
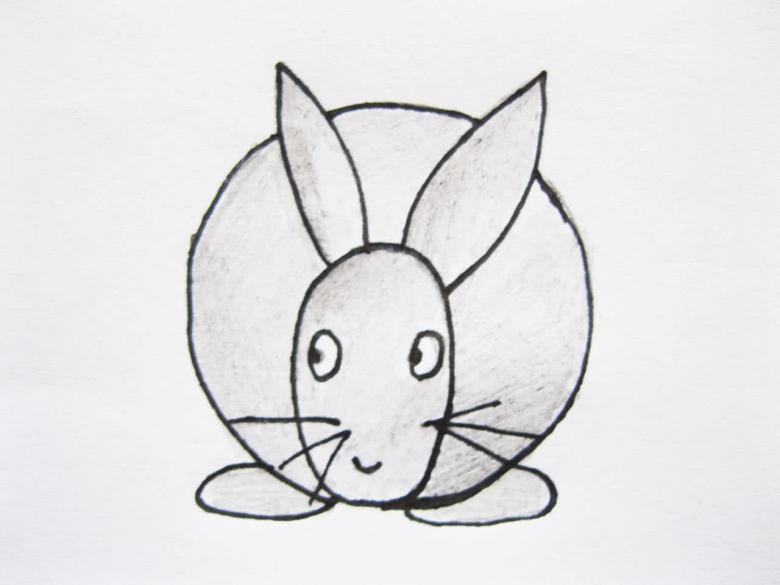
- The work of depicting the furry beast begins with the eyes. To do this, two circles are drawn on the paper. At the bottom of the figure of the hare, an additional line is drawn. On the resulting upper part, circles are drawn for highlights and the upper part of the sketches is painted over with felt-tip pens.
- A smile and a triangular nose are added under the eyes. To make a smile, a vertical line is drawn from the nose and an arc below it.
- To sketch the contours of the head from the middle of the top of the side lines are drawn in a semicircle downwards. They stop in front of the nose and draw two slightly bent triangles. Thus cheeks are depicted. Wool is drawn on the top of the head. From the cheeks drawn sides joined arc and you get the chin of the head of a hare.
- Drawing the ears is done by drawing a long line from the top of the head. It is made rounded at the tips of the ears and extends to the starting point. A similar smaller element is added inside the contours of the ear.
- A second bent ear is made by drawing triangles with rounded corners. A line is drawn connecting the ear and head, and the middle is drawn inside.
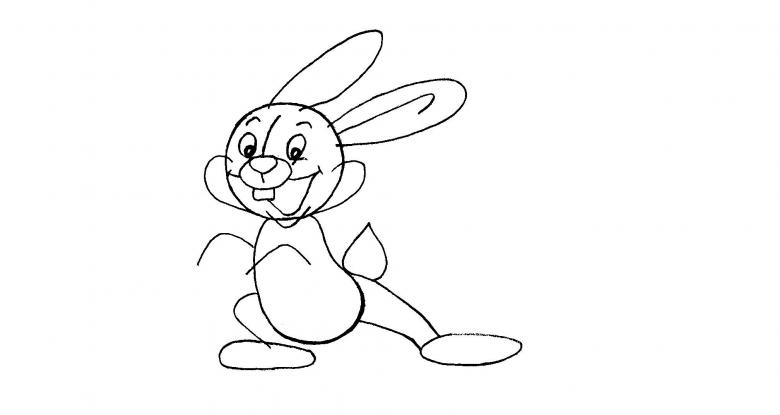
- To draw the body, two lines are drawn from the head on both sides. Under them are depicted hind paws, whose shape is similar to a triangle or wide drops.
- To draw the hidden front paws, it is enough to draw an arc on each side from hind paw to muzzle.
- By connecting the arc of the lower paws the belly is formed. On the paws depicted circles. To get the tummy puffy horizontal line is added to the belly.
- Thick marker traces the contours and is done coloring.
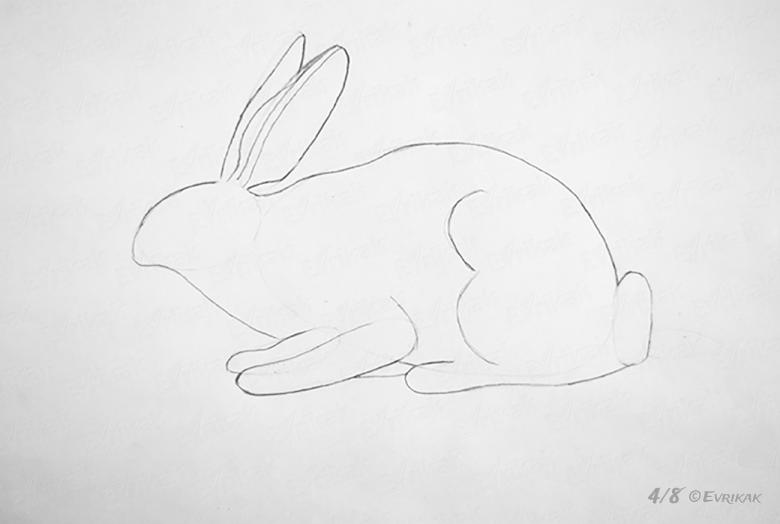
Stages of drawing a rabbit with a carrot on paper
Drawing a picture of a hare with a carrot in its paws is done with a simple pencil on a piece of paper. Not only an older, but also a small child can cope with such work. To picture a rabbit with carrots it's enough to follow the instructions in the following diagram.
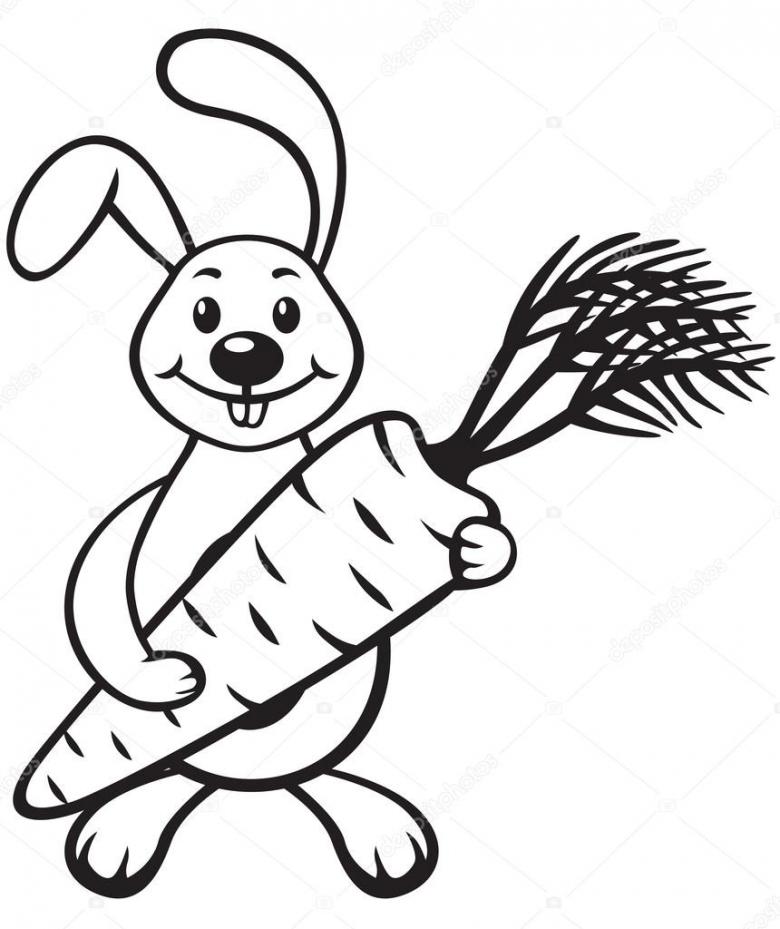
- In the middle of the sheet, a small circle is drawn. According to the lesson, a semicircle of similar size is drawn on it, which is supplemented with arc-shaped lines on different sides. After that, a semi-oval is added from the bottom of the drawn figure.
- An arc is added from the depicted lines downwards. Separates part of the perimeter in the lower left part. Thus, obtained the outlines of the nose, tooth and open mouth.
- From the nose to the sides derive the outlines of the cheeks. The resulting picture is complemented by oval shapes for the eyes, in the middle of which are deduced and painted with a simple pencil circles.
- The front paw is indented downwards and divided into three parts by vertical lines. From the left edge of the paw, the contours of a large carrot are drawn at an oblique angle. At the end the haulm of the vegetable is drawn.
- In the middle part of the carrot is depicted second paw, holding the root vegetable. Dashes that do not reach the edges of the contours, the vegetable is divided into several parts.
- Starting from the front paws are deduced hind paws of the animal. They are complemented by three small-sized ovals inside the contours.
- From the edges of the cheeks the silhouette of the head is drawn by drawing arched lines upwards. Ears are depicted at eye level from the top of the head. The image is supplemented with eyebrows and fur is drawn. The ears are drawn with a figure that repeats their contours.
- A part of the mouth is sketched. The eyes are painted. The entire perimeter of the drawing and all the dashes are circled.
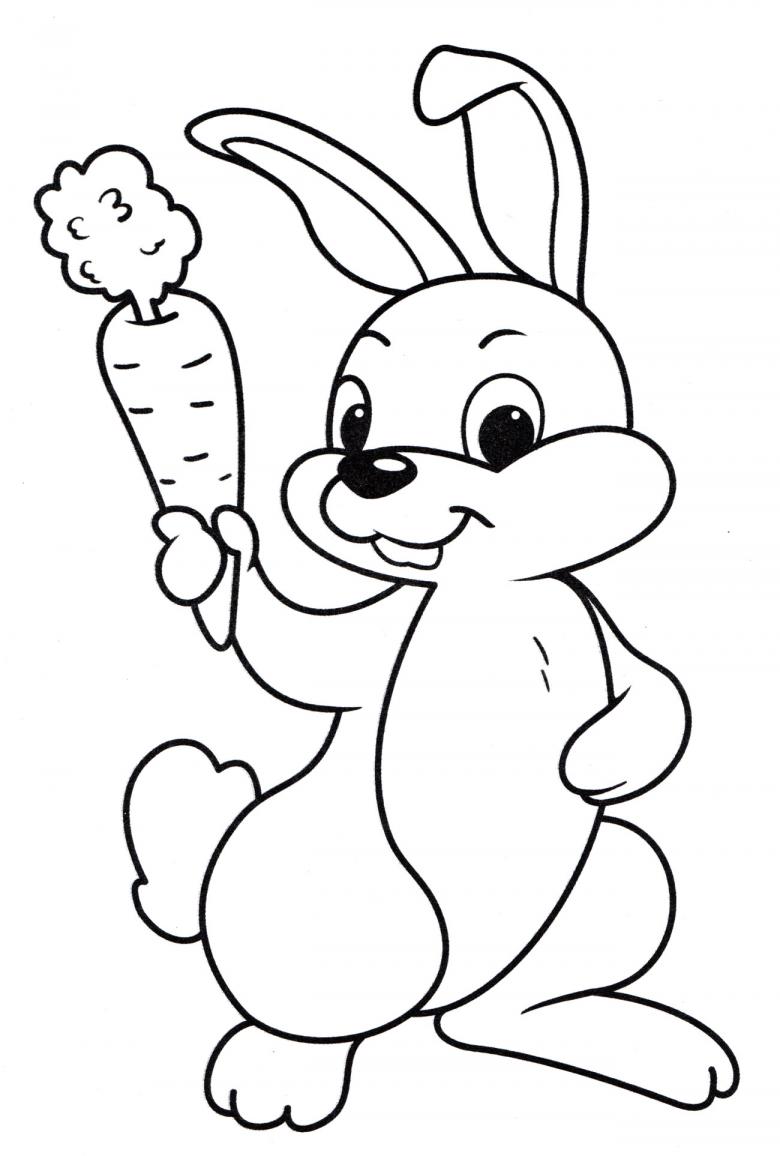
Such work should be done during the day, better initially in a group of several people. A beautiful portrait of a hare in the photo will cause children's laughter and a lot of positive emotions in the child for a long time.

