How to Draw a Crow in Pencil - Three Easy Workshops for Beginners
Crow - a funny and clever bird, a ubiquitous representative of the bird world: it can be found on the street, it is sure to carcass every passerby, not uncommonly found in children's books, there it is not so fastidious. For some reason, this bird is not left unnoticed: an inconspicuous crow arouses the genuine interest of people.
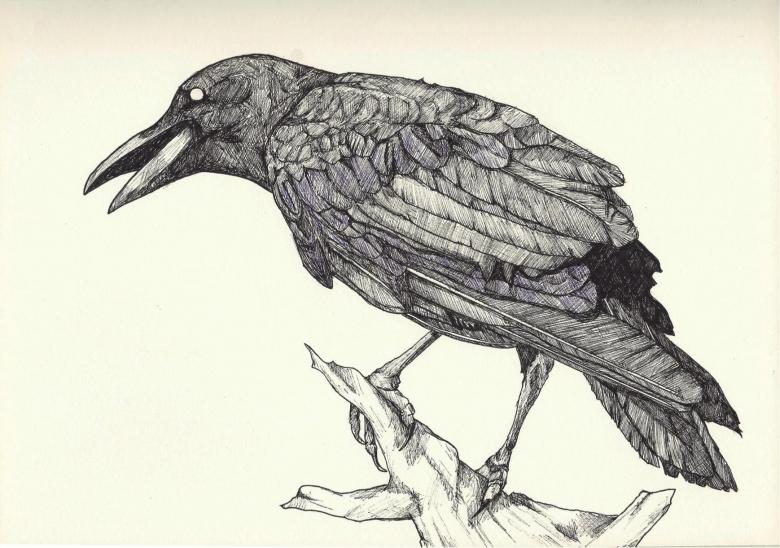
Learn to draw a crow is not so difficult, you just need to choose a technique of execution and follow the points below.
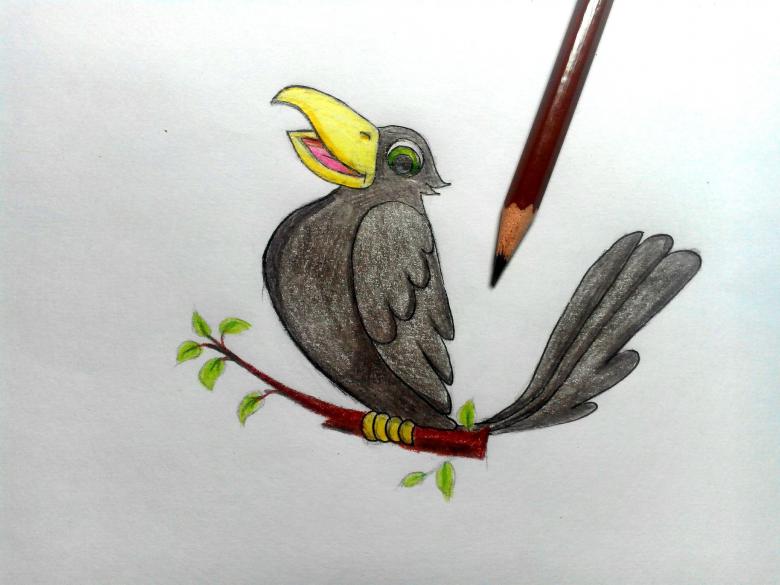
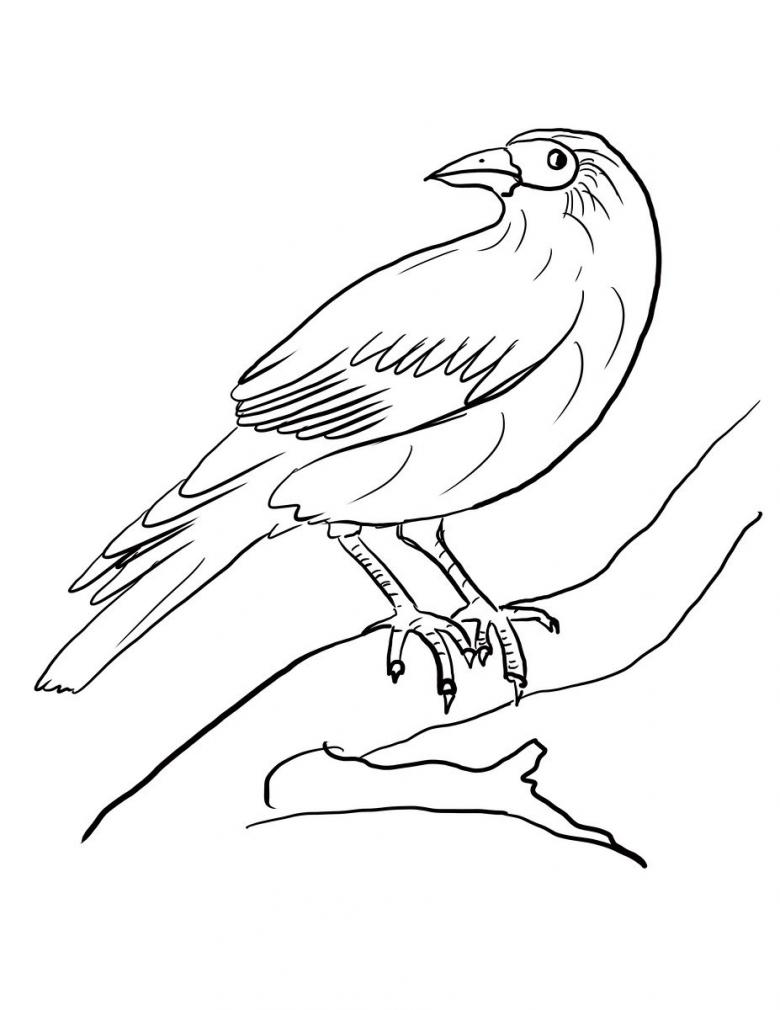
Crow from cartoons master class for children
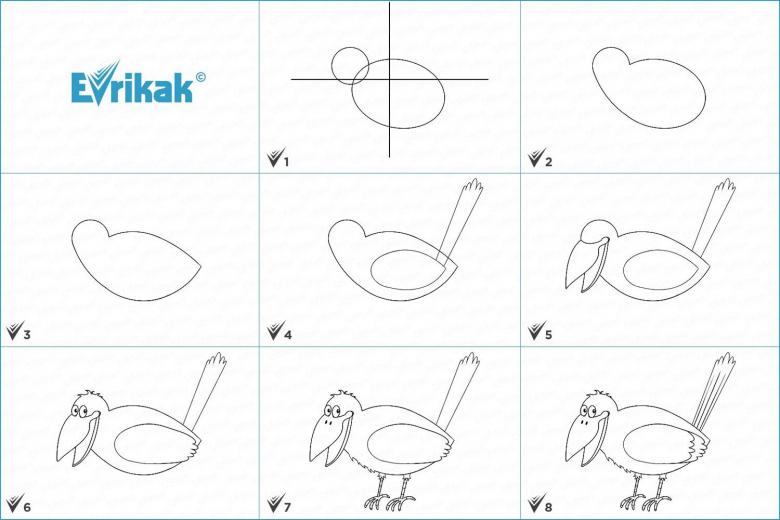
Children love the cartoon crow and many depict it as best they can in their children's drawings. To help your child properly depict the cartoon crow, you need to remember a simple sequential instruction:
- First, you must pick up a heavy sheet of paper and a simple pencil. For further coloring, the child can apply colored pencils or felt-tip pens.
- In the beginning of work it is necessary to mark auxiliary lines for the drawing: draw two segments, intersecting at right angles in the center of the sheet. The lines will help to place the crow in the right place and help indicate important details. At the end of the work, the auxiliary segments are erased, so they should be drawn slightly noticeable.
- Next, a sketch of the bird is made. An oval is drawn - this is the torso and a circle - the head of the crow. The top of the oval is positioned so that it is above the intersection point of the auxiliary segments with a slight shift to the right. Circle - the head is drawn to the left of the oval, it falls into the upper left square of the intersection of auxiliary lines.
- Smooth lines connect auxiliary figures: circle and oval. Place of intersection figures erased. The lower part of the body - the oval is made more rounded - this will be the abdomen of the crow, and the right rounded edge of the oval is sharpened. At this stage, the auxiliary segments can be erased, since the crow's body is drawn and they will no longer be needed.
- It is necessary to mark the tail of the crow. At the top of the pointed part of the oval are drawn two parallel lines at right angles, the edges of which are connected wavy area, you get a tail of feathers. Superfluous details and lines connecting the elements are erased.
- To draw the wing, it is necessary to depict a drop-shaped sketch in the center of the oval-torso, the size of which will be slightly smaller than the torso. The pointed part of the drop is also changed to a wavy connection line, this is how the feathers of the wing are indicated.
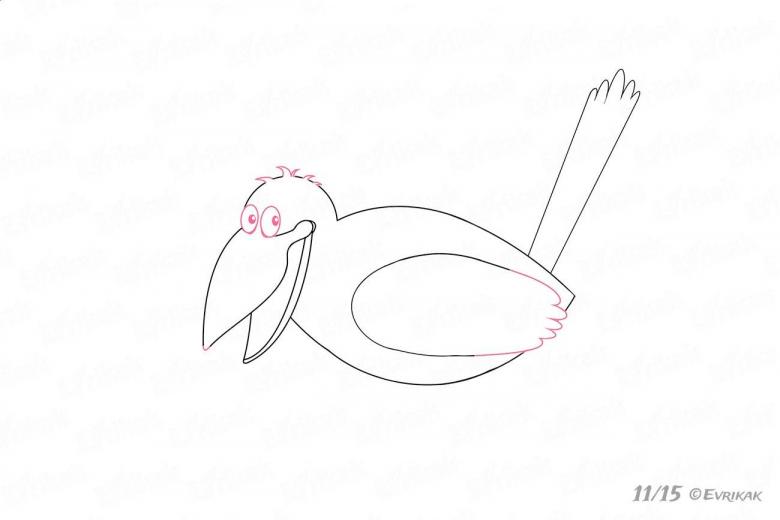
- Next, the beak of the crow is drawn. If desired, it can be depicted open, if the child draws a cawing bird, or a closed, silent beak. Next, a drop on the circle denoting the bird's head is added, which is drawn into the beak.
- The next step is to draw the eyes, they will be oval, of medium size and located just above the beak. The pupils of the eyes are marked, glare is added. The top part, the crown is drawn zigzagging, is the plumage of the head.
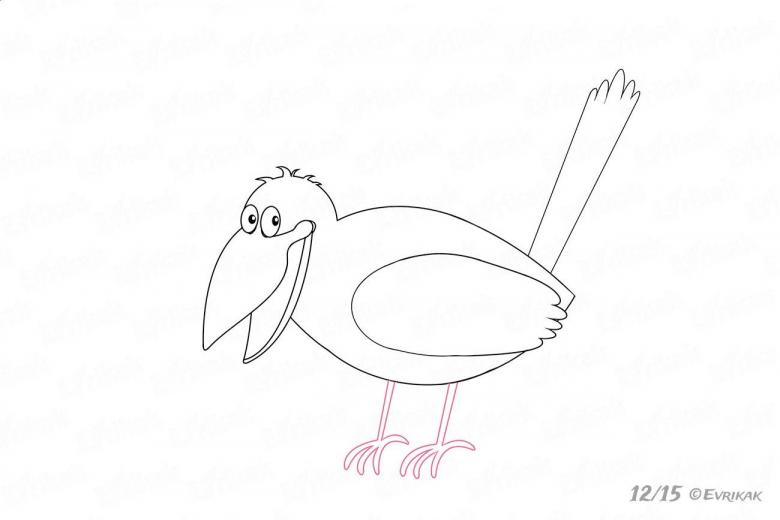
- Completion stage is traced crow's feet, they are long, thin, necessarily marked toes with claws on their feet. Missing details are added: nostrils, which are located at the top of the crow's beak and abdomen feathers, they are also drawn in zigzags.
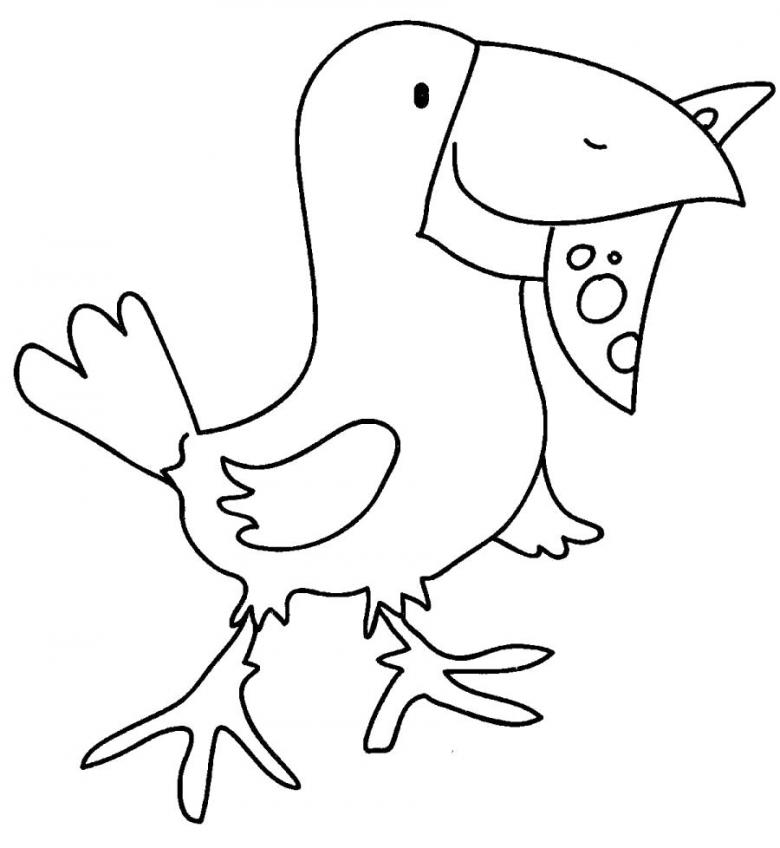
The instructions for drawing a crow have been studied, and now the child needs to paint his or her bird. To do this, the body of the crow can be painted in gray and black, and the beak and paws can be painted in yellow. And that's all, a cartoon crow is ready!
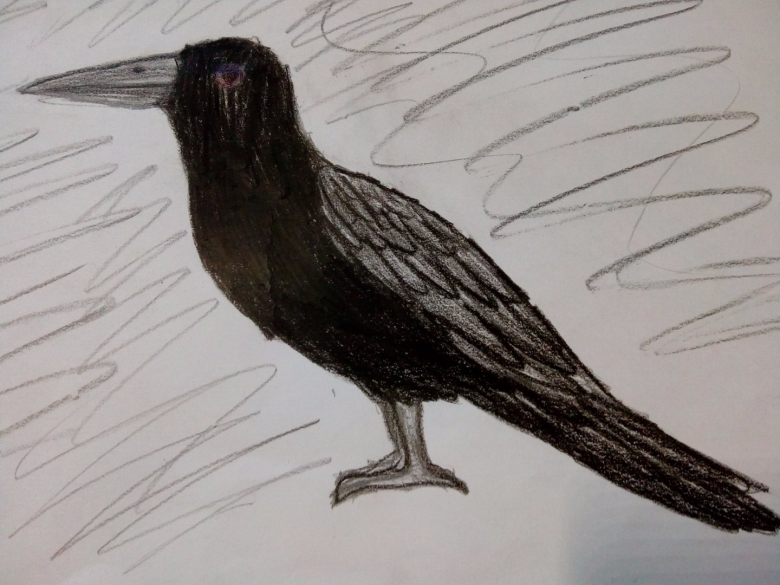
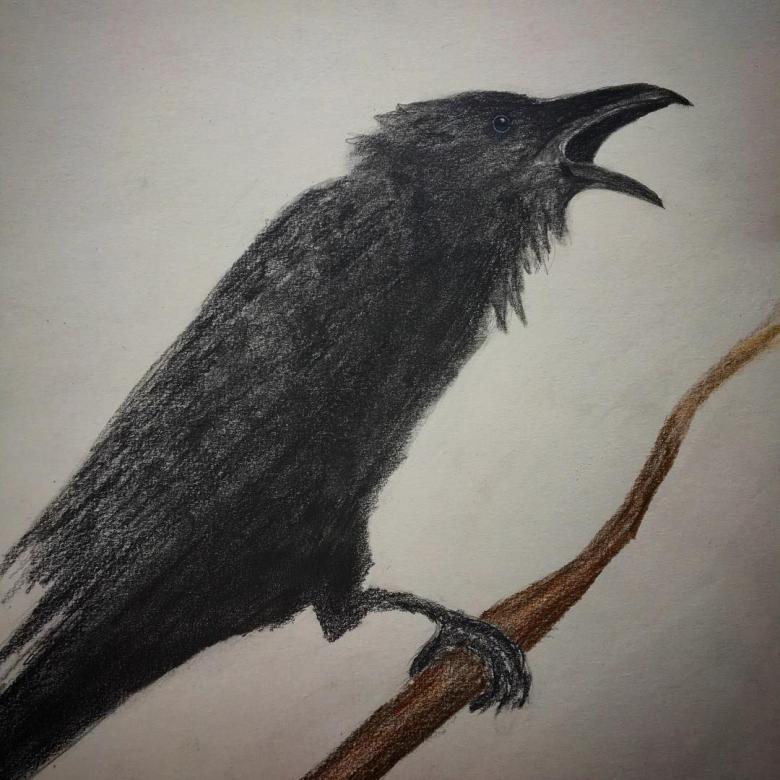
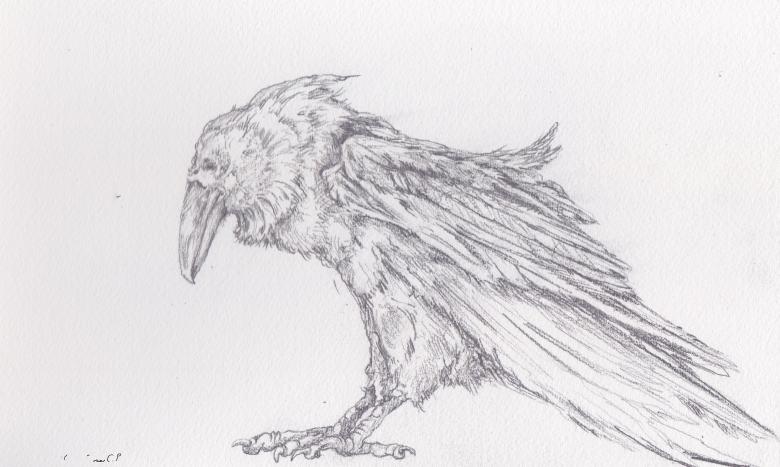
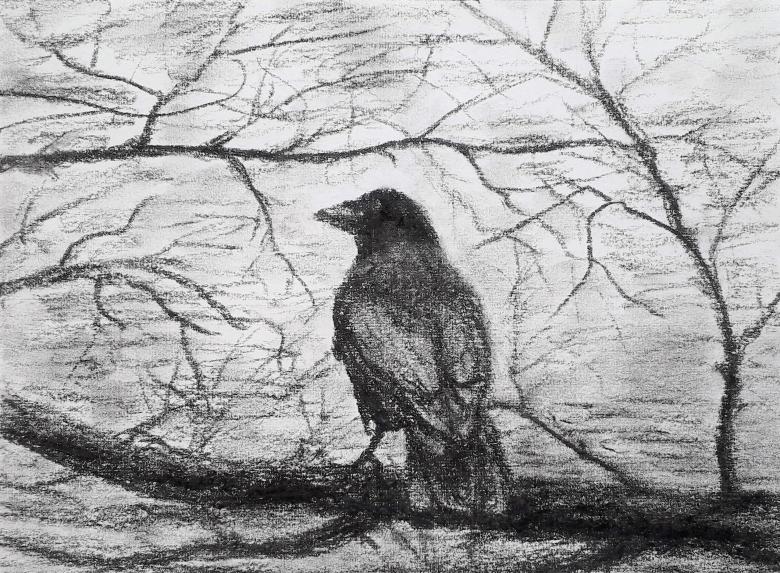
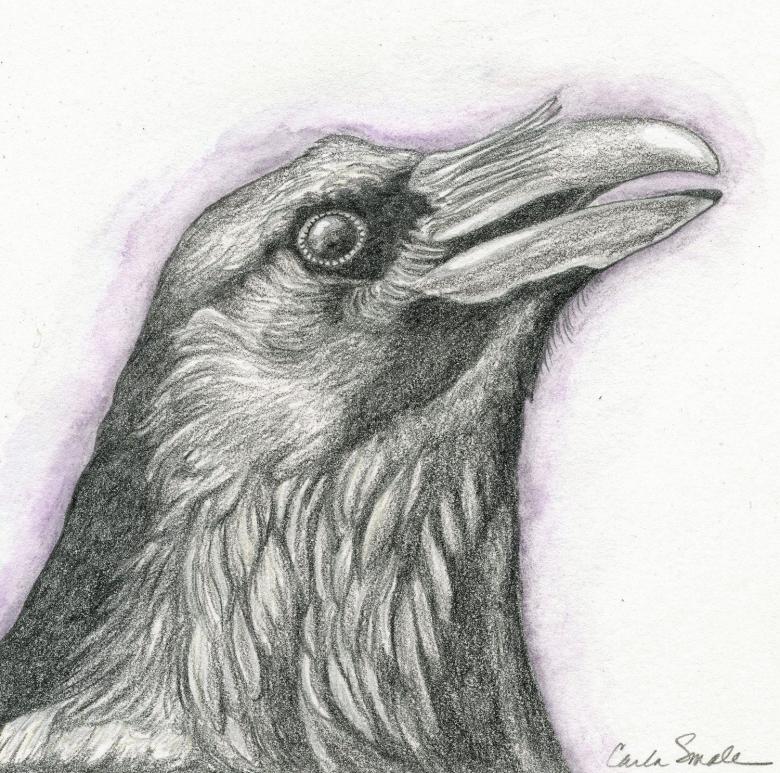
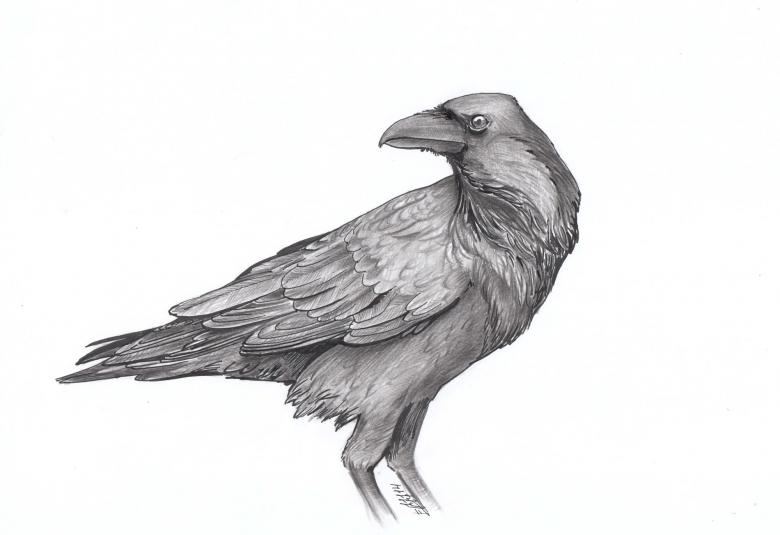
Crow in black and white. Pencil drawing
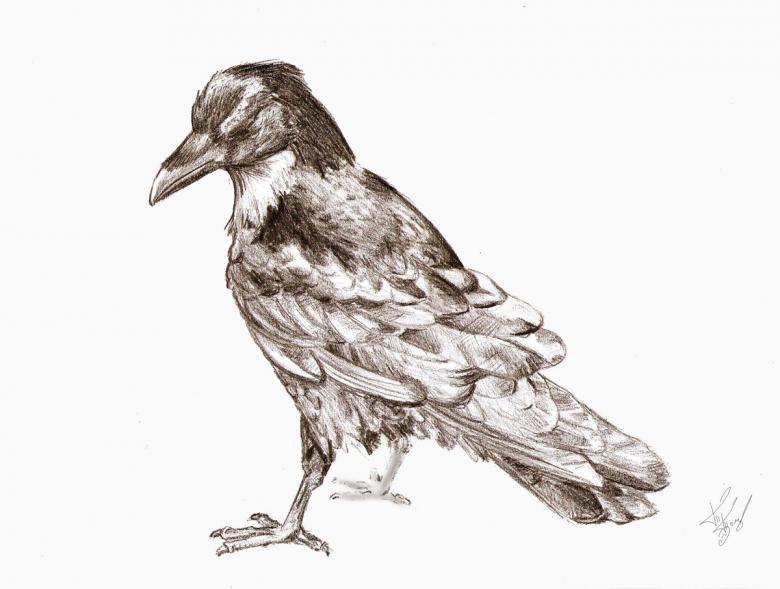
The black and white image of the crow is a little more complicated. This drawing technique is used by older children. An example of drawing will be considered below.
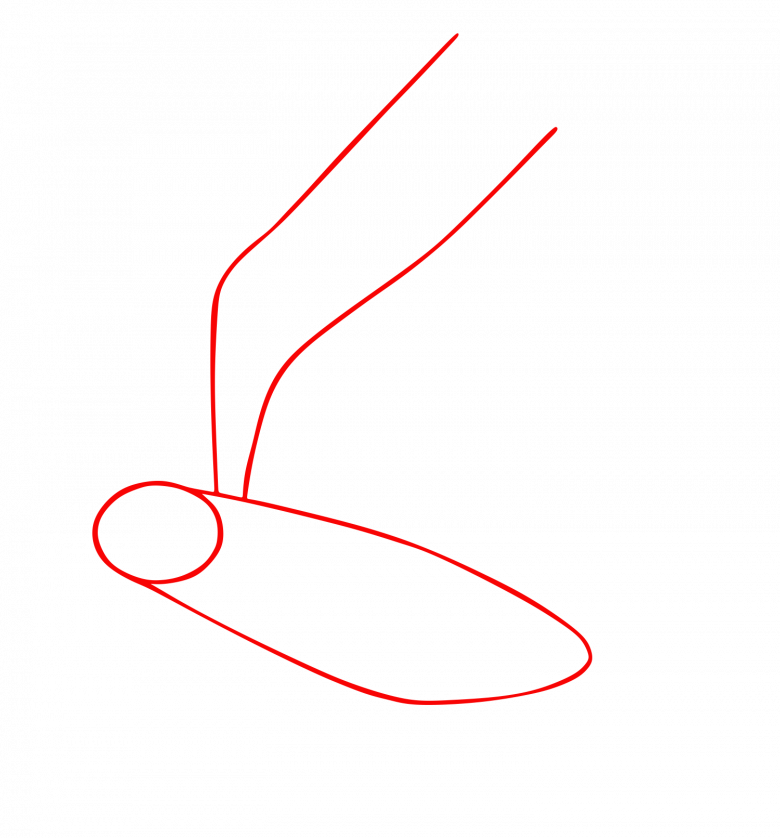
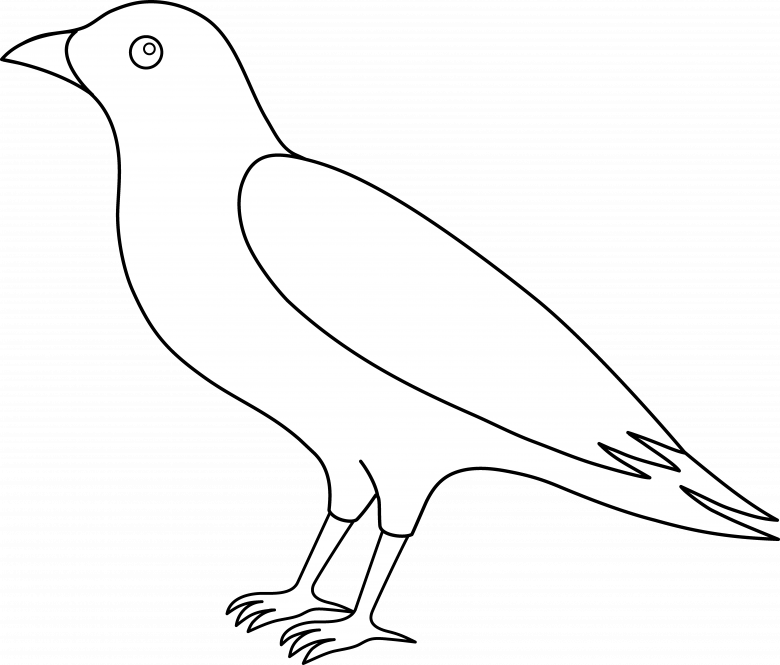
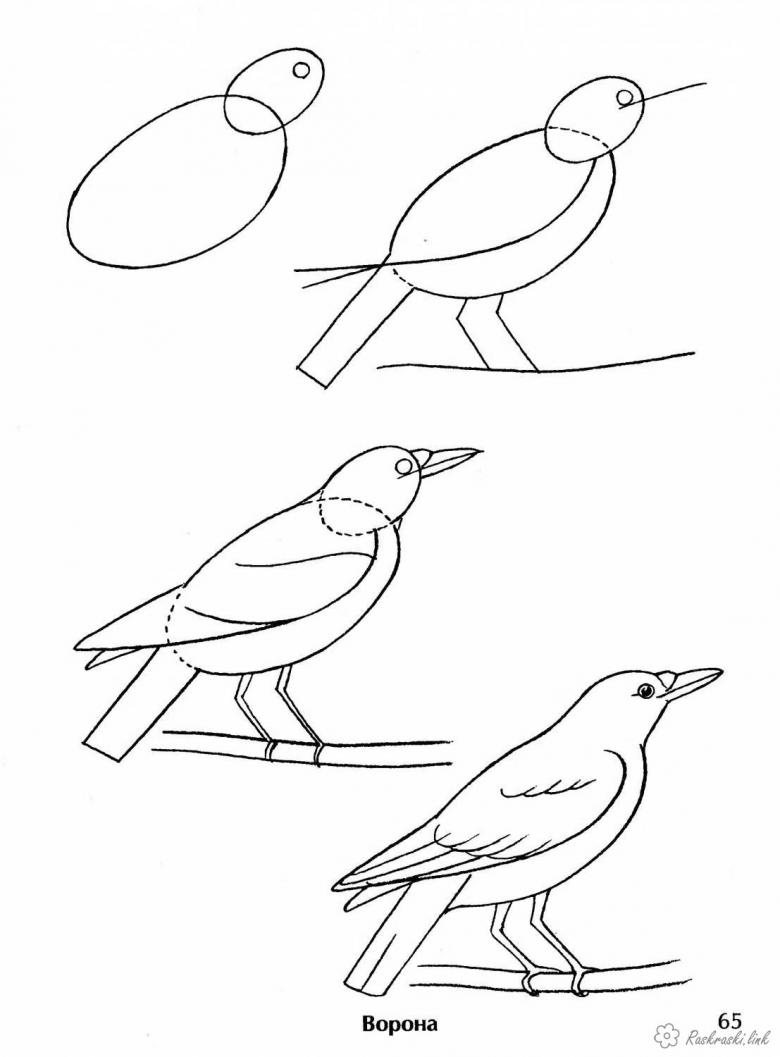
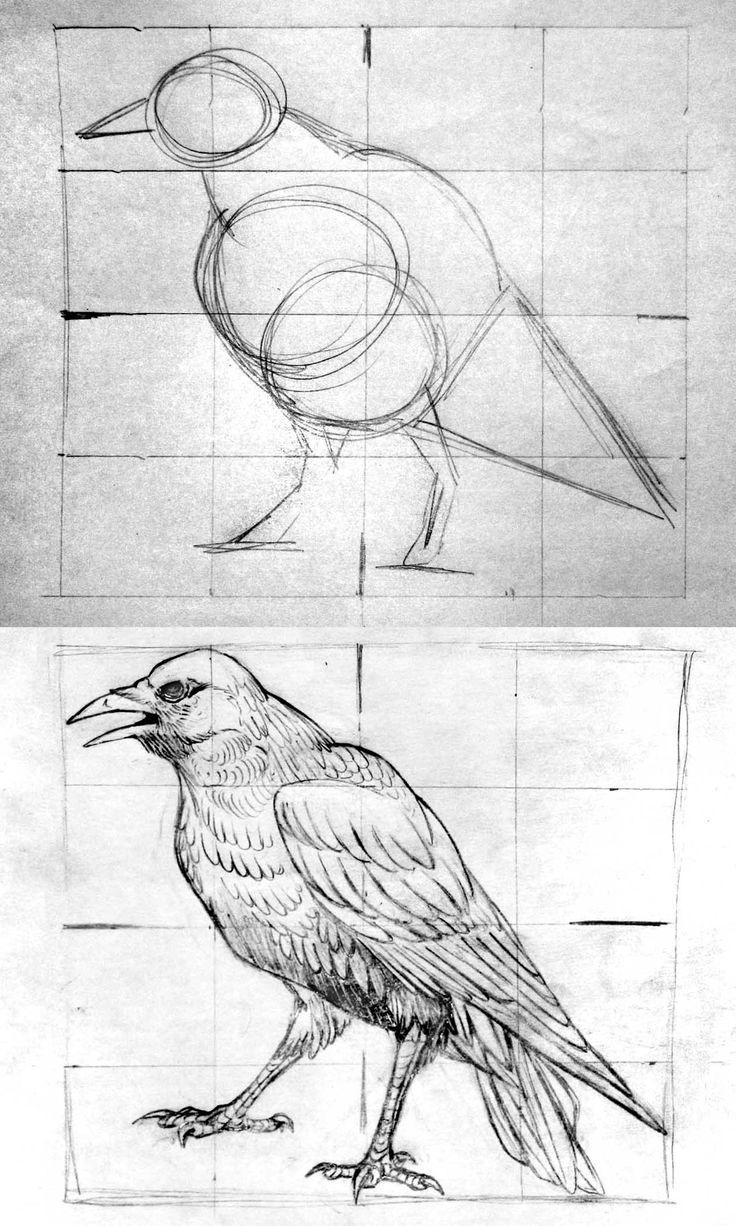
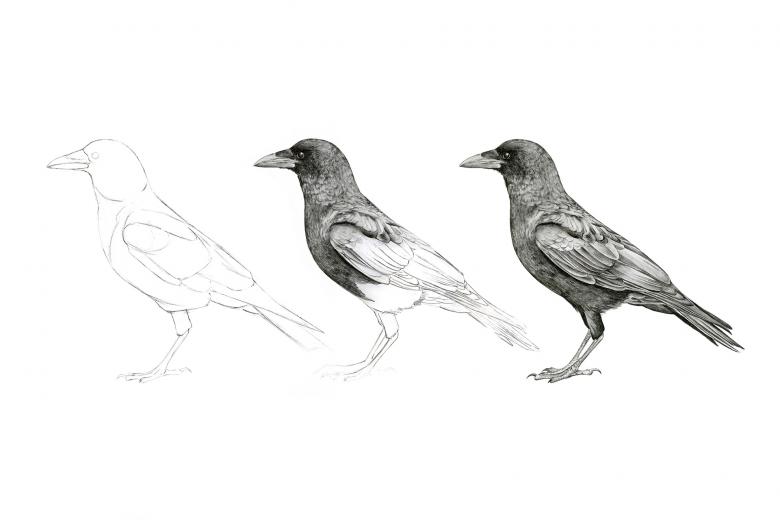
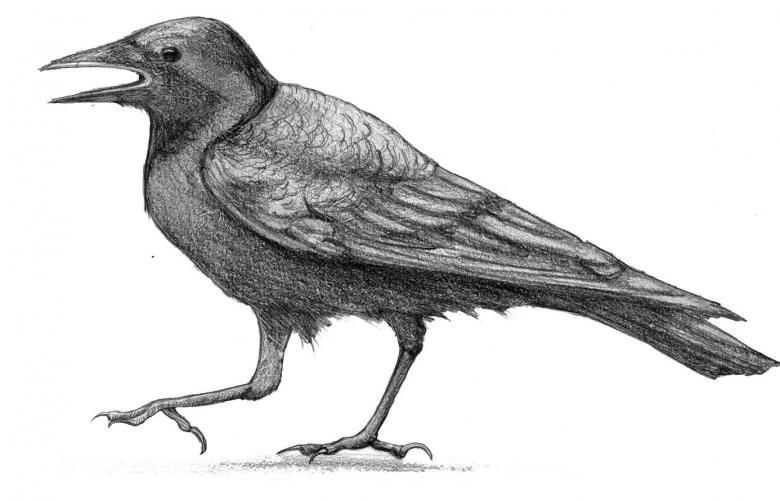
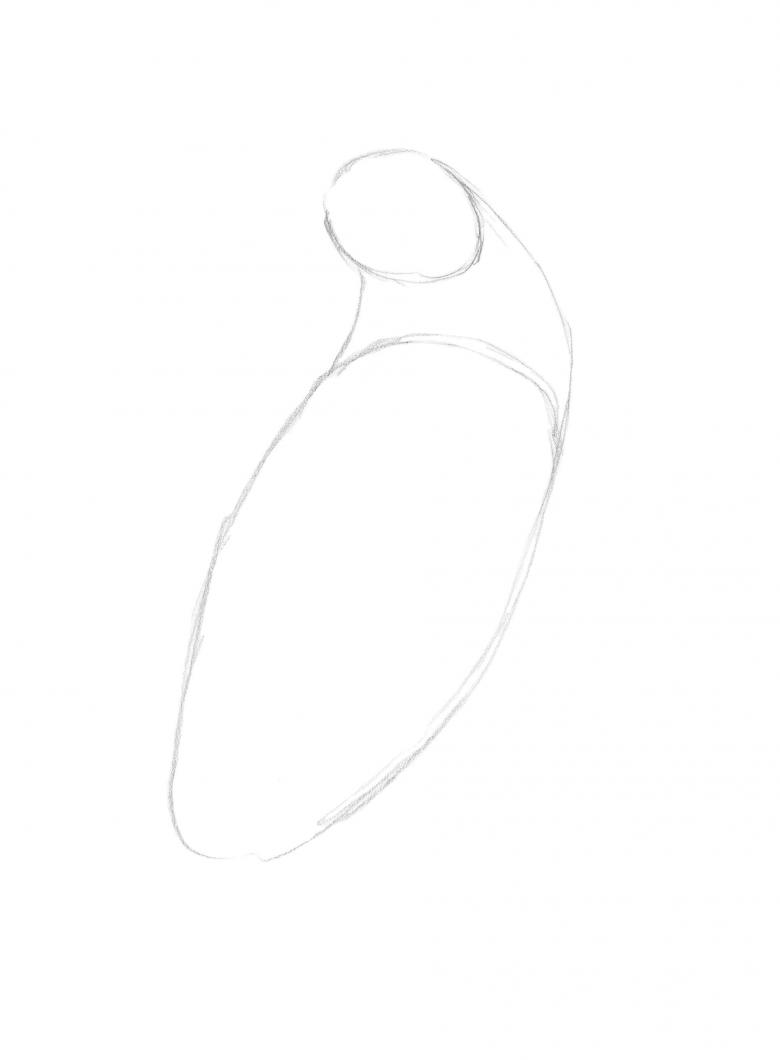
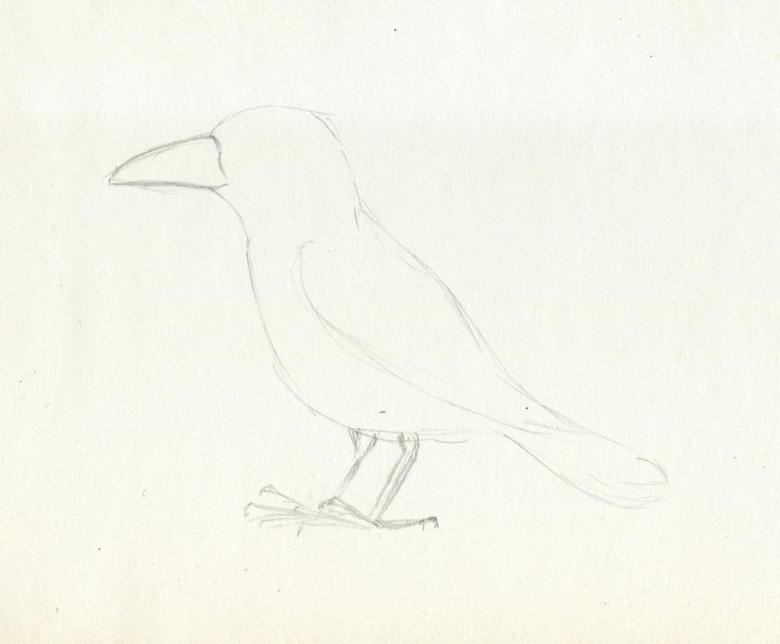
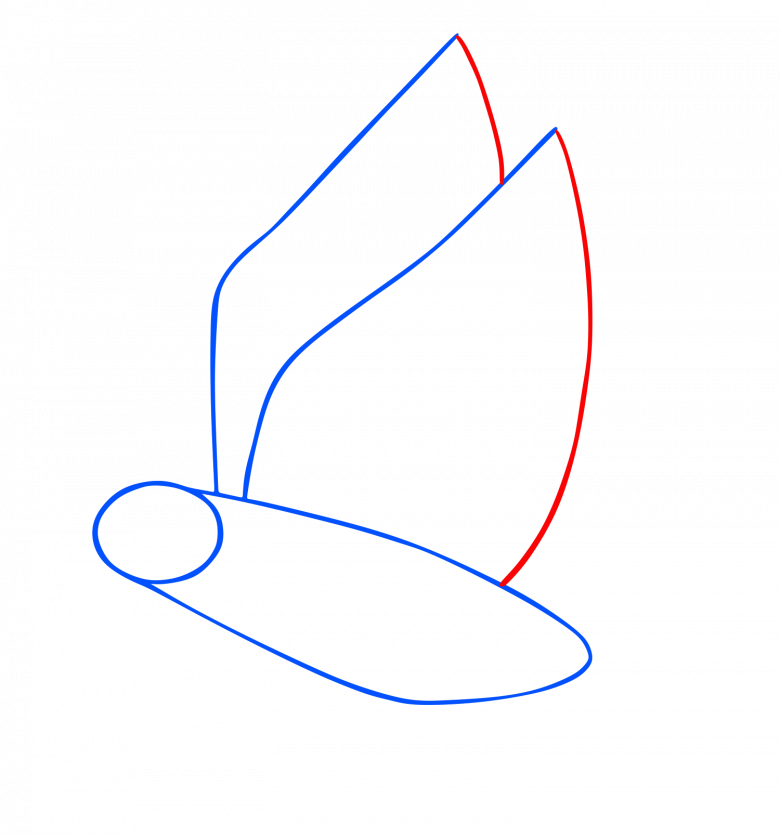
- To begin work, a thick sheet of paper, a simple pencil and an eraser are prepared. Drawing begins with tracing auxiliary figures - a circle is drawn, a triangle is appended to it - the blanks of the body, we get an egg-shaped drawing that is located on the sheet diagonally, and from above on the opposite side of the body we draw a circle - the bird's head.
- The circle is divided into four parts with two perpendicular diameters. To the circle is drawn a triangle, with the top and the delicate point are drawn lines - this will be the beak. In the upper right sector of the circle, the crow's eye is drawn.
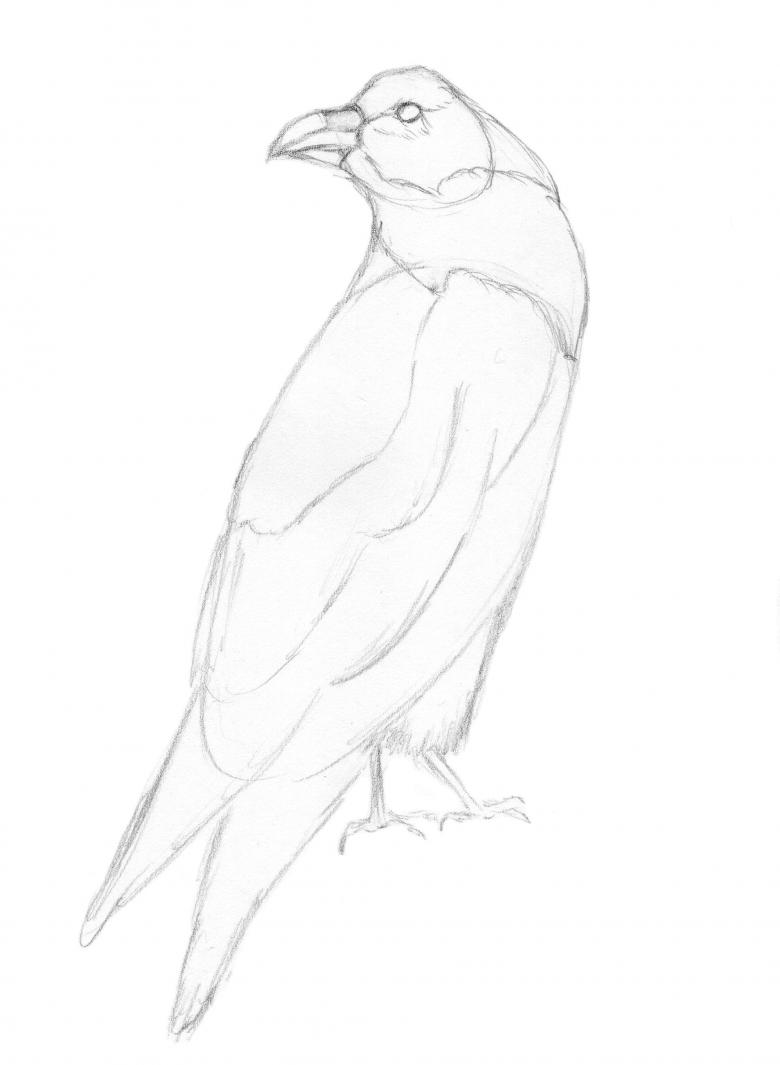
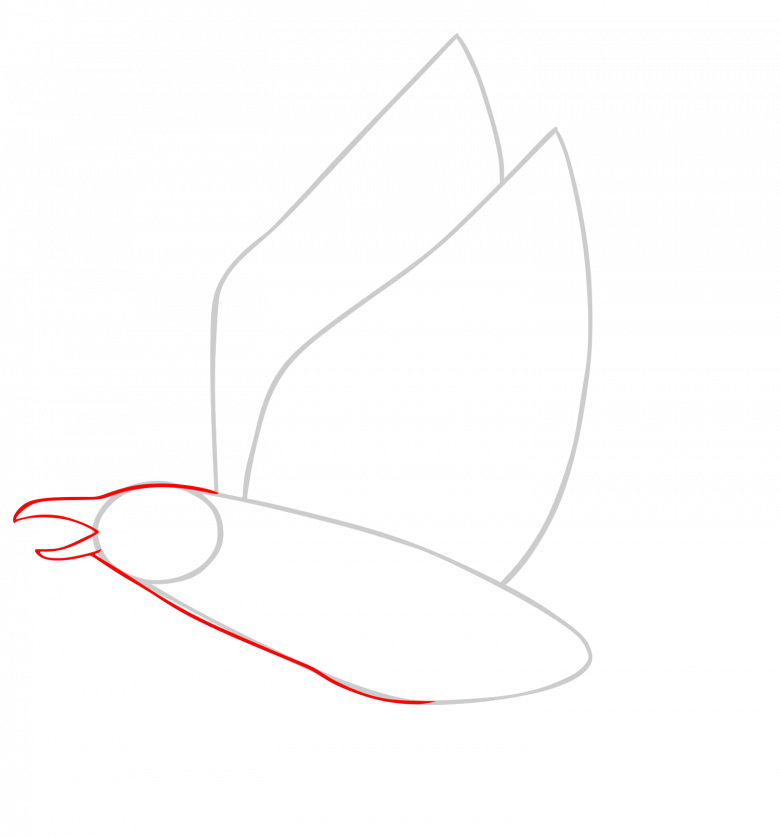
- All the prepared parts are connected by smooth lines, the excess is erased. In the back part of the torso, a sketch of an elongated tail is drawn. Lines - sketches paws.
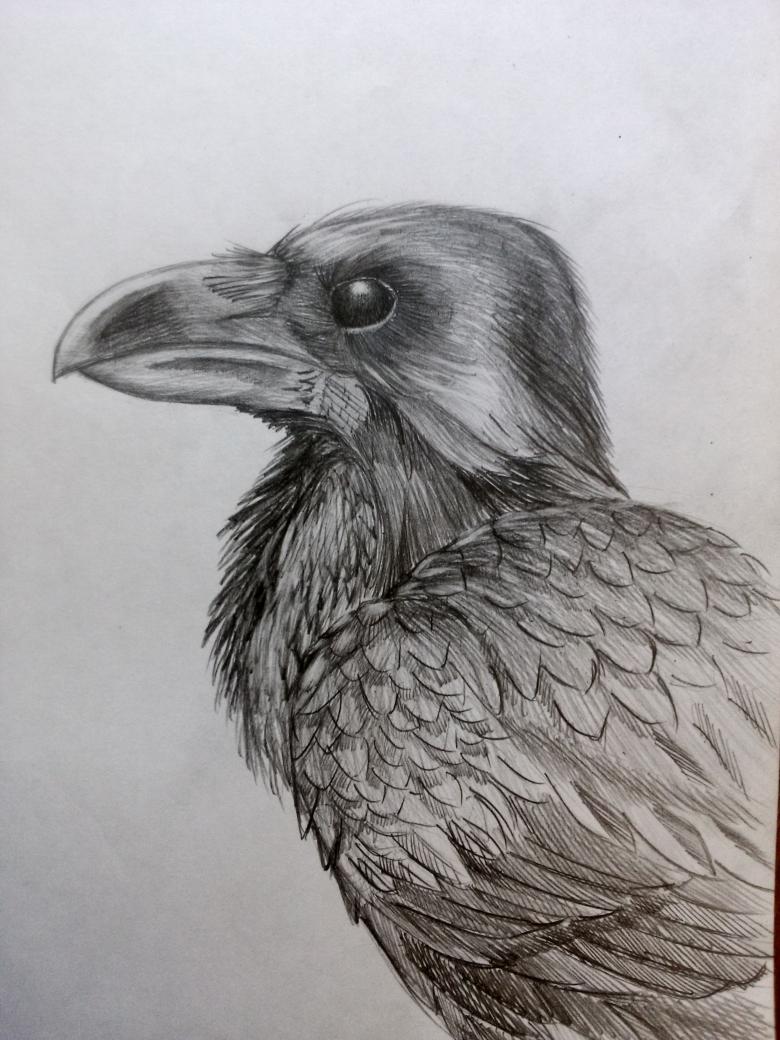
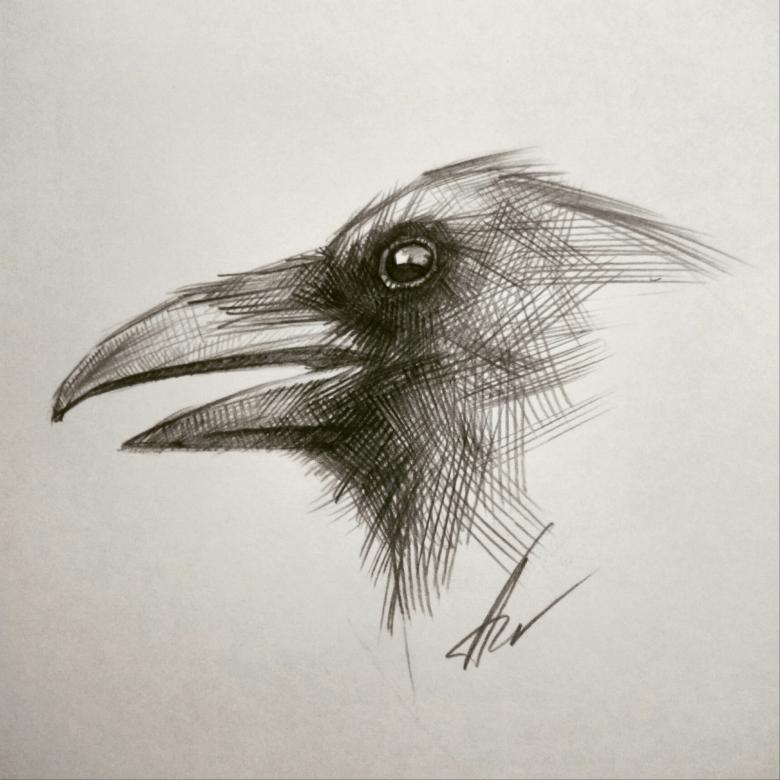
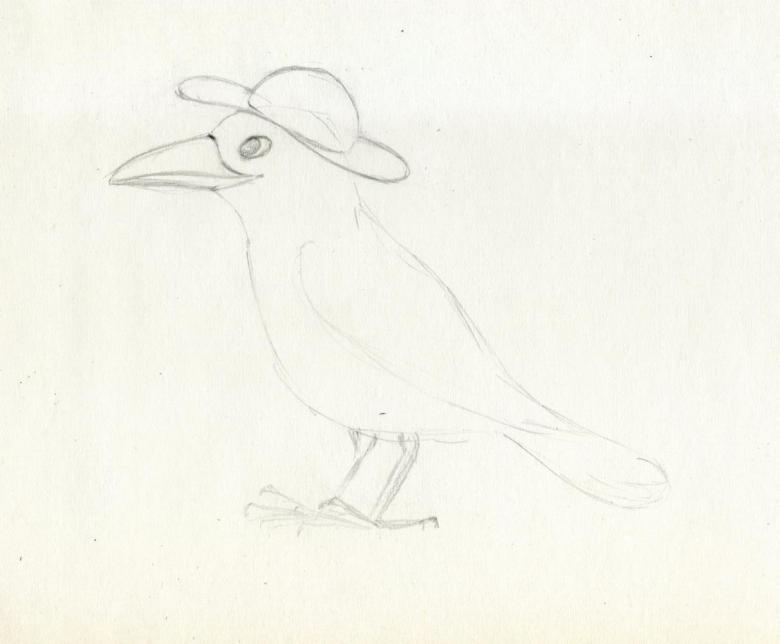
- Then begins the detailed design of the bird's head. Traced eye, shadows and highlights. The triangle representing the beak is detailed: it is divided into two parts by a strip, the upper part is slightly rounded at the tip. Thin strokes indicate the feathers of the head, and finally the bird's beak is formed.
- Next, the wing of the crow is traced. Feathers are added in the form of zigzags and elongated semi-ovals. The wing is long, it must touch the tail. Tail feathers are also traced at this stage.
- The next step: the design of the bird's feet. Lines-slashes of legs are thickened, toes are drawn, claws can be drawn in detail. And then you can move on to shading the entire drawing.
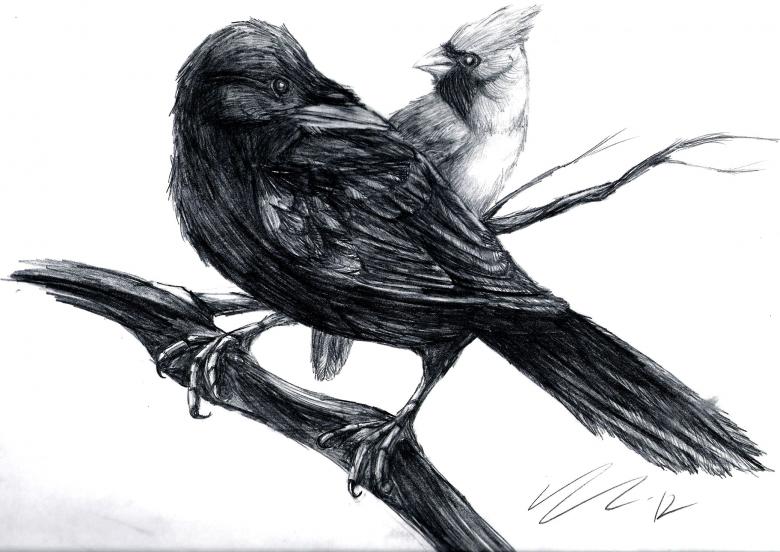
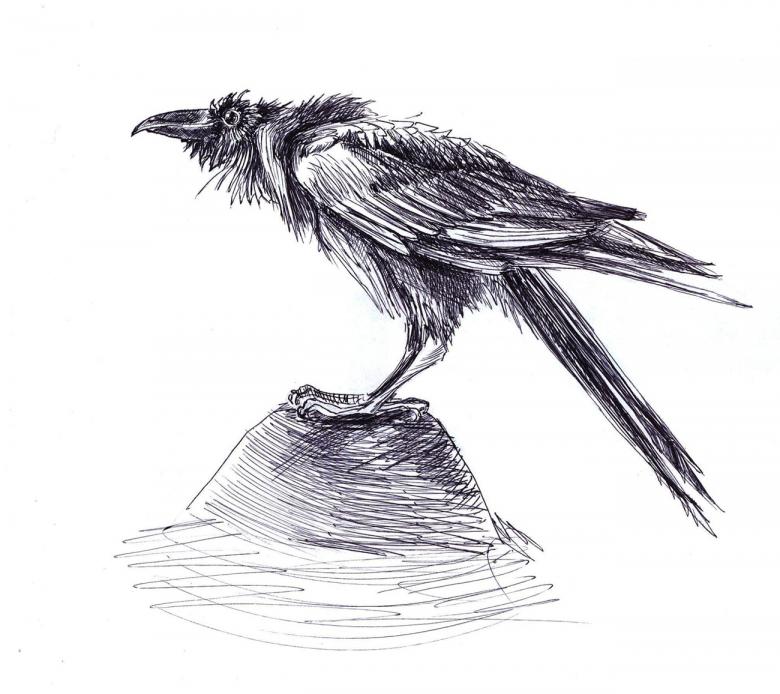
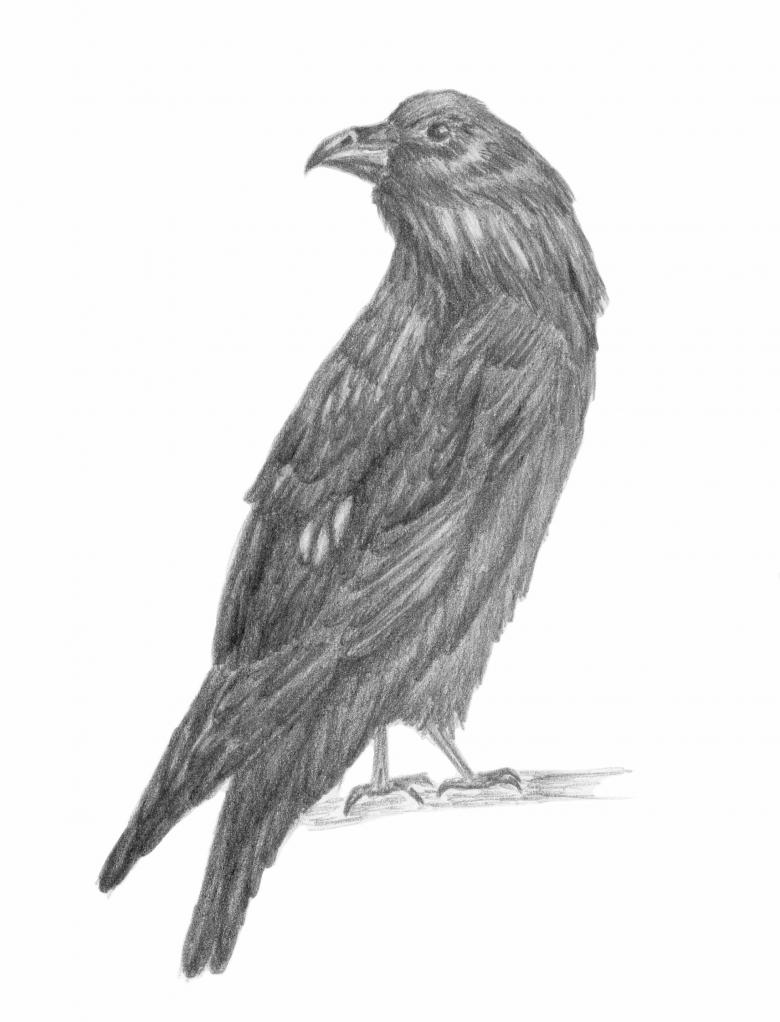
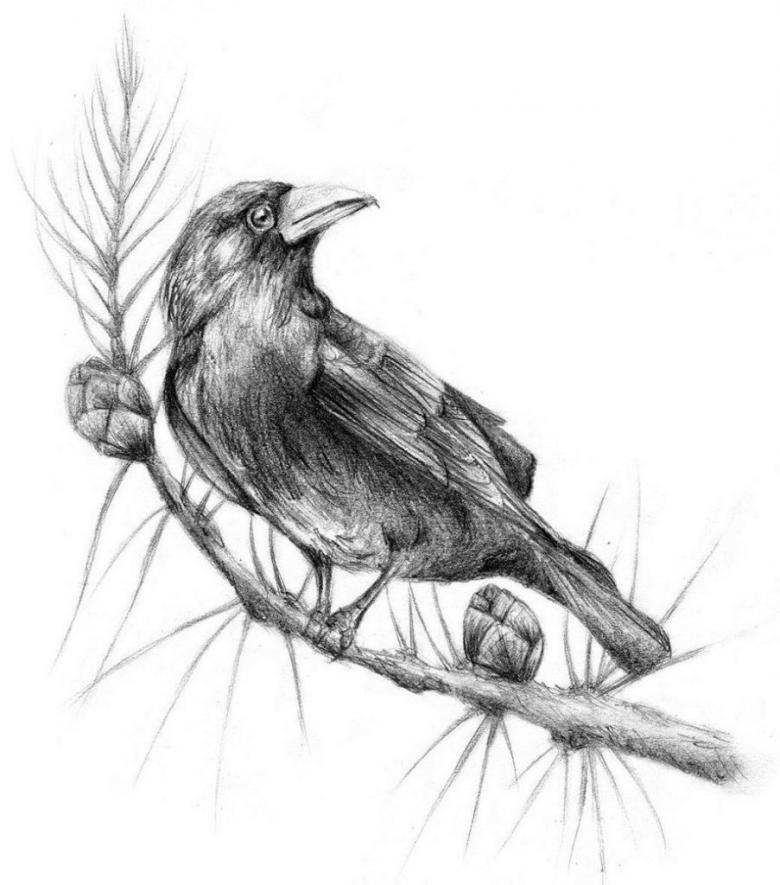
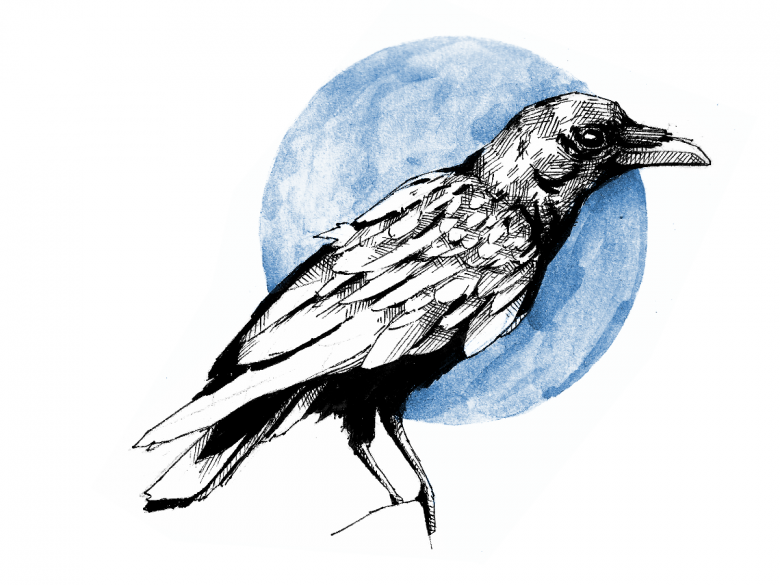
- The shading of the bird is done in different colors: gray highlights the area of the belly under the wing of the crow and marks the shadow of the bird, falling under its feet. The main part of the bird's beak is also shaded in gray. The main black shading of the bird is done with a soft simple pencil, starting from the head. Lines are drawn in the direction of feathers growth. It is necessary to leave narrow empty areas, so glare is created.
At the end of the drawing of black and white details with shading, you get a great realistic crow.
A crow in color. Drawing with paints
After the child has mastered the previous drawing techniques, it is possible to offer him to master the technique of painting a crow with paints.
For work it is necessary to prepare a sheet, water paints and brushes of different sizes.
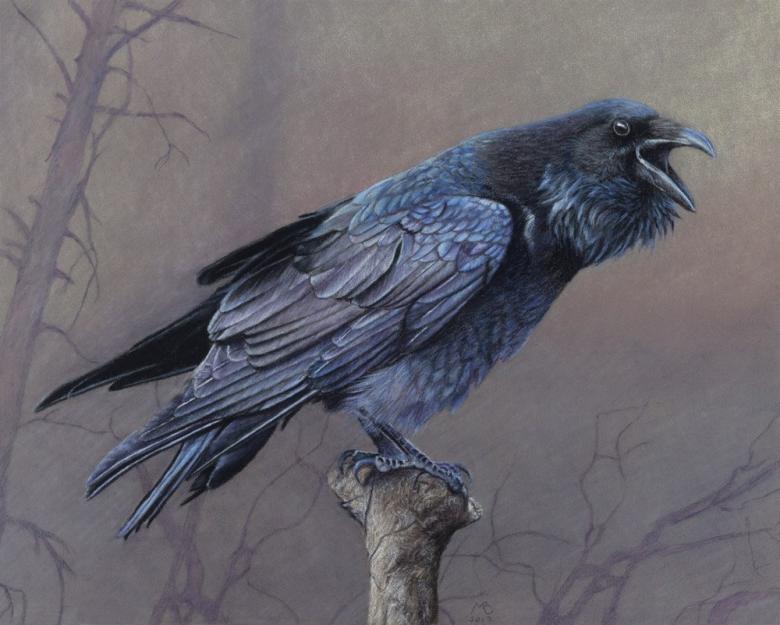
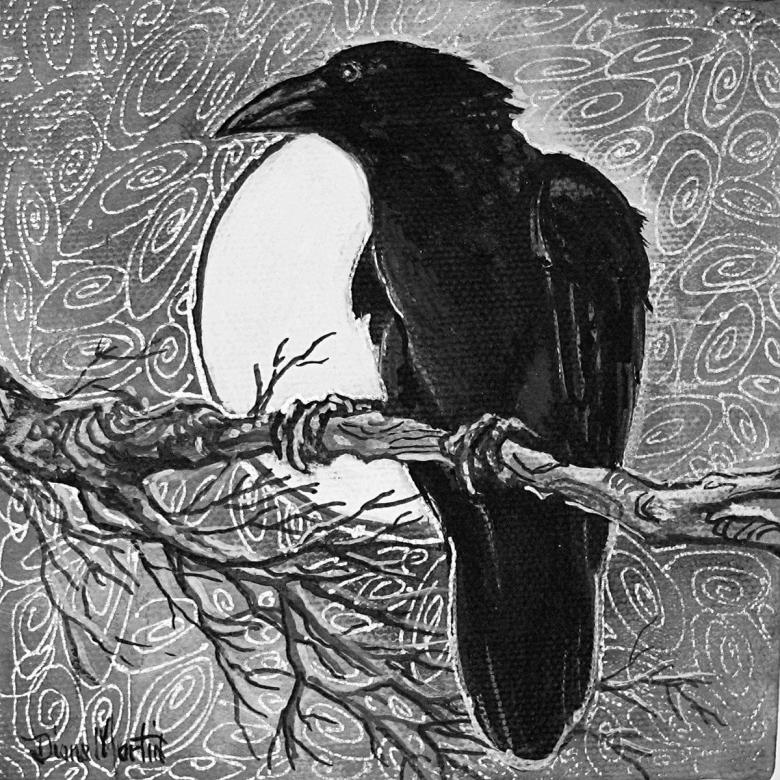
Picture a crow on the background of the moon with paints.
A step by step description of the technique.
- In the beginning, it is necessary to draw the moon and the light it casts in the top right corner of the sheet. The moon itself is painted with a circle of white paint. Then the moon's light is marked around it with circles of larger diameter, using yellow and brown shades of paint. The diameters are alternately increased, with the edges smoothly smoothed out with paint.
- After shaping the moonlight, using the same circular motion, add shades of dark blue, blue, and purple to the sheet. The farther away from the moon, the darker the colors should become. Black tones are added to indicate the furthest area. All the white space of the sheet should be painted over. In this way, images of night space with bright moonlight appear on the sheet.
- After the paint has dried, a slightly wavy black line is drawn on the resulting background, in the middle or slightly below - this will be a tree branch. The thickness of the branch is indicated with a medium-diameter brush. The line is drawn from left to right.
- On the resulting branch, a figure of a crow is drawn using black and a thin brush. First, a sketch of the circle of the head is made, then the triangle of the beak, the oval of the body is derived and the tail of the bird is marked. Attention must be paid to the proportions, so that the bird was not larger than the branch.
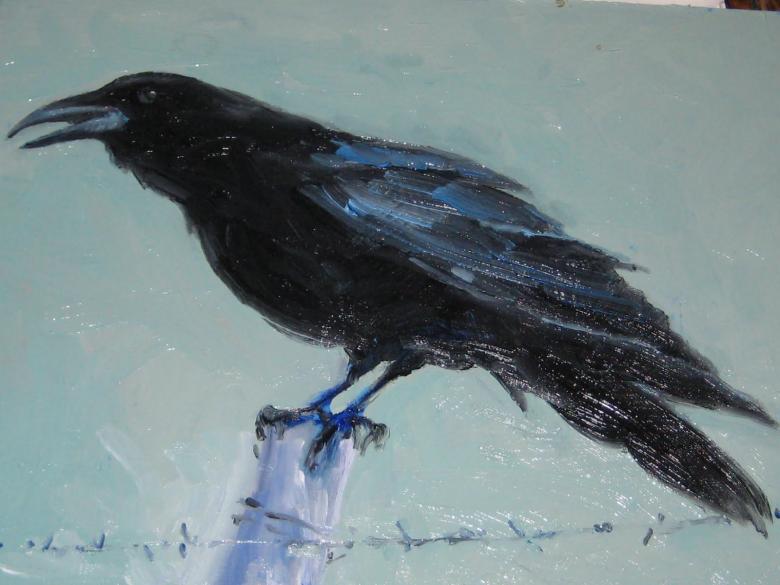
- The crow is painted with black paint, you can add highlights with lighter colors to achieve a more realistic image. Glare is added to the bird's wings, head and beak. The paws with which it holds on to the branch are finished.
- The final step, so that the picture does not seem incomplete, is to add additional side branches to the main branch. Use black and brown tones. These unpretentious strokes enliven the picture and give it a realistic look.
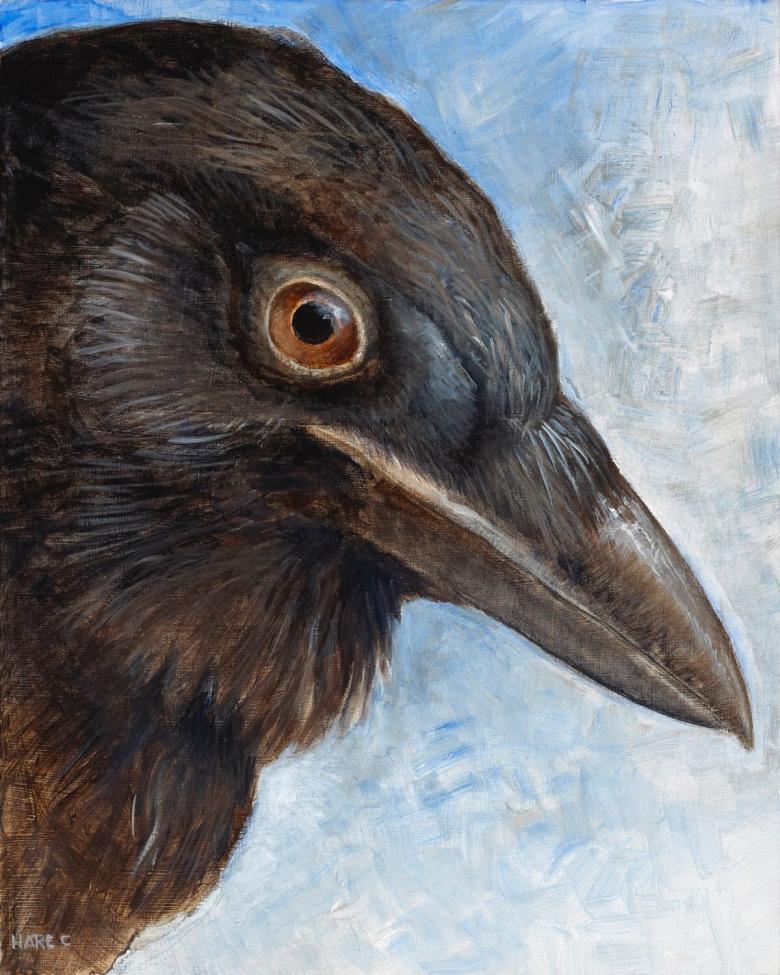
That's all the picture is ready! It won't be difficult for a child to learn this step-by-step lesson for drawing a crow in the moonlight.
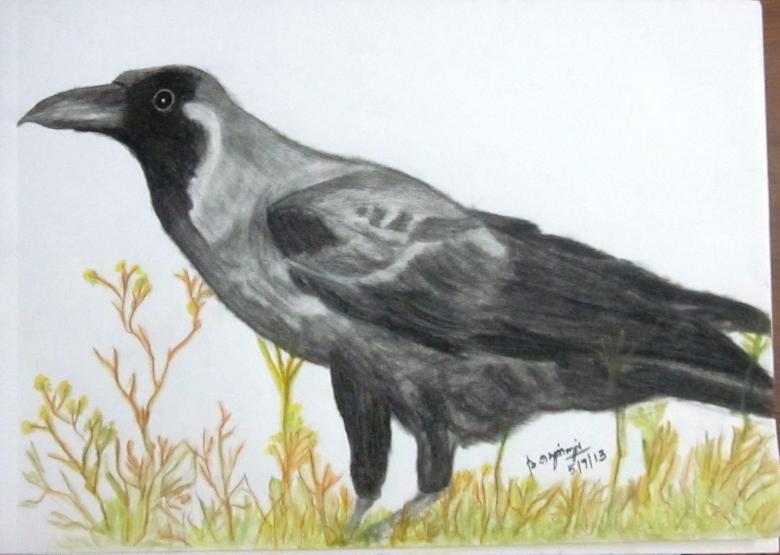
That's it, drawing a crow is not that difficult. It is necessary to master the drawing technique, using the step-by-step instructions provided above. Every adult and child can master the techniques presented without much difficulty.

