How to Draw a Tulip in Pencil - 4 Easy Workshops for Beginners
The floral theme is quite traditional for those who can and love to draw naturalistic images and beautiful pictures. Tender and subtle tulips are beautiful in the form of buds and blossoming flowers, they conquer the hearts at first sight and without them it is impossible to imagine congratulations on women's day.
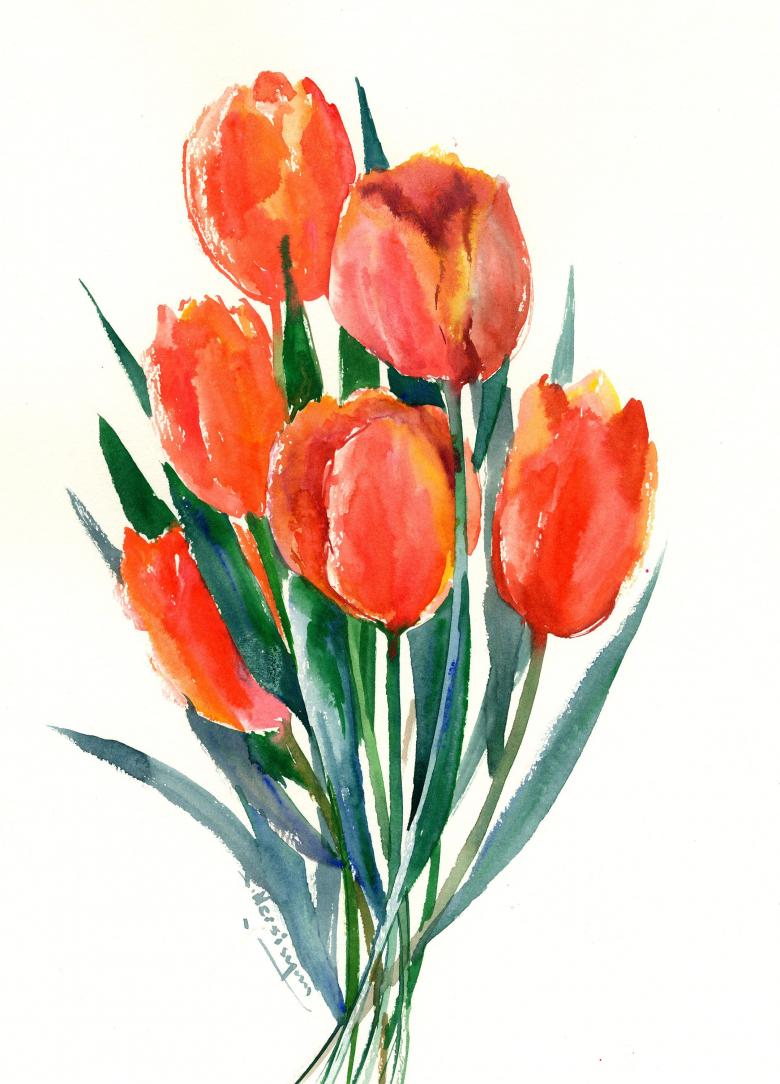
The beauty of tulips is very modest and the drawings of these flowers traditionally convey the tenderness and charm of the coming spring. Simple and clear master classes will help to understand how to draw a tulip, with which you can decorate a postcard or greeting card, made with love with his hands.
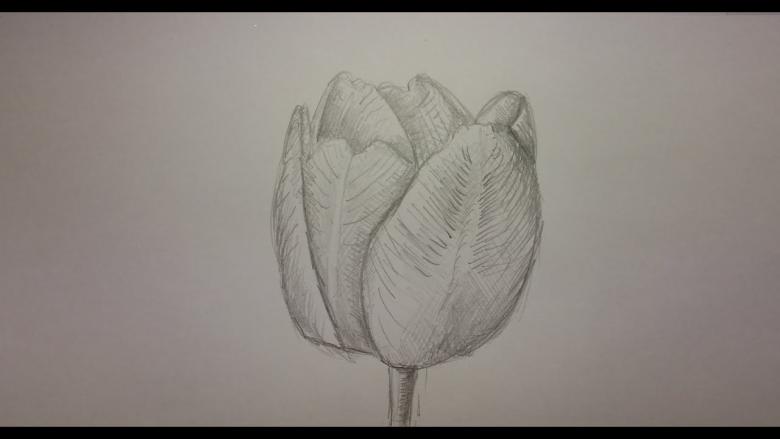
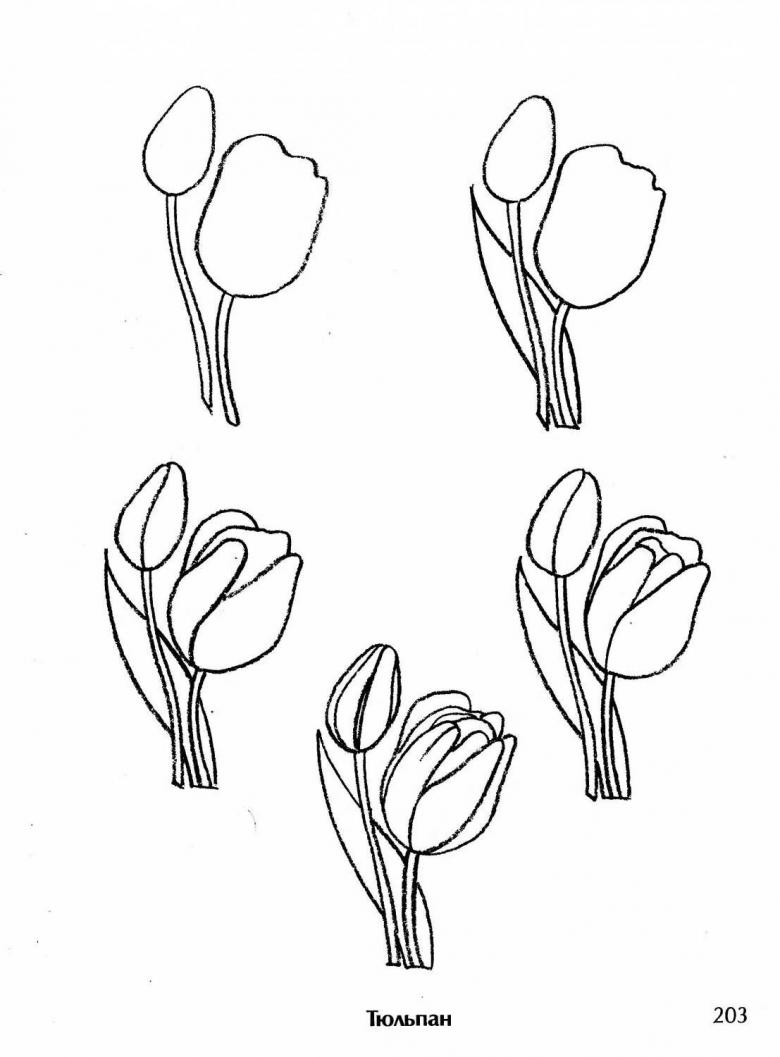
Drawing an Unopened Tulip Bud
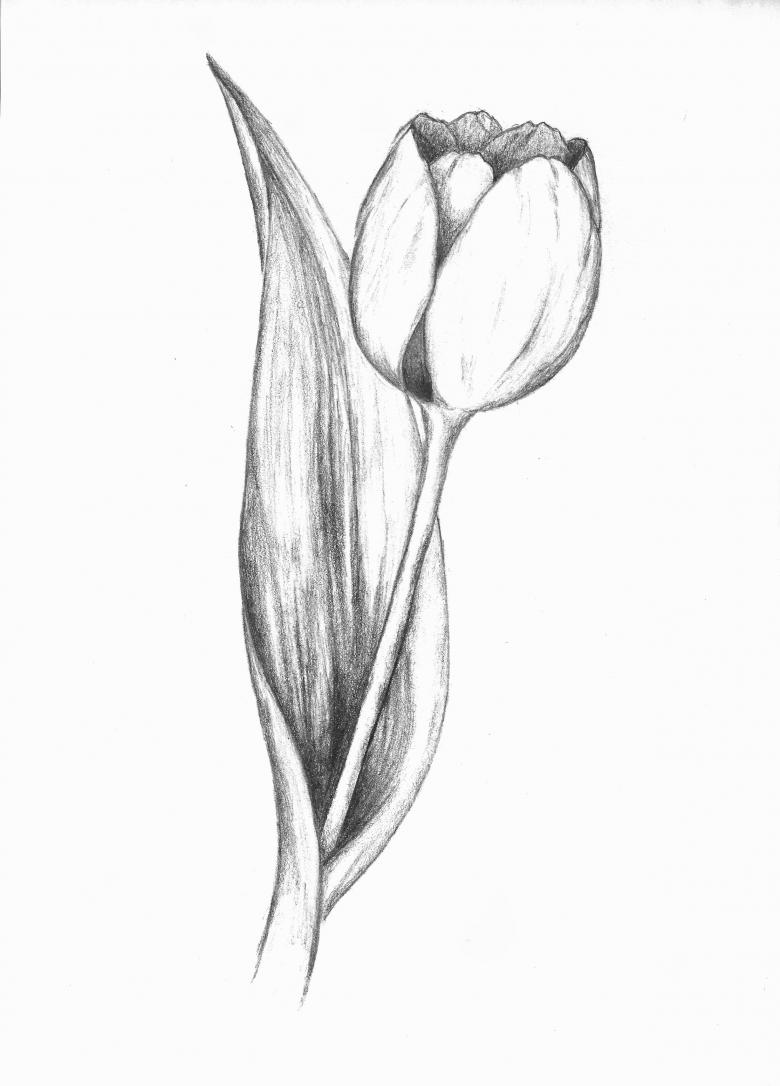
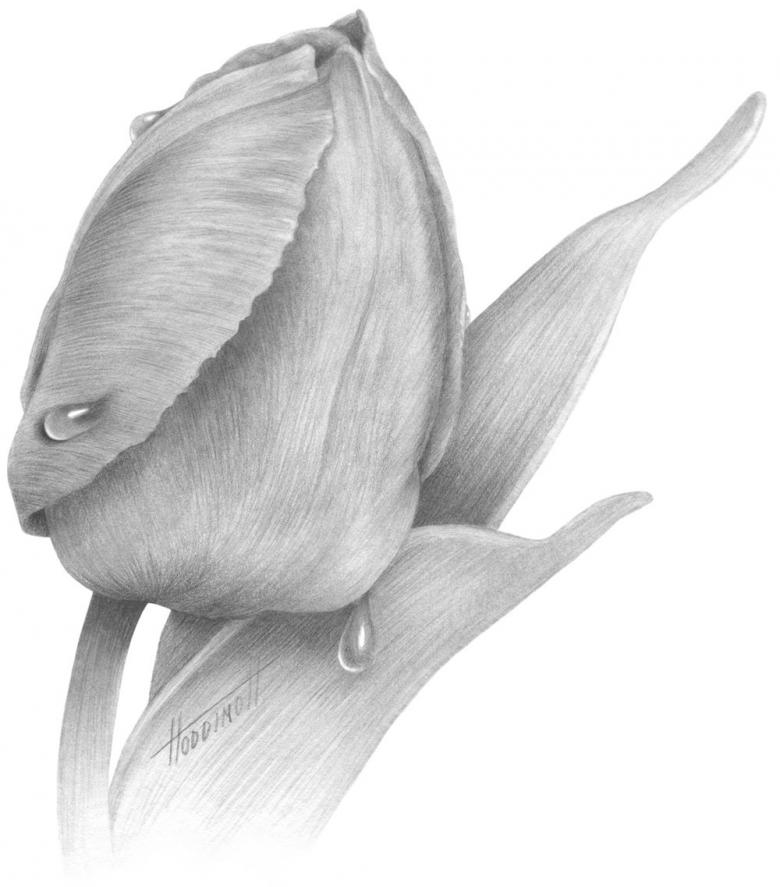
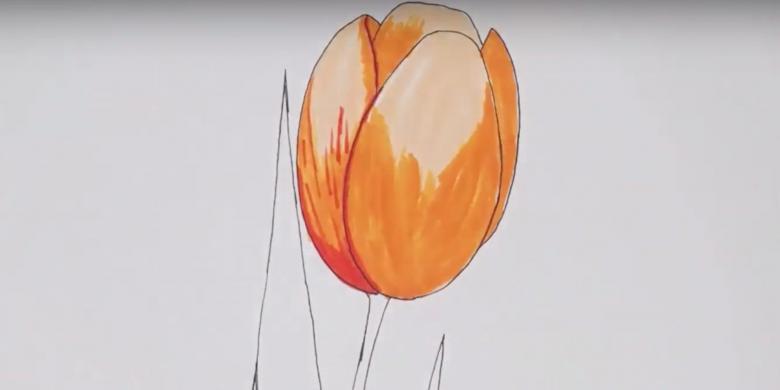
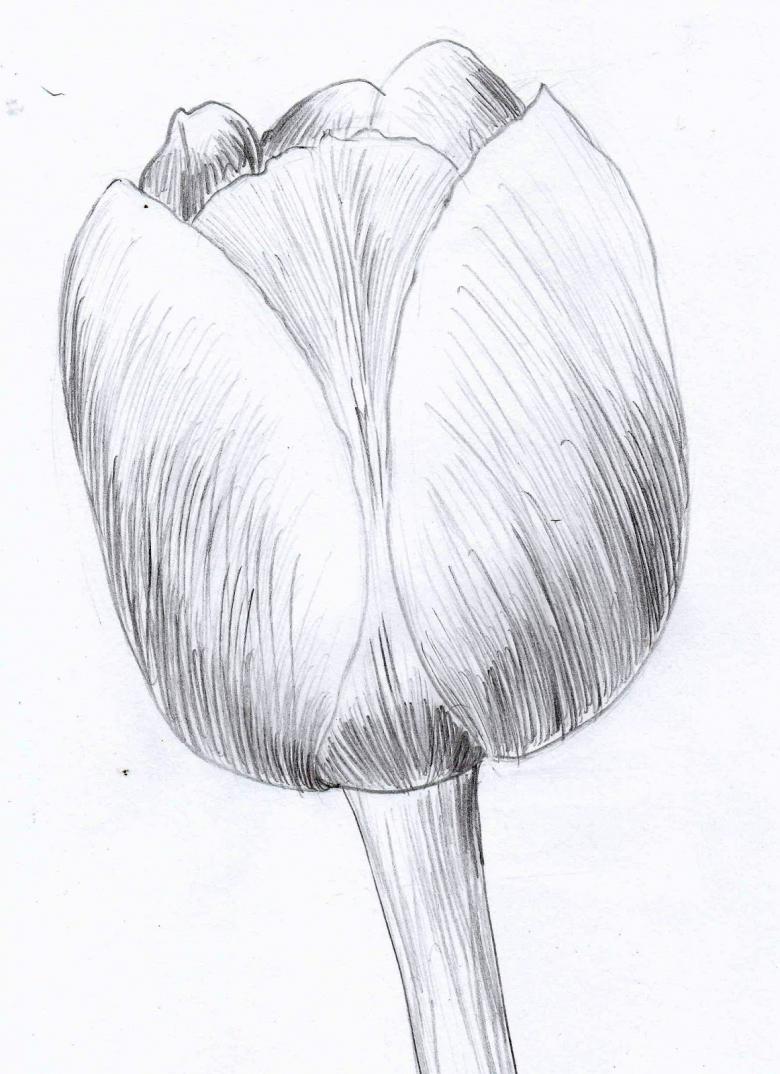
With a huge variety of tulip varieties, shapes and colors, the buds always look the same, so they are the easiest to draw:
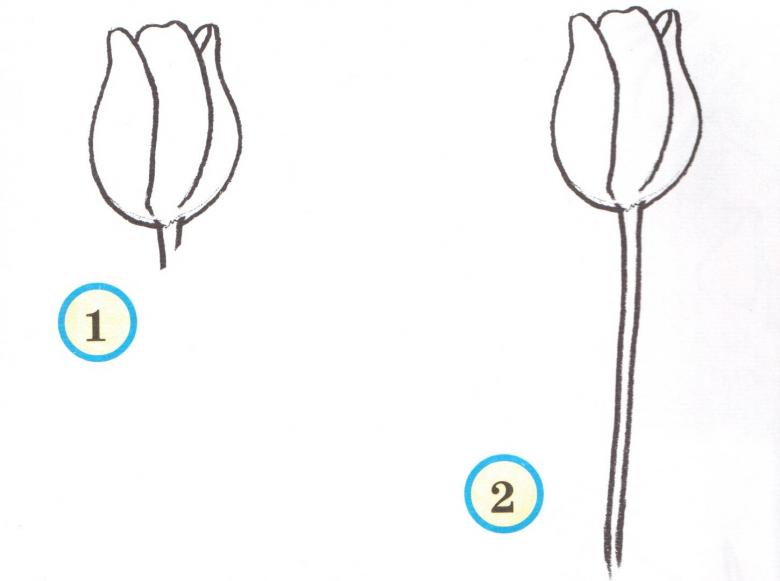
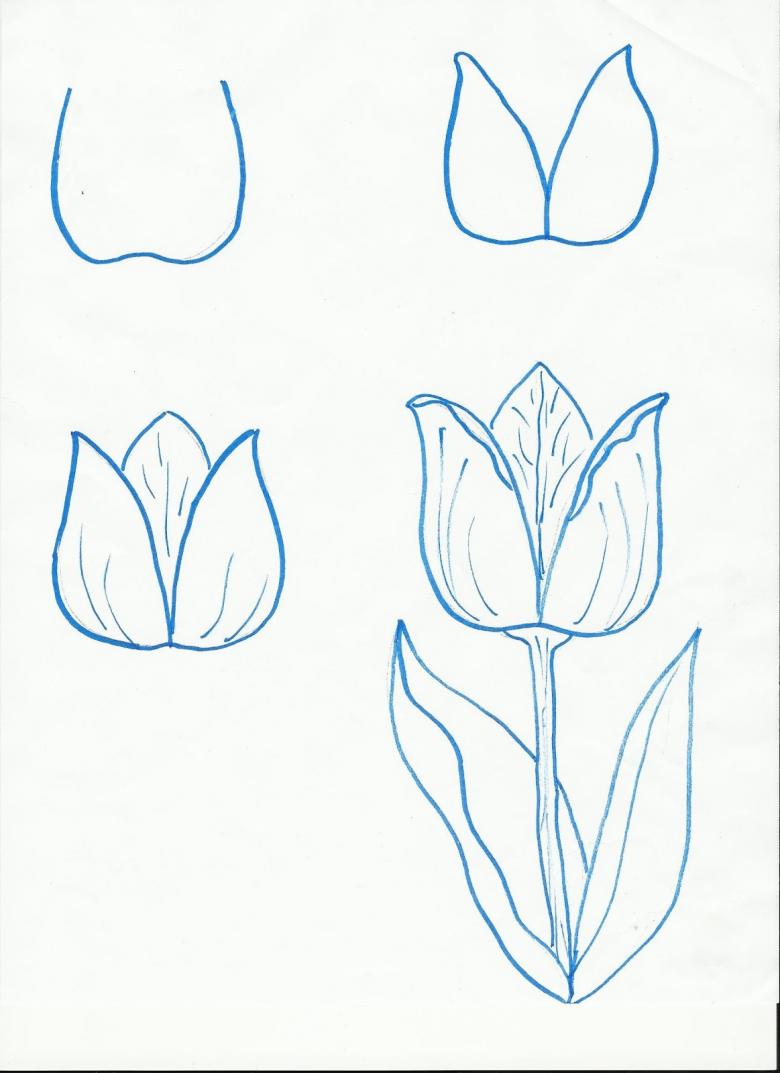
- with a pencil, without pressure it is necessary to draw on a sheet of paper a drop, the top of which looks up, this will be the base of the future bud;
- The top part should be slightly rounded, giving the lines more fluidity, which will help to convey the tenderness and elegance of the flower;
- The bottom of the drop should be slightly sharpened, for this it is stretched by neat and precise strokes, giving the desired shape and volume;
- On the resulting base it is necessary to draw individual petals, tightly twisted into a bud, they can be drawn schematically and step by step;
- From the center of the bottom base upwards, draw one curved line, without leading it to the top and gradually reducing the pressure on the pencil lead;
- Similarly, draw the outline of another petal, placing the lines parallel, so the flower will get the necessary volume;
- down, from the center of the base draw two parallel lines, so a strong enough and powerful stem of a tulip is drawn;
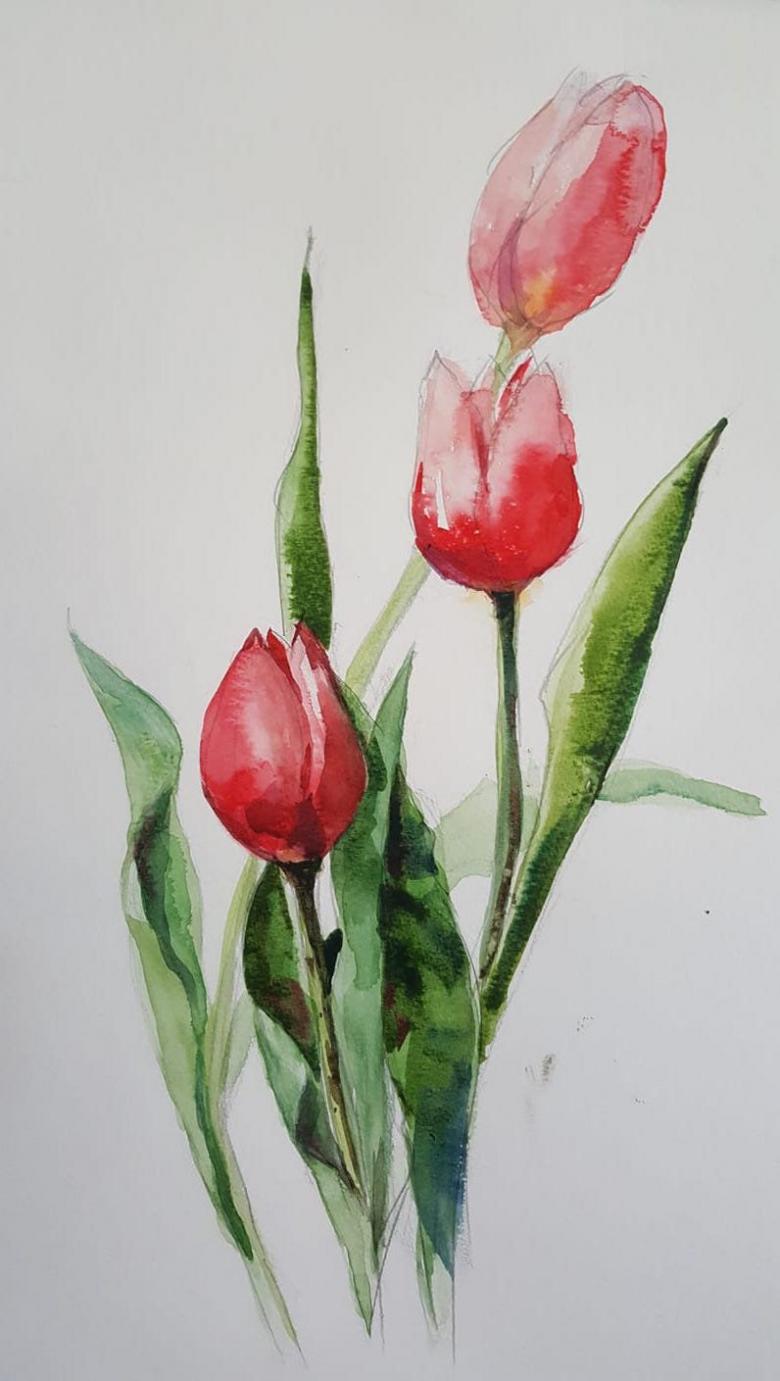
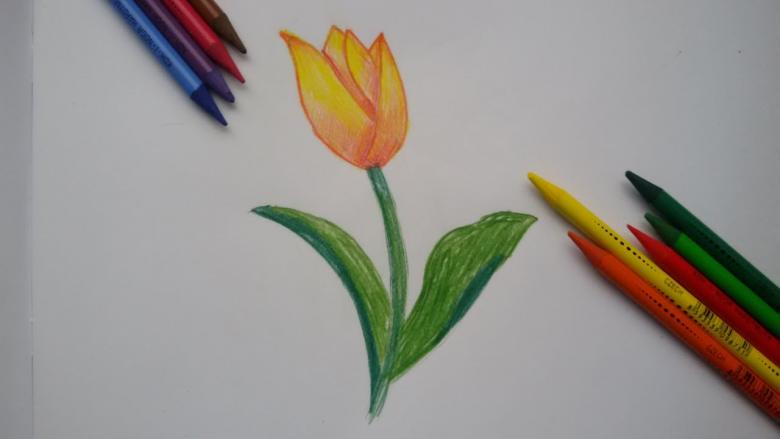
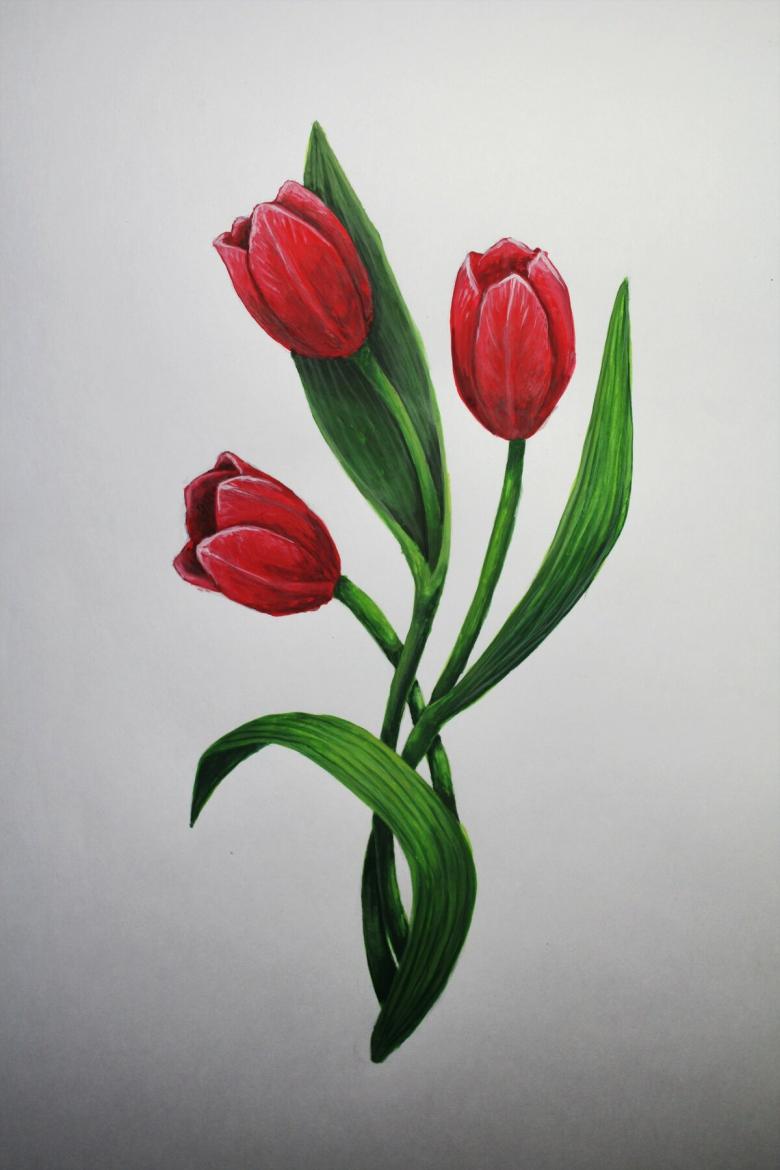
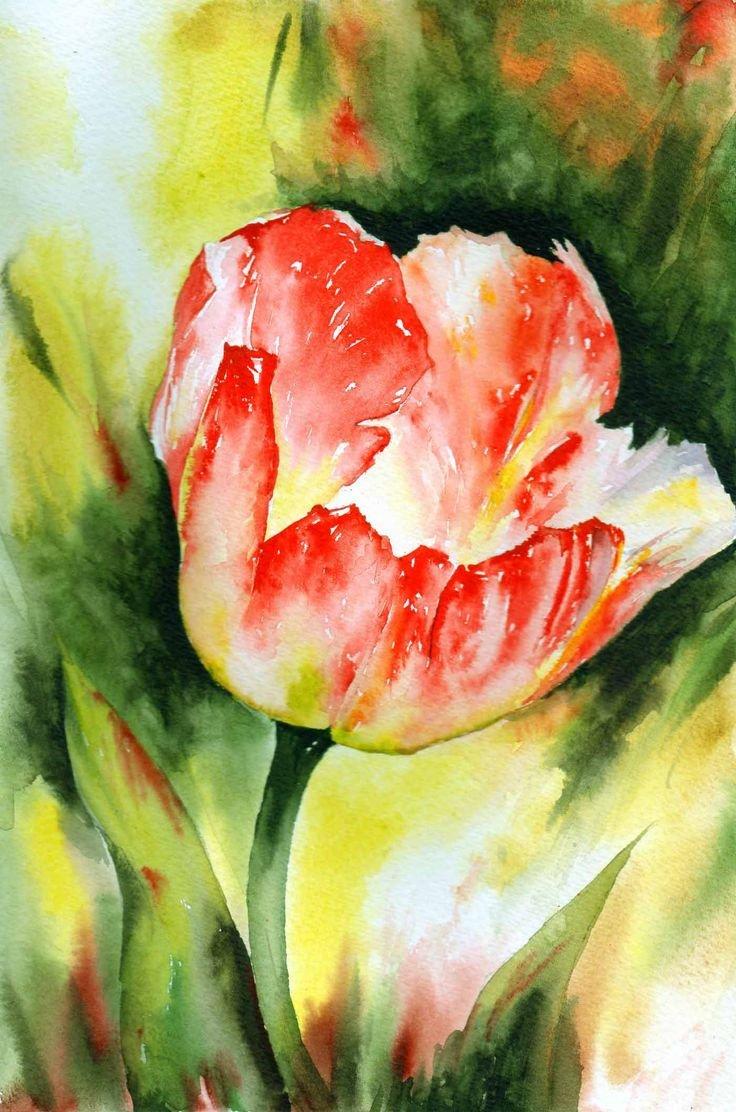
- after that, the sketch can be tried to paint using delicate colors, using more saturated colors for the details of the bud.
You can paint with watercolors and gouache, and colored paper crayons and colored pencils are excellent for this process.

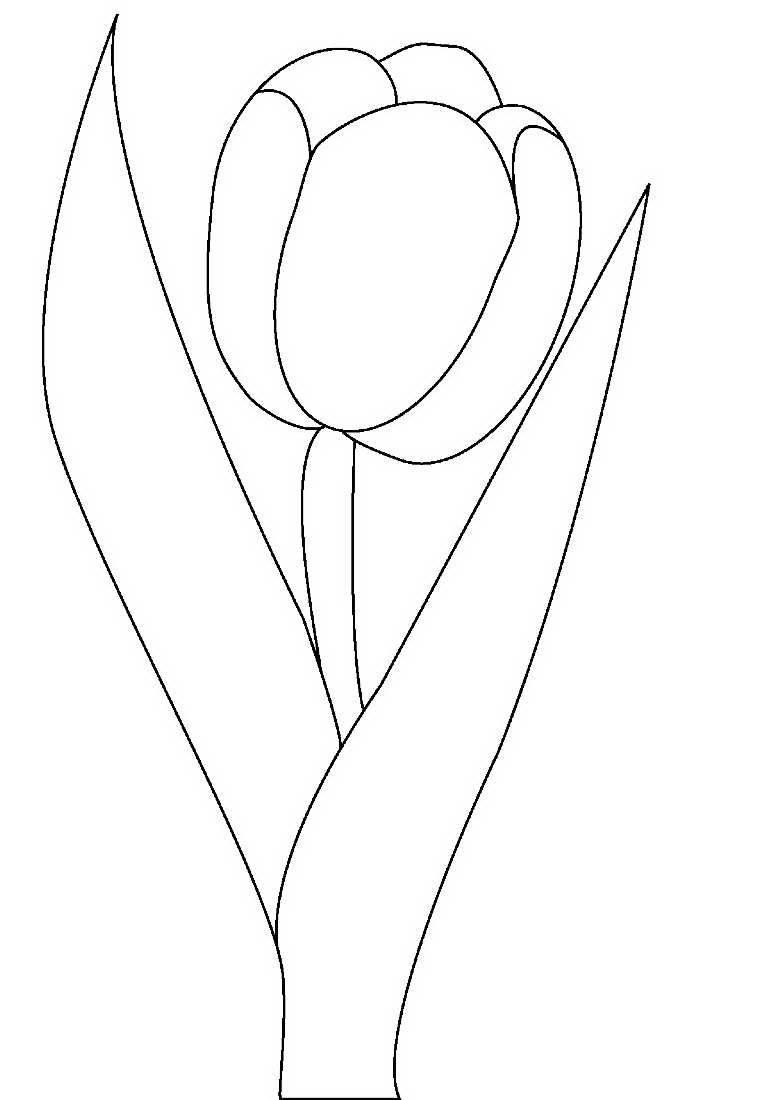
A beautiful blooming flower
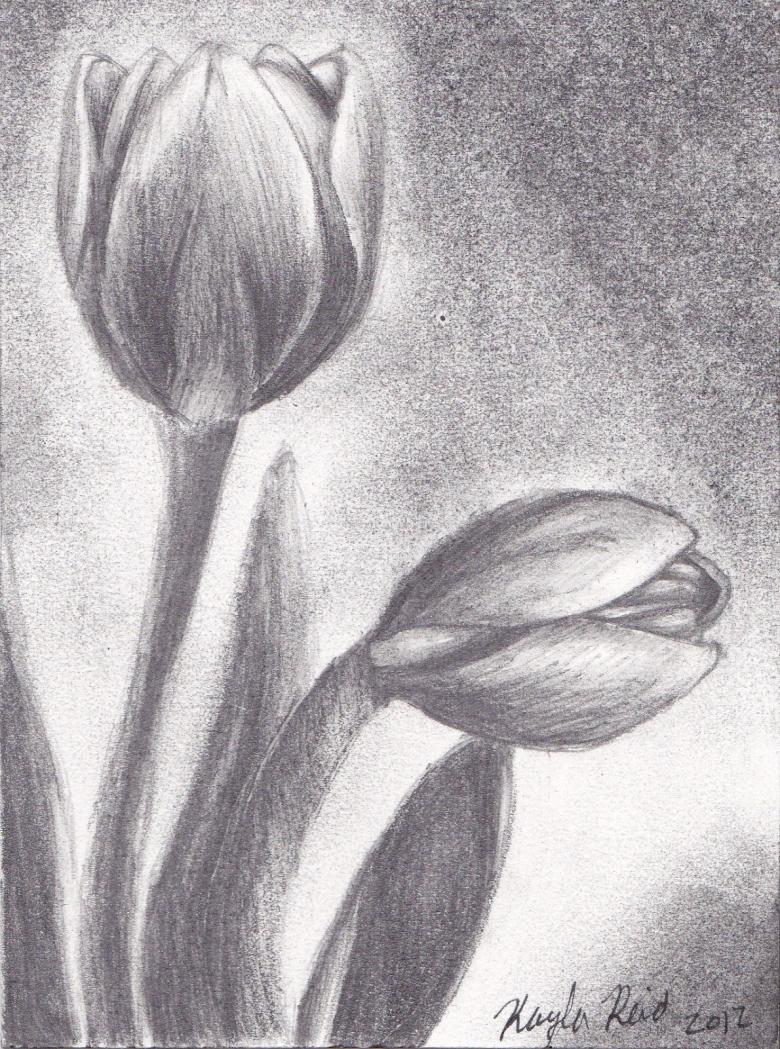
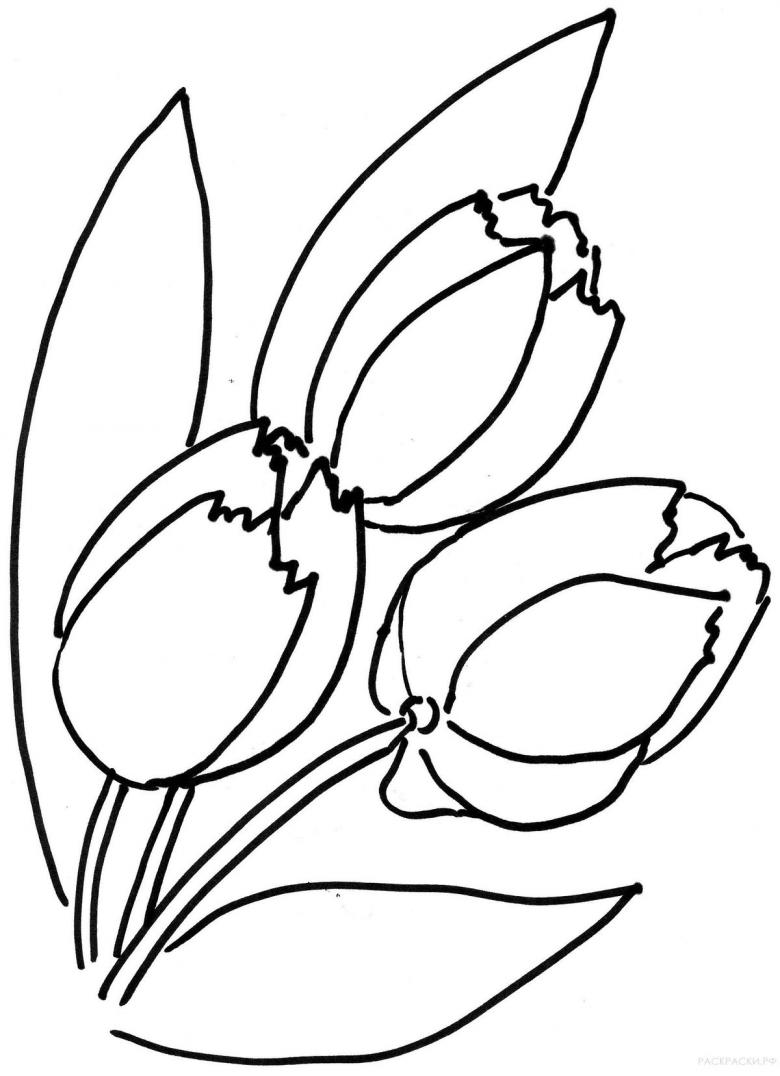
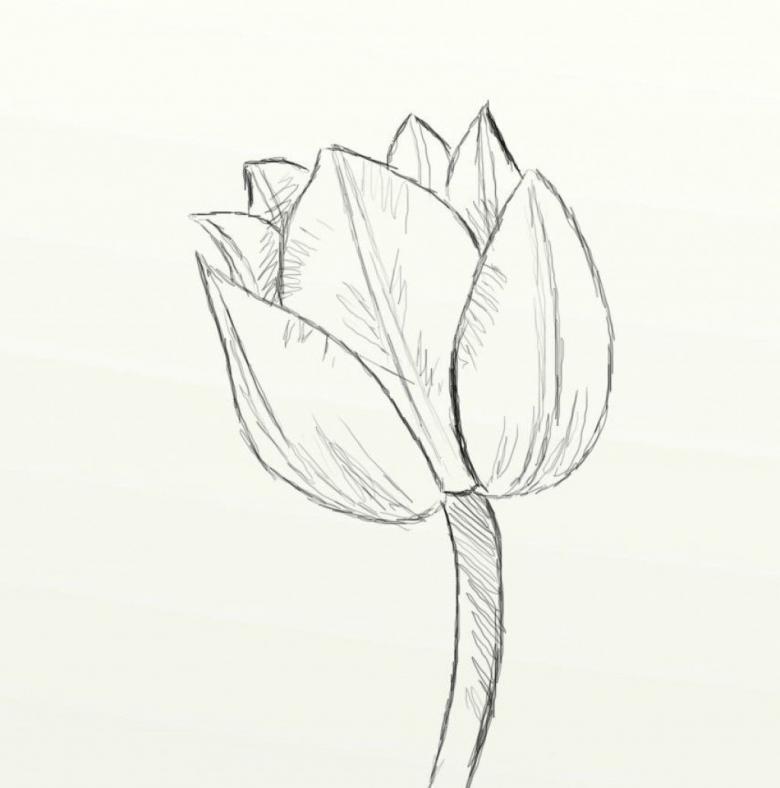
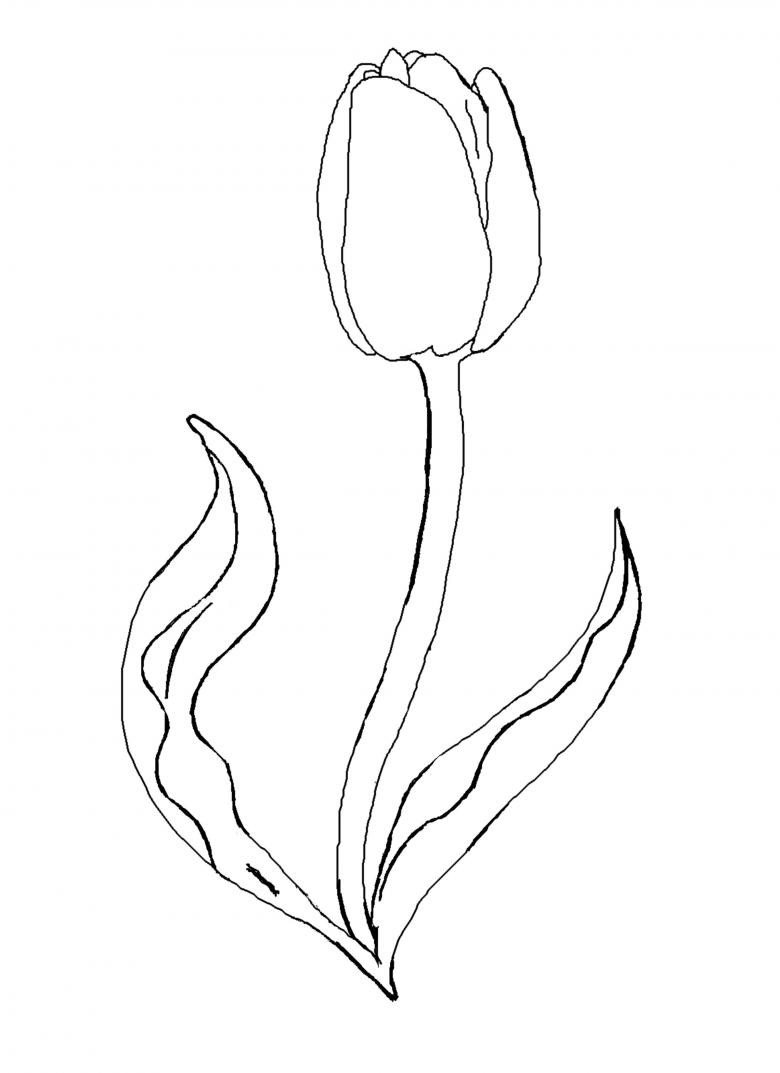
Once the lesson of drawing buds is mastered, you can move on to more complex activities to create sketches of blooming flowers. A beautiful tulip can be drawn from a living plant or you can use a photograph or a visual image for this process, reproducing all the steps of creation:
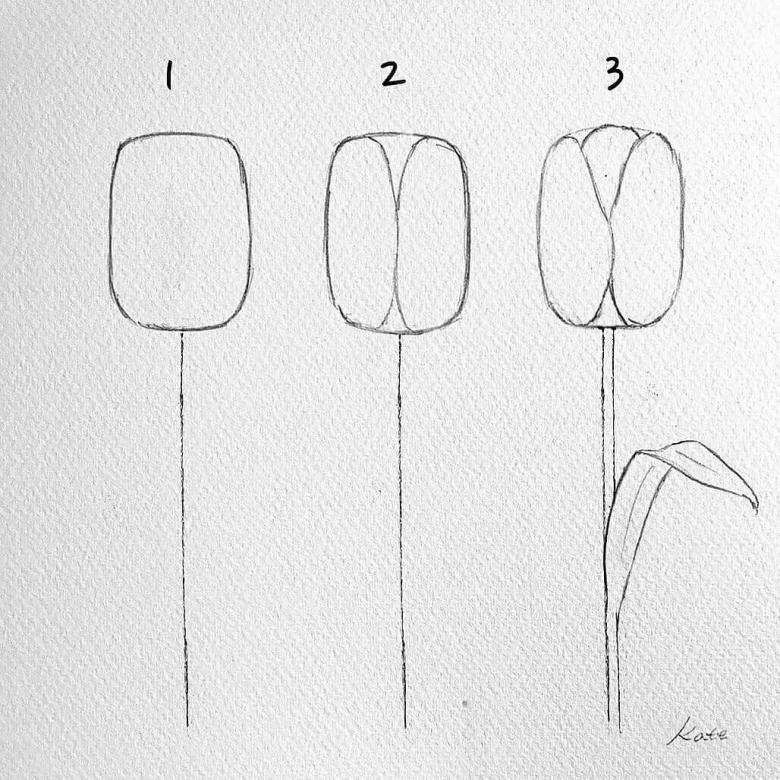
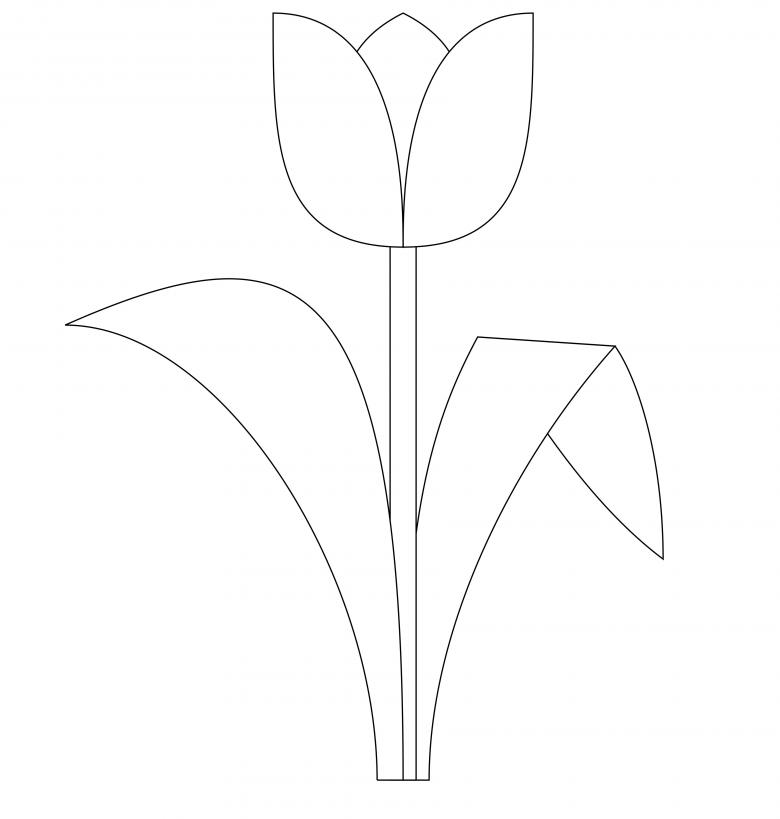
- A blooming or blooming flower can be drawn on the basis of a drop or use a rectangle as a layout;
- all the edges of the rectangle should be carefully rounded, with the lower part of it remaining wide and the upper part narrower;
- Drawing the petals should be parallel lines, depicting how they are on top of each other, which will emphasize the realism of the image;
- the top of the sketch is closed by a narrow oblong oval, so the novice artist will be able to give the future image of the branch additional volume;
- outer and inner petals are drawn equally, it is best to give them a standard, rounded shape with clear lines;
- The tops of the petals are drawn unevenly, but with wavy lines, so the drawing will be more naturalistic and will emphasize the gracefulness of the flower.
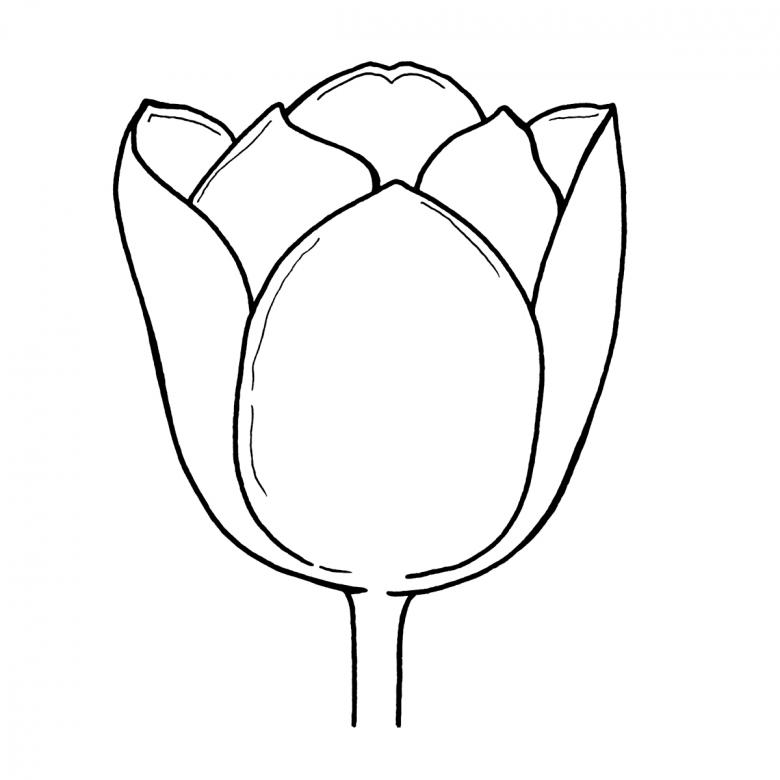
Even a child can cope with such a task, as long as you draw the image in stages and are guided by the visual image of the flower. A more complicated task, coloring the resulting image is better left for the last stage, combining it with the study of perspective and the depth of colors and shades.
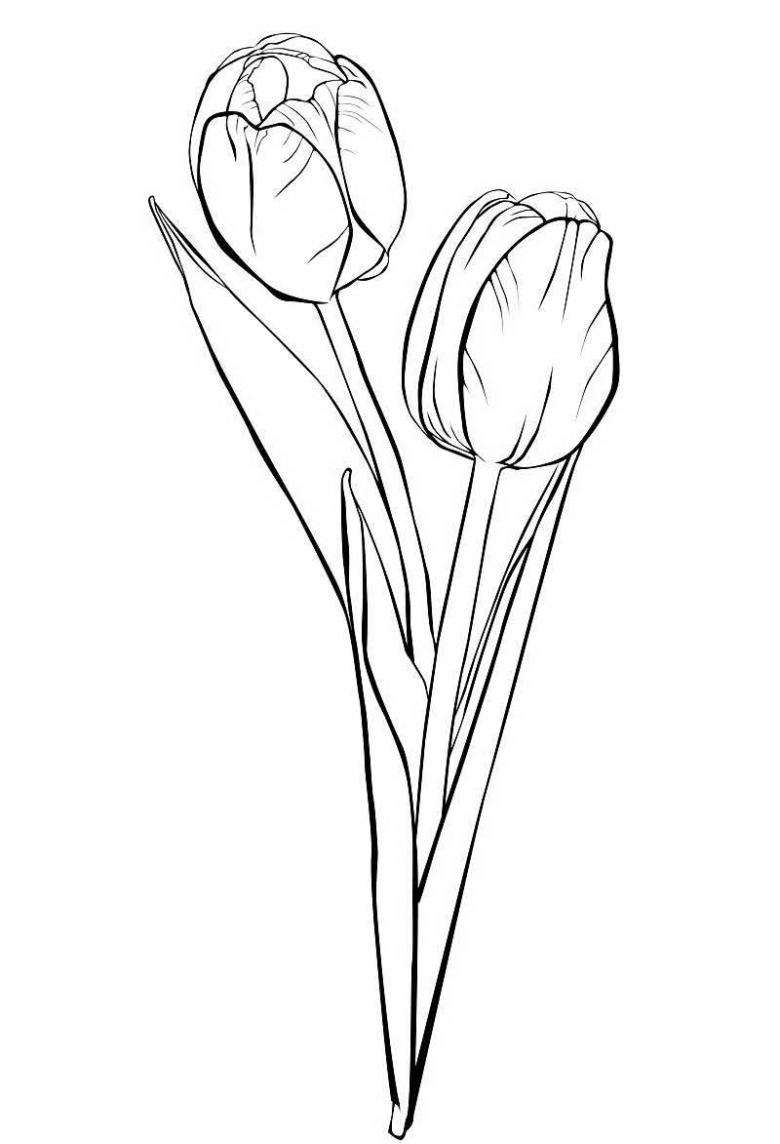
How to draw a bouquet of tulips
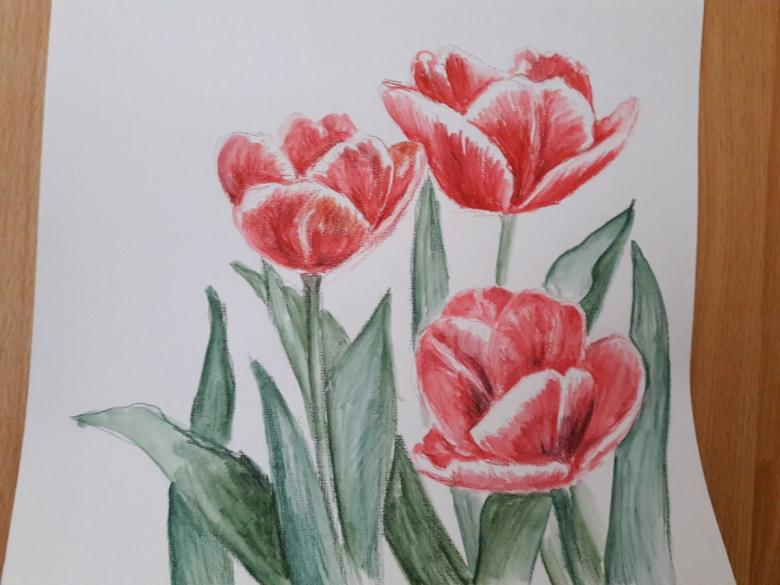
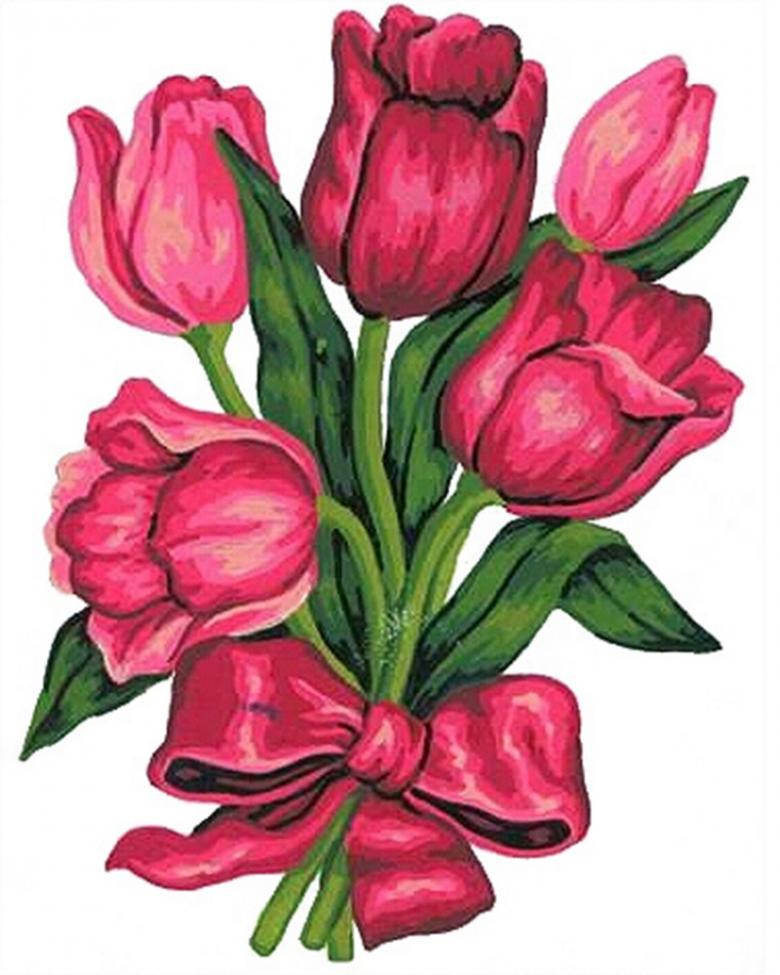
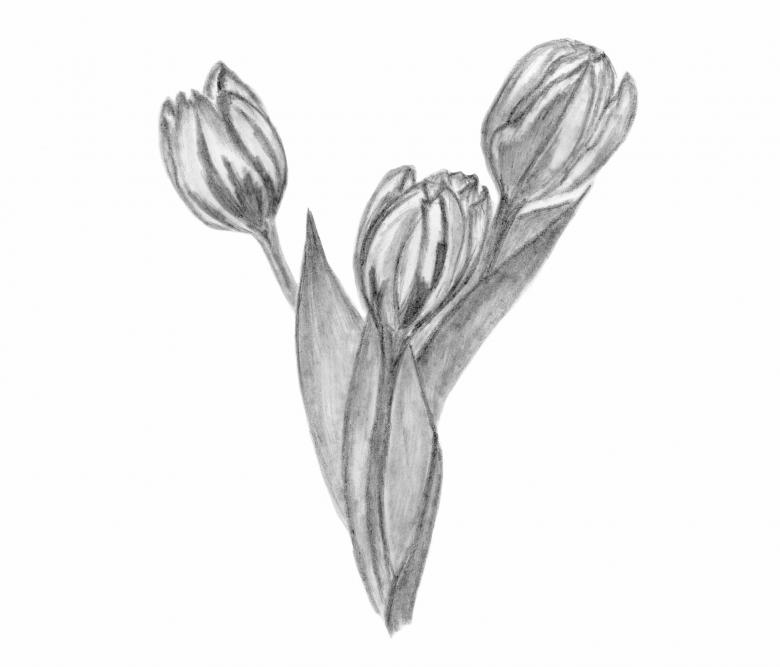
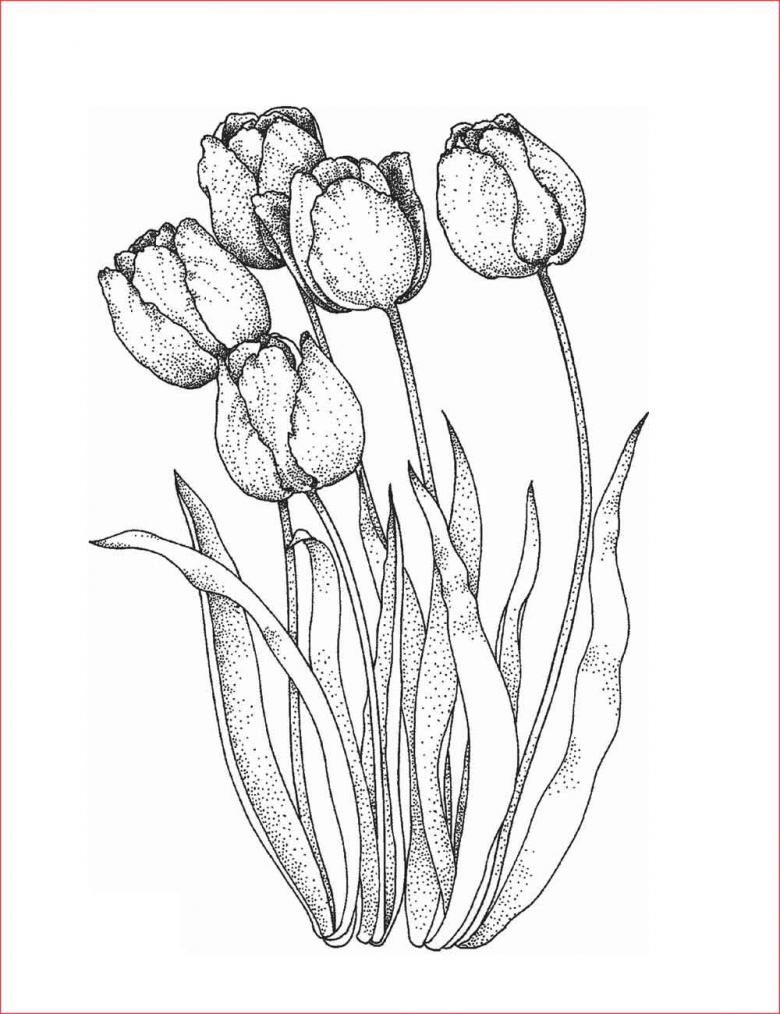
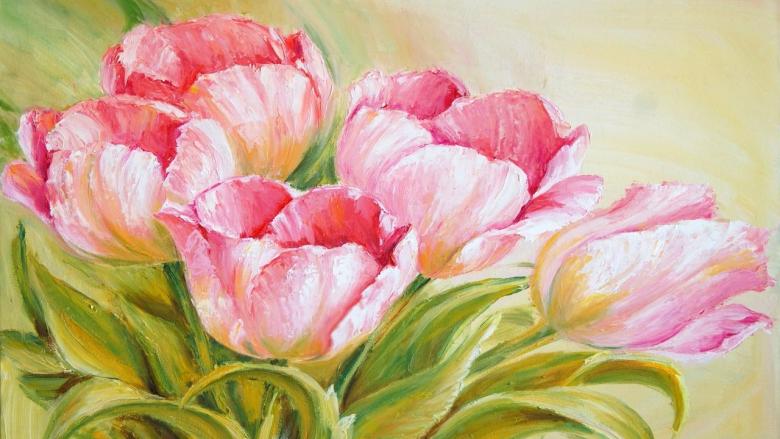
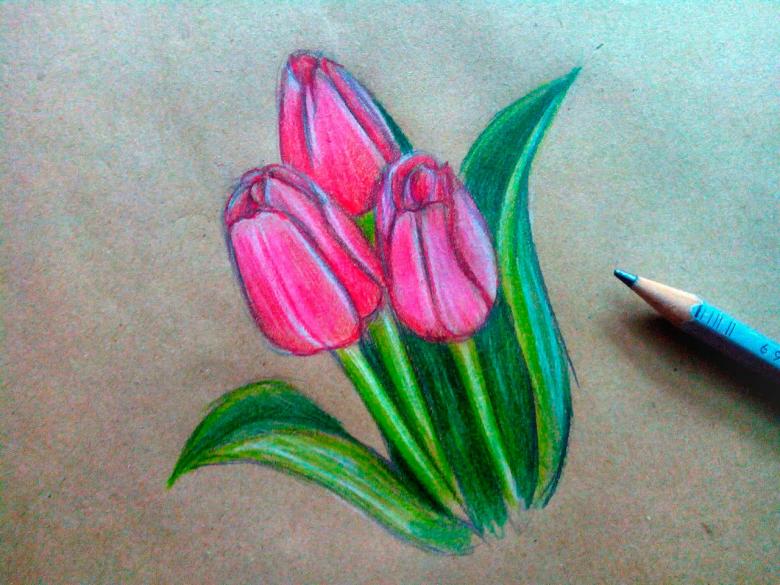
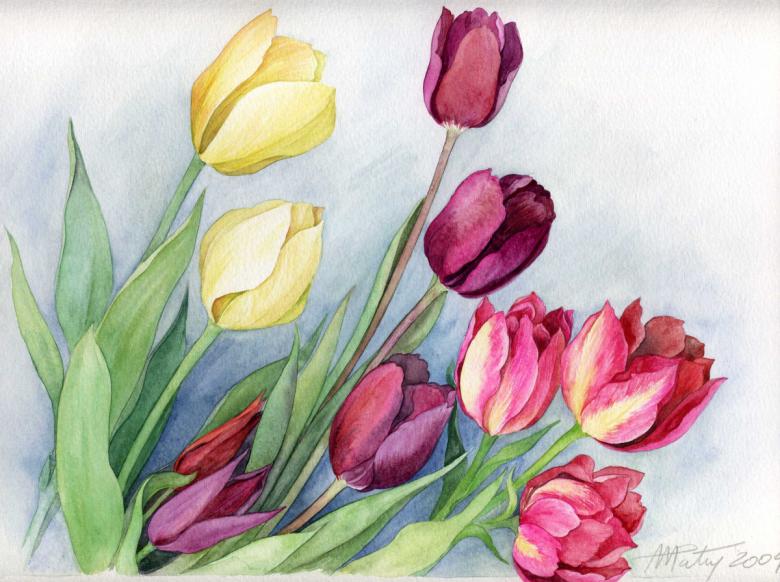
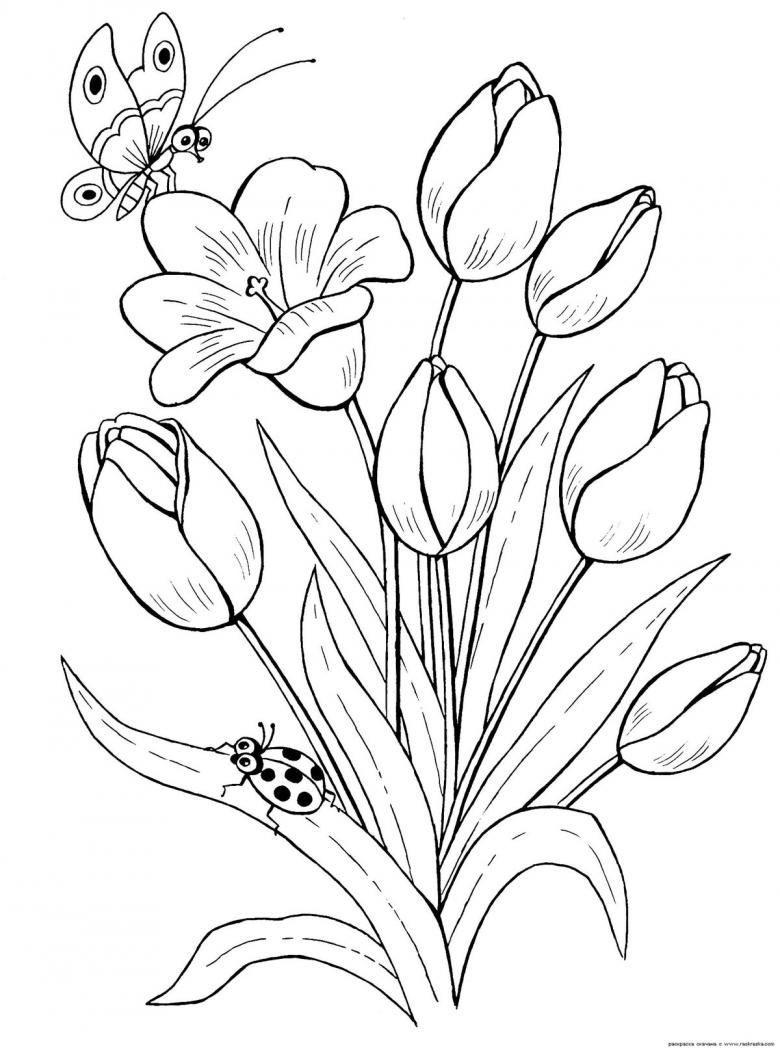
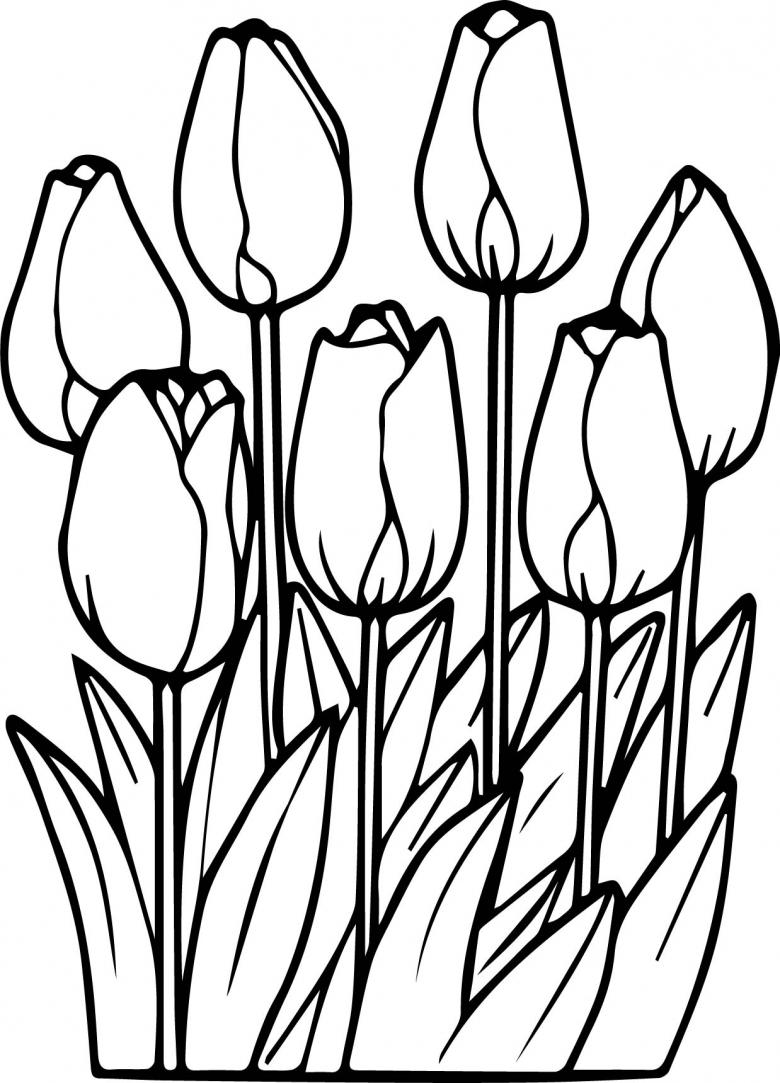
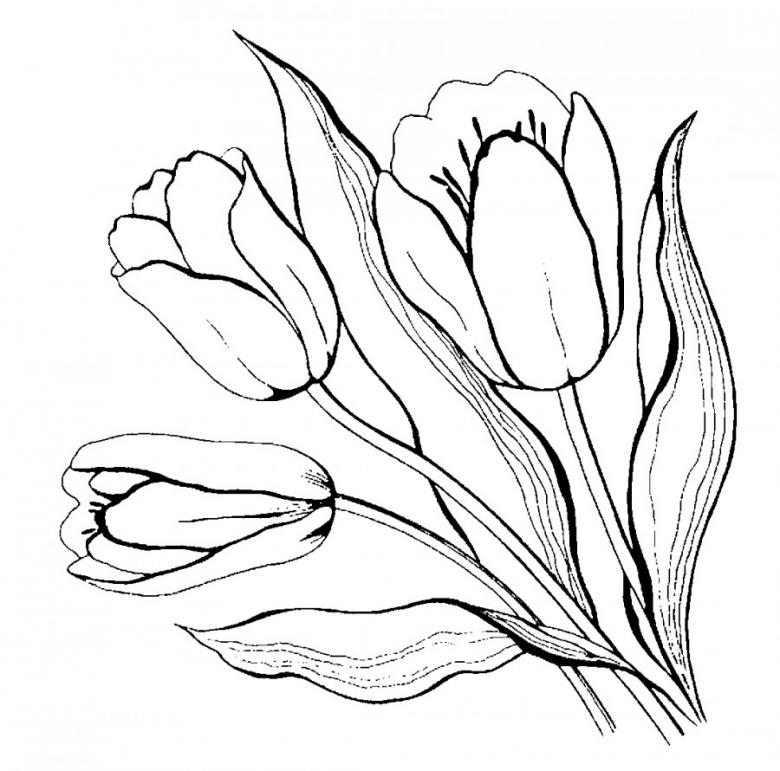
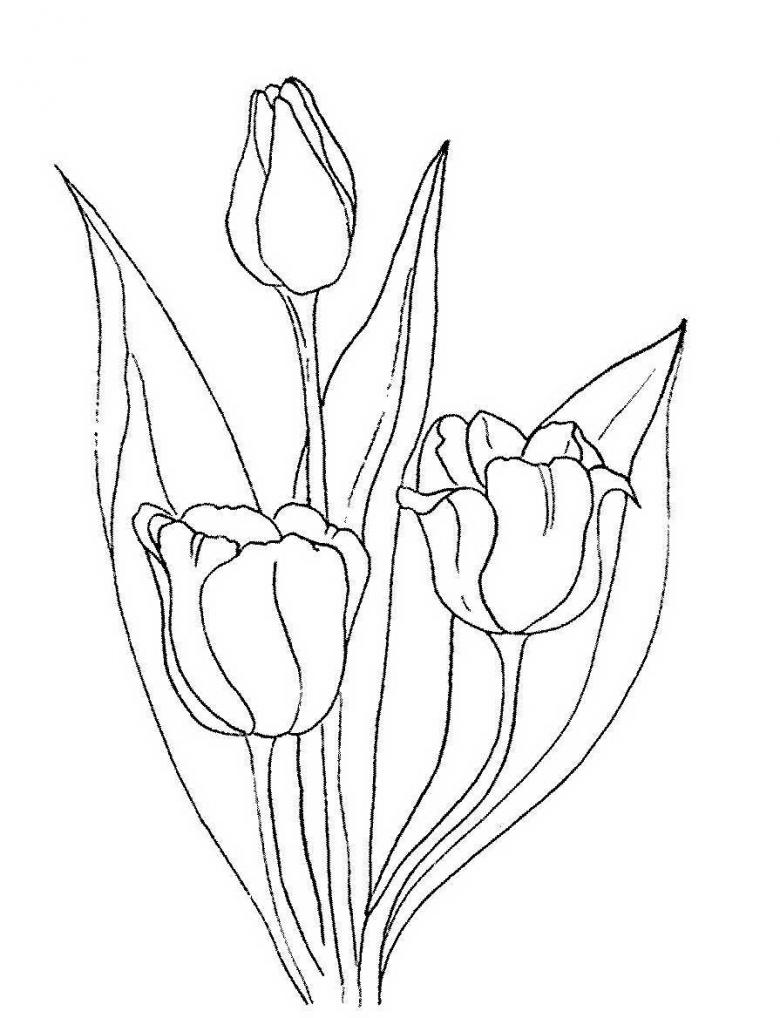
Spring bouquet will look great in any drawing, it can be depicted separately or make part of the overall composition. To make a bouquet on paper you can use the previously studied elements, bloomed and not bloomed buds, green leaves, composed into a single composition:
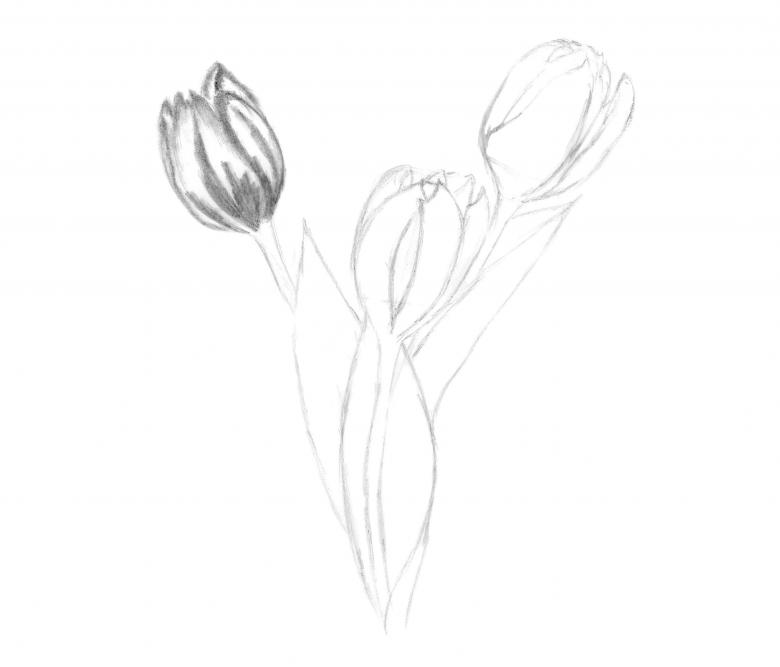
- to begin the future drawing it is best to determine the composition and create a general sketch, on it schematically mark what elements will be in the bouquet and where to place them;
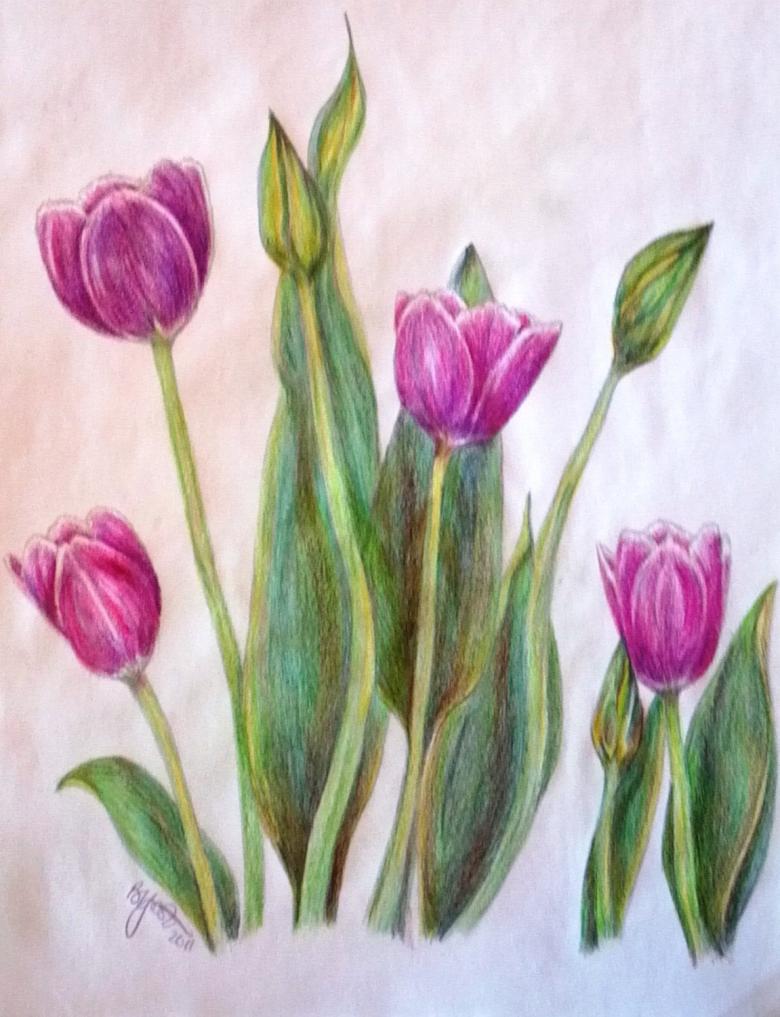
- To obtain a three-dimensional composition, it is best to alternate buds and flowers at different stages of blooming, filling the empty spaces in the bouquet with additional elements of the picture;
- as additional elements of the image can be used flat plant stems and large leaves, having a pointed and retracted shape;
- After forming a sketch of the bouquet you need to take care of its design, for this at the bottom of the bouquet you can draw a vase or other containers;
- The vase is an elongated rectangle its base and the top is drawn with convex and parallel lines, and the sides can be straight.
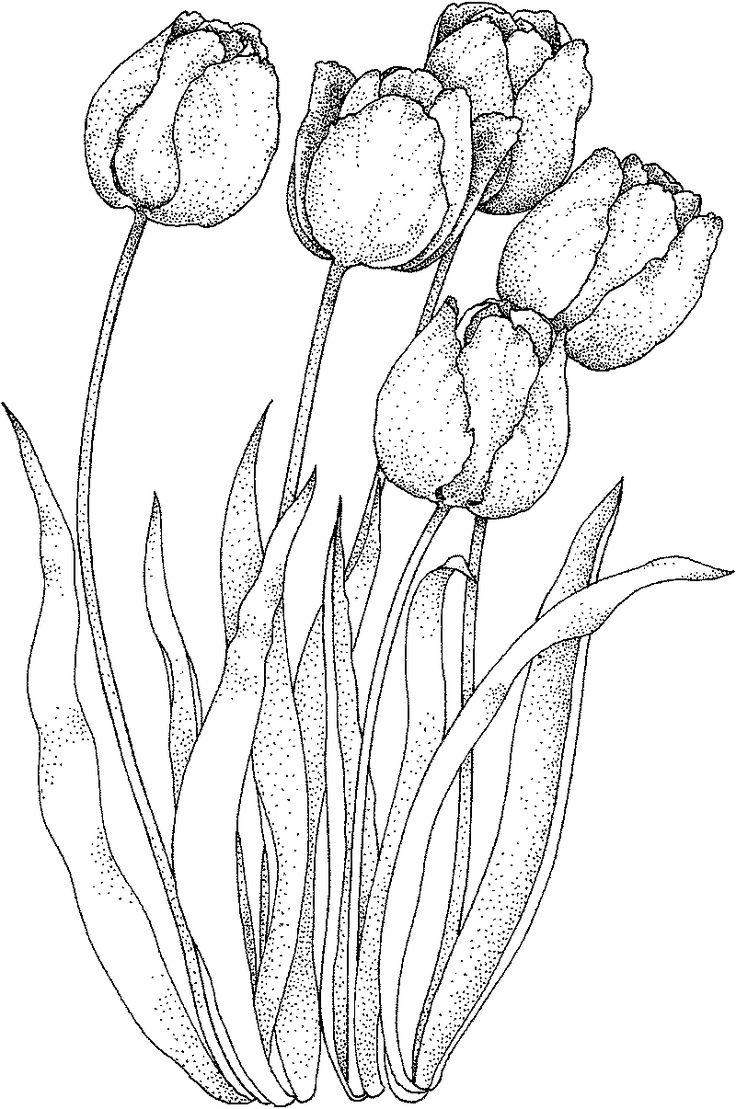
If a child is just learning to draw, he or she can be trusted with depicting basic shapes and figures and drawing the composition. Adults can finish drawing small details themselves, or help children in drawing complicated and unfamiliar elements, which will help to spend time together with benefit and in friendly communication.
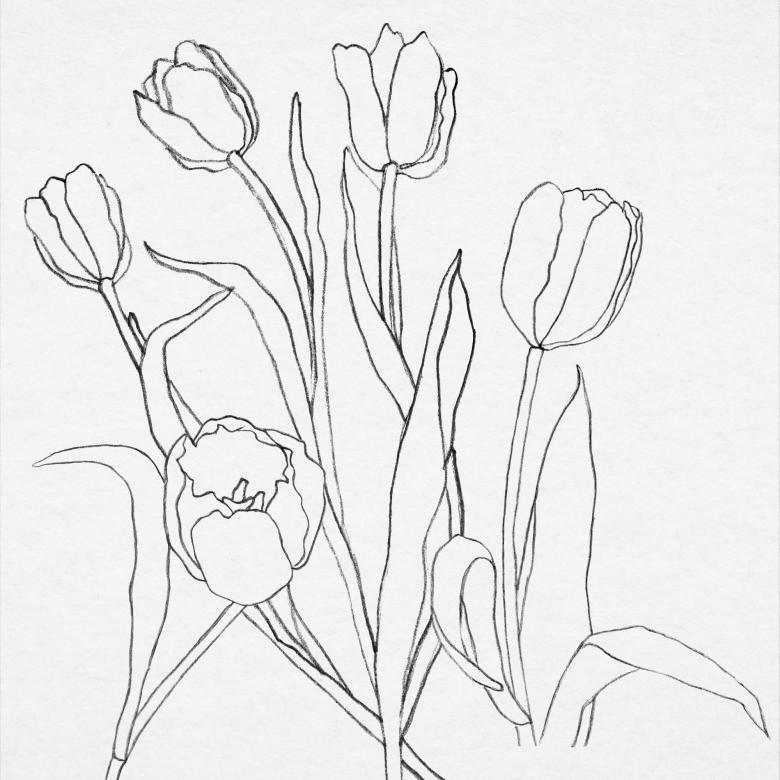
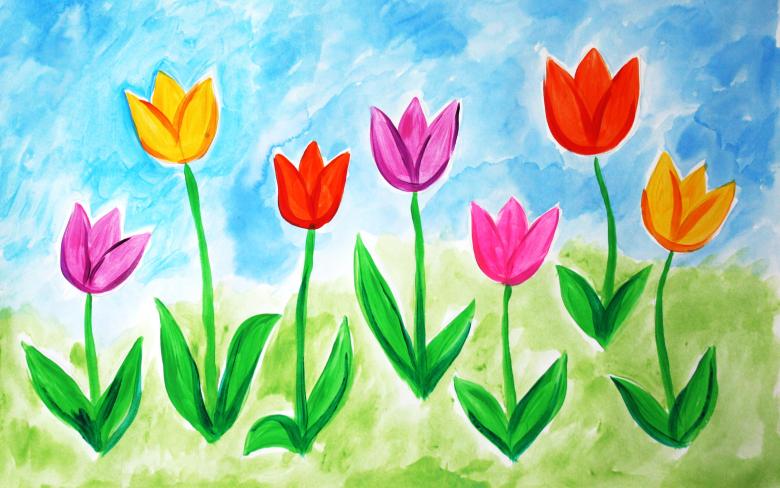
Tulips for a March 8th card
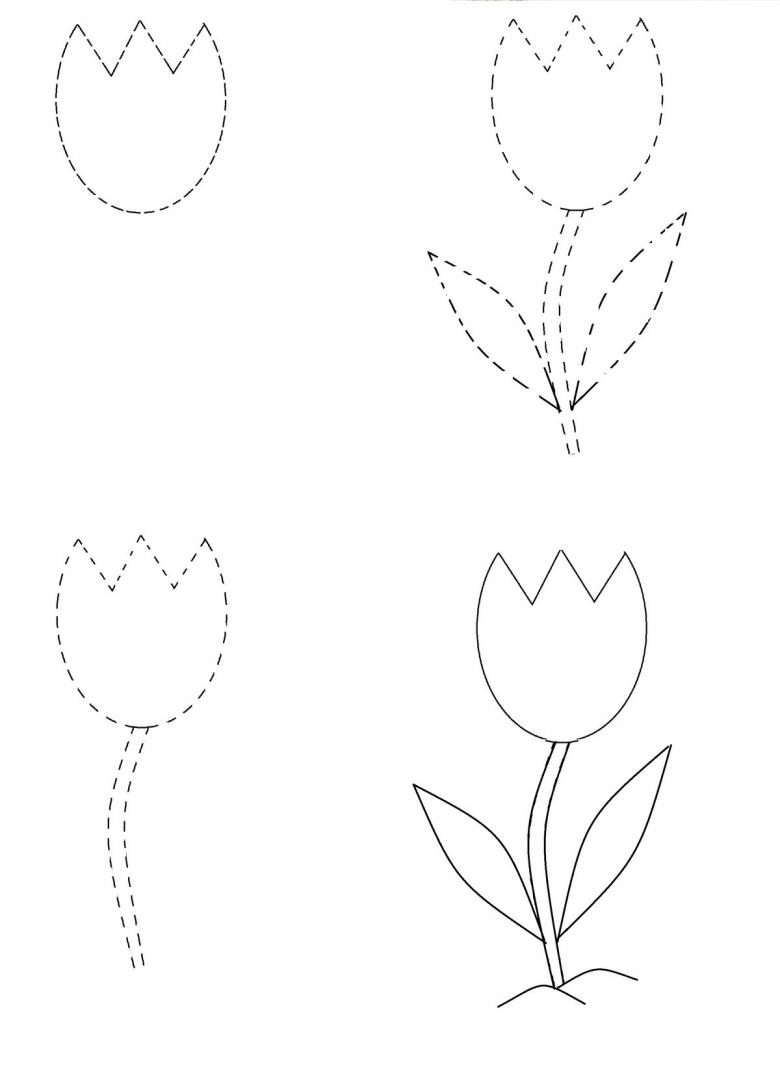
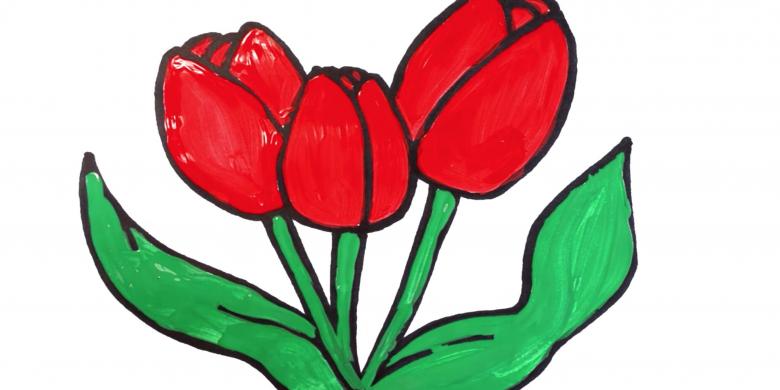
It is easy enough to draw a simple template that will make a really beautiful and colorful card for March 8:
- the bottom of the future card is marked and on it visually mark with a pencil the buds and flowers on the legs;
- the base needs to be painted in a deep green color, and the background needs to be shaded in more delicate shades;
- the stems and leaves are better made green, using a color that helps to distinguish these elements from the overall composition;
- On the buds and flowers, it is important to carefully trace the contours of the petals, so that they do not merge when painted into one, colored spot.
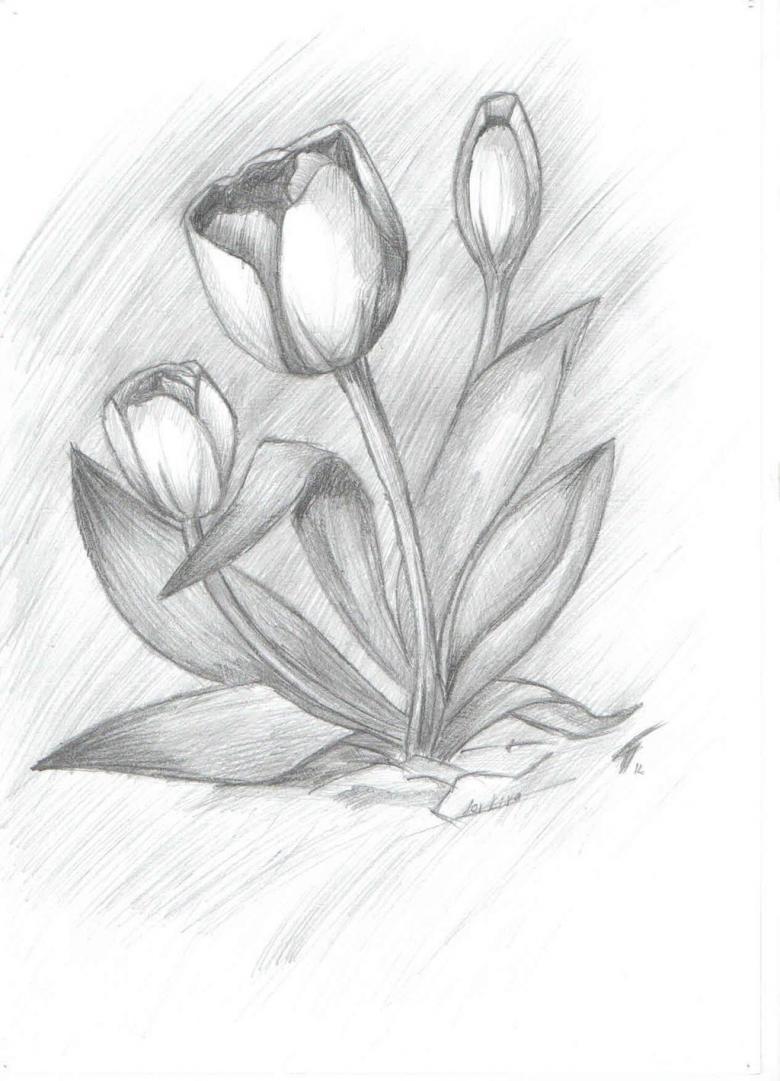
The finished card, drawn on white cardboard is neatly folded, and a nice and touching signature can be made inside.
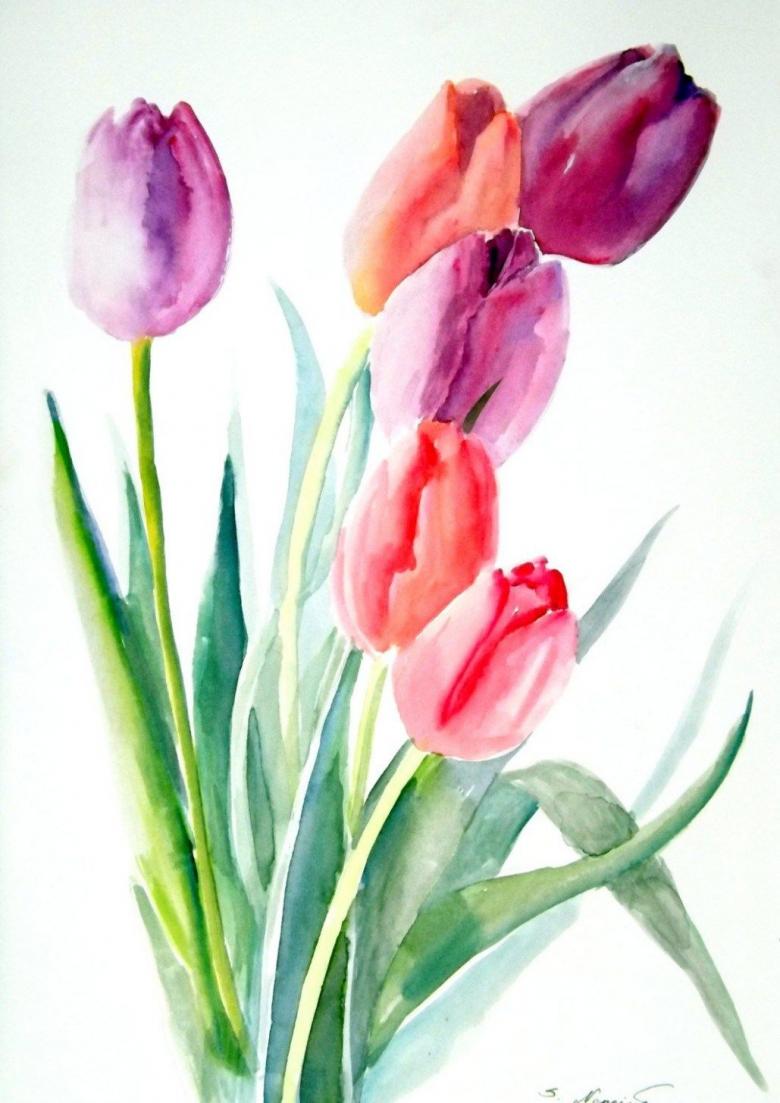
The proposed master classes show how you can learn to draw tulips with your own hands and decorate pictures or postcards and greeting cards with them. Ready sketches can be painted with bright and delicate colors using gouache or watercolor, colored crayons and pencils with a soft lead.

