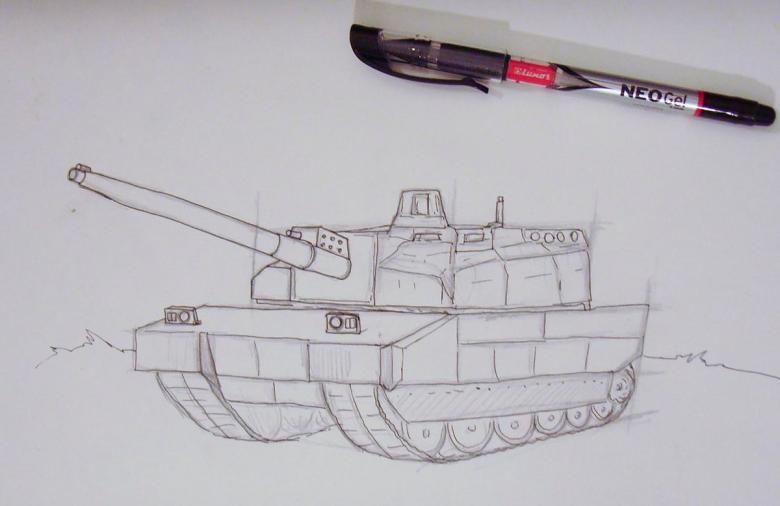
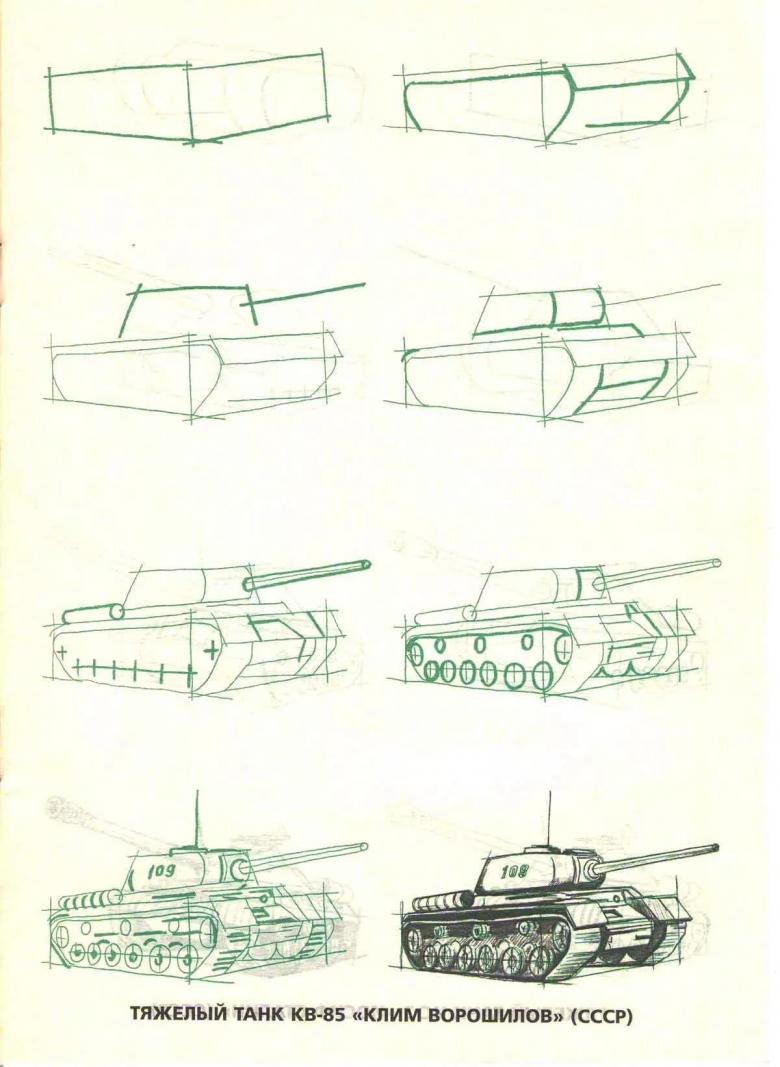
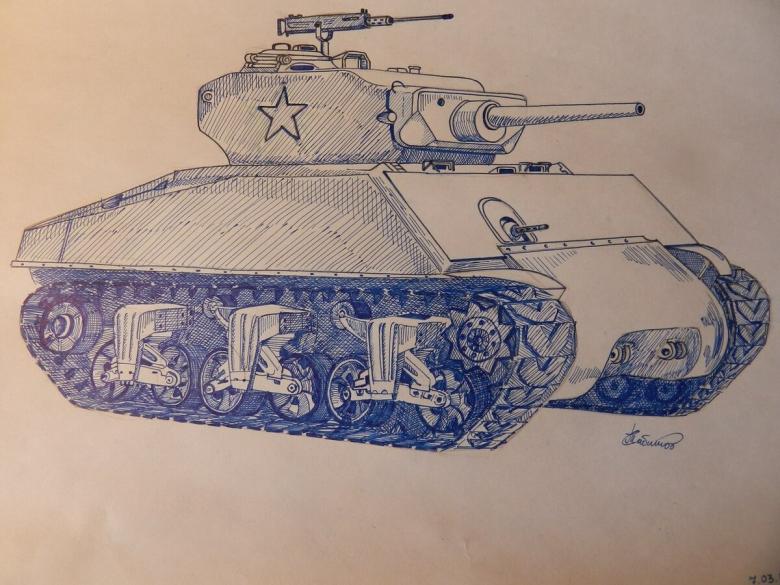
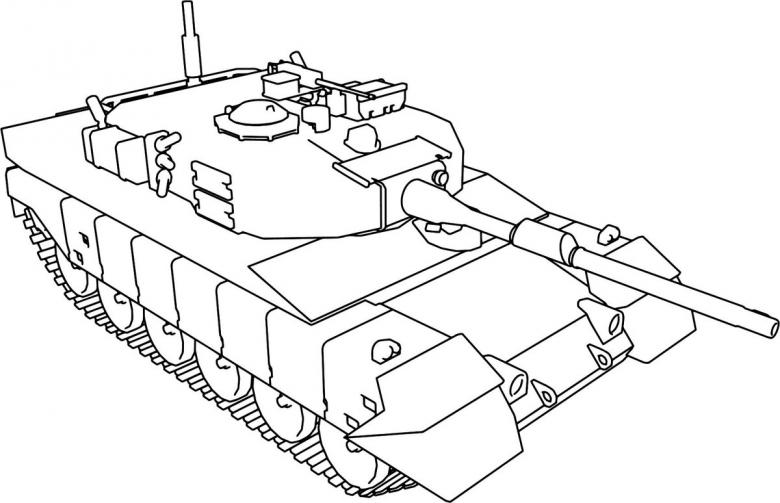
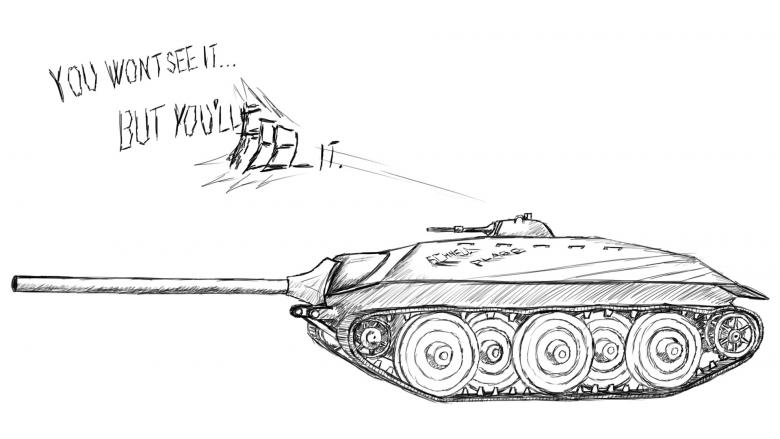
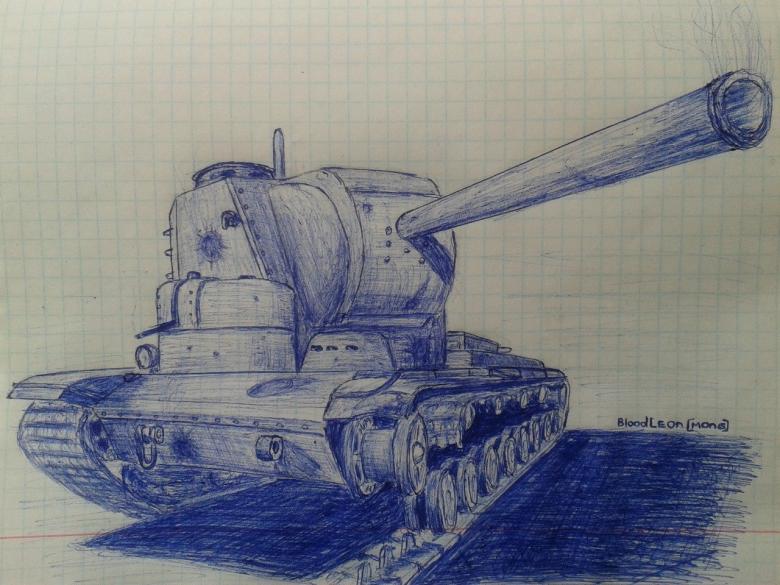
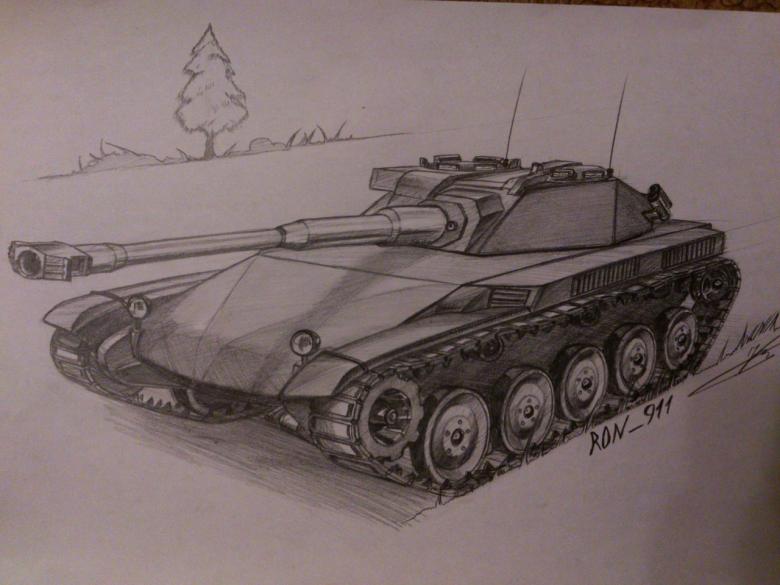
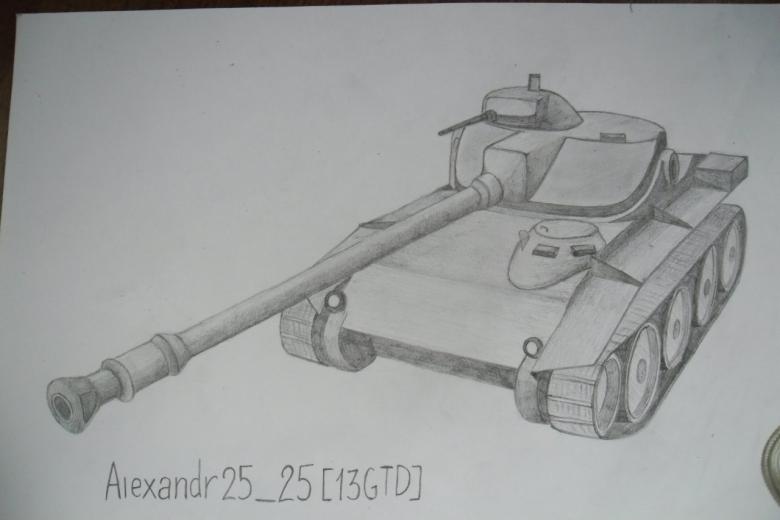
How to draw a tank step by step in pencil - easy master classes for beginners with photo ideas and examples
For many children, the ability to draw a technique is a peculiar period of growing up. In the process of drawing, young explorers learn not only to depict, but also gradually learn its structure, characteristics, history.

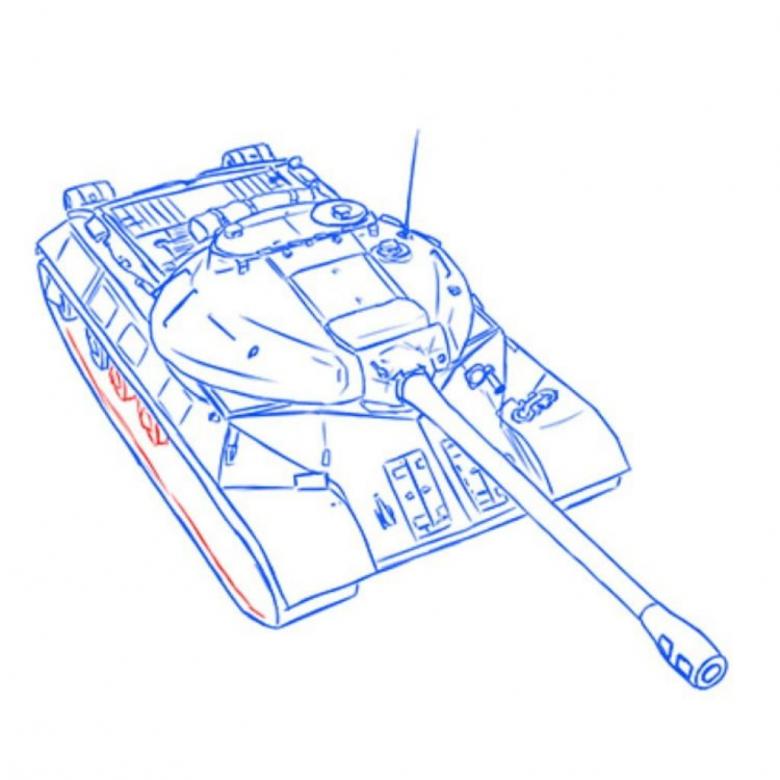
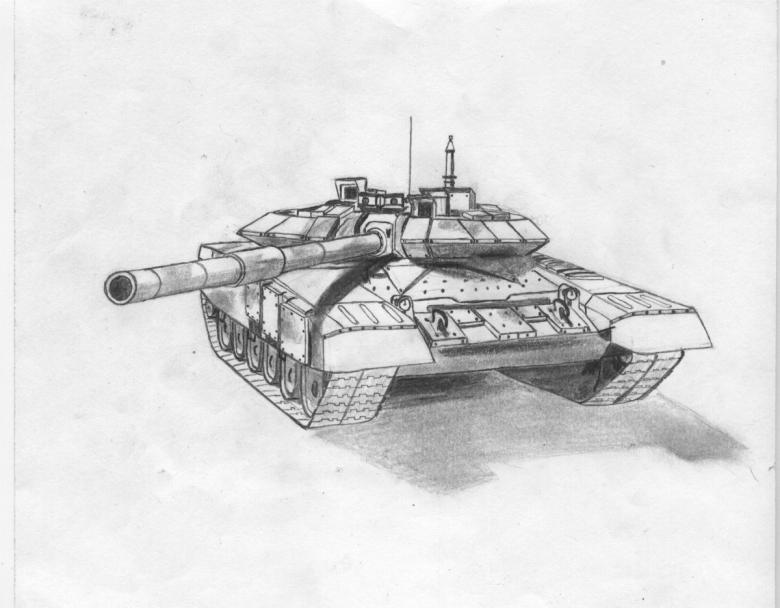
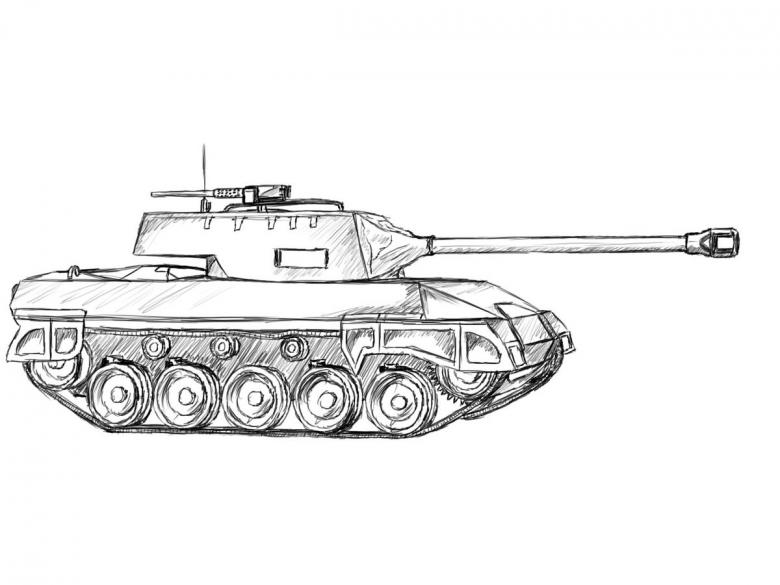
More often than not, one wants to draw a variety of tanks. After all, the tank - a powerful unit in military operations. Today let's break down a few simple and extremely interesting ways of depicting various tanks.
Beginners tip
For beginners, it's best to take your first steps on grid paper or a checkered notebook. This will allow you to recognize the size of the elements and gradually increase the complexity of the work. At the same time you should not start with real photographs of tanks. Each has common parts - armor, tracks, hull, hatches, and so on. Start there, gradually going deeper and drawing out the finer details.
For the very young: The Tanker in the Tank
The instructions will help a young fighter draw a military tank with a tank fighter.
You will need:
- A felt-tip pen
- Paper
- Marker
Step-by-step instructions:
- The first step will be an oval drawn at the bottom, in the middle of the sheet. After that, in it draw another, smaller, oval.
- Caterpillars. On the sides, in a small oval, drawn small circles with dots inside. Between them, in the middle add a few circles, with a diameter larger than the side circles, together with the point inside.
- Now it is time for the turret for the tanker. Above the track we make a half circle with a small rectangle on top. The hatch cover is drawn last. Draw a narrow oval, on the right side of the rectangle, vertically upwards.
- A small semicircle is drawn in front of the tower. Then, draw two parallel lines, lifting them slightly upwards. These two lines should end in the same place. Then connect them with an oval. The muzzle is ready.
- It remains to draw a fighter. He will be placed sideways to us, in the hatch. Draw the head, the outline of the nose and mouth. And the eyes will be a small dot. You can also draw a helmet.
The tank is ready, we just need to paint it. Tracks can be made brown or gray, and the main part of the green. The hatch can be black, or gray.
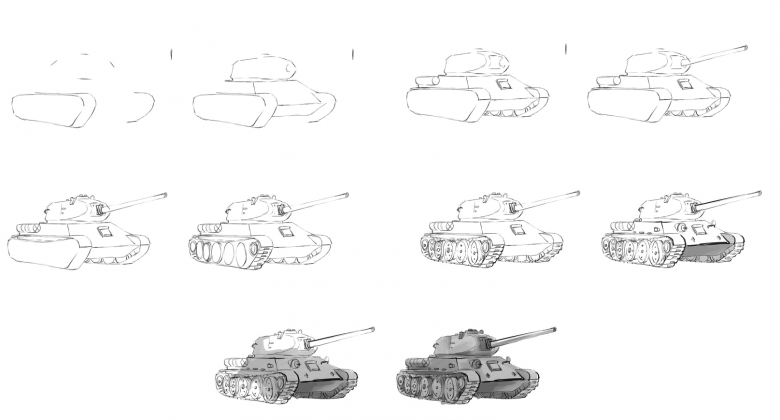
The legendary T-34.
The task is more difficult than the previous one, for an older child of about preschool age. It is best to help your child and together you will get an excellent illustration of the famous tank.
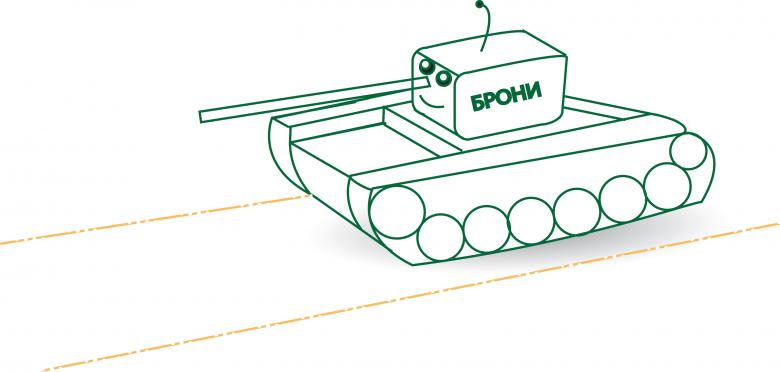
List of necessary tools:
- Sheet of paper
- Highlighter
- Pencil
You should draw with a pencil, because if you make a mistake, it's easy to correct. You can always take an eraser and correct the drawing.

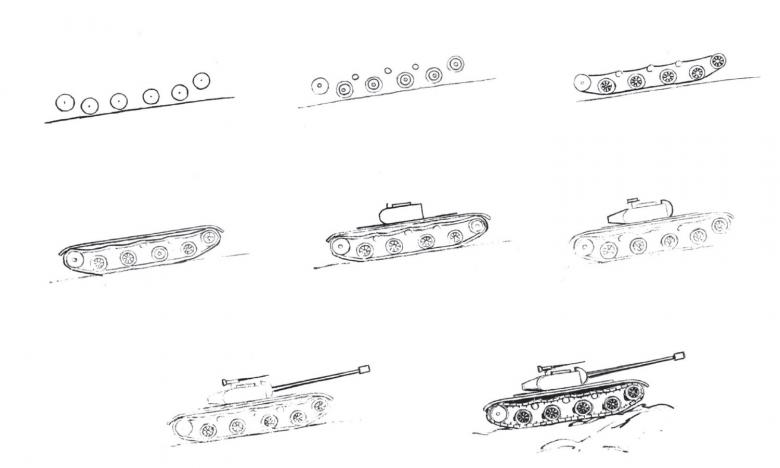
- Five equal, small circles are drawn at the bottom of the sheet. Then we draw the same number of very small circles in the center. These are the "wheels."
- Next to the larger circles we draw one on each side, closer to the top. The undercarriage is complete.
- Then you should circle the drawing, rounding off the contours on the sides. As a result, we have drawn the tracks.
- On the side of the "wheels", in the center of the tracks, all around the perimeter are drawn spikes to grip the tracks with the "wheels".
- We proceed to the main element - the body. Gradually draw the front and rear parts of the contours of the wings. The next step, stepping back a little from the outermost part, draw a slash line. Complete everything with a horizontal stripe at the end of the previous line.
- The next step is the barrel. Step back a little from the edge of the line, add a rectangle. It should be drawn with dashes, and in the middle you need to draw a small line, then a circle and line up to the caterpillars.
- In the center of your work is drawn a thin strip. This is the future tower. At the beginning of this strip an arc is drawn, then a horizontal segment, a little beveled at the end and we connect everything with a little line. The top is divided into halves by a vertical line, and a thin arc is drawn at the front.
- Since the T-34, depending on the modification, has guns of different calibers, the parameters of the rectangle can be chosen by the child himself.
- It remains only to paint a picture. The color can be chosen arbitrarily, but for brightness, we recommend to make green the main color.
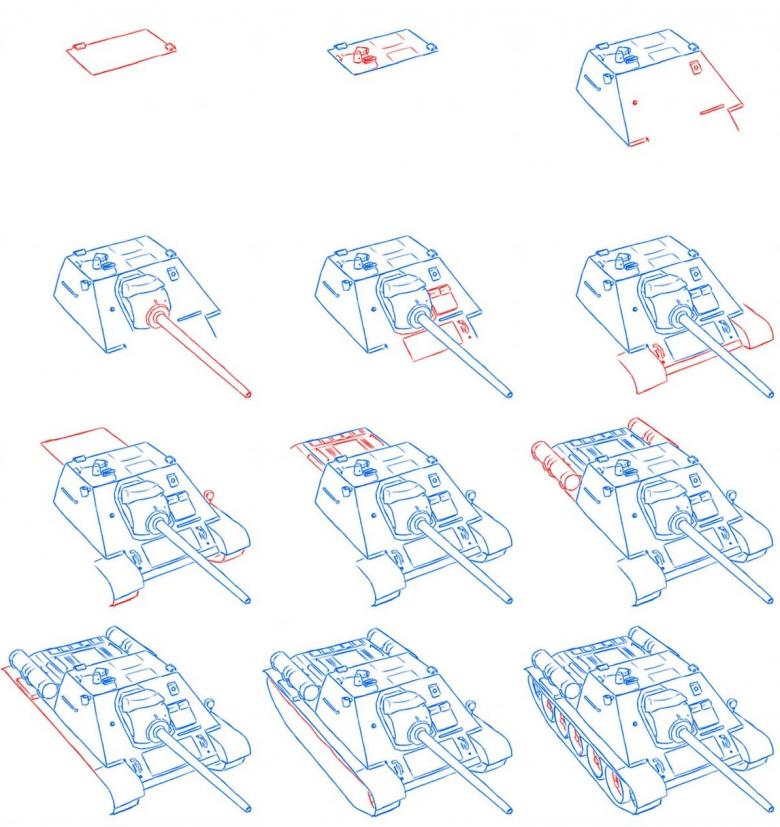
Mouse .
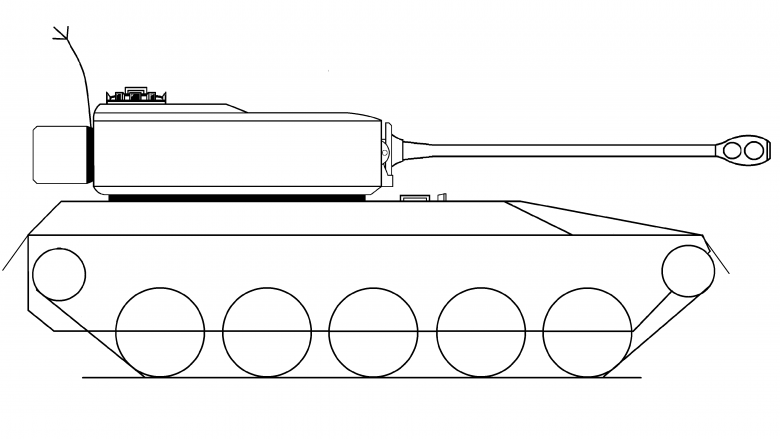
Another interesting fighting machine. This is a super heavy tank. It is the largest of all metal tanks.
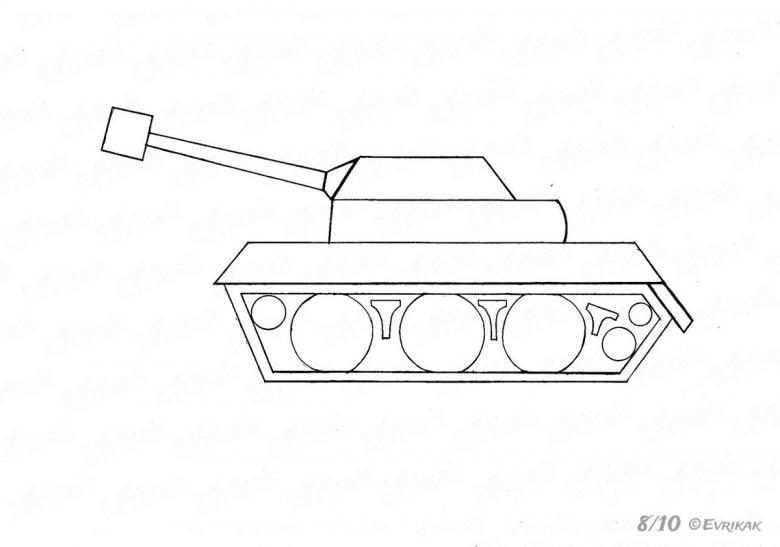
- Draw a rectangle with rounded edges. The body of the tank will be a trapezoid. Draw it above the rectangle.
- Add to the previous trapezium another one, slightly rounded on the left side. Next, we draw an additional semicircle, and from it - the cannon.
- Next, we depict the tracks, a small hatch and a tank.
- It remains only to paint the main elements. Unlike the T-34, here the main color of the hull will be gray.

It is difficult even for an experienced artist to paint in detail, so it's better to draw the main parts approximately without getting too close to the real thing.
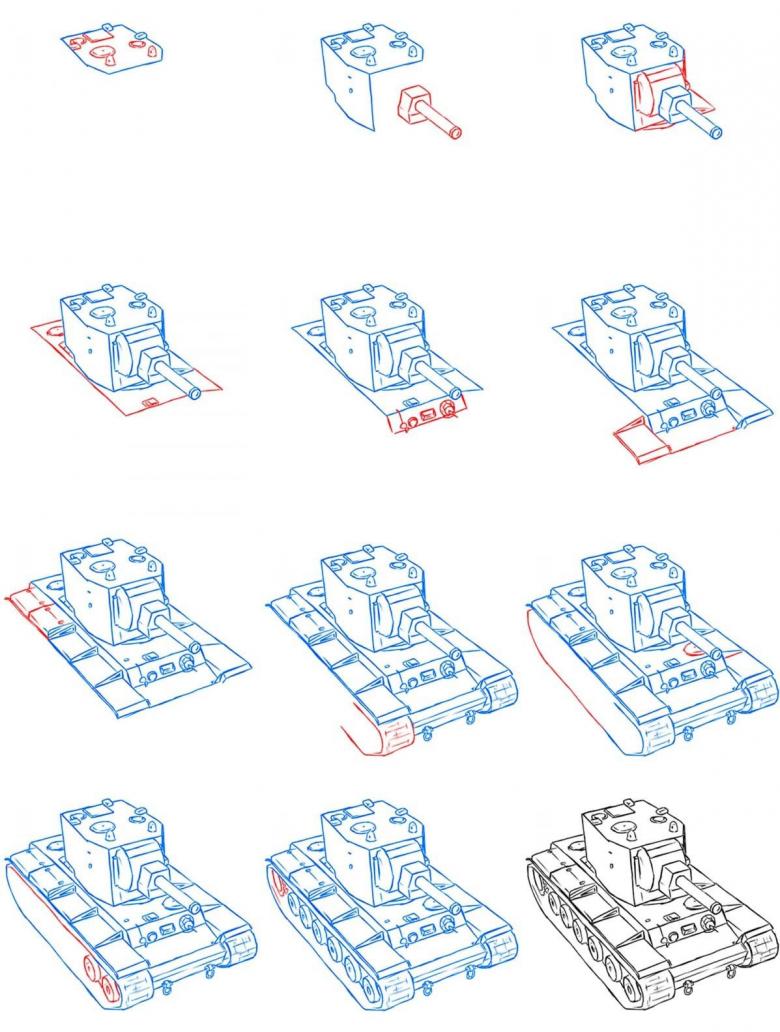
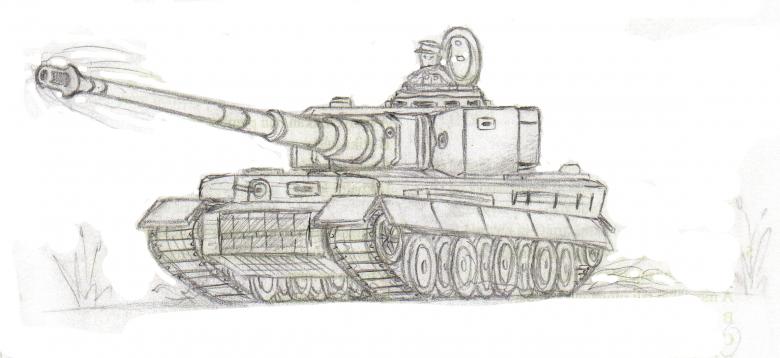
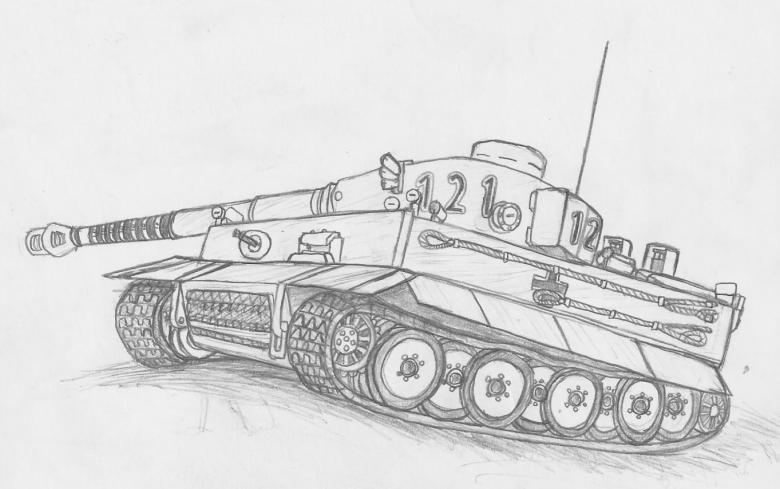
German Tiger
Of course, we recommend trying to draw the Tiger as well. It is necessary to draw, as in the previous experience, with a pencil.
- In the middle of the paper we draw a rectangle (the base of the tank). On top add the same, only shorter.
- On the last figure, on the left side, draw a slash line down. Finished, we direct to the right and connect the line to the body. The same operation is done with the second rectangle.
- In the back, draw a segment that resembles an arc. In the front we draw two identical arcs. The first lead to the horizontal line connecting the back line, and the second to the first and we get a caterpillar.
- In the middle make four circles. Dorisovyvuyu second caterpillar on the opposite side, then between them add a rectangle, and the top of the tower.
- Draw an elongated oval at the front of the tank - the base of the gun. Next, we draw the muzzle and trace all the contours with a pencil.
- Draw the bottom of the second track. At the base you can add a few hatches. And do not forget about the observation window, on the left, at the front of the hull.

Note that the article goes from easy to quite complicated drawing. Help your child develop in the same sequence. As mentioned earlier, help him learn how to draw the basic components. Over time he will learn to depict finer and clearer details, which will give his paintings a richness.

