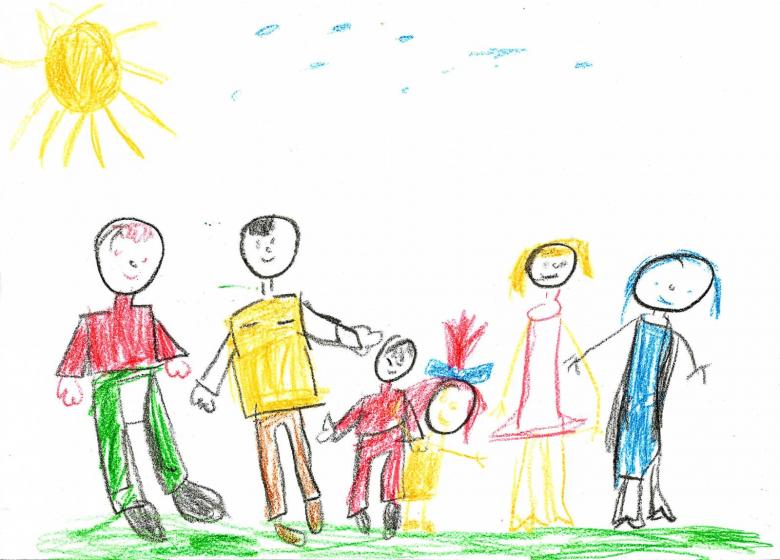
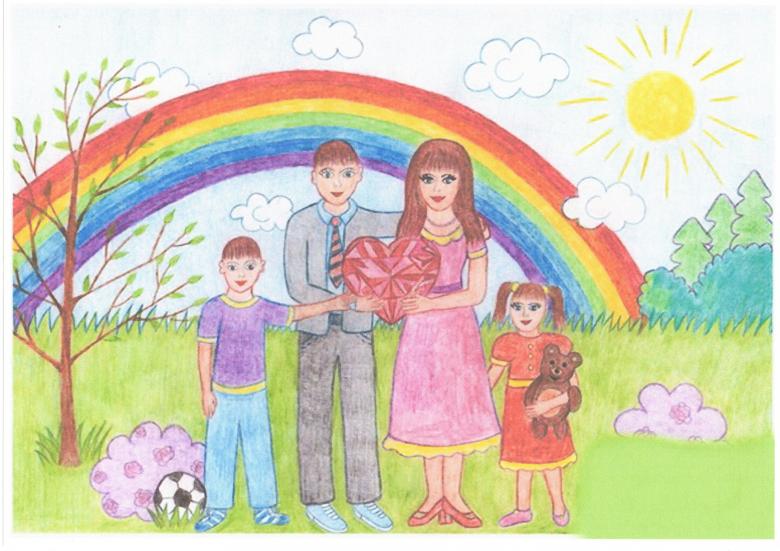
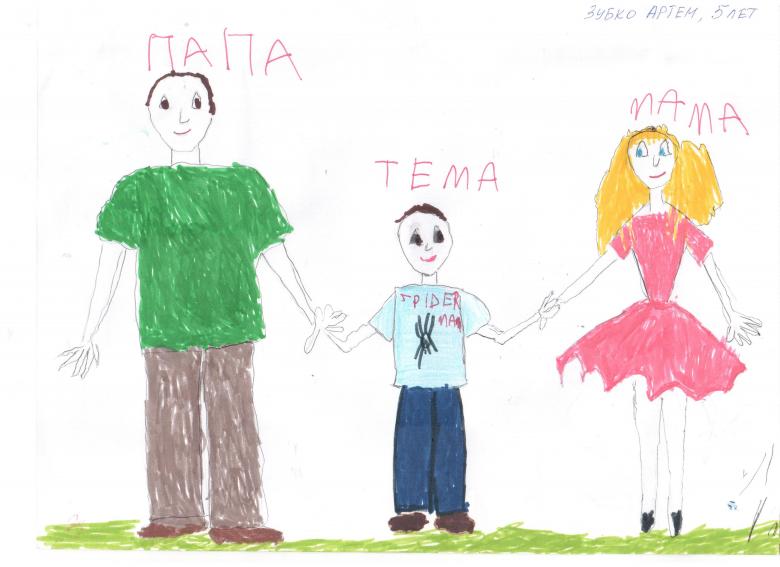
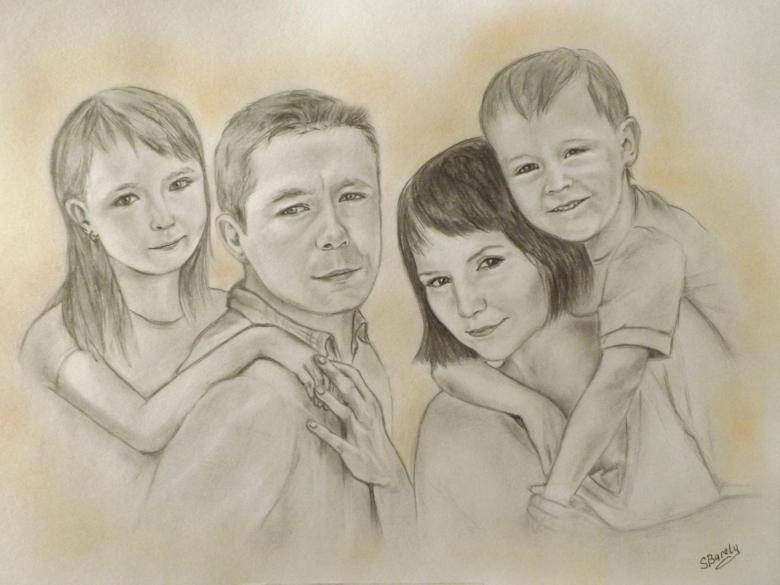
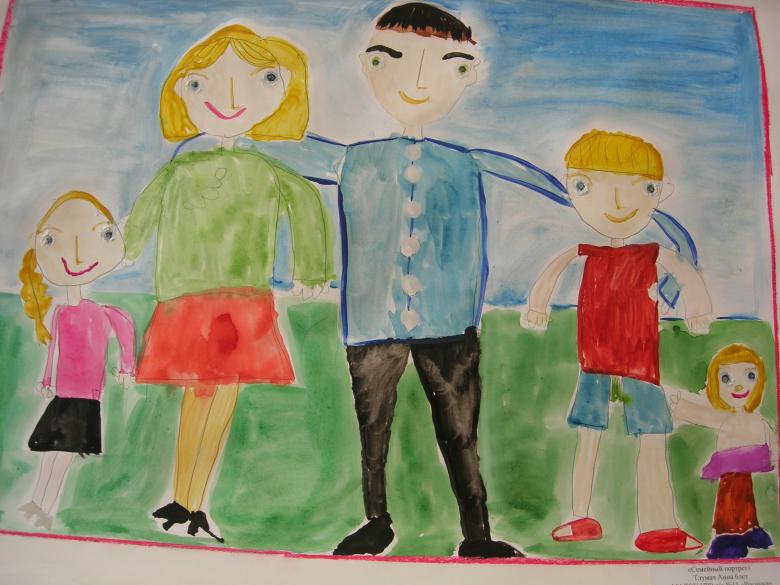
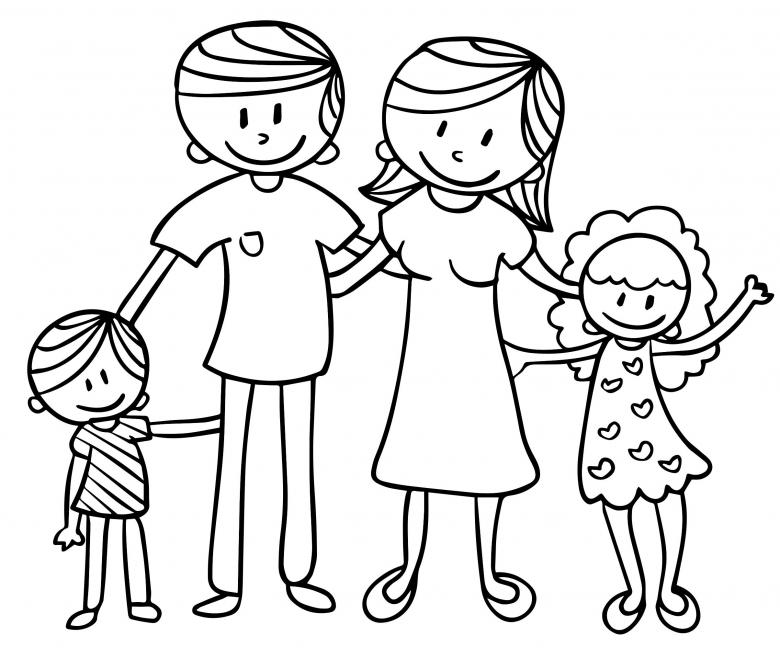
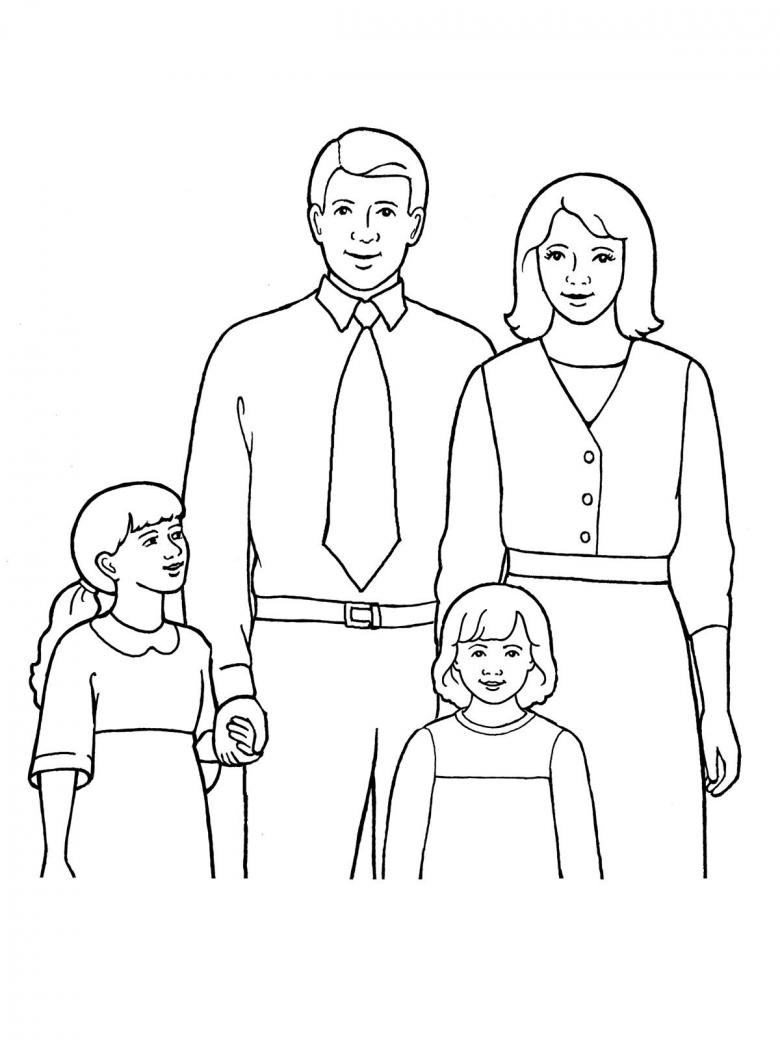
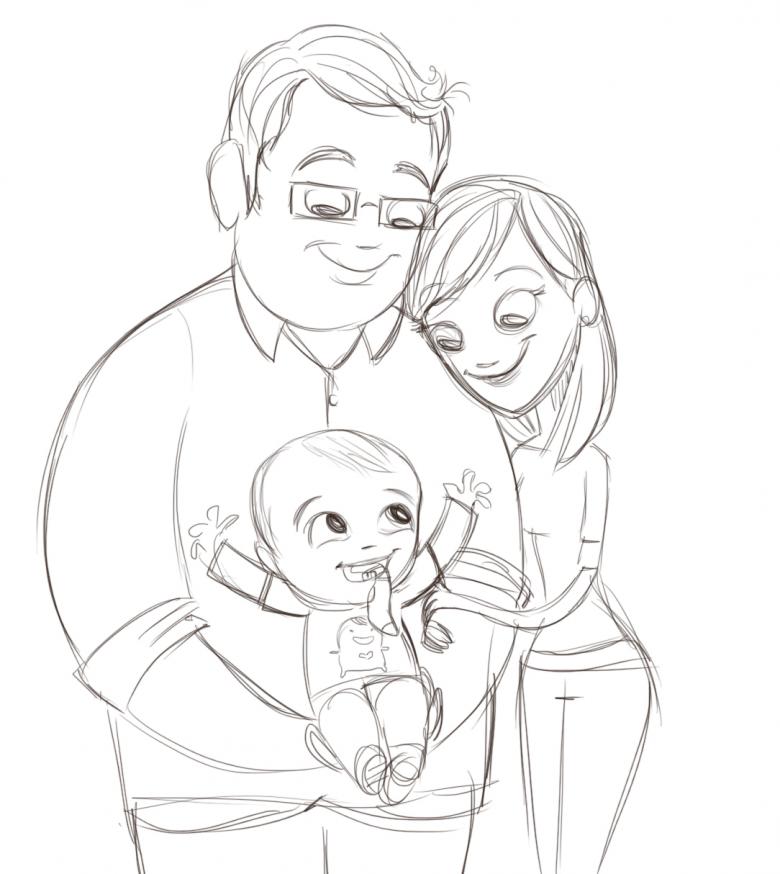
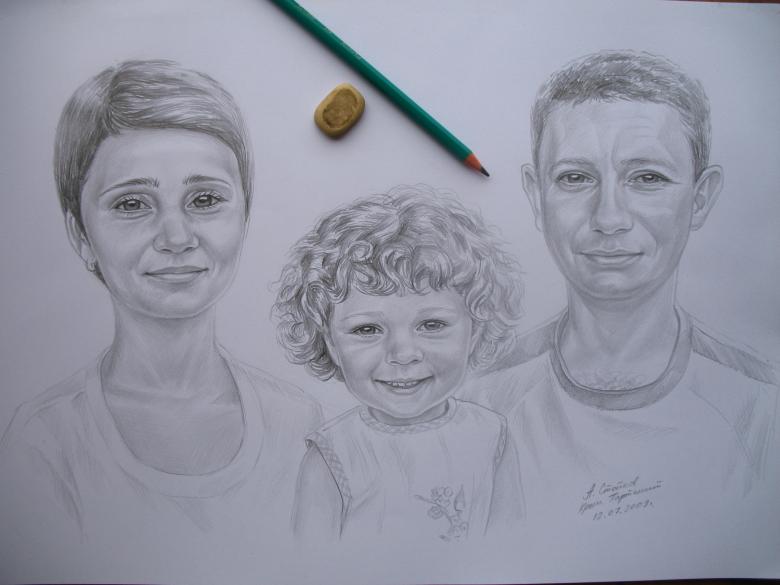
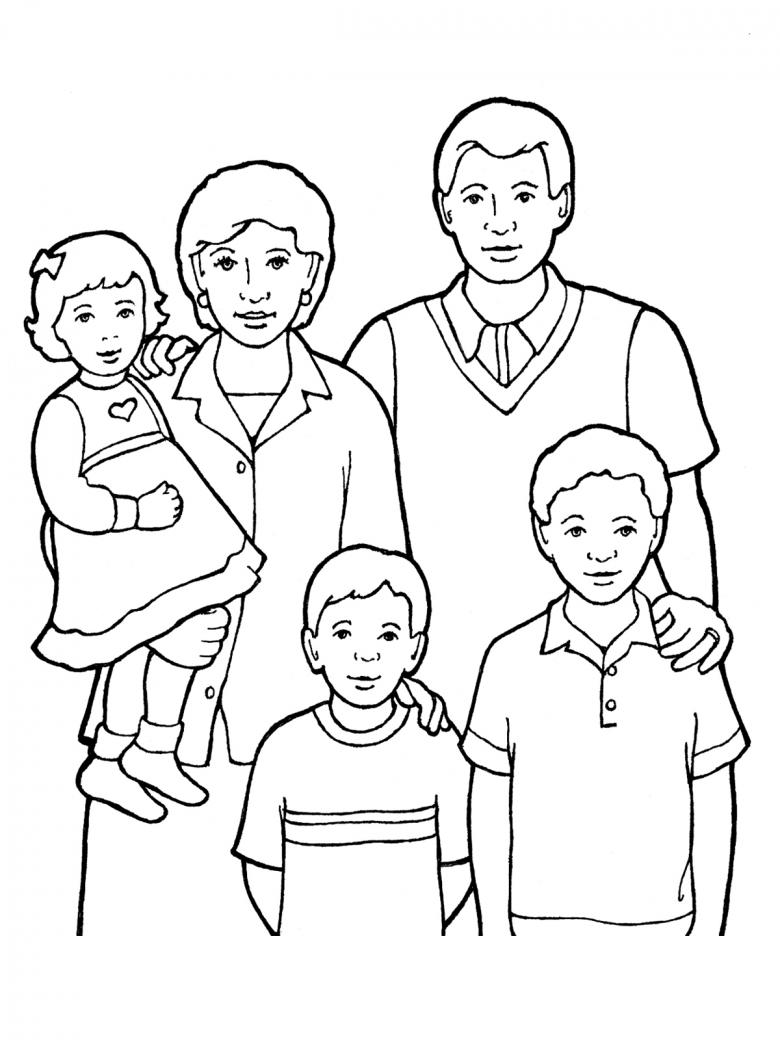
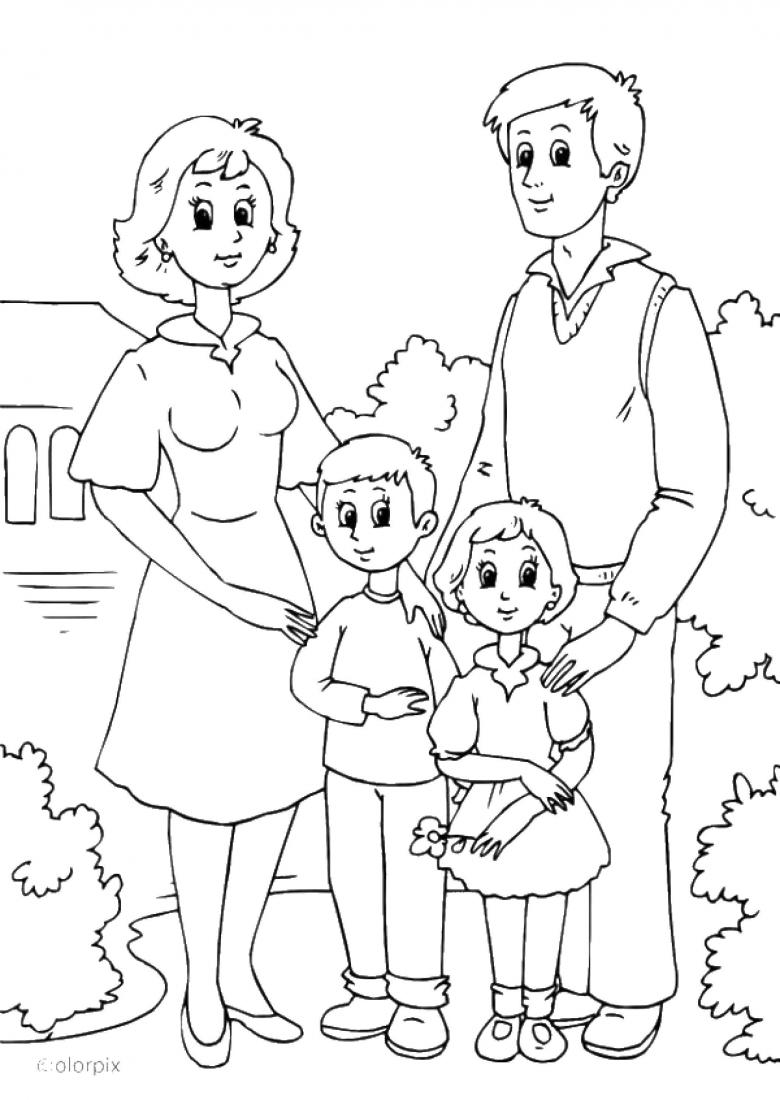
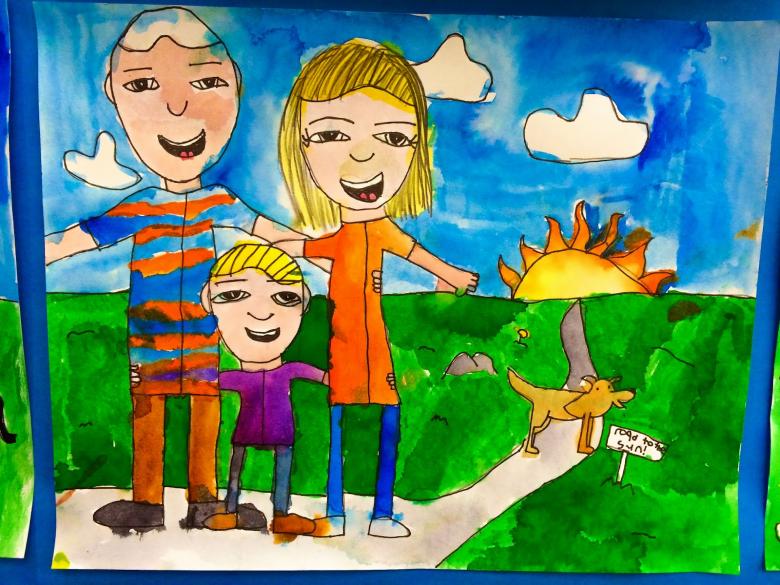
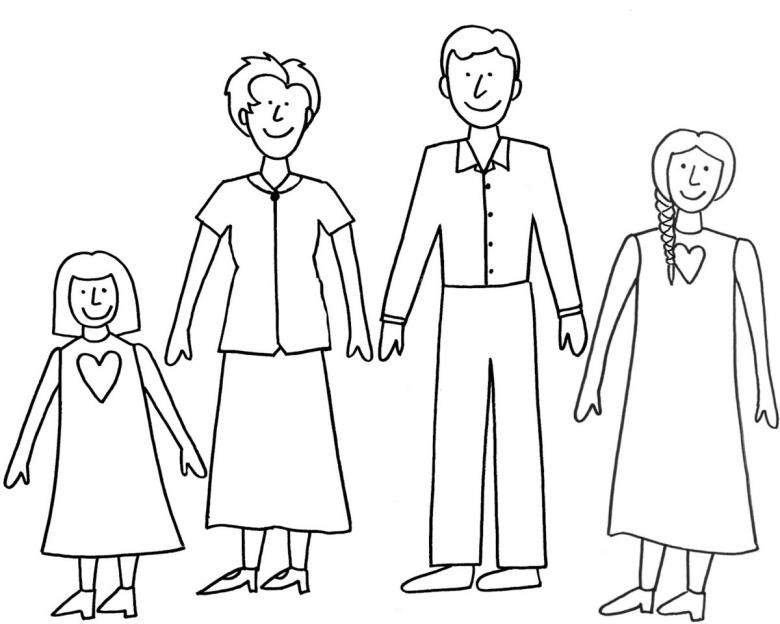
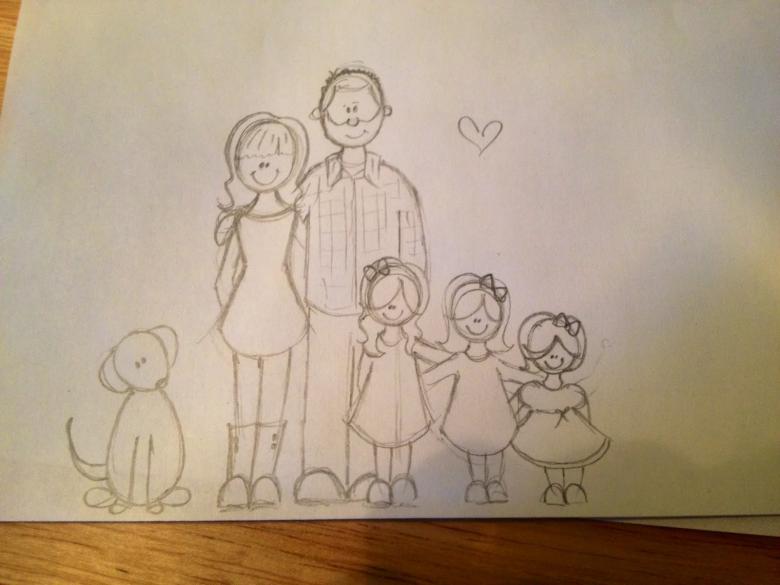
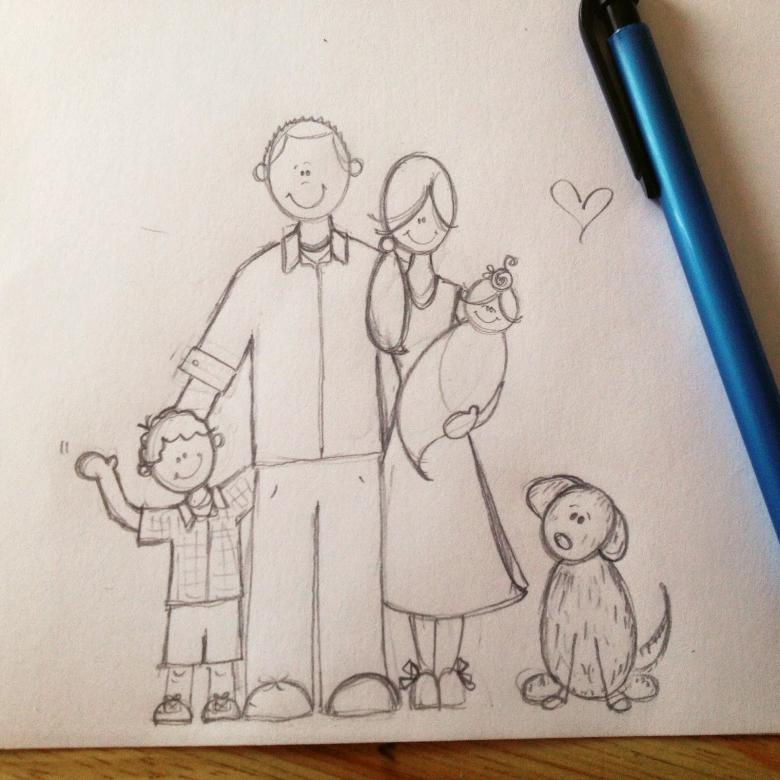
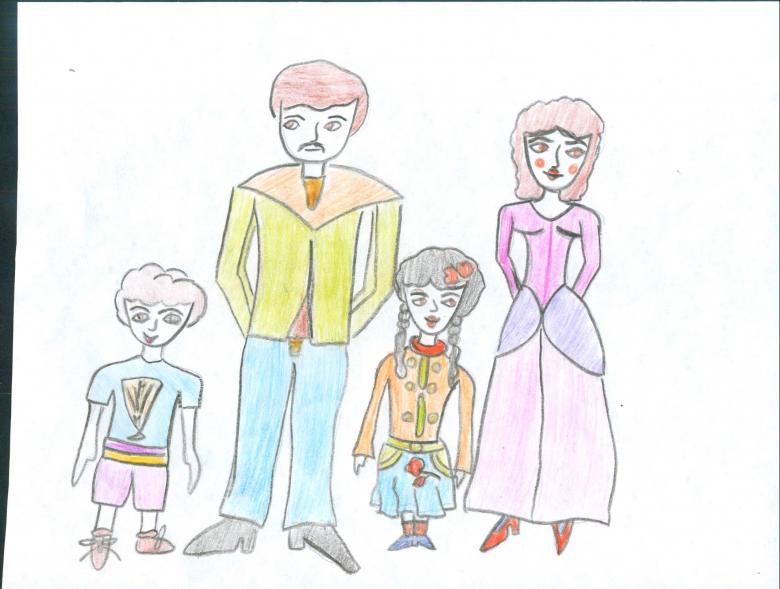
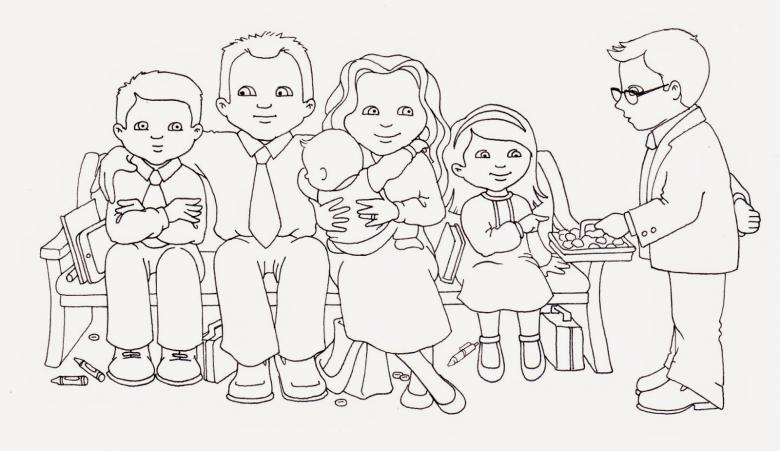
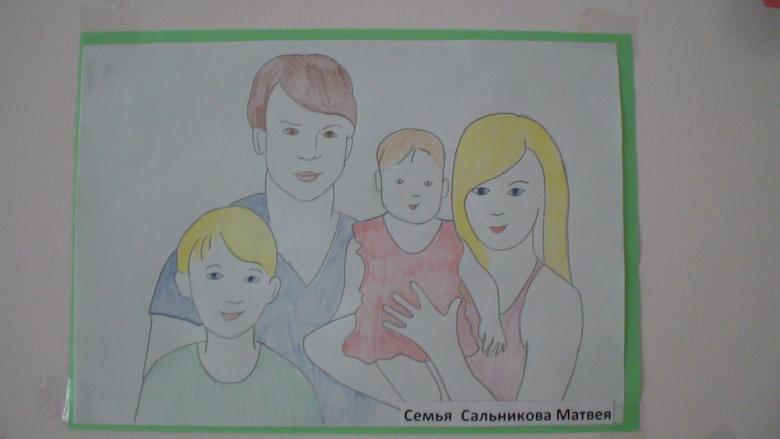
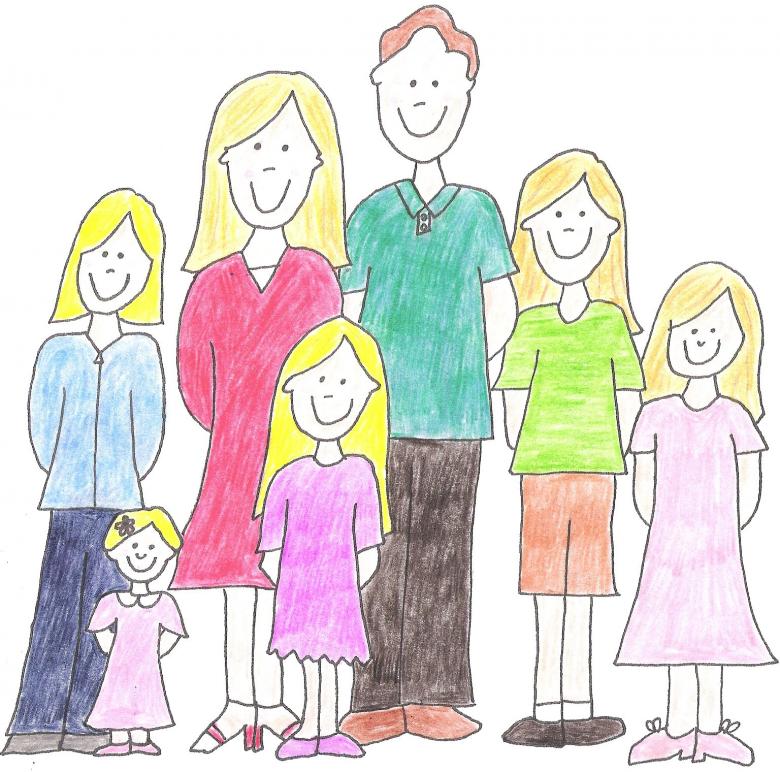
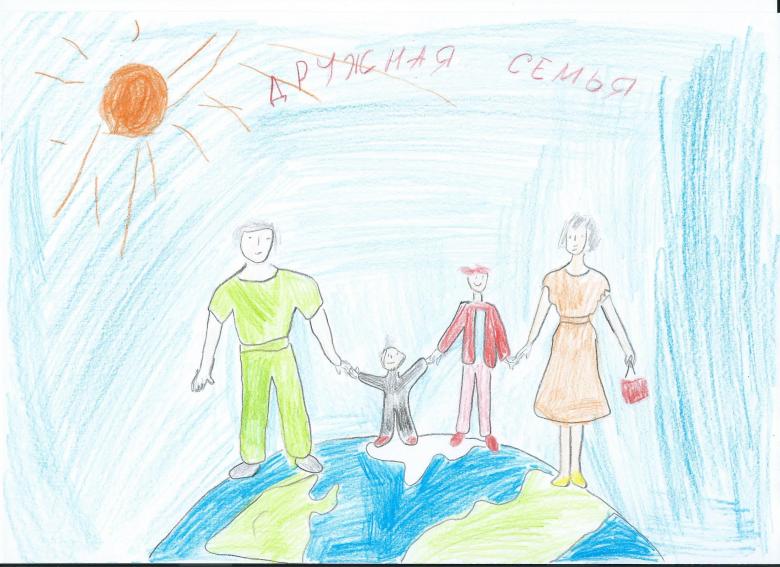
How to draw a family - examples of drawings and steps
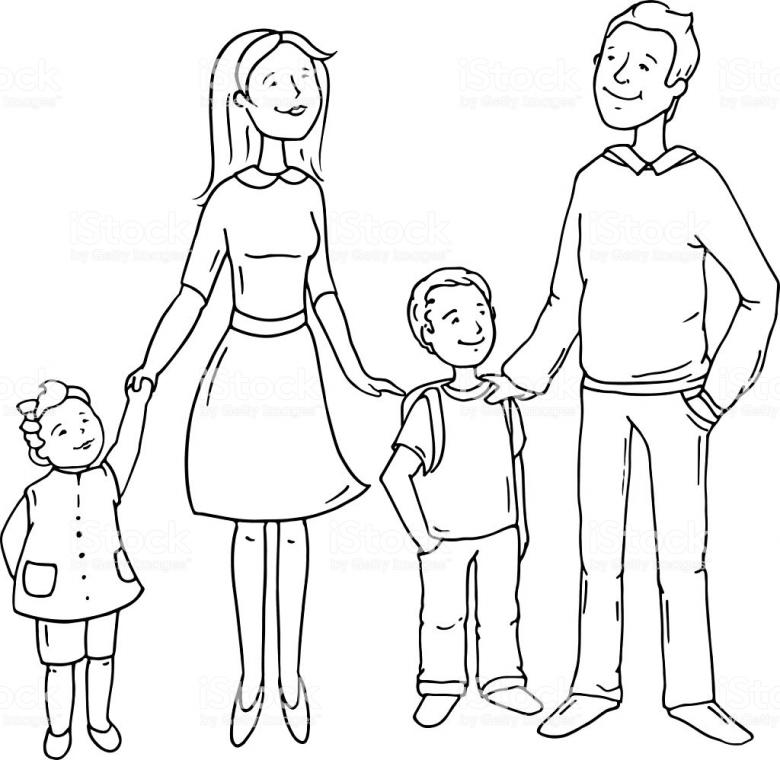
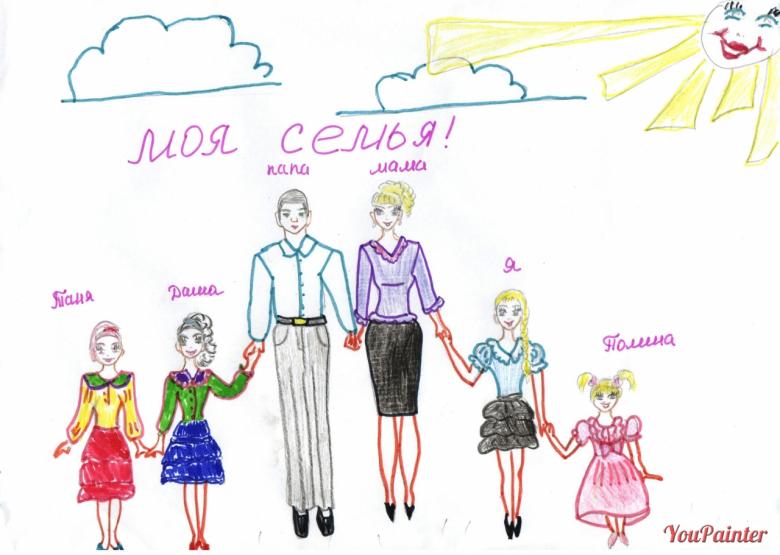
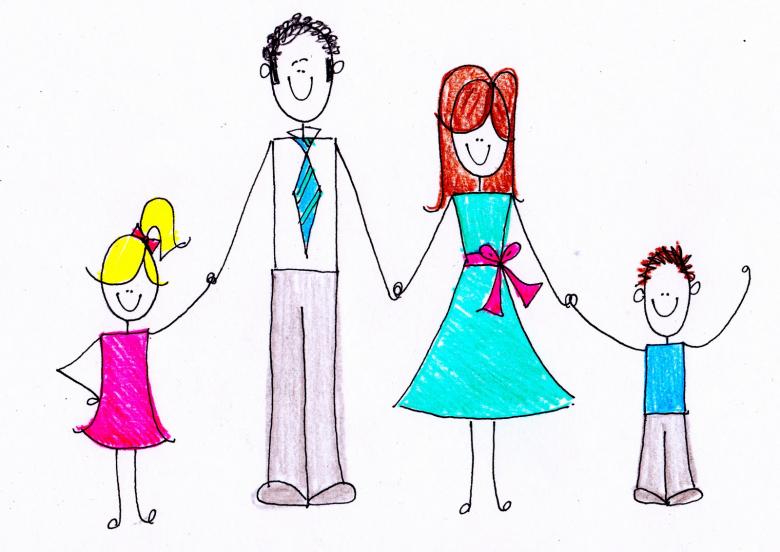
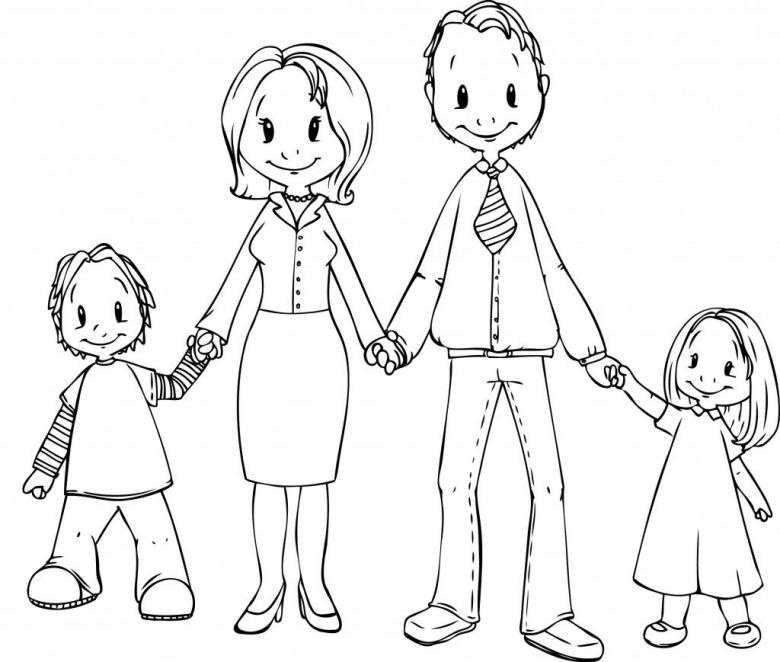
Drawing is much nicer when it depicts the people you love and mean to you. Of course, that circle, which provides a person with constant care, support and comfort, saves in difficult situations, is the family.
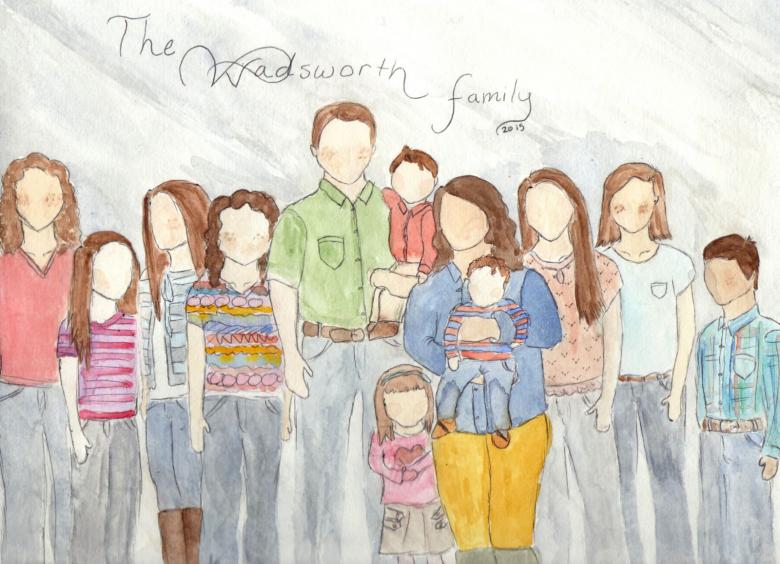
Family for each of us is different and different from any other. For example, it can be different in its composition - mom, dad and children, or maybe grandparents and other relatives.
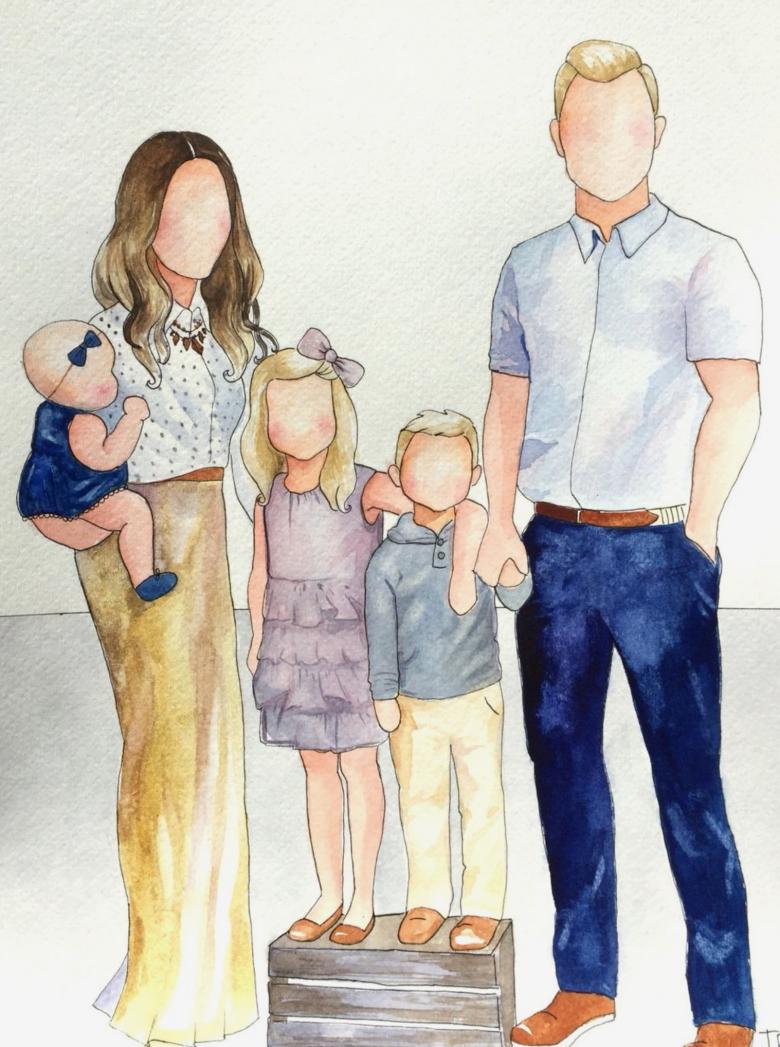
This should definitely be considered if you are going to paint a family picture. There are a few points to keep in mind to make sure the drawing turns out well:
- Think well about what the characters in the drawing might look like - their clothes and moods, their posture, and the like.
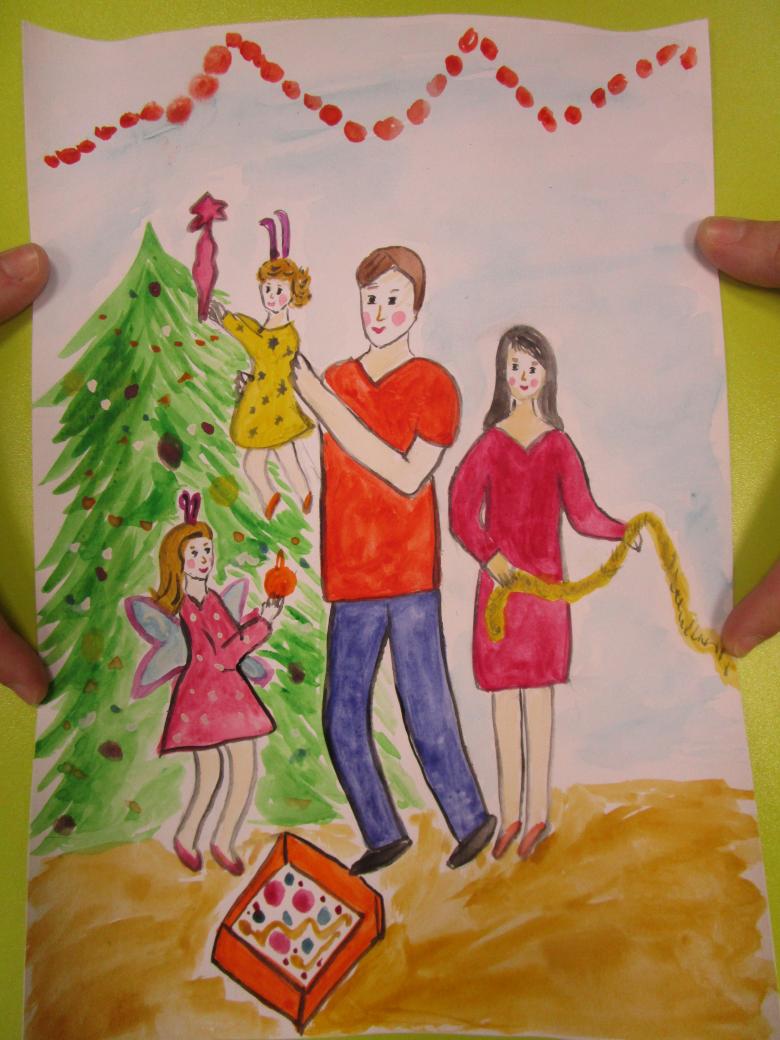
- Think about where your characters will be? In a cafe, at home, or outside with your pet? Think carefully about the background, because it plays an important role in your drawing, too.
- Carefully consider the size ratio - there is no way a small child is taller than his parents.
- Think about what features your family people have. Then it will be easier with paints or pencils to convey the appearance of your entire family.
Materials for the picture
Before you start drawing, you need to decide what the image will be on and what it will be applied with. Of all surfaces for drawing, ordinary paper is considered the most convenient and universal. All pencils and paints like watercolor or gouache are easy to draw on it.
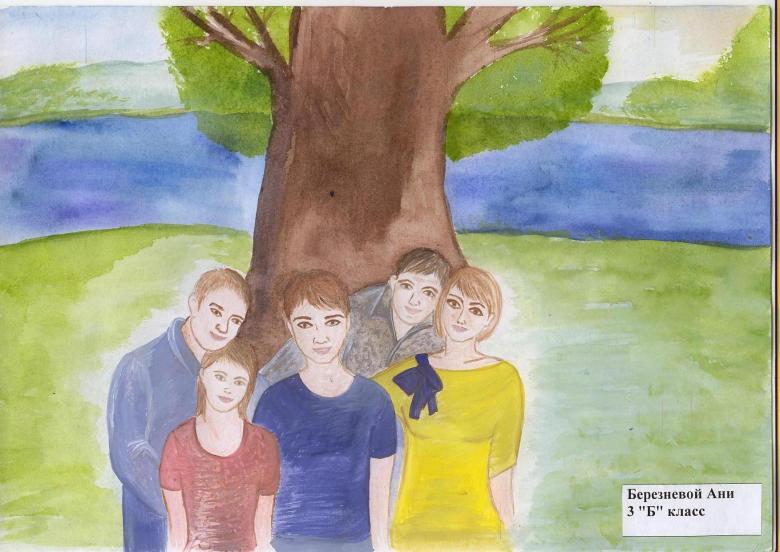
You can make the task a little harder and choose a canvas. But for such a subject, you need to stock up on special oil paints and brushes.
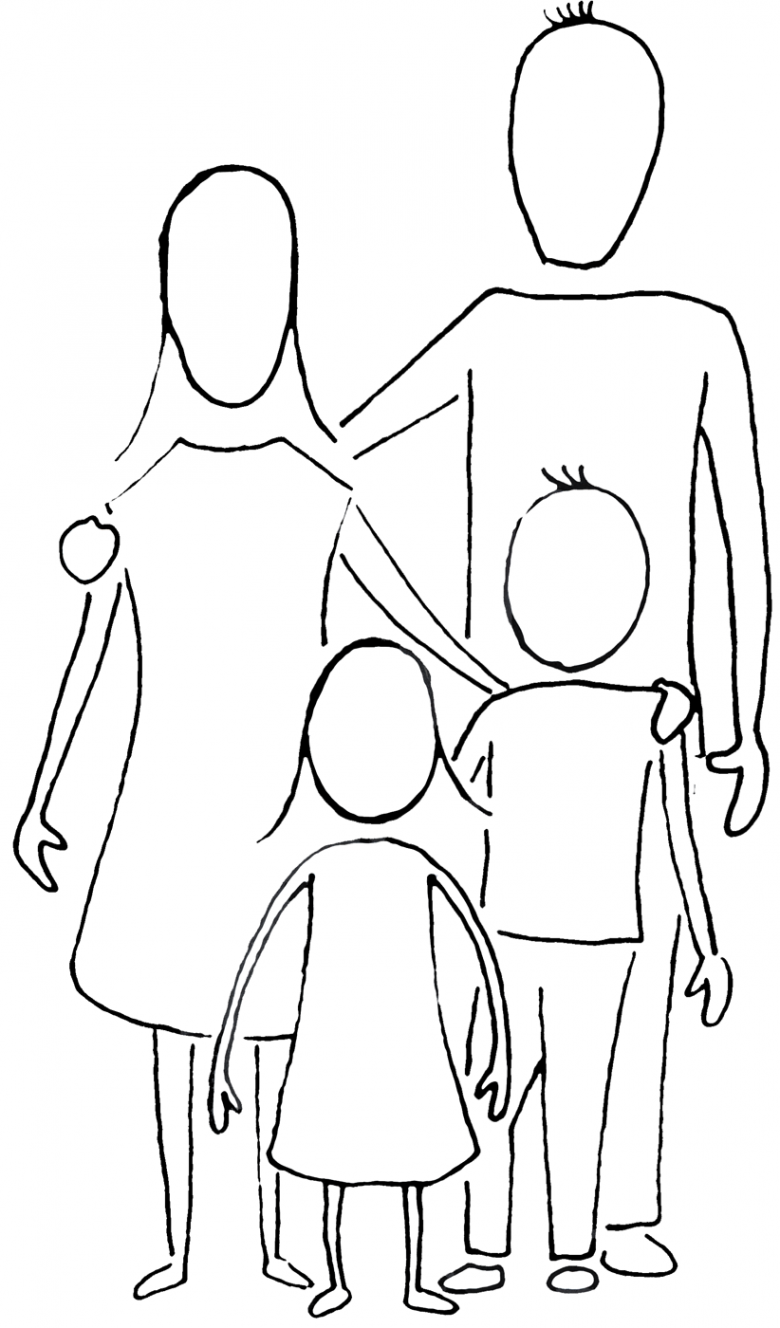
Step-by-step drawing of a family with the help of improvised objects
It is often difficult for young children to draw the shape of the human body. Then a kind of "stencil" can be found. The child has no problem tracing the figure, and then it's up to his imagination and mood. Of course, it is possible to approach the issue thoroughly and find a good ready stencil on the Internet, print it out, cut out the figure and give it to a child. Or you can not waste time on such exercises and pick up a blank jar, which is relatively similar to the person.
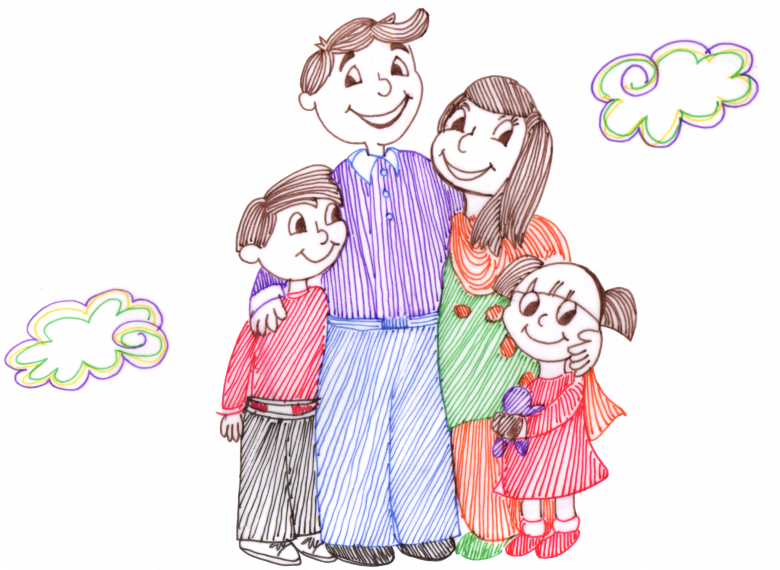
For the art you will need:
- A sheet of A4 paper or an ordinary album sheet;
- A pencil, eraser;
- Or paint, water, brushes, or colored pencils;
- Jars of different sizes;
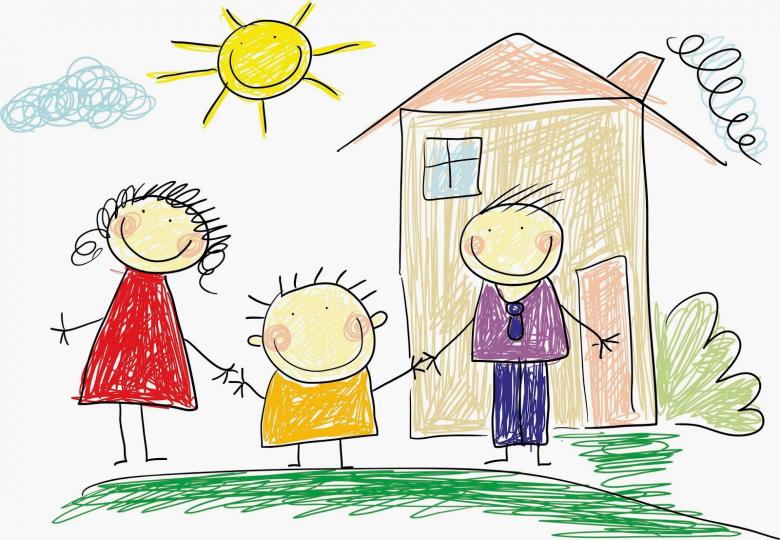
First draw the outlines - you will need jars and a pencil. Place a large jar on a piece of paper, which can be used to represent a mom or dad figure, and smaller jars can be used for children's figures.

Trace with a pencil and wipe off any excess lines with an eraser. On each figure draw the head: hair, eyes, lips, nose, ears, and so on.
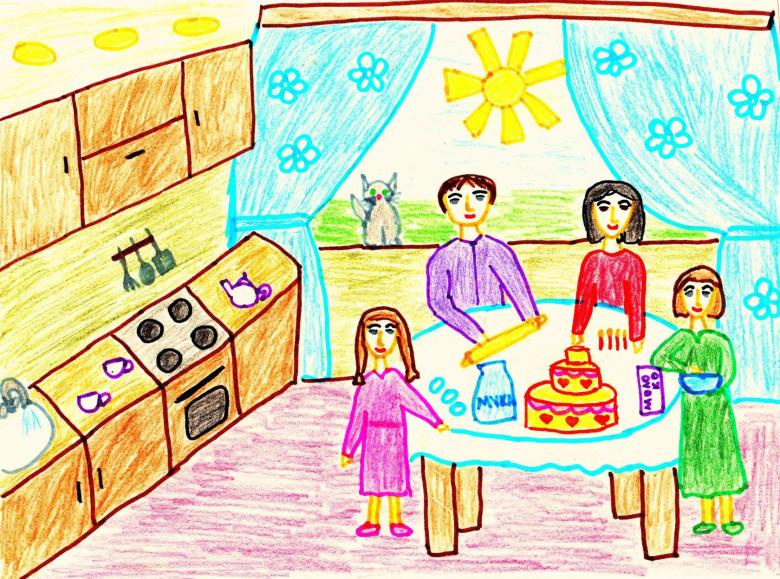
Next, limbs - hands and feet. Do not forget about clothes and shoes, additional details drawing (pets, background). Now it's time to paint, giving color to all the figures in your picture. That's it - the drawing is ready.
Family coat of arms - what is it and how to draw?
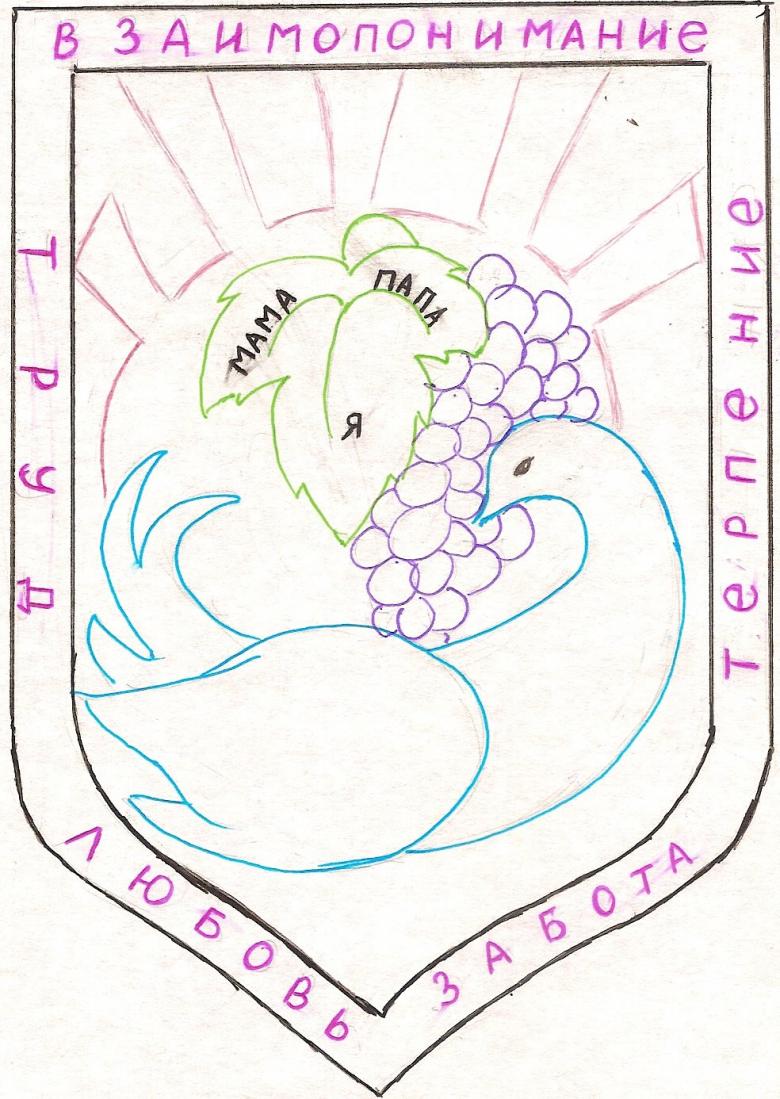
Often in elementary school children as homework to make a family coat of arms. It is a kind of shield (the shape can be chosen and edited by yourself), which depicts the main values of your family in the form of objects, words or phenomena.

To draw such a picture, you need to talk with your family and highlight the main preferences, functions, or characteristics of your family. For example, a coat of arms could depict love, care, support, and happiness. You can come up with many different variations of the coat of arms picture.
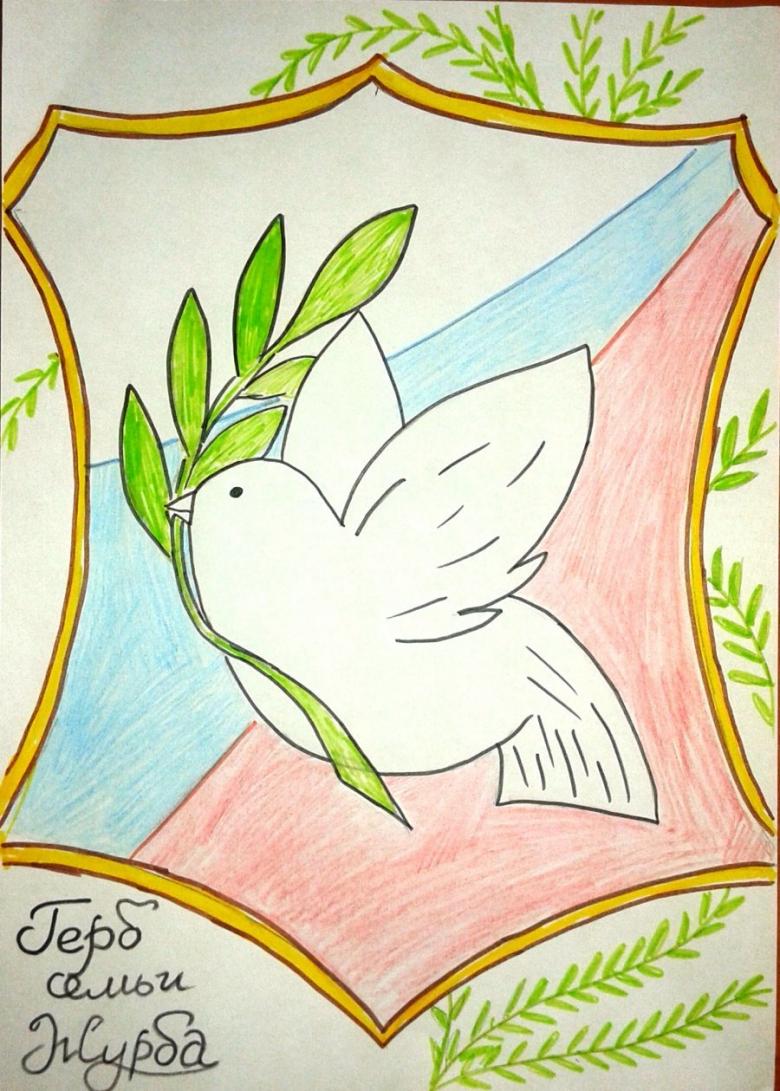
For the picture you will need:
- A sheet of paper;
- A simple pencil and an eraser;
- Colored pencils or paints, felt-tip pens, and so on;
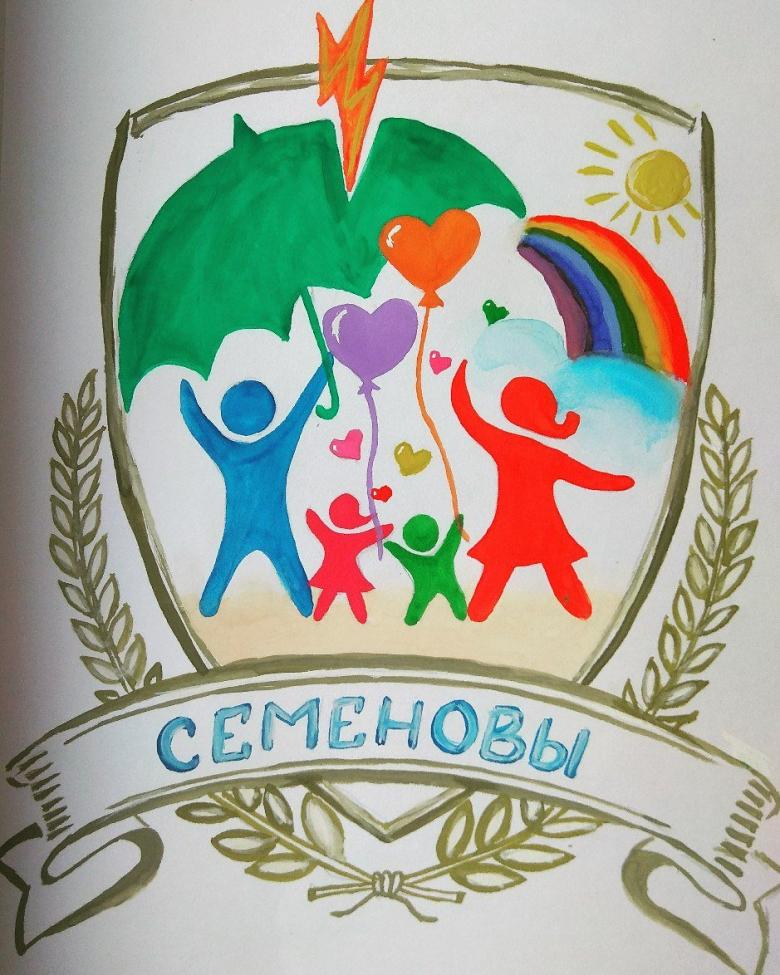
Start with the shape - it can be in the form of known standard shapes (square, circle, triangle, rectangle, oval) or in the form of unusual objects, such as a cloud, sun or heart. Divide the entire inner part of the coat of arms into several "departments". In these cells will be placed your chosen family values.
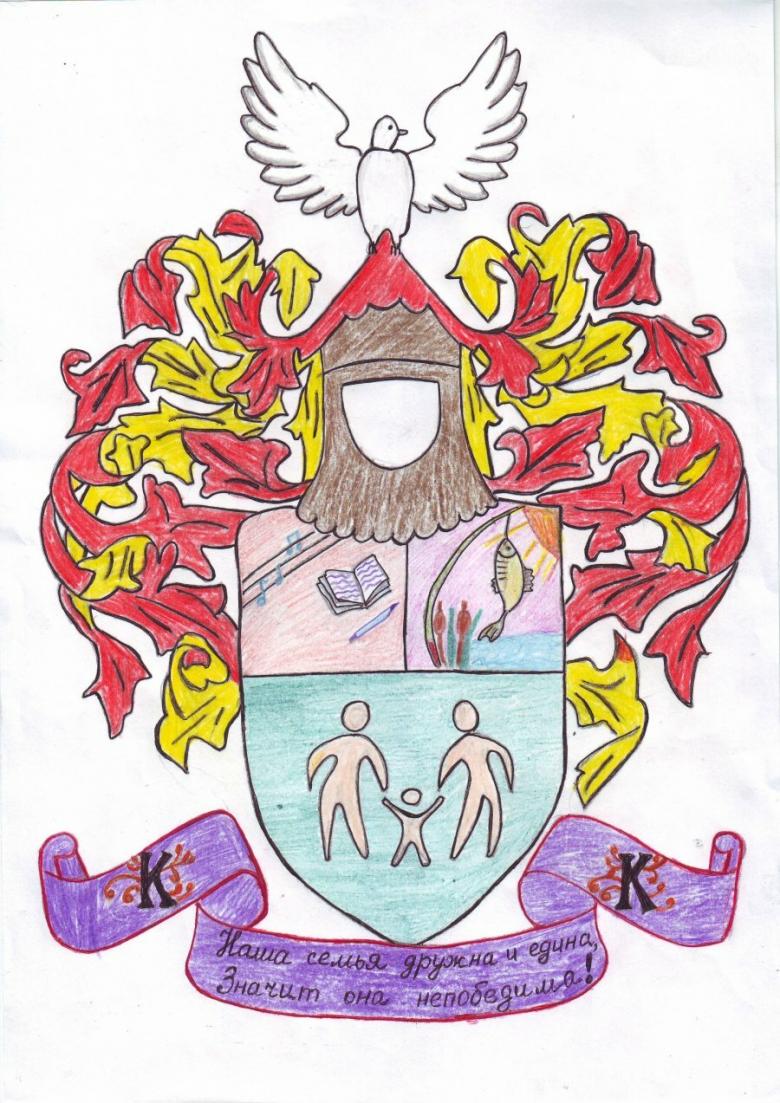
After a black and white pencil drawing, you can use paints or colored pencils. Sometimes the coat of arms are decorated with additional details - ribbons, flowers and the like.
The family tree - step by step
The history of the family can be shown on a single sheet in the form of a diagram - this is called a family tree. In an unusual and creative way, you can show the history of the emergence and development of your family circle with the help of an ordinary tree. The fact that a large branching can accommodate on a tree quite a lot of names and surnames, while at the same time the picture will look neat and not bulky.
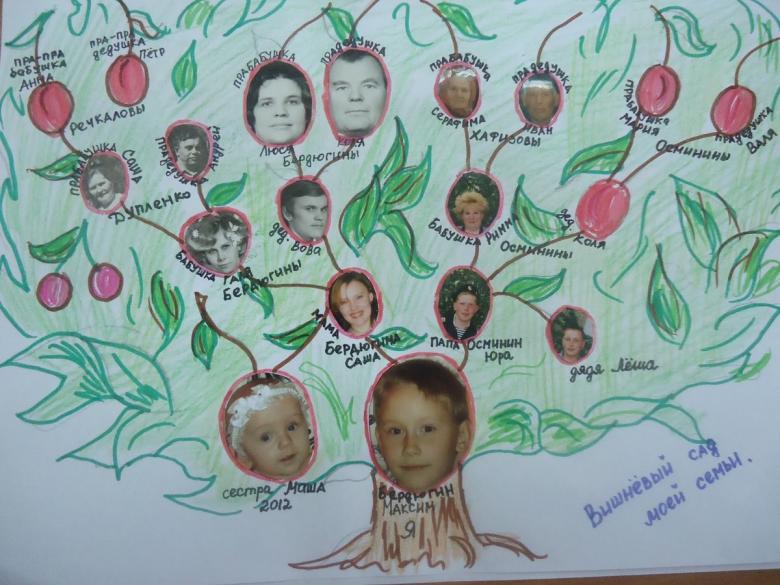
To draw a family tree you need:
- A pencil and eraser;
- A piece of paper;
- Colored pencils, paints, felt-tip pens and the like;
- A history of your family;
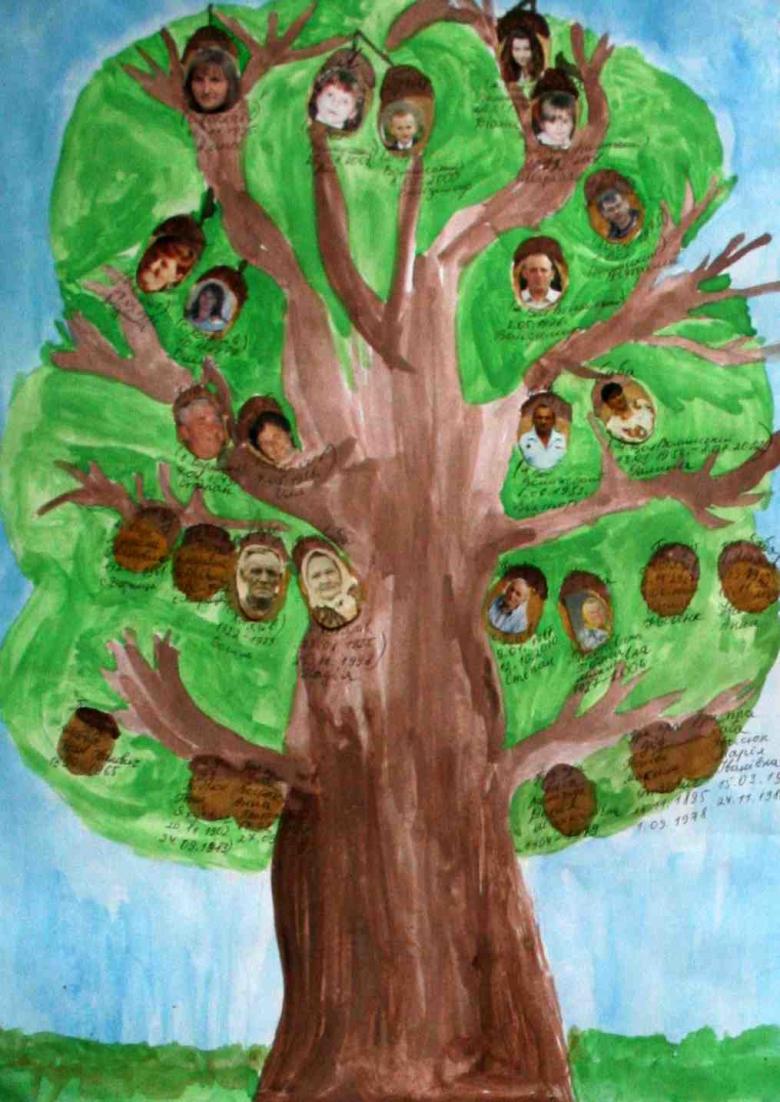
It's worth starting with the shape of the tree - don't emphasize the trunk of the plant, because the main role is played by its branches. The longer and more in number of branches - the more space for your relatives. After marking places for names and surnames, pay attention to the list of relatives. The top of the tree conveys your oldest loved ones. From top to bottom, the dates approach our time.
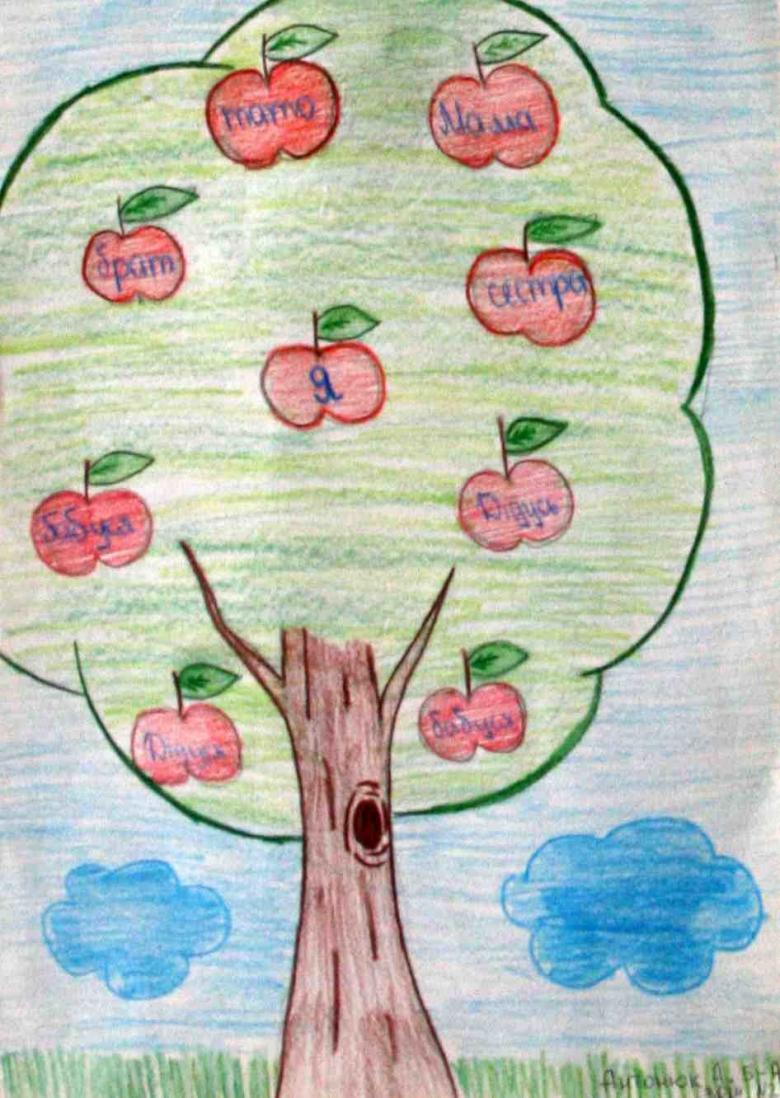
First place the names, surnames, and dates of your great-great-grandparents, then the rest of your relatives. Place your family and yourself in the central part near the bottom of the tree. Your tree is ready.

