How to draw a fish in pencil and felt-tip pens - step-by-step tutorials for beginners
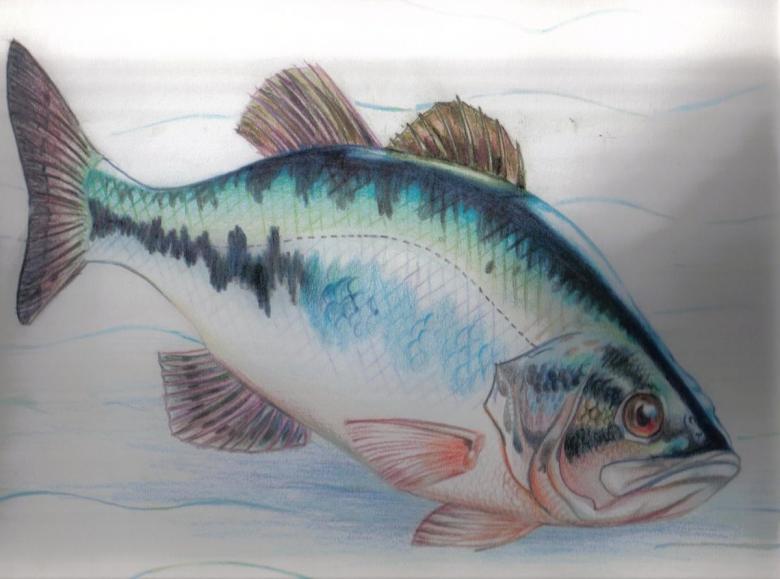
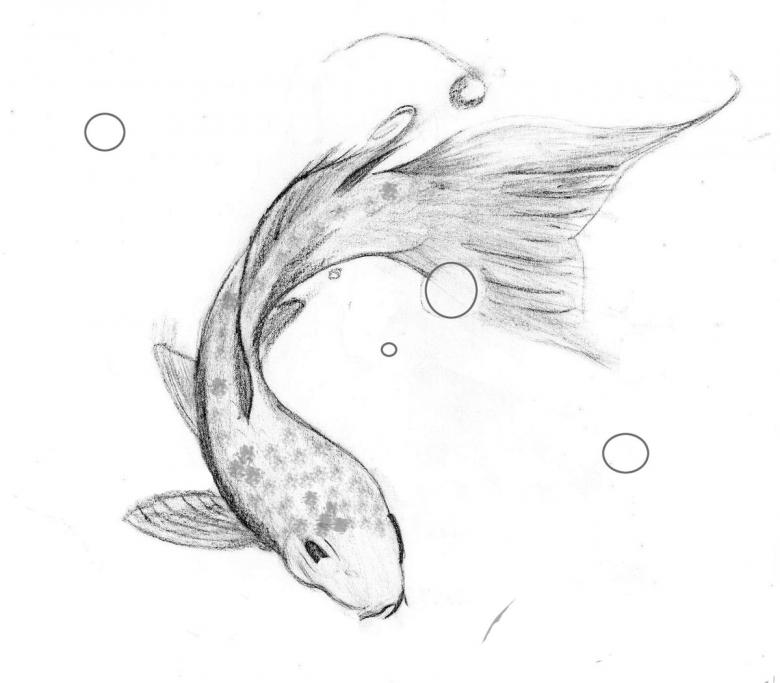
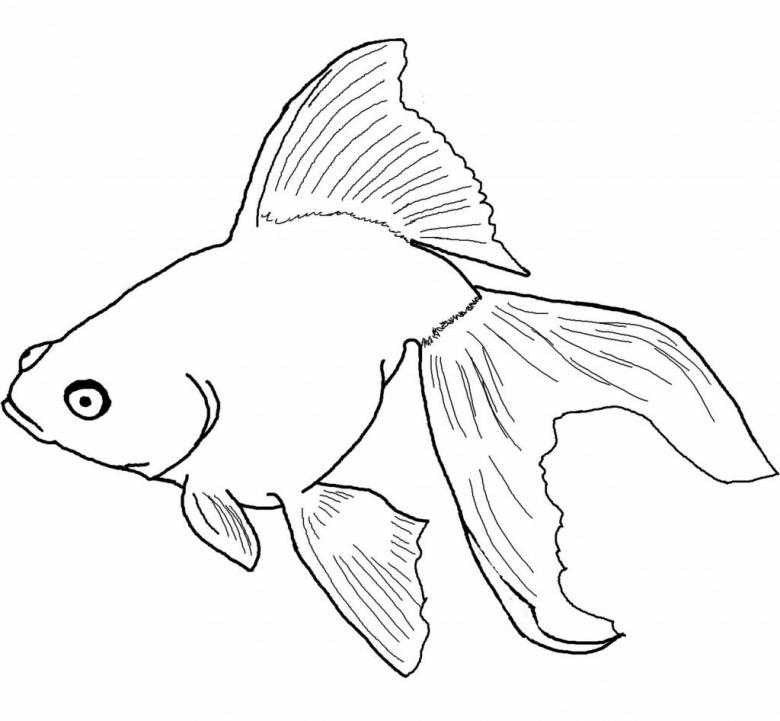
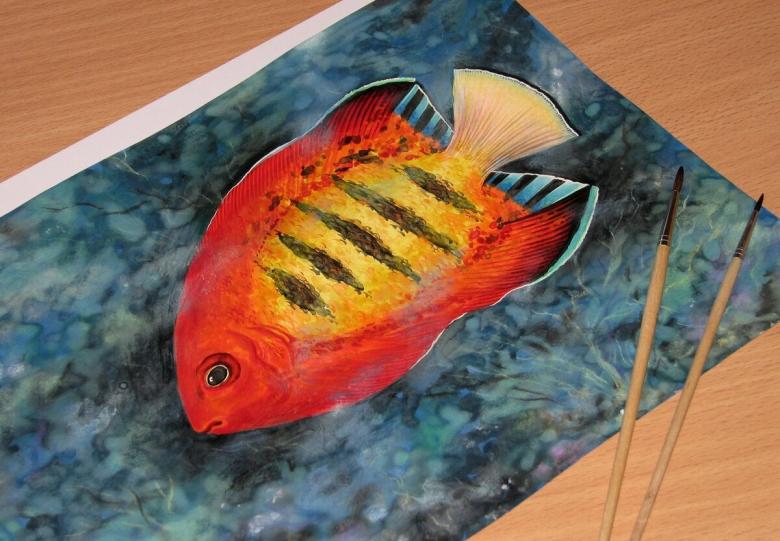
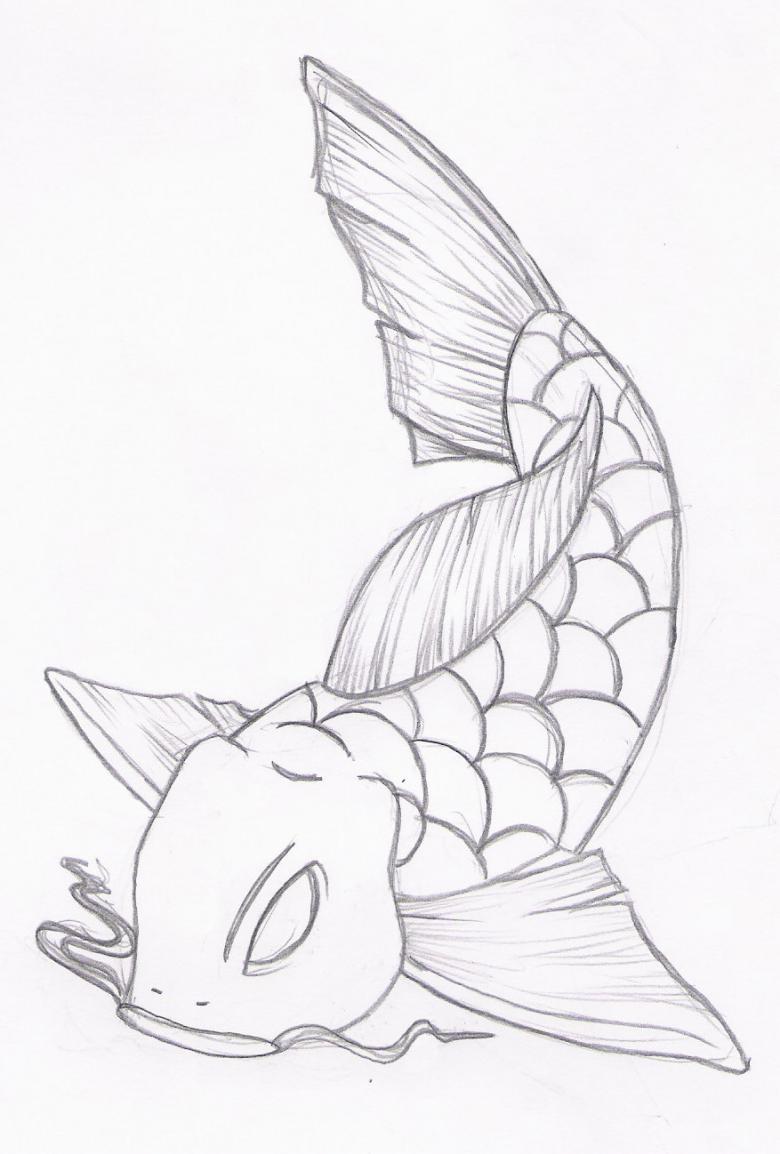
As we know, fish come in all shapes, sizes and colors. They live in the sea abyss, in a river, in a pond and even in an aquarium. About fishes filmed many cartoons, they are depicted in children's books and coloring books. Draw a fish yourself is not difficult. Let's try to do it together and step by step depict on paper this aquatic inhabitant.
Draw a fish just in.
Drawing a fish is easy. Even a small child is able to cope with such a task. All you have to do is ask your mom or dad for help and follow the instructions we provide here. To begin, take pencils, felt-tip pens, and white drawing sheets. Begin the process!
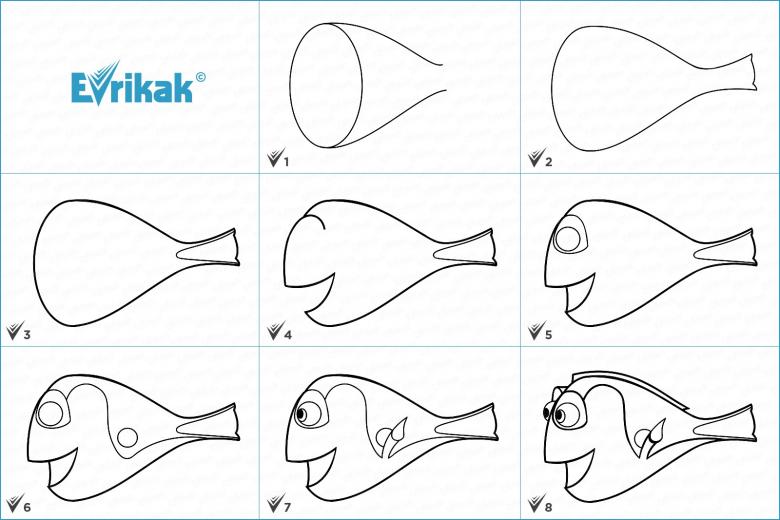
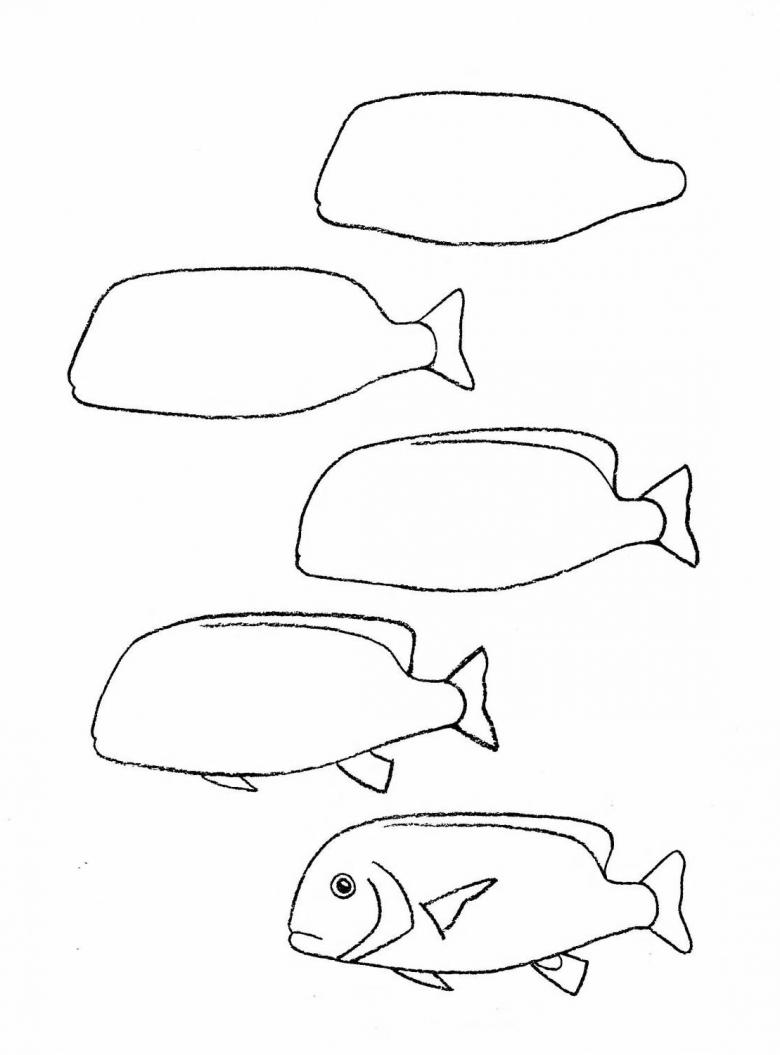
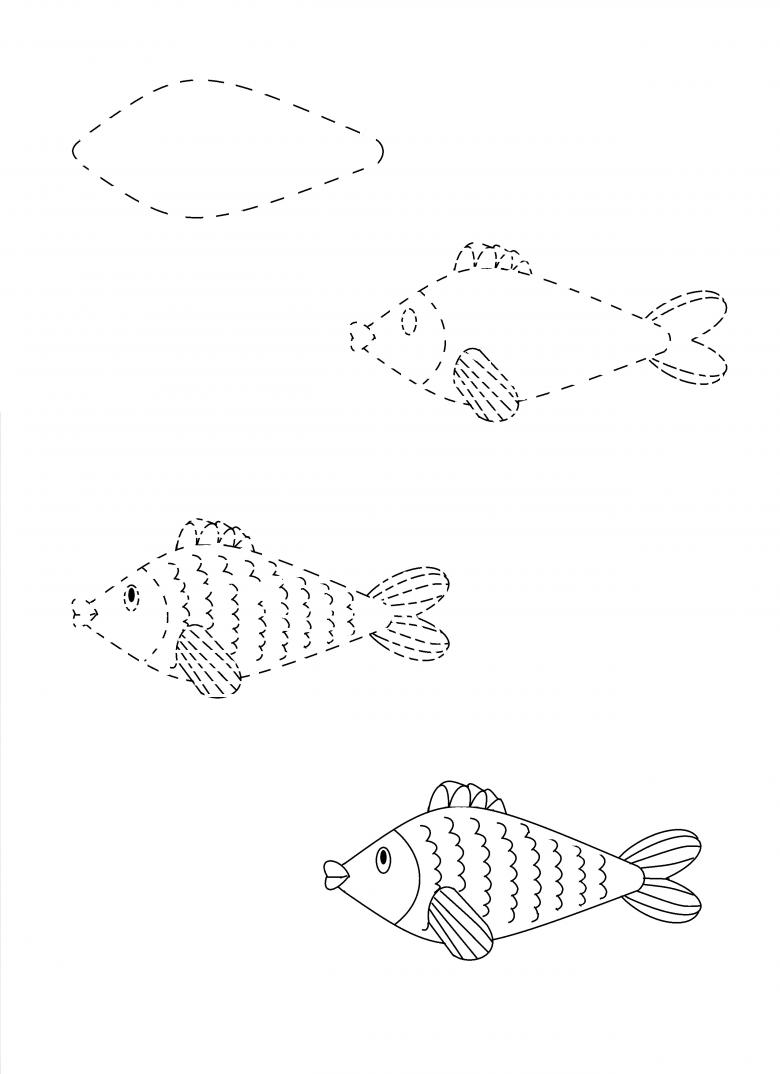
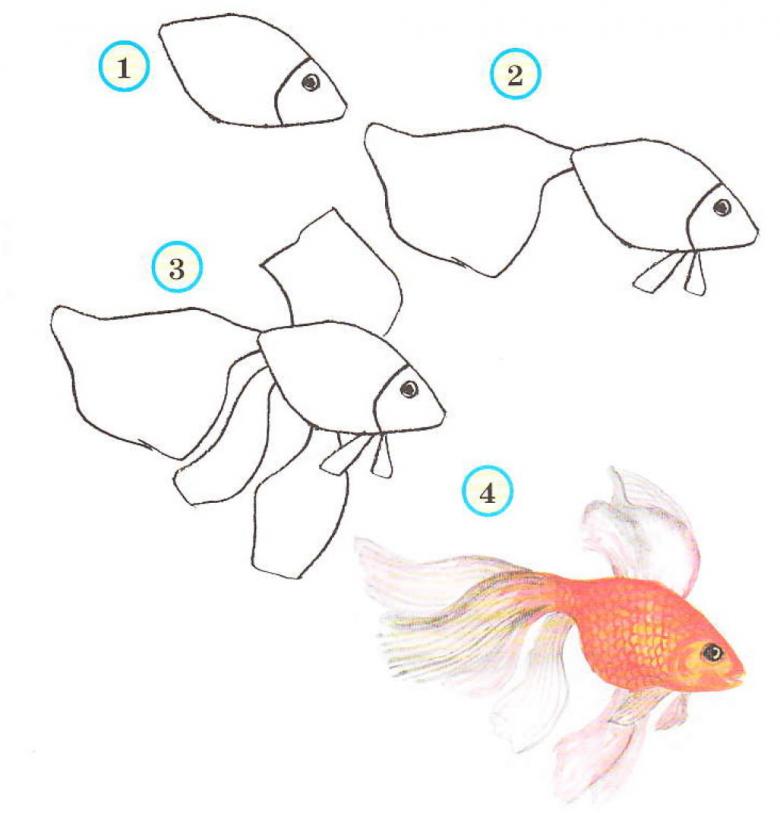
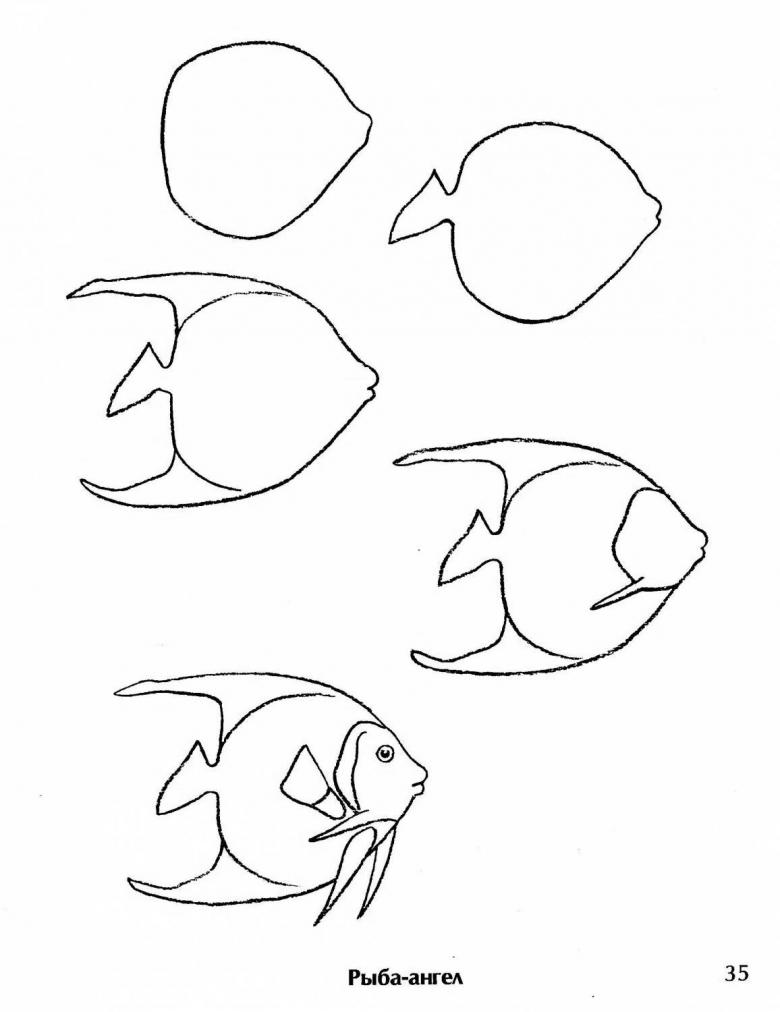
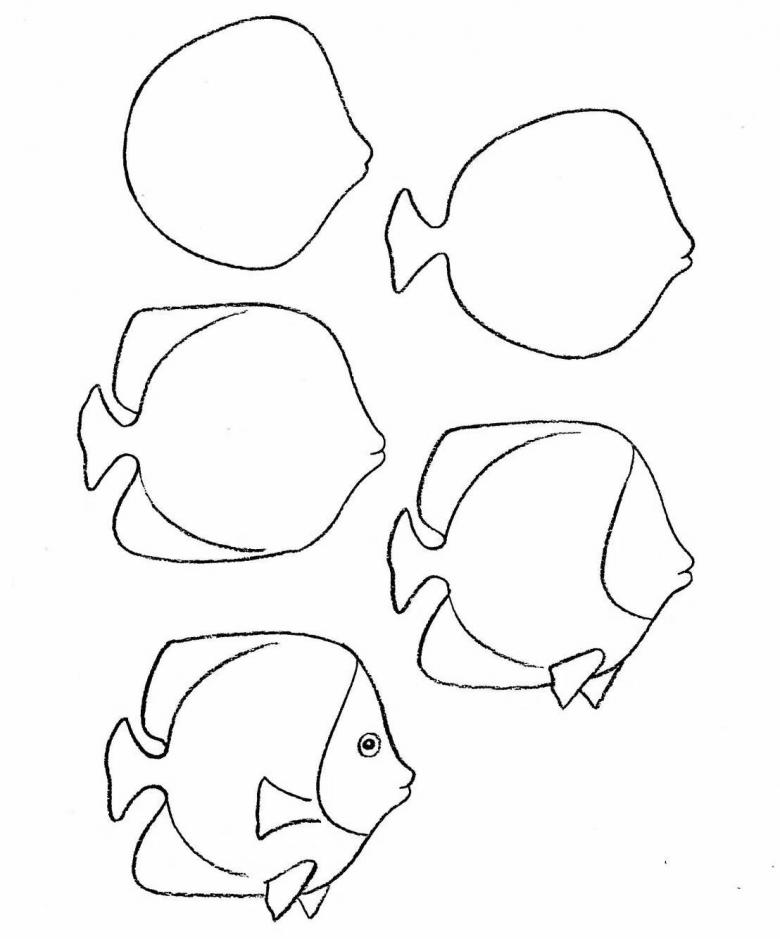
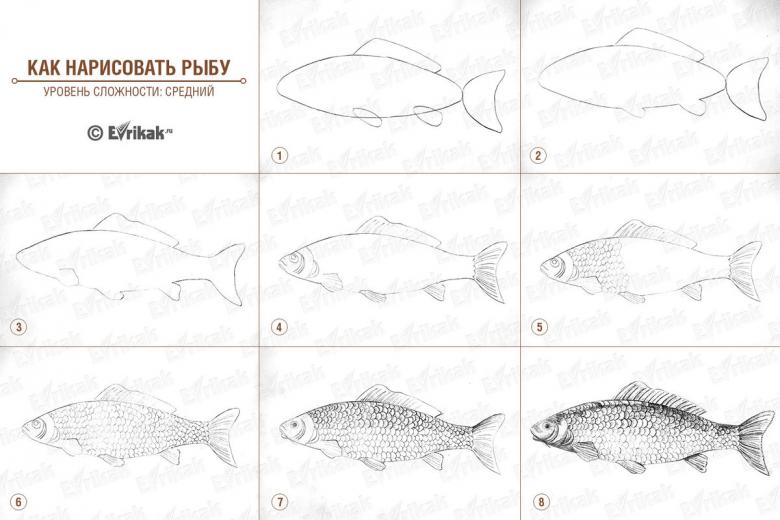
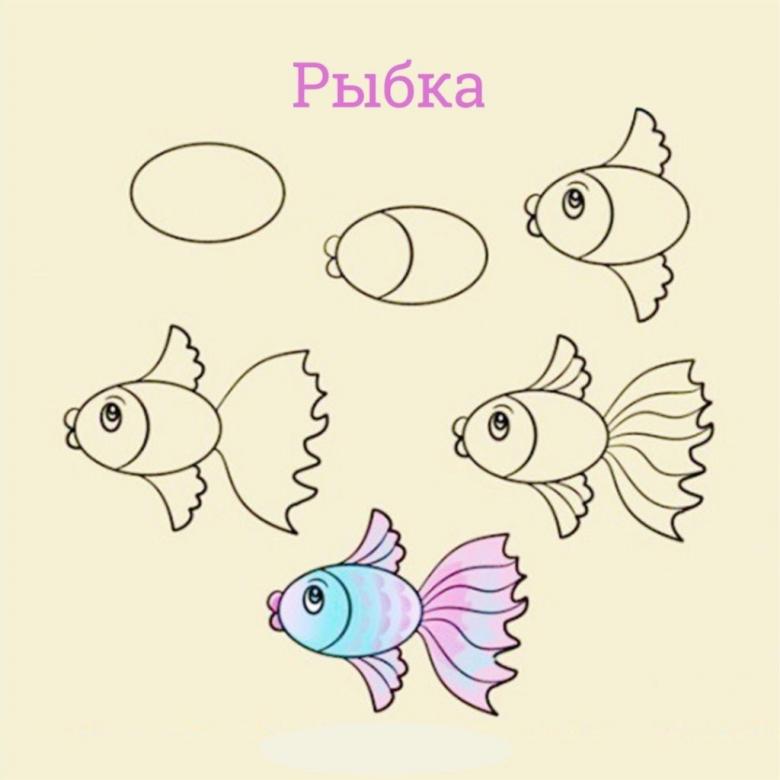
- Just above the middle of the sheet, from left to right, draw an arc. At the end of the arc, draw a large check mark. From the starting point of the arc on the left, draw the same arc, but with the slope downwards, i.e. "upside down". At its end draw a large tick, mirroring the first tick. Arc a line connect their ends - this will be the tail of the fish. A good-looking tail height should be no less than the head of the fish.
- On the left side of the picture rounded line highlights the head. This line - gill plate, it is drawn thicker. On the arc to the right of the head depict wavy line fin. The lower fin is depicted on the lower arc, it should be about half as much as the upper and is located to the right of the center of the fish. On the border of the fish head and torso, in the area of its gills, in the form of two drops are drawn 2 more fins.Small strokes traced details of these elements.
- On the head, above its center, is depicted eye in the form of a neat circle. In the middle of his circle smaller circle draw a pupil, which is completely shaded with black felt-tip pen.
- At the point from which we started drawing the upper and lower arcs, the fish's mouth is depicted. If it is possible to depict a smile, it will be top-notch!
- Immediately behind the line that separates the fish head from the body, arched lines represent scales. These arcs should end in the area of the tail, which is complemented by details in the form of several horizontal strokes.
- In front of the fish, just above its mouth, several circles of different sizes can be drawn. These are bubbles.
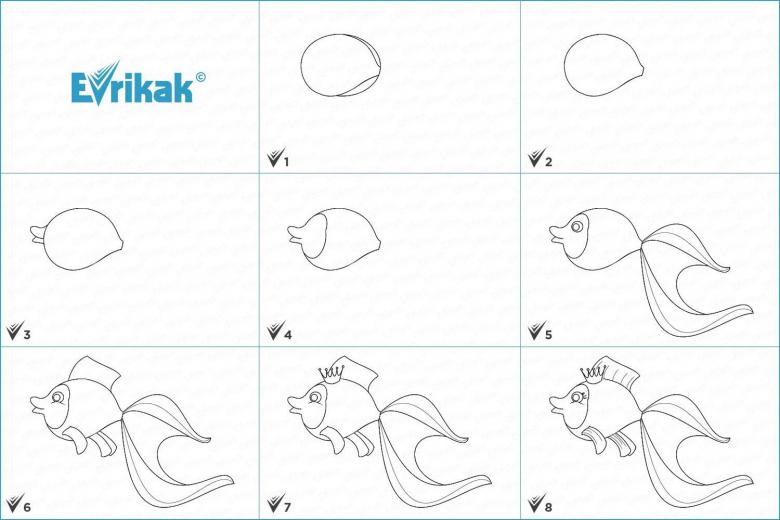
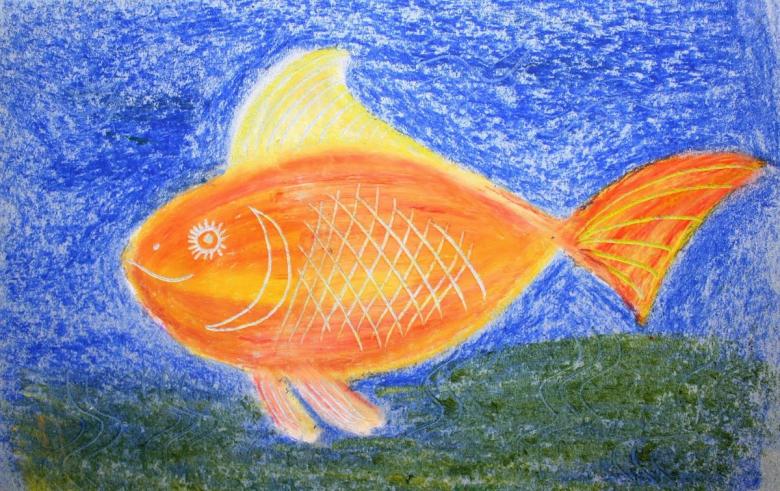
We have got a nice fish. But, to make it more attractive, the drawing should be painted in different colors. If you have an aquarium, the young artist can choose the most beautiful fish and transfer its coloring to his drawing.
- The tail can be colored with an orange felt-tip pen, which will give the image a beautiful golden hue.
- For the upper fin, we will take a red felt-tip pen, and for the lower fins we will use pink.
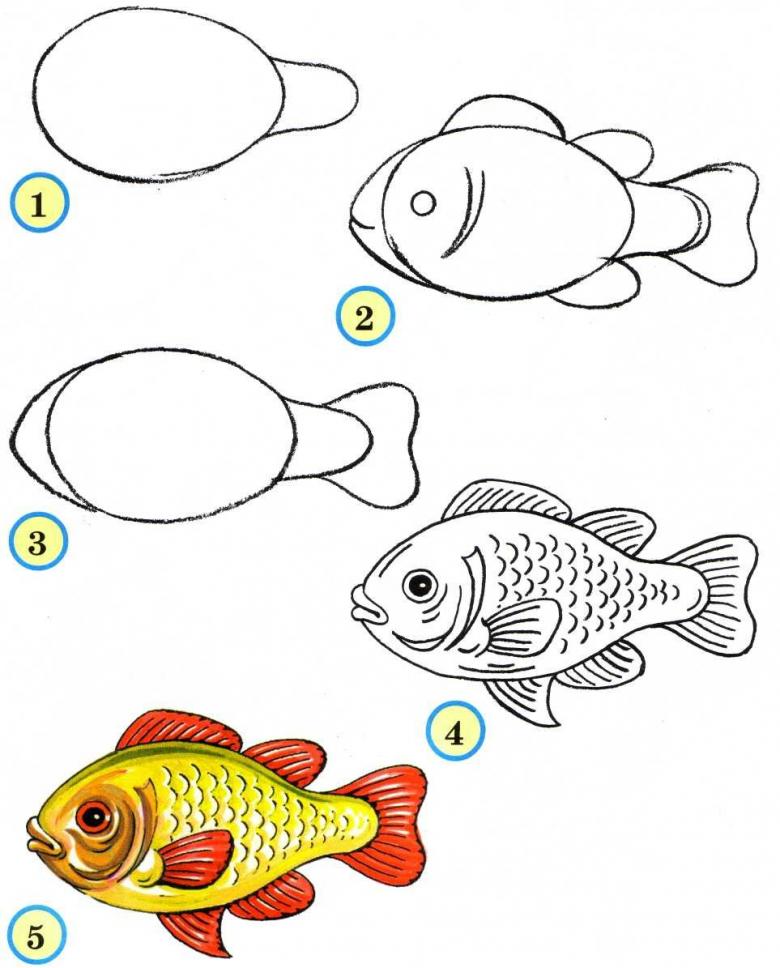
- In the beginning the scales from top to bottom can be painted yellow, the next row - green, then blue, blue, purple red and orange felt-tip marker. The bubbles in front of the fish can be made blue, and their outline can be circled in blue.
The children's drawing is complete! Really, it was quite easy!
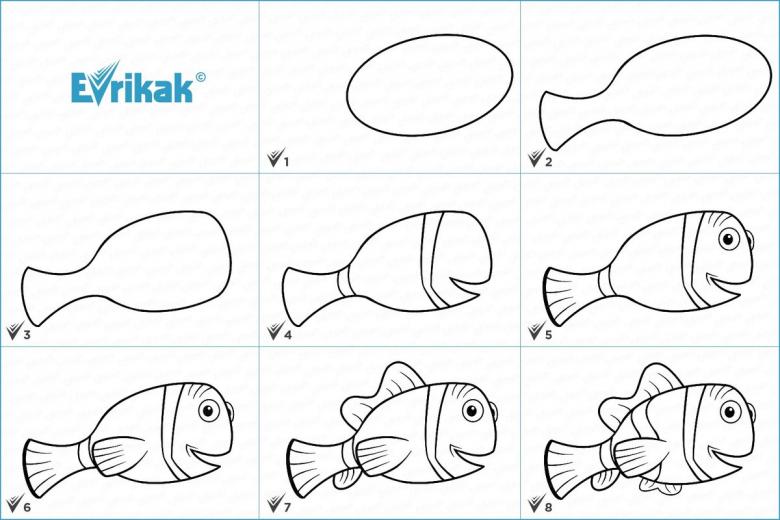
Fish from a cartoon
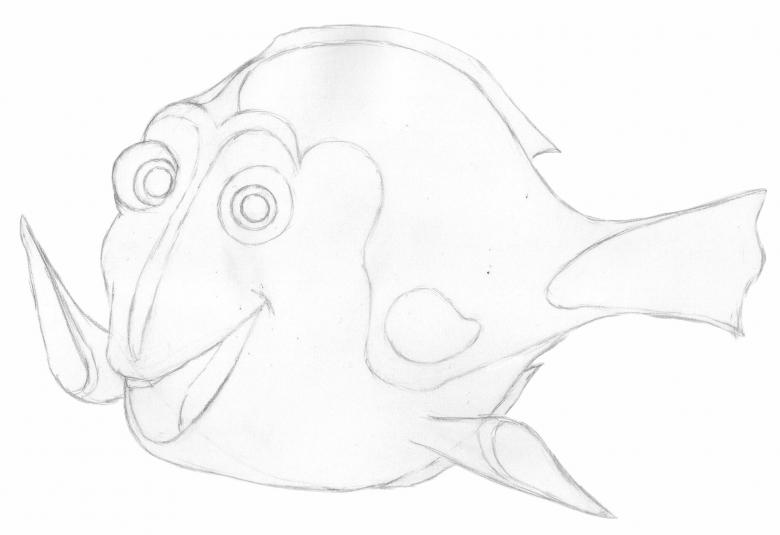
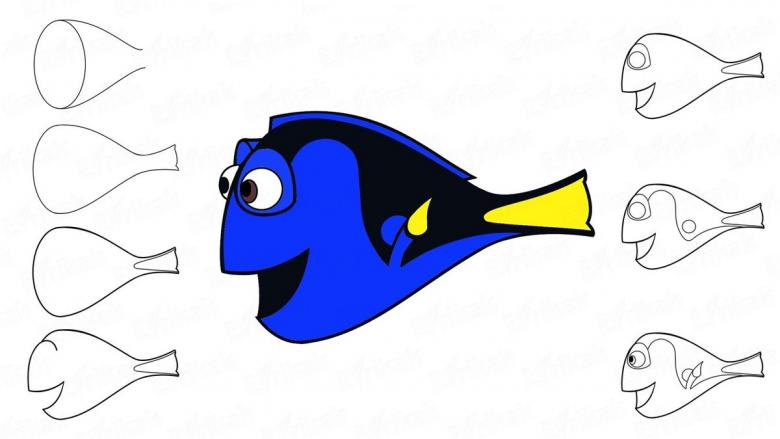
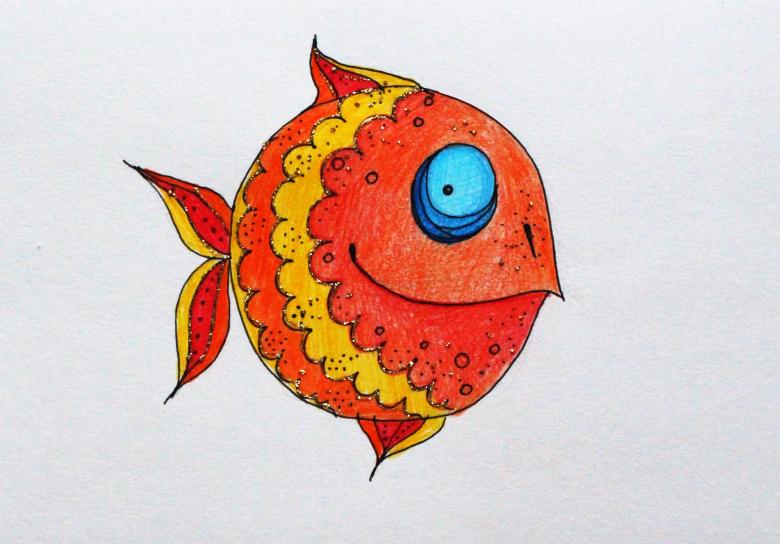
In continuation of the skills of drawing sea creatures, you can continue the lesson and try to draw a funny fish from the cartoon "Finding Nemo". This work is better done with felt-tip pens. But if the skills are still very small, it is recommended to start with a simple sharp pencil. You can also use oil pastels.
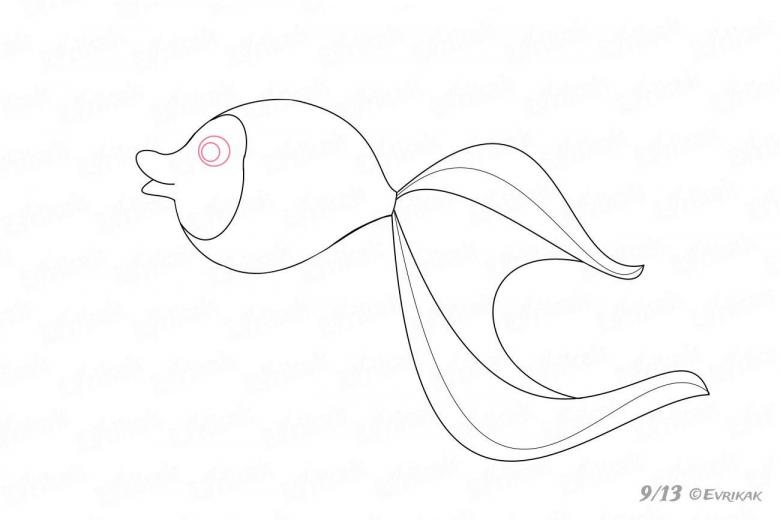
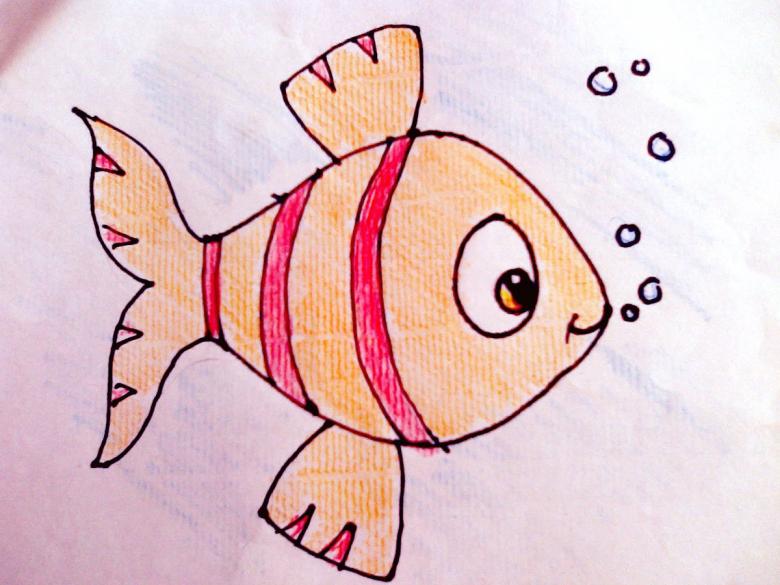
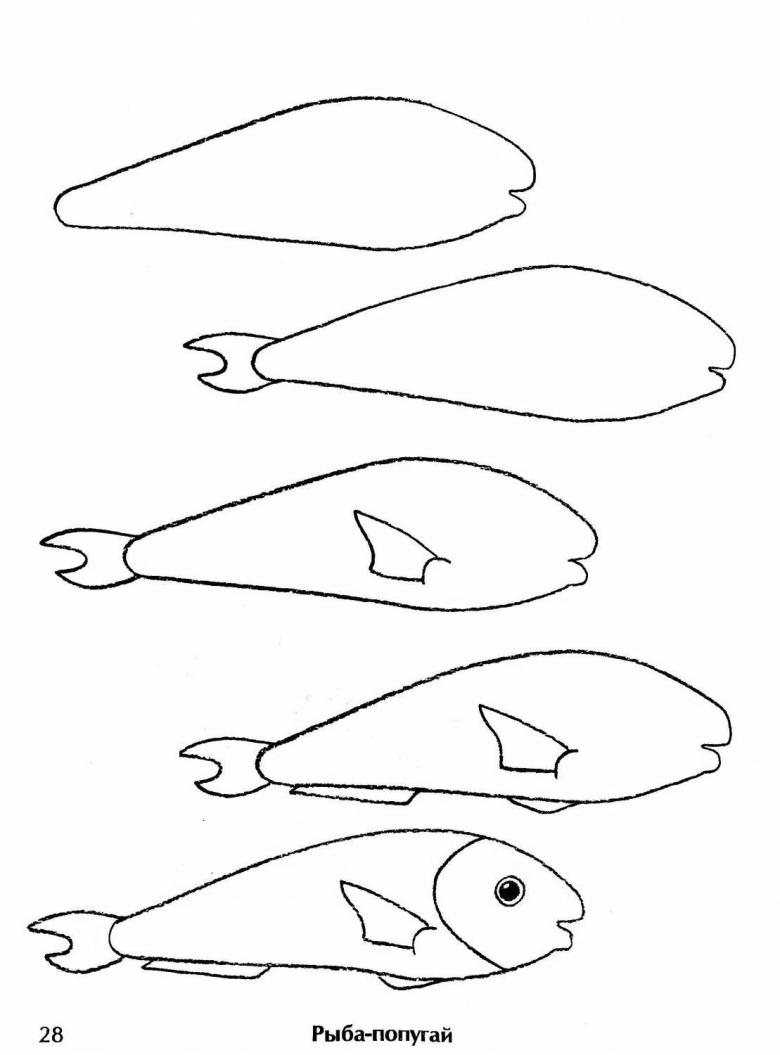
- The first step: take a sheet of white paper and draw an oval in the center, which should go down on the left side. The resulting figure should resemble a large chicken egg.
- The next step is derived outlines of the tail of this cartoon character. Here traced two vertical lines.
- Continue the work by separating the head from the torso, this is done in the same way as in the instructions for the first drawing.
- On the surface of the entire torso draw vertical stripes. They do not have to be straight, will do and slightly wavy forms.
- The bottom of the head like a drop takes fin. At the bottom of this element make a double line. Above wavy strokes denote dorsal fin. Complement its fluctuating stripes.
- Bottom of the head two lines semicircle draw a mouth, and above - circles indicate the eyes. Just as in the first drawing, add a few bubbles to the composition.
Add color to the resulting image with oil pastels.
- It is better to start with orange crayon. It fills in the entire drawing, except for the stripes. On top of the orange, red is applied in places.
- Black crayon is used to deduce the mouth and to strengthen the brightness of the stripes.
- To give volume, on black stripes it is necessary in some parts to pass a gray chalk.
- The eyes can be painted brown, and bubbles - blue with a blue border.
- Black or other crayons in darker colors shaded mouth and go through the stripes. For them to be discontinuous, in some parts we paint over them with gray.
- The eyes are drawn in brown, and for the bubbles take blue.
The work is ready! Now you can learn to draw an animal that lives in the depths of the sea. For example, it could be a whale or a minke whale.
A simple drawing of a pike
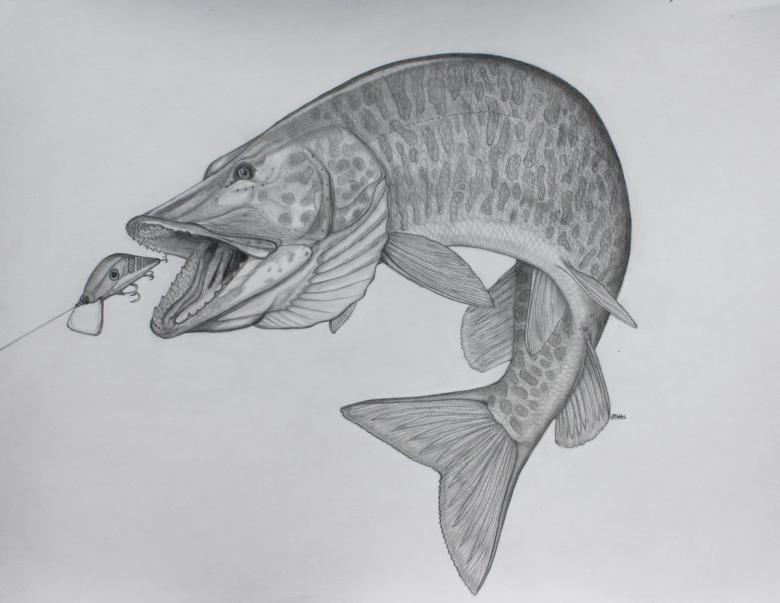
A pike is a very common fish in our area. She is a famous character from the fairy tale about Emelya, the famous fable writer Ivan Andreevich Krylov represents her in a harness with the Swan and the Crawfish. After acquiring the skills of the previous two exercises, it will be easier to draw a pike on paper.For this activity we will take colored pencils.
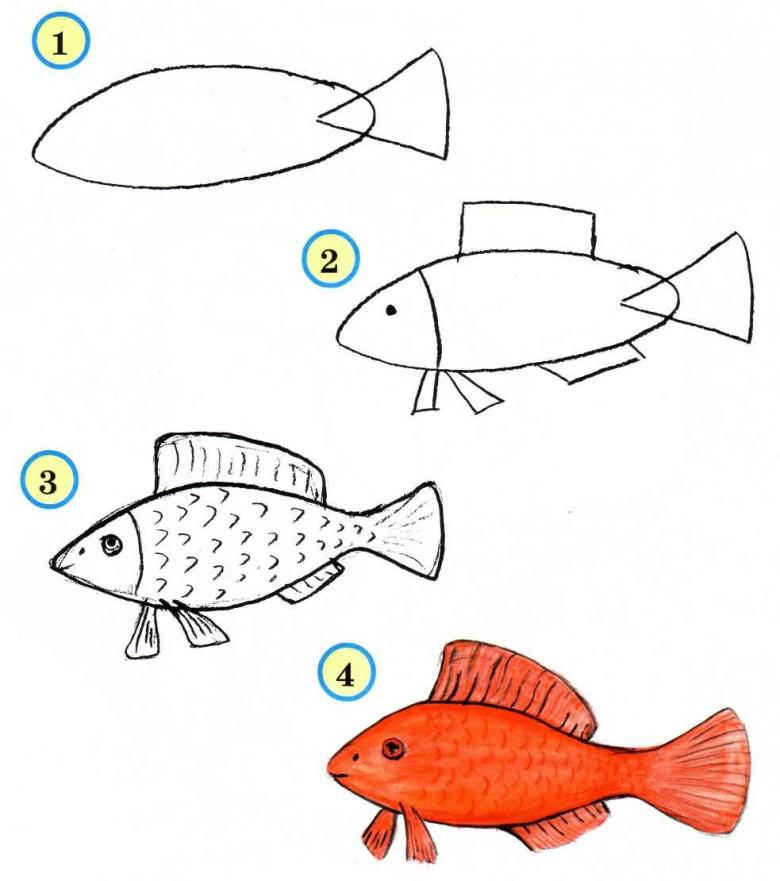
- In the middle of the sheet depict an oval, the left edge of which we make pointed. Underneath draw a second oval, the same as the first. The sharp edges of ovals should look up one, the second - down. And rounded edges - connected. Additional longitudinal lines creates volume. We have the mouth of a pike. Fill it with sharp teeth in the form of triangles.
- From the upper edge of the sketch is deduced torso. Above is drawn arc larger, below - smaller. They are located parallel to each other and converge at the tail. At the point of convergence is depicted puffy tail. In the form of petals show fins. With partial shading of fins and tail, shadows are shown.
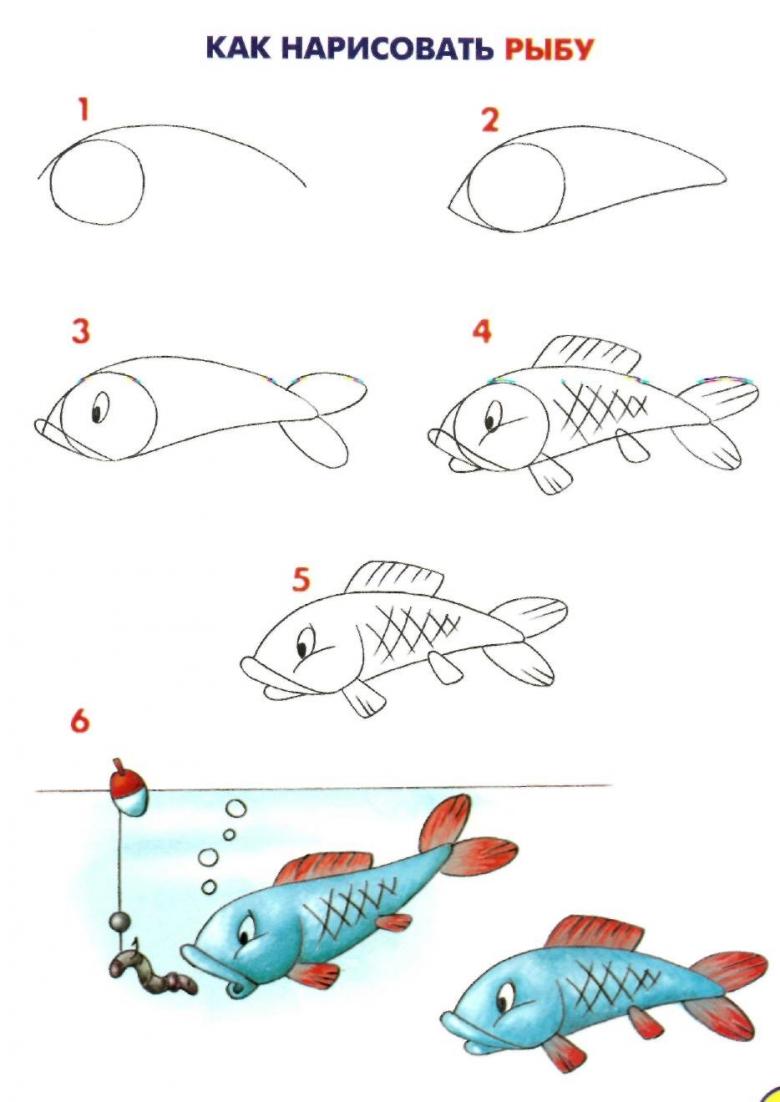
- In the area of the pike's mouth, a thin line is drawn with a hook and a worm strung on it. This is the bait that the predator is chasing.
- The background draw long algae in the form of wavy vertical lines.
- Pike - a spotted fish. So its whole body is covered with yellow spots, the upper part of the paint dark green, and head and abdomen gray. For the fins will do pink or red pencil. The final step: Use a green pencil to color the seaweed and a blue pencil to show the water around the picture.
The drawing is ready!

