How to draw a rowan tree in a pencil step by step - easy master-classes for beginners
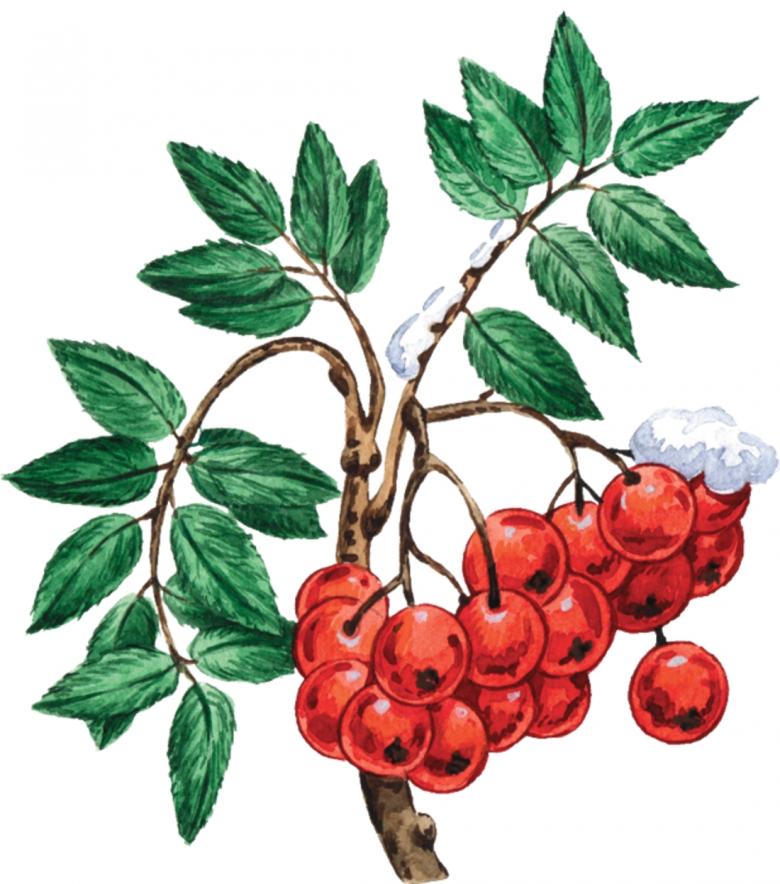
The rowan is a relatively short tree, which has gained its popularity in many areas of human activity. There are about 100 varieties of this berry. It has an amazing frost resistance, so it has no problem enduring the winter period of the year.
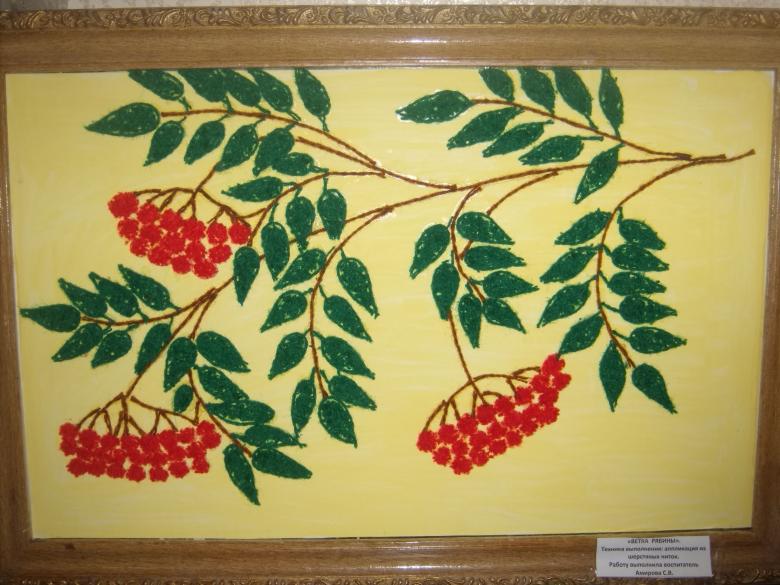
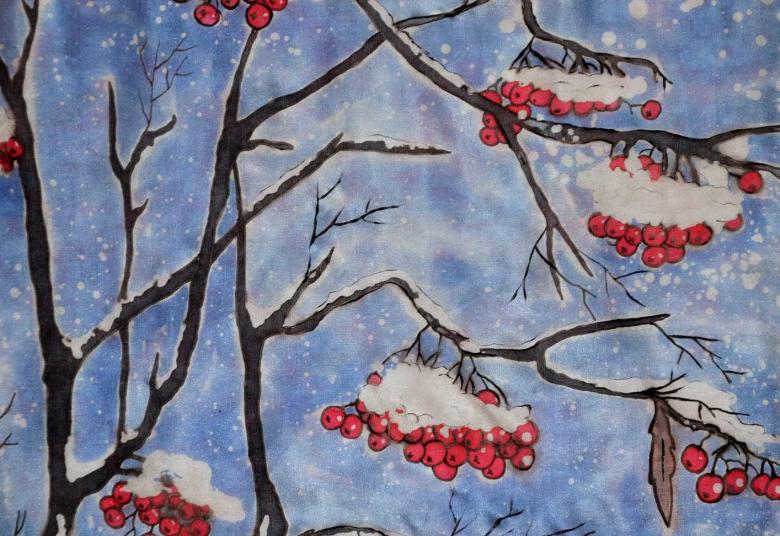
Many writers have been so enamored with the beauty of this plant that they have devoted many songs and poems to it. And the covers of magazines and newspapers are full of pictures of berries in the snow. Also people have long begun to use it in medicine. It has a number of useful properties: it relieves headaches, is a diuretic, choleretic, laxative and styptic medicine.
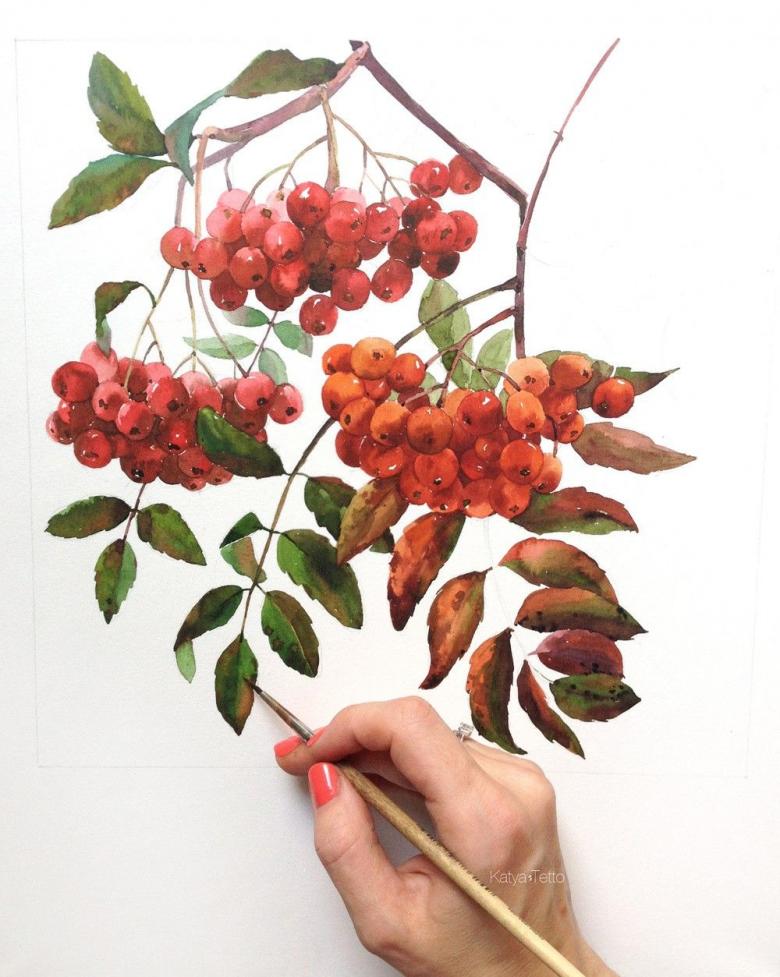
In cooking, the plant is also widespread. Its unusual flavor adds spice to dishes.In this article, we will look at several master classes on fine art.
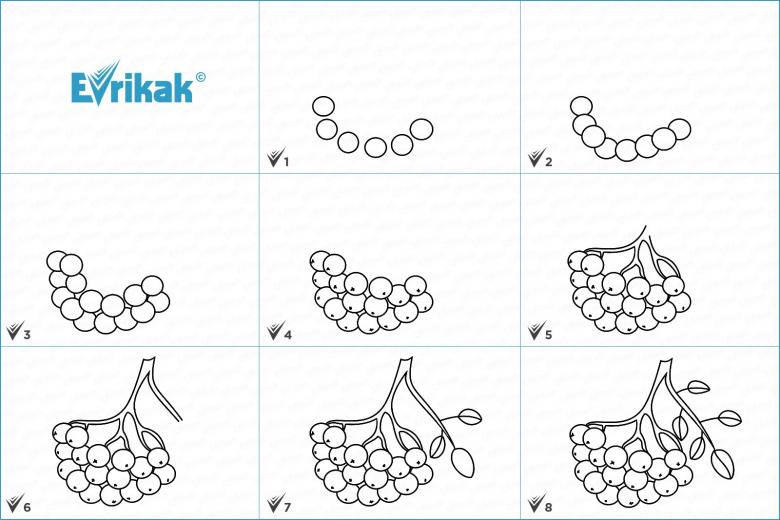
A simple pencil lesson
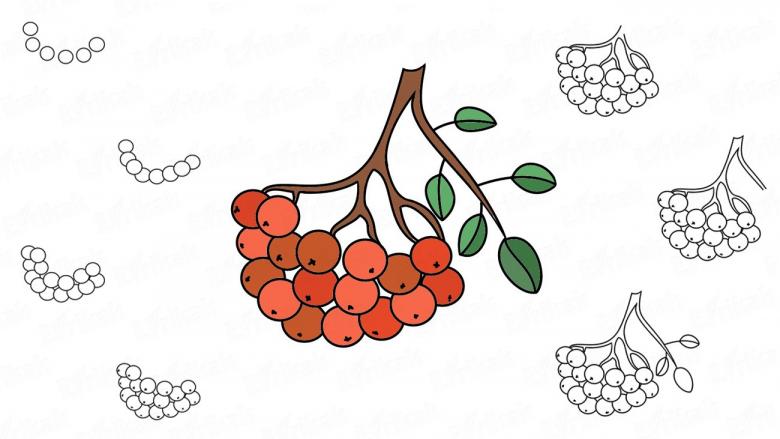
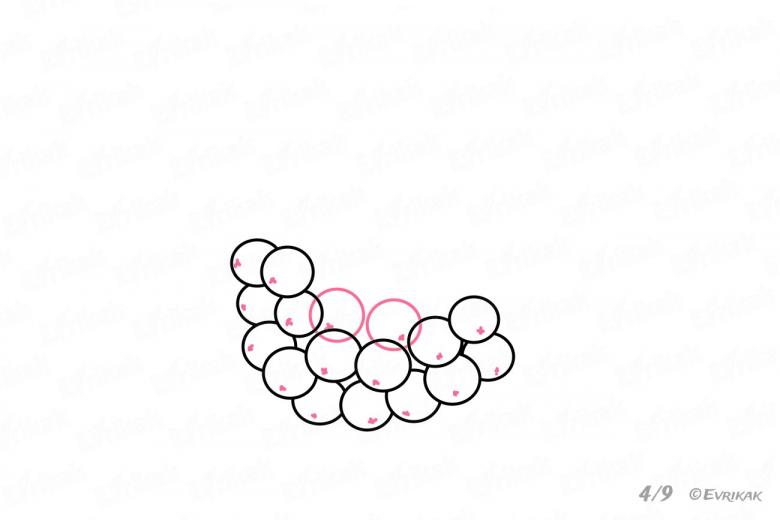
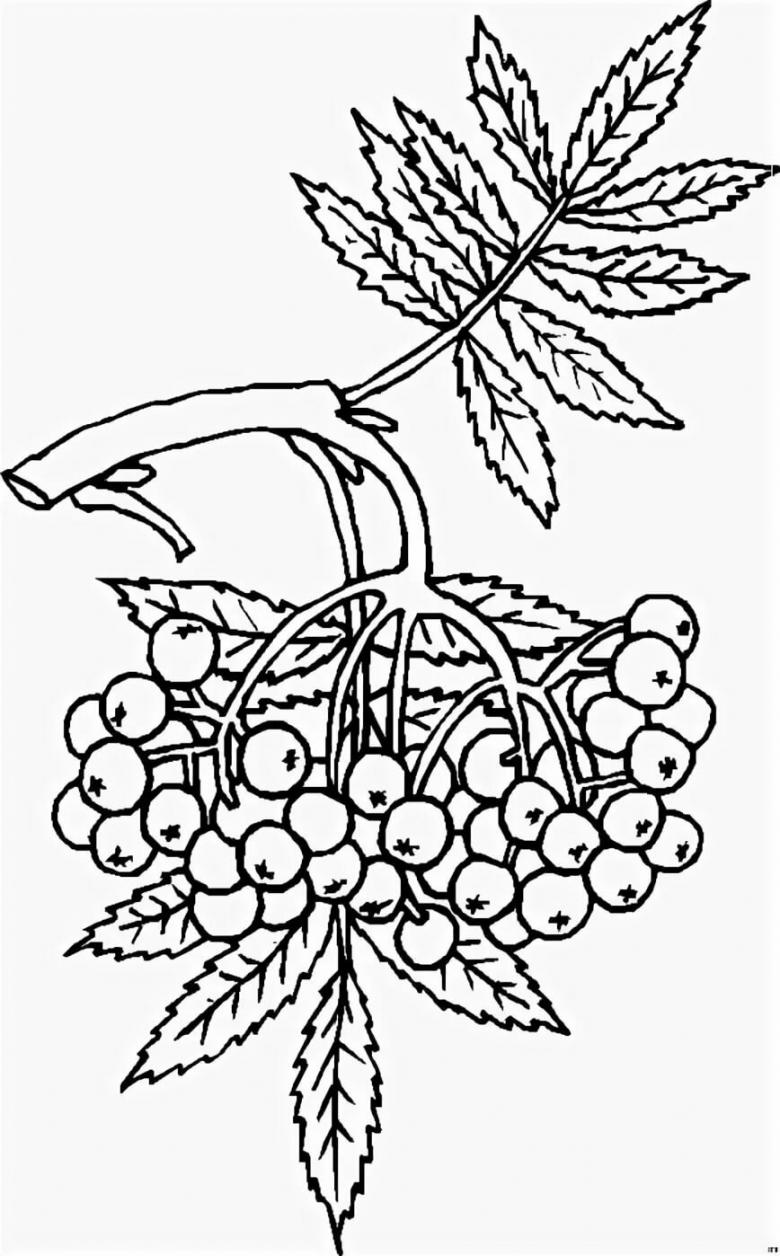
- Take a scrapbook page. Just below the center, start drawing six equally sized circles. We do this task on a curved line. Try to make sure that the last ball is at the same level as the second. In order to facilitate the performance of this master class, you can cut a circle out of cardboard in advance. And in the future just trace it. Then the berries in the future illustration will turn out even and similar to each other.
- On the branch the fruit grows in several rows, so we begin to deduce the next layer. This time we draw the figures between the already existing ones. It is necessary to go slightly beyond the boundaries of the previous sketch.
- After create another row, already seven elements. In some places connect them to the bottom.
- Finish the last two circles. And now the bunch is almost ready. It remains to complement it with small crosses, thereby indicating the tops of the berries.
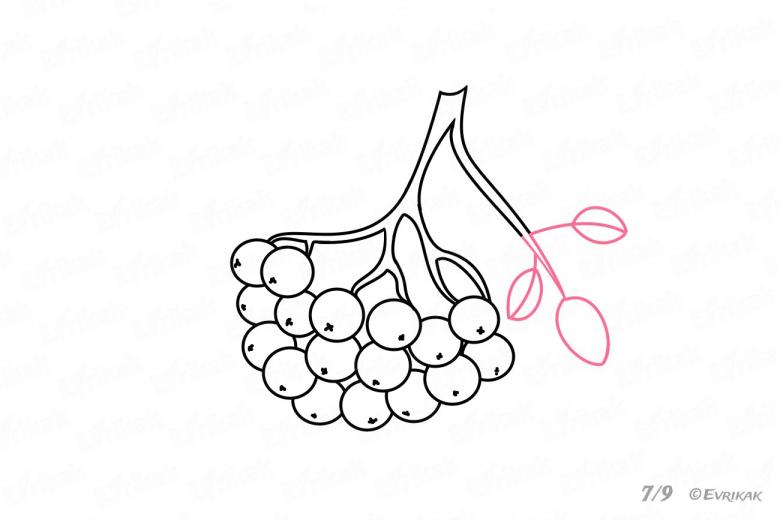
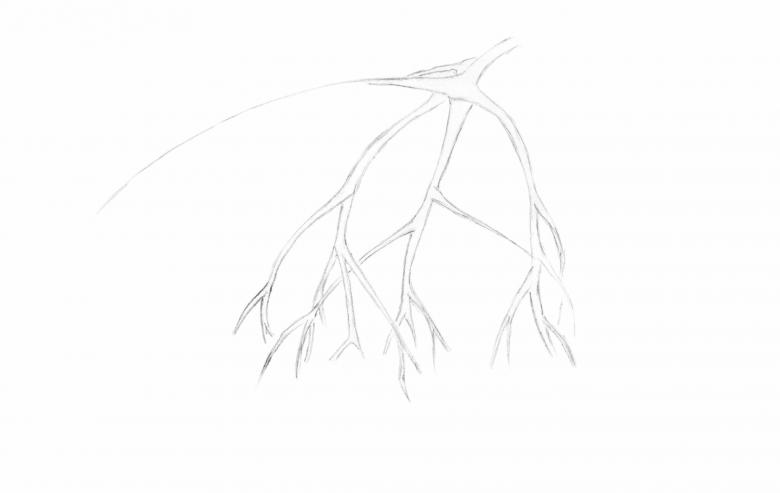
- Proceed to the depiction of the branch. Start with her three branches, which in turn diverge into two more. Use curved lines.
- Next, outline its main part. The top of this fragment should be the widest compared to the other sticks.
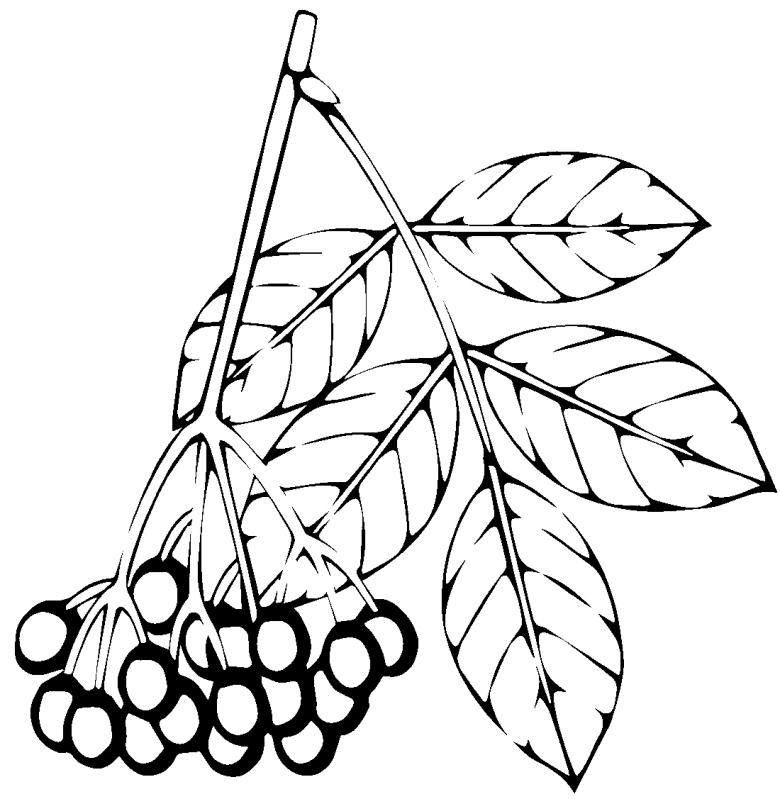
- And, at the end of the lesson, bring out the small leaves. First three.
- Then, a little higher, a couple more. Detail them with the image of the veins.
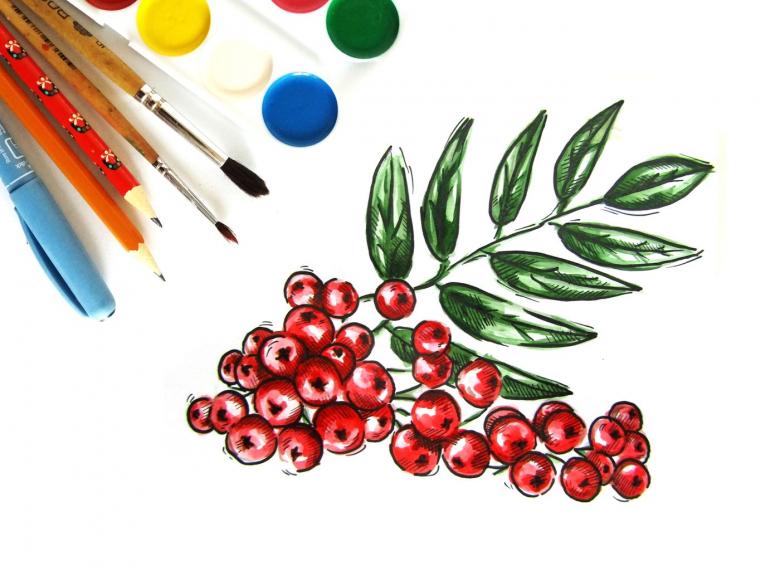
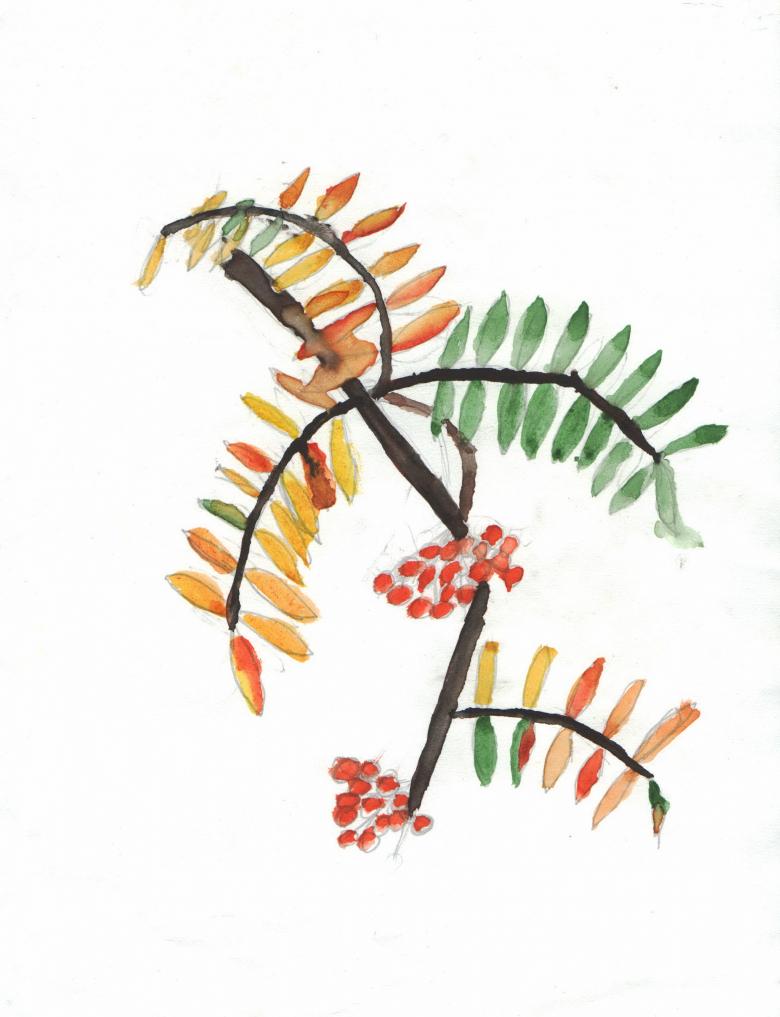
- Coloring drawing using pencils or felt-tip pens.
The following lesson is also quite simple and any child could easily cope with it.
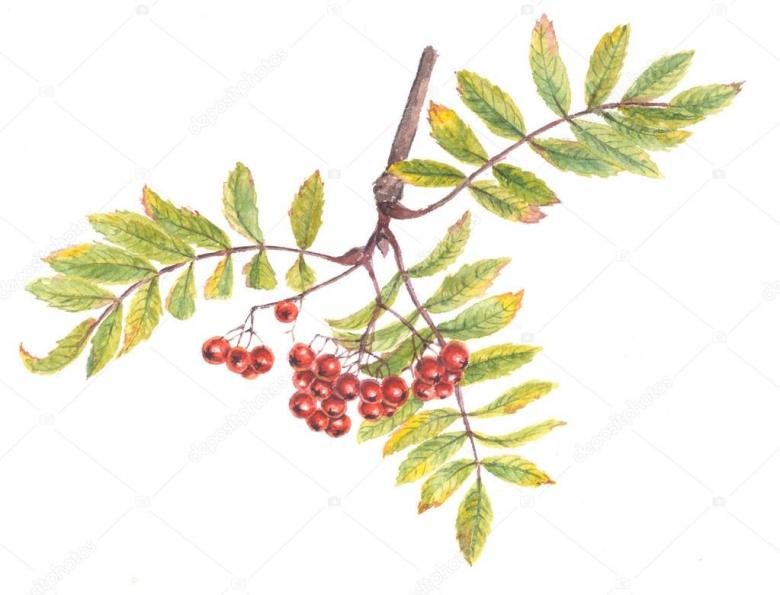
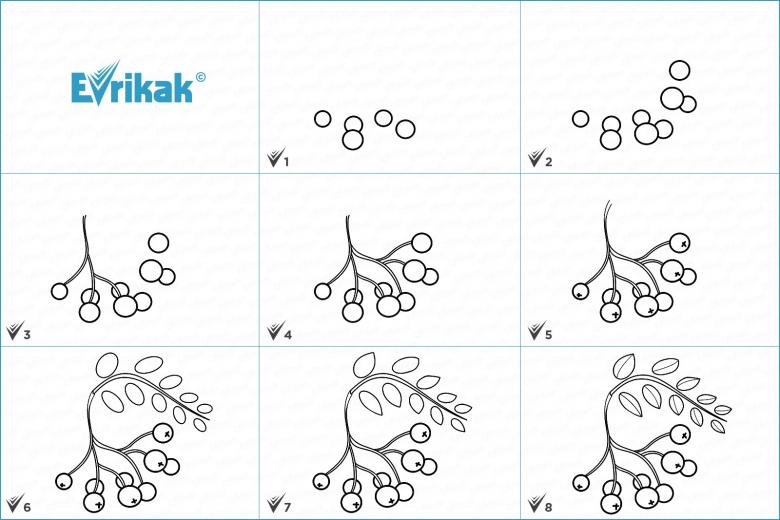
Drawing a rowan tree in 15 minutes
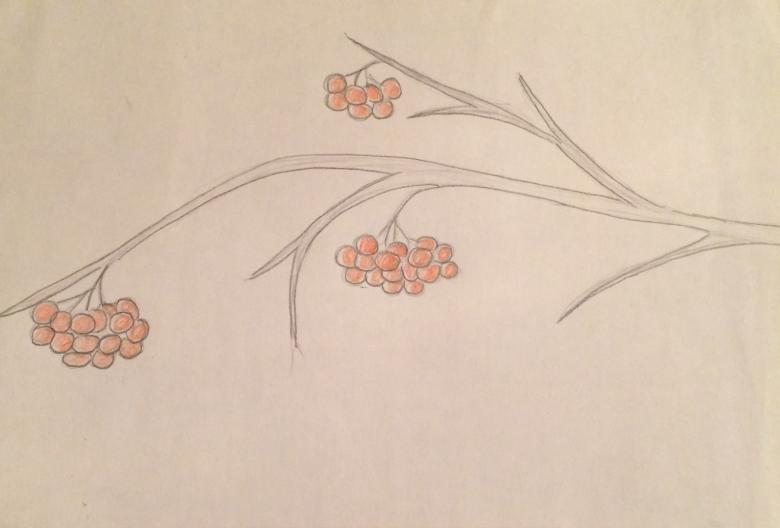
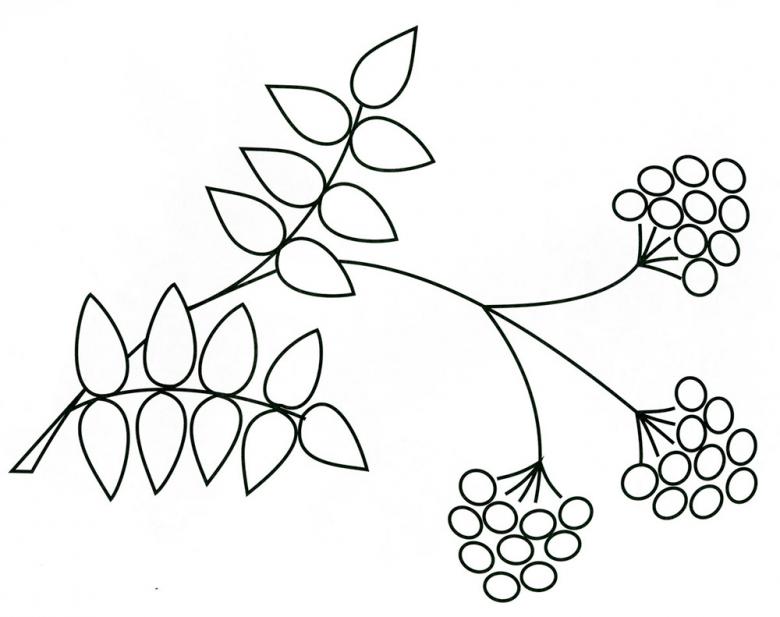
- From bottom to top horizontally make a curved line. It will be the main part of the picture.
- In relation to it on one side and on the other depict the leaves. Place them parallel to each other and in ascending order. At the end of the main segment is not a paired leaf.
- Next steps deduce the berries.
- Draw them on top of the outermost elements of the sketch. To make them as round as possible, use a compass.
- Erase any extra lines. This will bring the bunch to the forefront.
- Using red and green colors, color the picture. Leave white dots in some places.
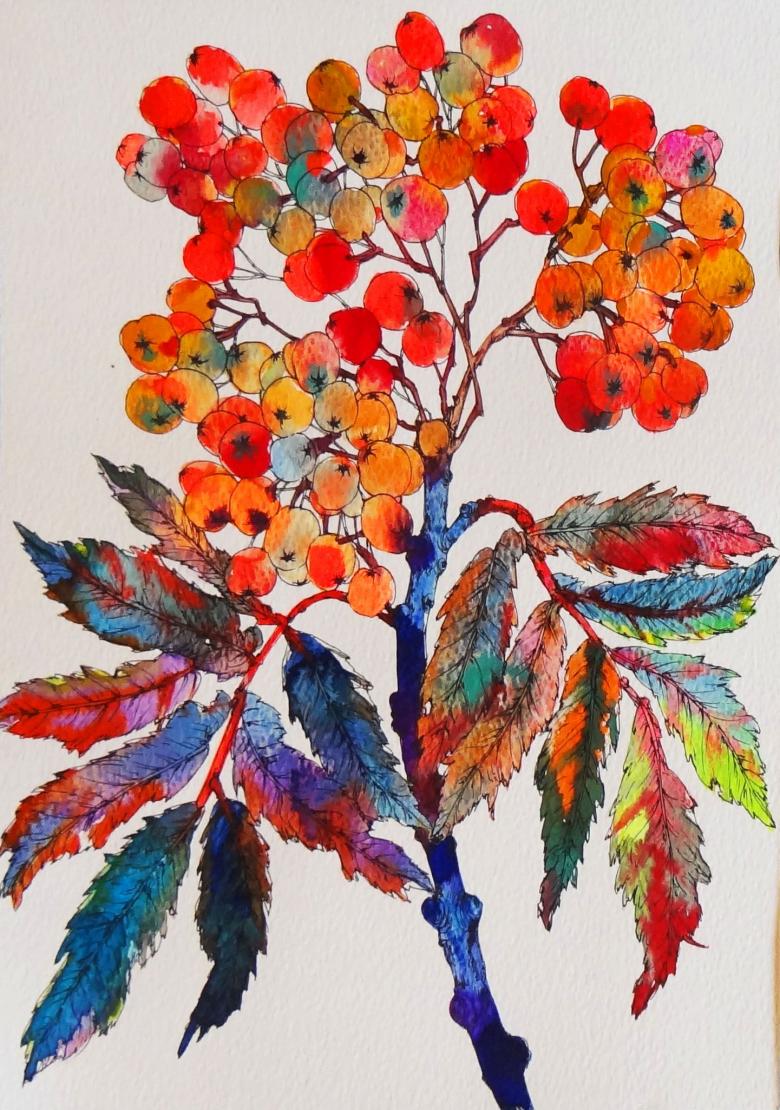
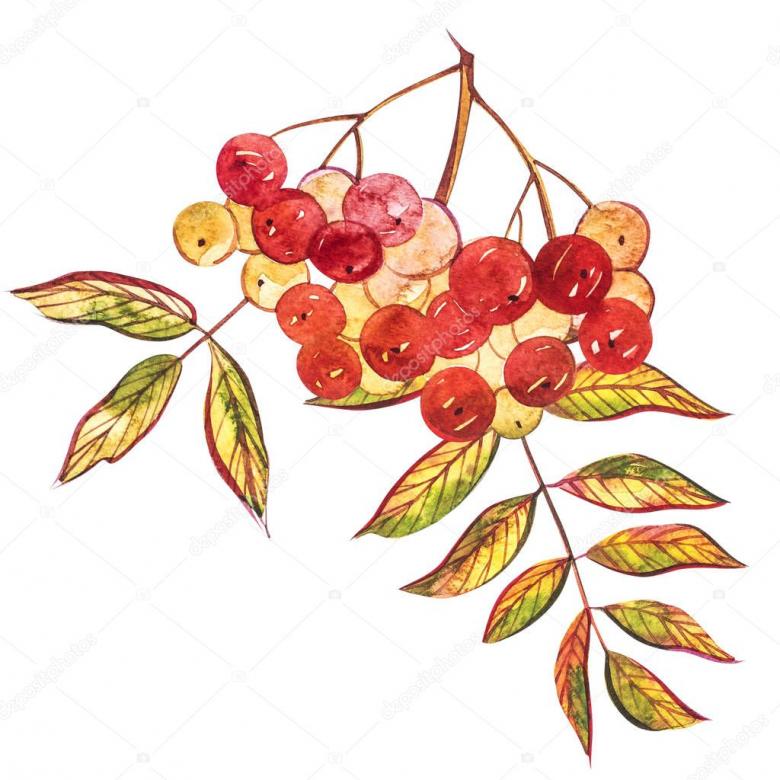
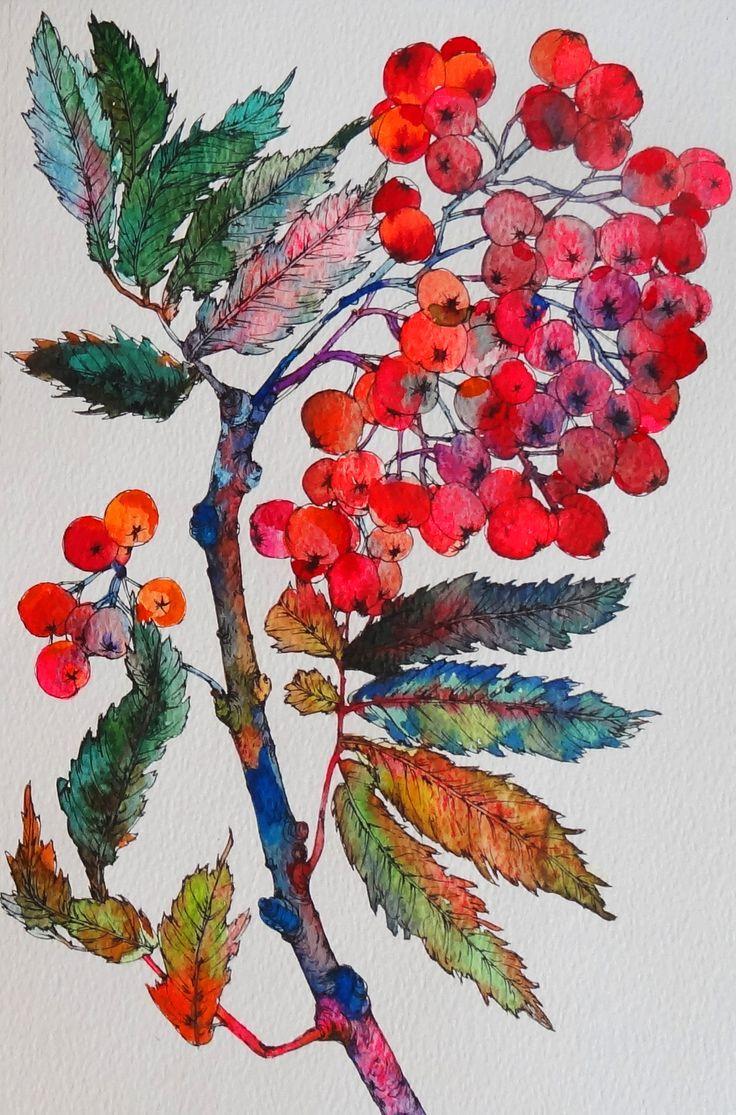
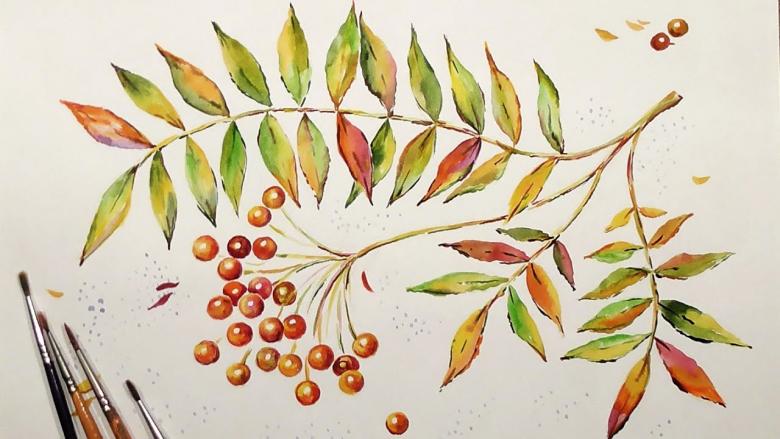
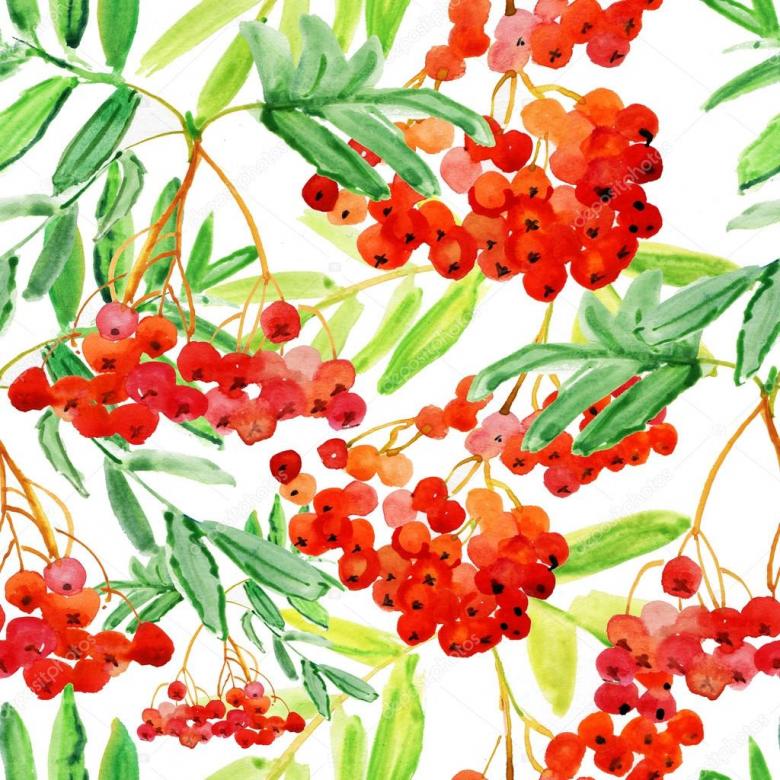
Painting from the cover of a magazine.
This master class is the most difficult of those presented in this article and will require a lot of effort. Without any doubt, you will be able to cope with it.
- Just above the center of the paper, draw a small sketch that looks like a rectangle. The sides and corners do not have to be flat, and the lines can not be connected to each other. Then from one of the edges we make three segments in different directions: up, down and to the right. To the last we finish drawing the oval-shaped element.
- The next step is to draw four circles. Denote the top of the fruit with a cross.
- In the background draw a few more.
- Add a couple of berries and branches on top, and on the right throw a modest bunch of rowanberries. Note that we make the circles much smaller than the first.
- Remove unnecessary lines sketch in the form of an oval with an eraser. It will no longer be useful.
- Now picture a small bunch at the top left, following the recommendations given earlier. Finish operating fragment, daughters of the three details. Thanks to them, the fruit will be connected to the branch. Draw one of their edges more narrowed than the other.
- Proceed to the main branch. At one end, draw a wavy line, which will smoothly turn into a straight line. Then derive the element in the form of a drop. And also depict a small leaf.
- At this stage, take on the images of leaves. The lower section is transformed by slightly bending it. Cover the leaves. Make them different in shape and size, but opposite each other.
- Remove unnecessary lines and take up the design of the next line. Here it is worth carefully sketch the upper leaves, which are sort of bent.
- Now adjust them. Create jagged edges, so they were like natural.
- We represent the veins on the leaves, using a dark pencil. Gently darken the entire picture.
- We paint the picture. In this master class, paints and gouache are good for this task.
Learning to paint is not so difficult. The main thing is to devote time to this activity and have a great desire. If you show a little imagination, you can depict the rowan tree not only as a separate element, but also combine it with others.


