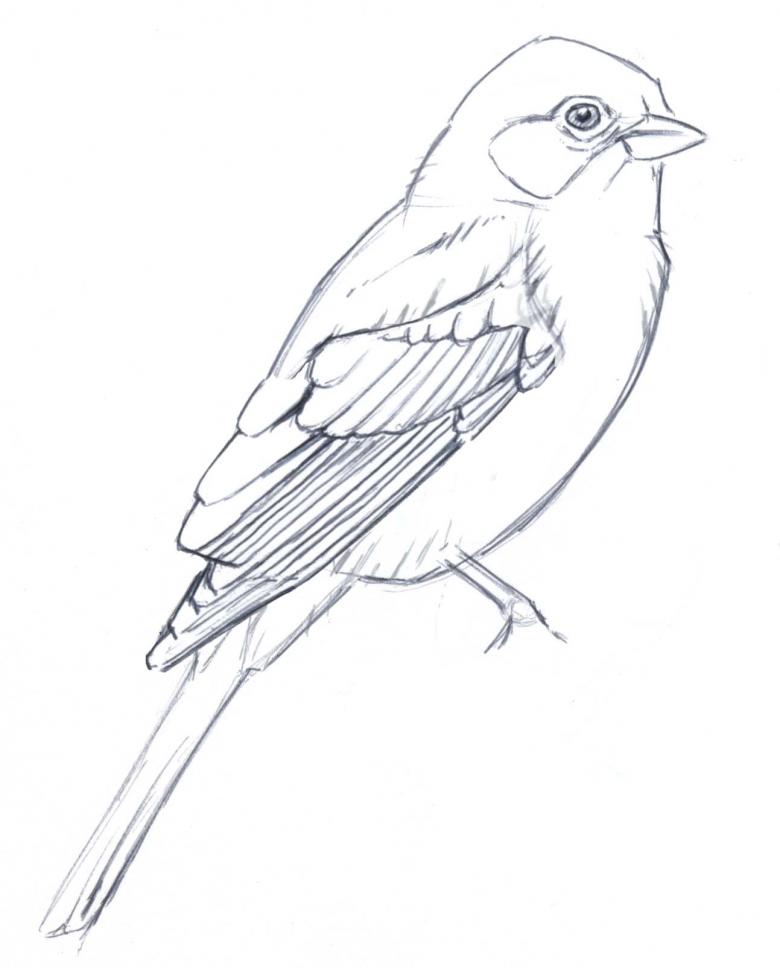
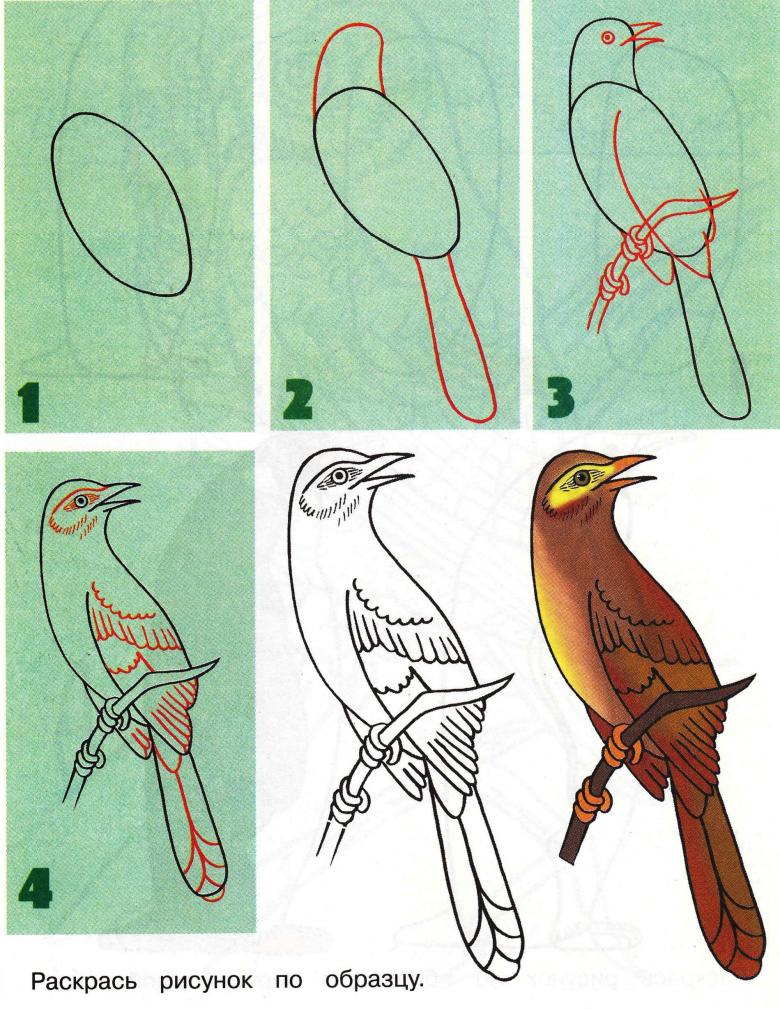
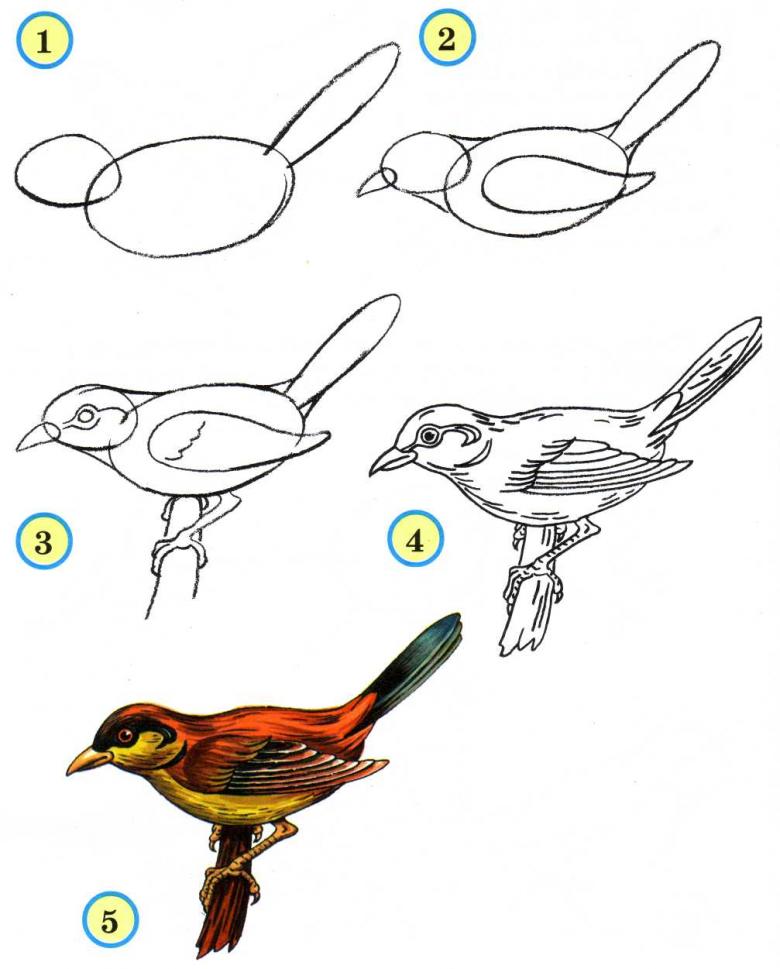
How to draw a bird in a pencil step by step - easy master classes for beginners
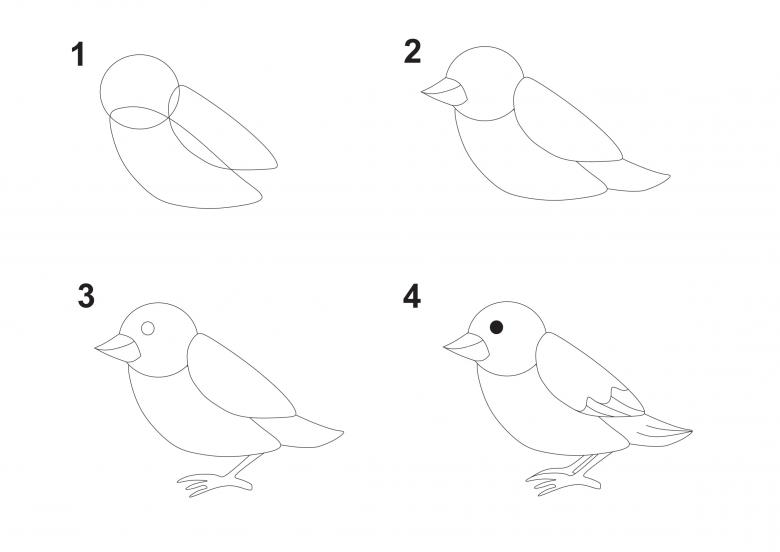
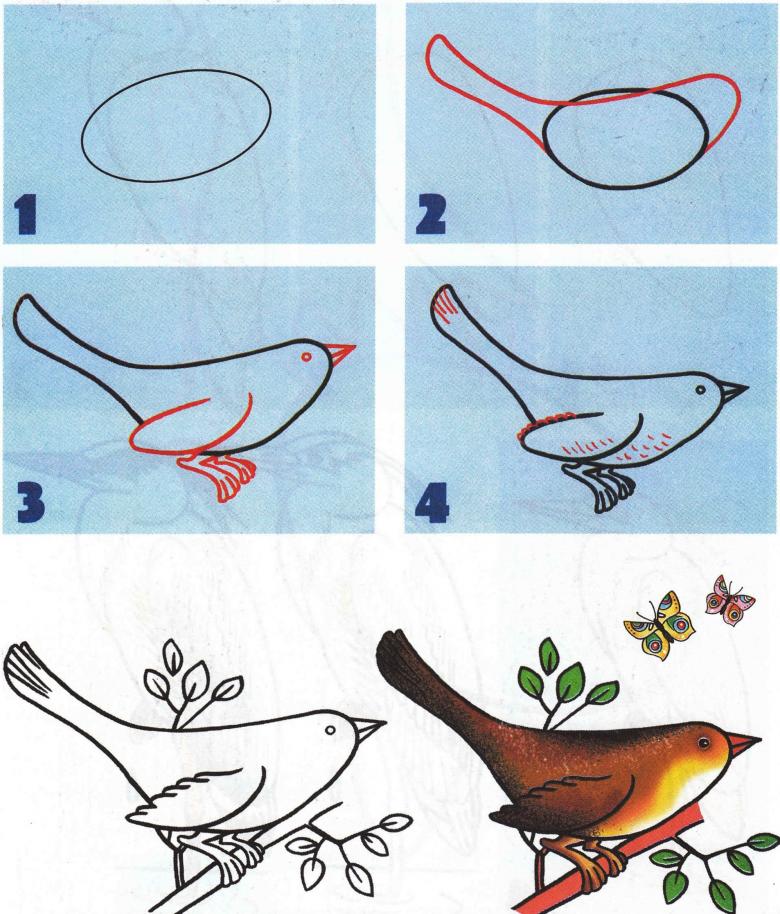
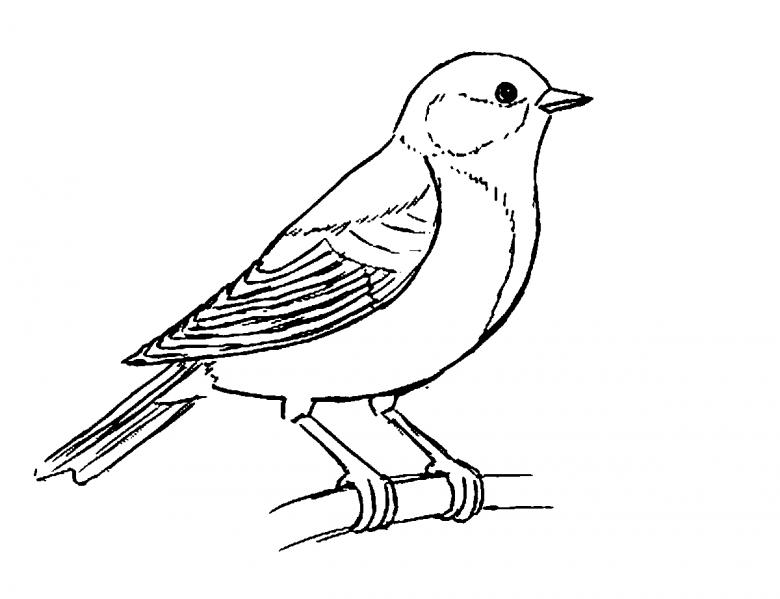
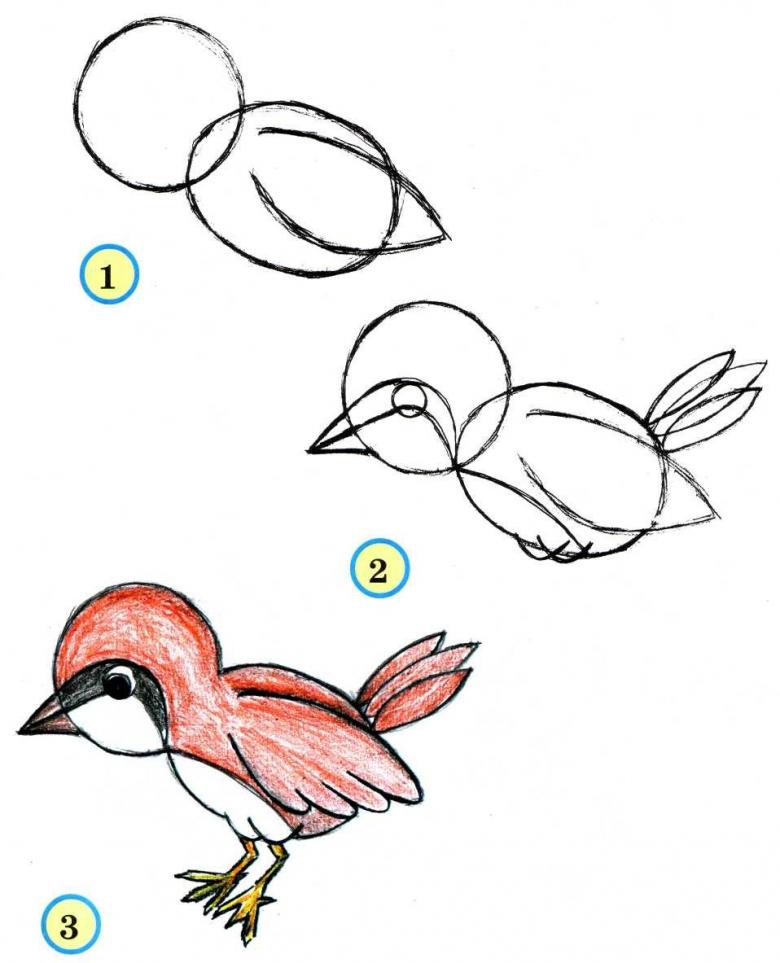
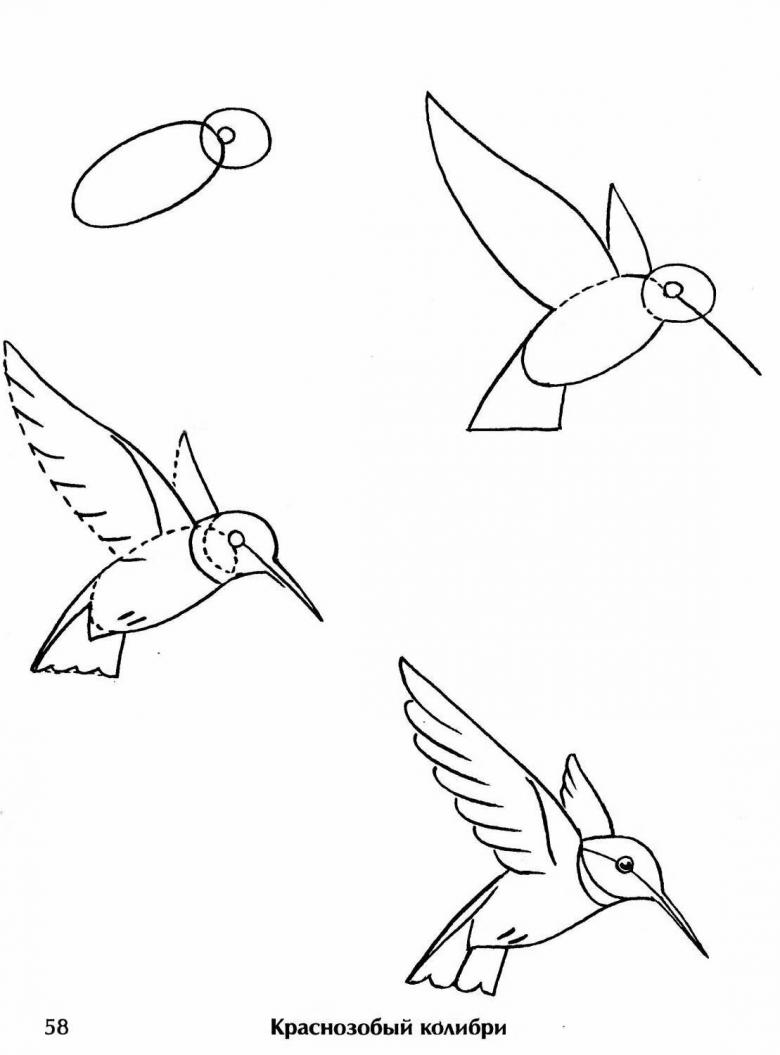
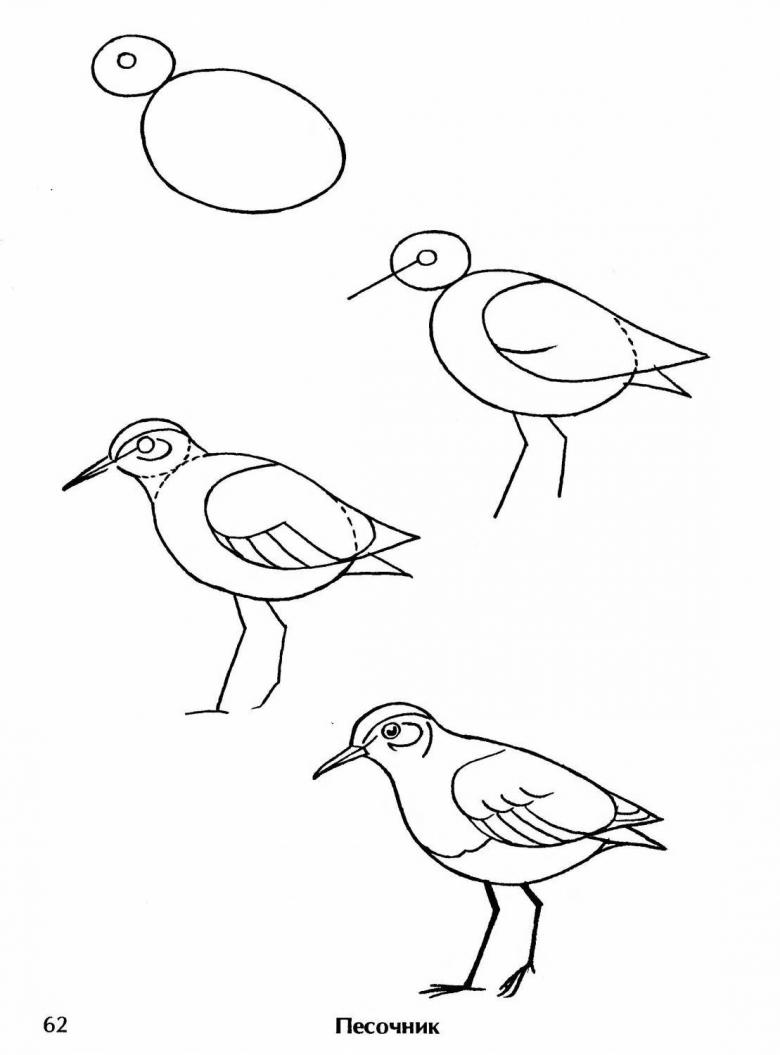
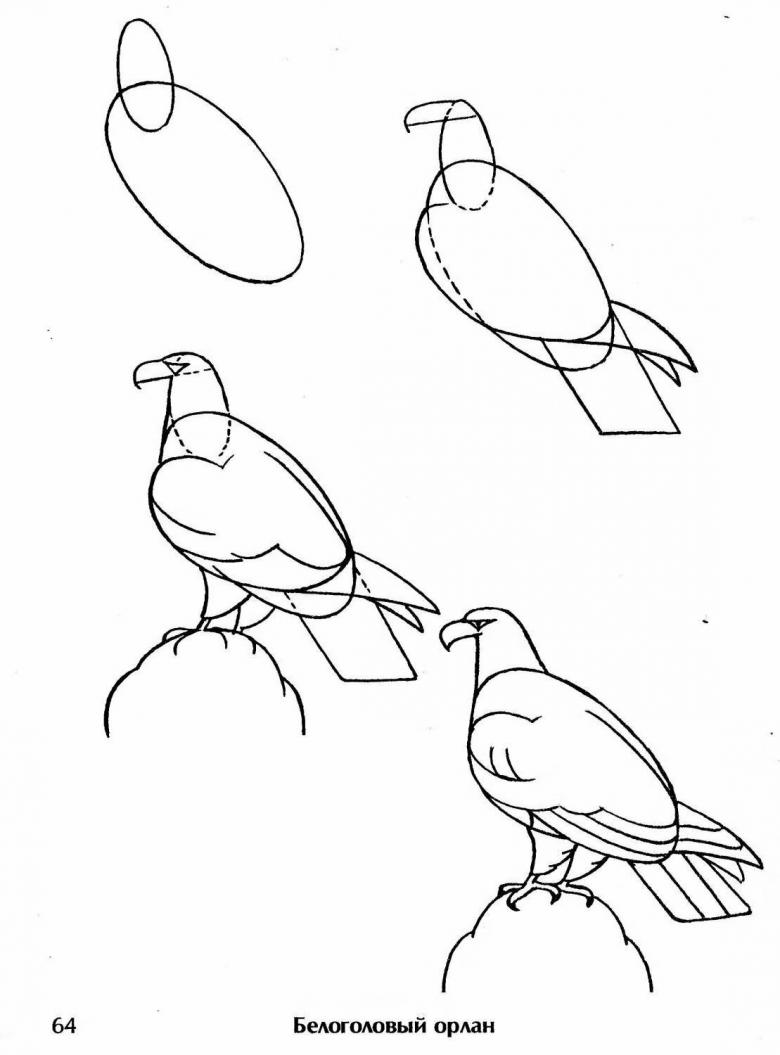
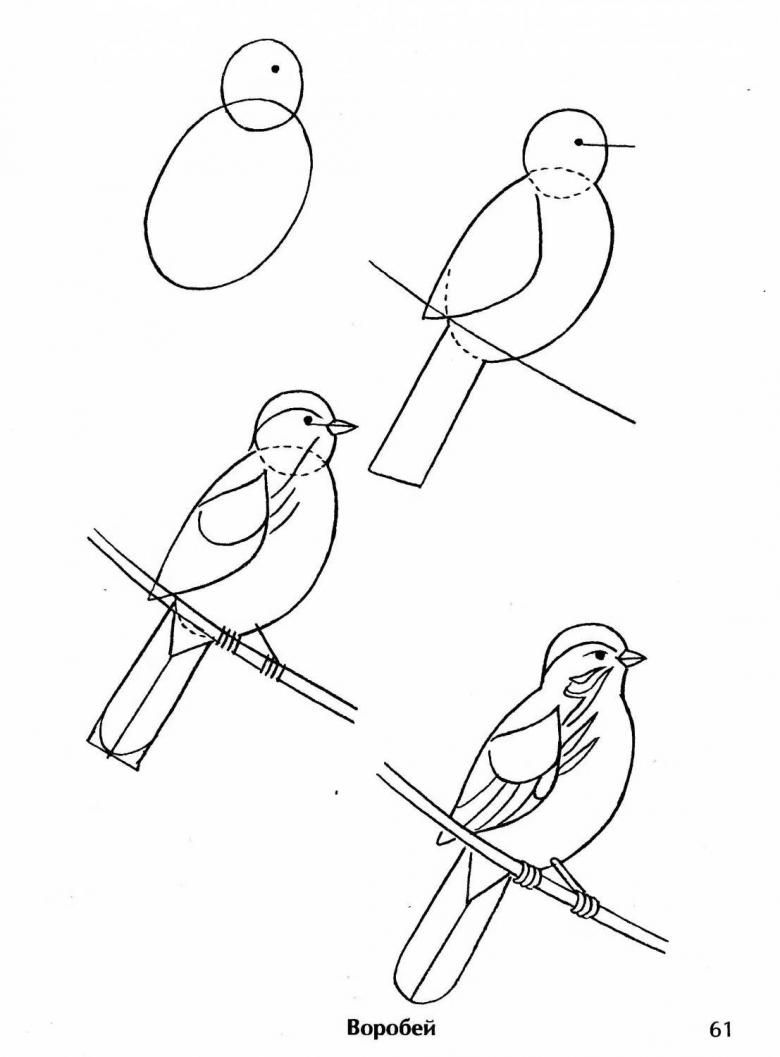
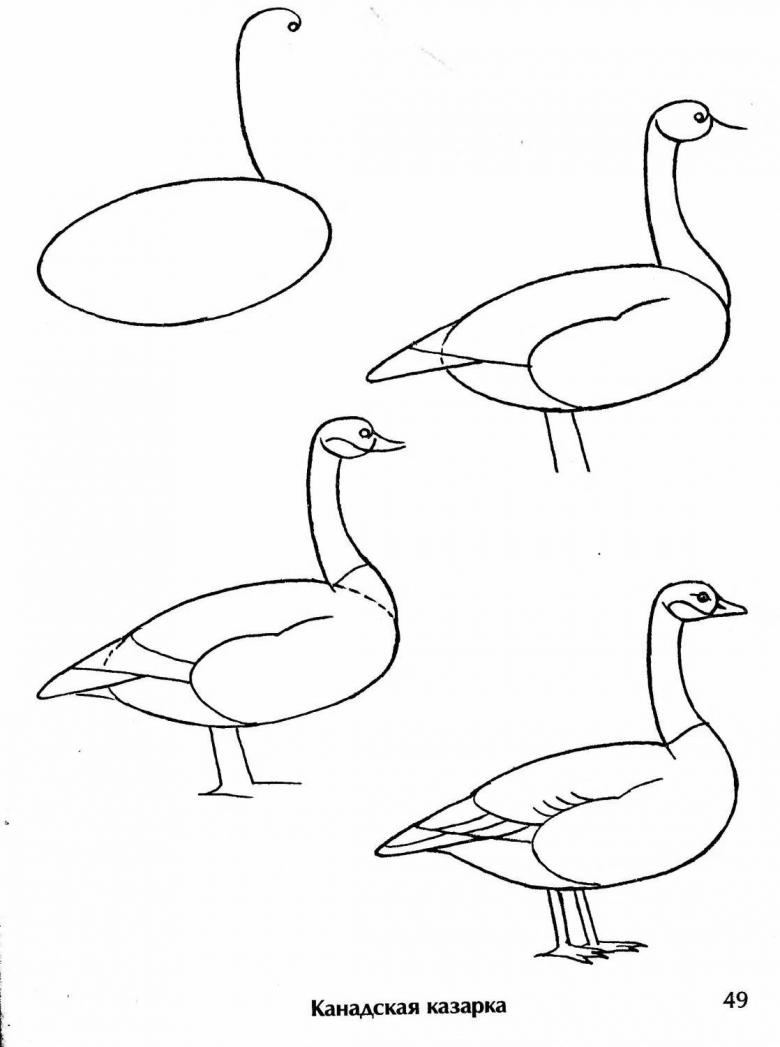
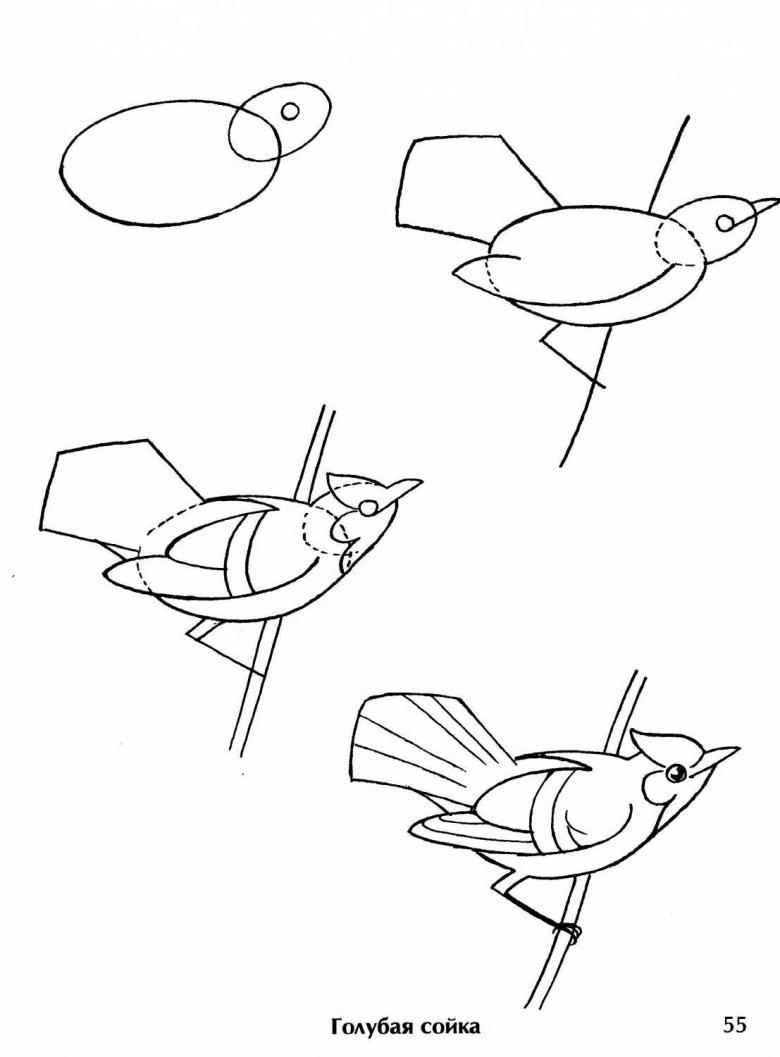
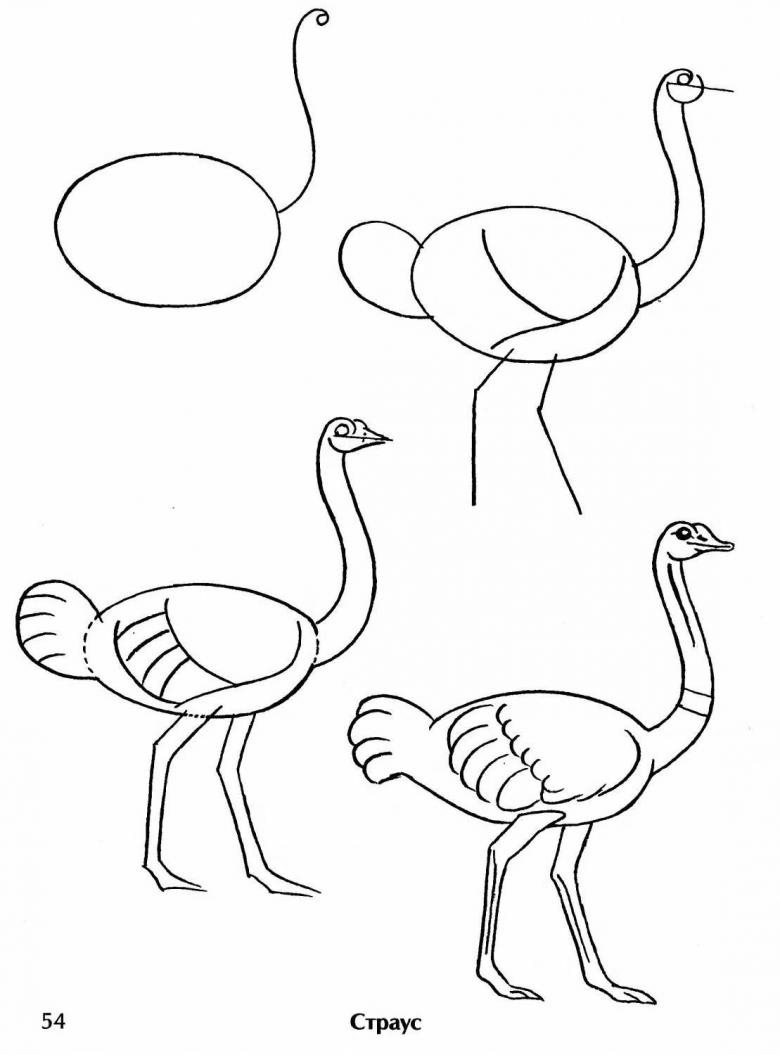
Drawings of different birds and animals are very fond of children, and, of course, they tend to repeat them. Learning step by step, to depict birds, the work is not easy. The child must learn the techniques and basic rules of work, to master the manner of drawing, to help parents to teach children this article. It deals with detailed steps for depicting the feathered family in different angles.
Step by step drawing of a bird in pencil
Starting to work on the drawing you need to prepare inventory:
- A-4 sheets.
- A sheet of A-4 pencils and colored pencils.
- eraser.
- A picture of the bird to be depicted.
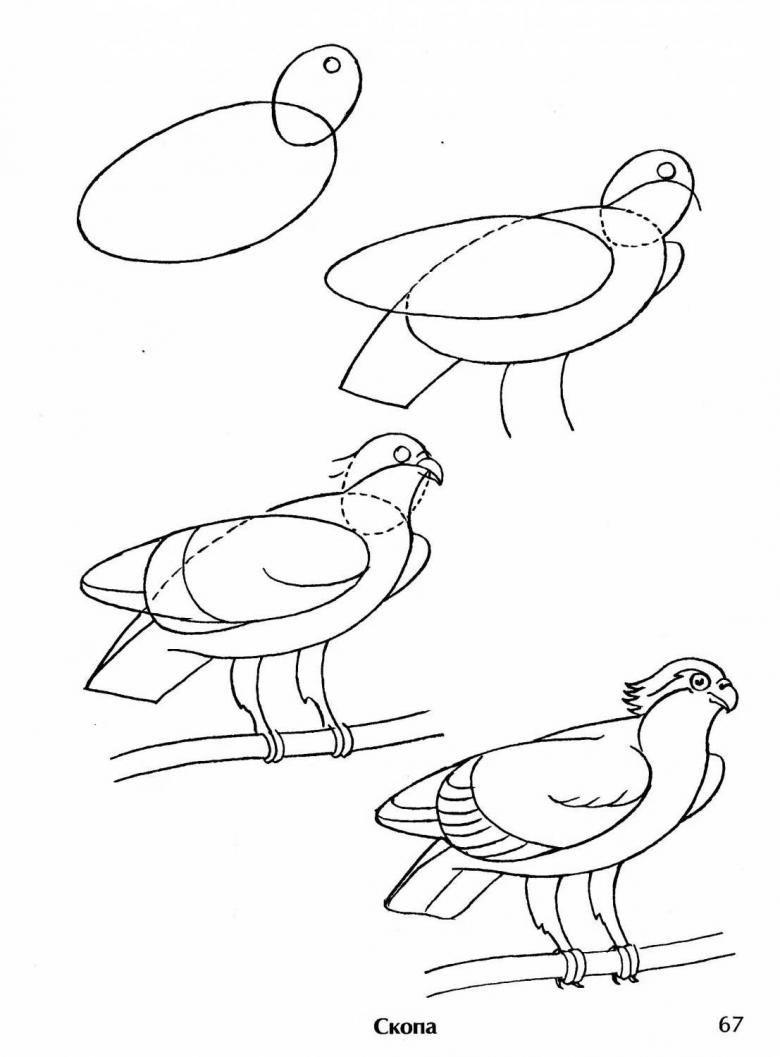
The next step-by-step lesson includes a careful study of each individual part of the bird and its step-by-step performance.
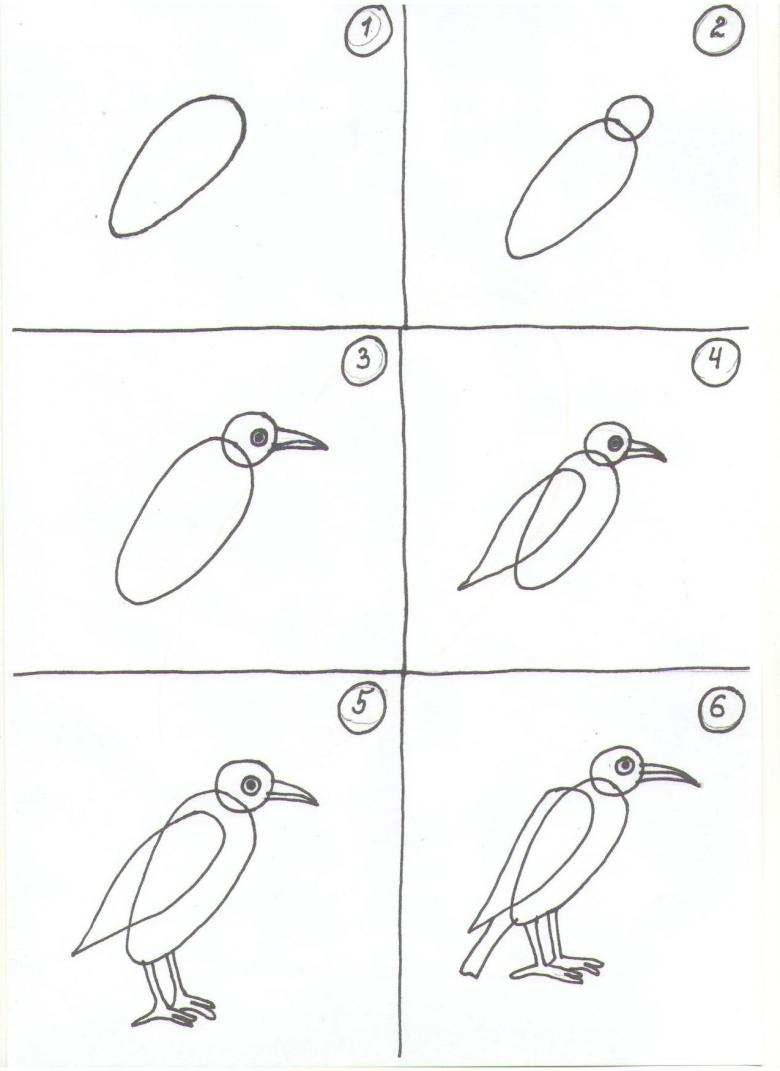
It starts with the study of the anatomical structure, knowing how the body of the bird is arranged, it will be easier to depict it on paper. As for the skeleton of a feathered bird, it is important to know:
- Studying the structure of the skeleton, the general silhouette, comparing it to its human and animal counterparts, and separating the similarities and differences.
- The spine, connecting the wings, thorax, and hips, makes them work simultaneously, thereby enabling birds to fly. This gives an understanding of how all of the parts mentioned above connect to each other while drawing.
- An easy pose can now be depicted, as there is an understanding of what comes out of what, and what gives in the remainder.
- With a good imagination, one can imagine the process of one's flight. How the legs are positioned, how the arms grab the air.
- For a complete understanding of the length and size of the cases of different representatives, it is additionally necessary to check the length of legs and neck and the percentage ratio of feathers. So the drawing will be more realistic.
- The work of muscles in the simplified image, as well will expand the outlook and understanding of the subject.
- Creating a silhouette, we must take into account that still will add feathers, they will help complete the image.
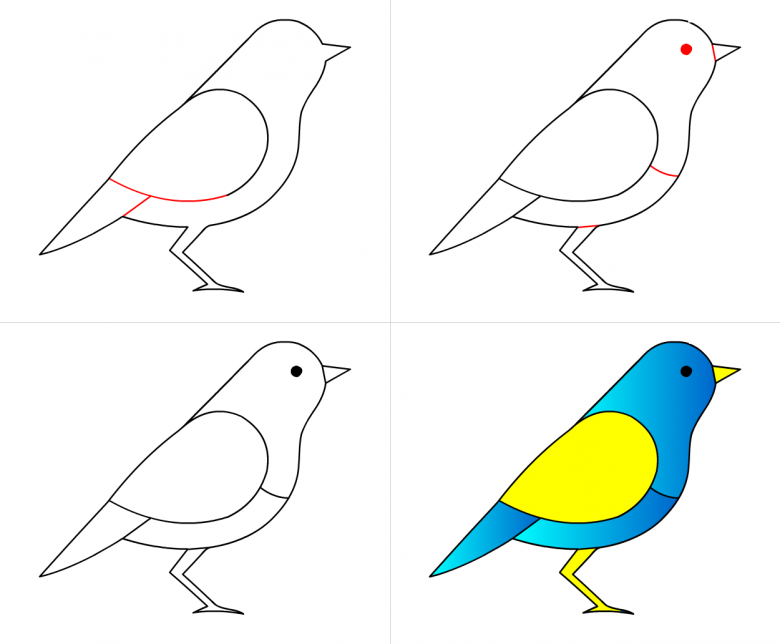
We move on to the next stage of drawing the bird's feet. The structure of the foot of birds is formed under the influence of lifestyle and habitat:
- Predators forage for food with sharp, hook-shaped, thick and strong claws. The middle toe and the hind toe interlock to form a grip.
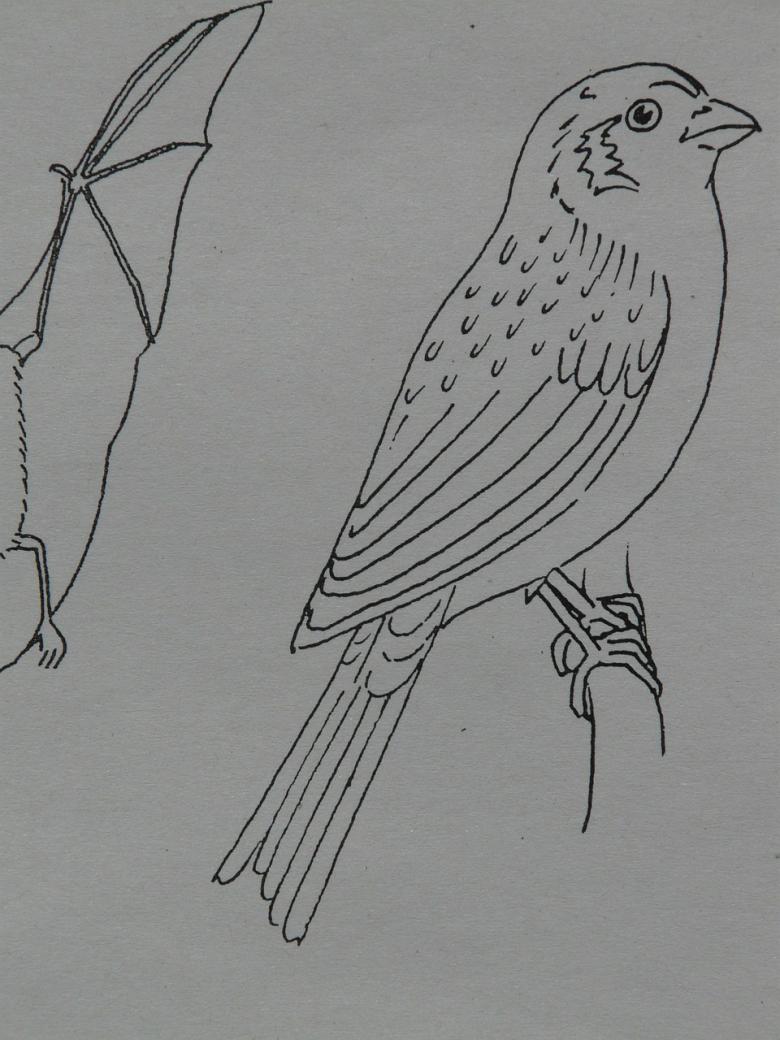
- In small birds, the feet are formed for sitting, they have a long and thin structure, thin and sharp claws, adapted for grasping branches.
- In those that live near ponds and forage in them: the structure of the toes is long, thin delicate. Short, not sharp claw. Membranous connection between fingers.
- Runners, on the other hand, have: thick, strong toes, short, rounded, thick claw structure, reminiscent of nails.
- Woodpeckers' feet are adapted to climb trees, for this reason, they have symmetrical front and back long and thin toes, sharp, strong claws for clawing.
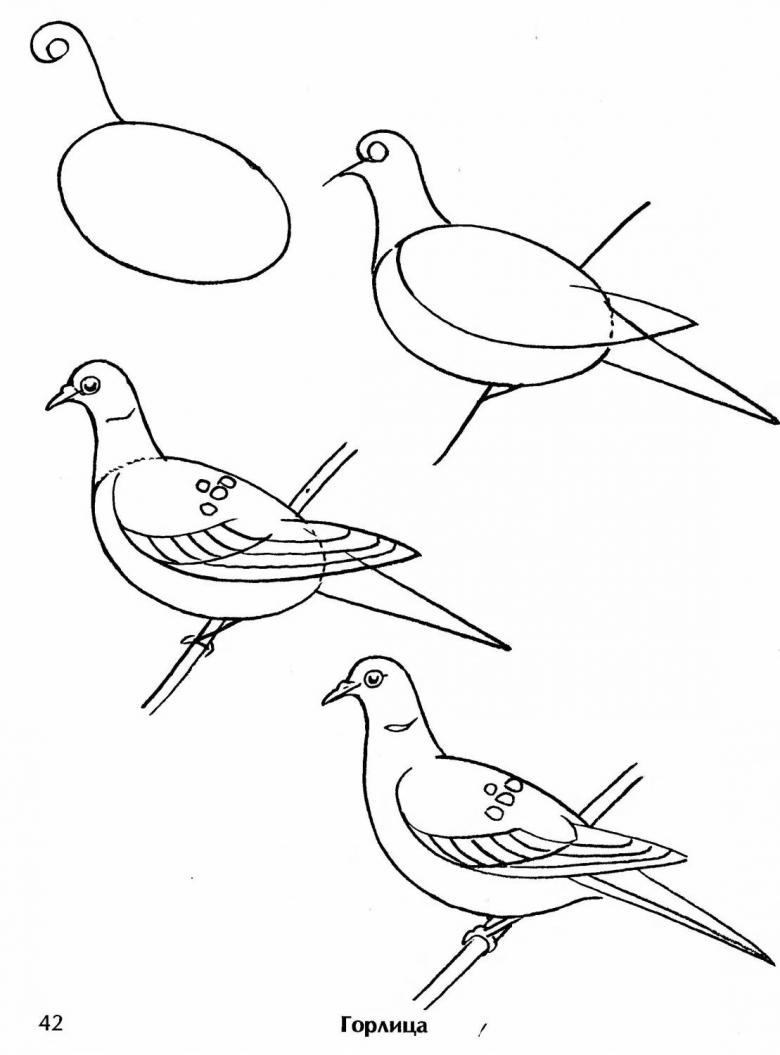
The legs of birds are covered with scales, the larger the representative, the more voluminous are the legs.The body and legs we have disassembled, move on to the beaks. They are not attached to the cranium, and the structure is related to the race of feeding.
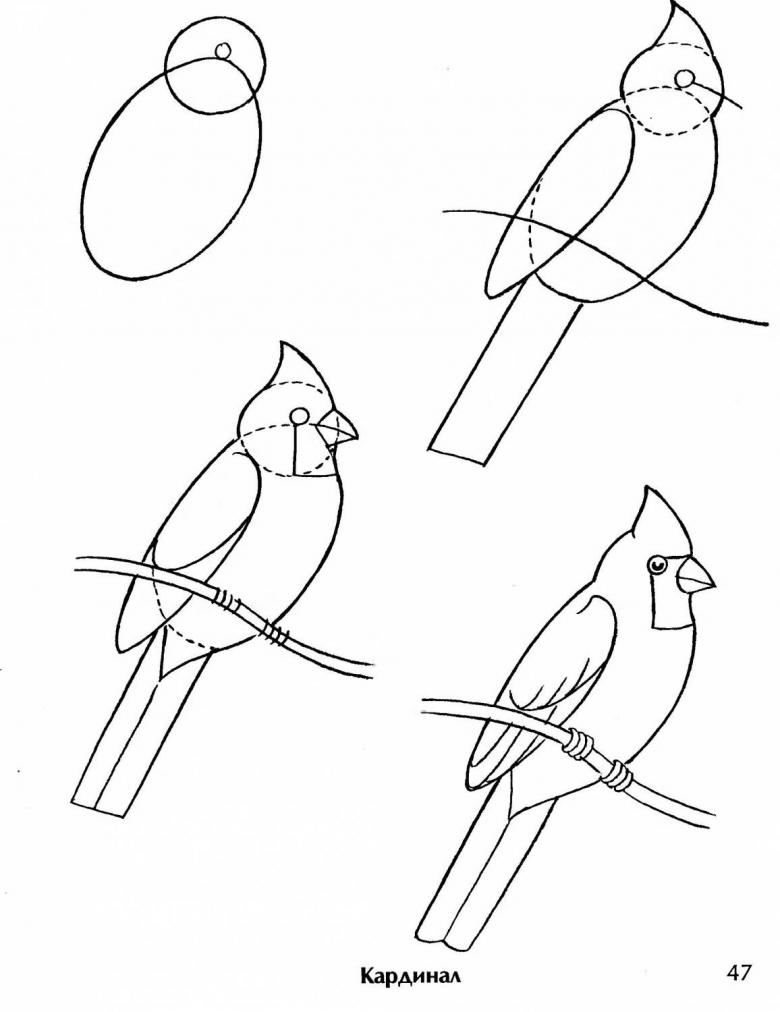
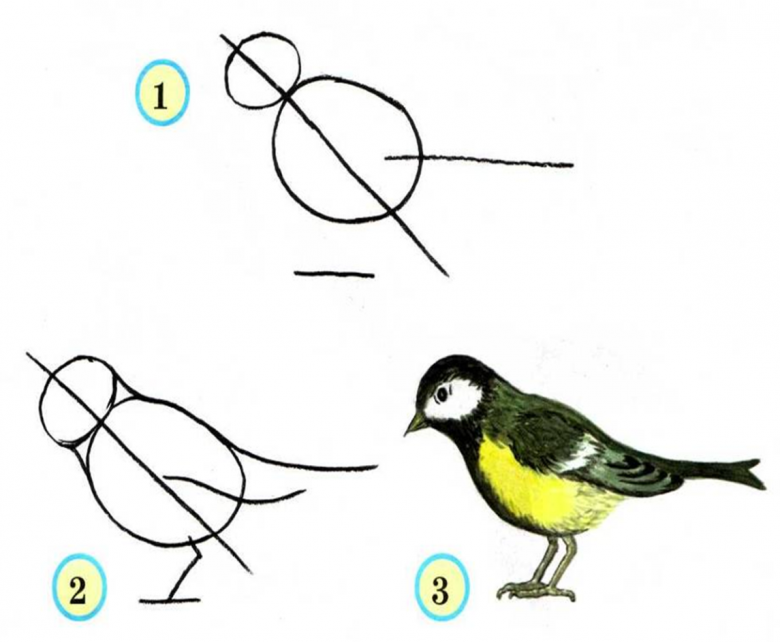
A simple and clear picture of the beak is presented in the following diagram:
- Draw an oval that is the size of the head, draw a line from the circle to the end of the beak.
- divide the image of the beak by a line 2/3.
- To clarify the shape and complete the drawing, drawing 2 sides and the width between them.
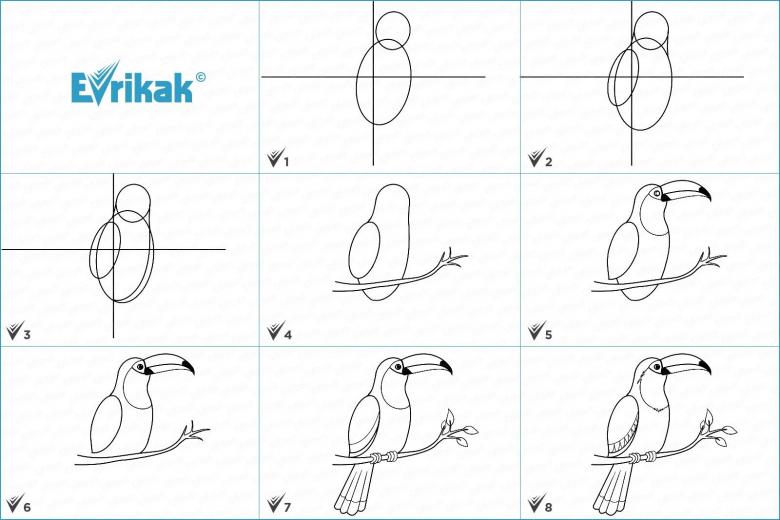
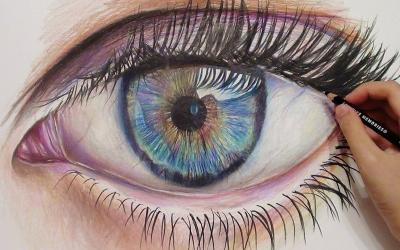
Great, continue to work, the silhouette of the bird is already traced well enough, move on to the image of the eyes. It all starts with a circle, then a dark outline is added, and finally there are rings around and pupils. Birds of prey have additional eyebrows, making their appearance reasonable, nocturnal inhabitants have yellow or orange colored eyes and wide pupils, and small birds wear beady eyes.
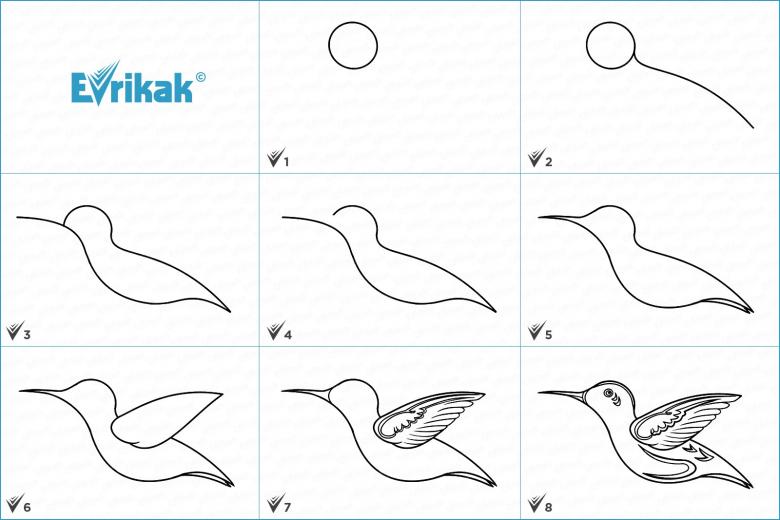
Feathers form the body of birds, they have layers of different sizes and shapes, they are not distributed evenly and it is important to take it into account. Layers are distributed along the contour of the muscles, and it greatly simplifies their application to the finished image. They are separated by pattern and color pigments. Once all the feathers are distributed, the wings are drawn, and the tail completes the theme. It is fan-shaped, has a short base on which the feathers are attached, has a symmetrical shape.
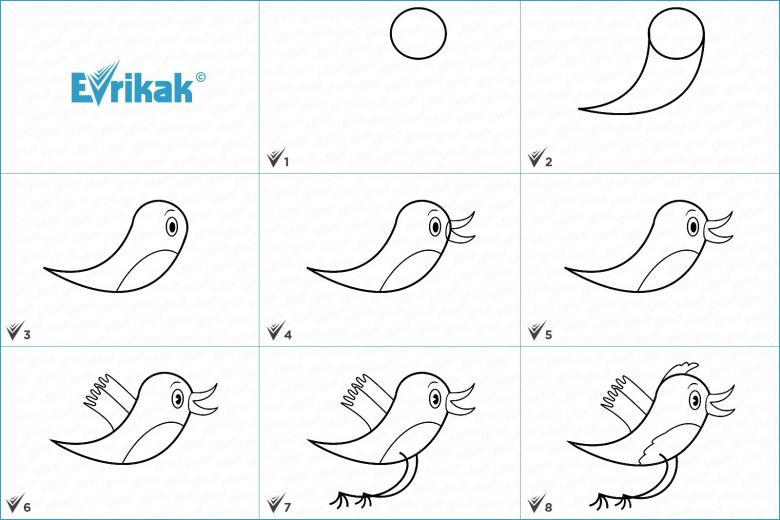
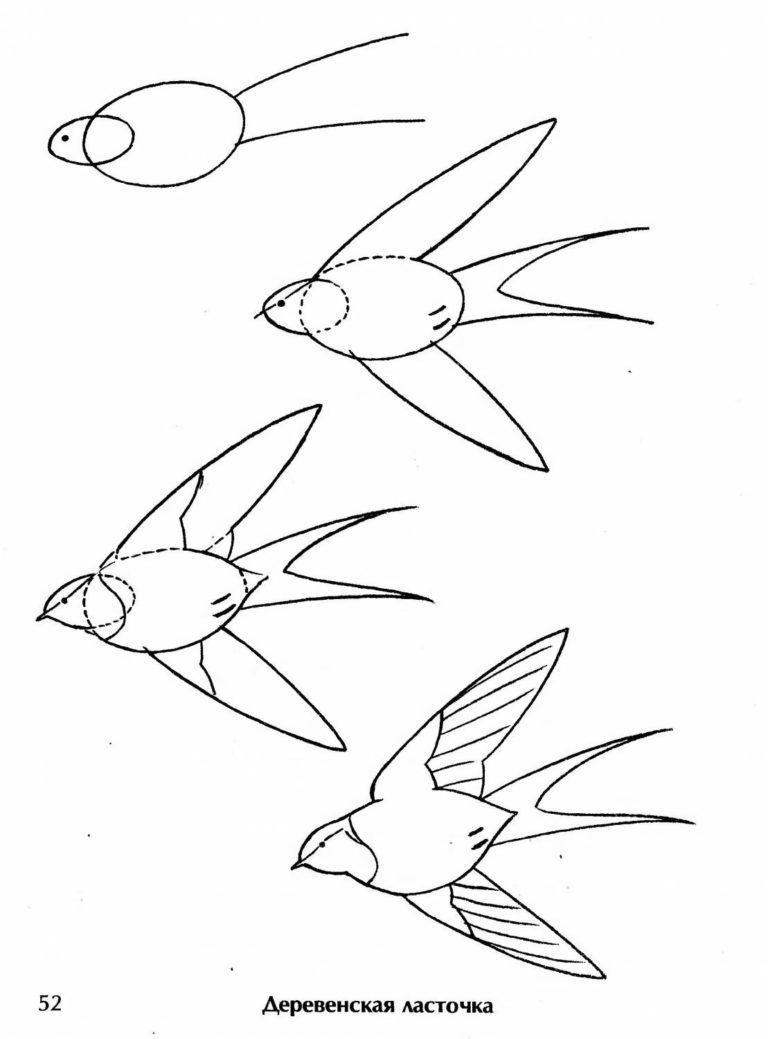
This completes the step-by-step instructions, we move on to the practical part, drawing what the birds look like during flight.
Capturing the moment of flight
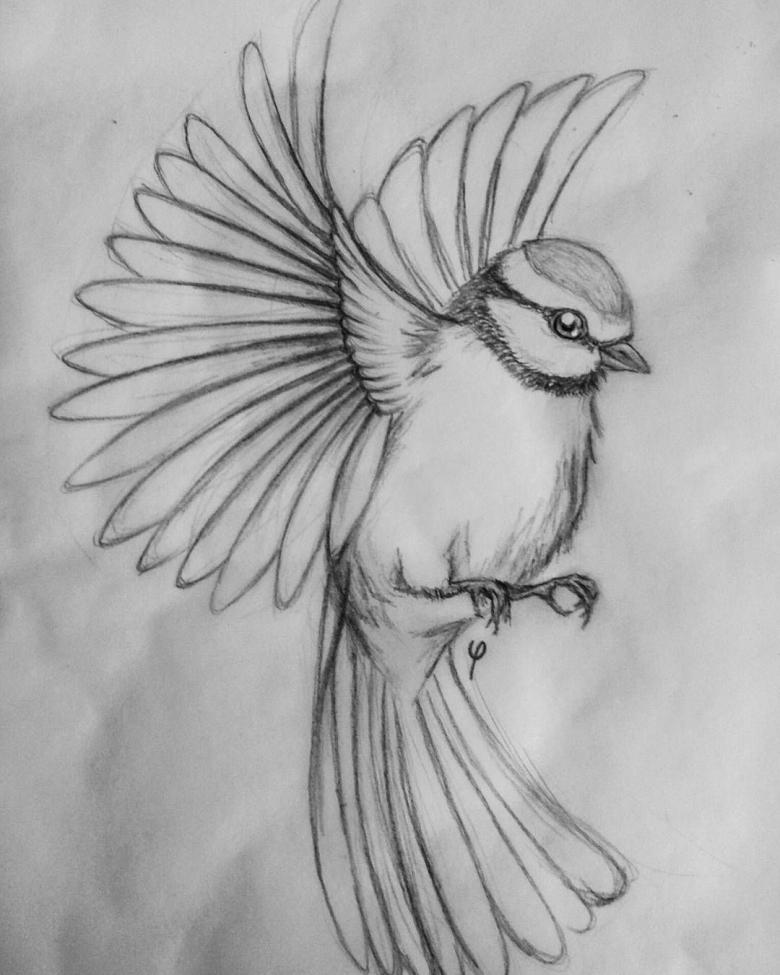
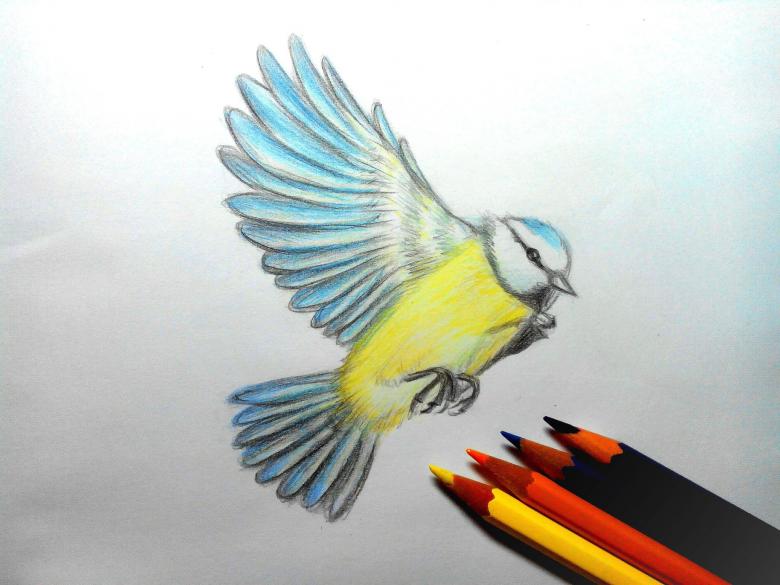
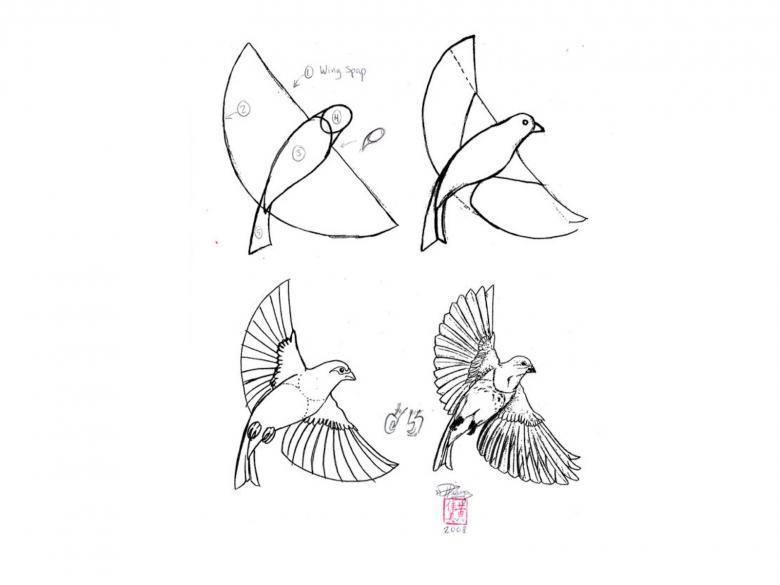
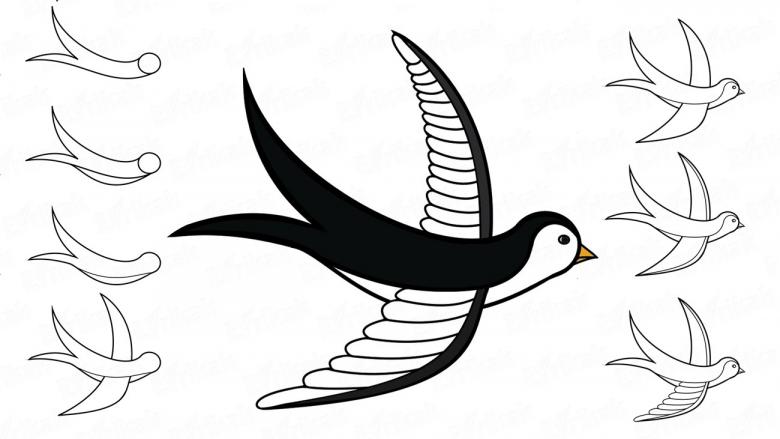
Let's take a seagull as a base. The process itself is simple enough that even children can do it:
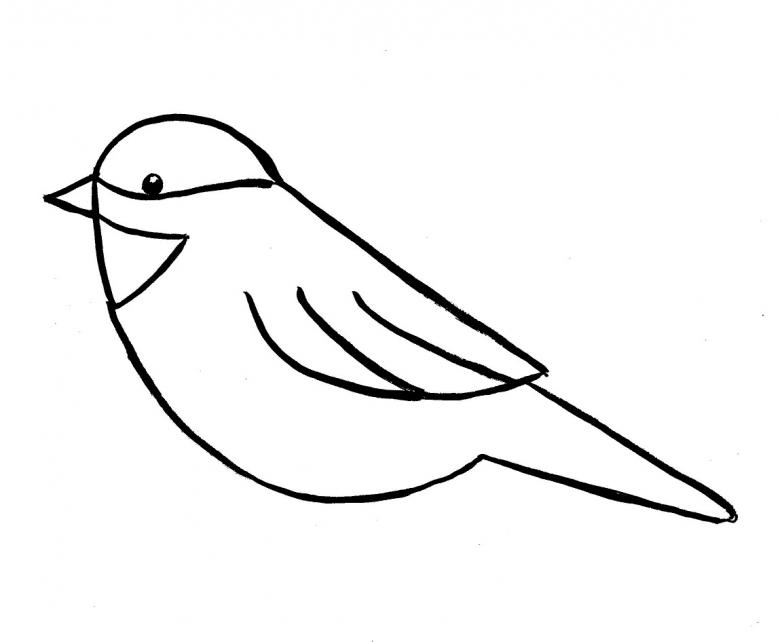
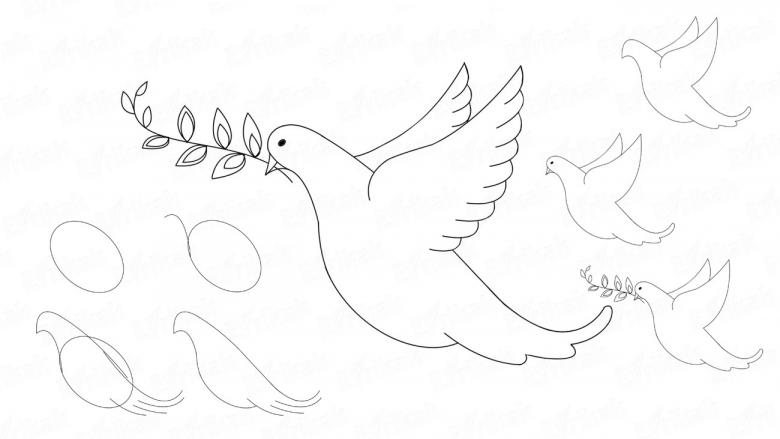
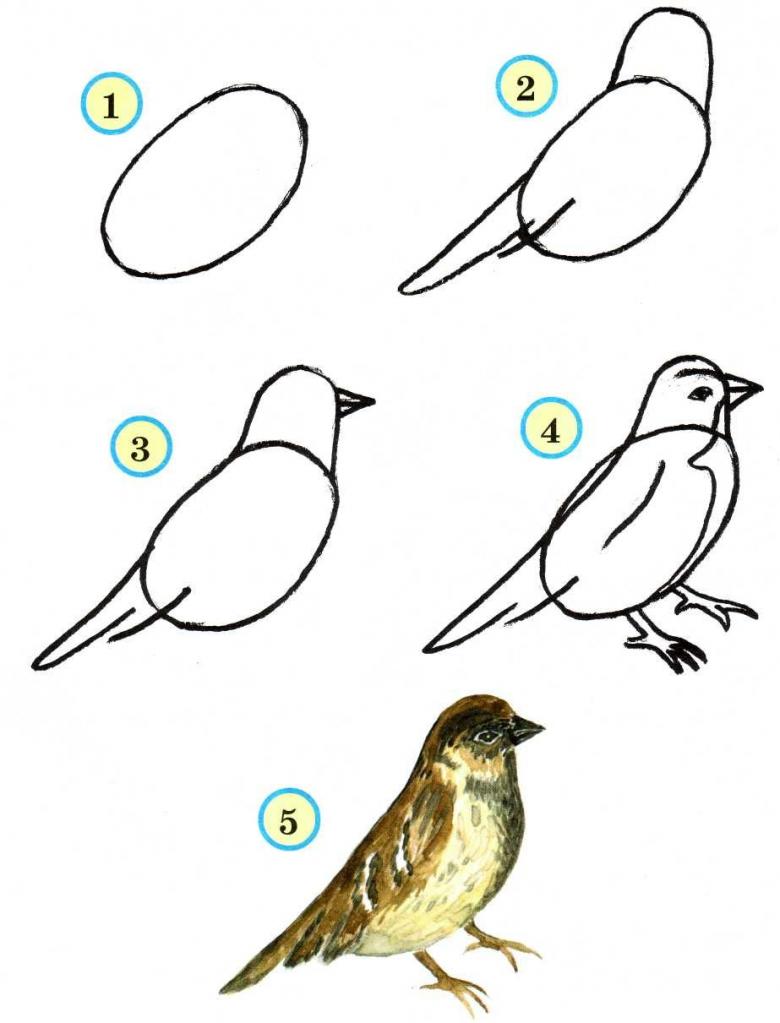
- A circle is drawn, the base for the head and body, the lower and upper part should be a little sharp.
- Eyes and a beak are drawn, and then the outline of the circle is removed with an eraser.
- To depict the wingspan and tail in flight mode. The wing placed on the right edge of the sheet will be larger than the left wing and in relation to the whole body.
- Dorisovyutsya paws folded together, traced the thighs with a line from the paw down and wings.
- All is decorated with feathers and in the conclusion is the tail.
- Errors and unnecessary contours are cleaned up.
- Shadows are drawn, the wings themselves are black and the lower part of the bird is darkened. From the wings there is also a shadow.
- The work is done, we evaluate our work.
This completes the first stage of mastering the wonderful world of birds in the visual arts. If the subject was interesting and aroused creative interest, it is worth to continue studying it and practicing, improving your skills and results.

