How to draw a princess - learn to draw simple and complex drawings of different princesses
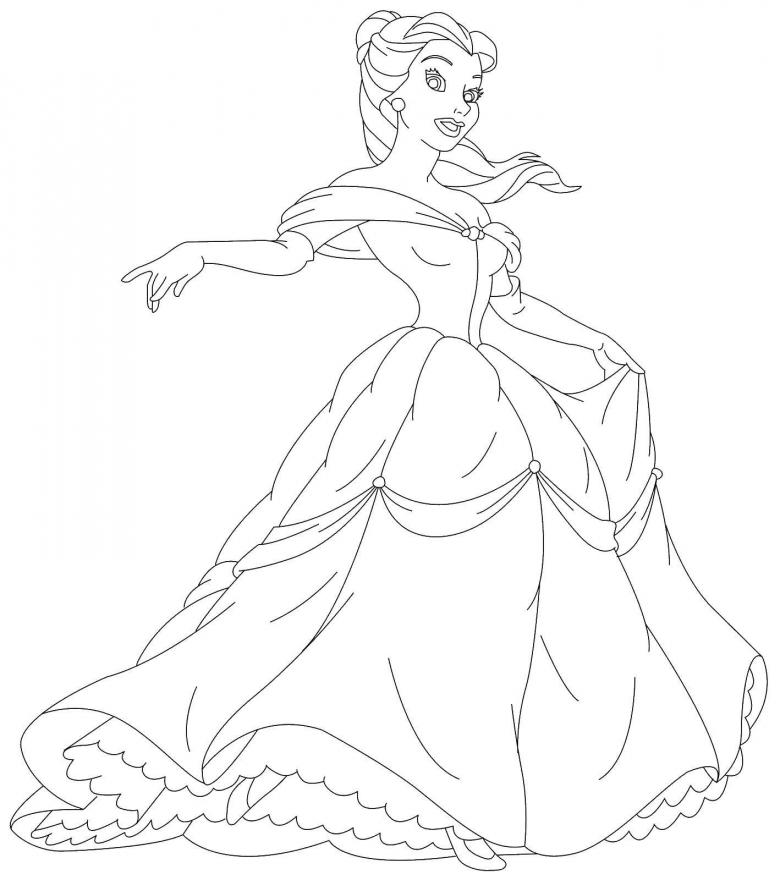
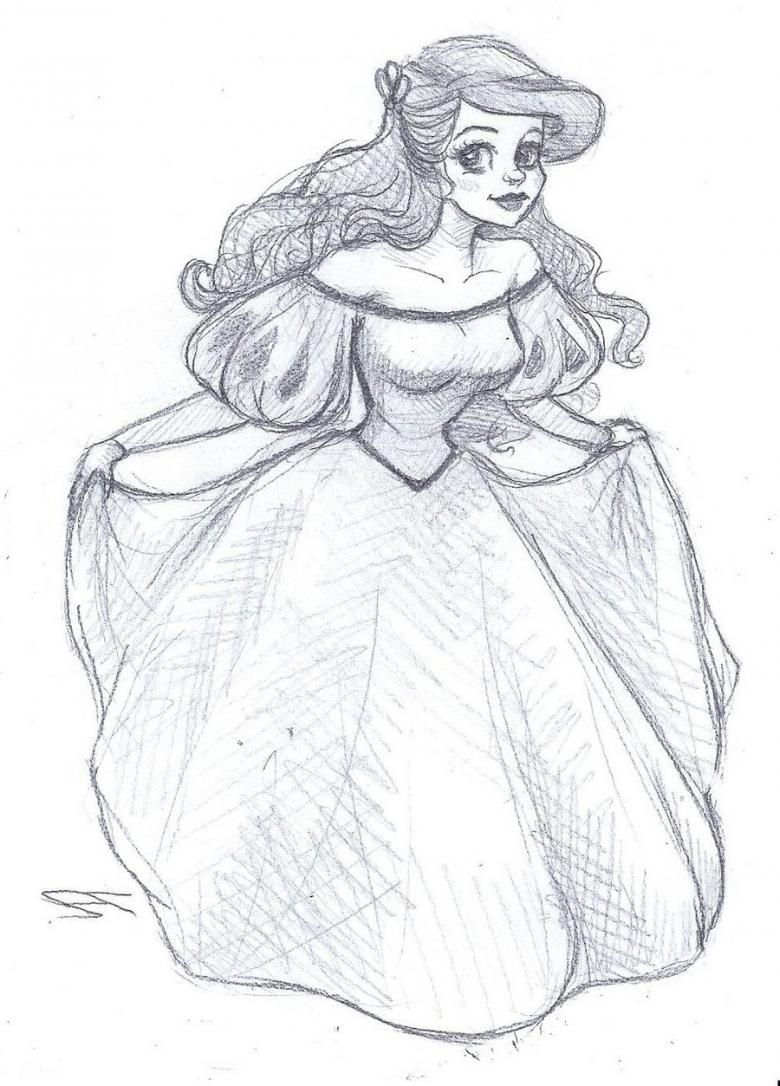
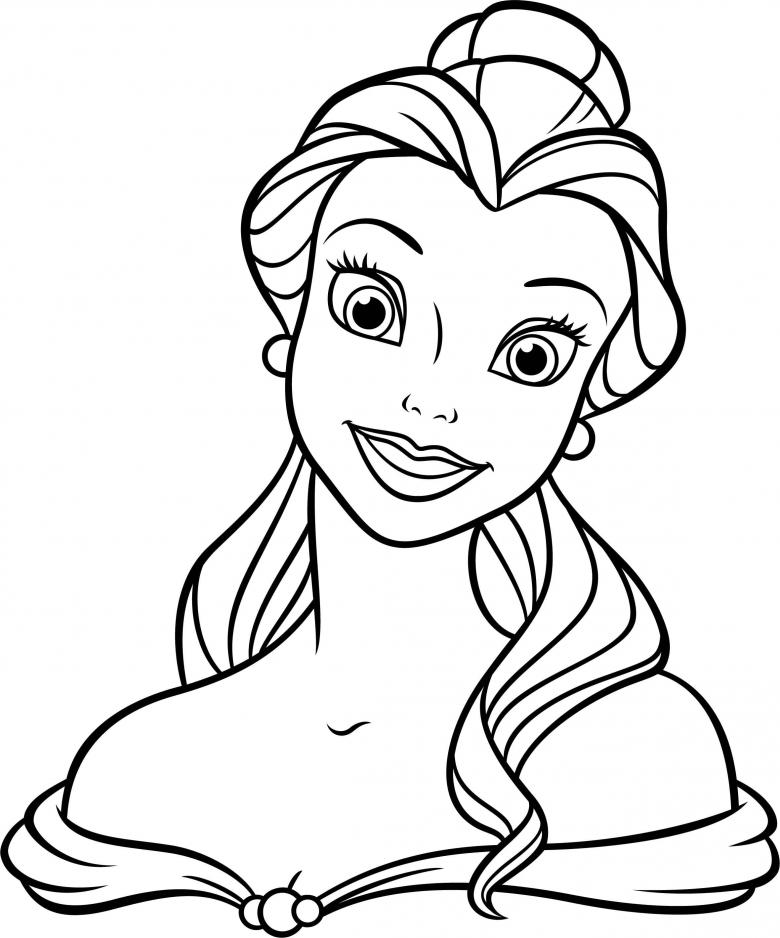
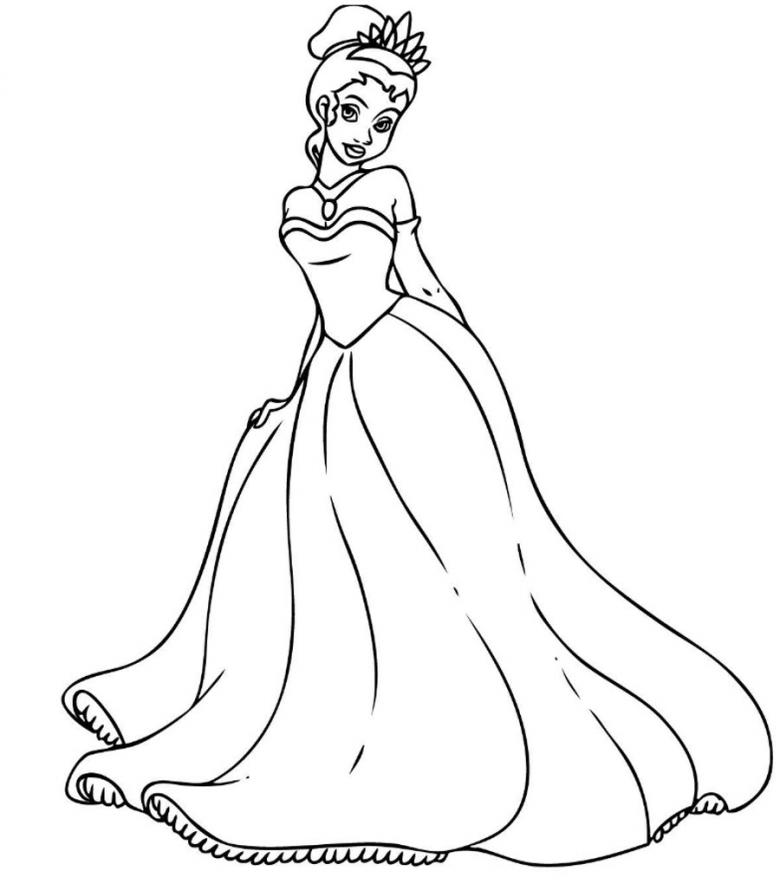
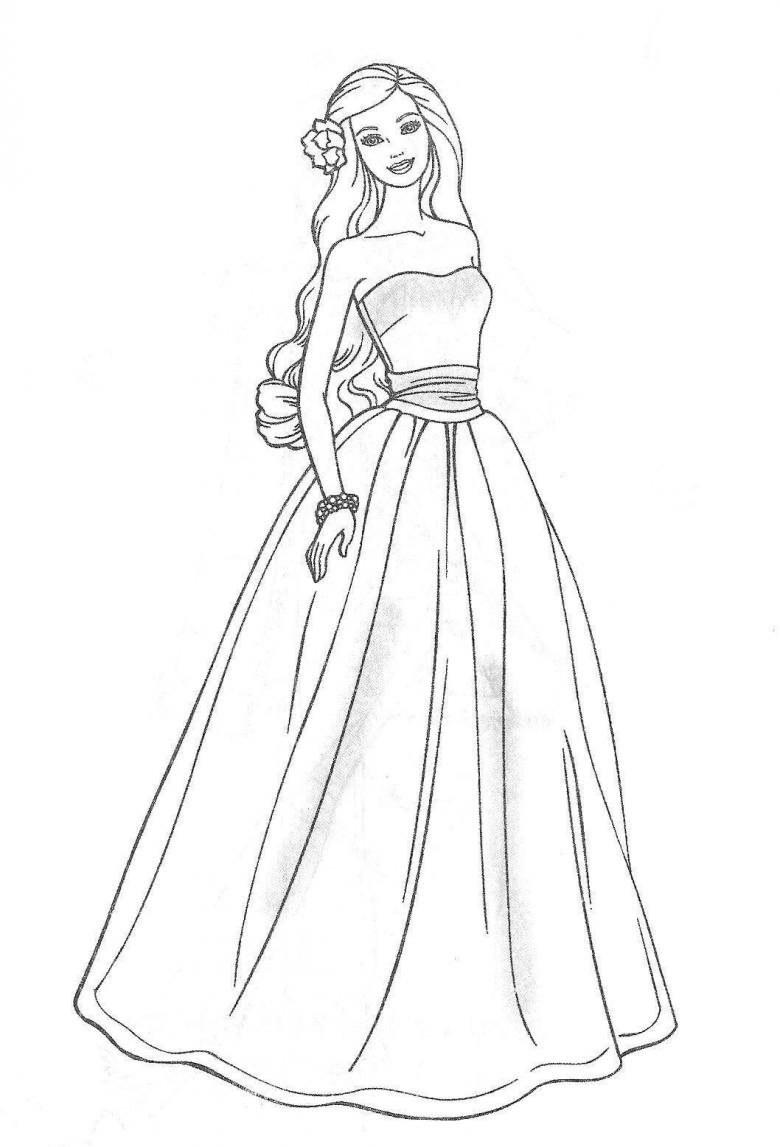
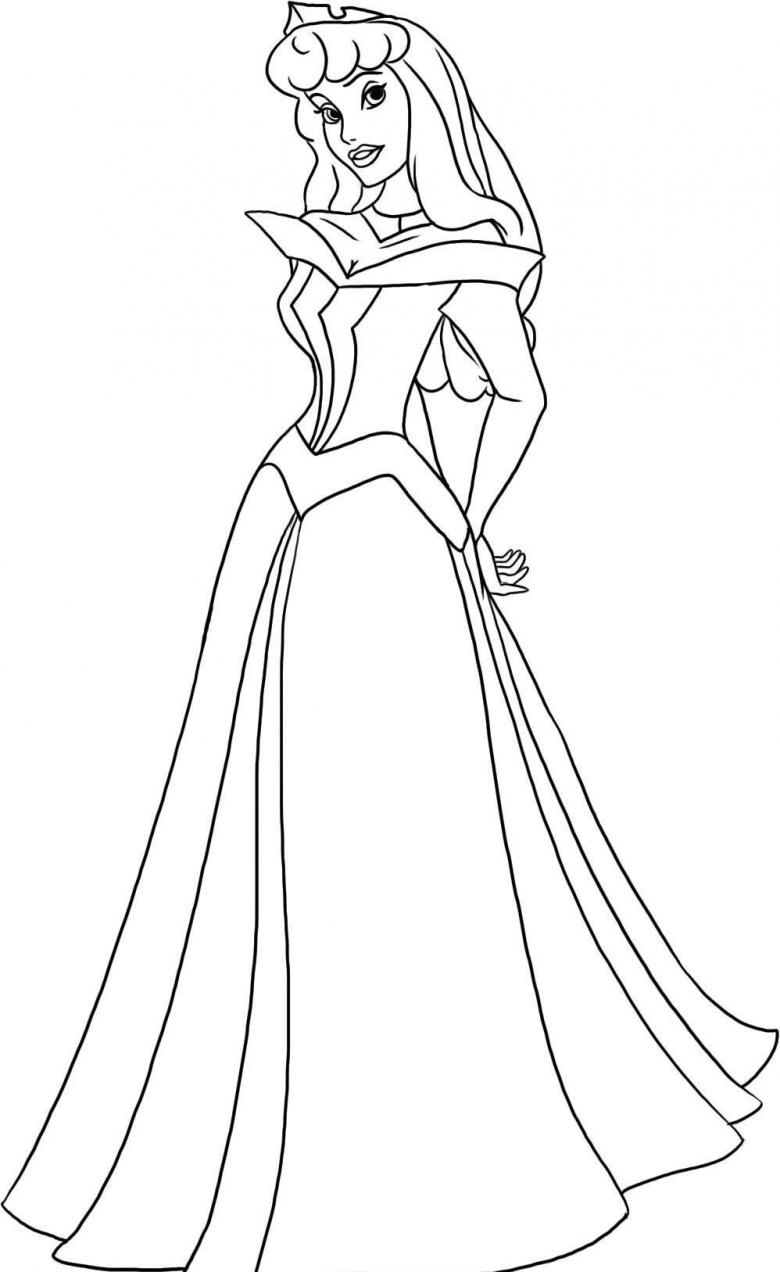
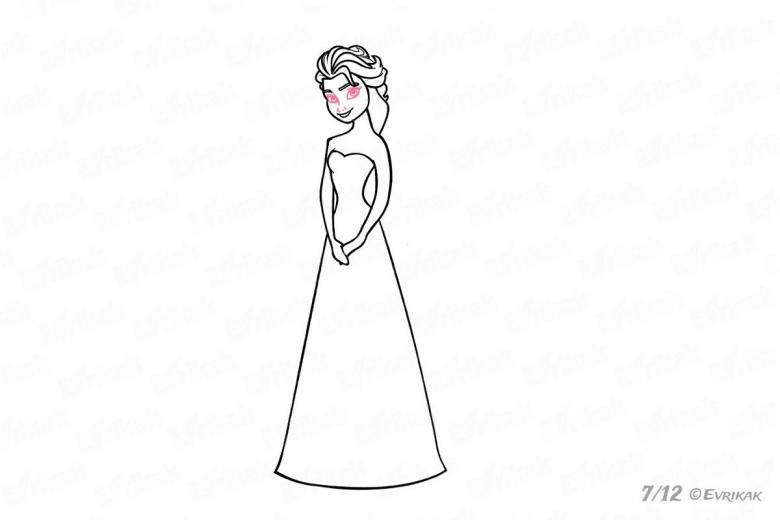
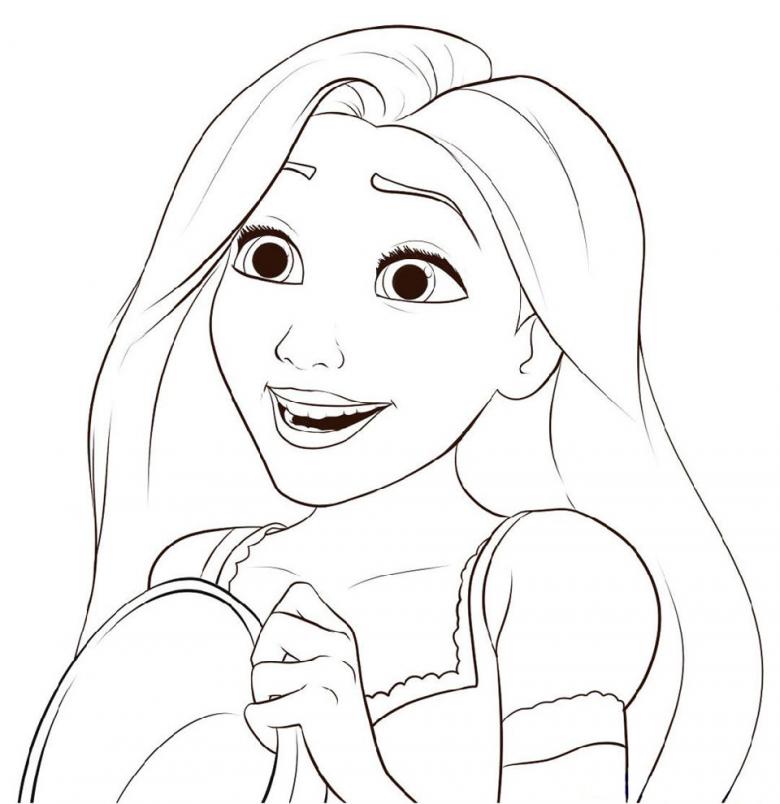
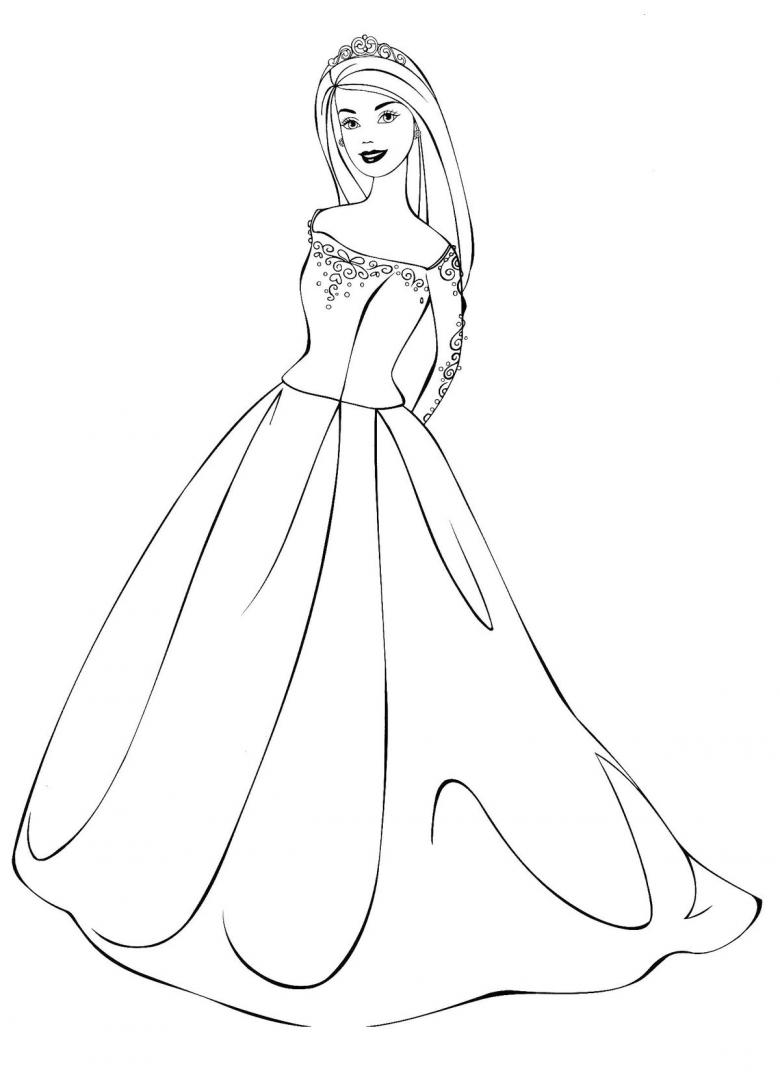
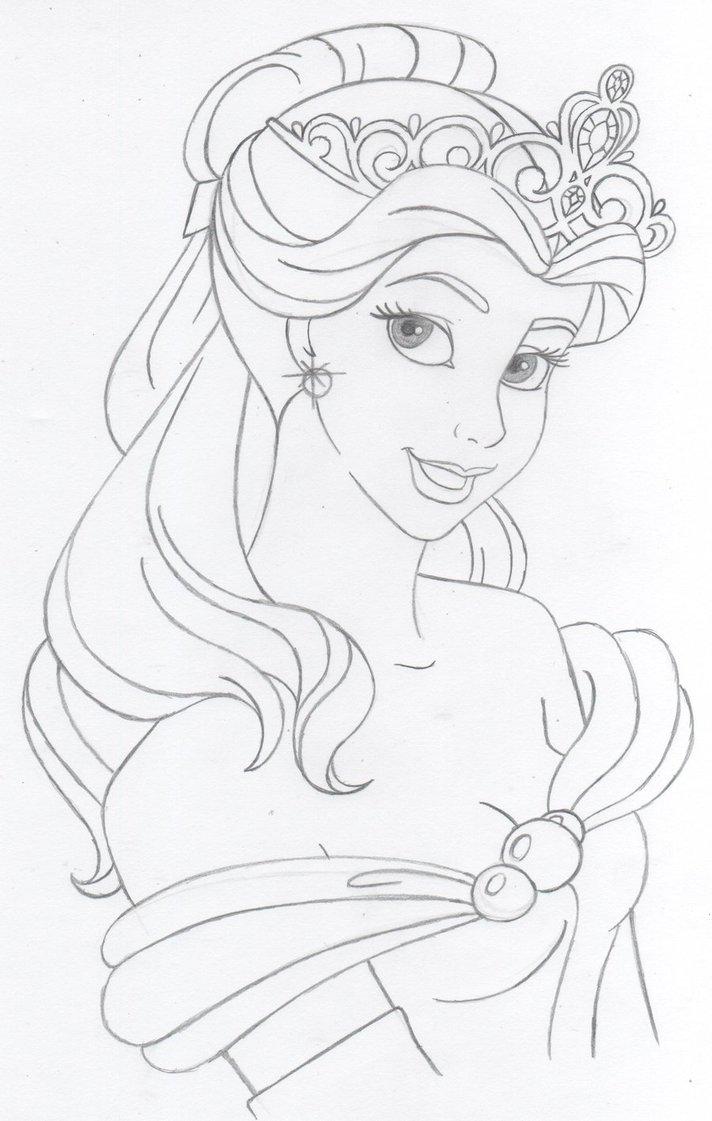
Princesses - the heroines of children's fairy tales and cartoons - are often children's favorite characters. Especially girls! Having met a princess animator, girls are sure to want to take a photo with their favorite character. Little ladies often want to resemble princesses themselves. And no wonder. After all, these residents of castles are always depicted in such beautiful dresses and fall in love with the beautiful princes!

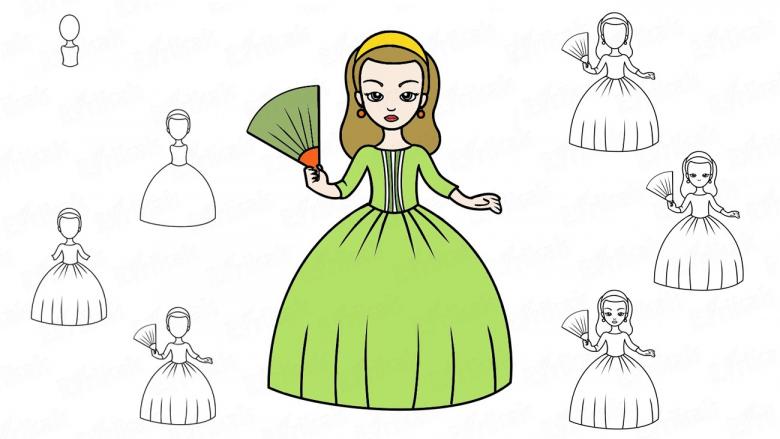
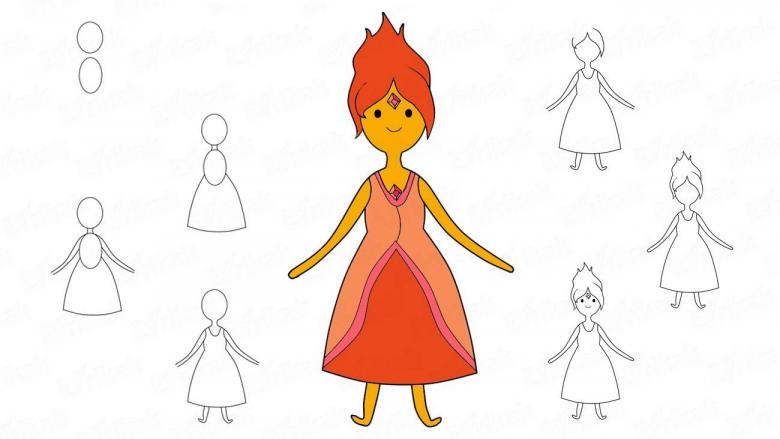
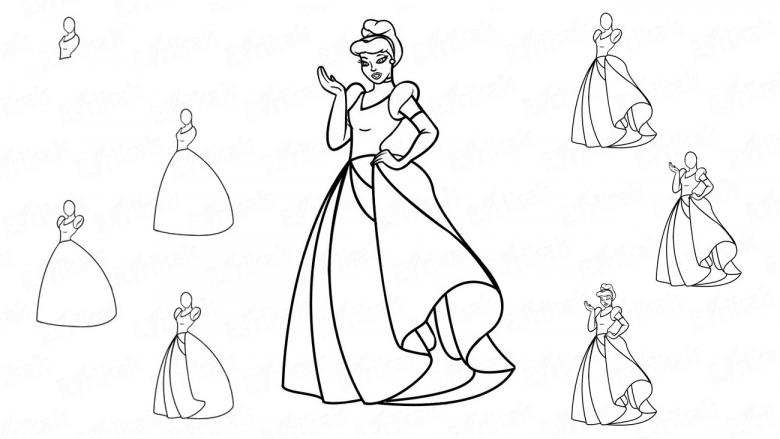
Your child will be happy if you show him how you can draw a princess. After all, it's easy to do! You only need to follow the steps of the master class step by step.
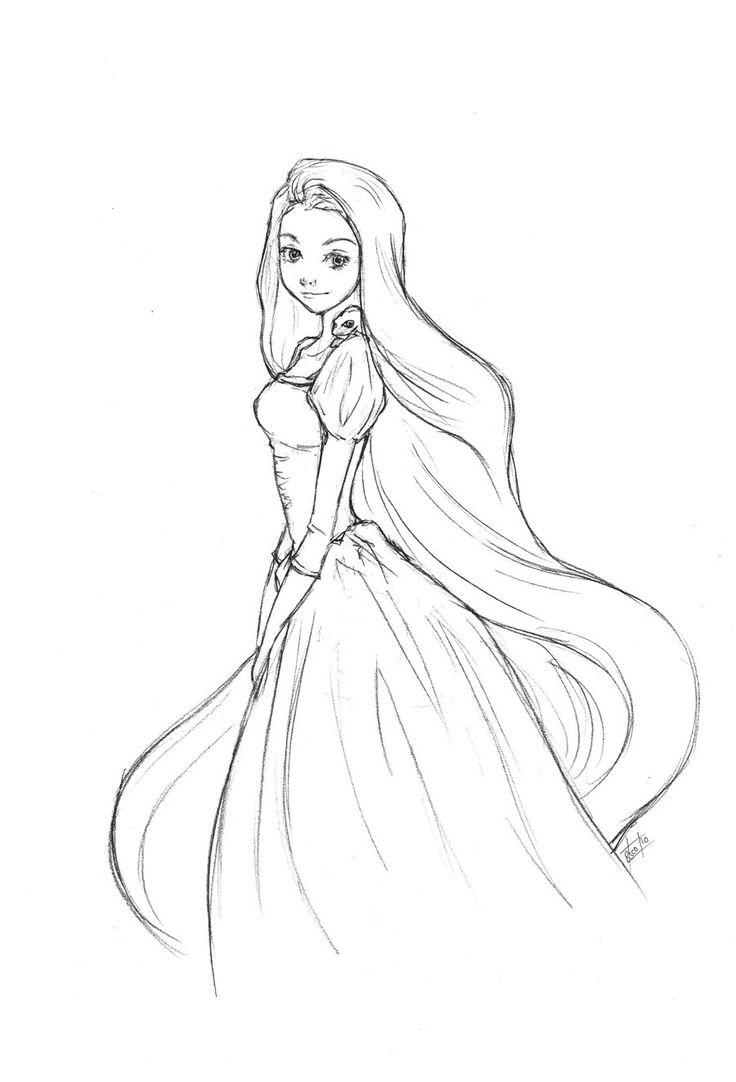
Lesson 1. Easy Drawing
To start, try a light version of a princess drawing. What do you need for that?
- paper
- simple pencil
- eraser
- colored pencils
- black felt-tip pen
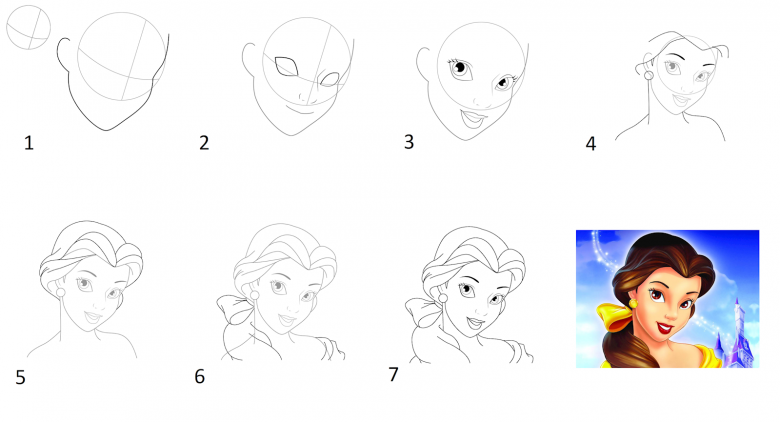
Step by step instructions:
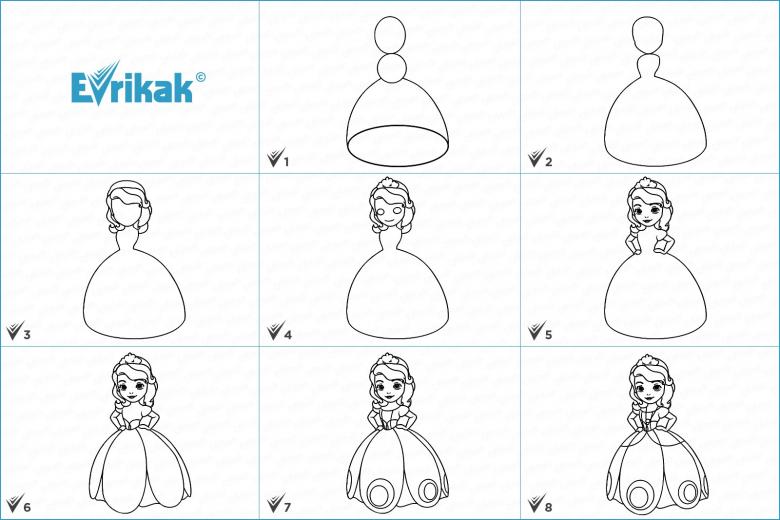
- Step 1. We start with the girl's face. Determine the location of the head. Draw two short curved lines at a short distance from each other. Immediately below them - one small circle. Under the circles - again two arcs (they must be shorter than the first)
- Step 2: The nose. This will be a small horizontal line. It should be curved. The nose should be placed between the eyes, below their level.
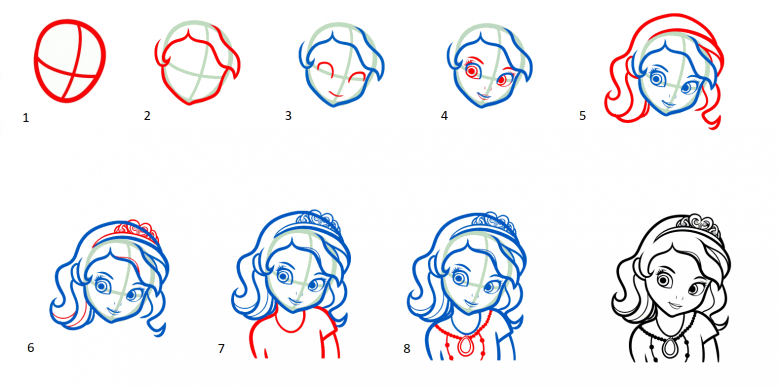
Now a nice neat mouth. Step down from the line of the nose and draw another short line. Above it draw two tiny semicircles - is the upper lip. Under it is one semicircle. This is the lower lip.

- Step 3: Hair. It is necessary to indent upwards from the eyes about the same distance as to the lips of the princess. Find the highest point and from it to the left draw a curved line with a pencil. The lock should descend. Do the same on the right side.
We outline the oval of the face. Then we finish drawing the hairline, framing a low forehead and cheeks.
The head and the face are ready!
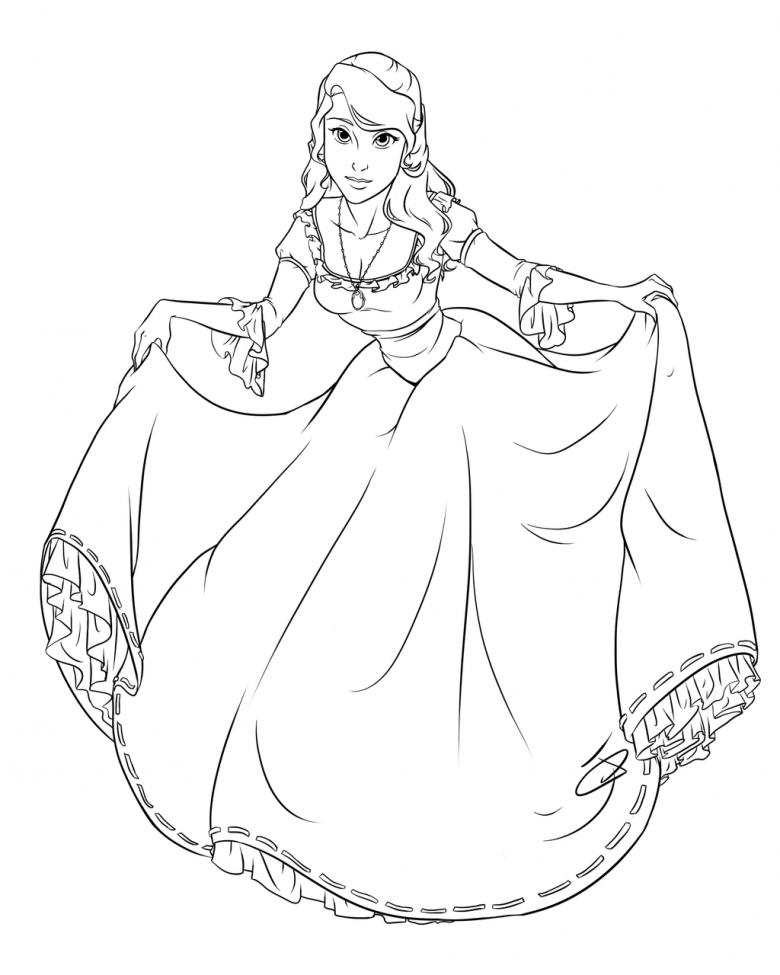
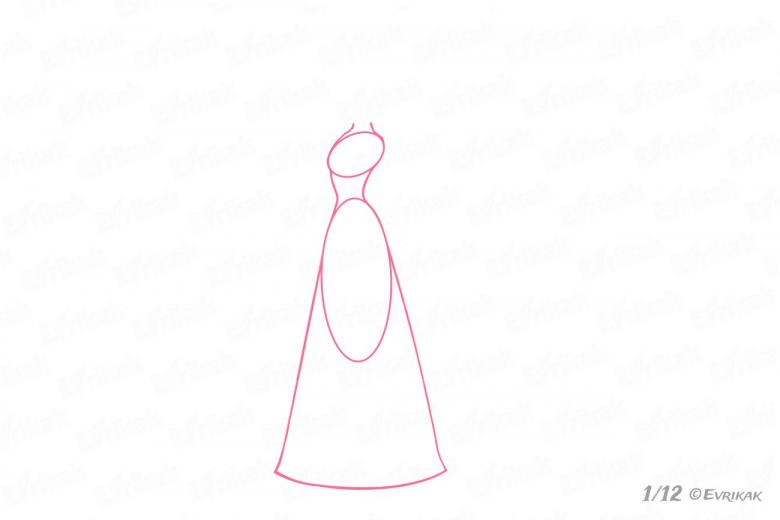
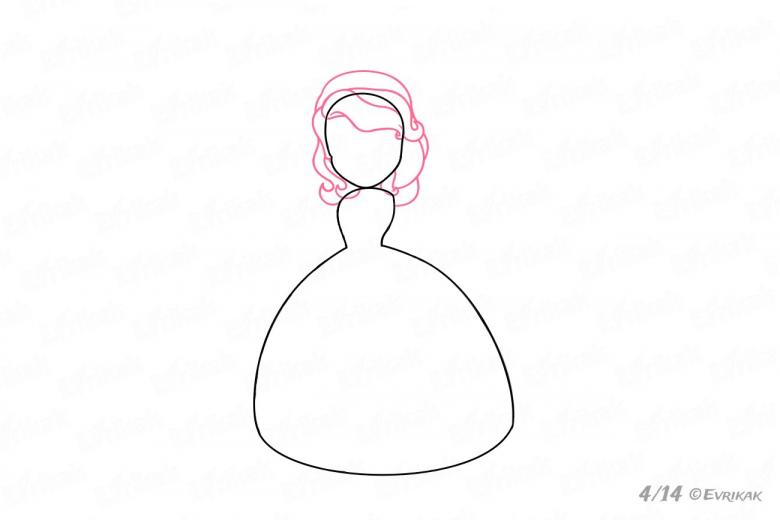
- Step 4. From the head we draw a thin neck and shoulders. Here on the shoulders we draw the sleeves "lanterns" of the dress with two rounded figures.
- Step 5. Now we draw the top of the dress. Here by two vertical and one short horizontal line we outline the rectangle unfinished at the bottom. From the bottom of this figure we draw a "tick", which will connect the hem to the base.
- Step 6. The hem of the ball gown will be puffed. From the body of the girl we draw two arc lines downwards, outlining the dome. Connect them with a horizontal line below. Then on top of the base we finish drawing the second tier of skirts. Remember - the hem should not be too long!
- Step 7: The arms. They will be very graceful. Palms open and pointing to the sides.
- Step 8. Now it remains to add small details - a small crown on her head, a necklace-pendant and ruffles on the bottom of the princess dress.
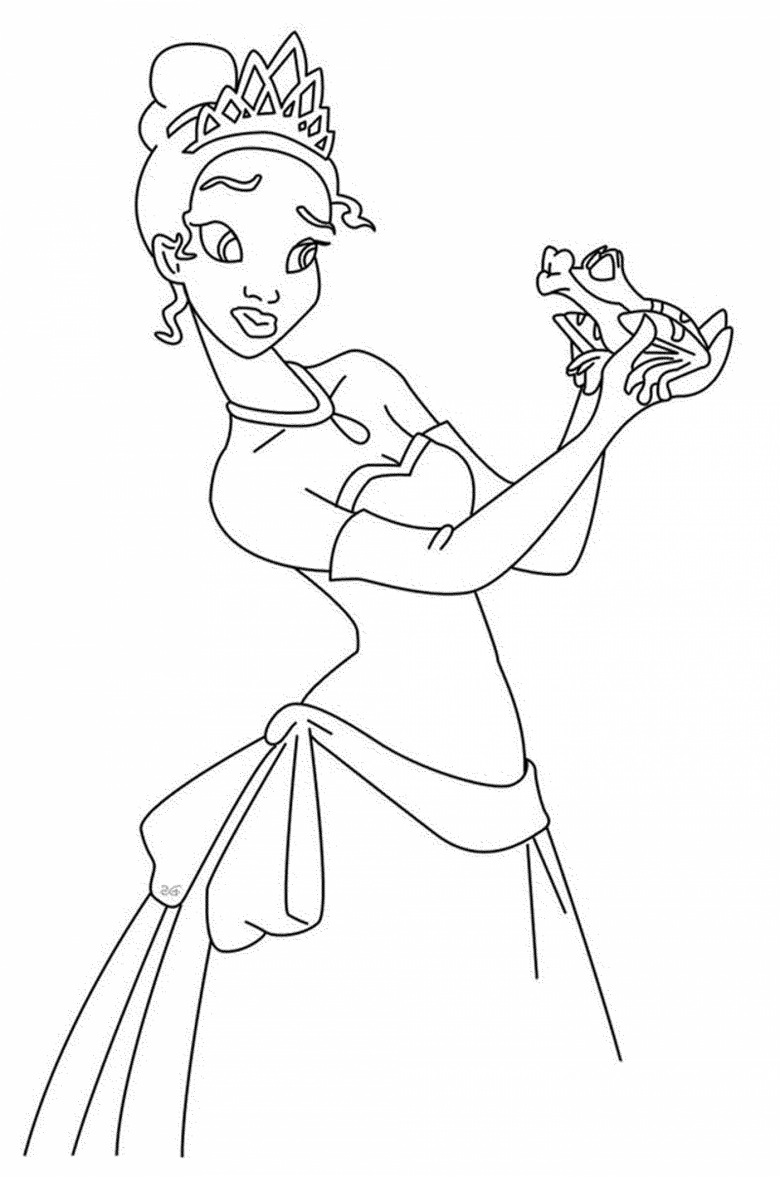
Color the girl with colored pencils, using pink, yellow, caramel shades. Complete the picture by outlining the black marker.
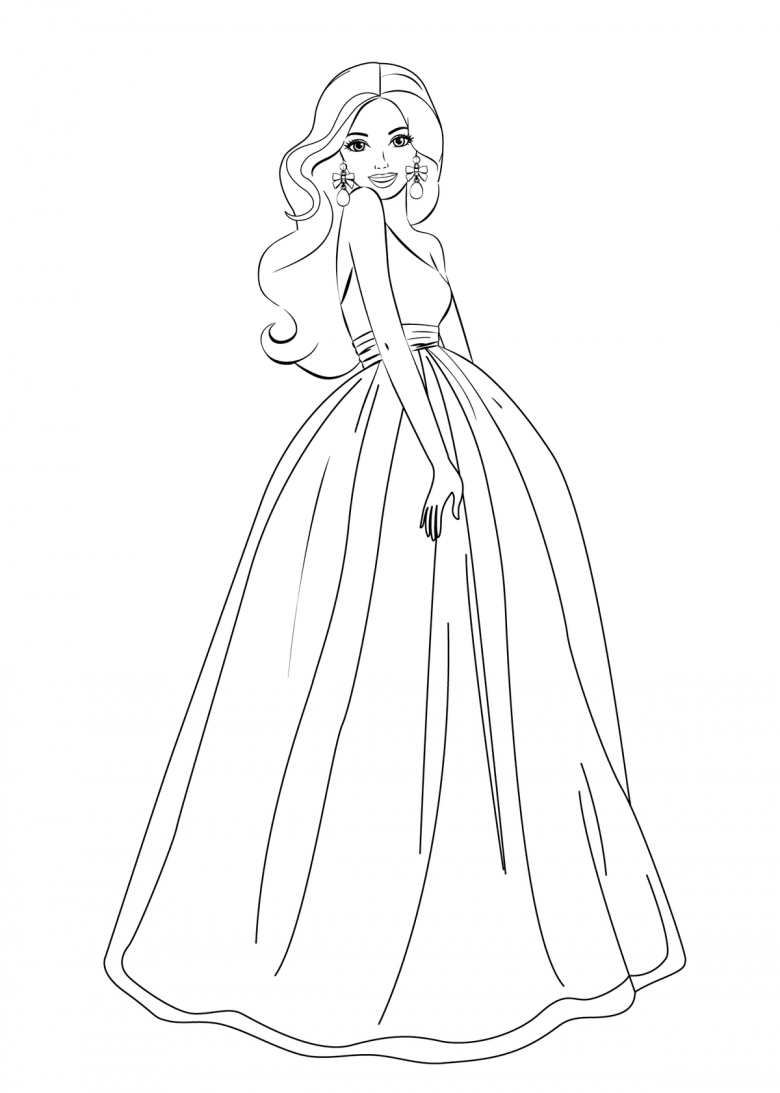
This is the easiest example of drawing a princess. A child can do it on their own and have a lot of fun!
Lesson 2. Depicting a Princess with paints
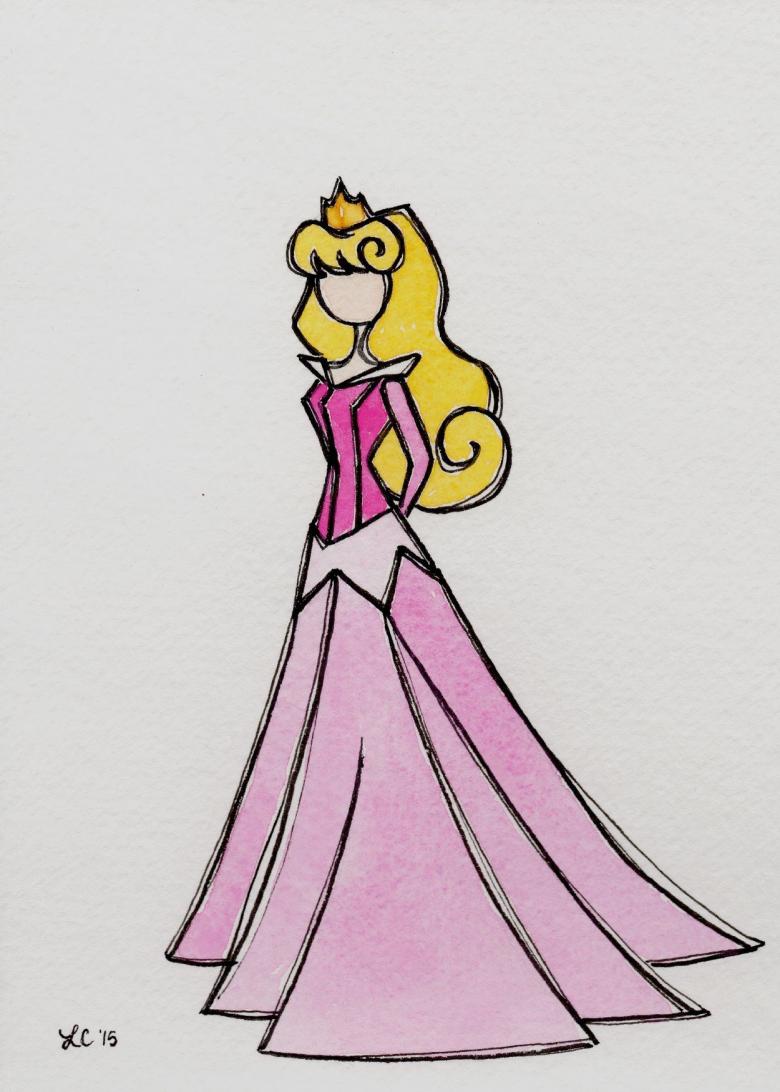
This lesson is as uncomplicated, but the image turns out even more interesting than in the previous master class.
Tools:
- black cardboard or paper
- gouache paints in different colors
- water
- brushes .
Step by step instructions:
- Step 1: On a palette mix the paints so that you get a flesh color. This is most often done with ochre and white. We put the resulting shade on a medium-sized brush and mark the head with a semi-oval.
- Step 2. Now the hair. It will be curly. That's why we draw the hair in a middle size, making circular motions with the brush.
- Step 3. we draw the neck, the body rectangle and a fairly wide, but not long tutu skirt.
- Step 4: The arms. The princess will hold them behind her back. So we draw them along the body with two slightly curved lines, without tracing the fingers.
- Step 5: The girl's face should be painted with the same flesh-colored shade. Then you can mix white gouache with pink or red paint (if you prefer, it can be yellow, lilac or anything else you like). With the resulting shade, using circular motions, paint over the "rams" of the hair.
- Step 6. Now it's time for the dress. Paint it with a bright shade of your choice. For example a red one. Then draw triangle shoes to the tone of the dress. Let the pattern dry.
- Step 7. We paint the legs and arms of the princess in flesh-colored, finish with round eyes, a nose, and red lips with a bow. Complete the drawing with a crown.
The lesson has come to an end! A pretty princess in a beautiful dress is looking at you from the sheet!
Lesson 3: Princess Celestia
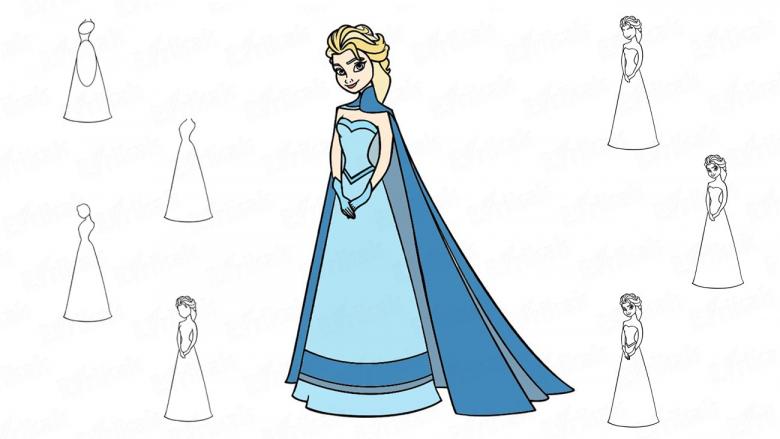
There are so many princesses out there! The world of Disney is full of these beauties. There are enchanted beauties, with magical powers, fairy princesses, etc. Even among the ponies there are princesses!
In this master class, we will tell you how to portray Princess Celestia step by step.
- Step 1. We are going to start with a sketch. We are going to decide where the pony will be drawn. We are drawing a sketch of the head, which will be shaped like a pear upside down.
- Step 2. Now, a little way down, draw a horizontal oval, that's the body of the pony. The head and body are connected by curved lines - this is her neck. Usually the neck of such ponies is quite long.
- Step 3. With the lines of the sketch define the legs of the character - don't forget that they will be bent!
- Step 4. Make the legs more voluminous, slightly expanding their outline to the bottom. Add details.
- Step 5: Beginning to detail the head. The pony is standing so that we can see only the right side of her face. So there will be only one eye. But it will be big enough and have a leaf shape. Also we need to trace the pupil and long eyelashes.
- Step 6. On the elongated nose, we mark the mouth and nostrils. On the top, slightly to the side, we draw a leaf-shaped ear that points upwards.
- Step 7. The hair of the pony will be as if it were developing in the wind. Therefore, they will run almost parallel to the body of the fairy animal. Celestia's hair is quite long and thick.
- Step 8. Do not forget about the two wings that these creatures have. They are big - as big as the pony itself. The wings are open, one of them half hidden by the hair.
- Step 9: The tail. Celestia's tail is also thick and long. We also need to draw a pointed crown and a necklace with a crystal. The magic horn will be on the luba of the character. The crown does not hide it.
- Step 10. Let's paint the pony princess. For this we need blue and purple pencils for hair, tail and wings. Gold - for jewelry. Some parts of Celestia's body can also be shaded in blue.
According to this master class, you can also draw Princess Moon.
Let the beautiful children's dreams go on paper and delight the kids, located in frames on the shelves of the children's room. And you help them do it! Draw a princess together - it will be a great time!


