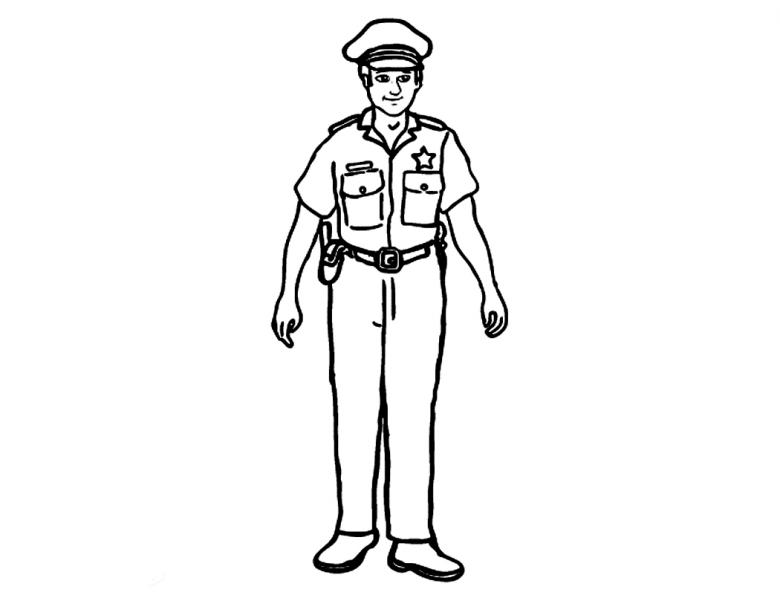
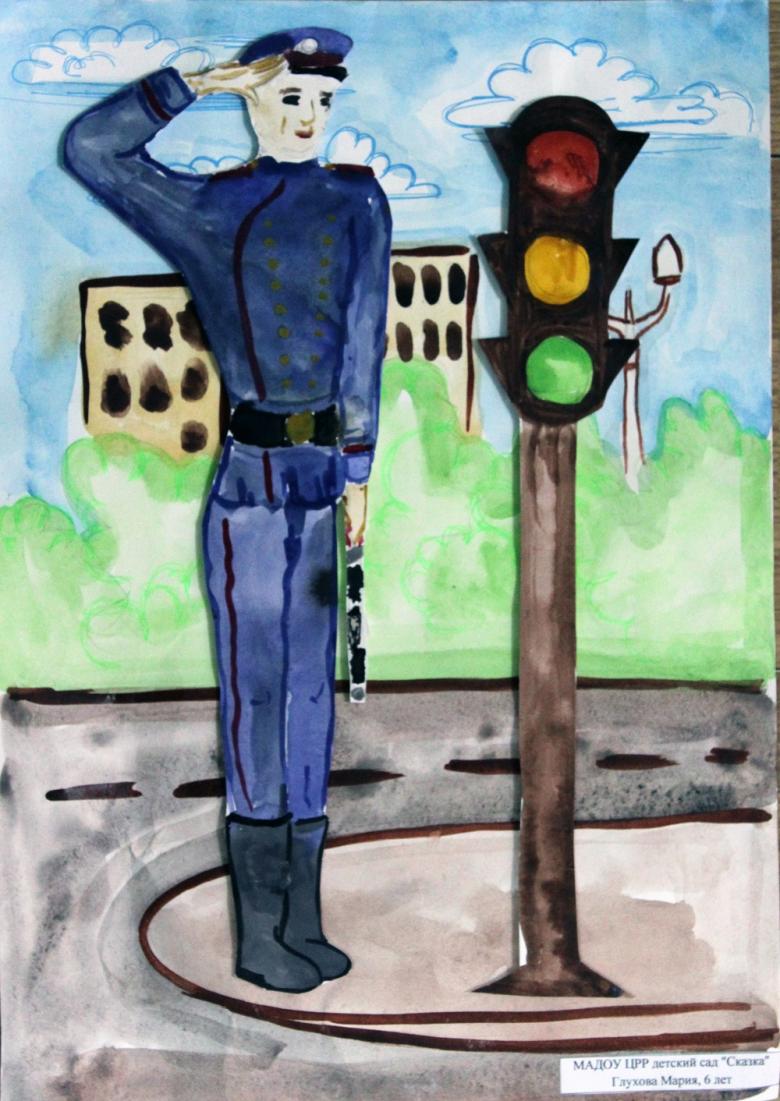
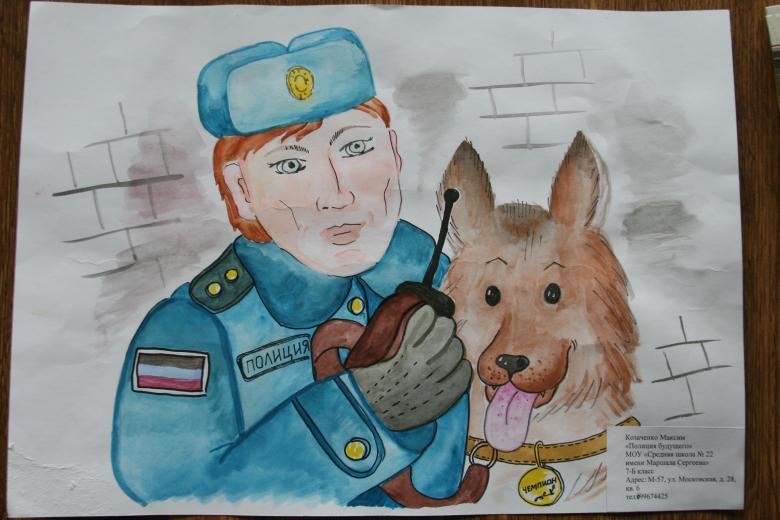
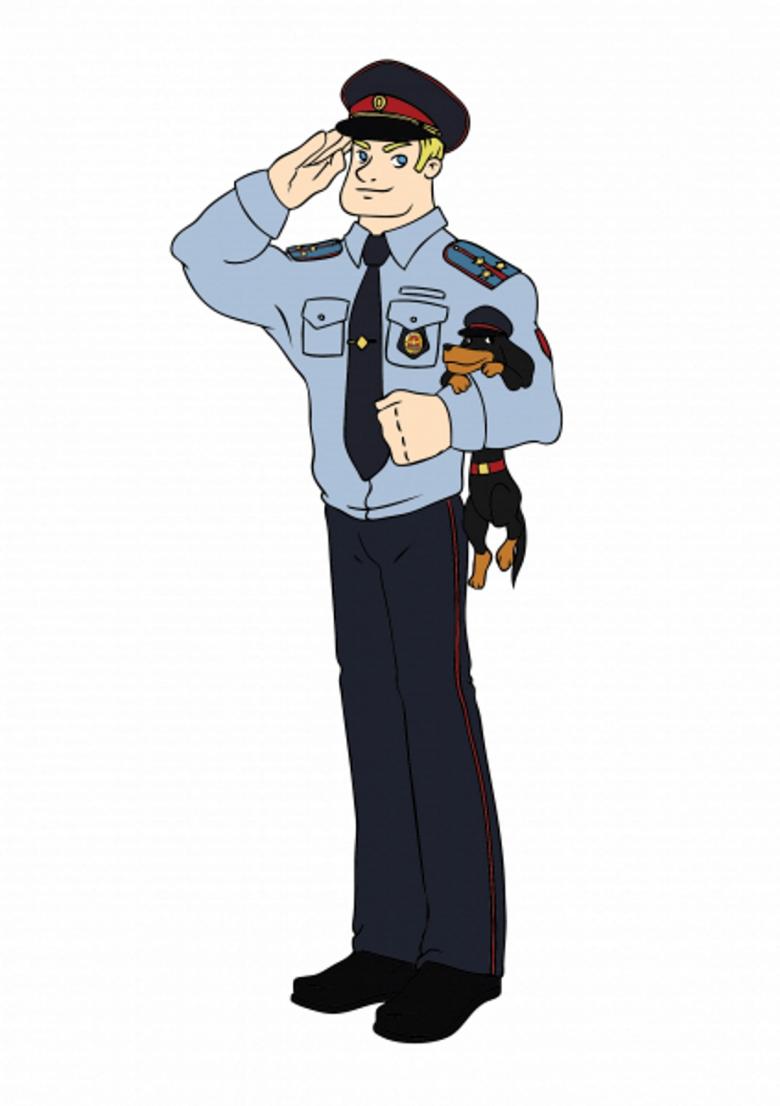
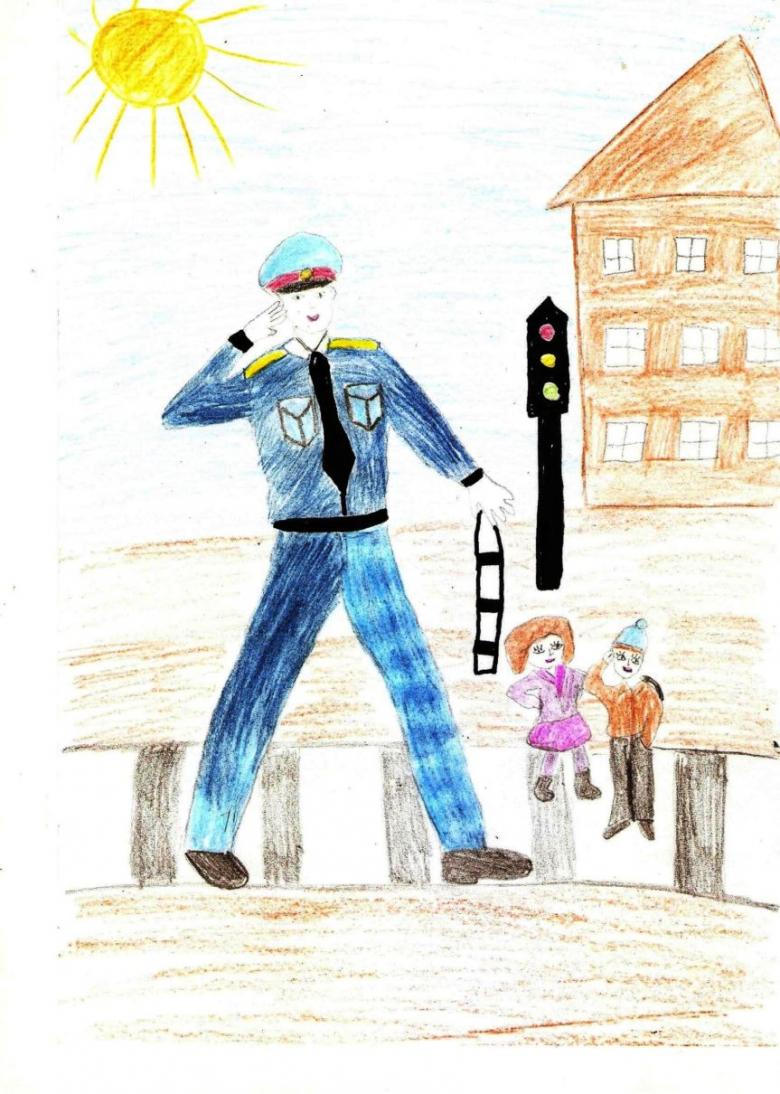
How to draw a policeman step by step in pencil - 4 detailed master classes for beginners
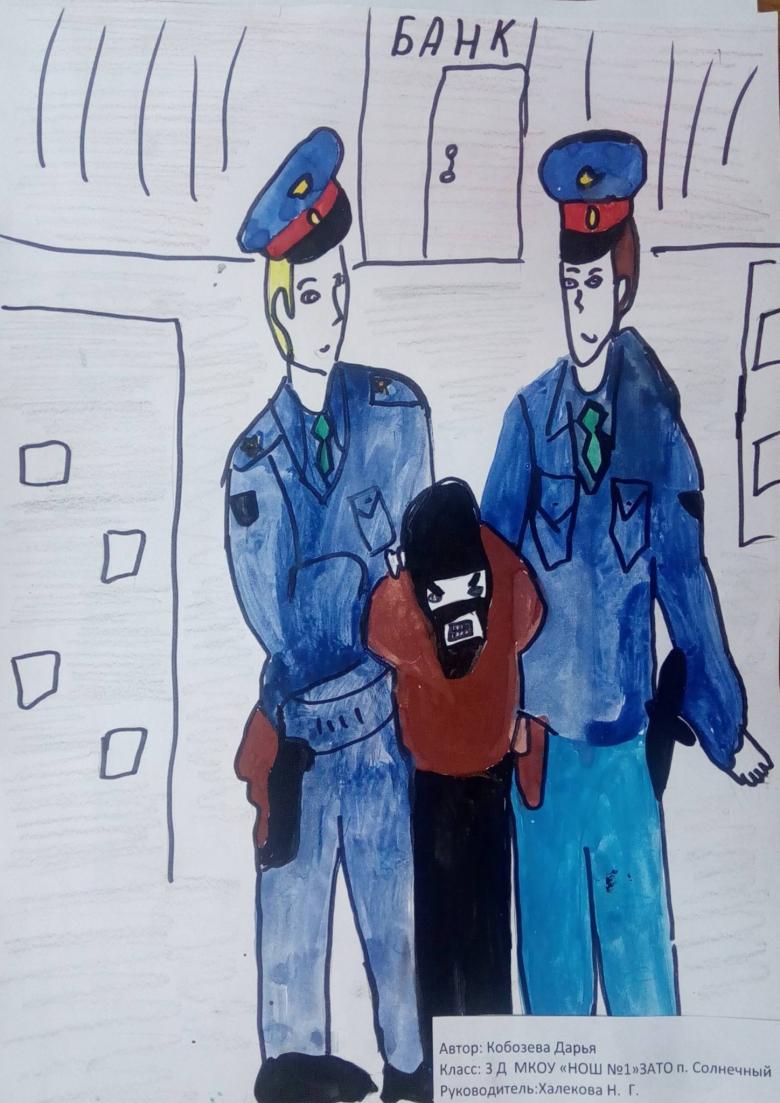
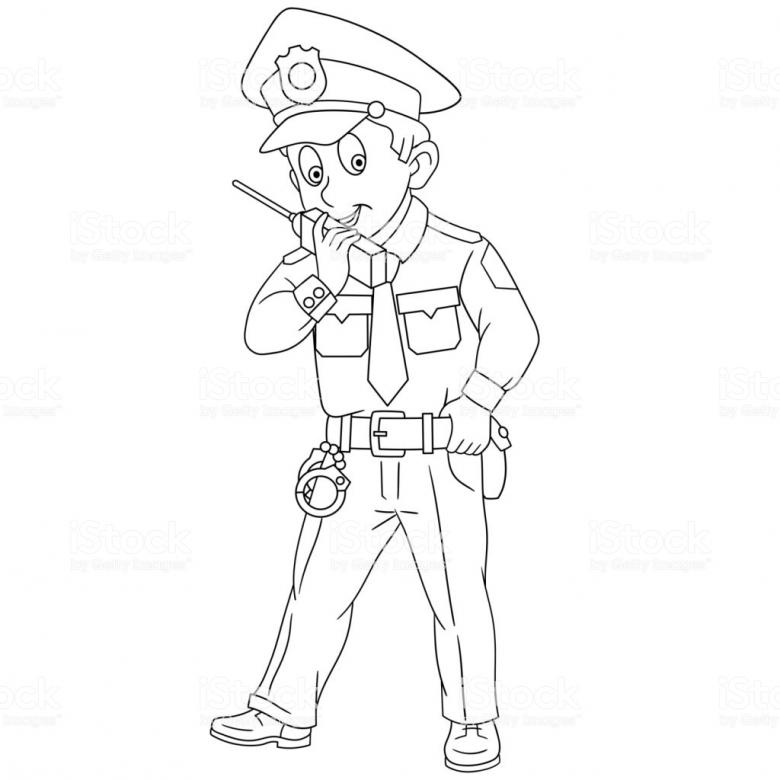
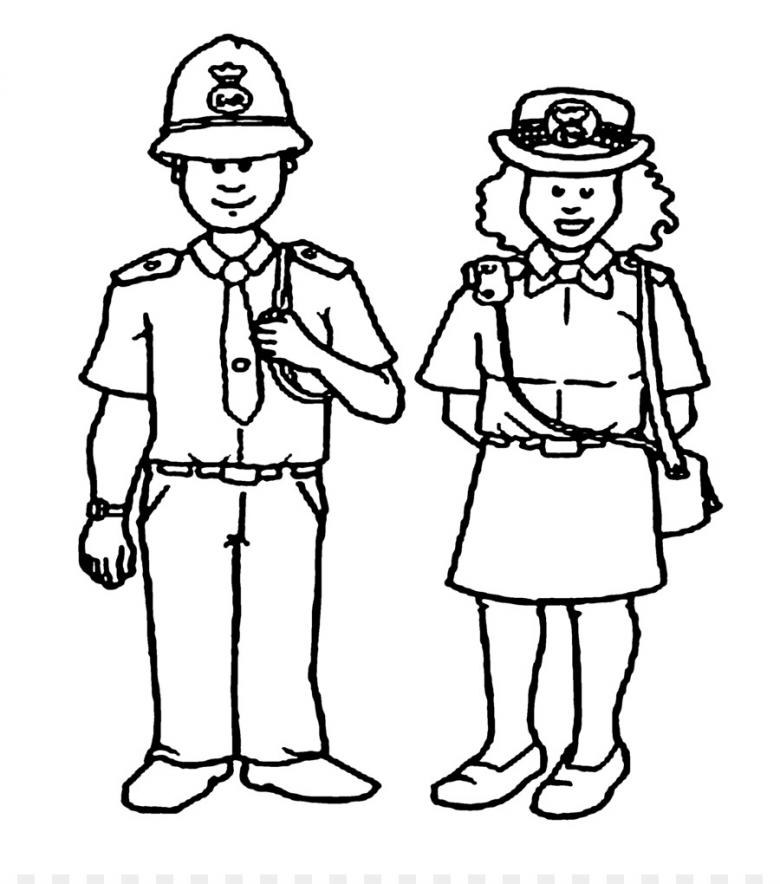
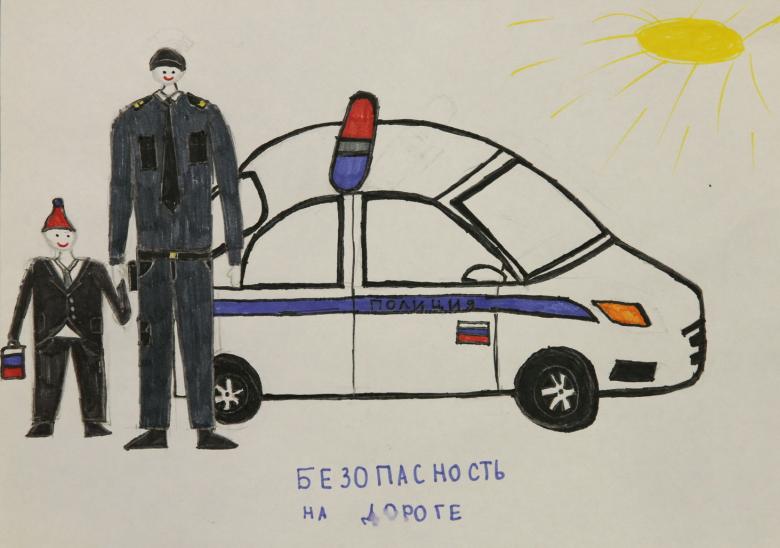
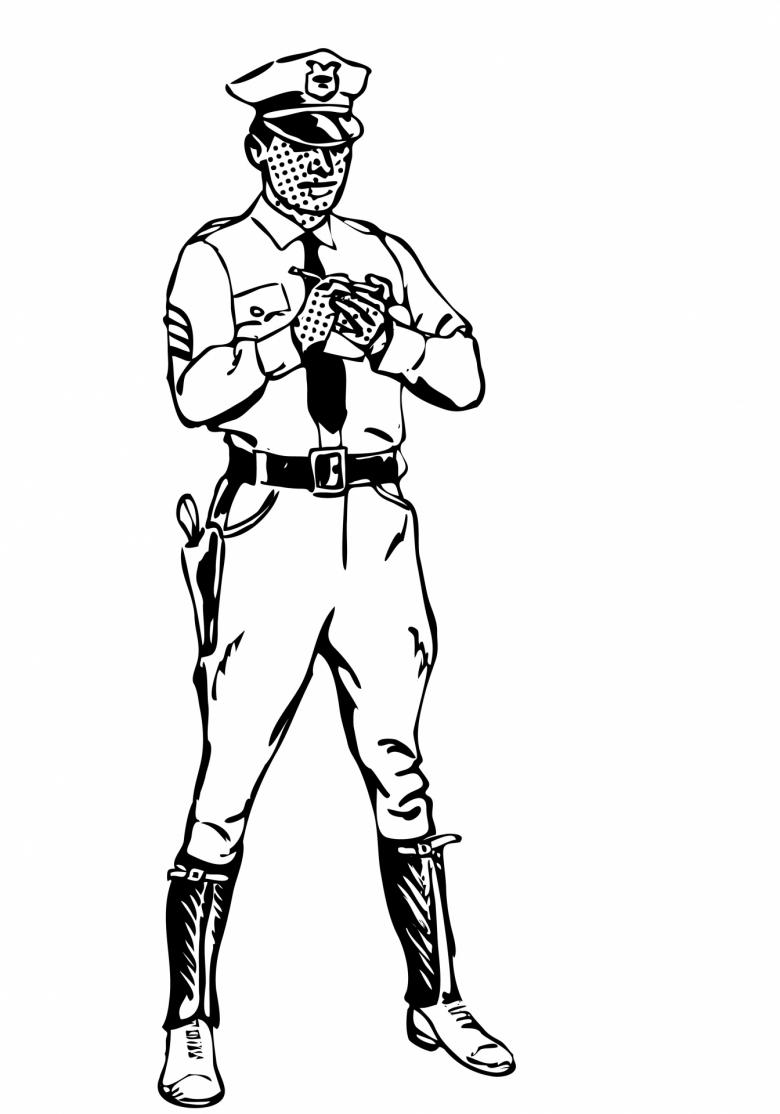
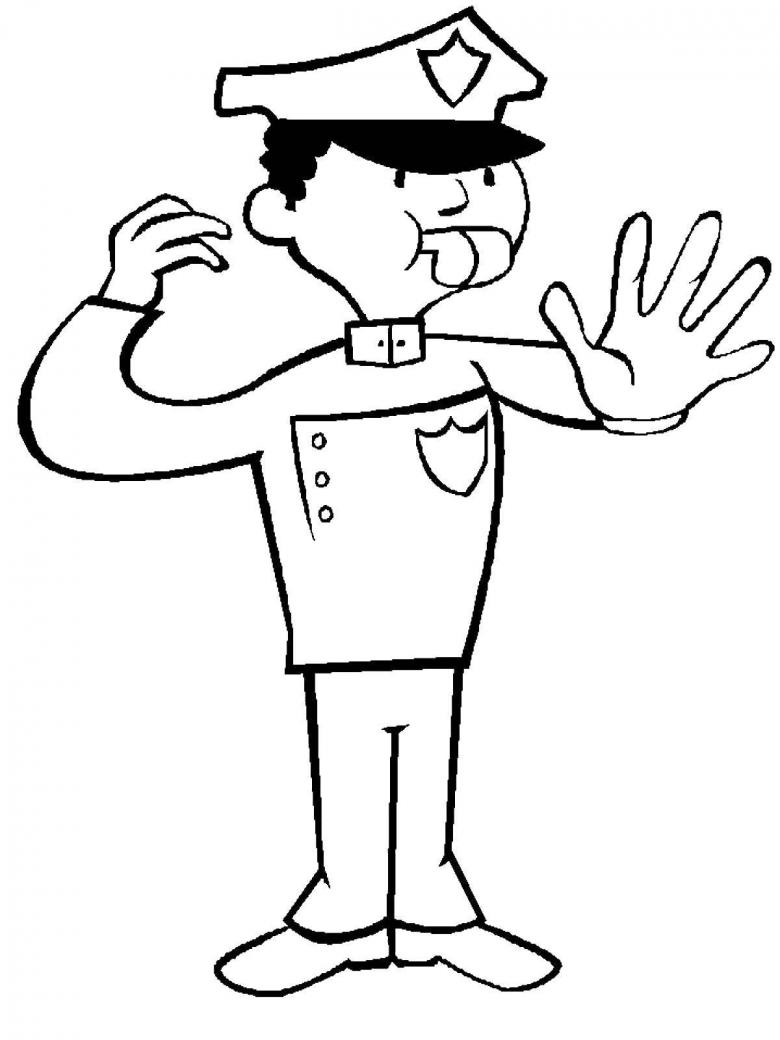
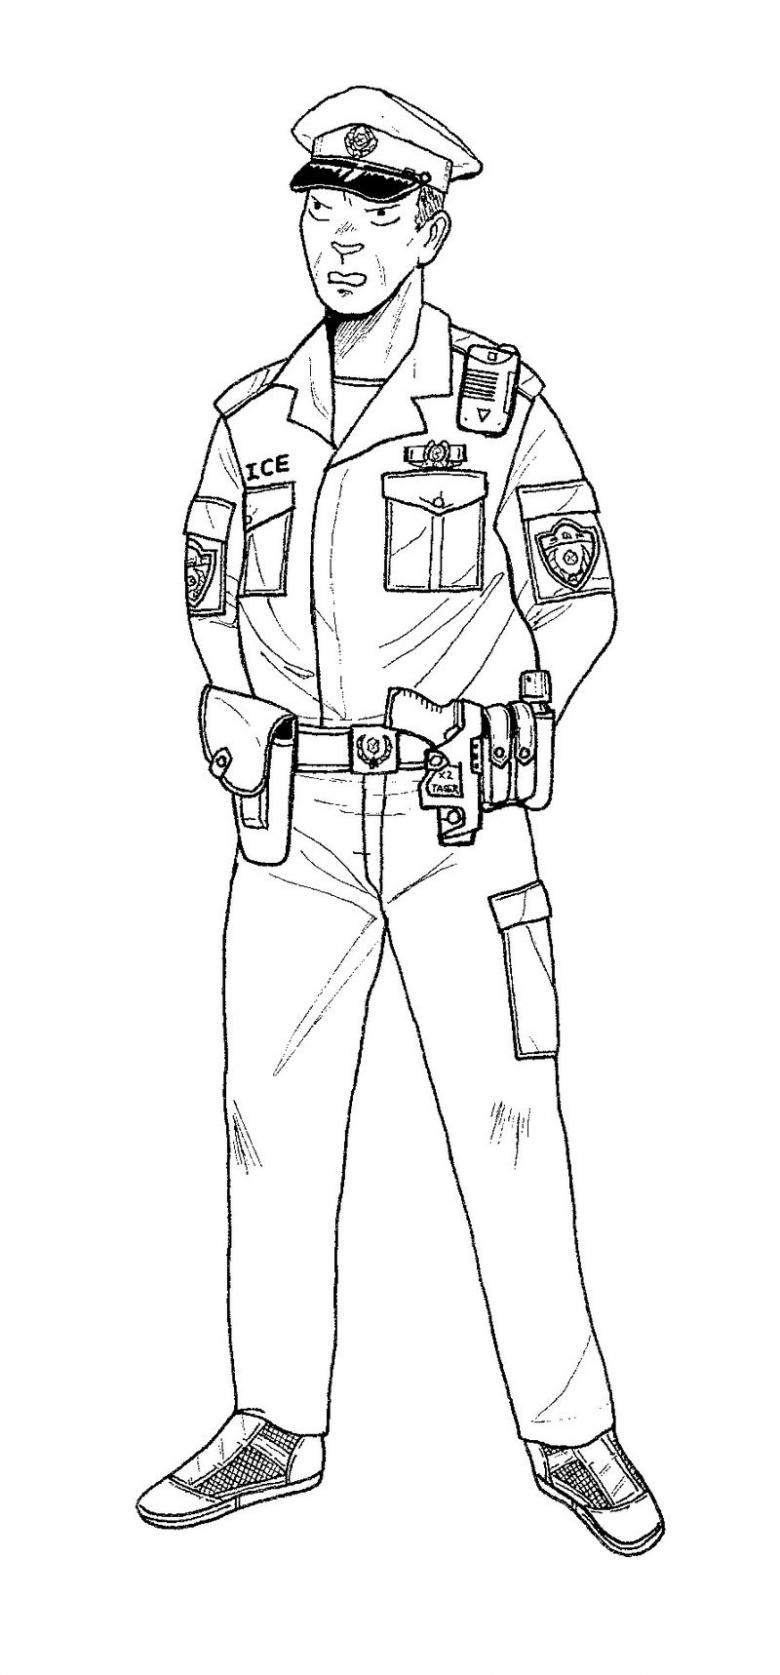
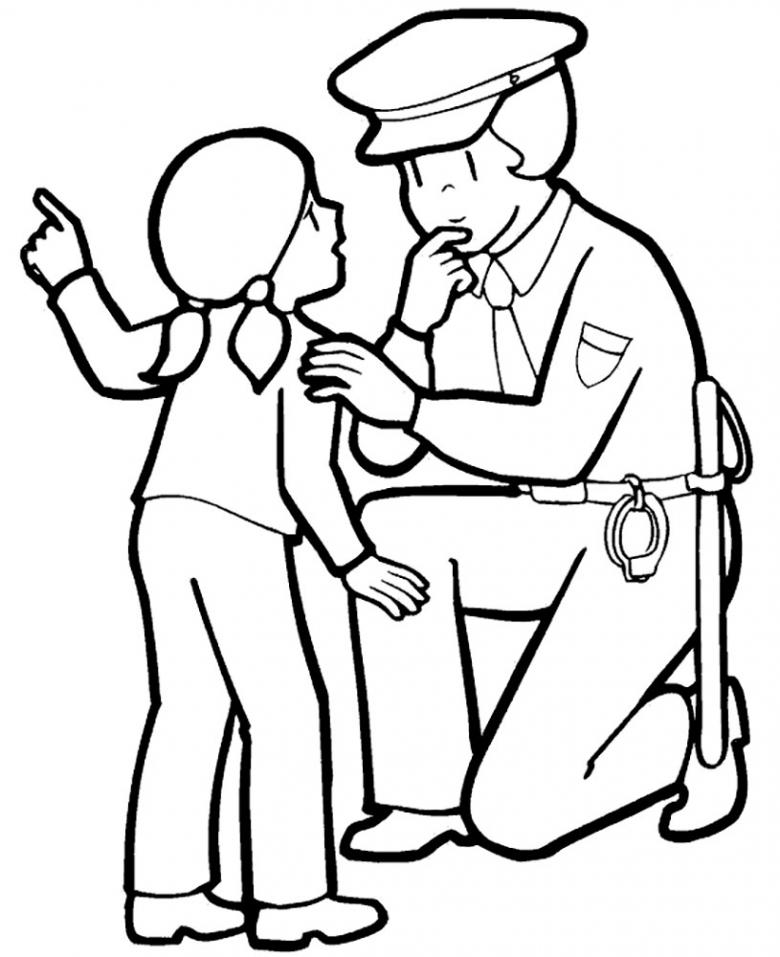
Drawing a person is a rather difficult task. You need to have a good eye and have some experience as an artist. In this one, we'll figure out how to draw a policeman and present 4 detailed master classes with step-by-step instructions.
Option 1: Drawing with a pencil
All you need for this drawing is a sheet of blank paper, a simple pencil, and a good eye.
- Start with the head and face of the policeman. In the center of the sheet draw a small line 1 cm long.
- Leave a small gap and next to it draw a second line parallel to the first, but a little obliquely.
- Connect the bottom ends of the lines in an arc, highlighting the chin.
- Our policeman will be wearing glasses, so the top of the face draw large glasses.
- A little lower draw a small corner (nose) and mouth, as a line.
- All law enforcement officers wear an obligatory hat. To draw this piece of clothing, connect the upper ends of parallel lines with an arc. The convex part of the arc is directed downward. Visor ready!
- Above the visor, draw a small rectangle, which will serve as the base of our cap. From the figure, draw small lines pointing sideways.
- Draw cockade.
- Cap is ready.
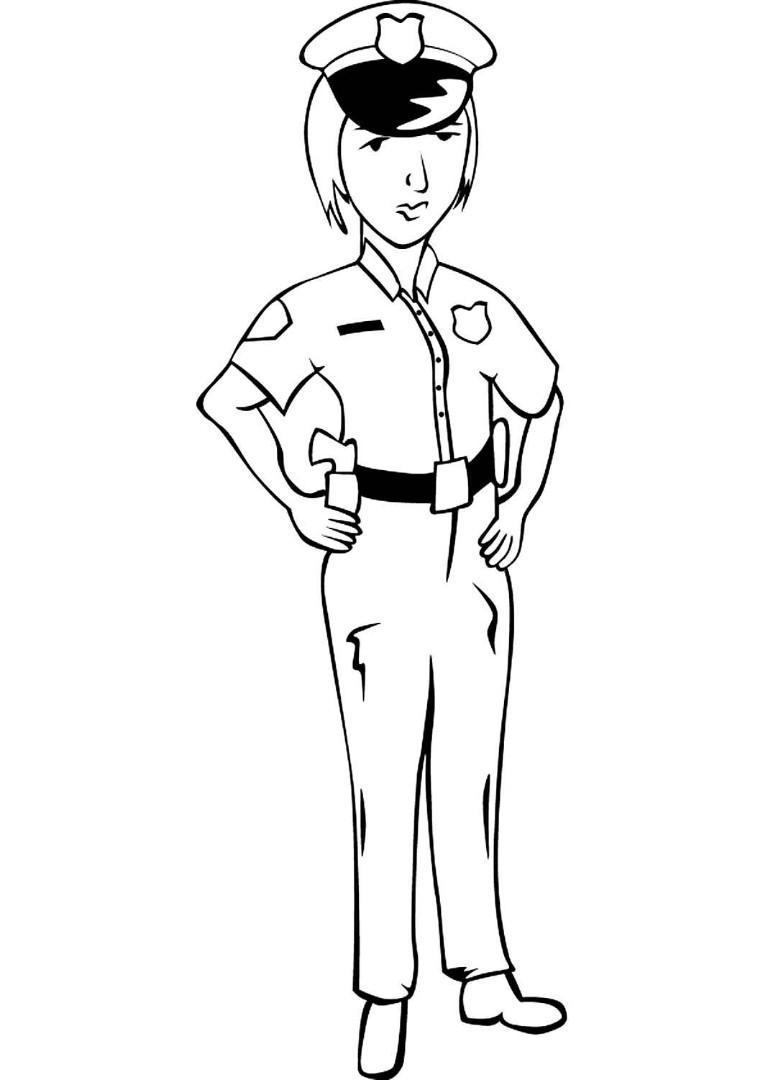
- From the chin, draw a small triangle looking down. Draw the collar of the shape.
- In the middle of the figure draw a line down, which in the future will show the location of the buttons on the shirt.
- Next, we should draw a badge on the right side of the chest of the police officer, and on the left side place the pocket.
- The next step is to mark the line of the man's shoulders. To do this, from the top of the collar, draw small lines pointing slightly downwards.
- On the shoulders draw the shoulder straps of a police officer.
- Draw the waist line. Remember that it is slightly narrower than the shoulder line. There should be a belt with a buckle on the waist.
- Next we draw the arms. The arms will be bent at the elbows and put behind the back.
- Don't forget the proportions.
- From the waist line draw the legs with dark pants and boots.
- Erase all rough lines, unnecessary strokes and draw a thick line around the figure of a policeman.
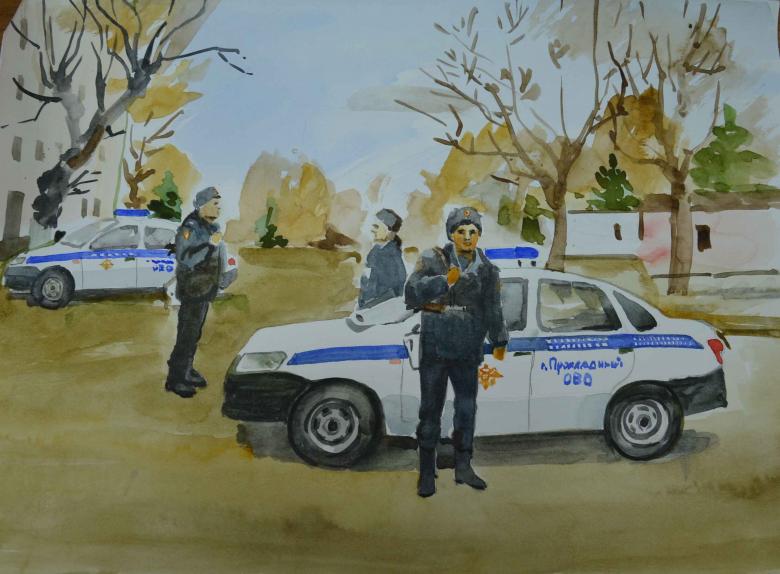
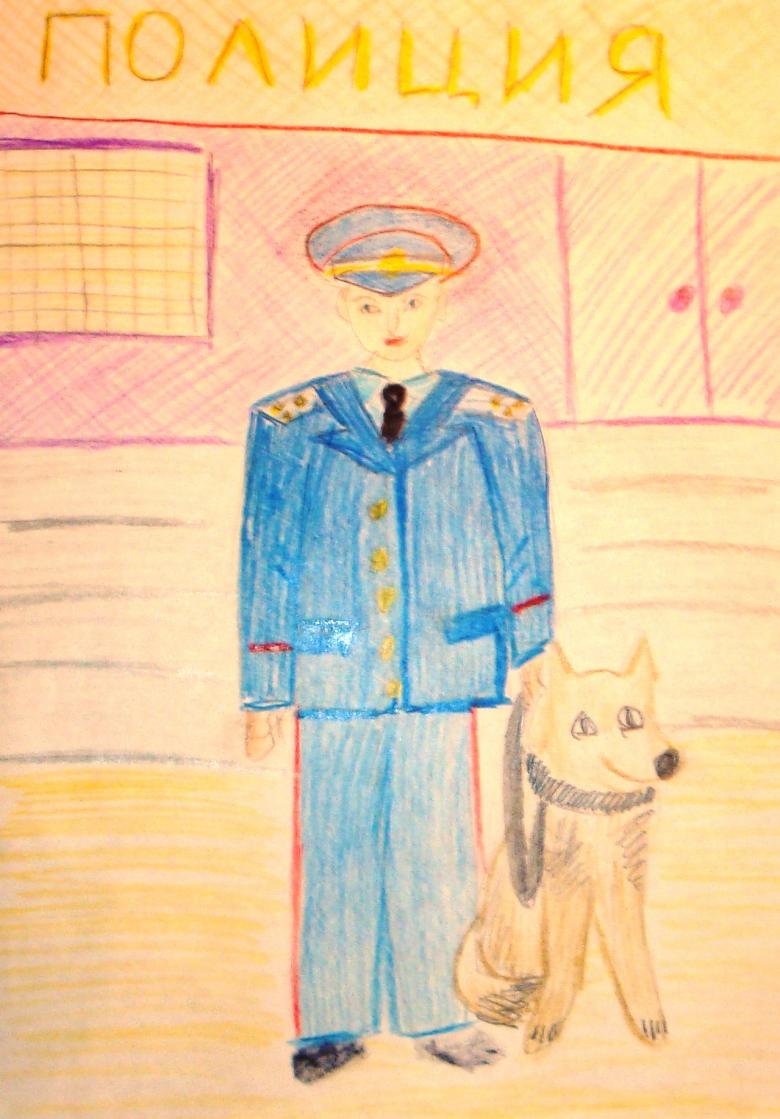
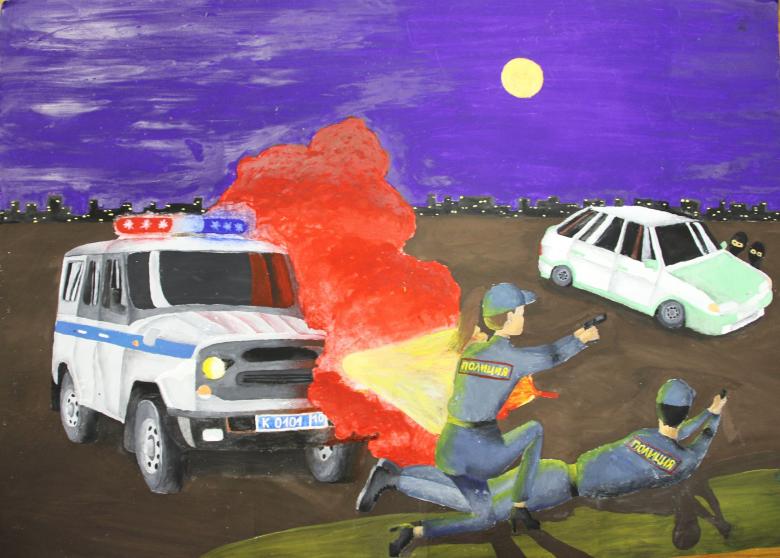
- If desired, you can add elements of law enforcement uniforms, a police car, or a fighting dog.
The drawing is ready.
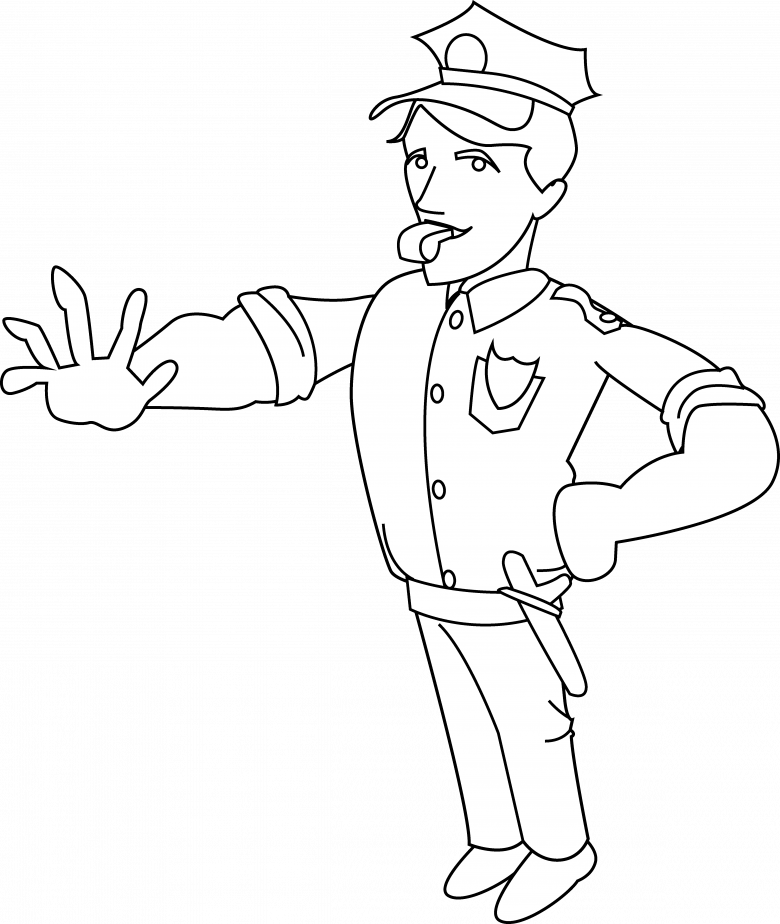
Option 2: Drawing a police officer in color step by step
For this option, you need paper, colored pencils, paints, and a black felt-tip pen or marker for the outline.
- The first step is to mark the upper and lower boundaries of the drawing. To do this, you just need to put two points, beyond which you can not go. Do not neglect this step, because in the end it may turn out that your picture does not fit on paper.
- The second step is to mark the boundaries of the main parts of the body - the head, torso, arms, legs. You just need to draw horizontal lines, marking the boundaries.
- Fine lines draw all parts of the body.
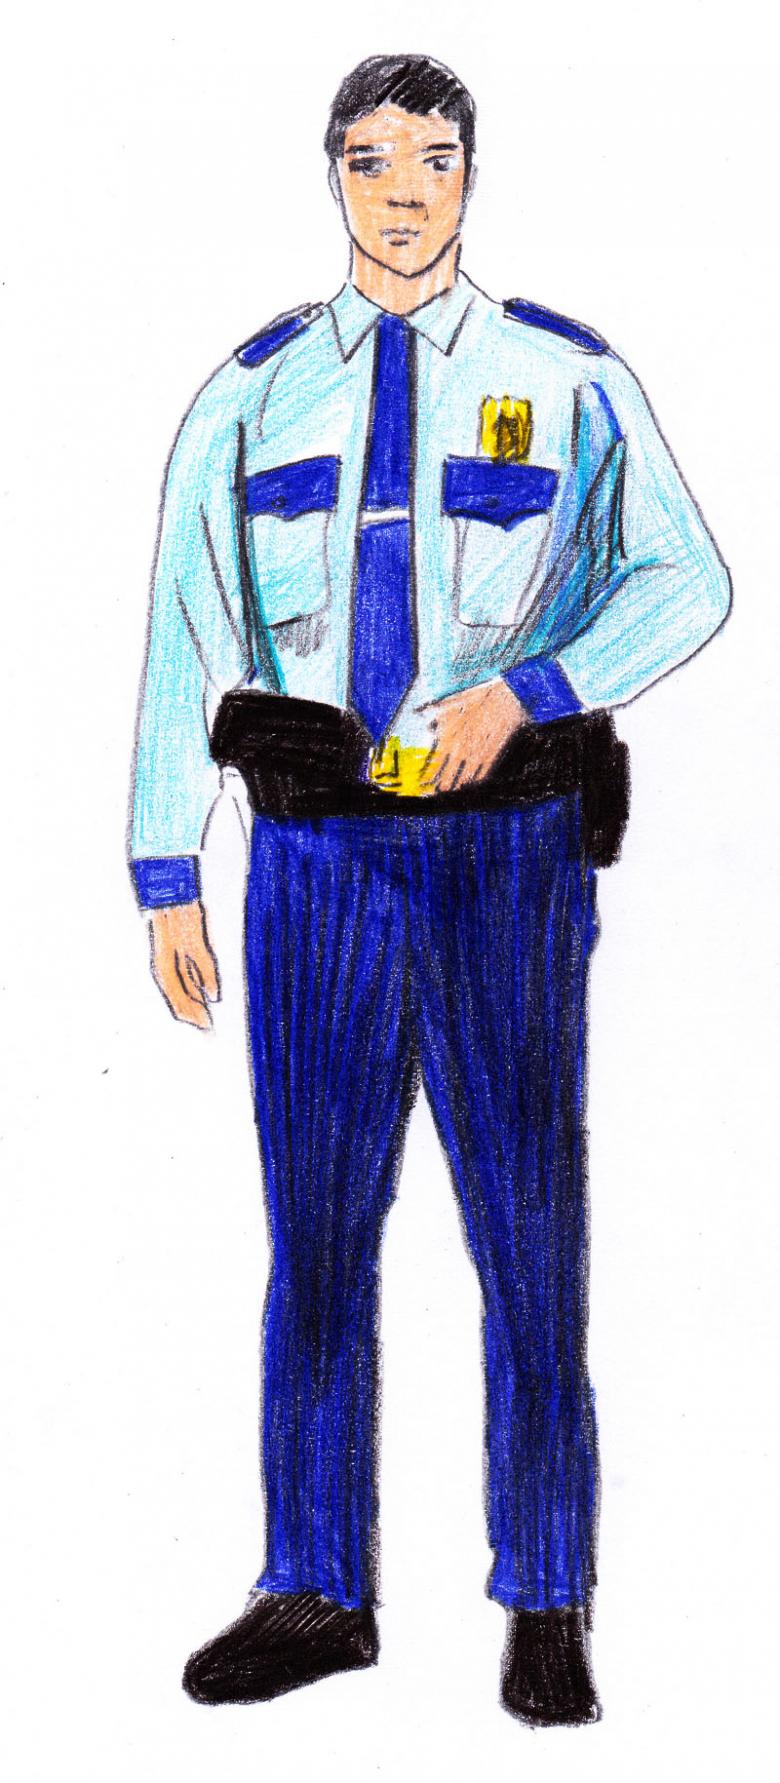
- Carefully traced all the details of the policeman's form, folds. Draw legs, boots, gun on the belt, etc.
- Erase with eraser all rough lines, unnecessary elements.
- Proceed to paint over.
- The face and hands of the policeman should be painted with a light shade of pink. To do this, you need to mix the bright pink color with white.
- The shirt and the jacket of the policeman should be dark blue, black is used to paint all the small details of the uniform, such as glasses, baton, boots, cap.
- Then we paint the badge on the chest and the cap in yellow.
- If desired, you can trace the figure of a policeman with a sharp outline with a felt-tip pen or marker.
Drawing is ready!

Option 3: Sketching a police officer with step-by-step instructions
Just follow all the instructions and you will have a great police officer drawing.
- We'll start the drawing with the head, gradually going down the torso. First you should draw a small semicircle at the top of the sheet of paper. This will be the basis of the cop's headdress.
- Then below draw the oval head, without a pronounced chin.
- Dots indicate the nose, eyes, lips and ears of the policeman.
- The next step is to mark the eyebrows and the badge located on the cap.
- Draw a thick line around all parts of the picture
- We proceed to the torso.
- Mark the line of shoulders and collar form.
- Follow drawing torso, legs.
- Finish drawing small details: glasses, belt, badge, pocket.
The third version of the drawing is ready!
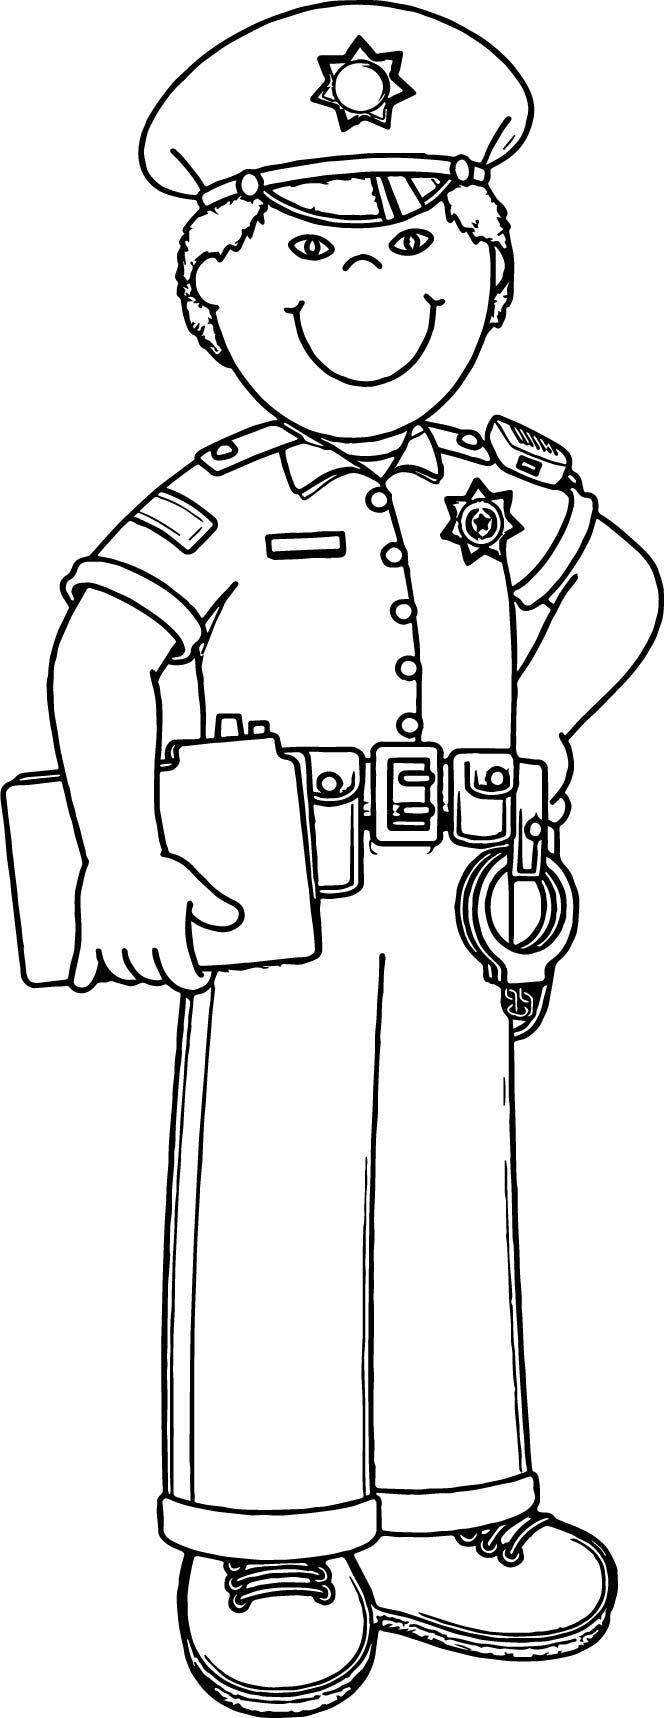
Variant 4: the fastest way of drawing for small children
This option is the easiest, designed for small children.
- The first step is to outline the approximate location of the torso, head;
- Draw a general silhouette of a policeman, without specific lines and details;
- We proceed to the drawing of the details, elements of form;
- Drawing the face;
- Draw the outline with a bright line;
- Draw all the little things, the small details;
- We erase all rough lines.
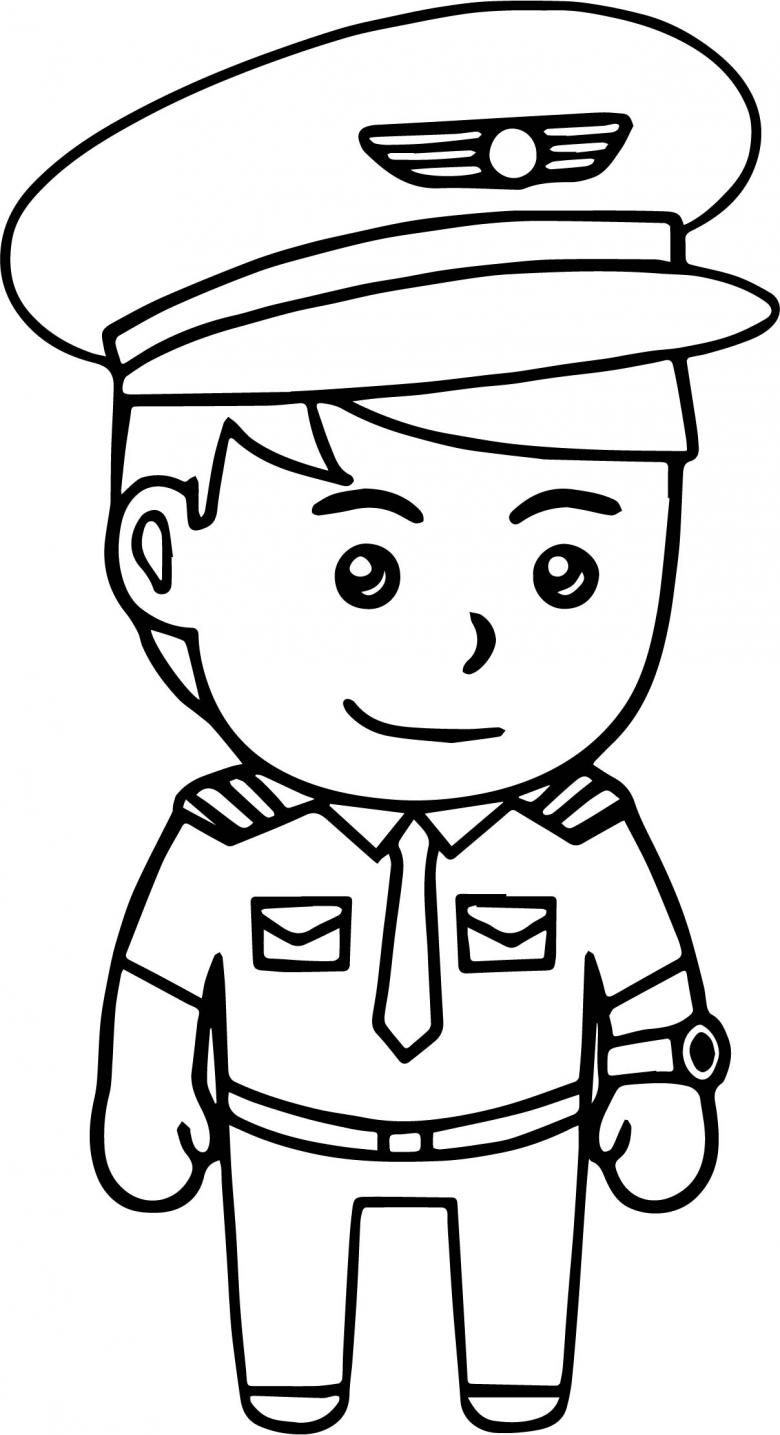
The main task is to remember that the human body is proportional and has its own features. Do not chase after full symmetry-it is almost impossible. Just enjoy the process and then you will have a great drawing, even if it is your first experience as an artist.

