How to Draw a Peacock in Pencil - Easy Sketches for Beginners (60 photos)
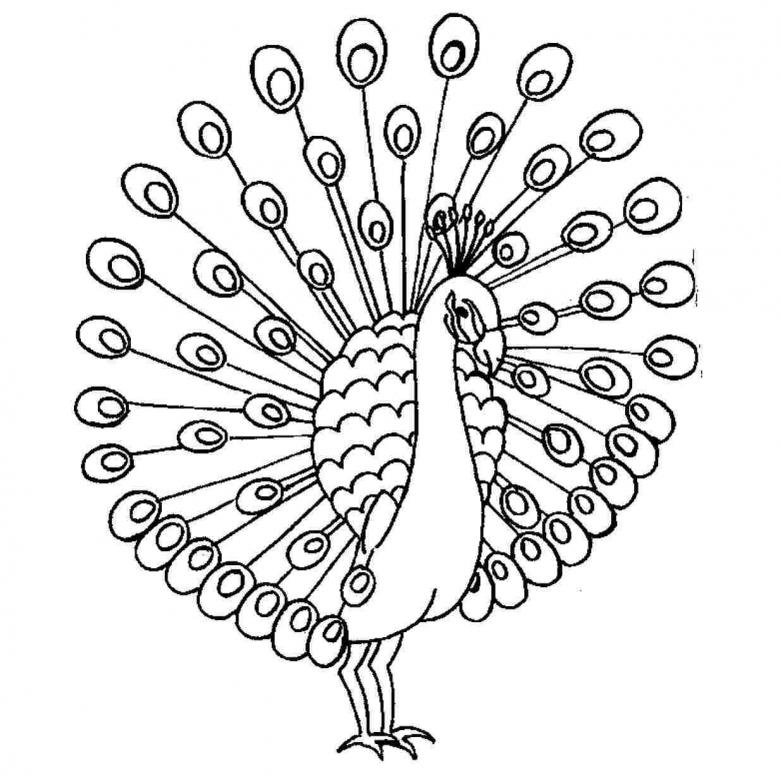
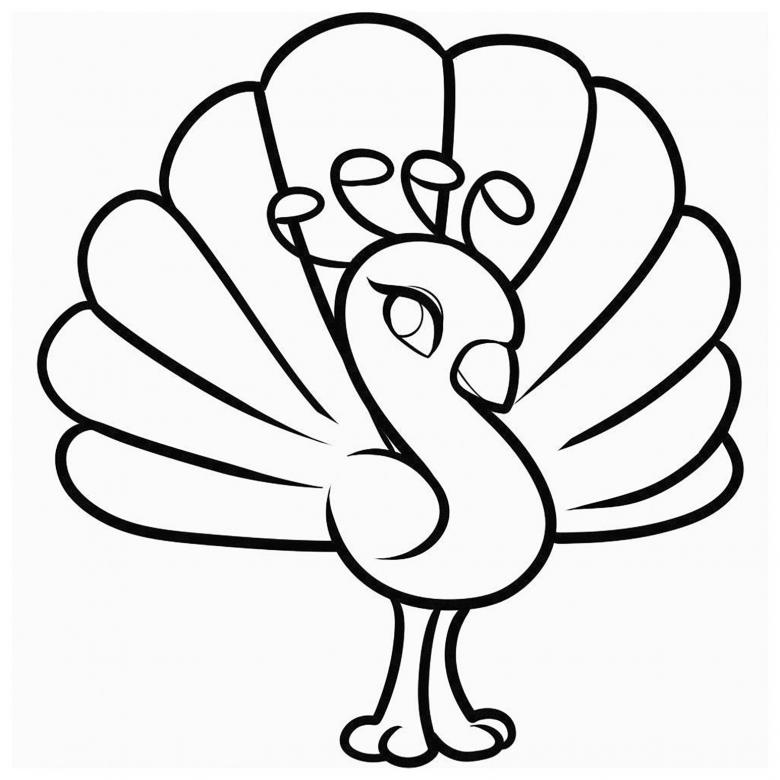
The peacock is a beautiful, majestic bird. In the cultures of many countries this animal is considered a symbol of wealth and luxury. The main distinguishing feature of the peacock is a huge colored tail, with which they attract attention. Today's lesson will tell you how to draw a peacock step by step.
Simple pencil drawing
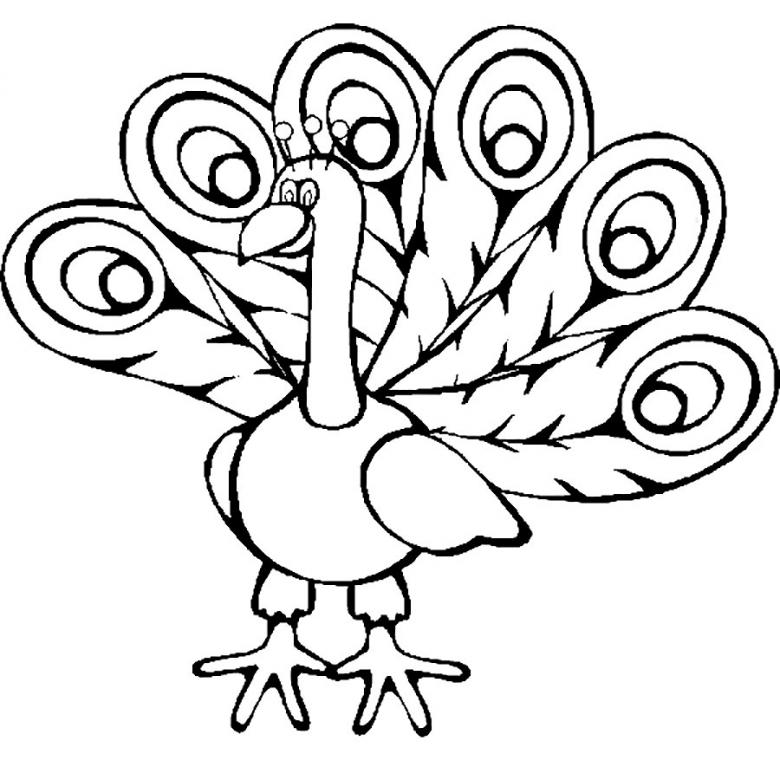
This option is suitable for learning with your child to make pictures or crafts for school. Different materials are suitable for the image, both pencils and watercolor paints or felt-tip pens.
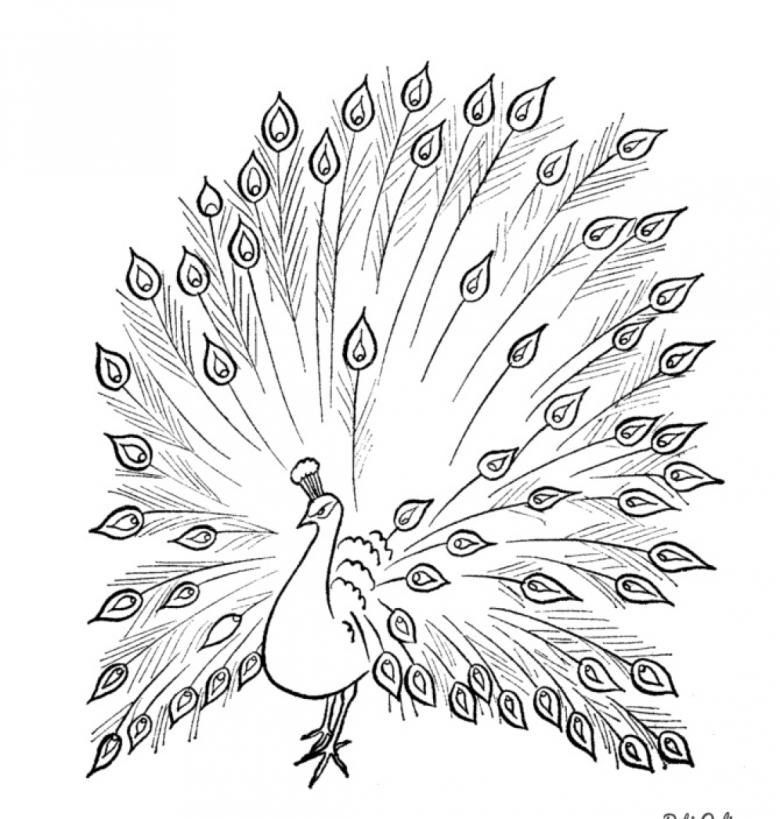
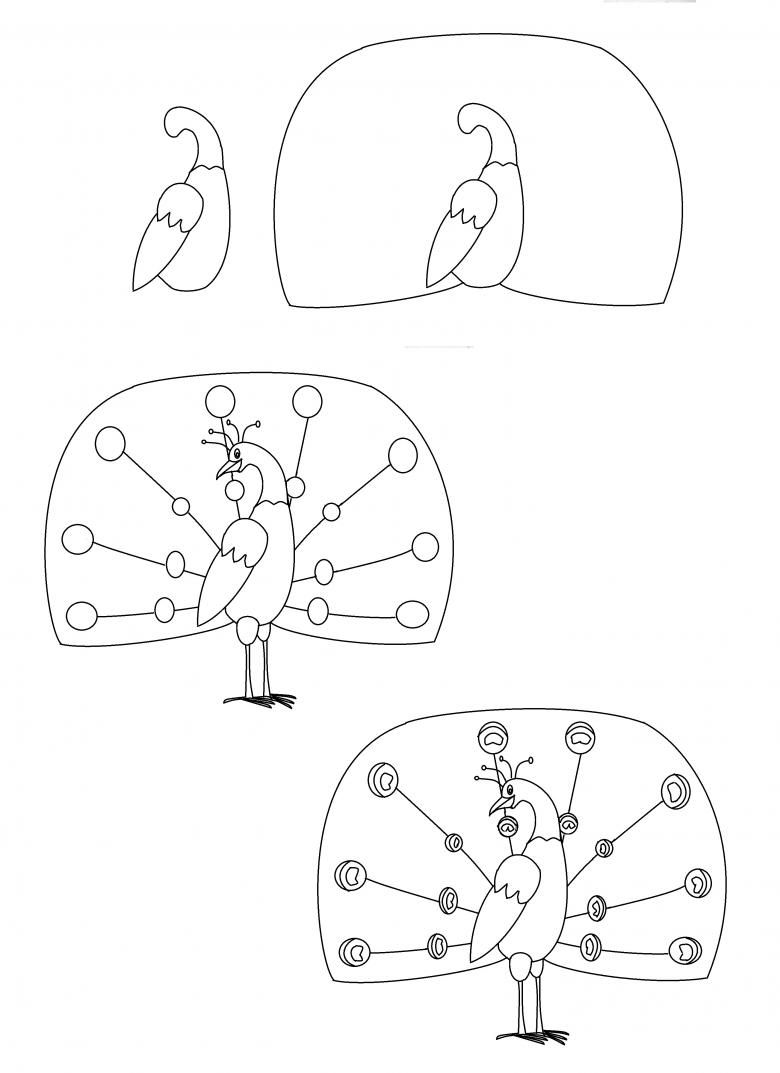
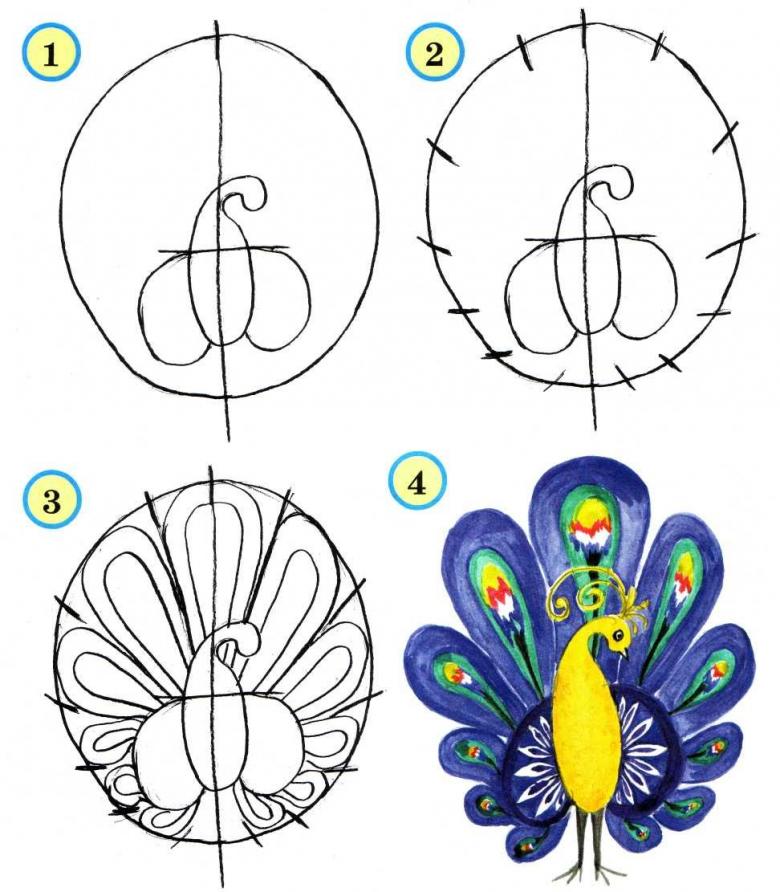
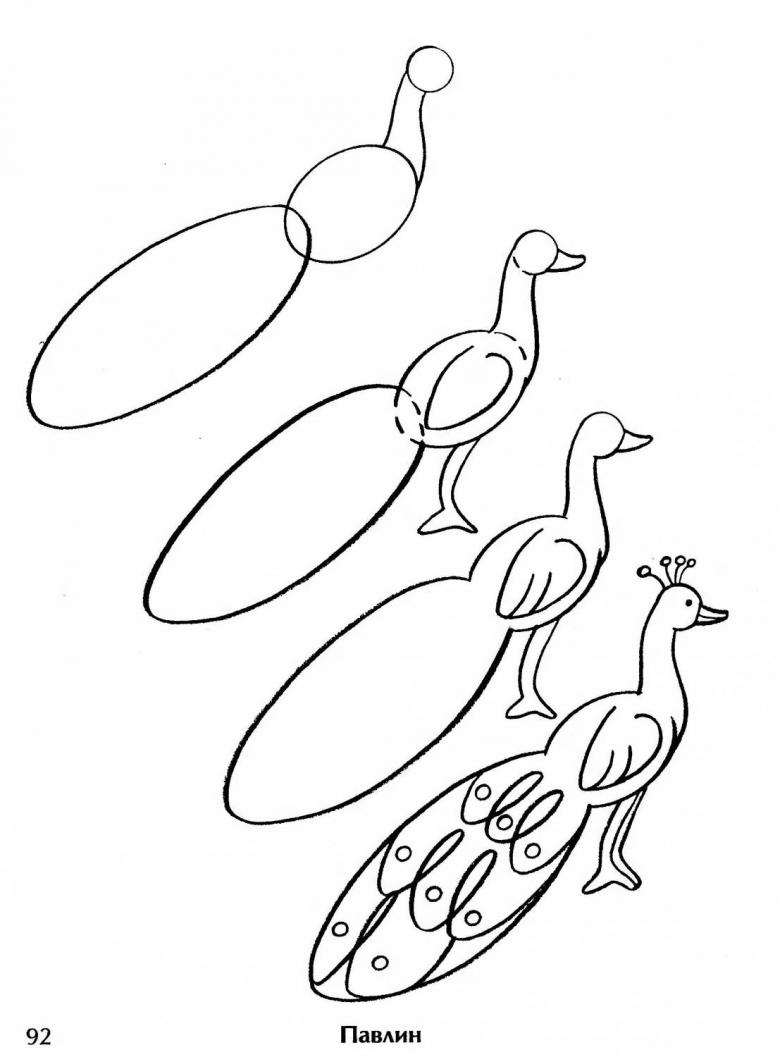
- The first step is a clear pencil sketch. Draw a small circle (it will become the head) and an oval under the circle. Divide the circle visually into two parts, in the ratio 1:2, and connect to the oval with a line perpendicular to the one that divides the circle.
- Curved lines connect the circle to the oval. The oval is a little turned torso. Decide which side will be the wing and depict it with two lines, the movement should be similar to what an artist does when drawing a leaf.
- Depending on the side you choose, draw the bird's eyes in a circle, with eyelashes on it. A crown of feathers can be depicted on top. Three or four will be enough. Do not forget about the sharply curved beak.
- Paws can be drawn with simple sticks, or you can do more complicated things and make them volumetric. To do this, you need to draw down three strips of approximately equal length, and then connect them with four semicircles. You will get feet with two toes.
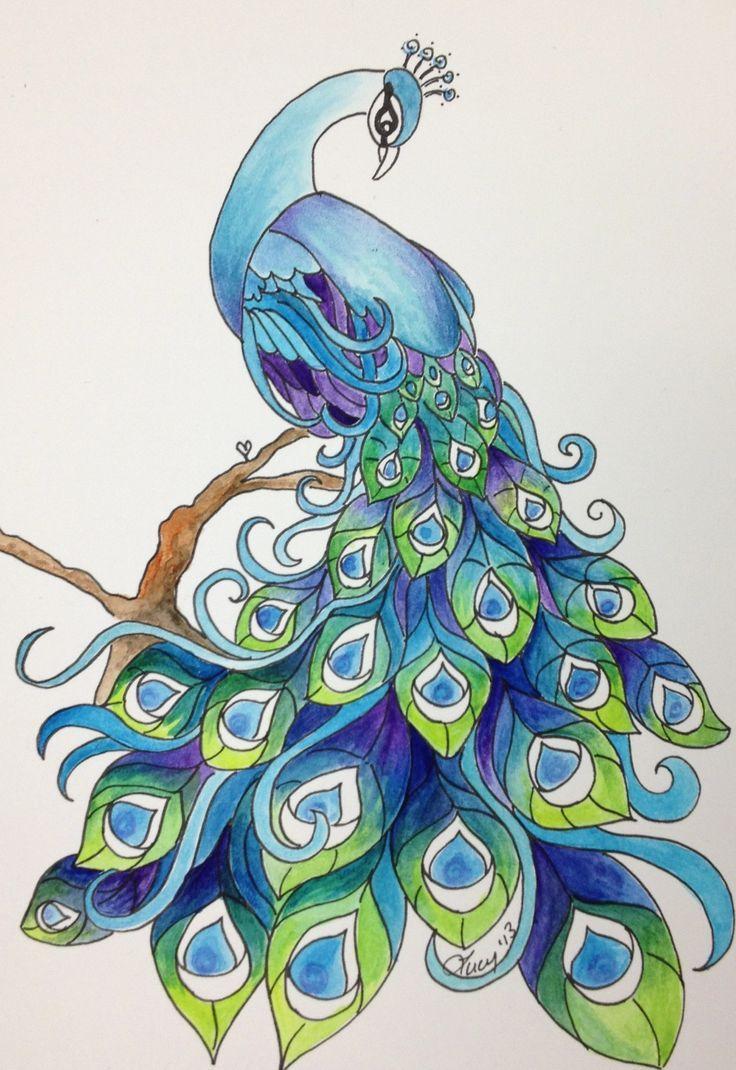
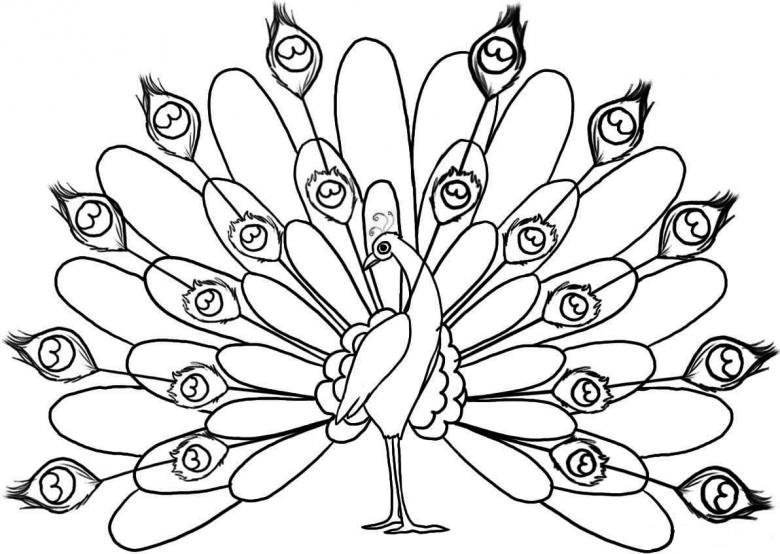
- Determine the scale of the tail and draw two lines from the body, going obliquely in different directions. Using semicircles, connect the right and left strips. Divide the tail into lines. They should start at the connection point of the semicircles and end just below the middle of the tail. Decorate the strips with the original pattern of circles and ovals.
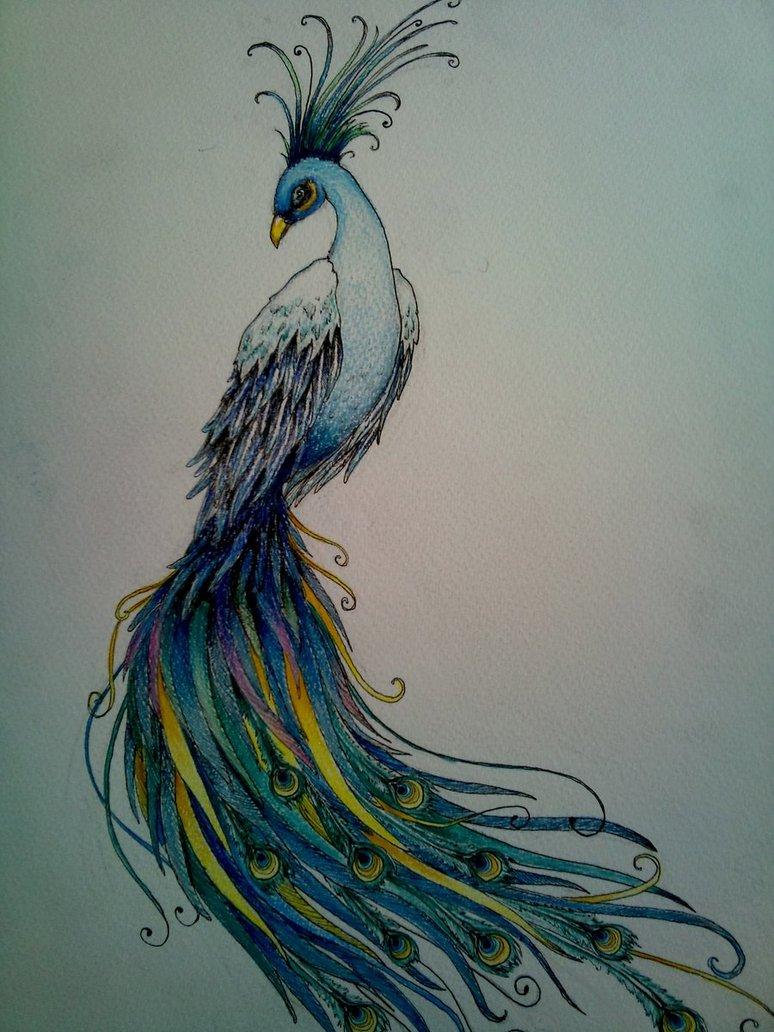
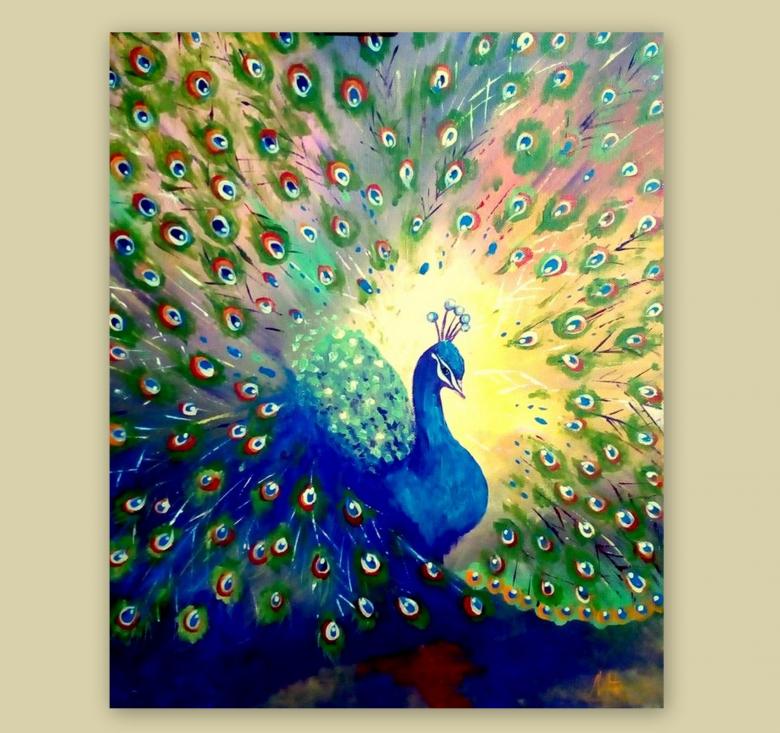
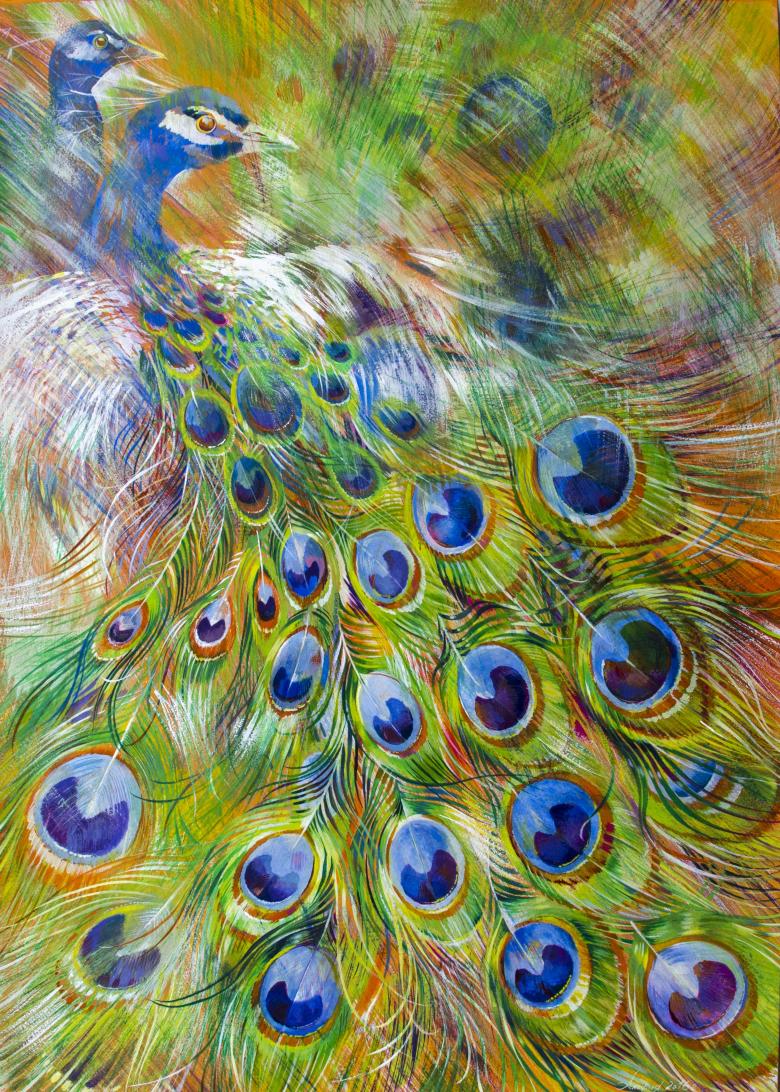
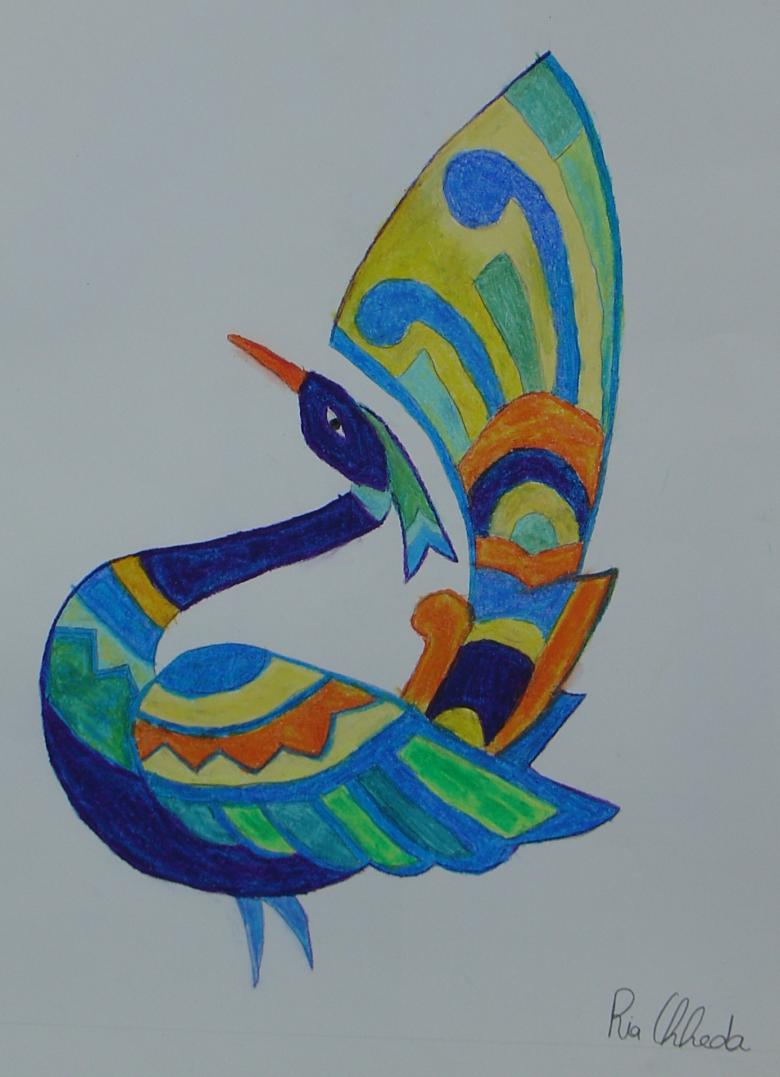
To paint the peacock, use blue, green, yellow, orange and black colors. Remember that the main thing in the drawing is brightness and beauty.
Peacock on paper
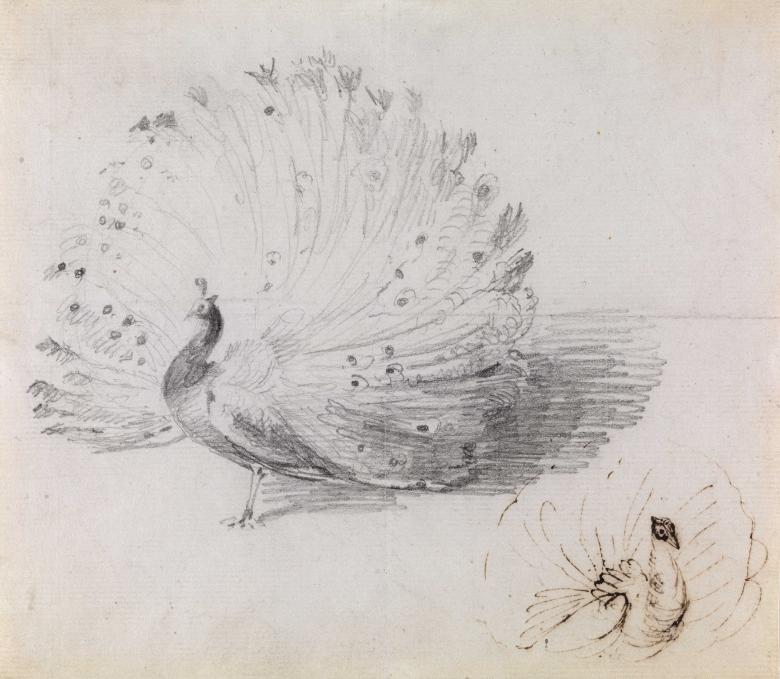
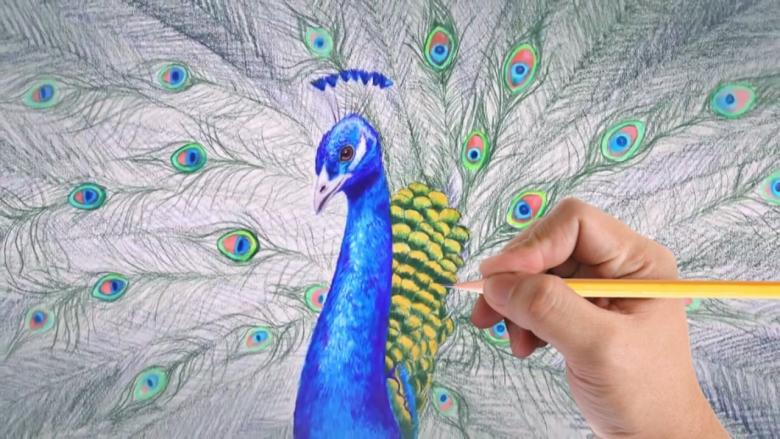
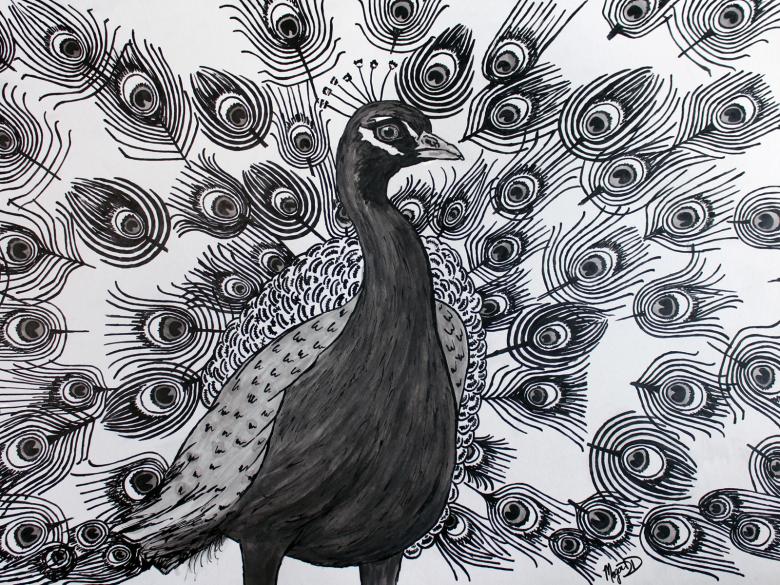
If there are no colored pencils or felt-tip pens at hand, you can also use plain black, soft pencil and hard kraft paper. In this case, you can use the shading or rubbing method to create shadows and highlights. You don't even have to show your child a photo from the Internet to draw a peacock step by step.
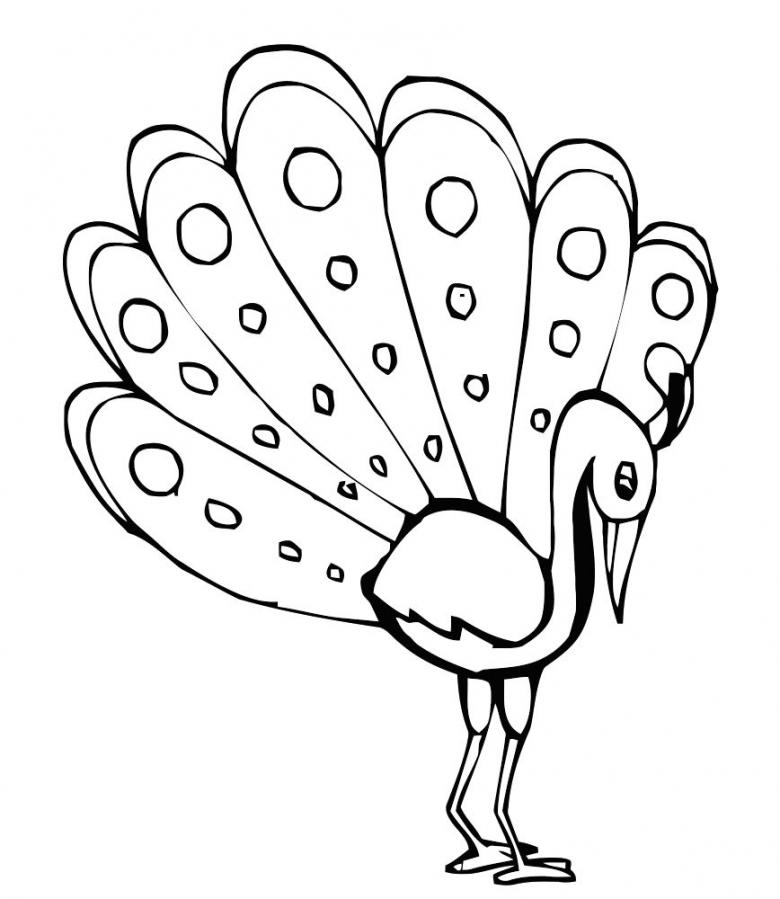
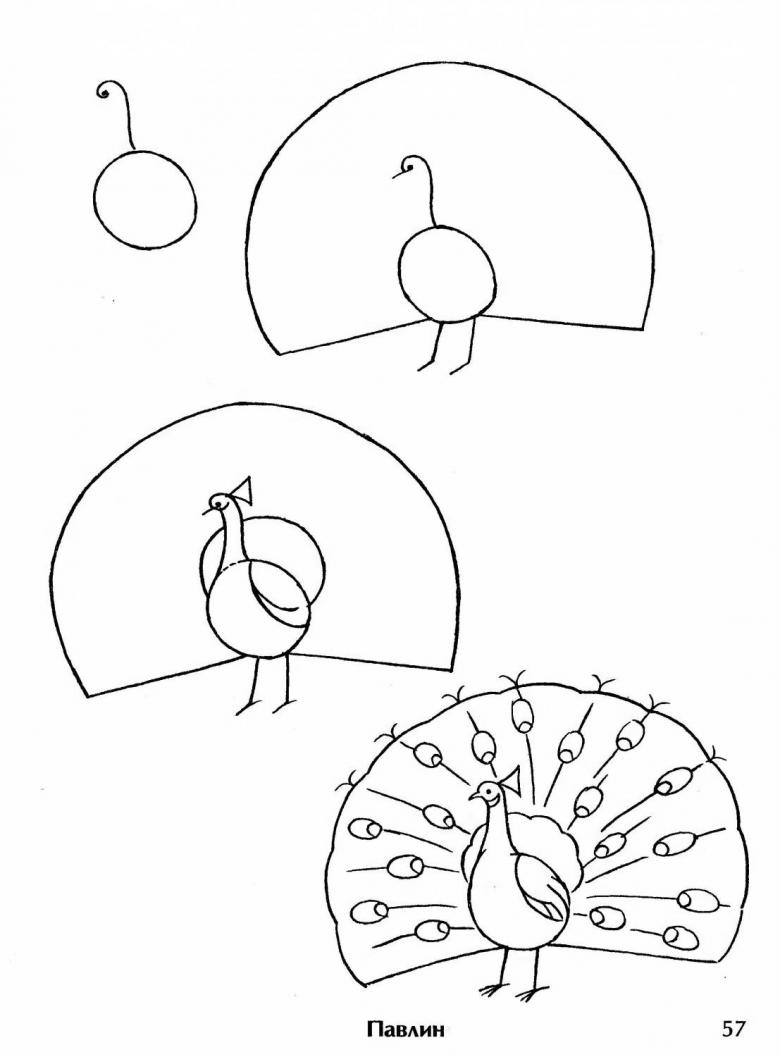
To start, it is enough to draw two circles one inside the other - with or without a compass. Draw a vertical straight line between them, dividing the circles into two equal parts. Draw two small circles, centered at the intersection of the vertical line and the inner circle. The upper circle will be the head of the bird and the lower - the torso. Remember, that the edges of the circles should not extend beyond the outer circle.
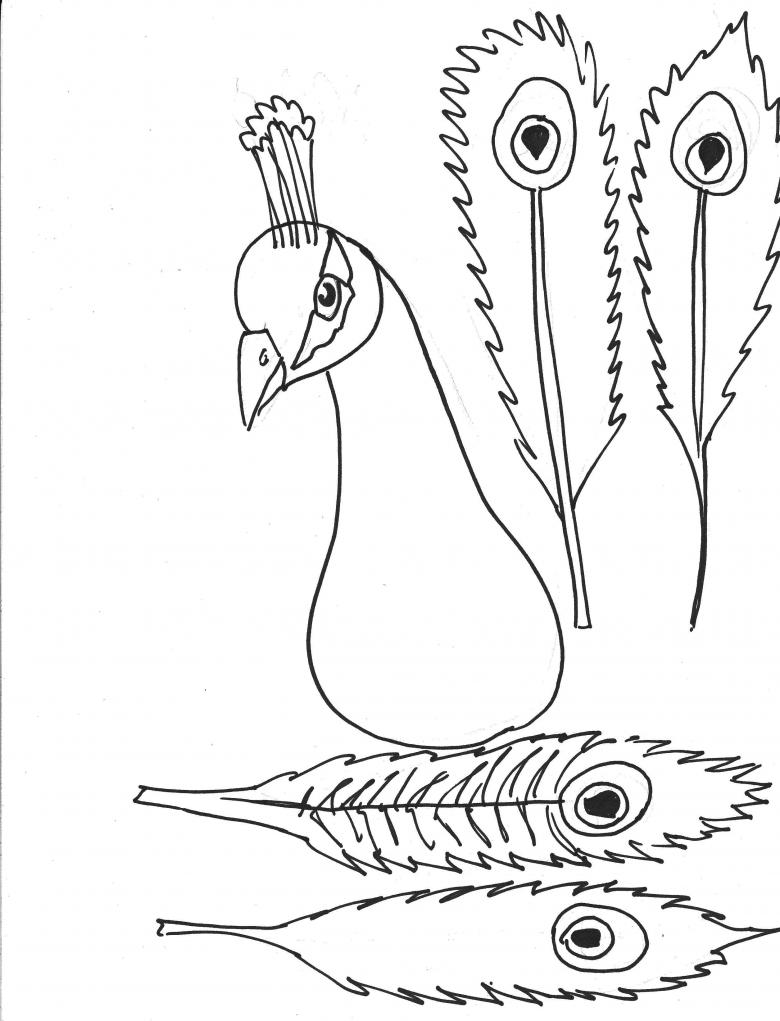
Next step, begin to add details peacock. Circle the bottom circle with two lines, making a motion similar to drawing a leaf or a drop. The pointed part of the figure is the bird's rib cage. From it spend paws in any order. Make sure they were not too long or too short and were equal in proportion.
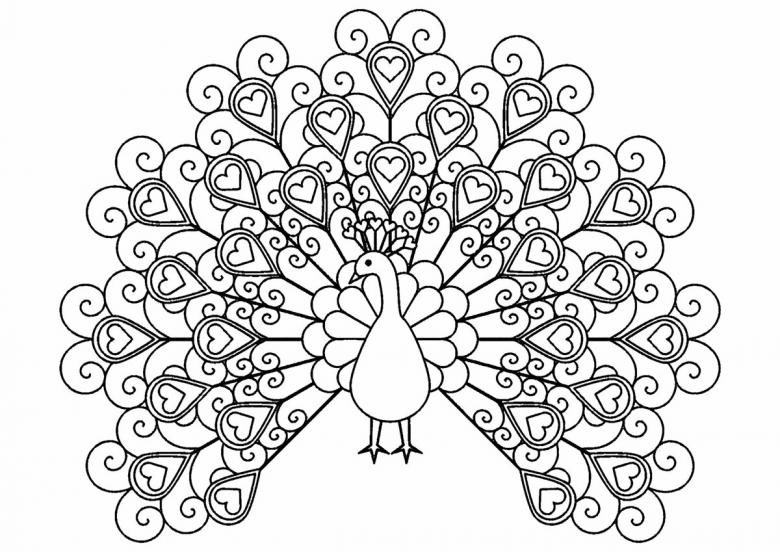
Draw the head of the peacock, adding two eyes and a beak. Make two brackets "{" at the top and bottom - this is the easiest way to represent a beak. Divide the head in half with a vertical line, and add three or four feathers for the "crown" at the top, at the central point.After you have finished working with the body parts, you can draw the tail. Here you have to use all the available imagination.
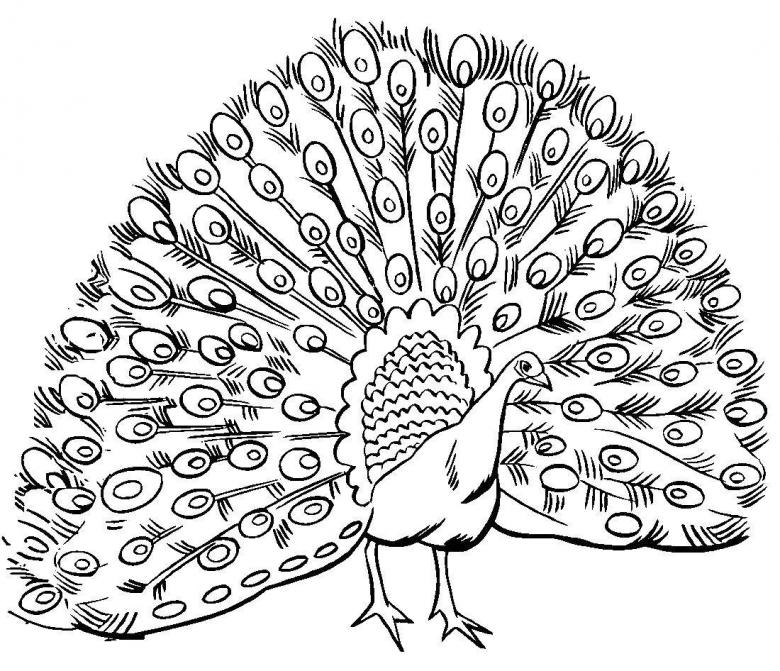
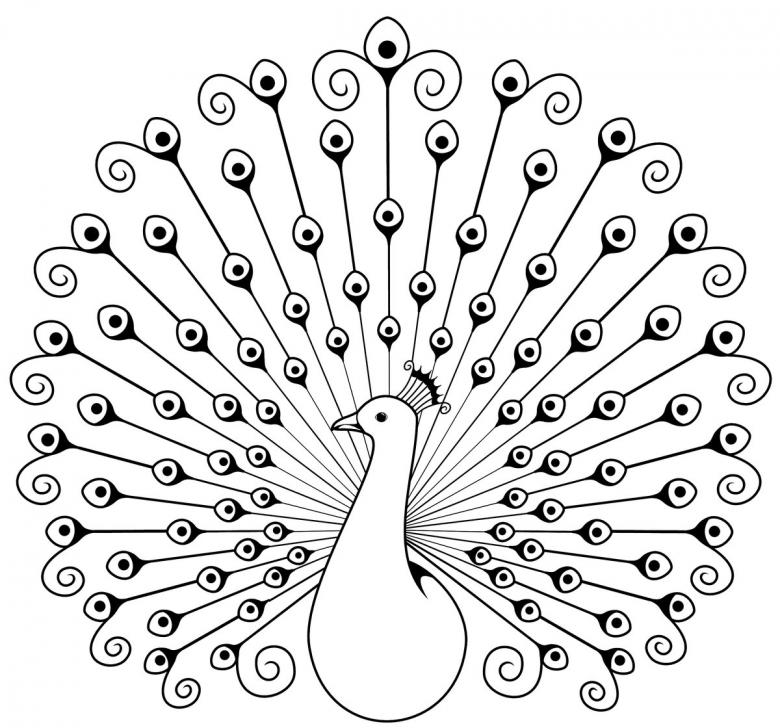
Moving from left to right, draw oblong ovals, slightly pointed upwards - these are the tail feathers. The back row should be drawn with larger ovals so that you can add smaller ovals, the second row of feathers, on top. If you don't want rounded tail feathers, you can convert the semicircles into triangles, then the shape of the feathers will look like a sword or a facet of a jewel.
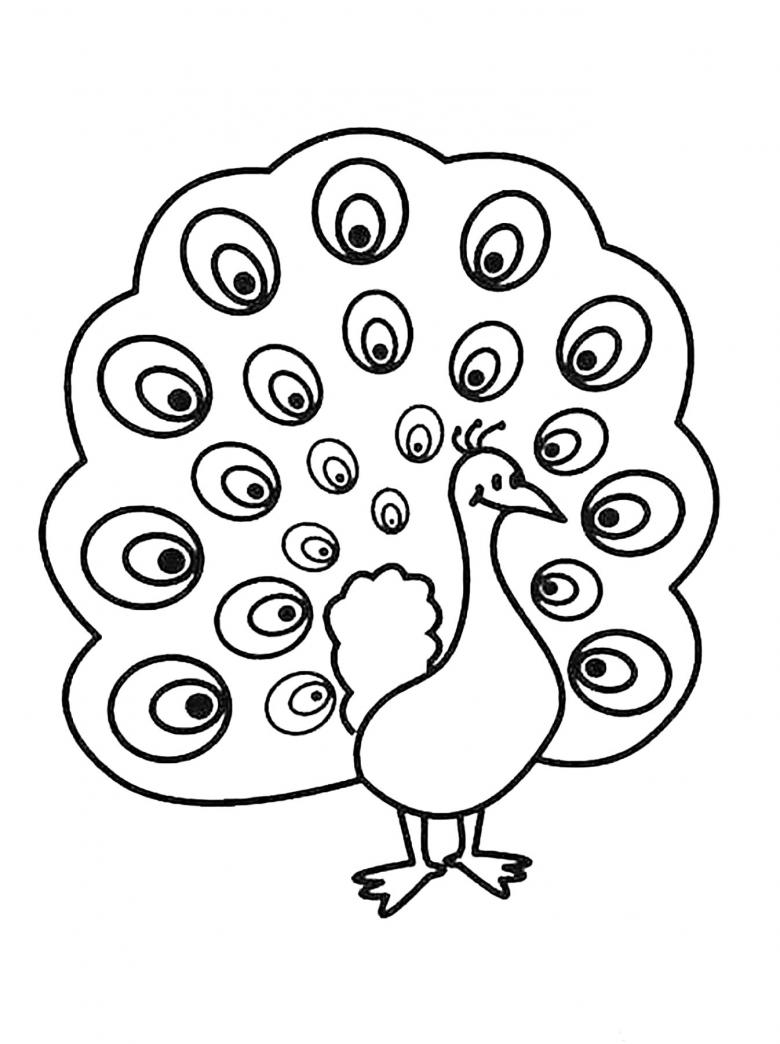
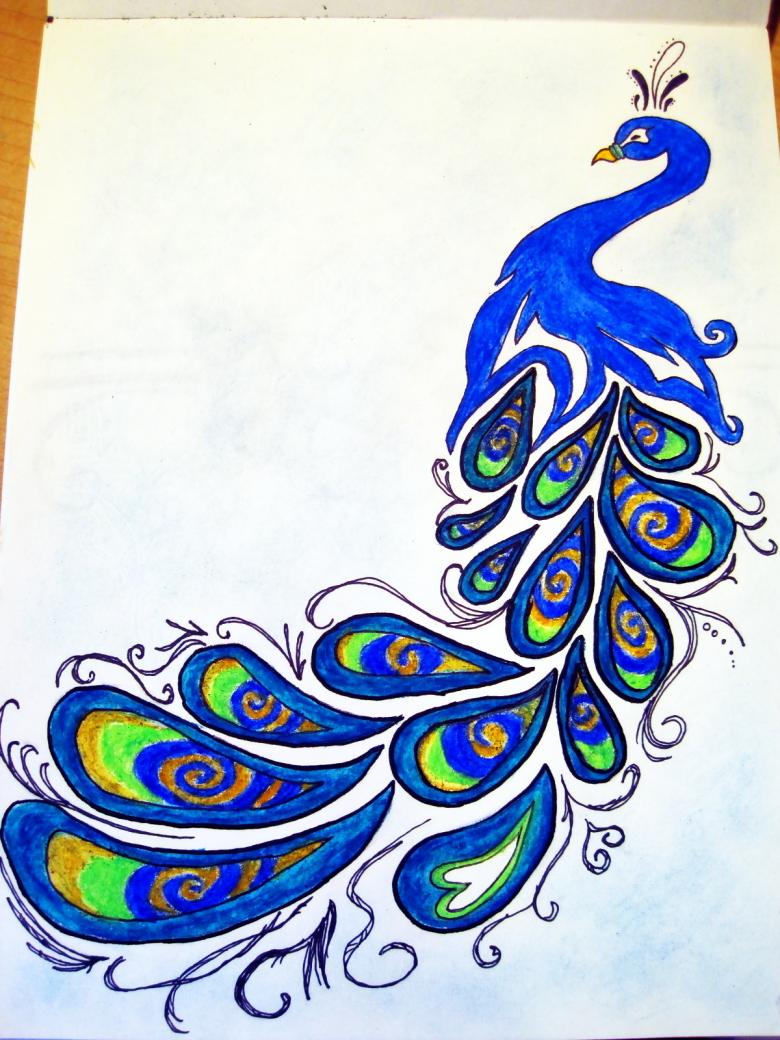
After all the basic contours and details are drawn, take a black pen or felt-tip pen and trace all the lines carefully. Wait until the pen dries, and then start coloring the picture. To make the image vivid and realistic, stick to a certain color scheme.
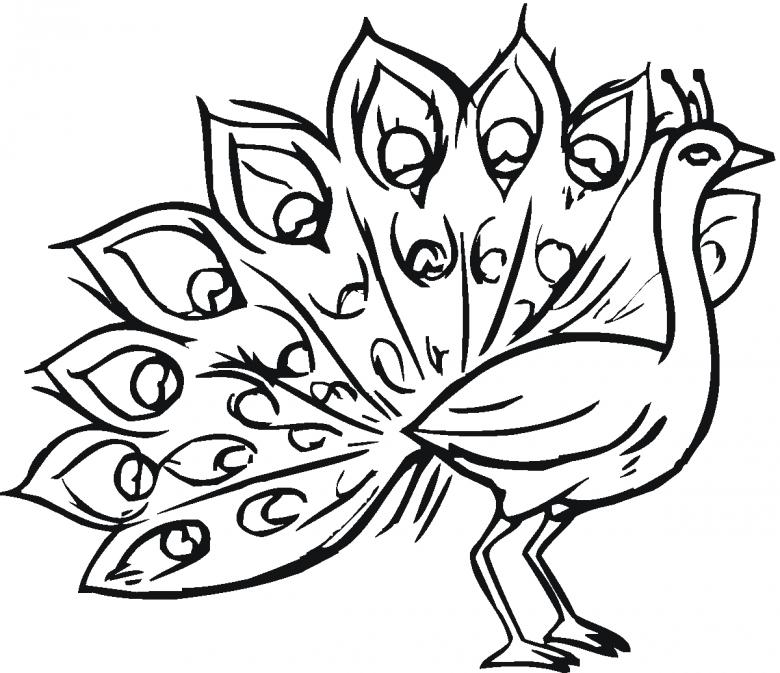
You can paint the peacock's body, wings and head in blue or navy. The tail feathers in this case should be painted in a similar shade, but a little lighter. Do not forget about the original ornament for the tail. As a rule, these are circles of different sizes, but for a drawing with a child you can come up with other figures and their location.
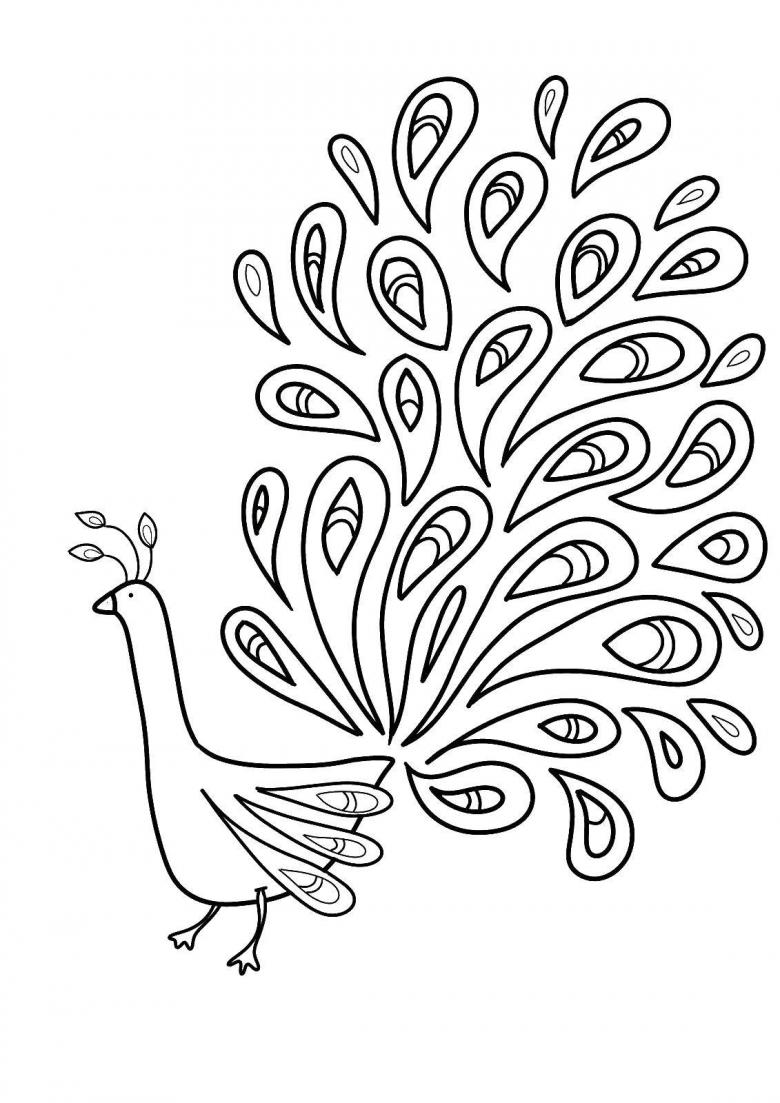
Drawing with paints
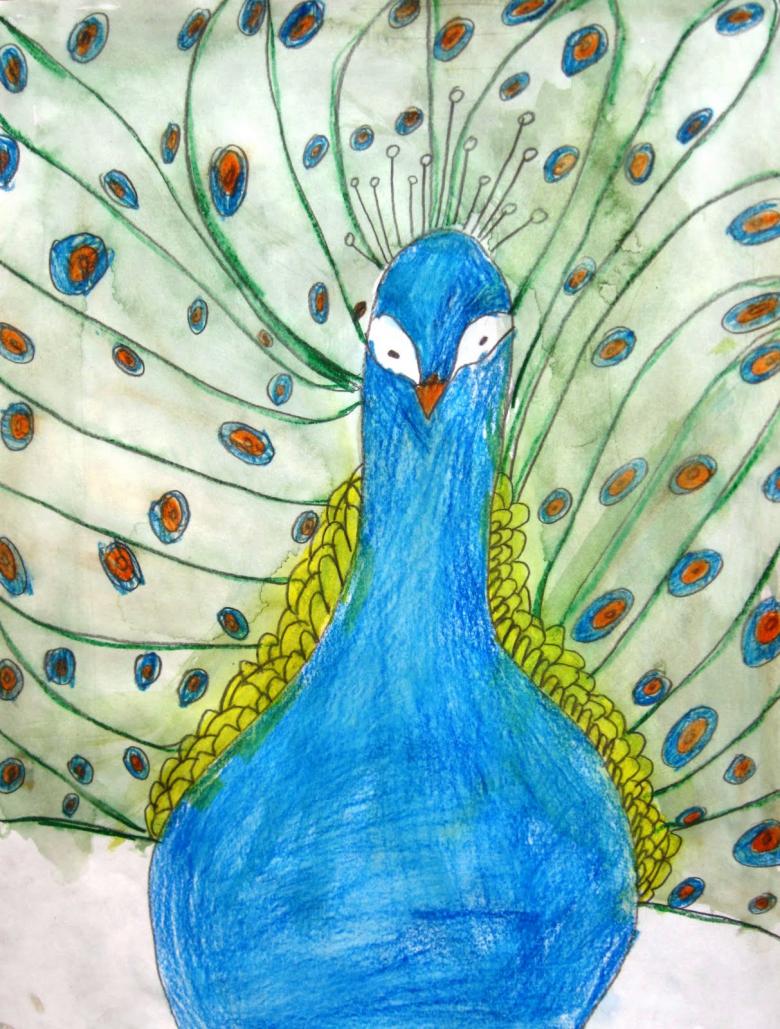
The original solution when depicting the peacock with paints is to use the entire album sheet as the tail of the peacock. In this case you will need:
- Draw the oblong neck, head and chest of the peacock with a pencil to the left or right of the center of the face.
- Draw the details - beak, eyes on the head. You can do this in white or light beige color.
- Draw the base of the tail behind the neck - its drawing technique is similar to fish scales. Draw diagonal straight lines in different directions from the base of the tail.
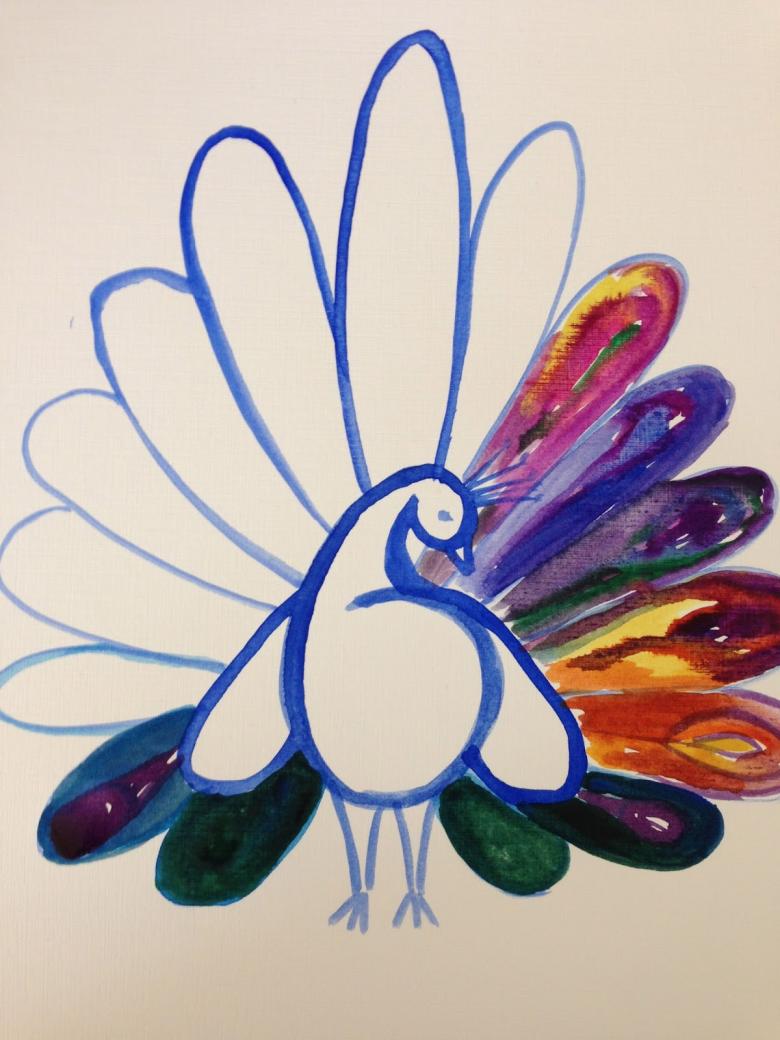
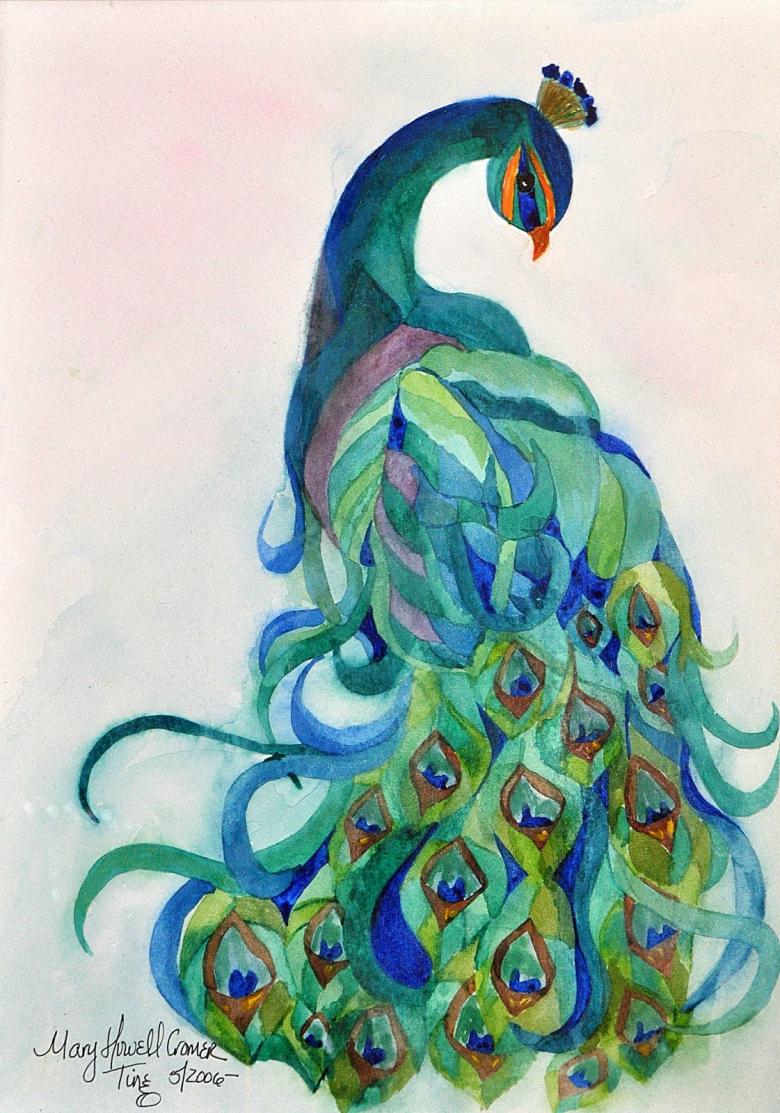
When coloring, make the base of the tail in green or yellowish tones, the tail itself in blue-green, and the torso in deep blue or dark blue.

