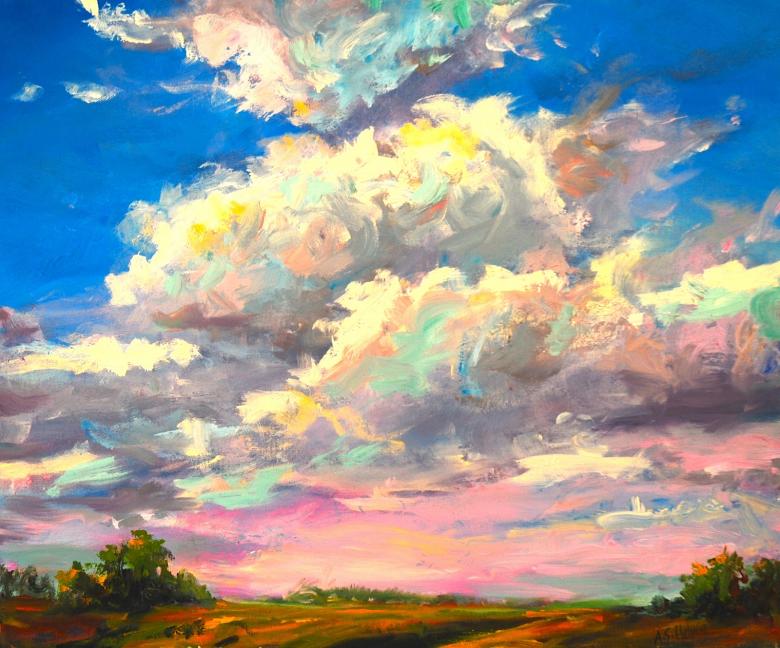
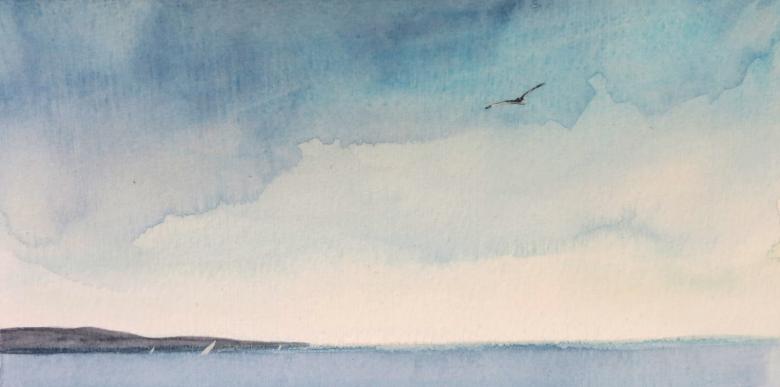
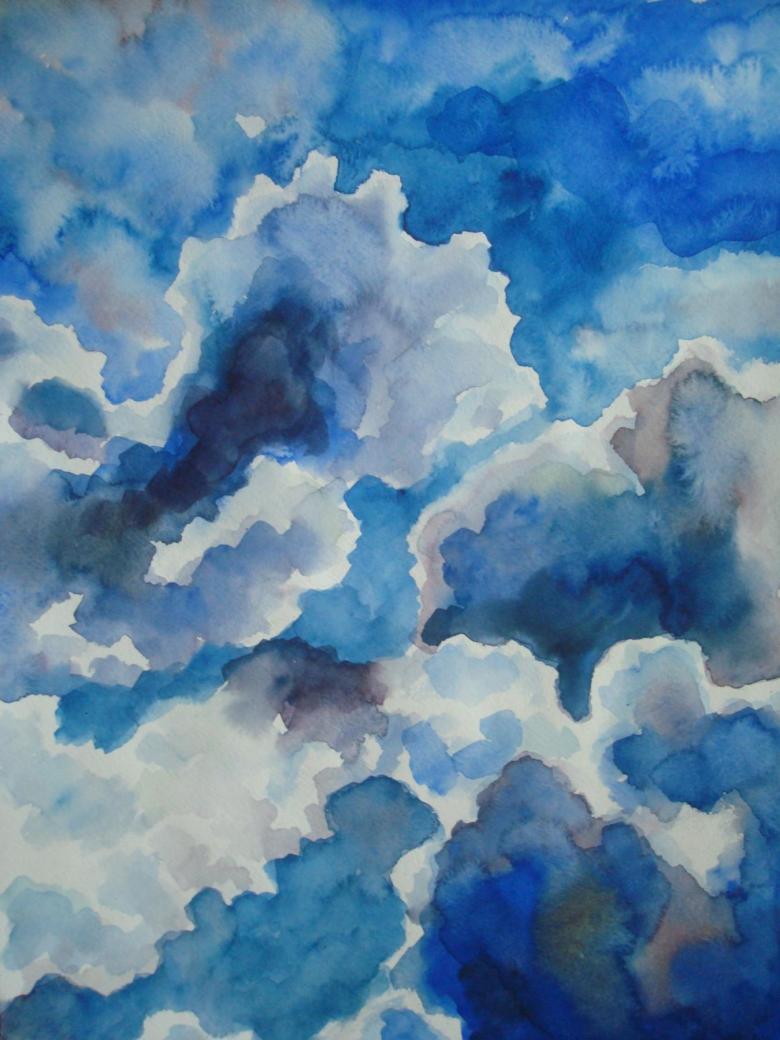
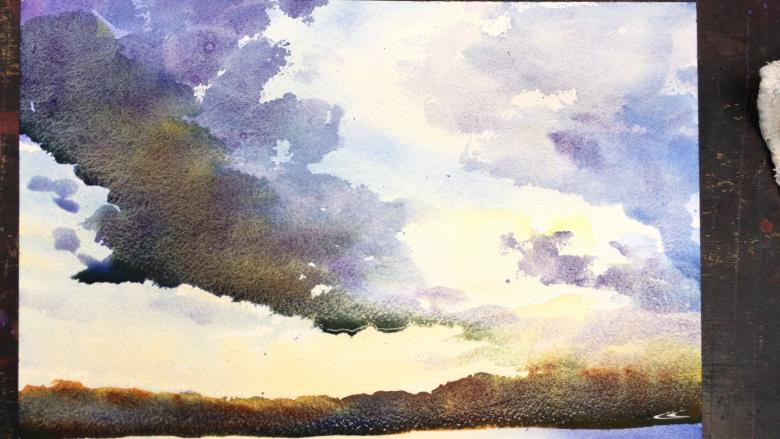
How to draw the sky - beautifully watercolor and pencil drawing of the sky
Depicting the world around us is one of the first forms of art mastered by intelligent man. Apparently, the urge to draw is in our genes and has been passed down from one generation to the next for hundreds of thousands of years. Suffice it to recall that drawing is a child's favorite activity. However, many adults, too, retain a lifelong love of depicting nature.
With what to begin
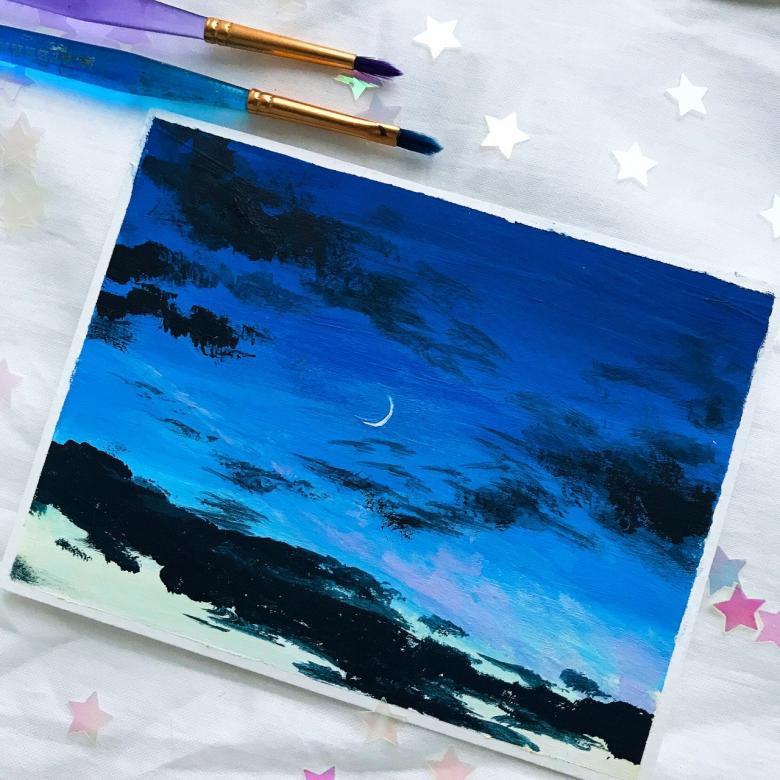
Start any new work with the most basic points. Before you start drawing clouds in the azure sky, you should try your hand at a simpler drawing of the night sky. starry sky.
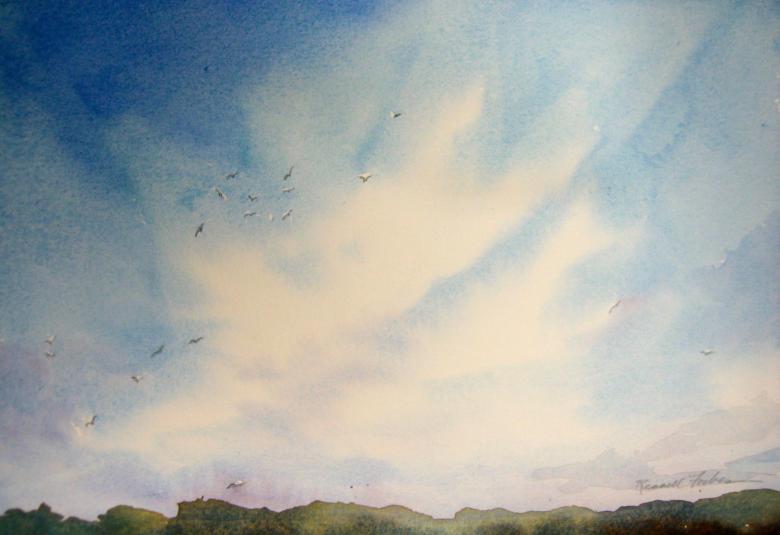
Such a drawing is done in just two or three steps. To begin with, you can use gouache, especially since many artists do not take it seriously and call it a "child's" painting technique.
- First stage - Draw the night sky on a sheet of paper with brushes. Gouache of dark blue and green is mixed. Allow the paint to completely dry.
- Second step - A clean brush is taken, dipped in white gouache and "dabbed" with fingers with white points. The painting is practically done.
Add a similar work can be say the image of mountains, and then we will have a night starry sky in the mountains.
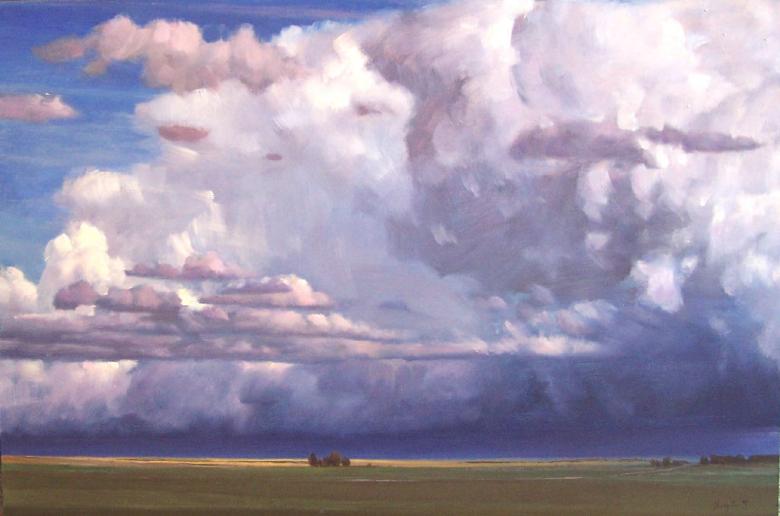
You can paint a picture and another way - with yellow gouache to draw the stars and the night star.
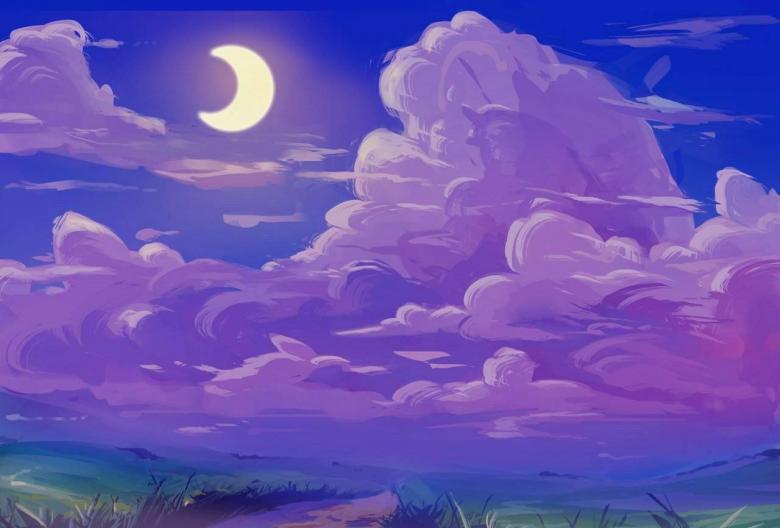
A cloud in the sky
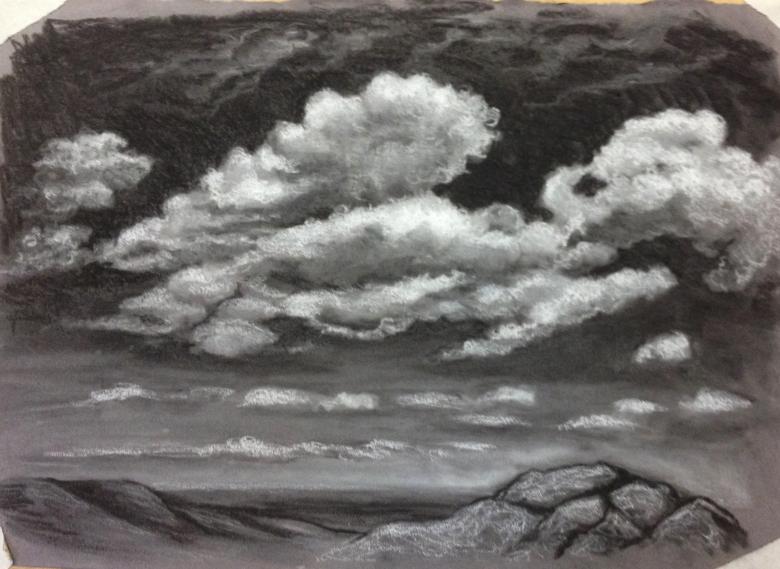
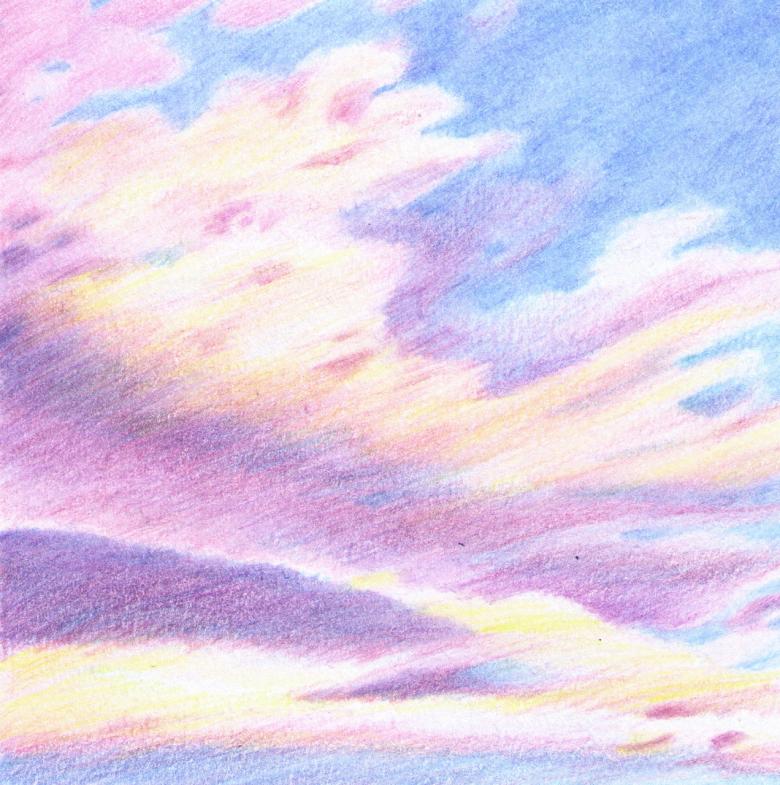
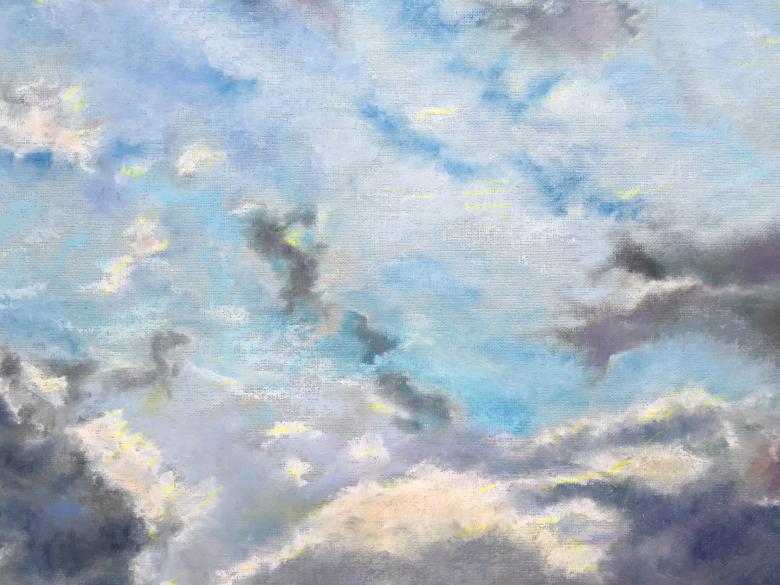
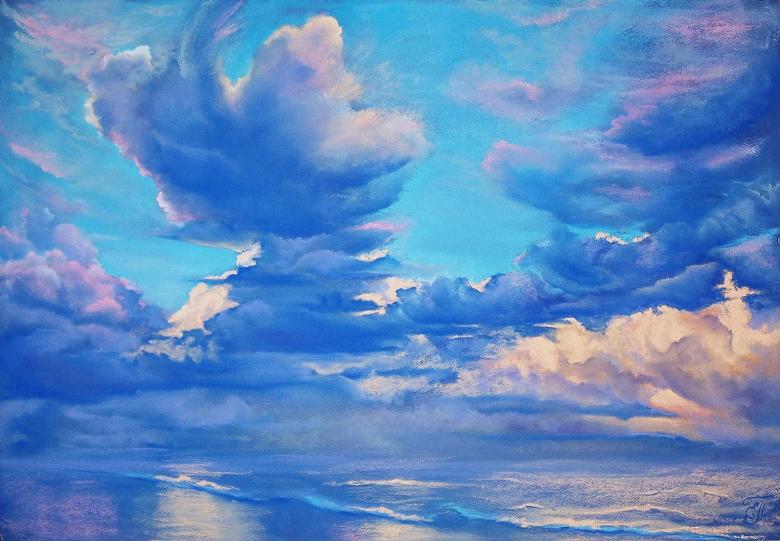
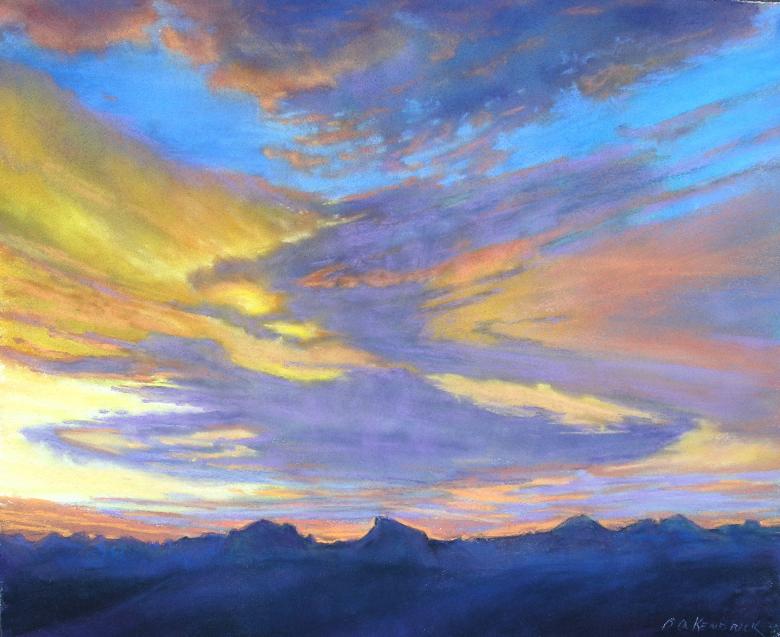
Observing clouds floating serenely into the unknown evokes an irresistible desire to pick up a pencil and capture the mesmerizing spectacle. So how do you draw a big, fluffy and beautiful cloud illuminated by the rays of the setting sun? Here's a step-by-step lesson on how to create a small picture at home. In addition, working with pastels does not require special artistic skills and special techniques.
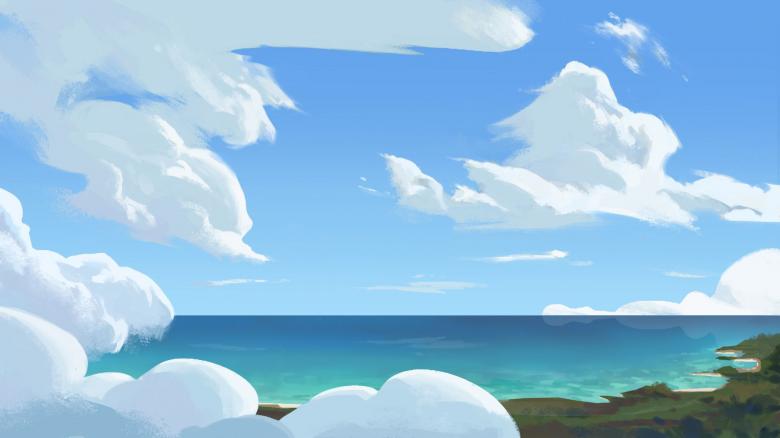
Necessary materials
Before starting the creative work, you should stock up on the simplest materials:
- paper of a grayish shade;
- A blotter (the same eraser, eraser gum, doesn't damage the paper, captures the particles of pastel, without smearing the drawing);
- pastel crayons (pencils) in white, light yellow, cream, blue, blue, and gray.
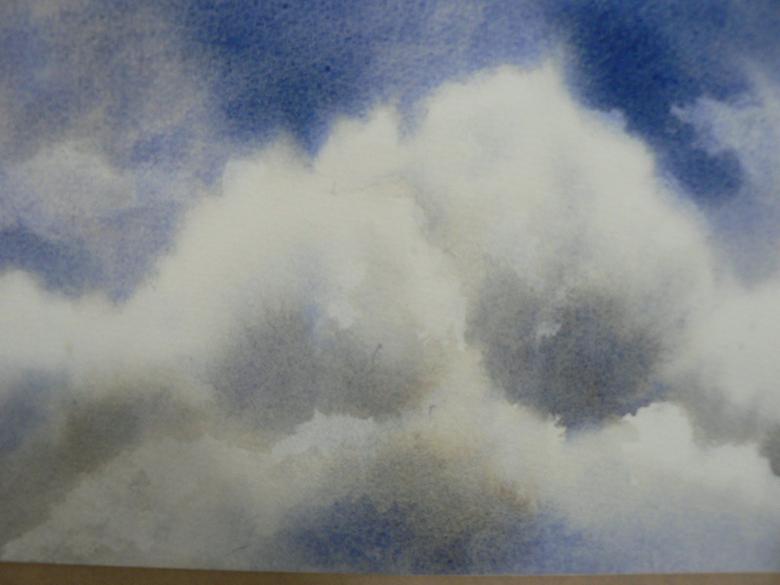
Not superfluous would be crayons of ultramarine, light gray and dark gray colors. Of the existing three types, it is best to use oil pastels. It is considered a training material, excellent for sketching, perfectly shaded and allows you to achieve soft, transitional lines.
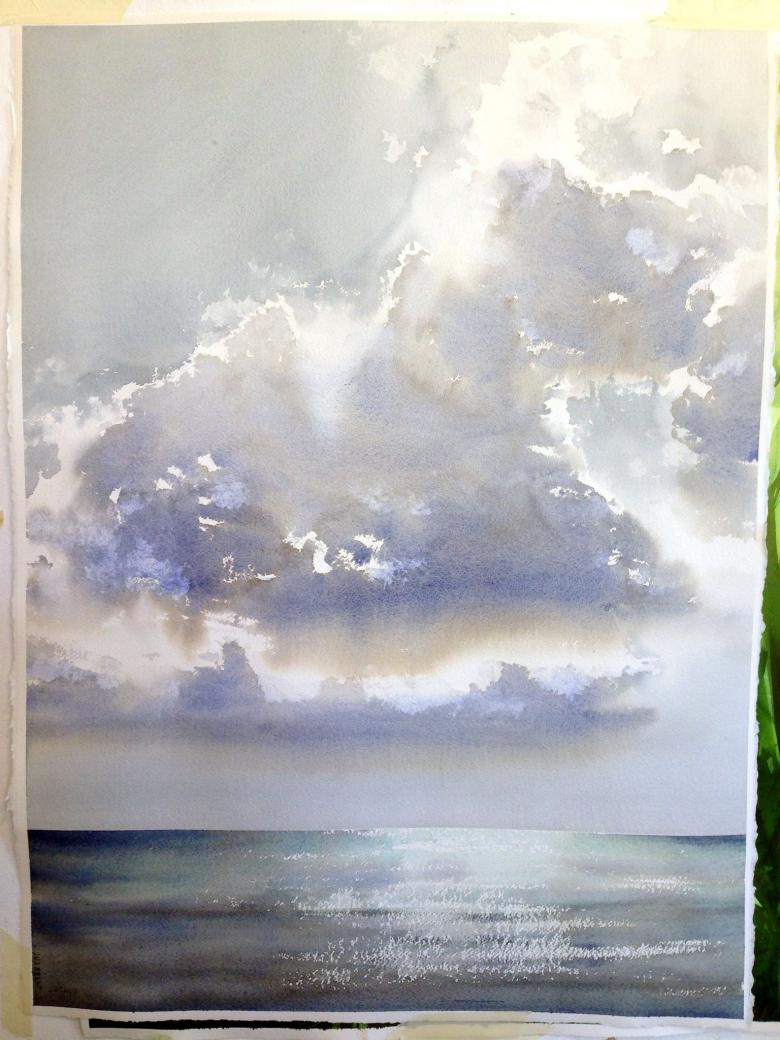
First Step
To depict the sky with a cloud on it as naturally as possible, you should carefully consider and study the objects, determine the direction of the sun's rays.
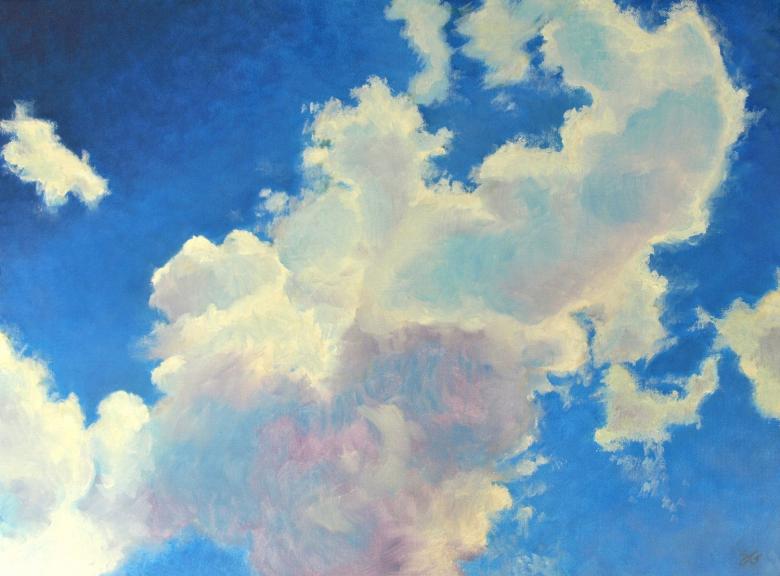
Somewhere in the middle of the drawing, a sketch is applied, giving the cloud an appropriate look. It is necessary to draw with pastel crayon.
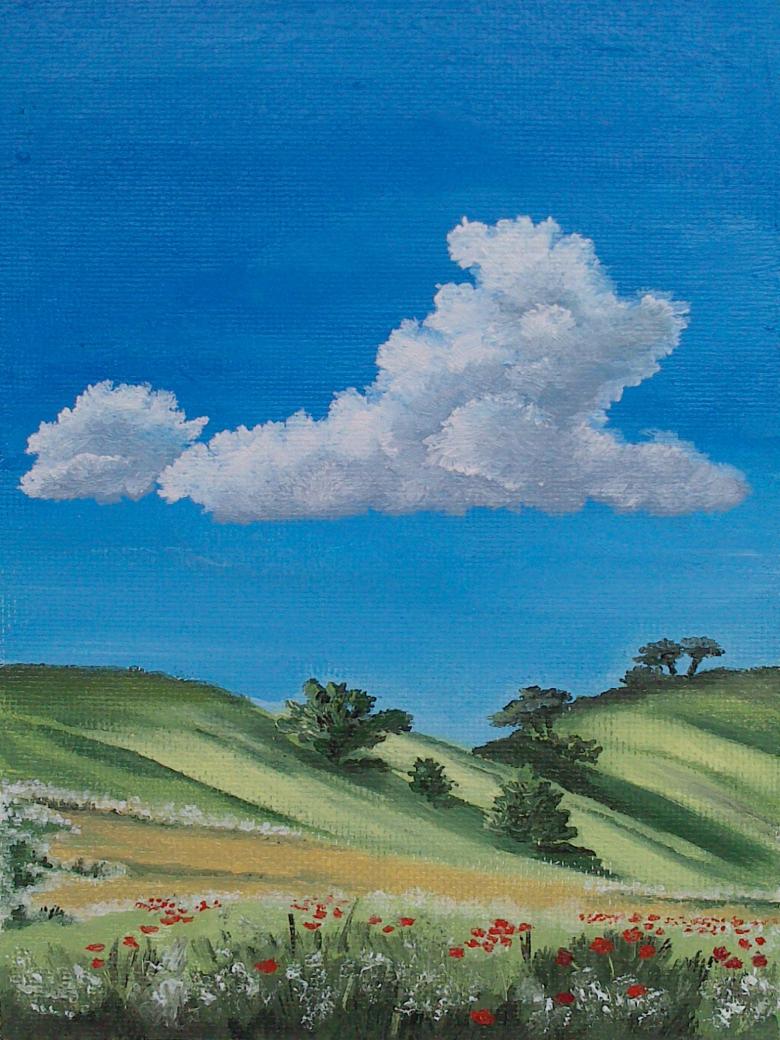
Stage Two
We proceed to the image of the vault of heaven. Sharpened edge of the crayon crayon neatly outline the blue cloud. Razrisovyvat sky in the entire area of the picture is not worth it. This is recommended for a simple reason, so as not to smudge the pastel on paper.
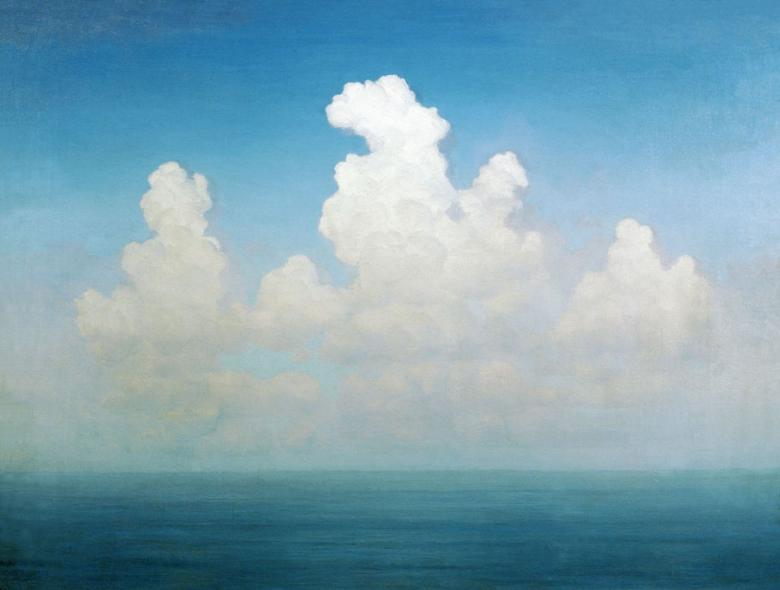
Retouch the sky without affecting the outlines of the cloud. To give a volume to the drawing, it is necessary to pass again with the chalk after retouching.
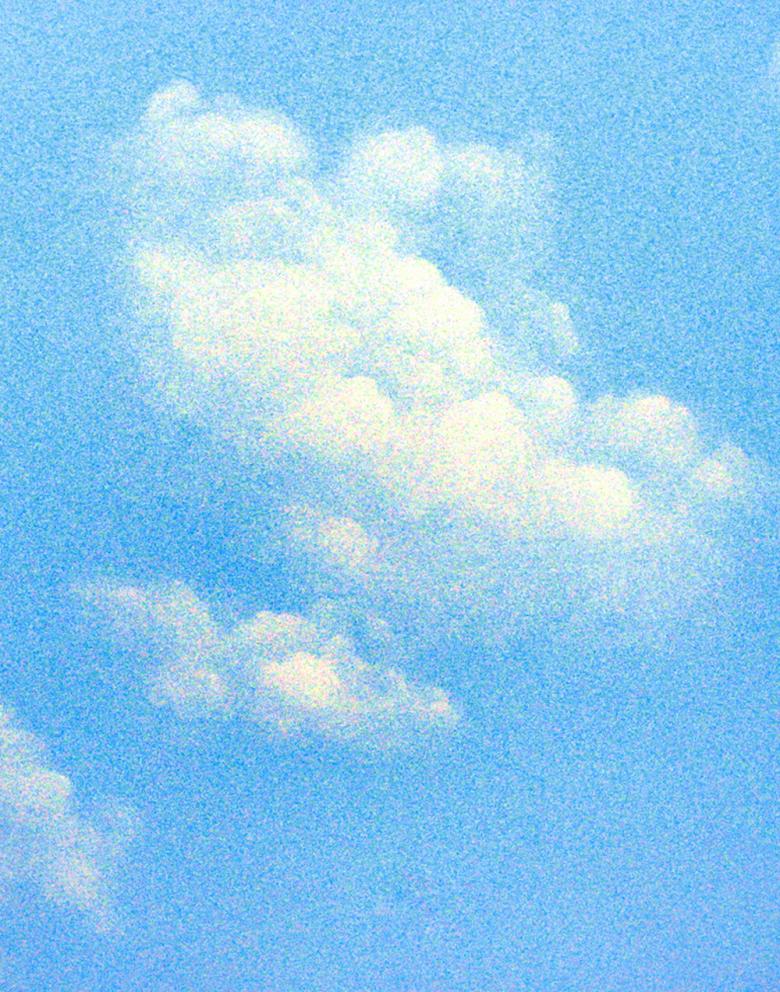
Stage Three
Now it's time to work on the cloud. We start with the top part. Use white pastel. Depending on where the light is directed, we apply darker shades. For example, if the cloud is illuminated from below, we use white pastels on the side where the light comes from, and light gray on the shadow side. In the gaps between the main ones, we apply a blue color. In the "darkest" part of the cloud, we use ultramarine. When shading, move vertically from top to bottom.
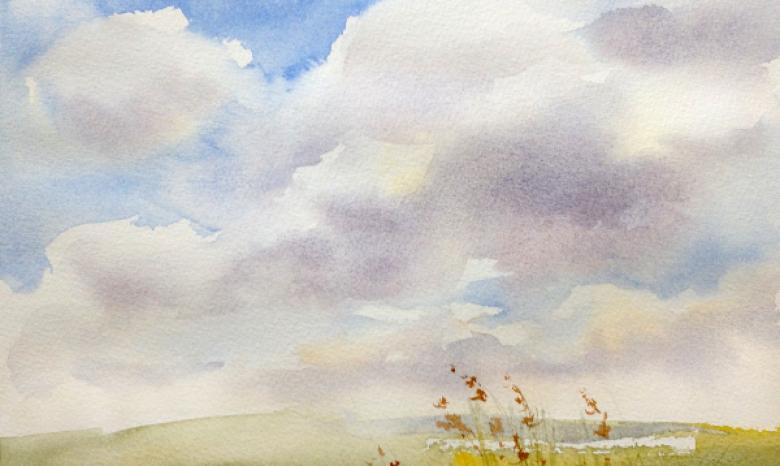
Step four
The celestial object, from below, is tinted with yellow-pink, and the very bottom is covered with cream and milky shades. Gradually begins to be drawn a beautiful picture of the sky, if you do not mix all the shades when blurring (can glimpse the "dirty" color).
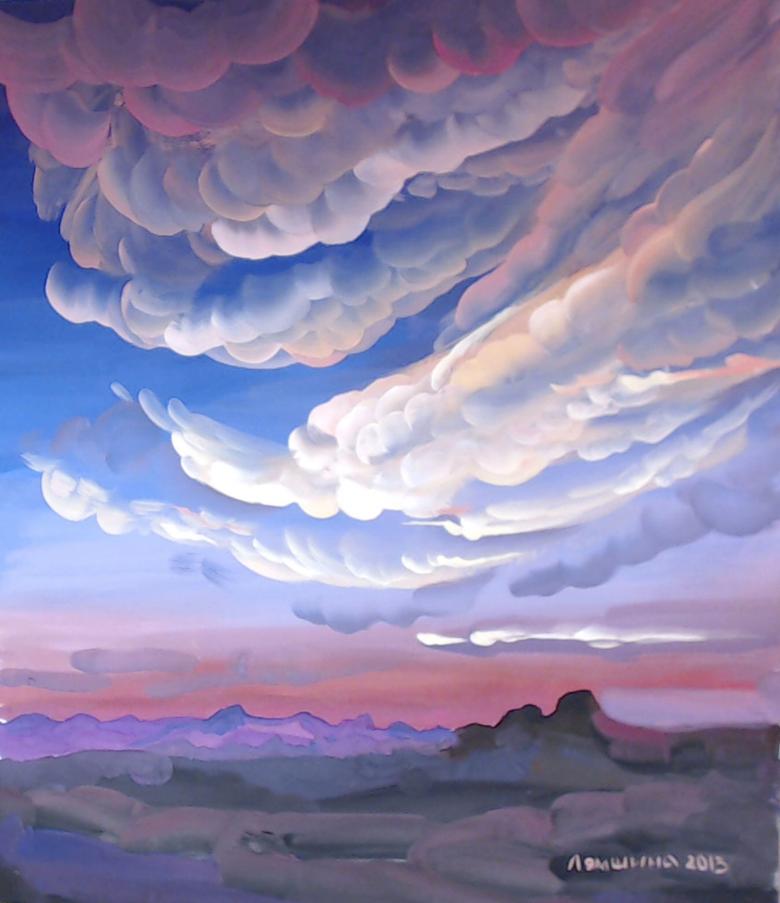
Fifth stage
Finish the work with the blue color at the bottom of the picture. Pastel is pastel shaded, a few accentuated lines of cream color are applied and the drawing is ready!
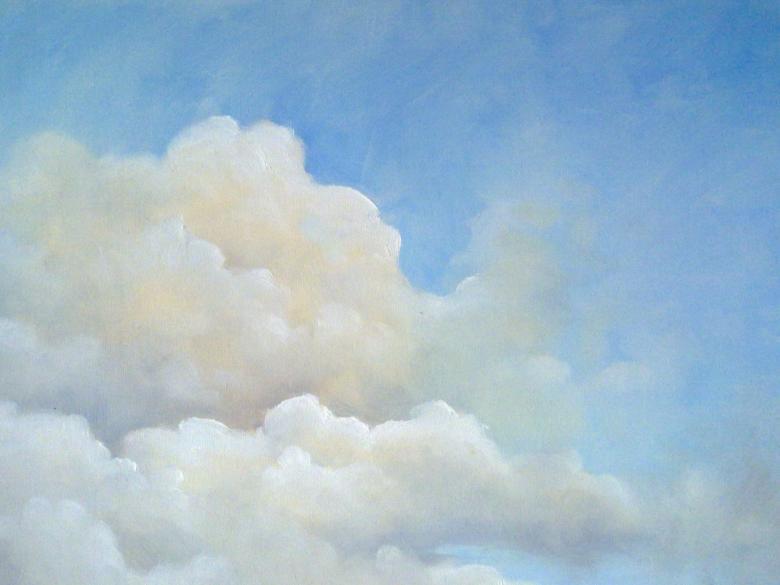
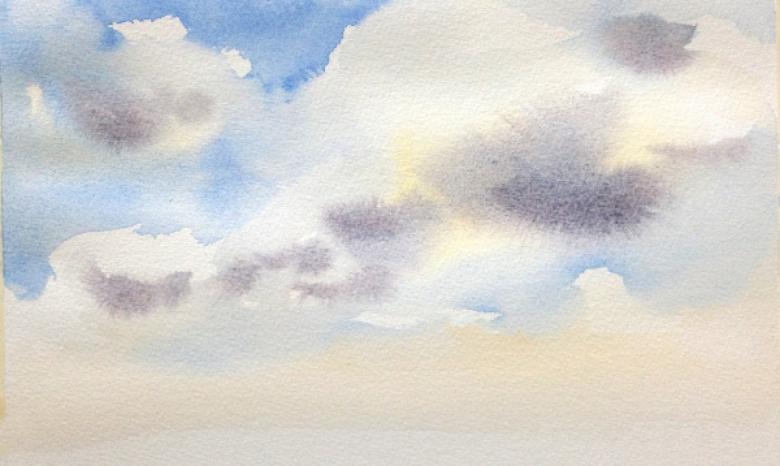
Watercolor paints
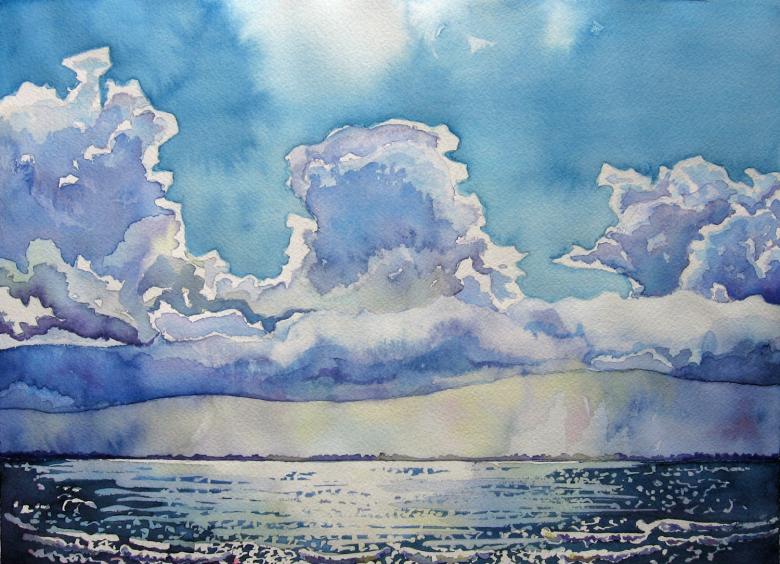
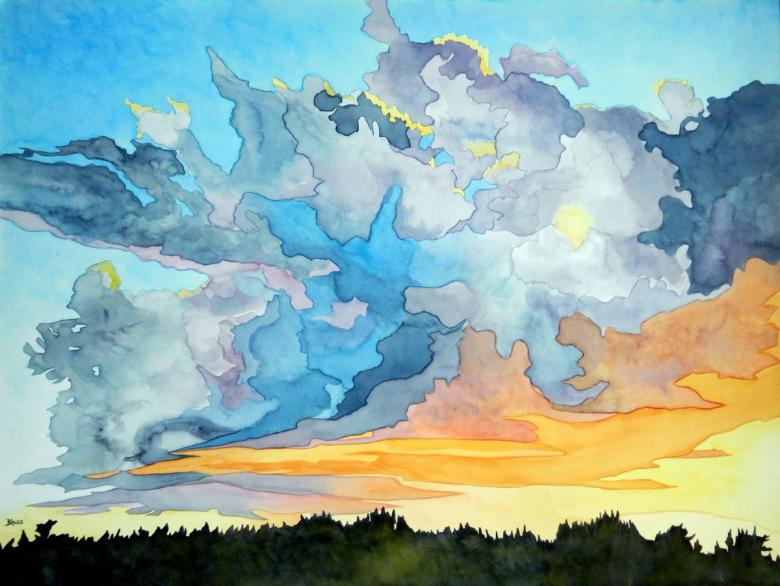
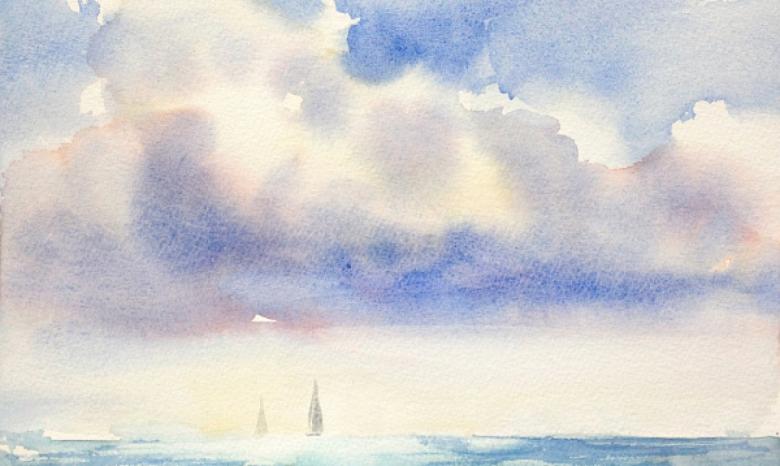
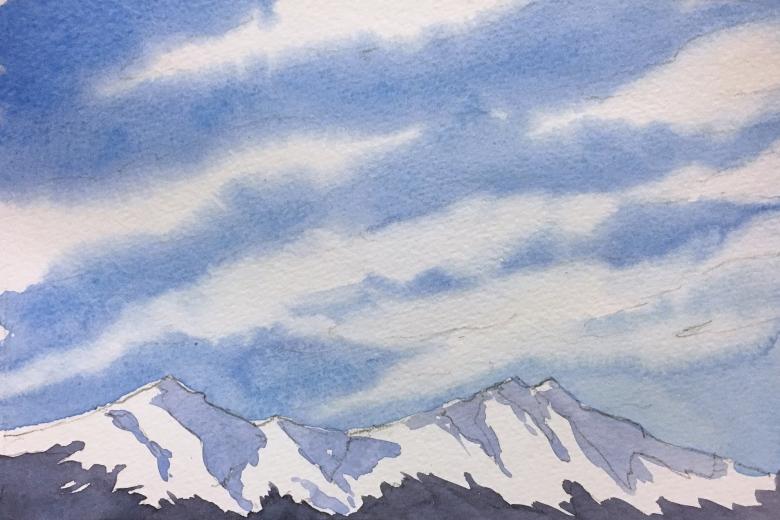
Working with watercolors requires a slightly different approach to depicting the sky and the clouds in it.
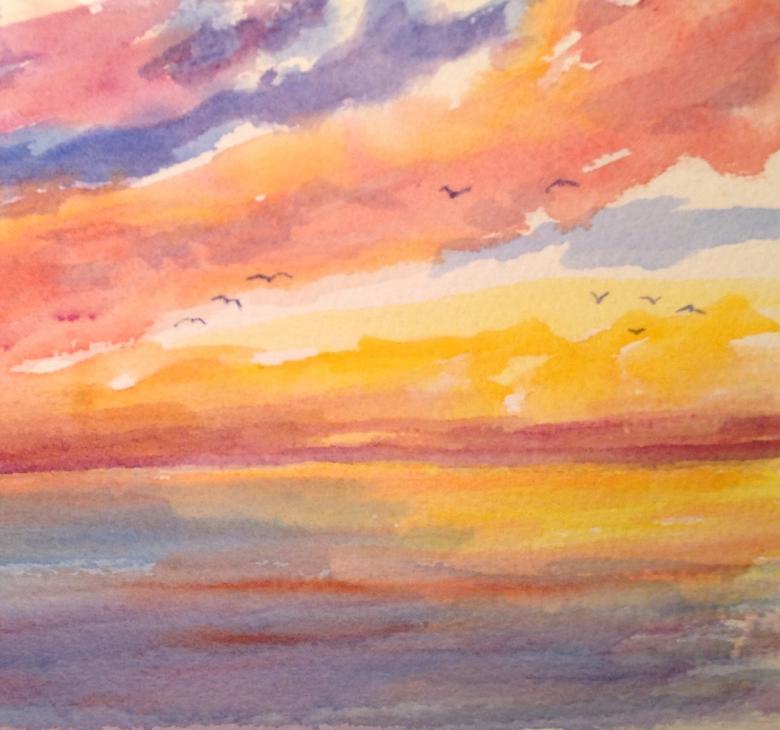
There are a few basic points that will help you portray the firmament in the most effective way:
- There is no such thing as pure white in nature;
- Do not try to depict objects with photographic precision;
- the picture should depict the cloud as a solid object;
- pay particular attention to the soft transition from one object to another;
- achieve maximum brightness of color tone.
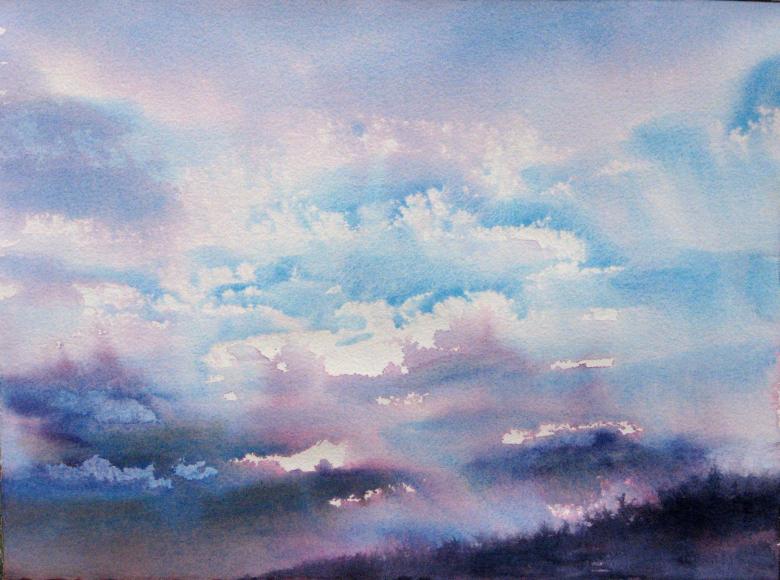
White
The famous American artist Rockwell Kent proved with his northern landscapes that there is no pure white color in nature. Not only snow and ice, but also clouds are not white. It all depends on what the weather conditions are and how the sunlight falls. To make it as natural as possible and to show.., You have to mix white with yellow, purple, violet, or blue to make it look as natural as possible. In order to make the clouds more transparent and natural, an orange tint should be added.
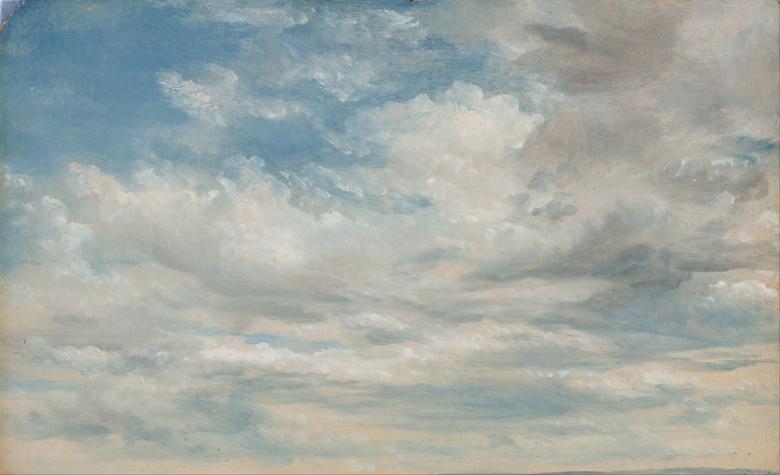
Necessary distinctions
When creating your work with photography, abandon some of the elements "captured" by the camera. Even the most modern technique significantly changes the color ratios in the photo.
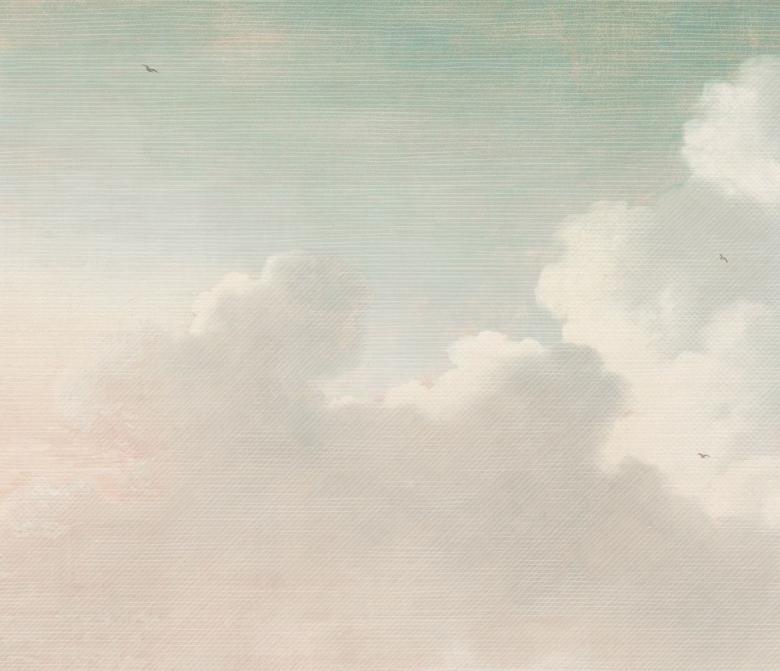
The dark areas hide a lot of small details. You have to "restore" them, relying on your own intuition and imagination. Very effective method can be displacement of clouds or pond shore, "transferring" the vegetation in another place.
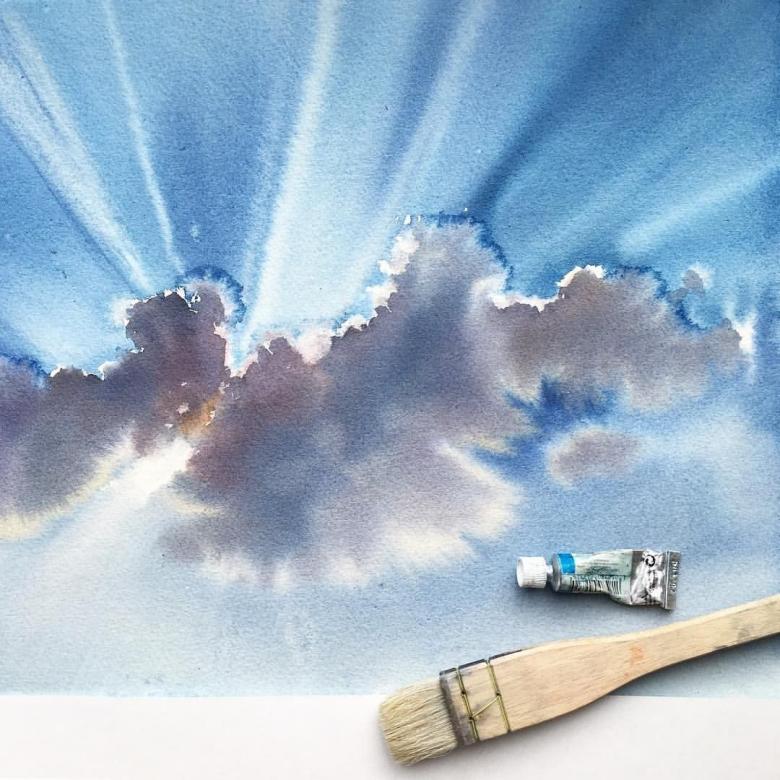
A cloud as a stationary object
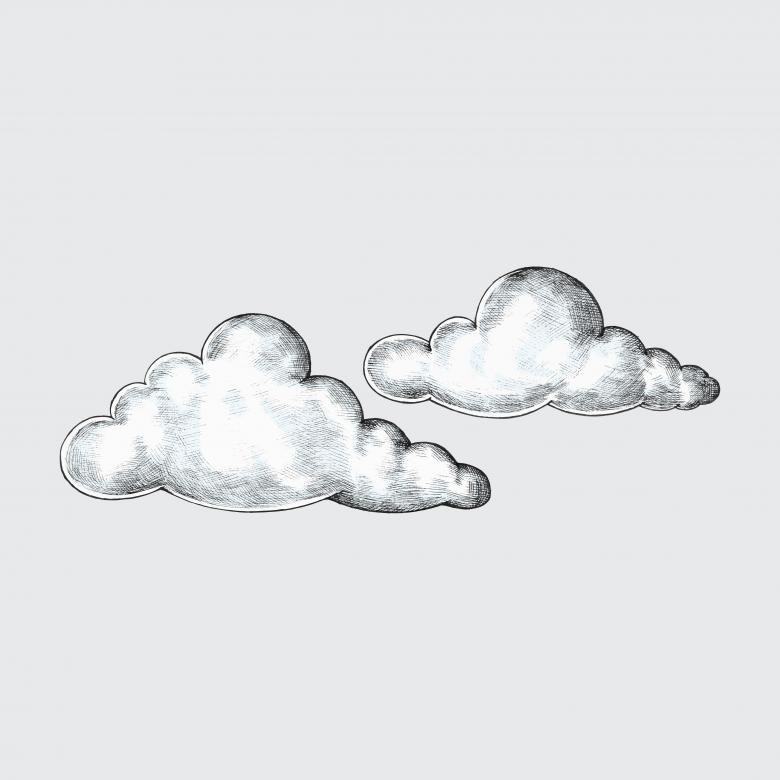
For a beginner it's much easier to draw clouds if he imagines them as a stationary object that doesn't change its shape. Imagine the cloud as a geometric figure, then it will be easier to determine where and how to highlight dark and light areas.
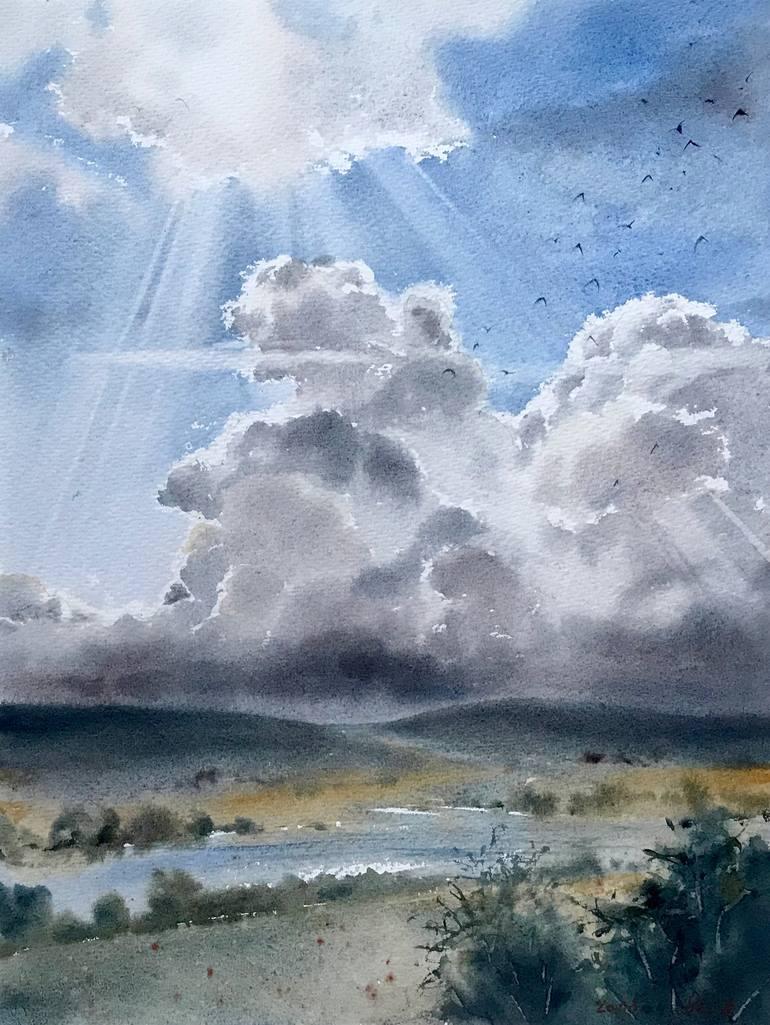
You should make a rough sketch, analyze where the light comes from, which way the shadows fall, which areas of the clouds should be in the penumbra.From time to time, try to look at your work from the side. Try to smooth out the corners, to give the cloud the most natural shape.
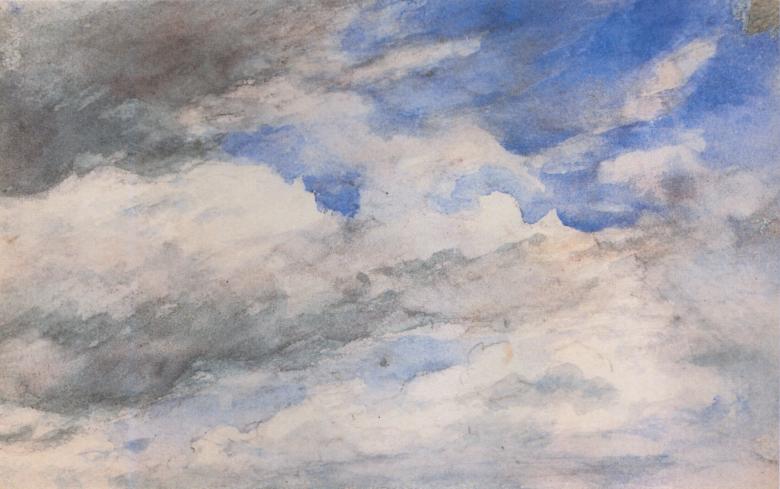
Observe the clouds running across the sky more often. Practice is the basis of any craftsmanship. The main thing to remember is that there is no ceiling in perfection. You may not be able to reach the heights of professional painters, but you can improve your skills and write very decent sketches, thanks to hard work.
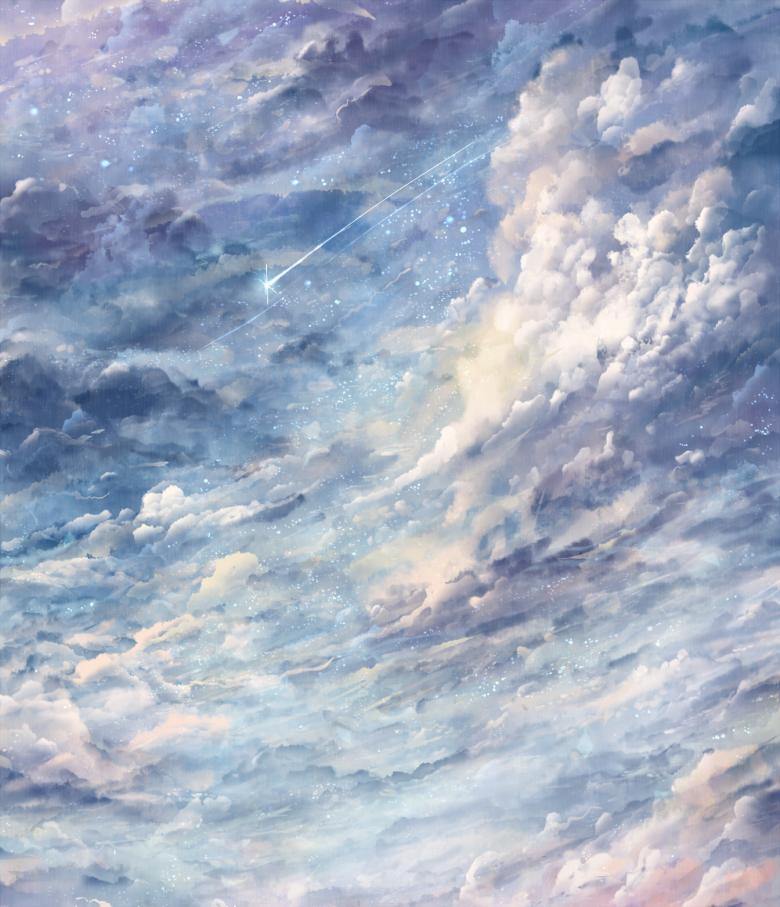
The importance of soft transitions
Nowhere else in nature can you find such soft transitions from one subject to another as in the depiction of clouds in the sky.
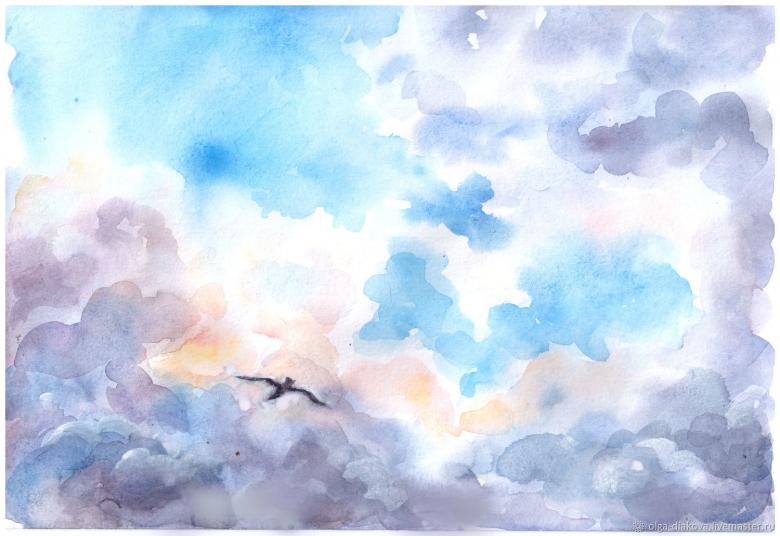
Here everything depends on the correct distribution of clear and blurred boundaries. It is extremely important at this point to use the technique of glaze, i.e. The first layer of paint can be used to create complex shades of color, which will give a "blurring" of the boundaries of the objects in the picture.
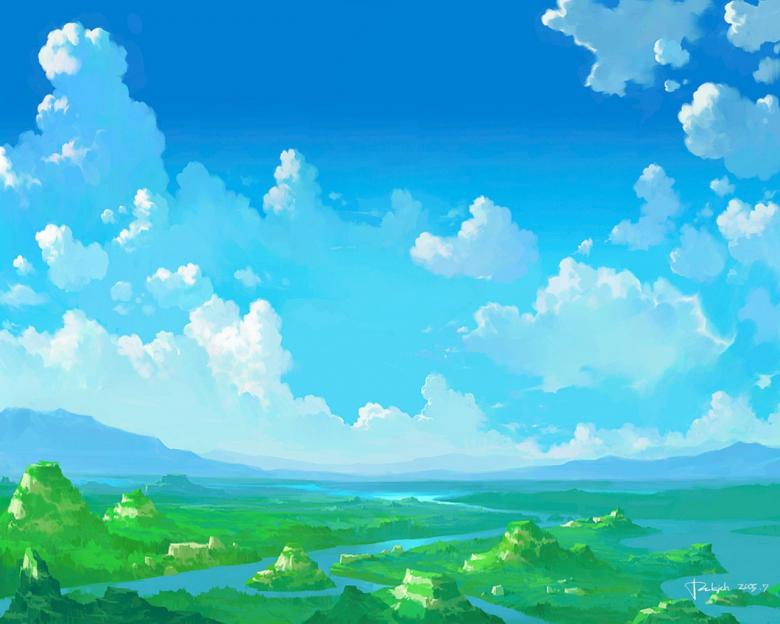
From all the above we can draw a simple conclusion - whatever materials you use - gouache, pastel crayons or watercolors, learning to paint the sky and clouds on it is not very difficult if you follow a certain plan. Using this knowledge, you can successfully cope with the image of any other simple landscape.
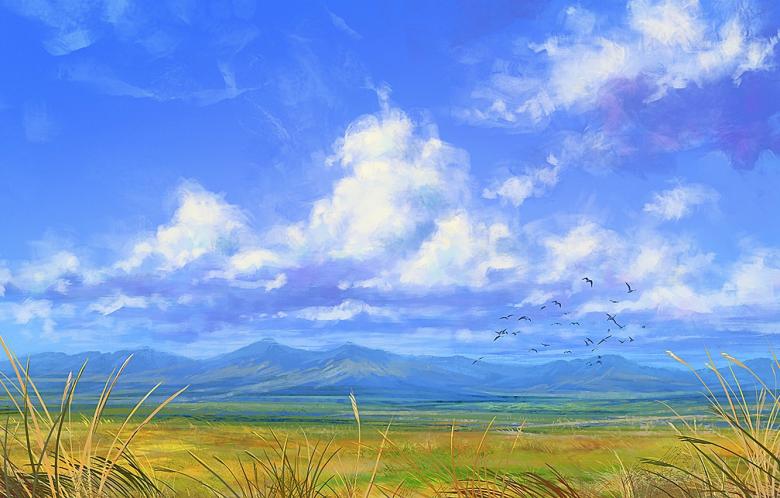
It is necessary to take into account one important point - the paper intended for work with gouache and especially with watercolors must be slightly rough. When wetting the paper should absorb the paint evenly and very quickly. The most suitable option for beginner painters is Watman.

