How to draw a mouse in a step-by-step pencil - easy children's workshops for beginners
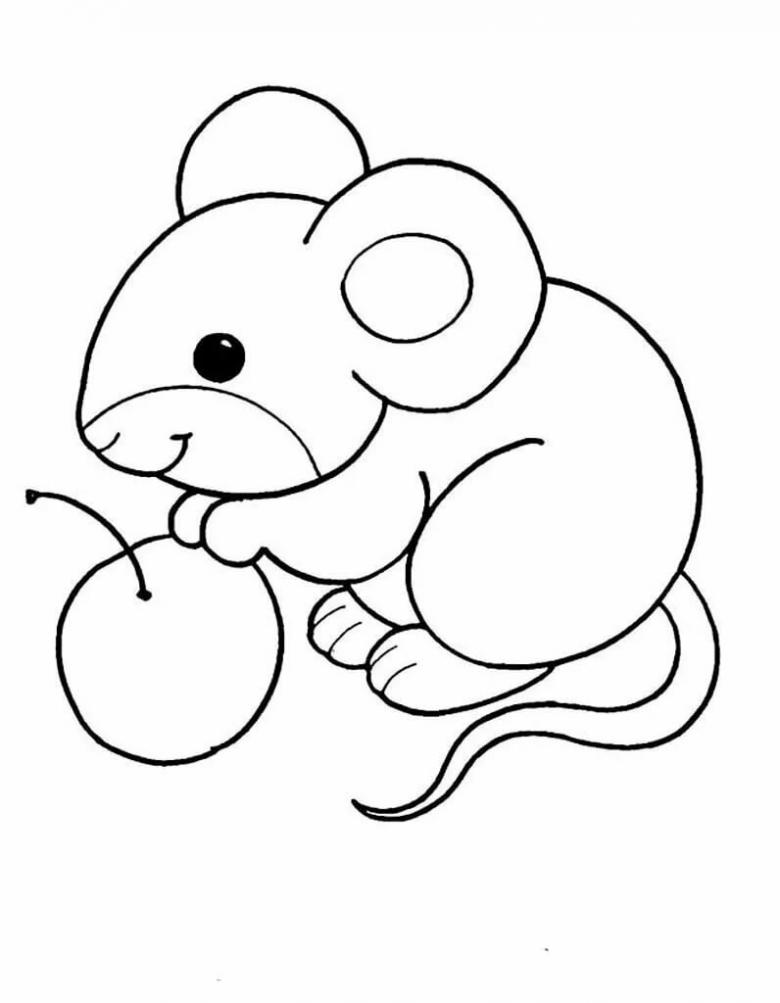
Familiarizing children with the world of wildlife is best to start with the most common animals and characters from favorite fairy tales. Such a process of playful learning can be combined with creative activities, and many parents are interested in how to draw a mouse, acting as the main character in fairy tales.
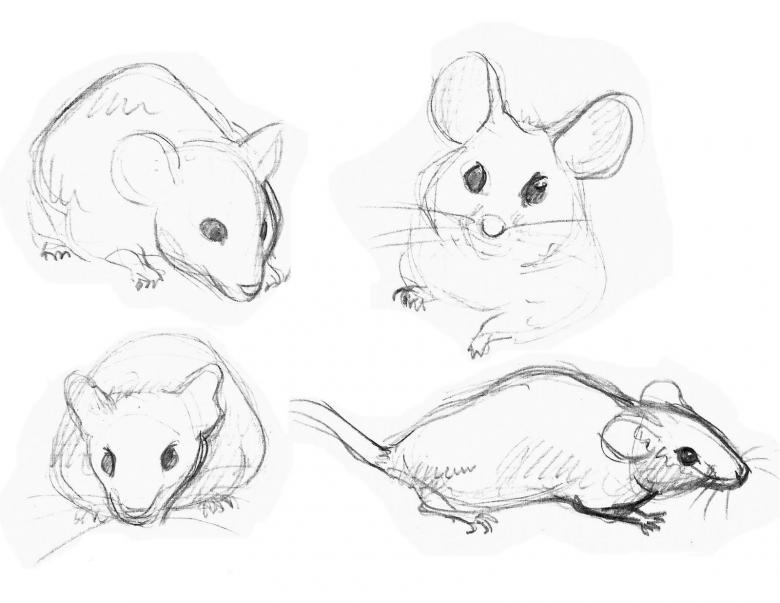
The work will require a simple pencil and a desire to create, a step-by-step guide or a drawing master class. It is best to reproduce all the actions step by step and start with simple images, this will help to master the technique of drawing for children of any age and with different levels of ability.
A simple drawing of a mouse in pencil
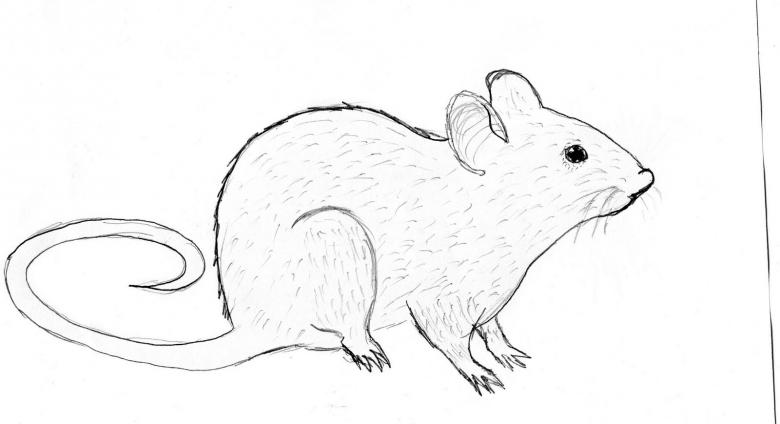
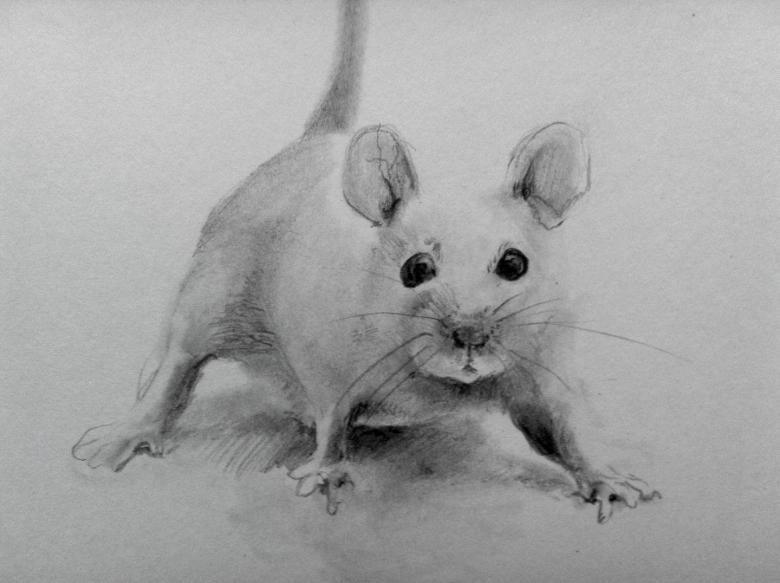
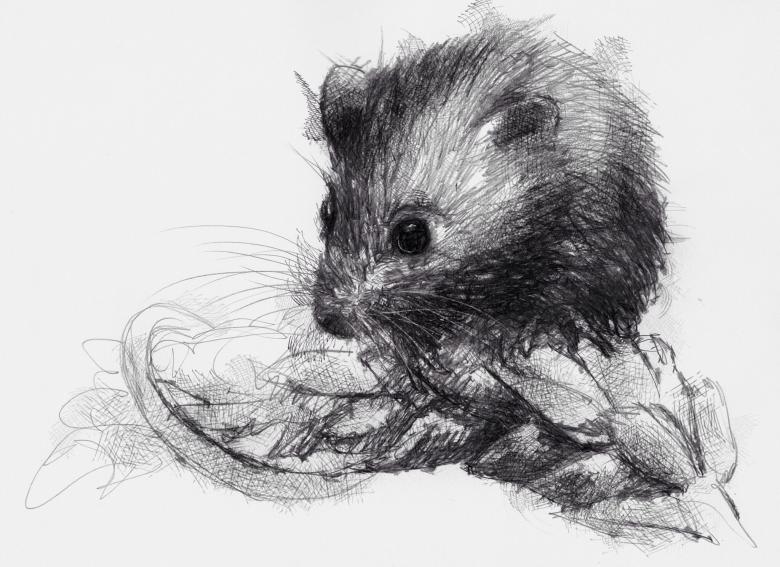
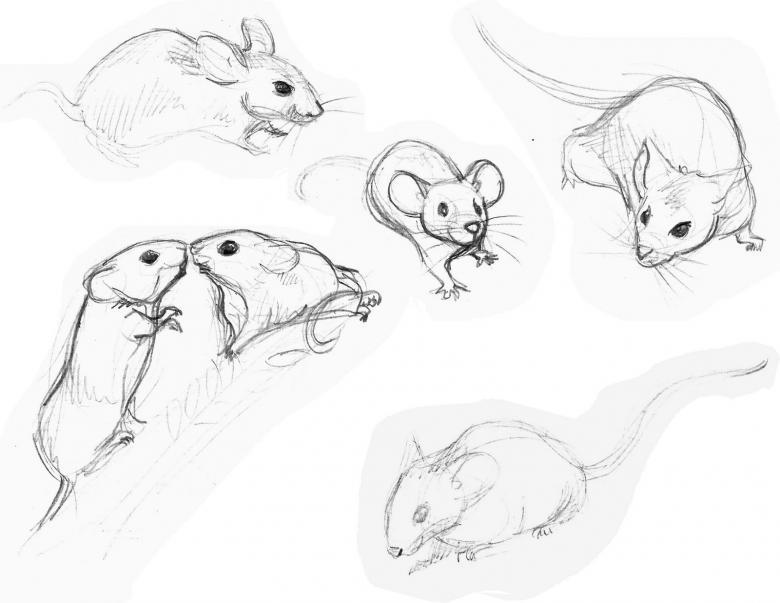
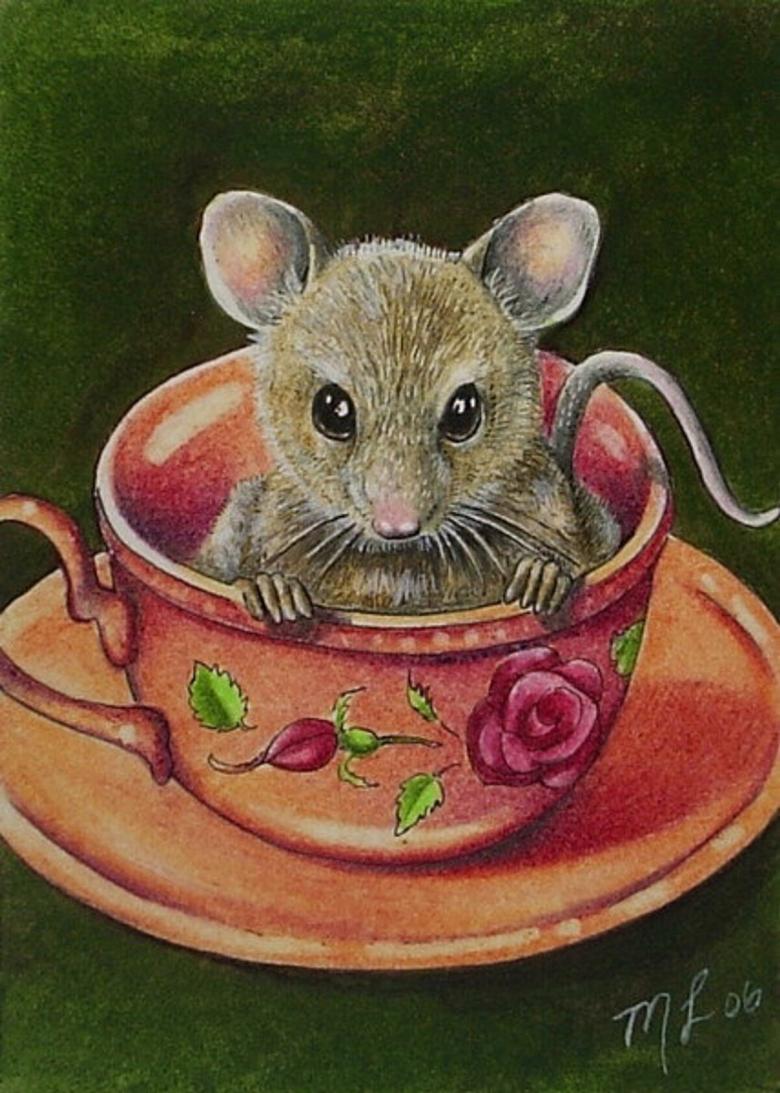
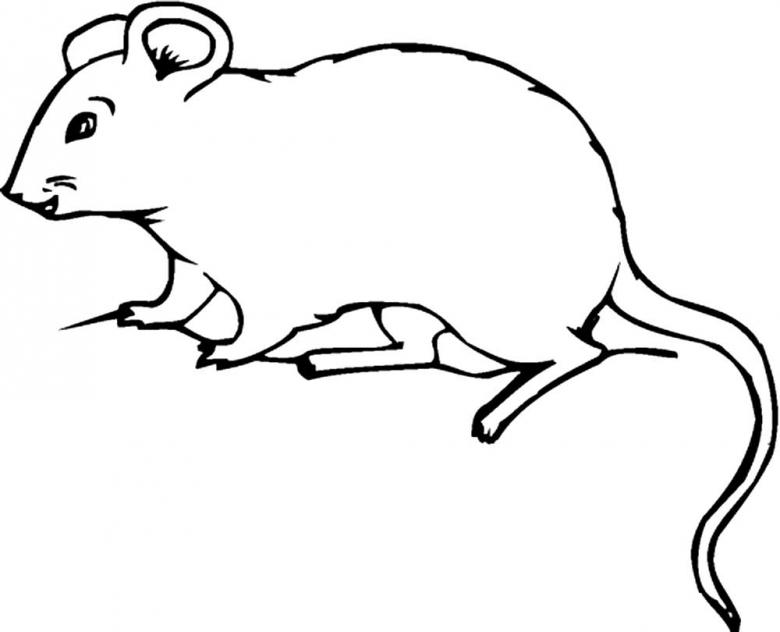
Parents can practice drawing realistic images of a mouse on their own, so they can then teach it to their child:
- the first step is to make a preliminary marking of the sheet and mark the boundaries of the drawing with thin lines, without pressing hard on the pencil lead;
- In the left half of the sheet a circle (mouse's head) is drawn and a triangle (muzzle) is drawn with the base on the side; the figures will be as realistic as possible if the proportions are observed;
- At the top of the triangle is placed a large and bold point, this will be the nose mouse, the eye should be drawn on the circle-head, if desired, complete the eyelashes;
- In the right side of the head a small circle is marked, it will be the ear of the animal, the rays (mouse whiskers) are drawn from the nose, for naturalism the contours of the ears can be drawn more thoroughly;
- Two circles of the same diameter are attached to the right side of the head, this will be the improvised body of the rodent, they can be the same diameter as the head of the animal;
- from the first and second circle two thin ovals should depart, symbolizing the mouse paws, they end with the toes, special attention is paid to drawing the places where the paws connect to the torso;
- from the right edge to the last circle, a thin and long, arched tail is drawn, looking down, if a mouse is depicted, it will be thin enough, for a rat a large tail can be drawn;
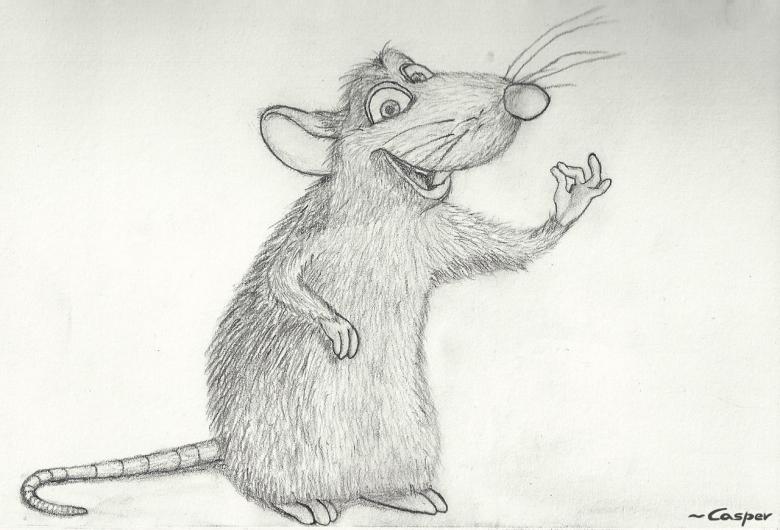
- the finished sketch is sketched out completely, the wool is given a texture, for this purpose thin strokes are drawn with a pencil, after which the rough lines must be carefully erased.
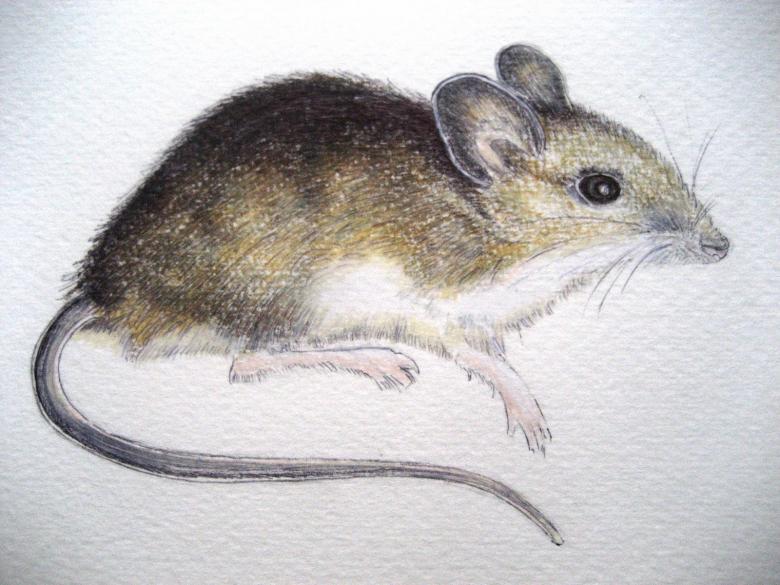
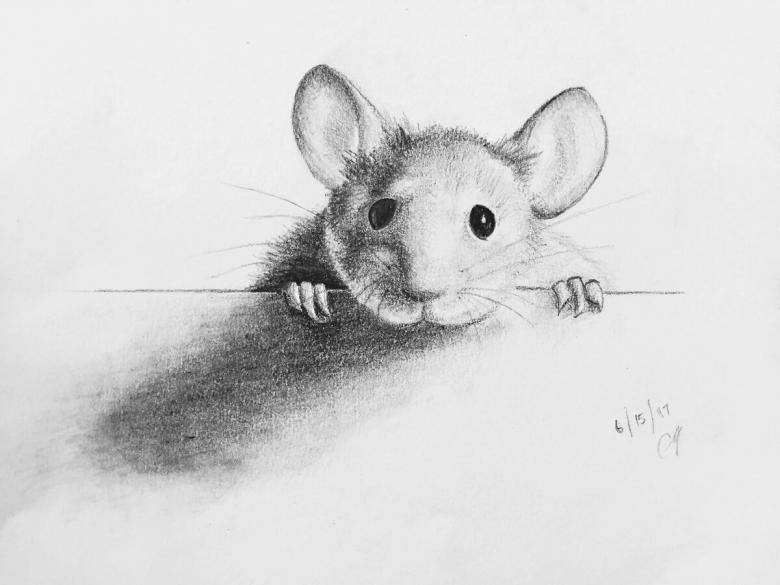
To get a naturalistic drawing it can be colored with colored pencils or paints using a minimum of bright colors.
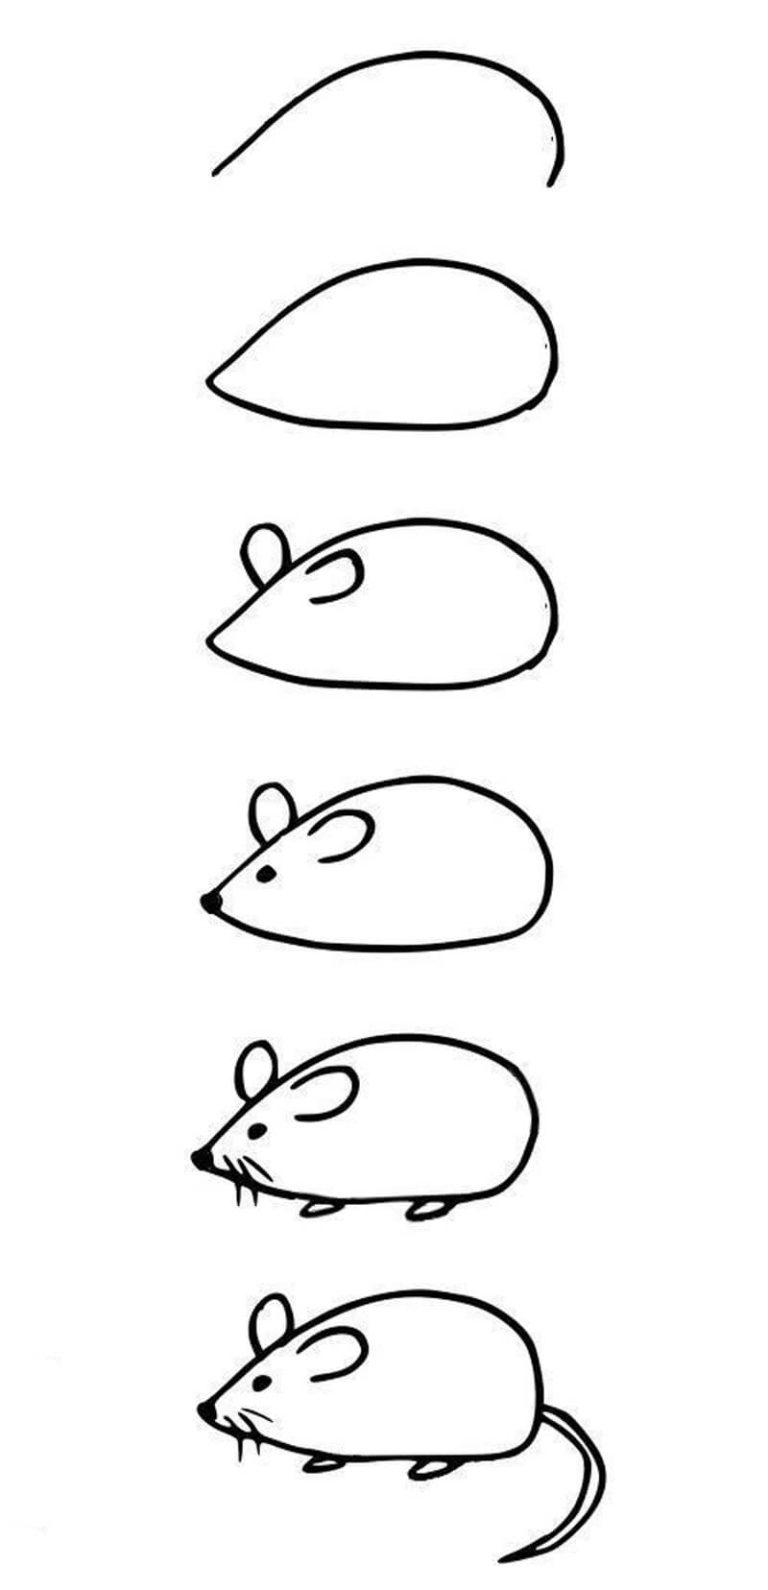
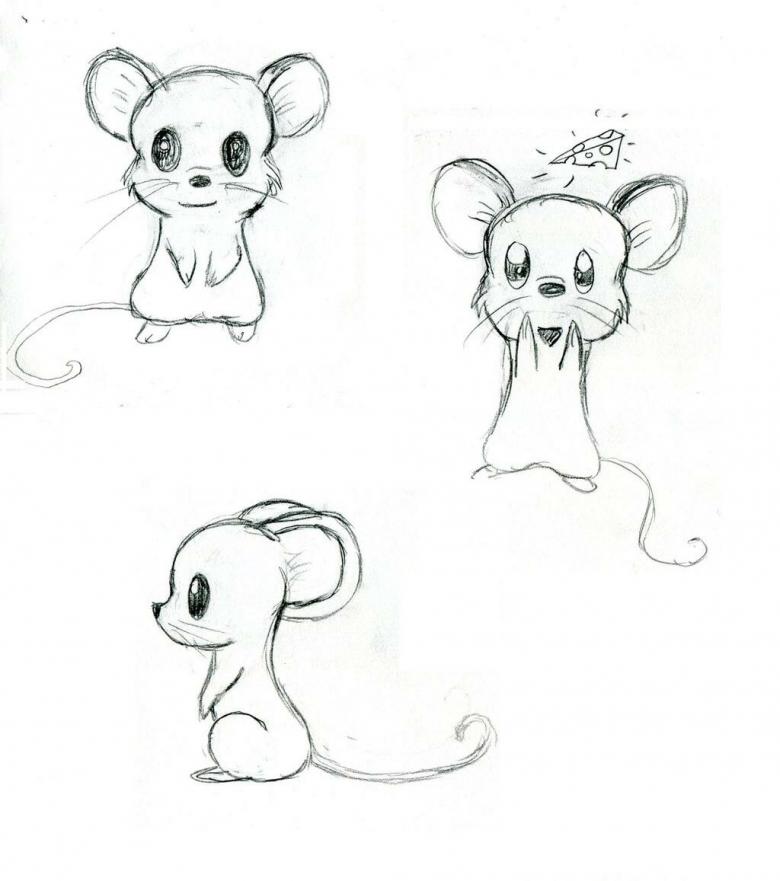
Drawing a mouse for kids, step by step
Kids like to learn and draw, so these activities can be combined, not worrying about the fact that the baby will quickly get tired and give up his leisure time. Children's drawing lesson can begin with mastering a sketch drawing, for this you can use the technique of drawing circles:
- in this case it is better to start drawing with two circles, on the right is a large circle, on the left we draw a smaller circle;
- from the left circle two rays are drawn under an inclination, forming a triangle, this will be a mouse's muzzle with a nose and mustache
- at the top of the same circle are two semicircles, symbolizing the mouse ears, the eye should be drawn in the center;
- After creating the sketch, you can learn to draw connecting lines, they should unite the entire drawing into a mouse figure;
- After erasing the rough sketch, a front and back paw are added to the body of the mouse, and the long tail completes the composition.
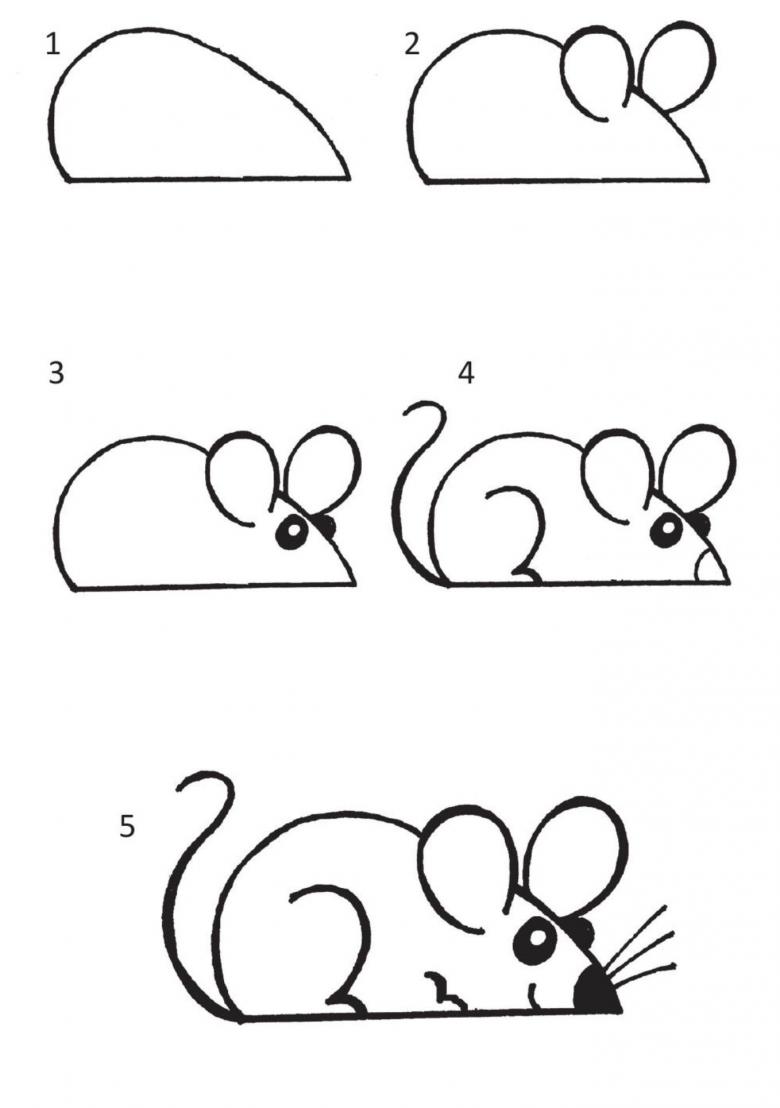
The finished picture is colored at the child's discretion, and it is important to carefully repeat each step in order to get a perfect drawing of the mouse. For coloring, it's best to use colored pencils with a soft rod or finger paints, which help develop fine motor skills in young children.

Mouse from drops and circles for toddlers
To teach young children to draw, it is necessary to use a simple technique, working with the observance of a certain sequence:
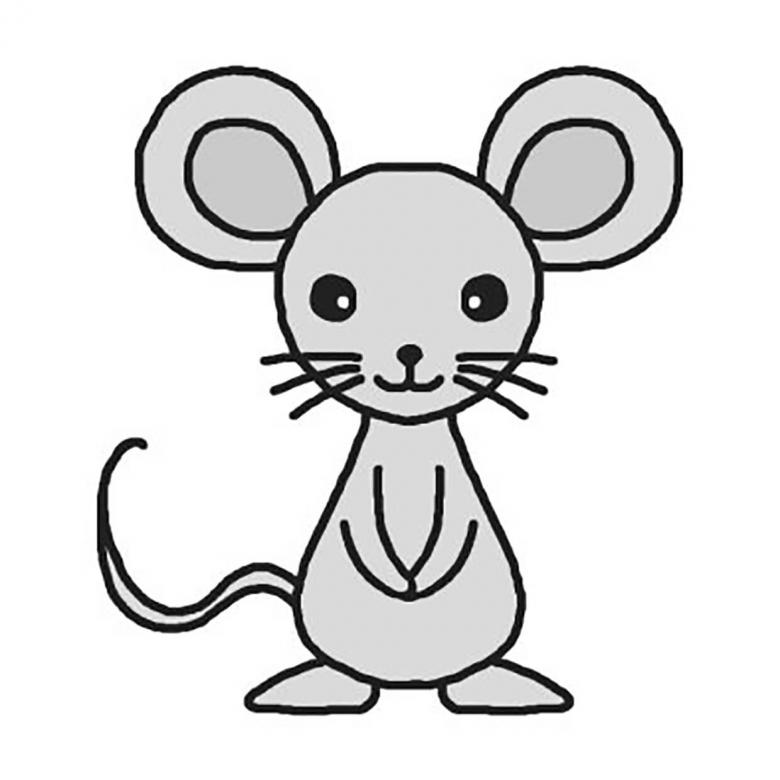
- at the top of the sheet is drawn a large drop with a corner directed to the lower left corner of the base, on its top are finished drawing two circles, the future ears of the mouse;
- Another drop of the same size with the base downwards is drawn as the body of the mouse, in its lower part two circles should be drawn and thin ovals should be derived from them;
- The tips of the improvised hind legs are divided into fingers, to which claws can be drawn at the end of the lesson; two wedge-shaped mouse hands are drawn on the torso;
- At the bottom of the sketch, a neat curl is drawn, this will be the tail of the mouse, beady eyes are traced on his face, and the head-drop is decorated with a button-nose and antennae.
Animate the picture will help him paint, and mouse paws mono put cheese, for this depict a month-shaped figure.
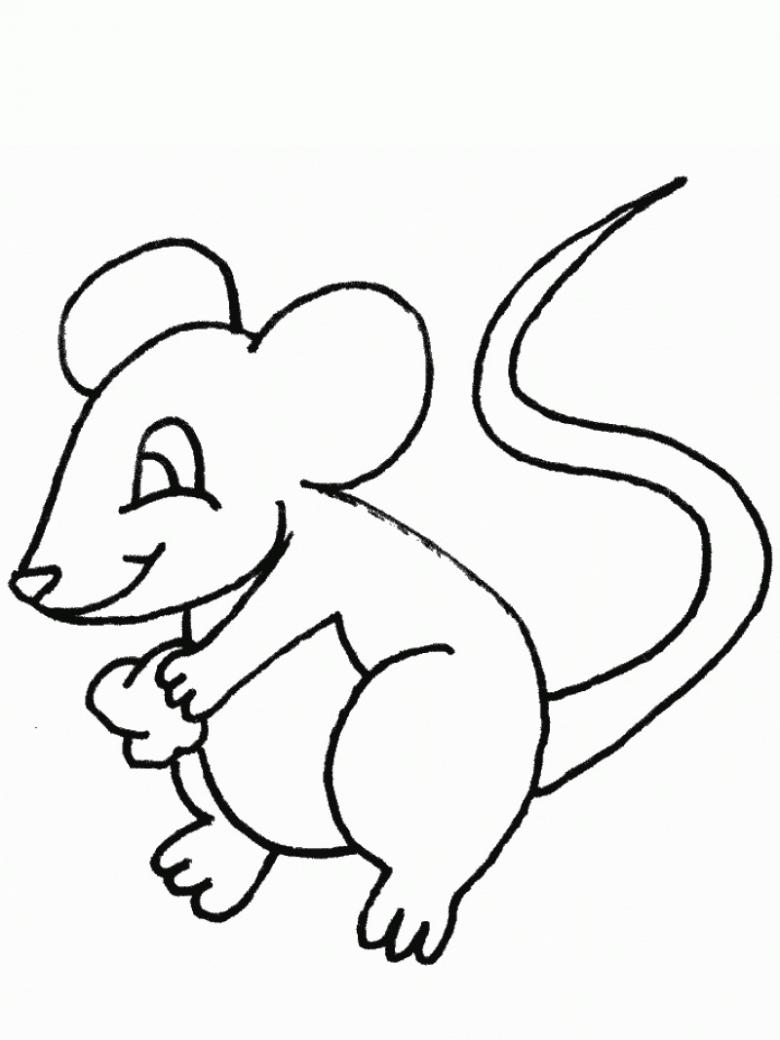
How to draw a mouse mask on a holiday
If the kindergarten or school will be held a carnival on New Year is easy enough to make a beautiful mask, which will depict a symbol of the holiday:
- on a piece of paper is drawn a large black circle, in its center are two white ovals, from them it is necessary to cut circles so that the child can see when the mask is dressed;
- At the top, two identical circles are drawn to the circle, but smaller in diameter than the head, these will be the ears of the future mouse, and a smile is drawn at the bottom of the circle;
- To the cheeks of the mask you can glue strips of white paper cutting into the whiskers, or replace the paper with woolen and quite thick threads, carefully attaching them to the drawn mask;
- the drawn sketch is carefully cut out of the paper after the paint dries, a thread or a thin rubber band is glued in it to help hold the prepared mask on the child's head.

For the craft is better to choose a thick cardboard, using this method can be made mask of a rat or other familiar child animals, Mickey Mouse, mouse Jerry.
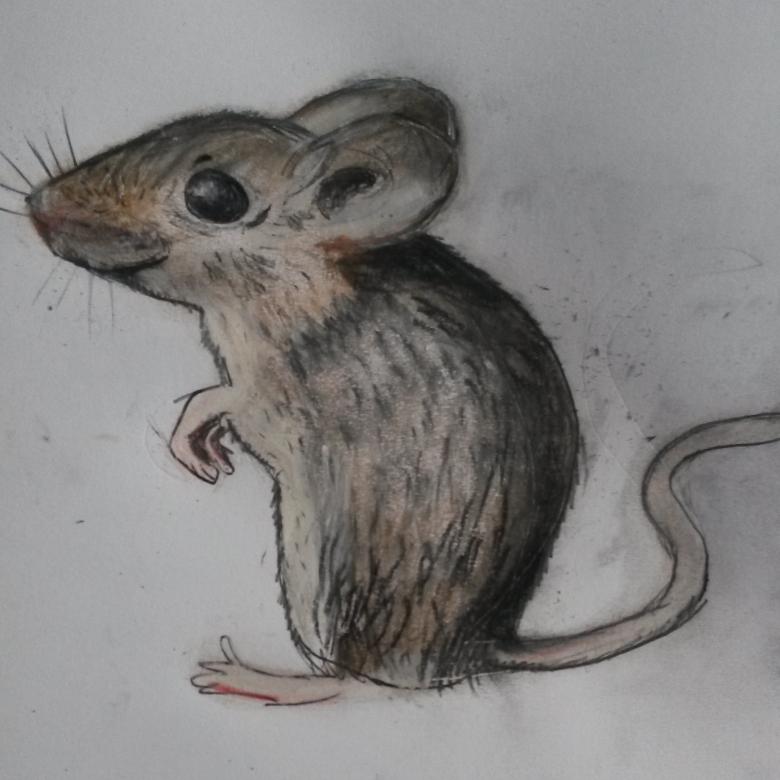
Parents who watch the cartoon about the mouse, be sure to benefit from the step-by-step master class image of this character. In the process of creativity with children, you can additionally learn other techniques and materials, geometric shapes and make amazing crafts.


