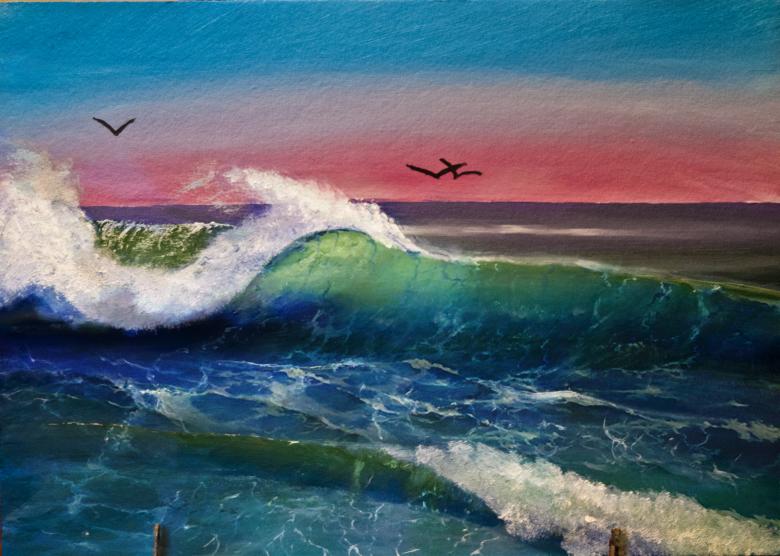
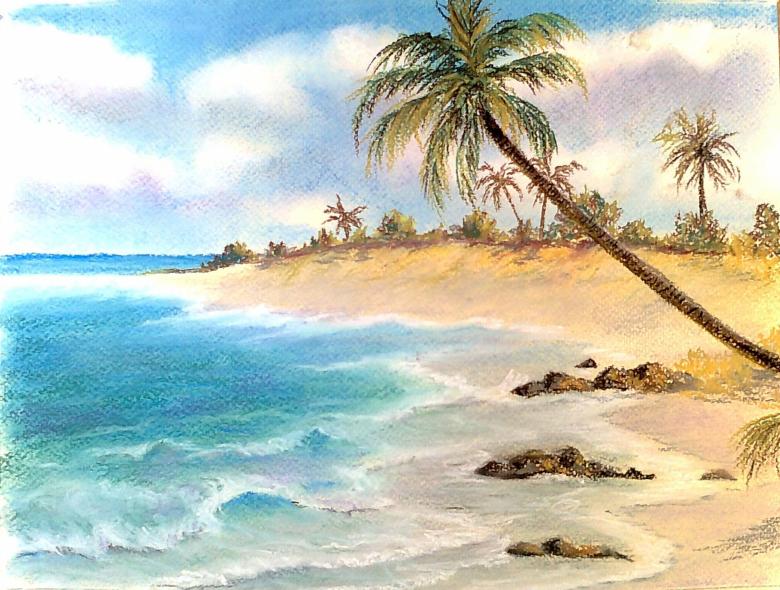
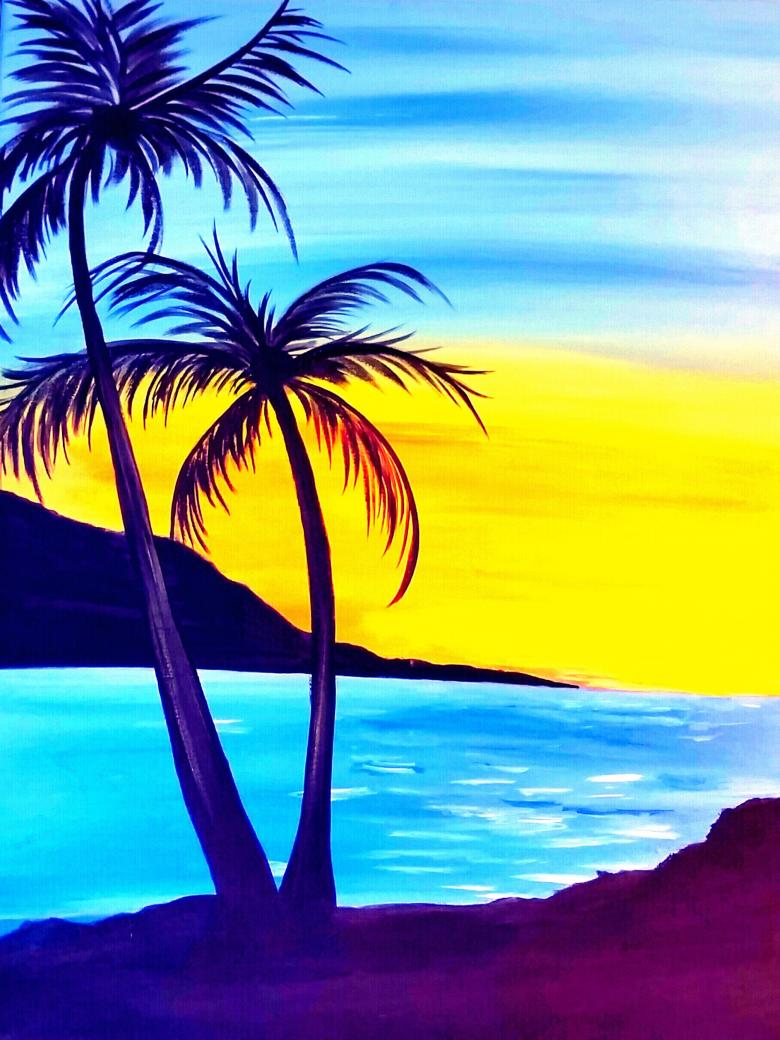
How to draw the sea in pencil, watercolor, oil, gouache - step-by-step master classes for beginners
To convey all the power of the sea element with its staggering color is possible only for an experienced artist. It's good if you have an opportunity to attend lessons of the master and work under his guidance. Well, if not - draw on your own.
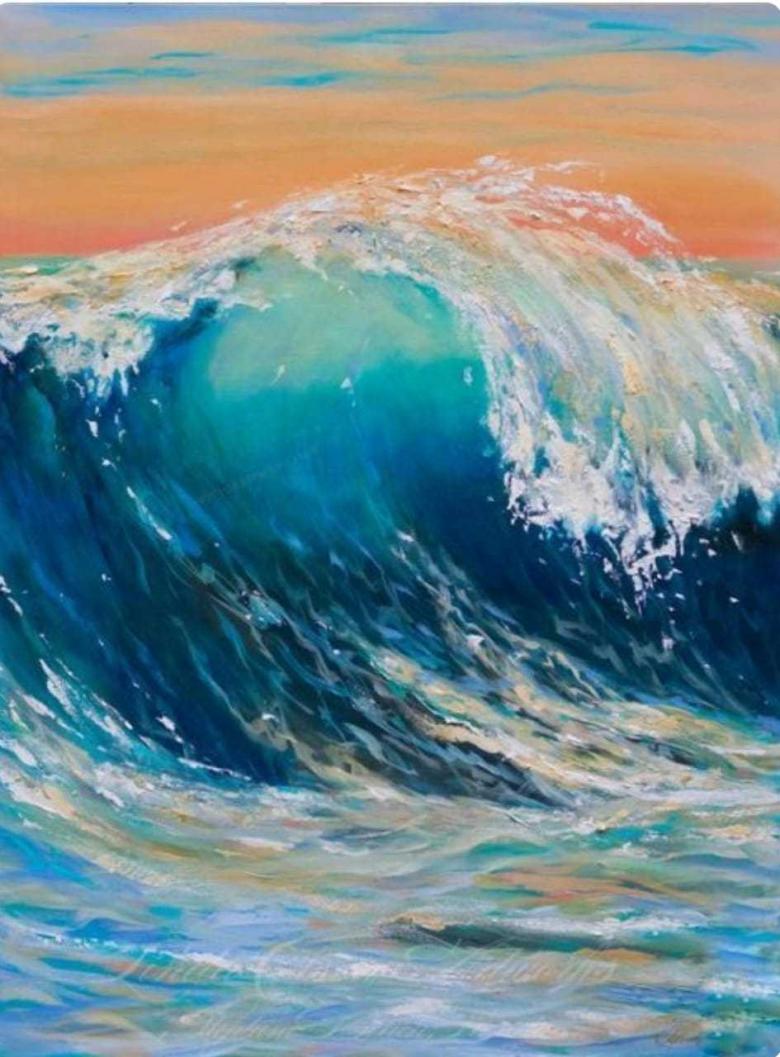
Clearly, the sea view in paint is more saturated with the colors of the sea. But to depict the waves of the raging or calm sea with a simple pencil is quite difficult. The skills of the so-called neat "stroke technique" are useful here. This master class will help you draw the sea in pencil. It is worth only to follow the recommended step-by-step steps.
Amazing Sea
- Start drawing by thoughtfully defining the parts of the drawing: the horizon and the shoreline in the story you have in mind. Sketch the outlines of small boulders on land. Clearly define the line of the beach. If desired, draw the silhouette of the sun, mark the waves around the rocky ledges in the sea.
- The next step will be the image of the original outlines of the waves on the entire sea surface. For this purpose, make several strokes across the water surface with a pencil. However, do not get carried away - the quantity will not replace the quality. Because in this case it will not be possible to depict quite large waves.
- Next, let's move on to drawing and shading the silhouettes of waves near the stone figures. This is where you'll need to use a specific technique. You can soften the pencil marks with your fingers (to rub them into the strokes), or use an eraser of sufficient hardness. A similar procedure is carried out with the part of the sea.
- Now moving on to the design of the coast. Similarly to the procedure with the sea surface, the sandy shore is shaded with pencil strokes followed by rubbing. Lightening the dark places on the sea areas (if there will be such) is also quite possible. With intensive shading of stones we will achieve their expressiveness. Sketch the outlines of the clouds.
- This step is designed to depict the sky above the sea. Start with sketches of small clouds. Faint strokes will emphasize the movement of the air. Add the sun (if desired) to the drawing.
A little diligence and patience will get the job done with this lesson.
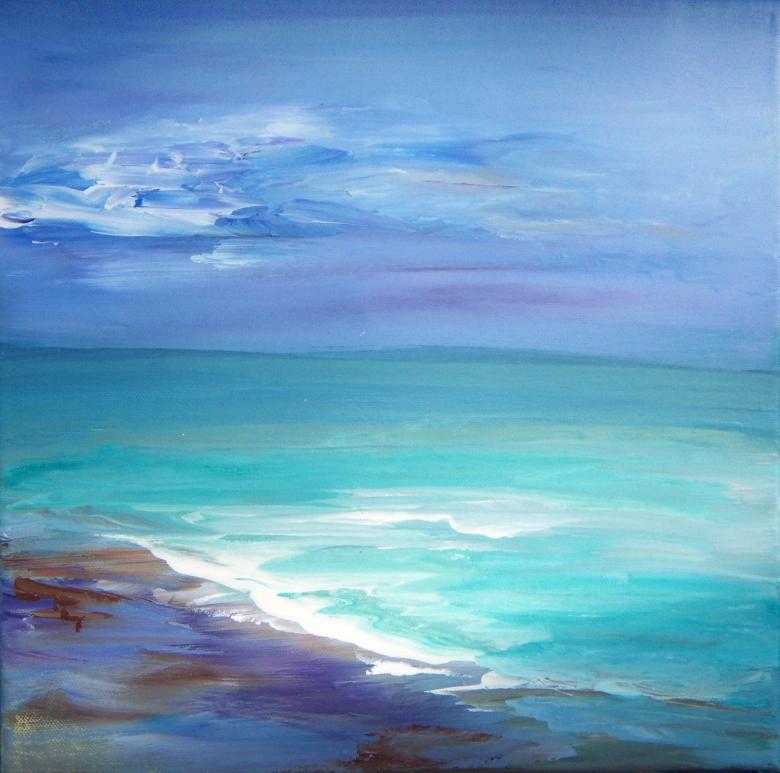
Drawing the Sea with Children
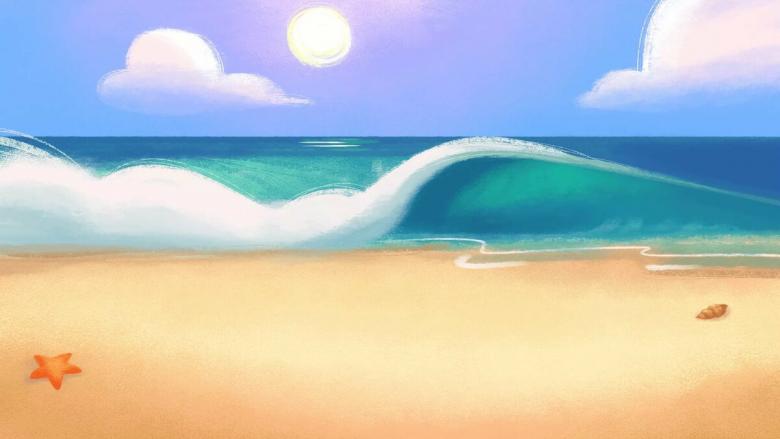
After vacationing at the sea, children often want to convey their impressions on paper. Many parents provide paints or gouache to create a painting with a nautical theme. Master class on depicting the sea in pencil will bring considerable joy to both the kid and his parents. We suggest a step-by-step drawing of the water element.
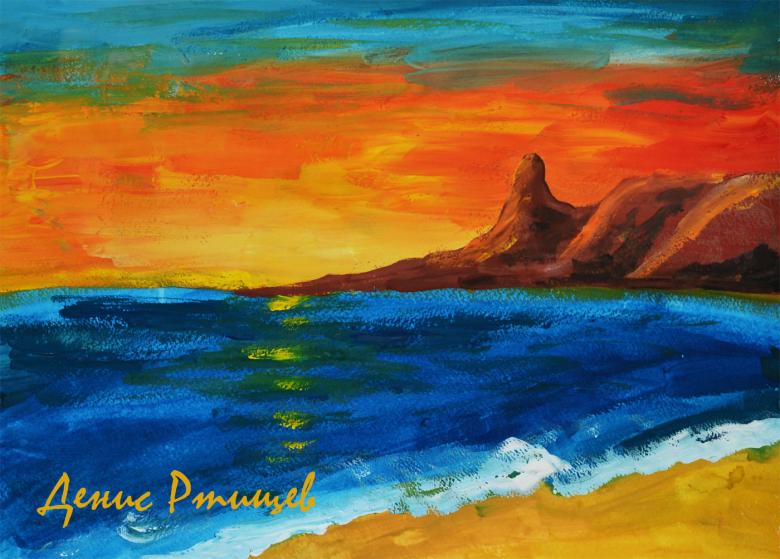
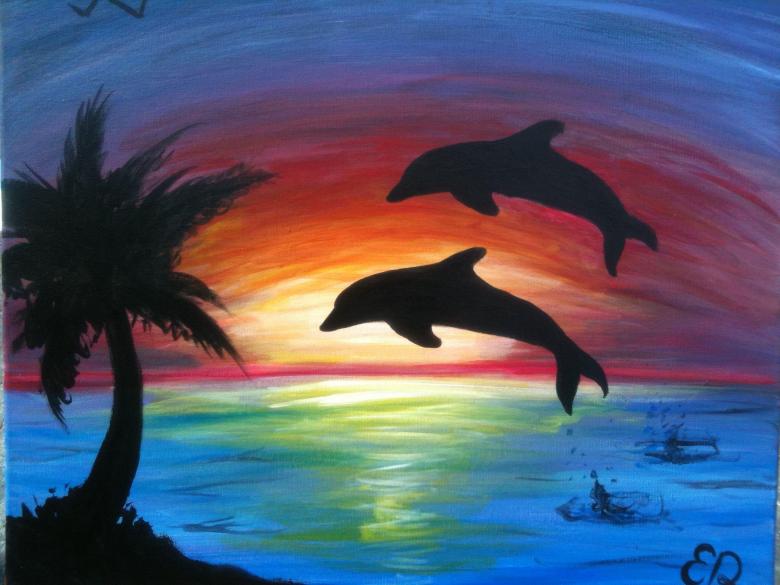
- Draw a frame on a sheet of paper with a ruler. In the right n eh corner of the upcoming drawing sketch a small sided triangle.
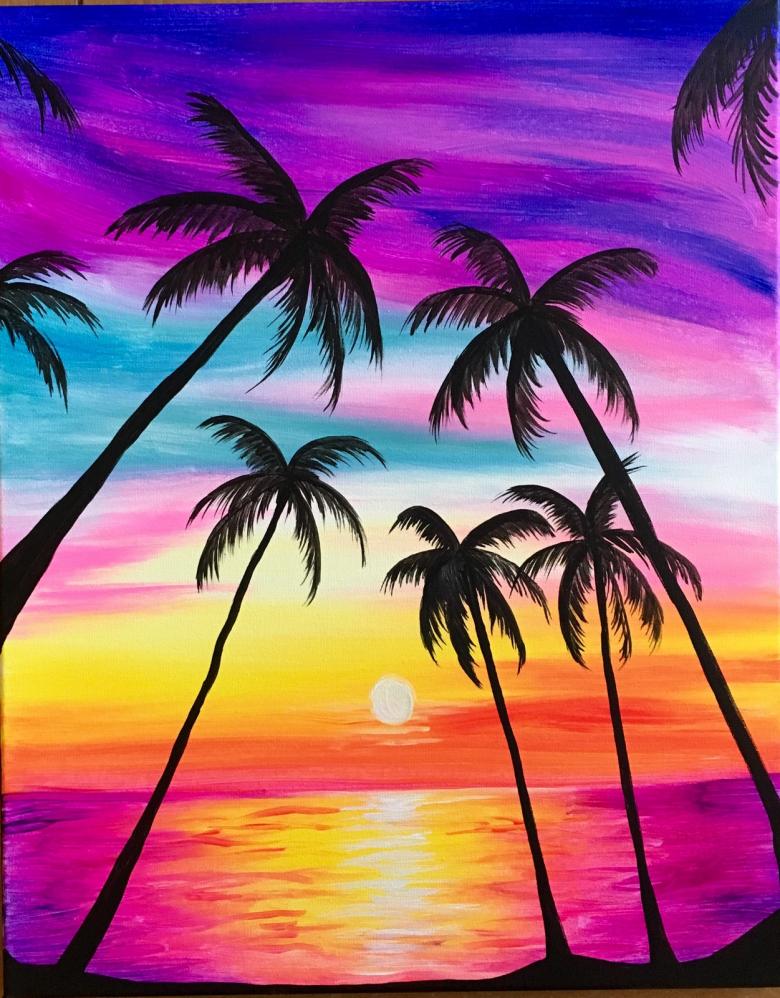
- Carry out two stripes from the hill up so that the top, they came together. This trunk of the palm. At the junction depict palm leaves. And at the bottom, at the base of the trunk add a few small slides. Subsequently these areas will need to paint in a different color.
- Just below the center of the leaf draw the skyline. Draw the sea, starting from it. Draw with a pencil. From the center of the horizon draw a wavy line. This will mark out the area that separates the sea from the beach. It is possible not to draw the outline of the sea from the center of the horizon, as your imagination prompts.
- Above the horizon depict two or three hills (mountains), placing them side by side. Since they are in the background of the picture it's not necessary to paint them large.
- The black and white sketch is ready. Feel free to start painting the picture with your child. You can completely leave this process in the hands of a son or daughter. For the palm take brown and green pencils. For bumps use different shades of green, going from darker tone to lighter color. Similarly, paint the mountains. Hatch the sea surface with a blue pencil, and use a dark blue pencil closer to the horizon. Some areas of the pencil strokes can be softened slightly with a finger, or a fairly hard eraser. For the sand on the beach apply a light brown color.
- Finish the work with a pale blue shade of the sky. Don't paint over the entire sky space, leave the white areas-clouds.
The resulting picture will make your child proud, both in kindergarten and at school.
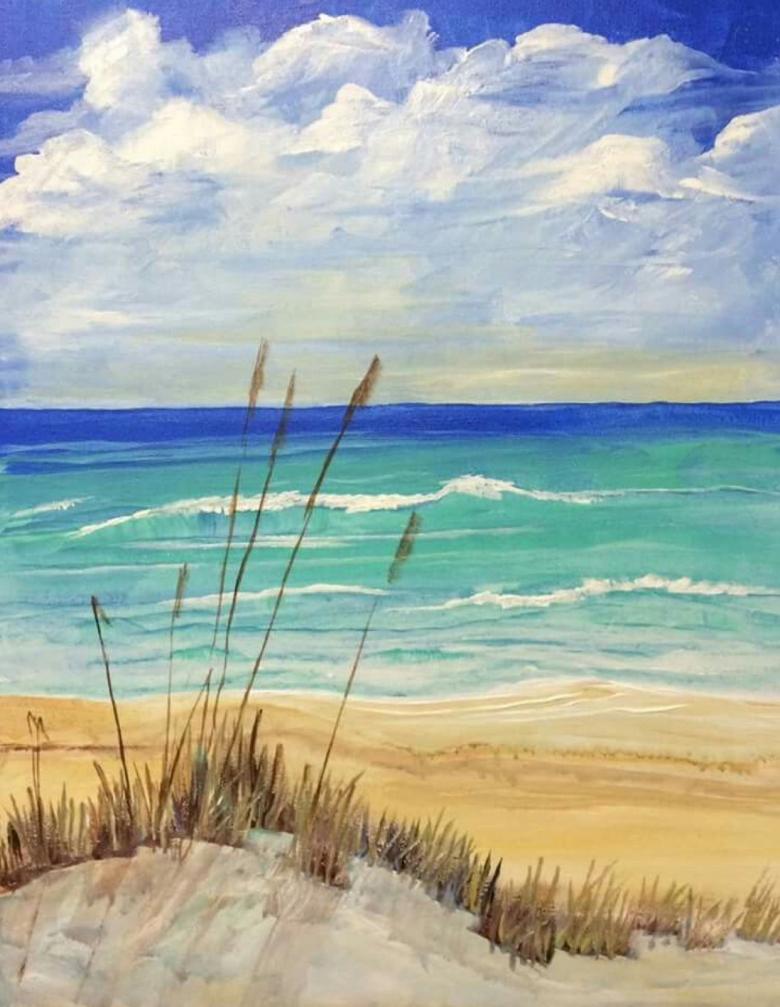
Sunny Light Watercolor
You've repeatedly stopped by paintings of seascapes done in watercolor. The ocean breeze depicted has filled you with inspiration and a passionate desire to try your hand at painting yourself. Here's a lesson with concrete steps to reach your goal.
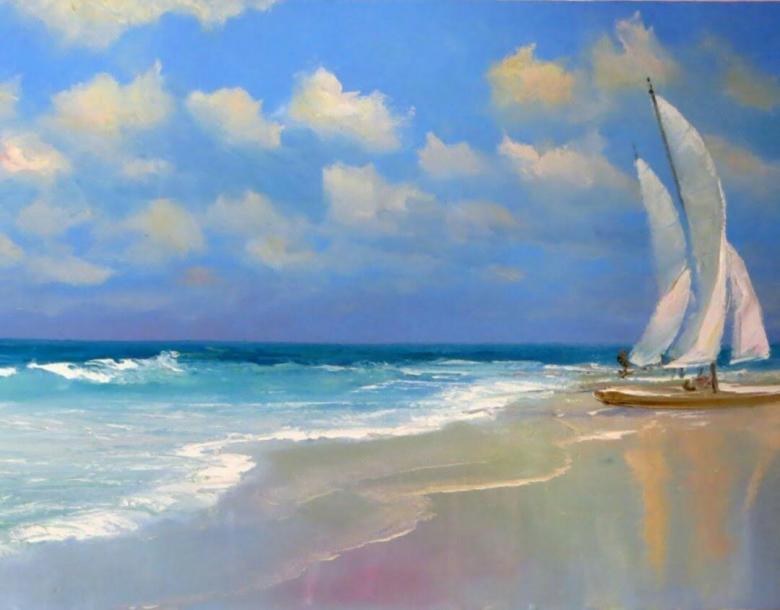
What you need to create a beautiful watercolor landscape:
- Paper with a semi-smooth texture (use a small sheet to start);
- round brushes - #12 largest brush, #8 medium size, and #4 smallest brush;
- watercolor paints of the recommended shades (during the proposed master class they will be indicated), they can be replaced by paints of your choice.
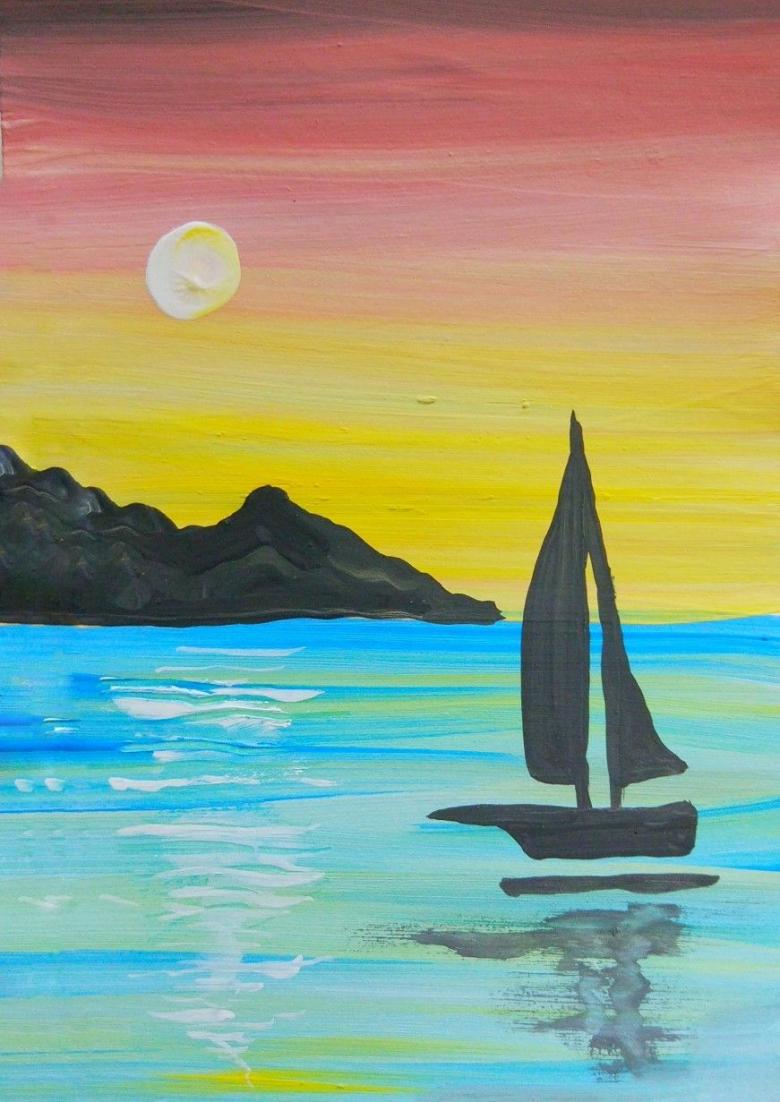
Let's begin painting
- The first step is to create a sketch. The outlines are drawn with a simple pencil and should be barely visible on the paper.
- The second step is to draw the sky. Wet the paper above the horizon line thoroughly and give it time to soak in. Take a large brush and apply a few very light strokes, using yellow paint. This is how we will mark the clouds in the sky. With the color cobalt blue we emphasize the upper silhouettes of the clouds. We rinse the brush well and with it (let it be a little damp) we blur the outlines, achieving in this way the convergence in the color scheme. Then continue to paint the sky in blue, at the same time marking the bottom of the clouds. Without letting the paper dry, draw shadows on the clouds. To do this we will use the blue and red colors.
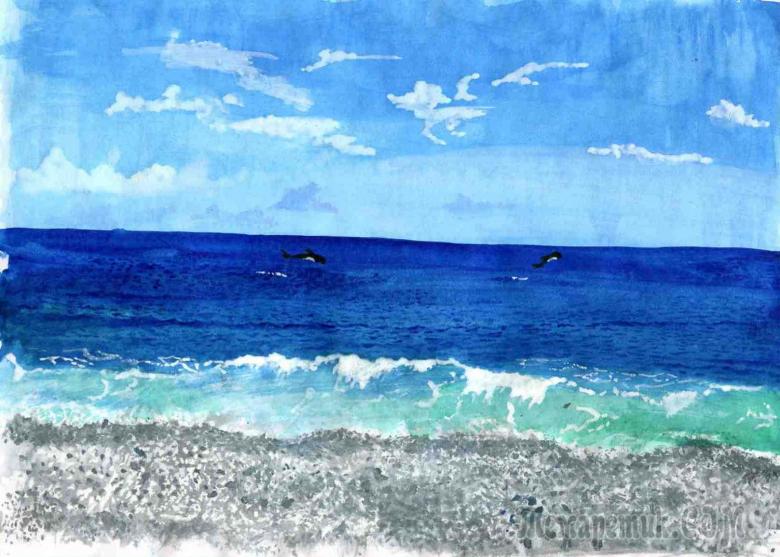
- The third step is the most responsible moment - drawing the sea element. We use brush #12. On it we apply a fairly large amount of phthalocyanine blue paint mixed with water. We make the initial strokes, using a technique where the mixture is applied to dry paper with sliding motions of the hand. Work with the whole brush and its part alternately. Some parts of the watercolor (grainy) paper are left blank. This is how we create the appearance of sparkling water space. On water (the paper should stay wet) create a little depth. Make a few small strokes of smear paint blue and green.
- The fourth step is much closer to completing the work. We mix blue and yellow colors and a small drop of red tone, and draw the silhouettes of the hills, located on the edge of the horizon. Here it is necessary to try hard to give the colors a muted shade, and the contours blurred. Thus we emphasize the visibility of the remoteness of the hills. Be sure to wait until the sea surface is completely dry and begin to draw the water ripples and waves. The strokes are larger and much richer than the painted individual parts.
- Step five is the final step. Use medium-sized and smallest brushes. Use them to draw the pencil outlines of the boat and people. Work with two shades of red paint, mixing in a single shade. The nuance in this drawing is that it is not necessary to thoroughly trace the human figures. They will look more natural in a slightly sloppy image.
The work is complete. However, you can add your own additions, for example, enliven the picture with soaring seagulls.
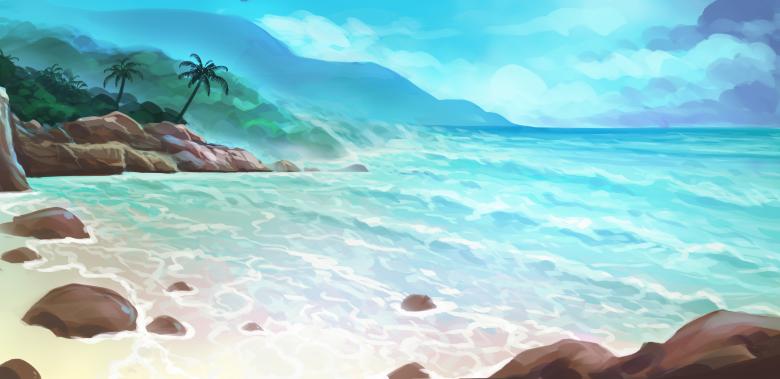
The tutorial provided will help you in creating an uncomplicated sea scene and perhaps provide inspiration for watercolor painting.
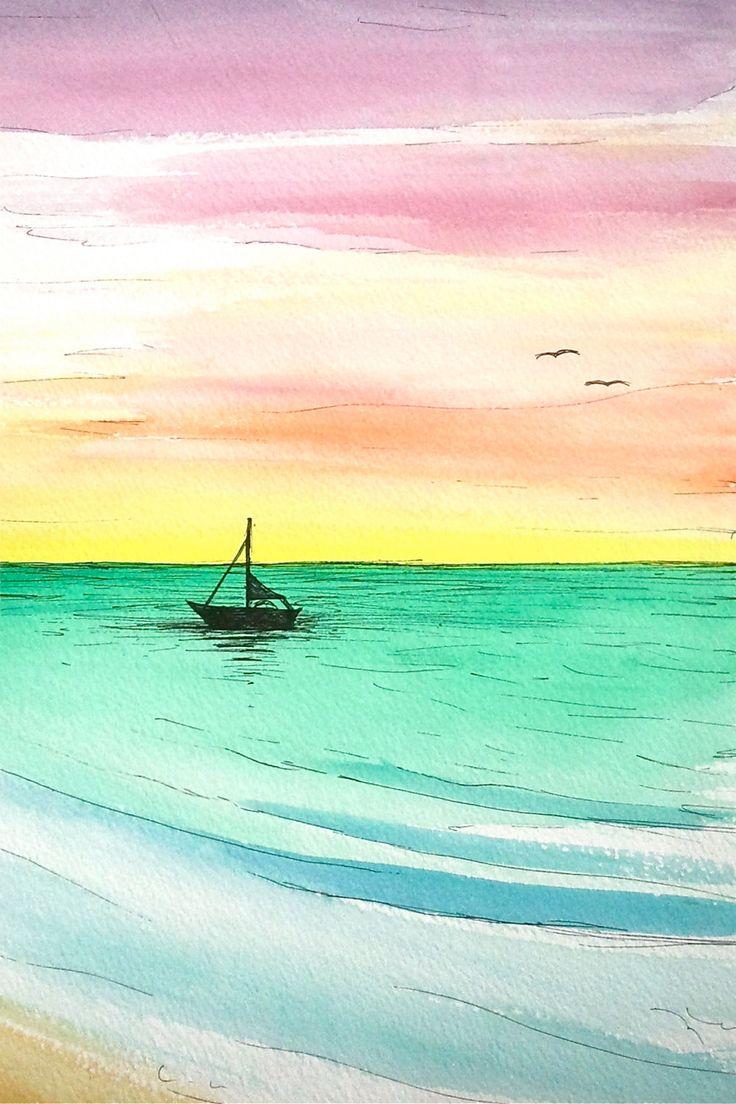
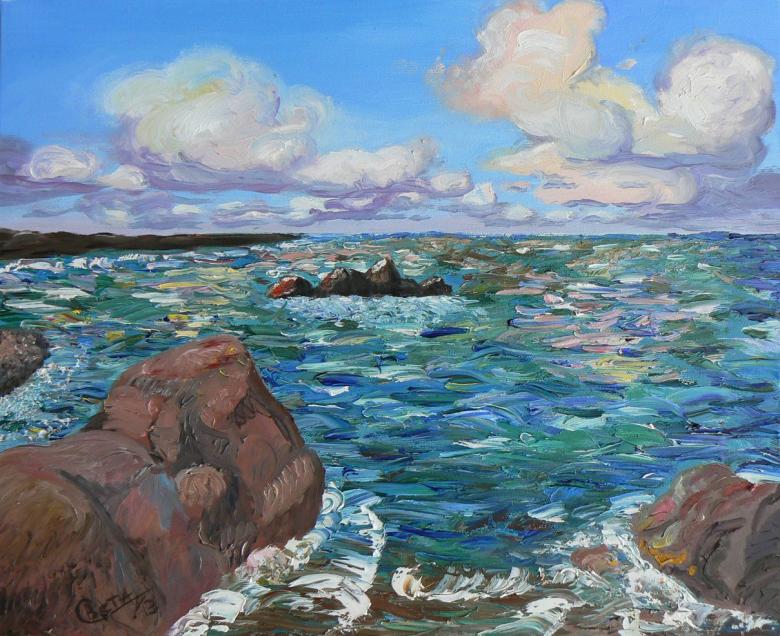
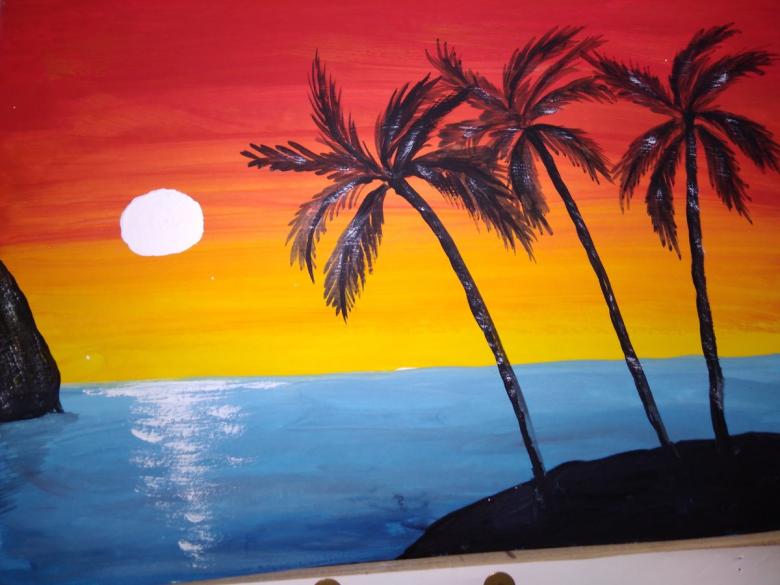
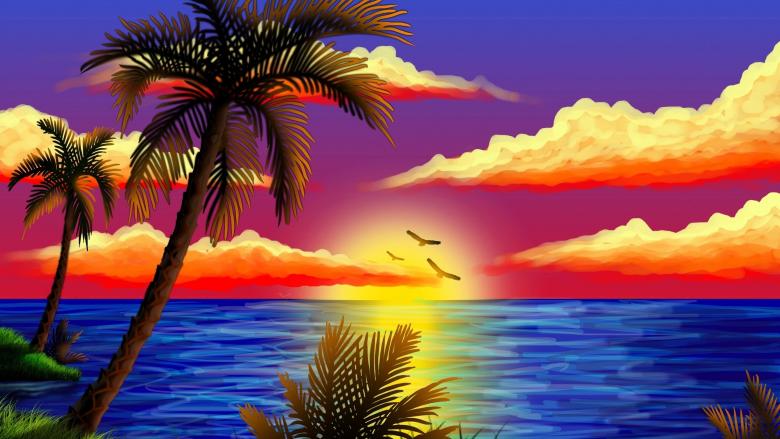
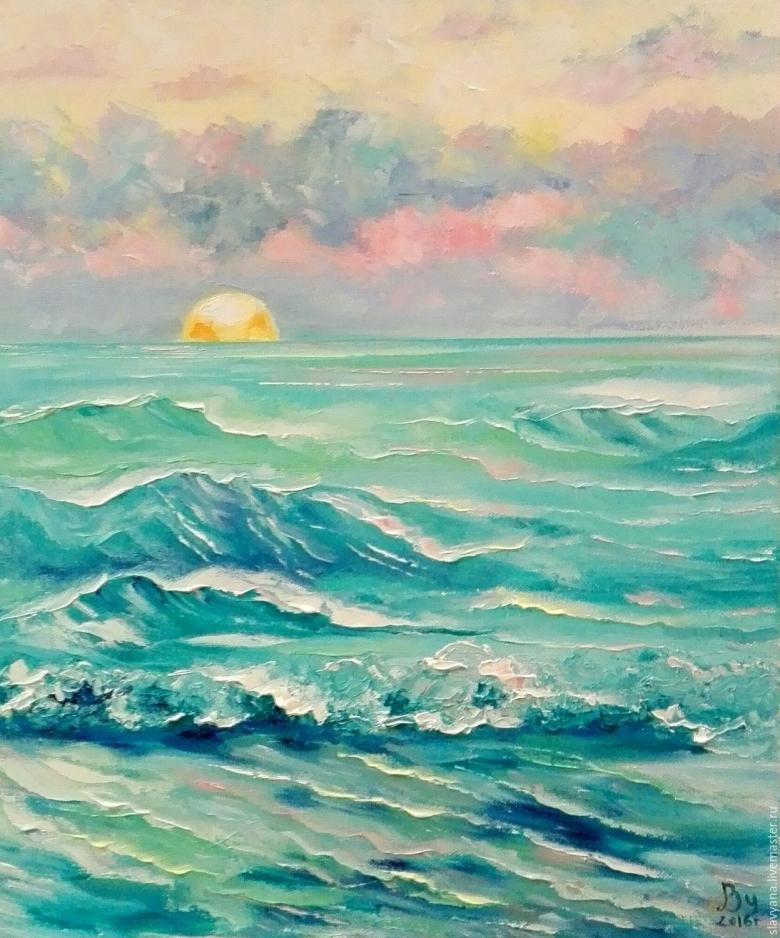
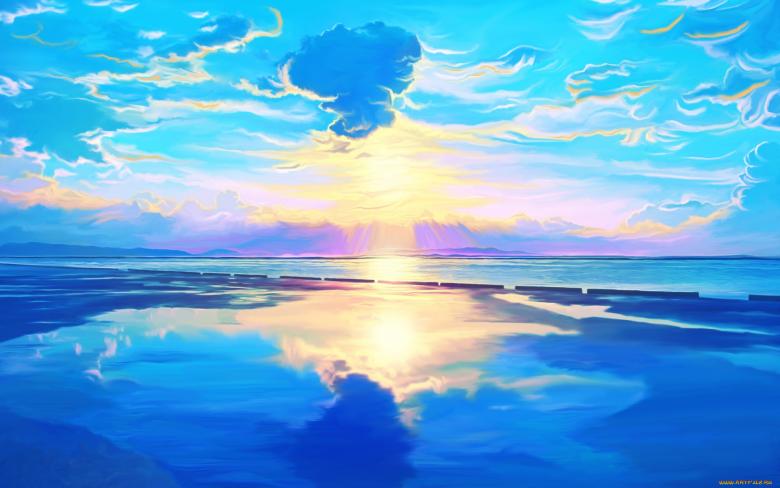
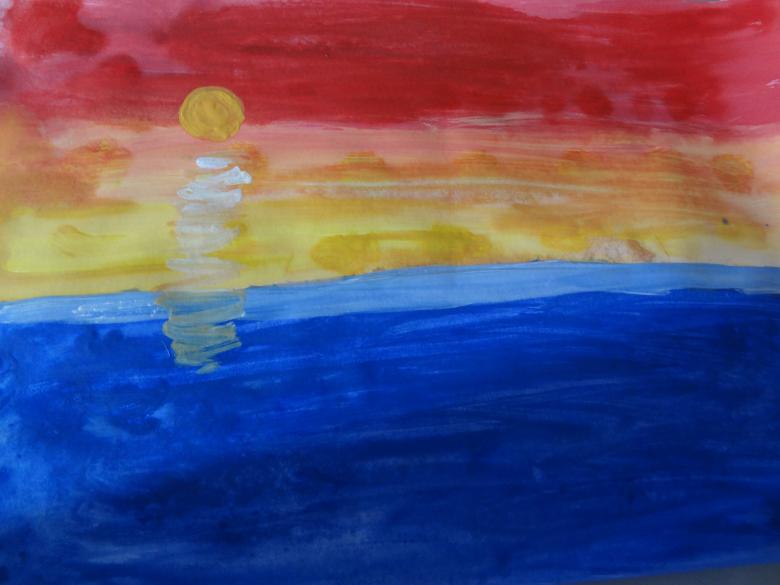
Sea Sunset in Oil
Just yesterday you were enjoying the view of the sea, and today there's a snowy blizzard outside your window. You will think of depicting an unforgettable sunset on the sea, and do it exactly in oil to surprise your guests. It is worth noting that it is quite difficult for beginners. Specialists strongly recommend attending special courses where you will be taught lessons of step-by-step drawing with oil paints. This is the best option for those who want to seriously engage in the creation of works of art on their own.
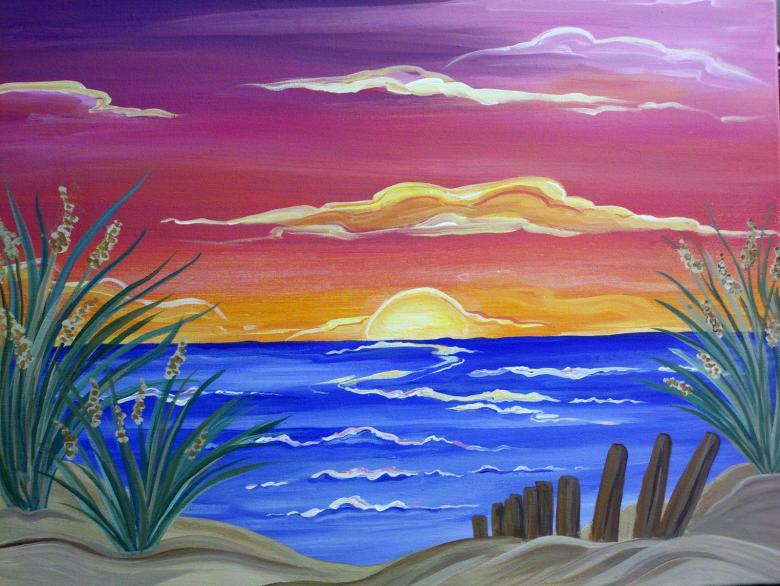
Drawing a seascape with children in gouache
Such a drawing, first of all, you can draw with a child from 5 years old. Secondly, gouache is the most convenient drawing material for lessons in painting with children. Because it allows you to correct mistakes, unlike watercolor. It is the least complicated class in painting with paints. Drawing this type of drawing with the child, the tutor simultaneously solves many educational and educational tasks.
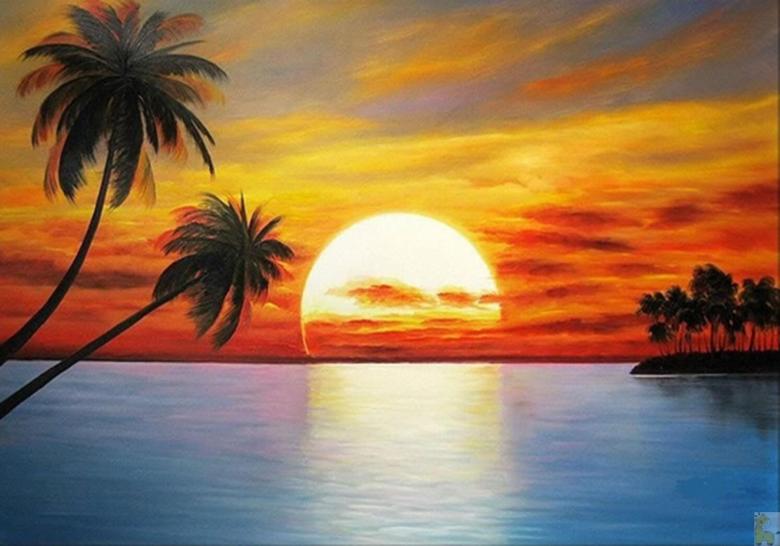
Prepare everything necessary for drawing:
- A thick sheet of regular drawing album;
- paint such as gouache of different colors;
- a large brush (#6);
- a brush with fairly stiff bristles (alternatively, a toothbrush);
- An object on which to mix paints;
- a container of water;
- a napkin.
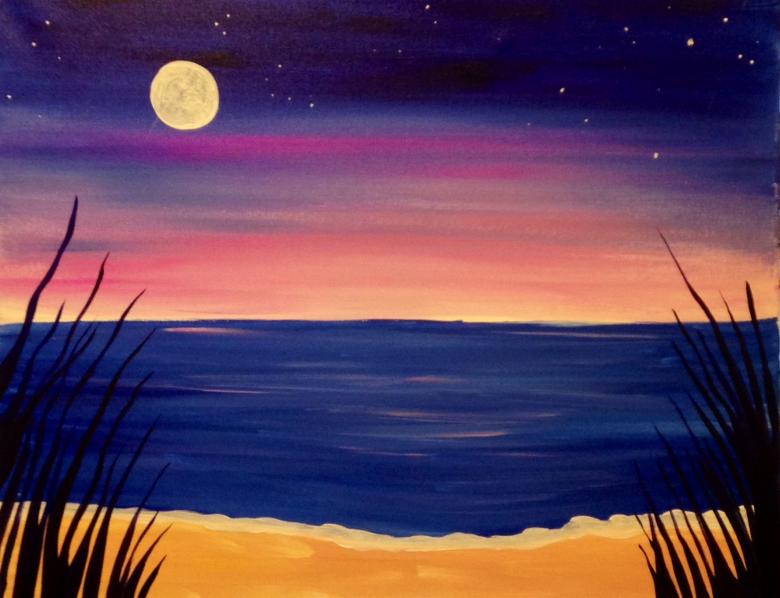
Start the seascape by painting the sky expanse. First, draw the horizon line (with a simple pencil), dividing the sheet into two parts (larger and smaller).
- The smaller half will show the sky, and the rest of the sheet will show the sea.
- Mix gouache of white and blue colors, achieve desired blue shade.
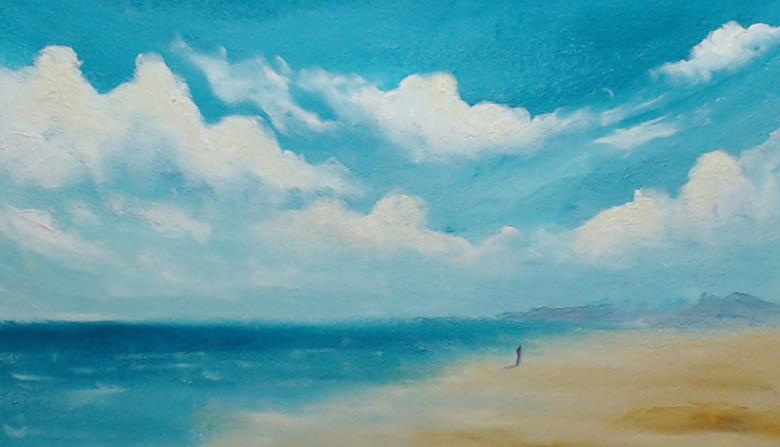
- Paint the sky in horizontal stripes, moving between the edges of the sheet of paper. The sky should look darker at the top. Therefore, you can first apply a dark blue stripe, and then move on to blue paint, gently shading the darker part of the sky.
- Then proceed to depicting the clouds. Make dots and strokes along the contour of the cloud silhouettes in white gouache. If you want to make a picture of the clouds, you need to use a paper towel and press it well against this dot pattern. The clouds will be fluffy and their borders will not be sharp.
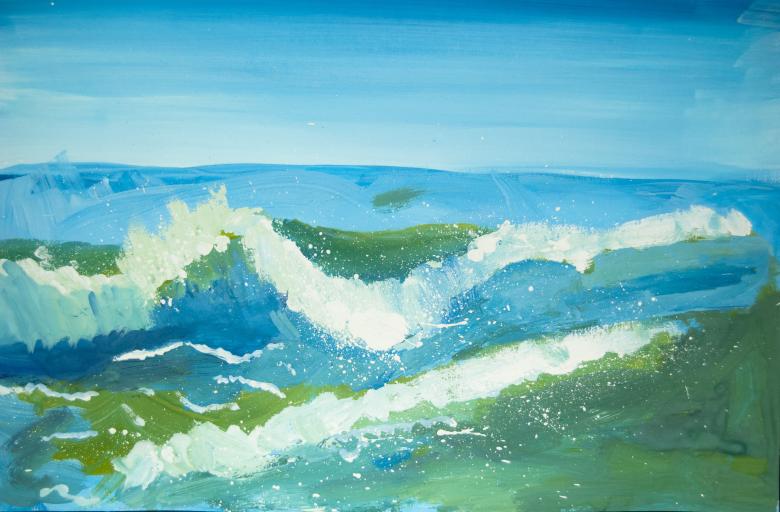
- Let's start drawing the sea. Paint over the bottom of the sheet with blue paint (the technique is identical to the image of the sky). Follow the blue paint with light strokes in the form of stripes, using green and white gouache.
- Don't forget to accentuate that the color of the sea is always darker near the horizon than it is near the shore.
- The most attractive process for kids is to draw splashes of sea foam by splashing paint. To do this, use a brush or toothbrush. Dip this tool into water and white gouache. Use your child's index finger to move the brush. White droplets will immediately appear on the sea. Just make sure that the child performs this movement correctly (directed towards yourself), otherwise the little artist will end up in white sea droplets.
- The lambs on the waves should be drawn with a thin brush. Again here, special attention is paid to proportions - closer to the horizon the outlines look like small figures, and the distance between the waves is almost imperceptible, unlike the coastal view.
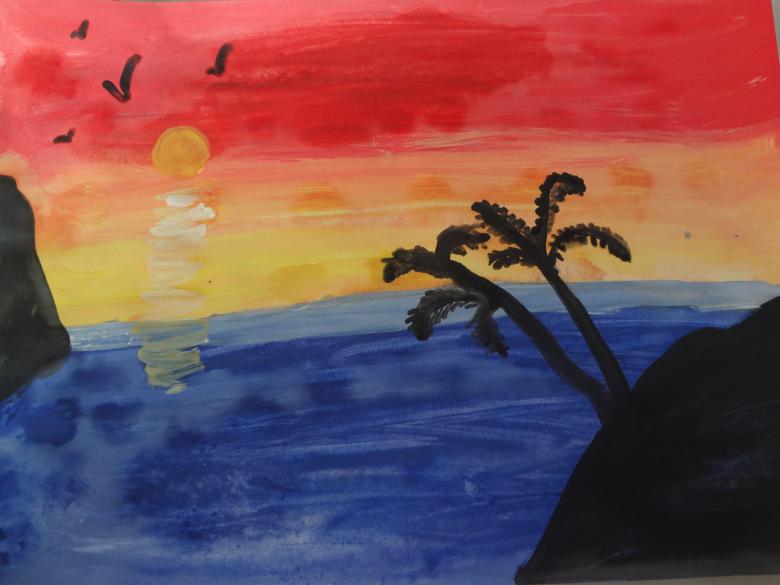
- You can finish the picture by adding various creative tricks. In the corners of the picture on the horizon line, draw in black paint (you can slightly dilute the dark blue color) in an arbitrary form part of a distant island, and in the sky - ticks-teaks.
Drawing is ready, do not forget to read your child a beautiful poem about the sea and note his efforts.
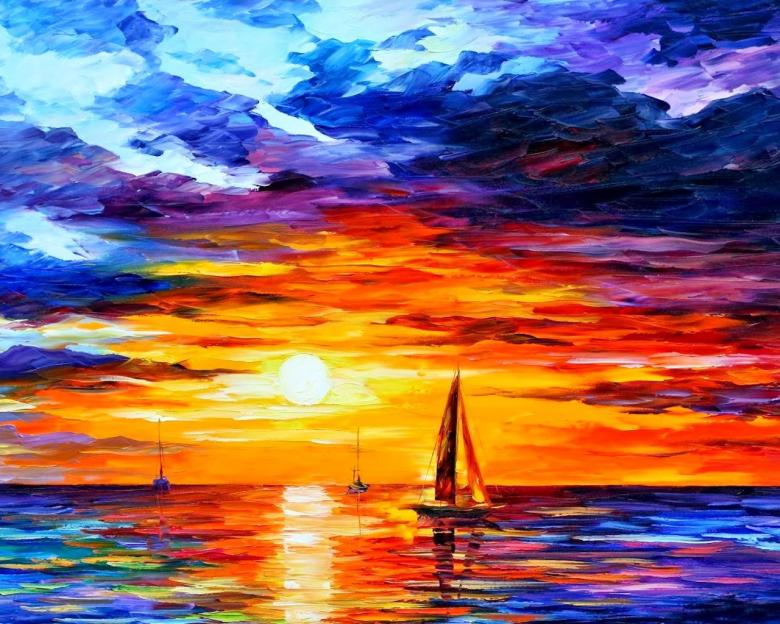
Remember - you can draw the sea only when there is a mood and desire to capture on paper a beautiful seascape. And in the process of work, skill is sure to show, and talent will be revealed. Good luck!

