How to draw a microscope in pencil - a simple master class for beginners
To draw any device, use a variety of techniques. The drawing can be simple or complex, done in simple pencil or in color. For coloring, it is allowed to use colored watercolors, gouache or all the same pencils. On how to perform such work, we will tell on the example of several lessons, differing in their complexity.
Materials for work
Before you start drawing, you should prepare the necessary materials:
- Simple pencils of different hardness. They are needed to create thin lines of sketching and outline. It is desirable to take into consideration that hard pencils are marked with the Latin letter H, soft pencils are marked with the letter B. The number in front of the letter indicates how soft or hard the pencil is.
- Colored pencils. Pencils are either plain or water-colored. They differ in a principle of drawing. With ordinary pencils, just shading is applied. With watercolor ones, after painting the background, it is necessary to go over it with a brush soaked in water.
- If a color drawing is planned, it is necessary to prepare the corresponding colors - watercolor or gouache.
- Choose the right paper. It is necessary to remember - for paints and pencils, the type of paper should be different.
- A ruler, who does not manage to draw straight lines correctly.
- You can use a compass for drawing circles.
- Erasers of different densities.
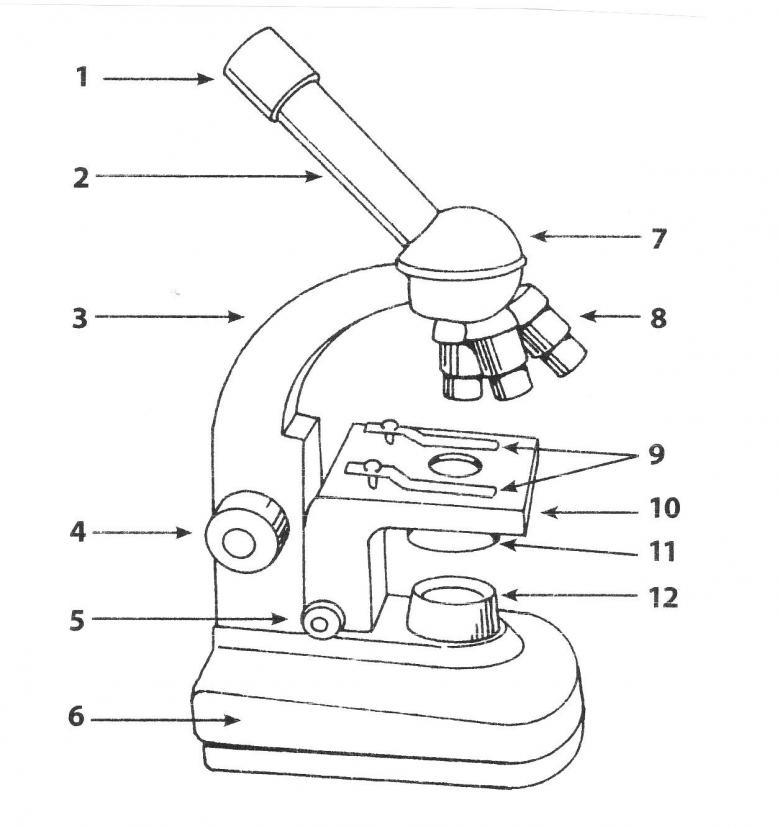
A variation for a child
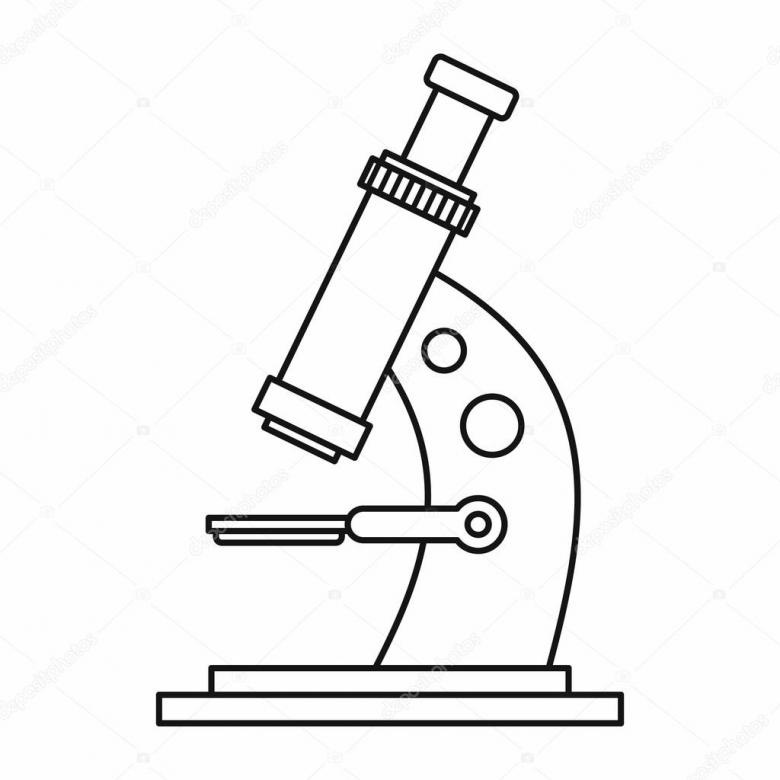
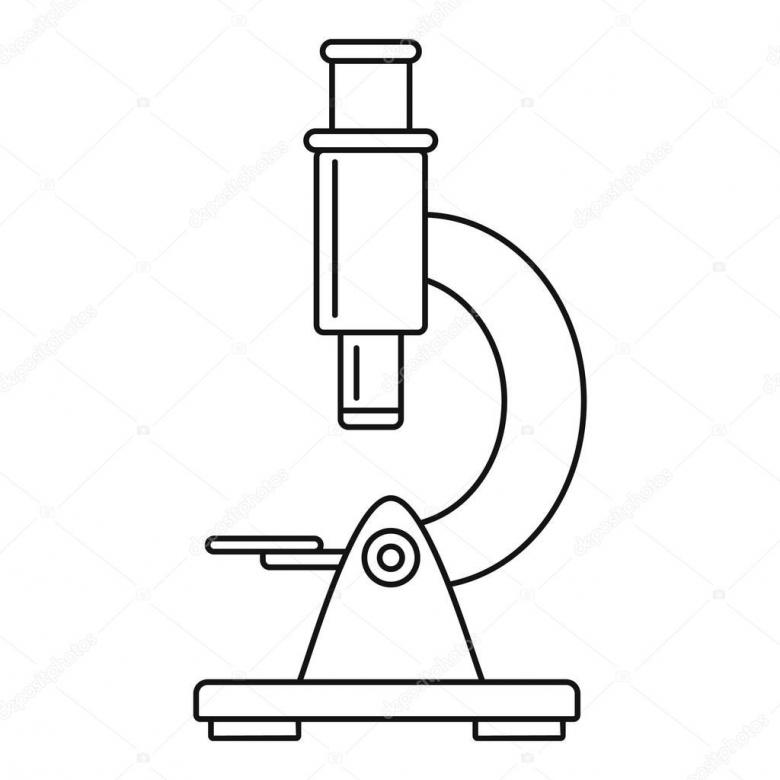
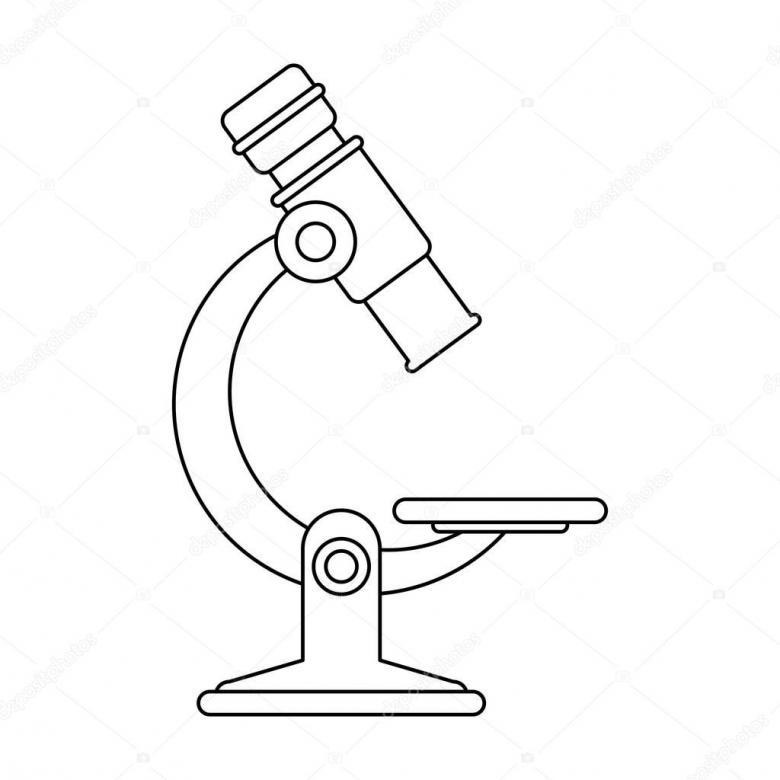
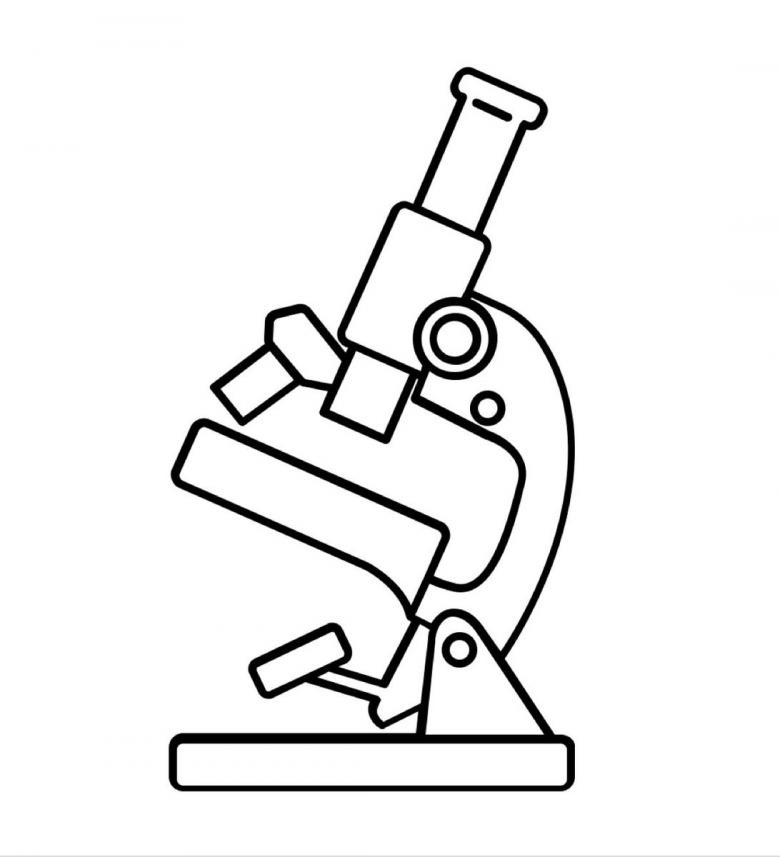
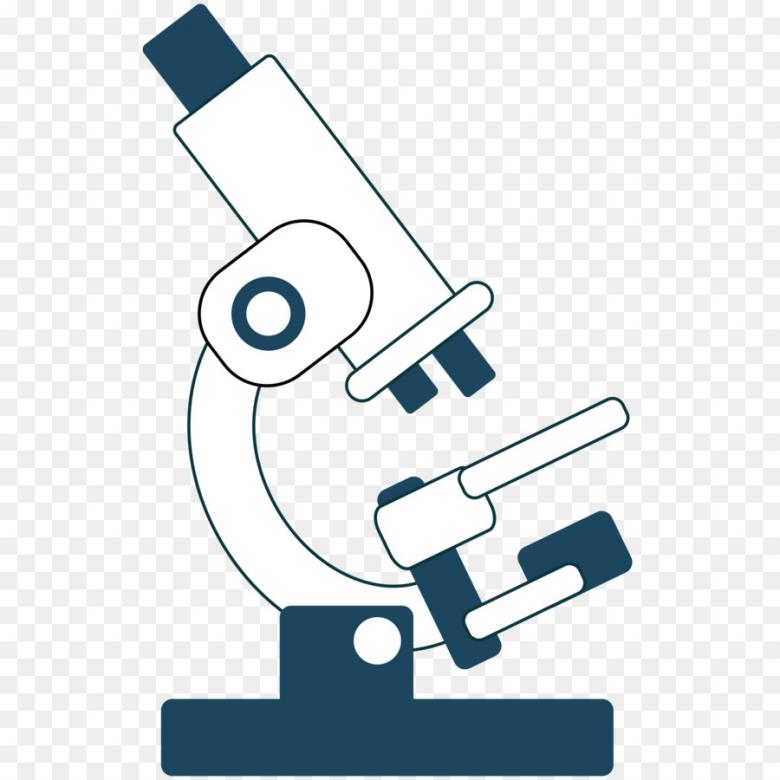
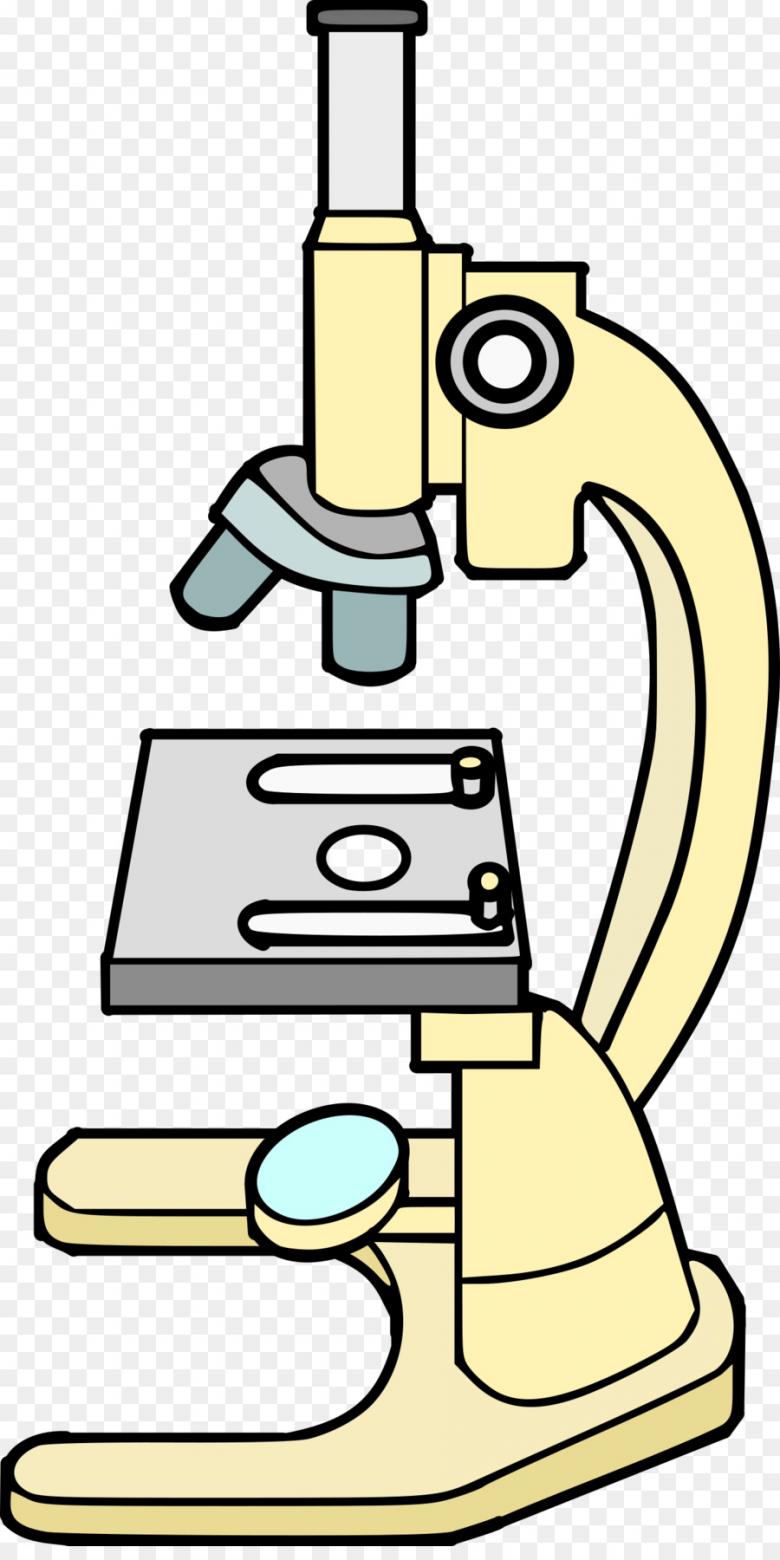
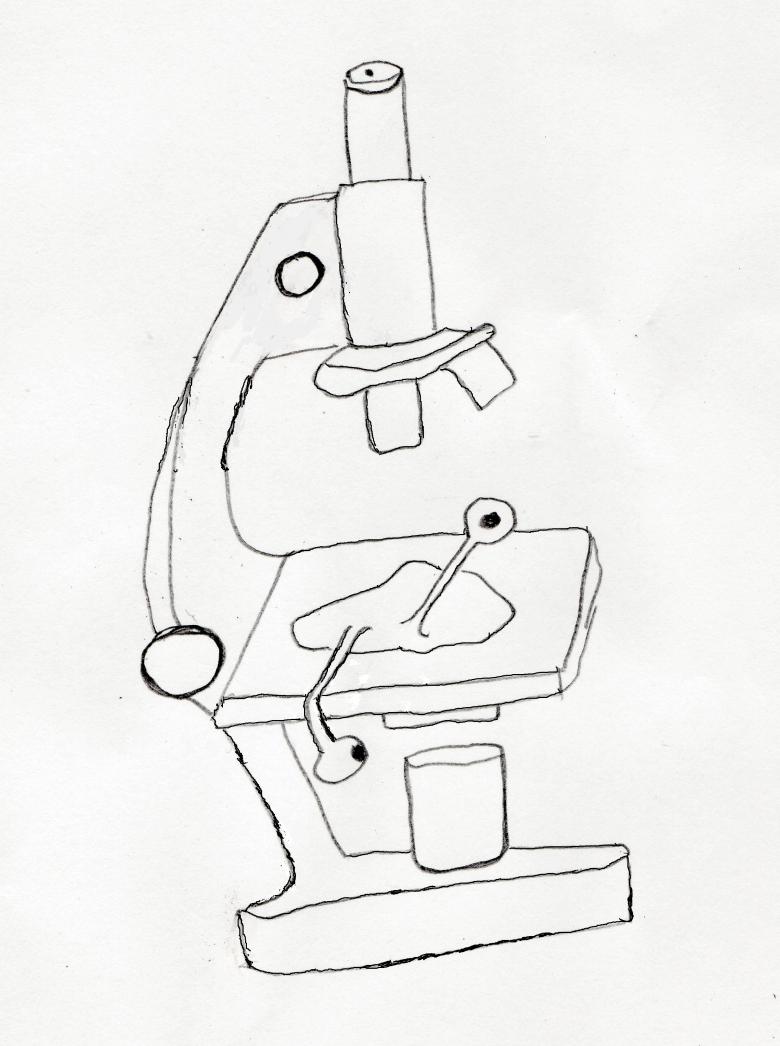
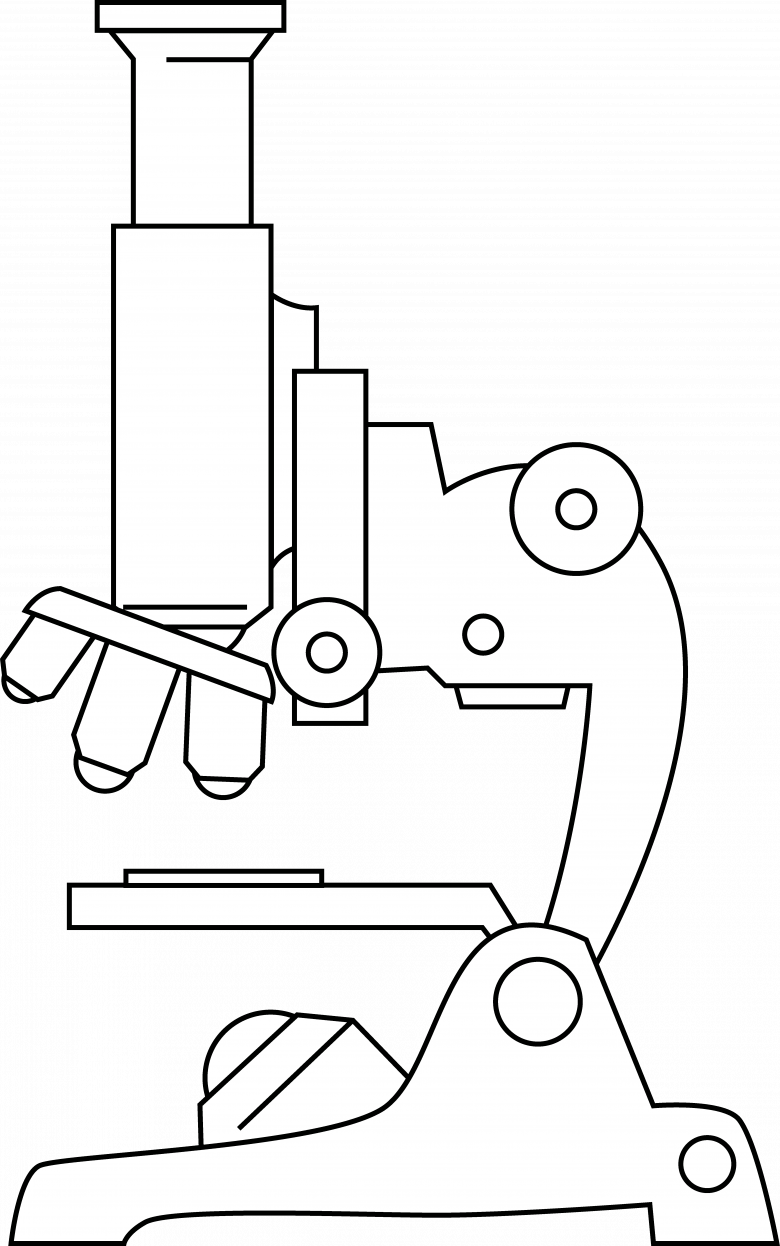
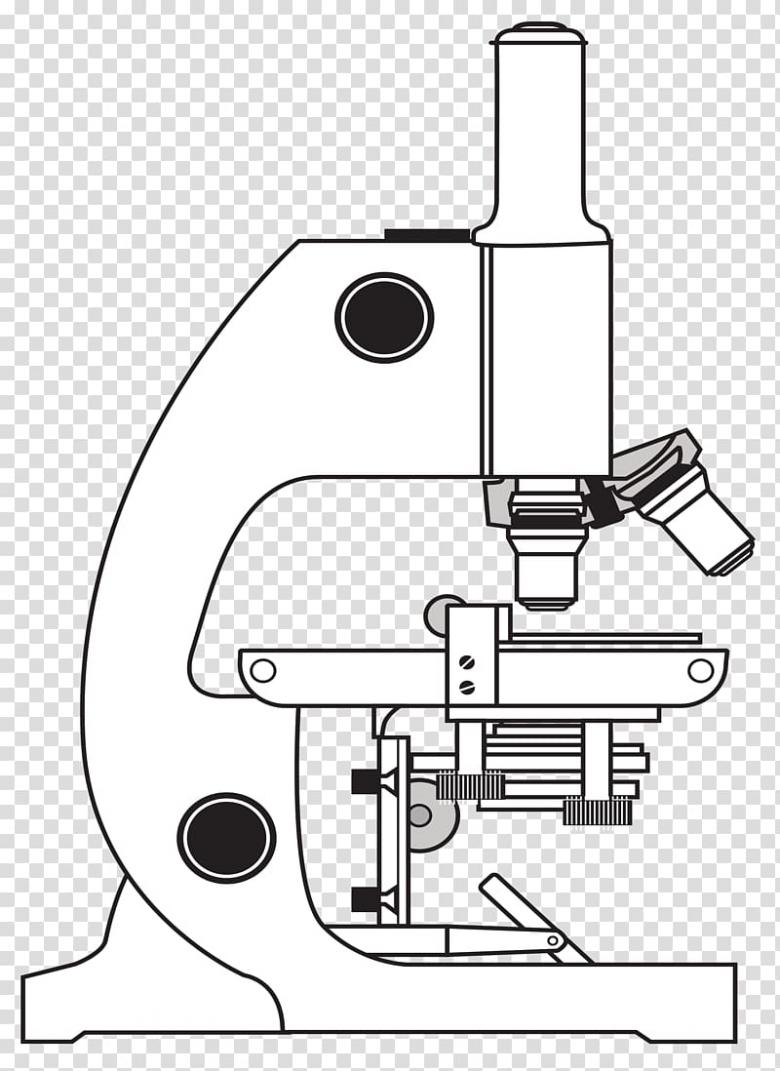
In order for a child to be able to perform a microscope, experts recommend doing it in profile, without the image of the volume. Lines will be as geometric as possible, i.e. to represent horizontal, vertical and inclined straight lines, as well as regular curves, i.e. circles and their parts, possibly ellipses.
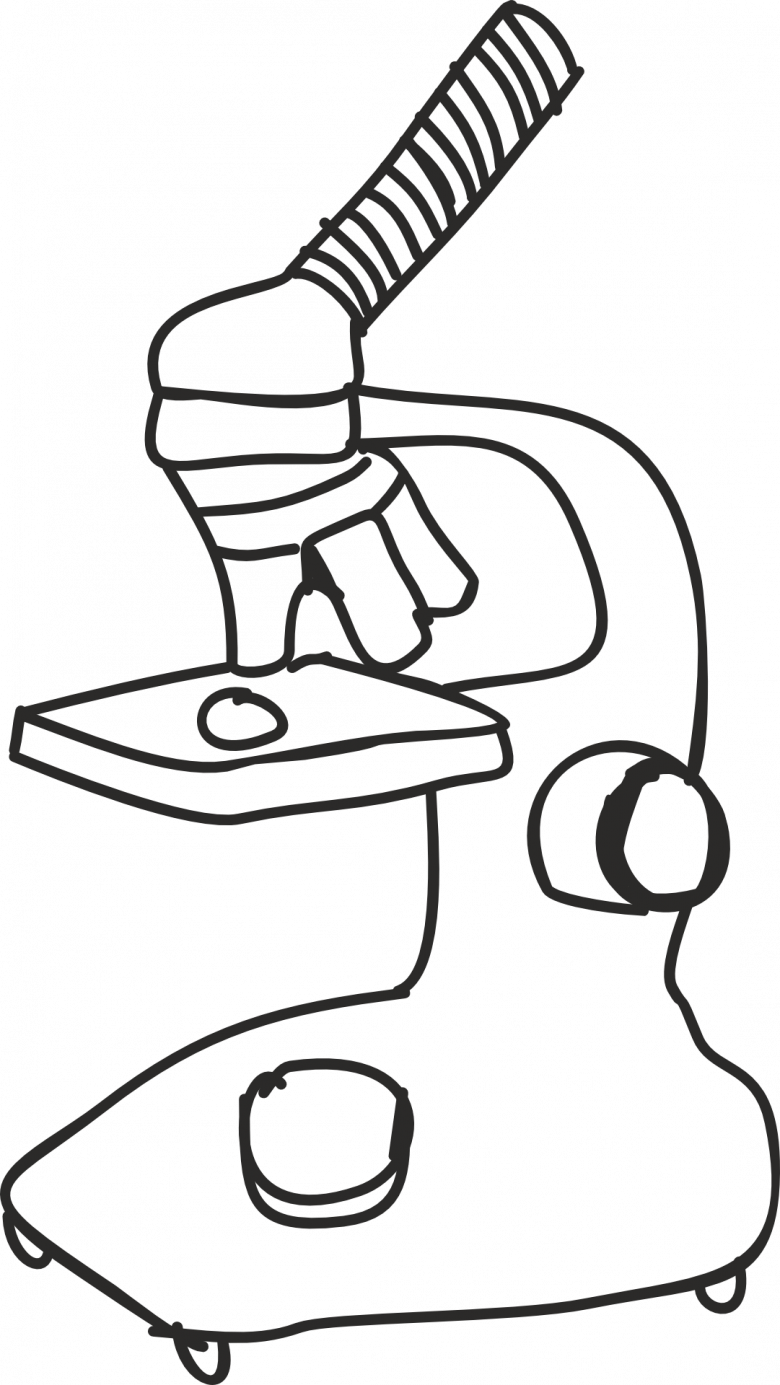
The following steps are followed step by step:
- Draw the base of the microscope. It is a trapezoid with a fairly long base and a small height.
- On the top of the right side, indenting a small space from the right corner, draw a square, which will be the fixture of the microscope stand.
- On the left side draw a flat rectangle on the upper plane of the trapezoid.
- The next step is to draw two circles to the right square, whose diameters will be slightly different. The difference between the diameters is the thickness of the microscope wishbone.
- The circle is drawn completely at first. And then use the eraser to erase the upper left quarter for the two circles.
- On the bottom edge of the cut circles is called a horizontal rectangle with the bottom part of the base.
- On the right side a small diagonally placed rectangle with the screw mount is drawn. On it is the screw anchor. It is drawn where the circle attaches to the bottom post.
- In the next step, the microscope tube is drawn. It is fixed to the top of the circle to the fixture.
- The tube is not just a rectangle. It is equipped with an eyepiece at the top. In its lower part, you need to draw two rectangles, which will depict retractable lenses - the so-called magnifying glass.
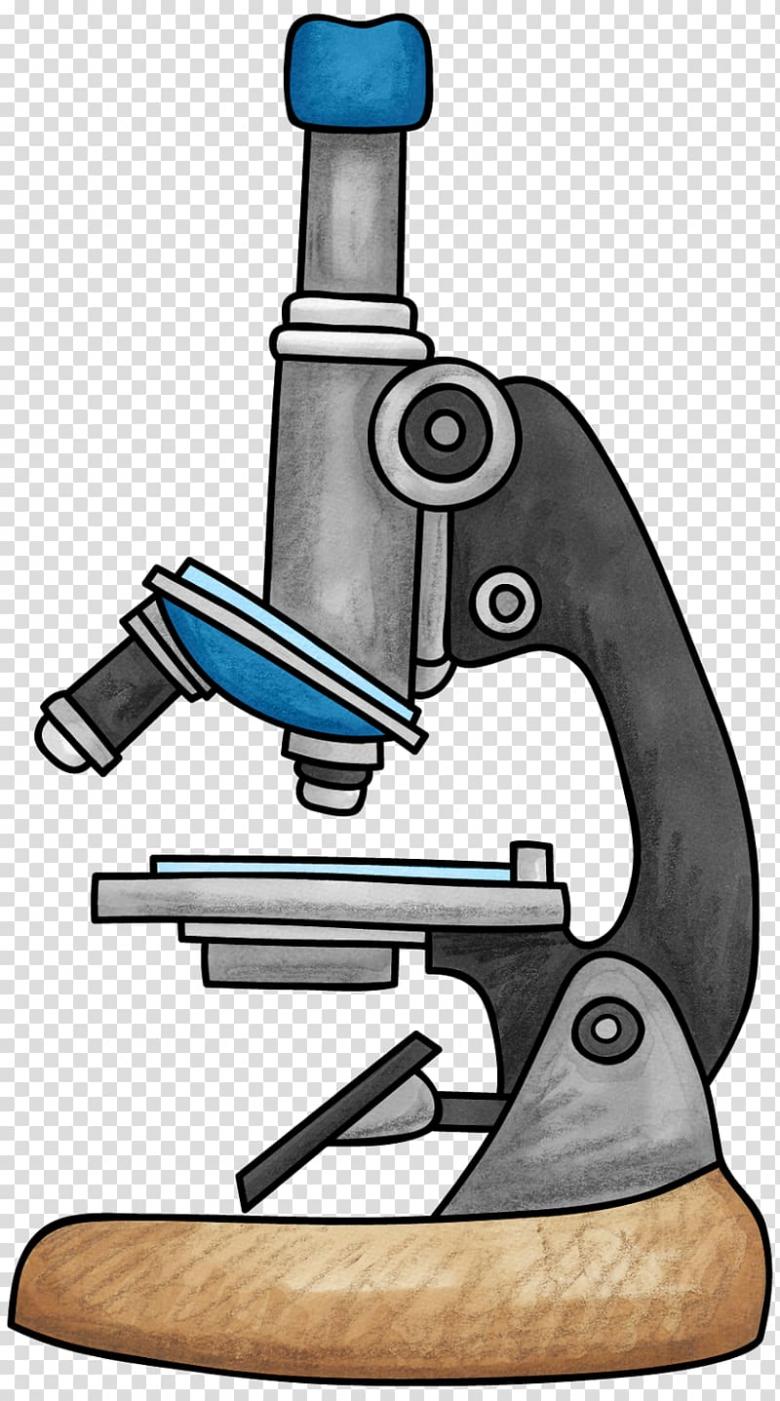
- In the next step, you can offer your child to paint the microscope in any colors they like.
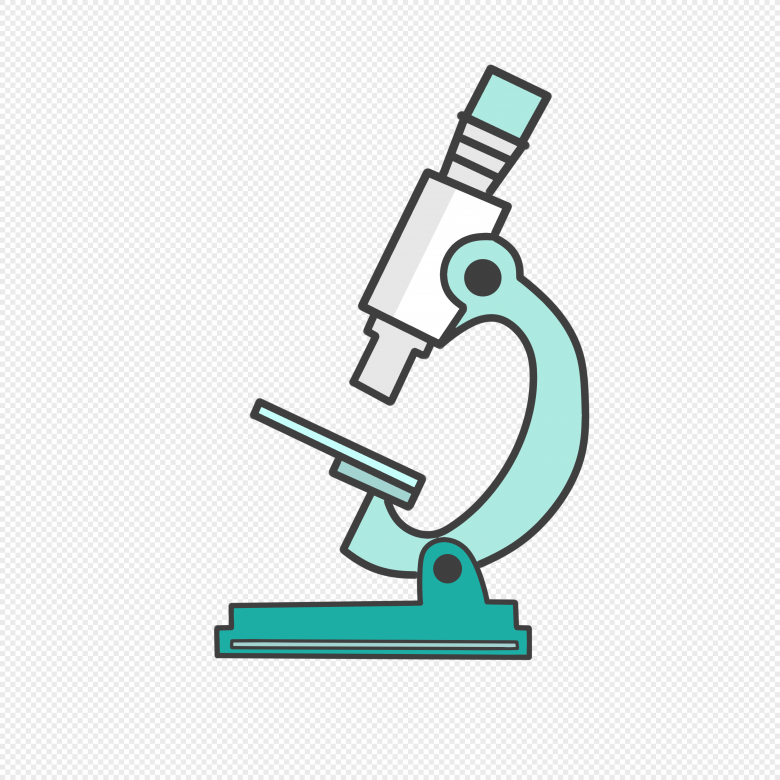
The drawing is cute enough, but at the same time it is not complicated in its execution technique. Therefore, after learning the structure of the device, it will be easy for a child to reproduce it in the side view.
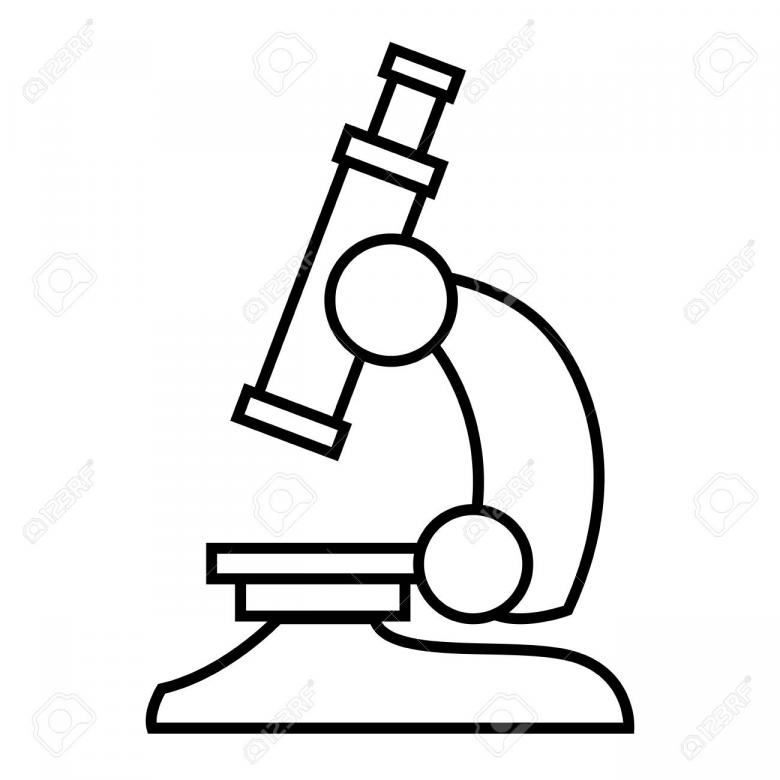
Realistic image of a microscope
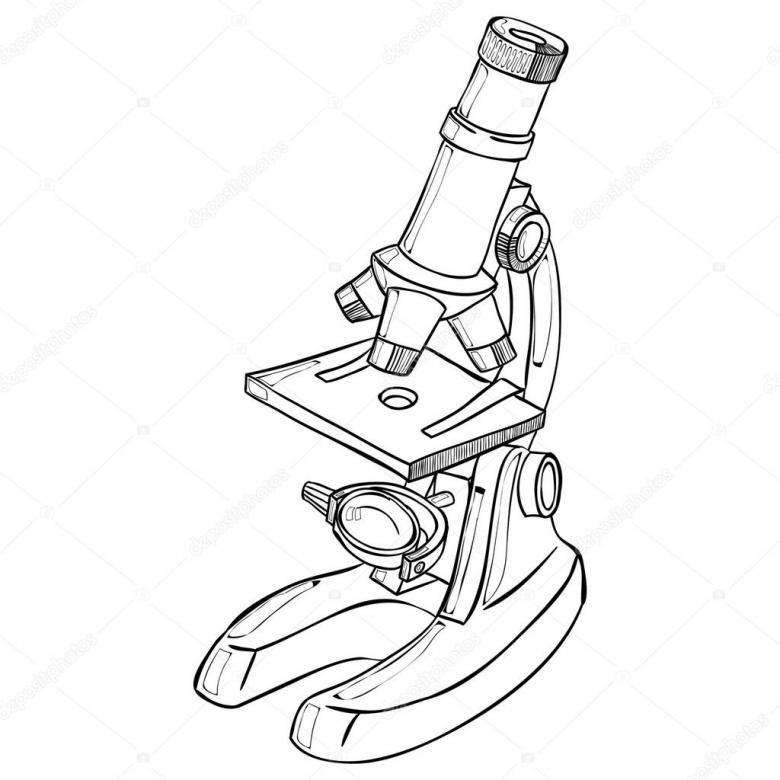
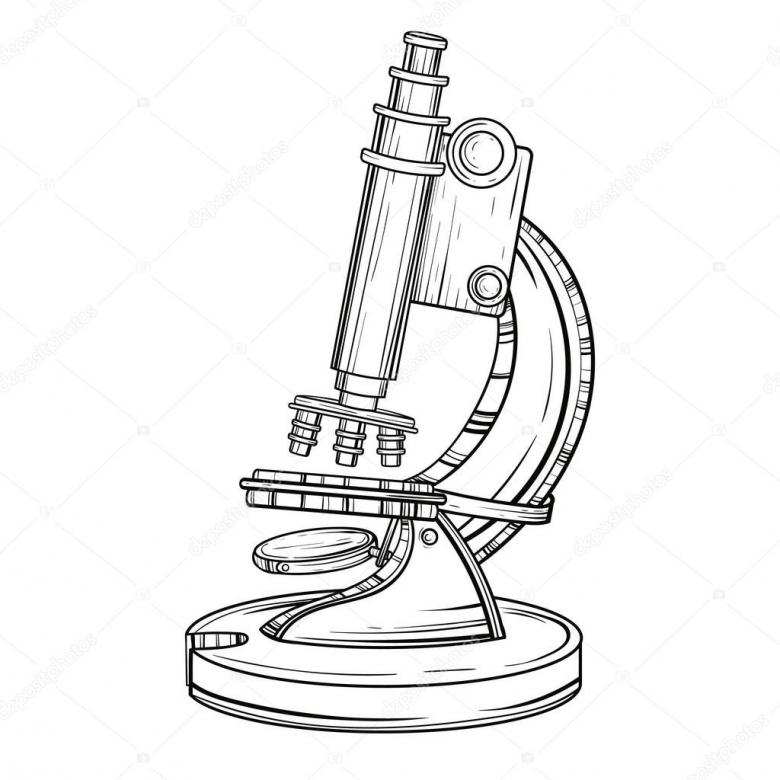
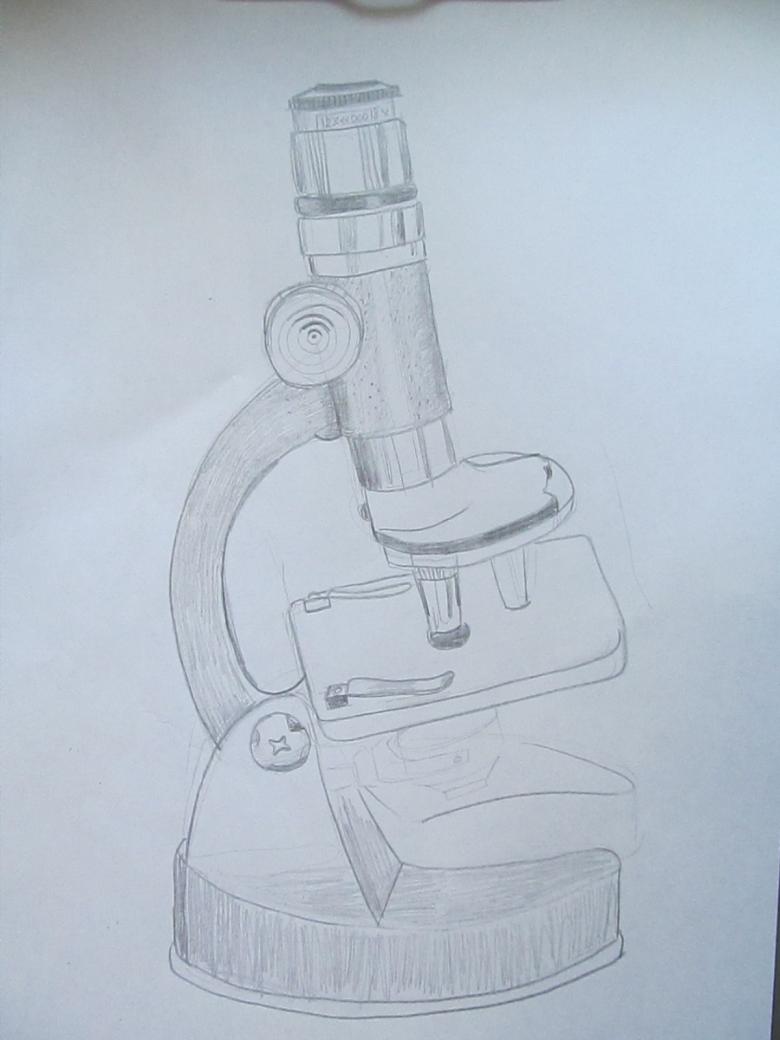
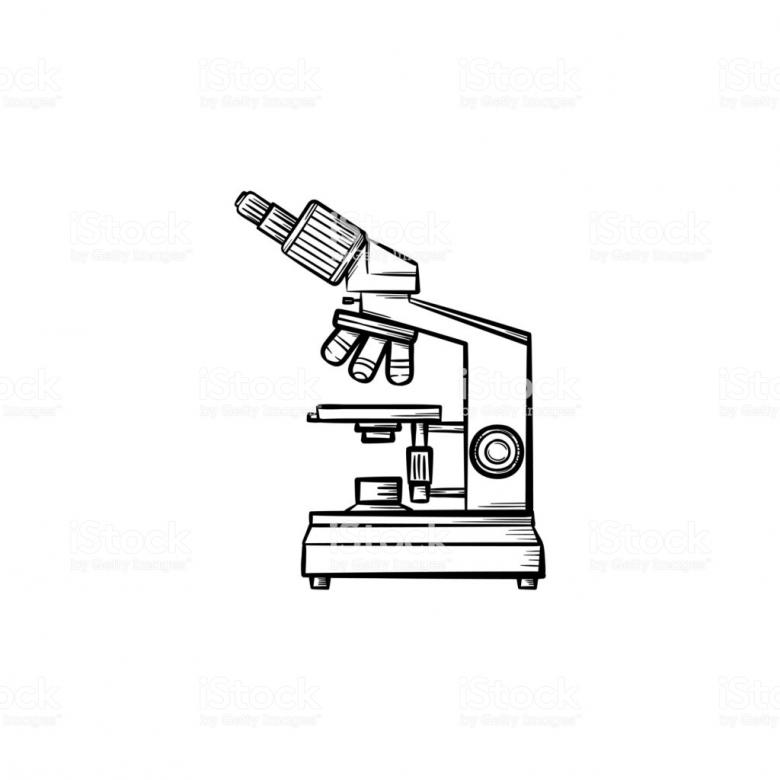
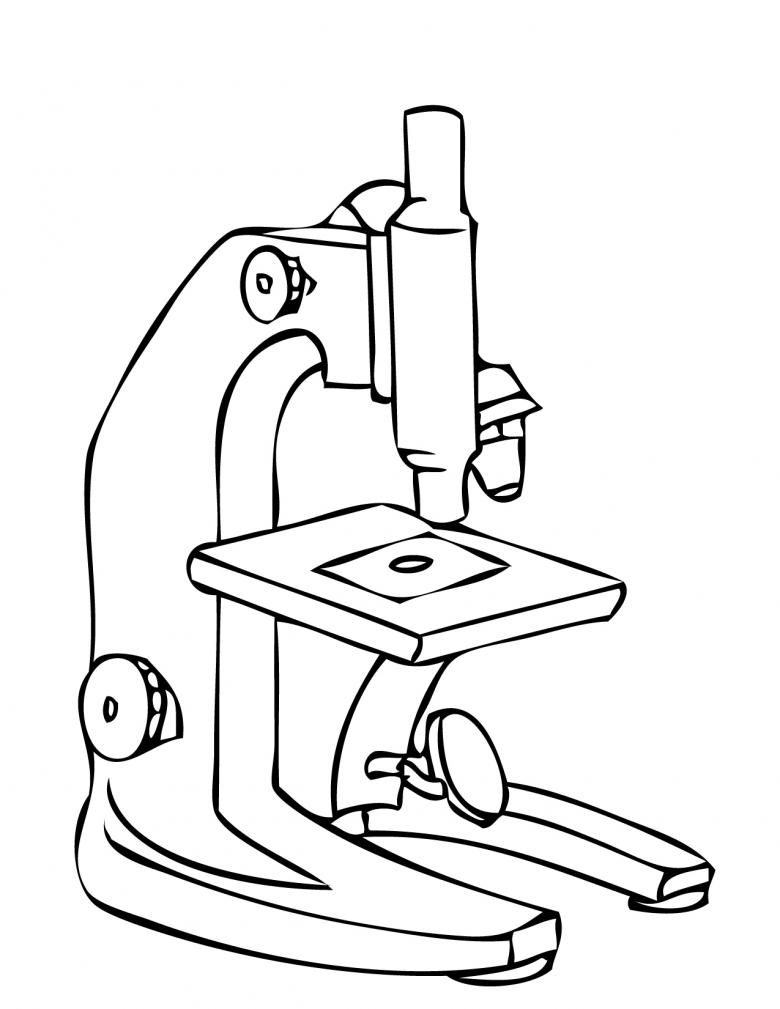
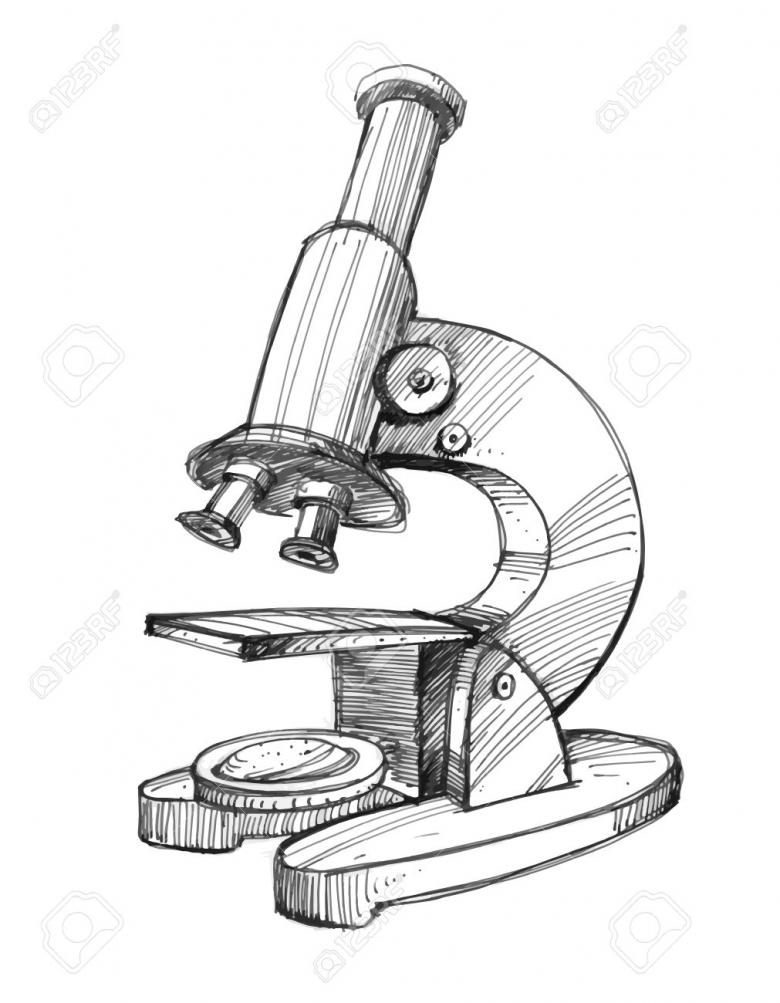
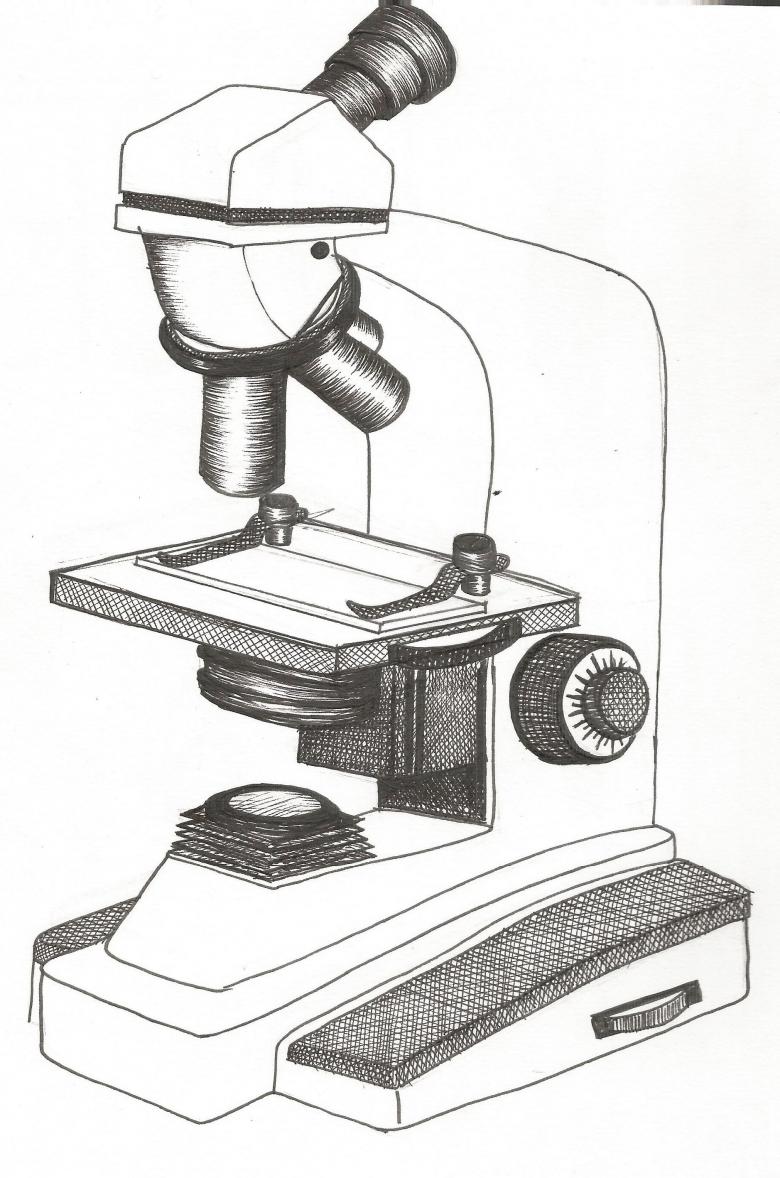
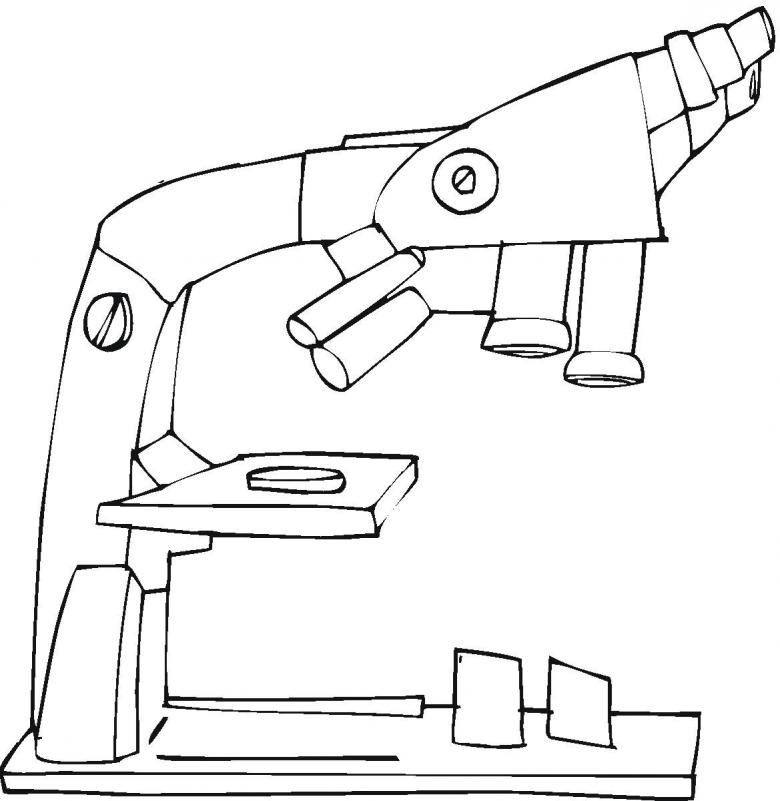
This variant is more difficult. It is necessary to depict a so-called axonometry or spatial image. If there is no clear awareness of how this device looks better in the search box to score the query - how to draw microscope. In this case, the output will be as lessons from domestic artists, and from foreign masters. In this case, there is a good chance of finding what you need.
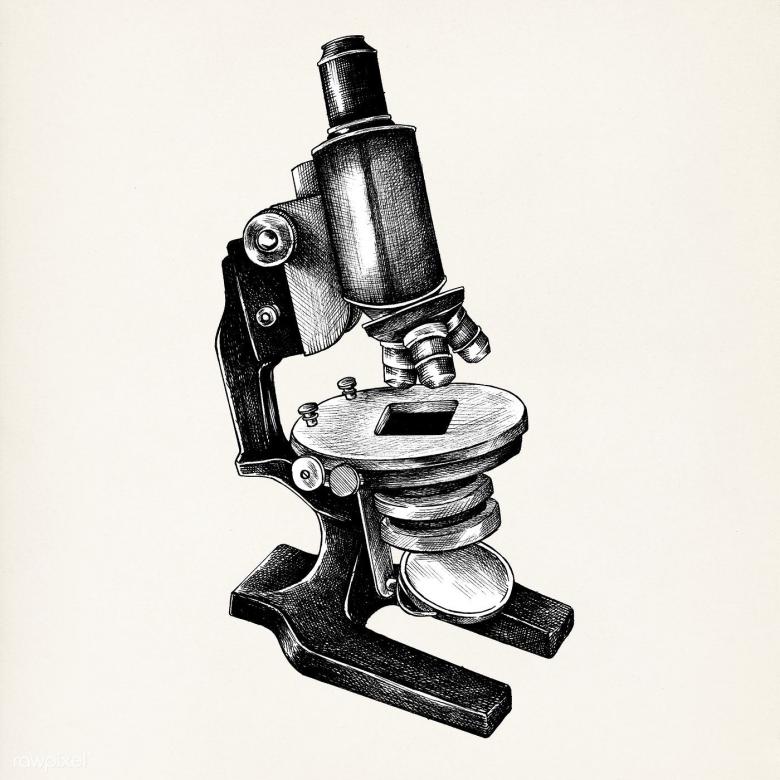
Here is one of the master classes. It should be watched in detail to draw the device:
- It begins with a picture of a telescope. Even though it is depicted with two oblique parallel lines, in the upper limb these will be ovals, which will close the end.
- Then a holder is drawn along the lower part to the tube.
- On the bottom of the holder, using an oval, a disk is drawn on which the lenses are placed.
- On the back side of the holder is drawn a leg that holds the structure in position. Then traced the base with a table on which the feet are located to mount the material, which is seen through a magnifying glass.
- The device stand is drawn to the table. Its shape resembles a fairly high prism, on both sides of which there are handles that provide the level of adjustment.
- When the contours are drawn, notches are applied. As a rule, they are located on all cylindrical surfaces, which rotate to adjust. This notching conveys a ribbed structure.
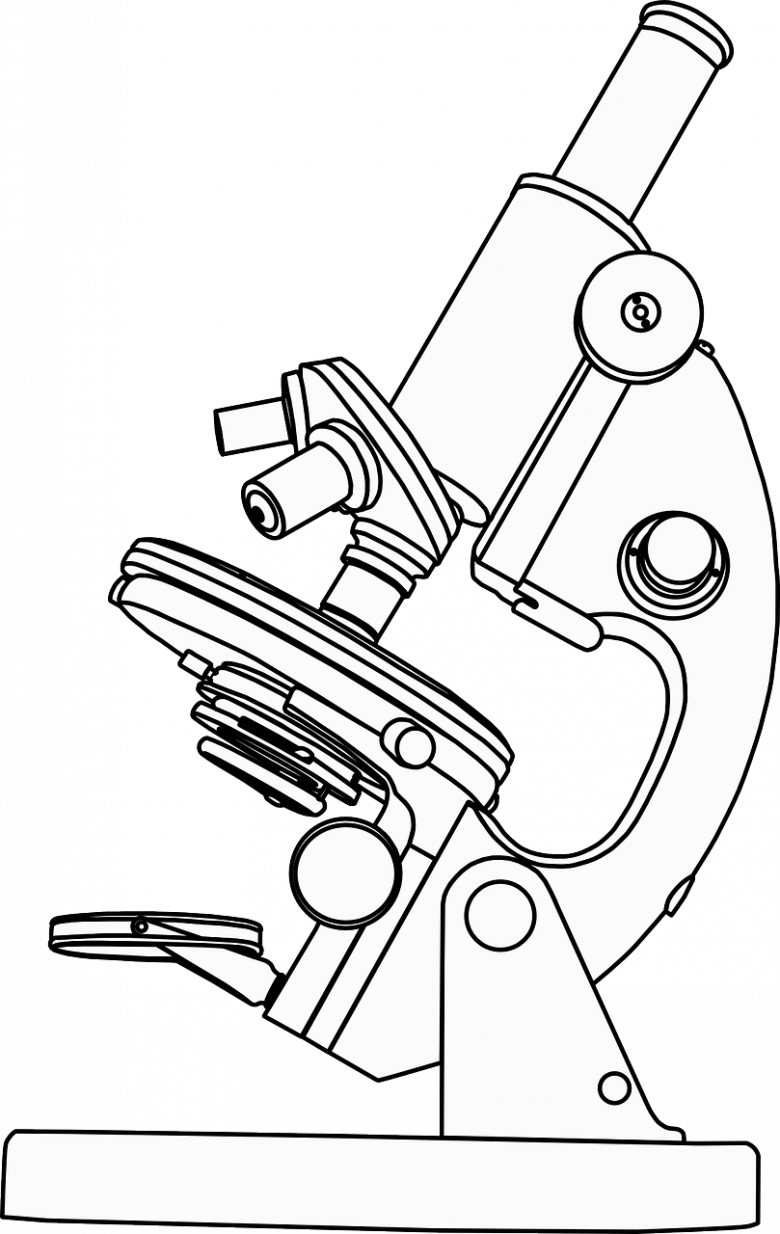
To make sure that everything is done as it should be, it is necessary to look at the photo of the device and correlate it with what has turned out. Although, naturally, it is necessary to pick up the photo before and it is by it that the drawing of the microscope elements should be carried out. Only then can you get a realistic device.

