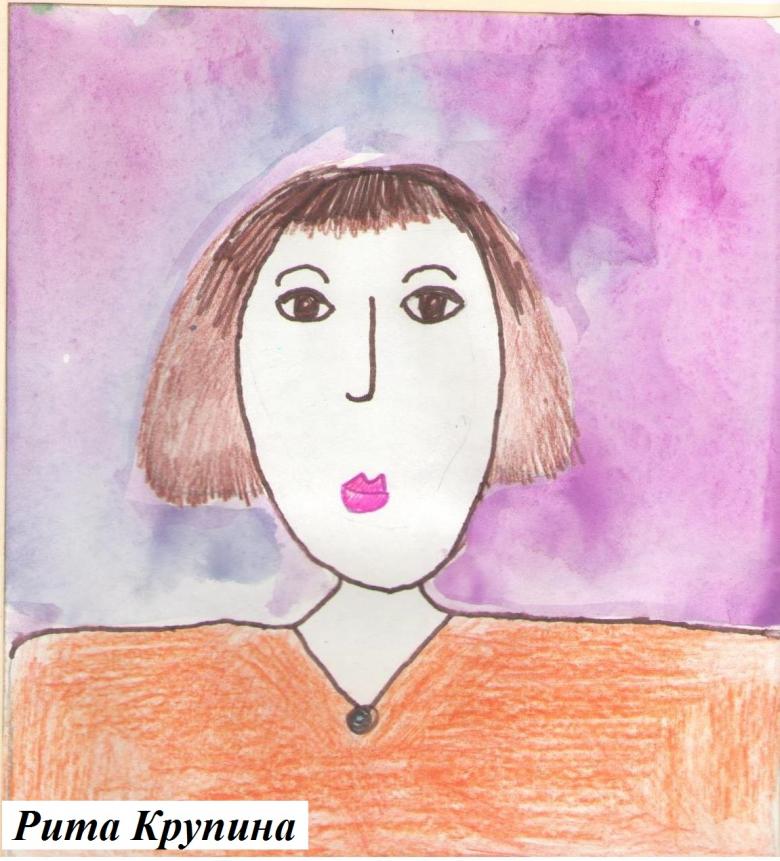
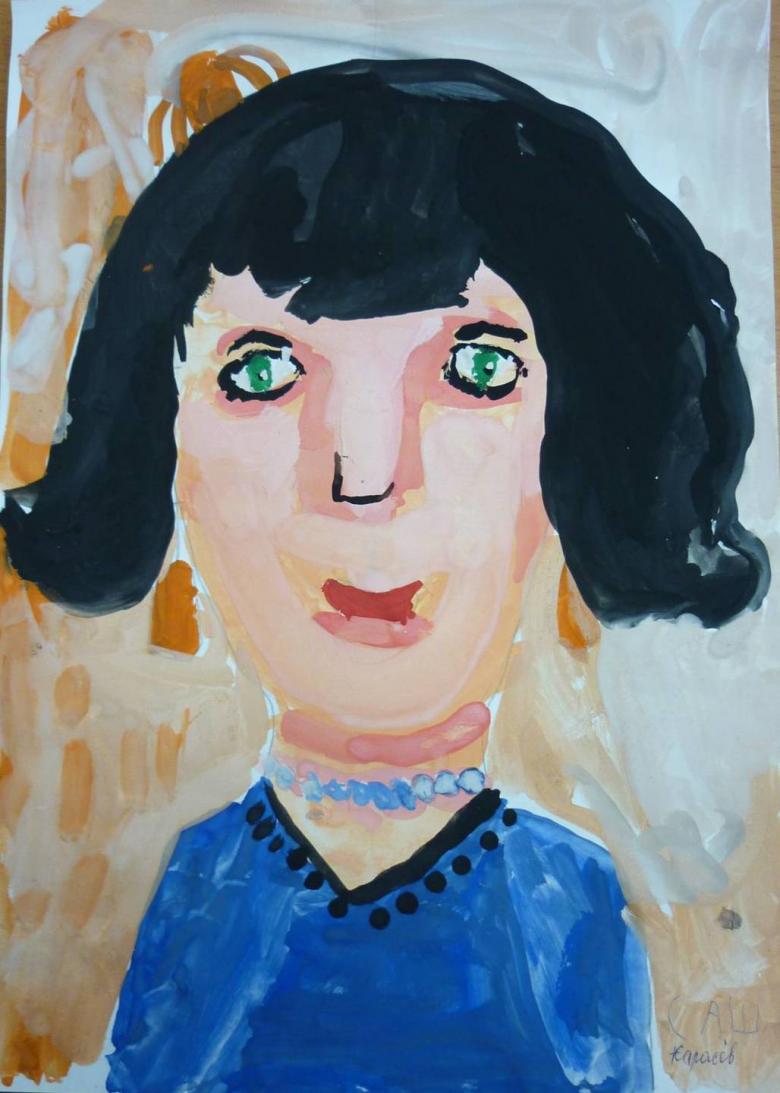
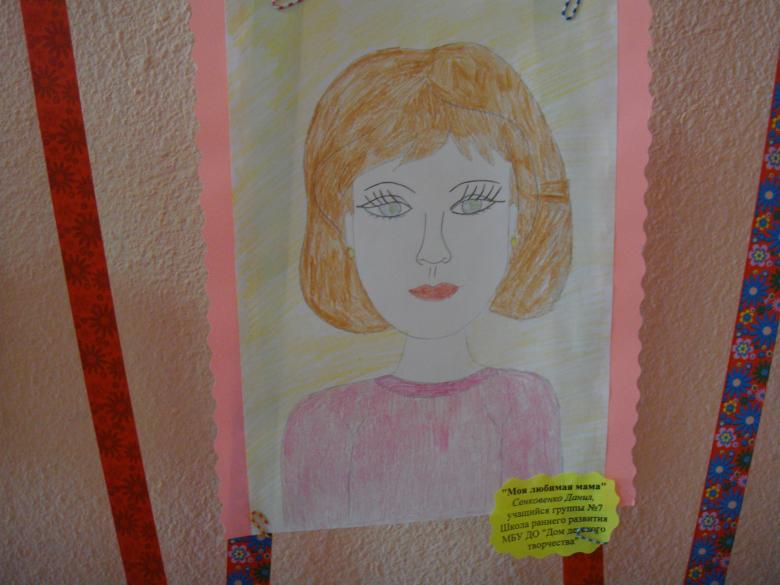
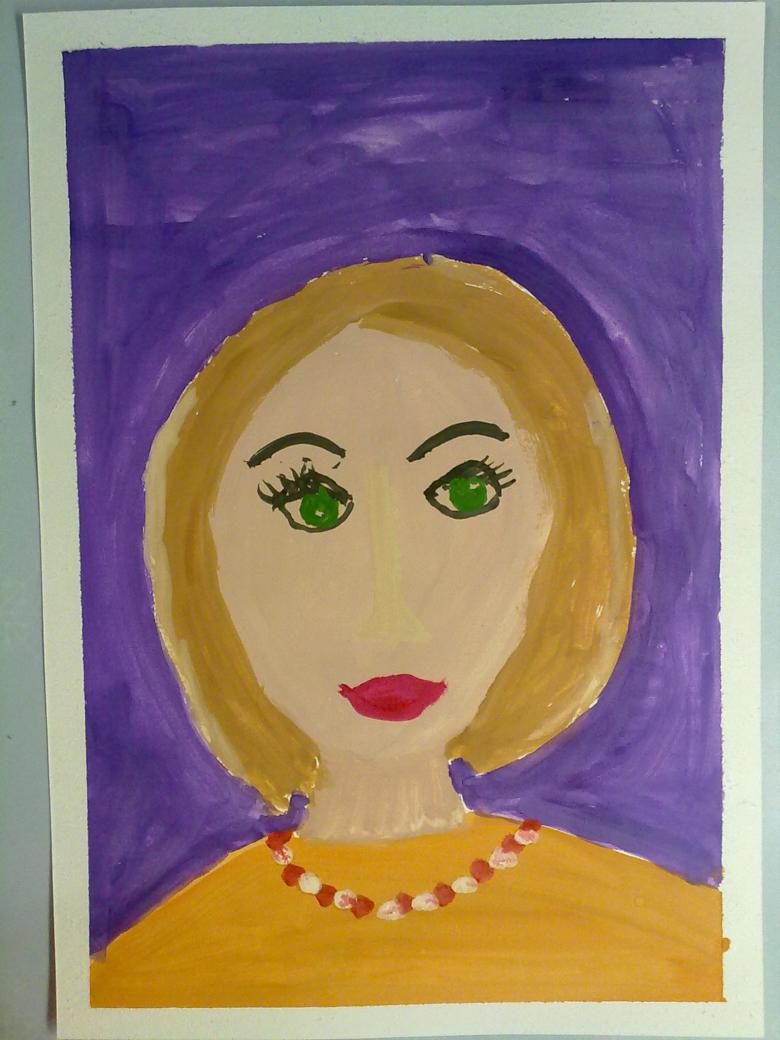
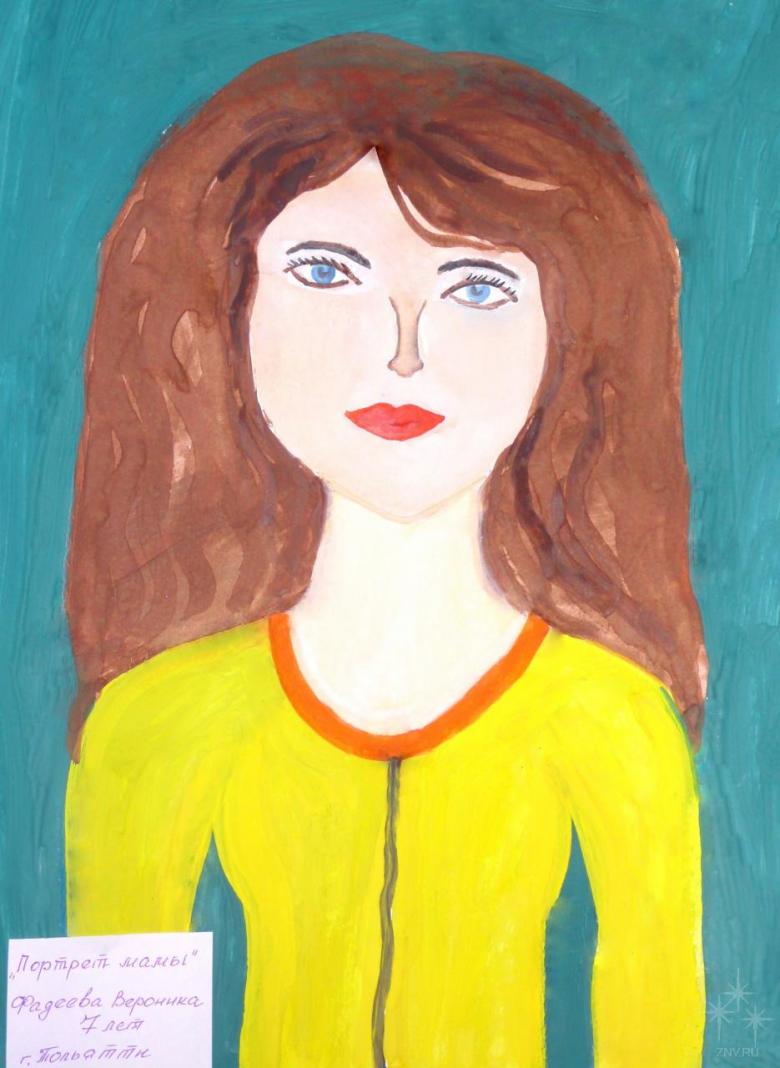
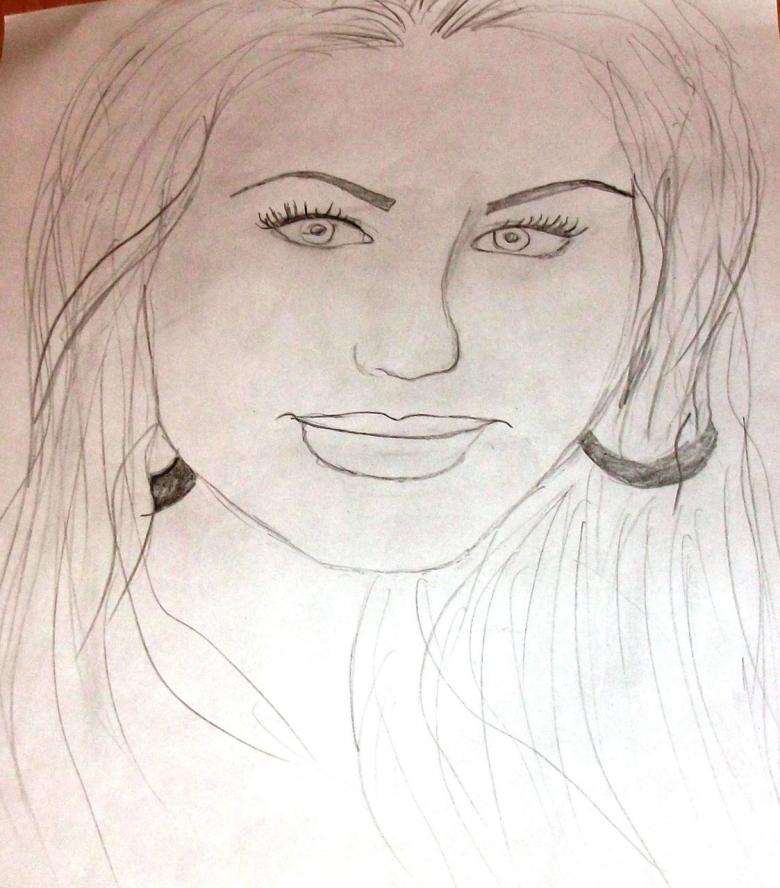
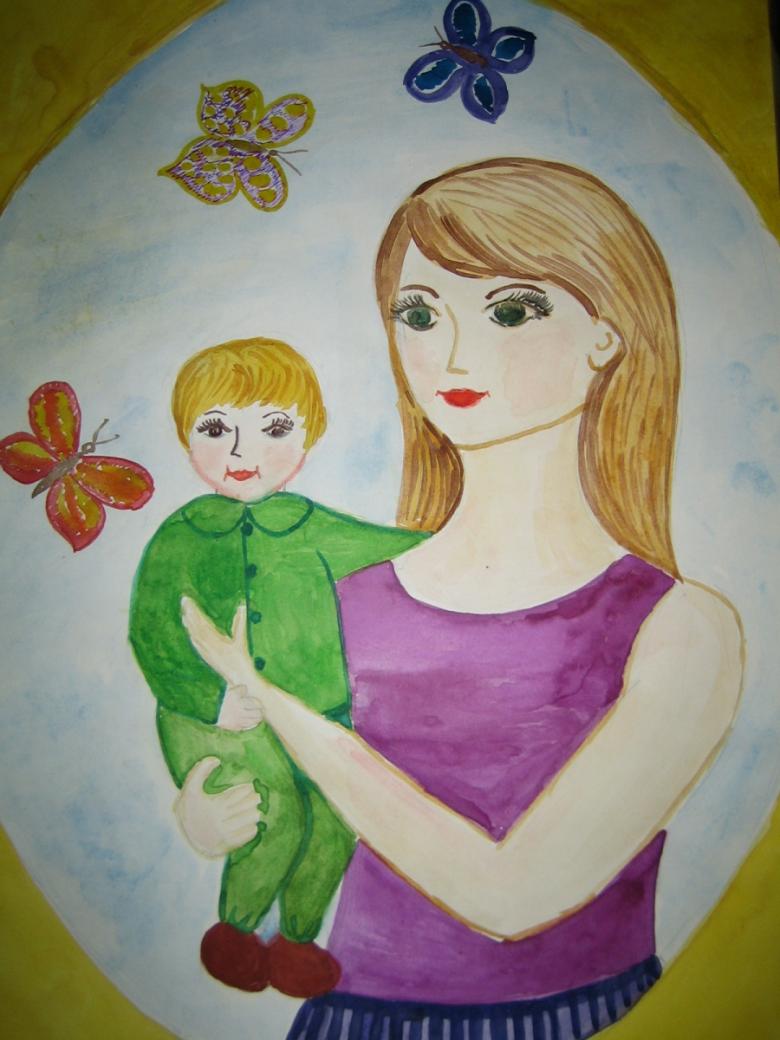
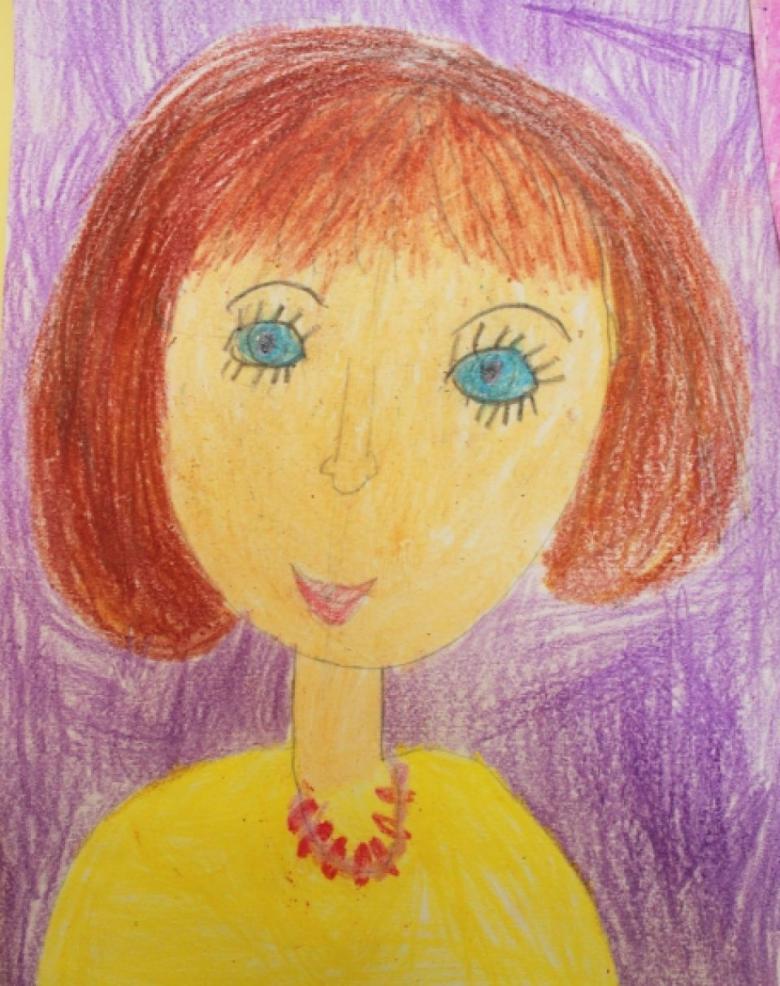
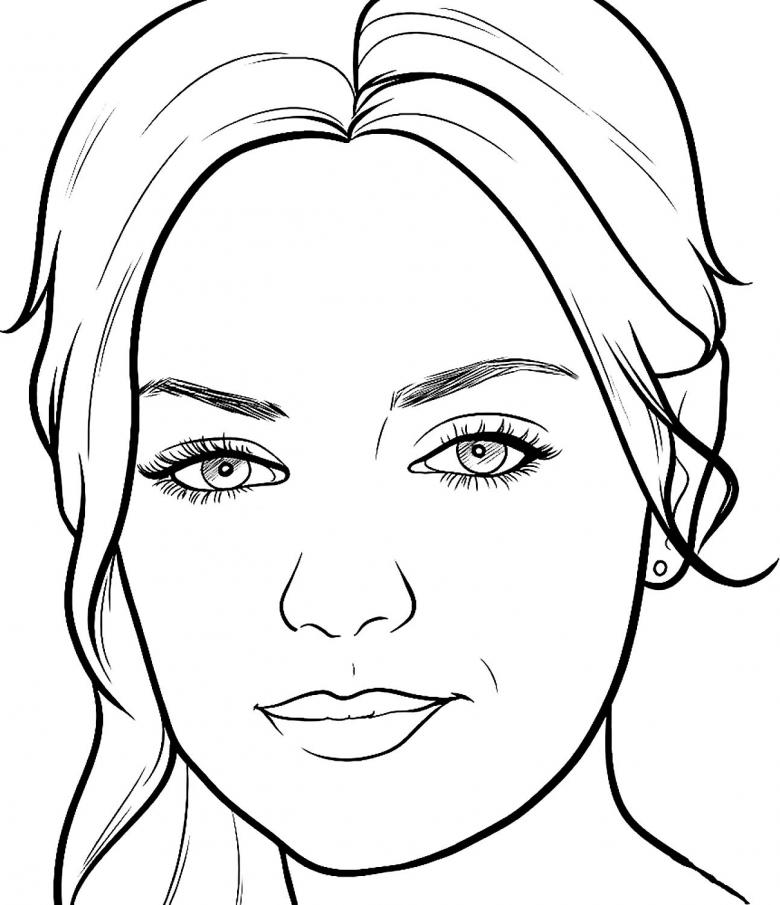
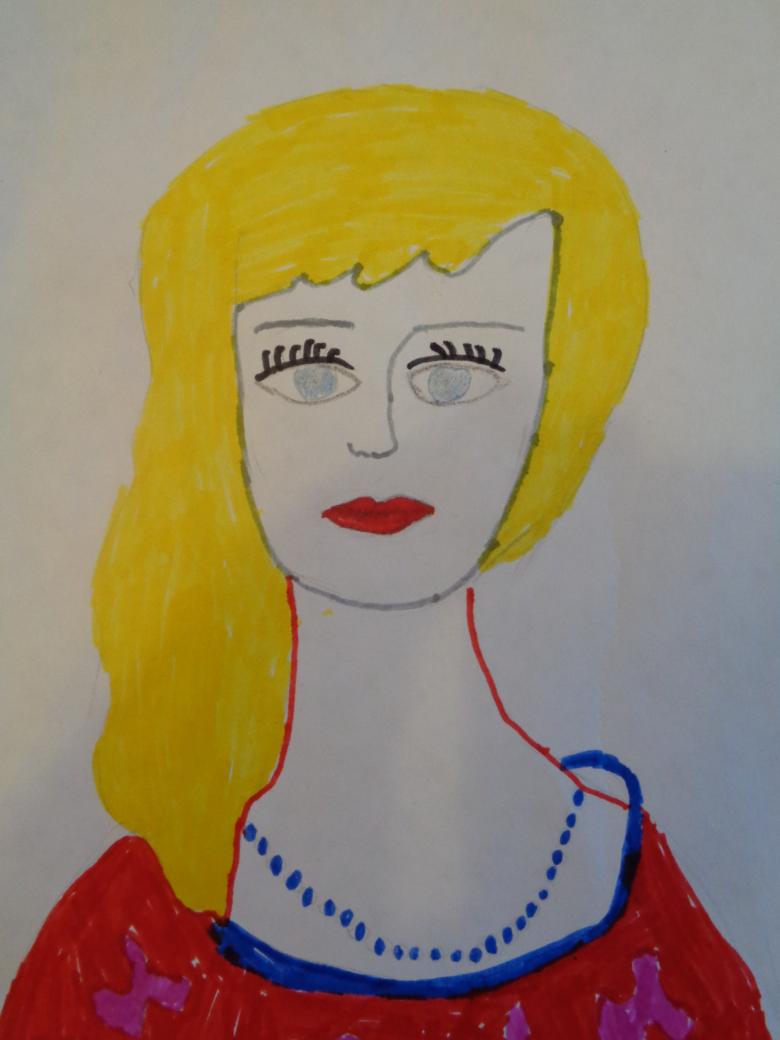
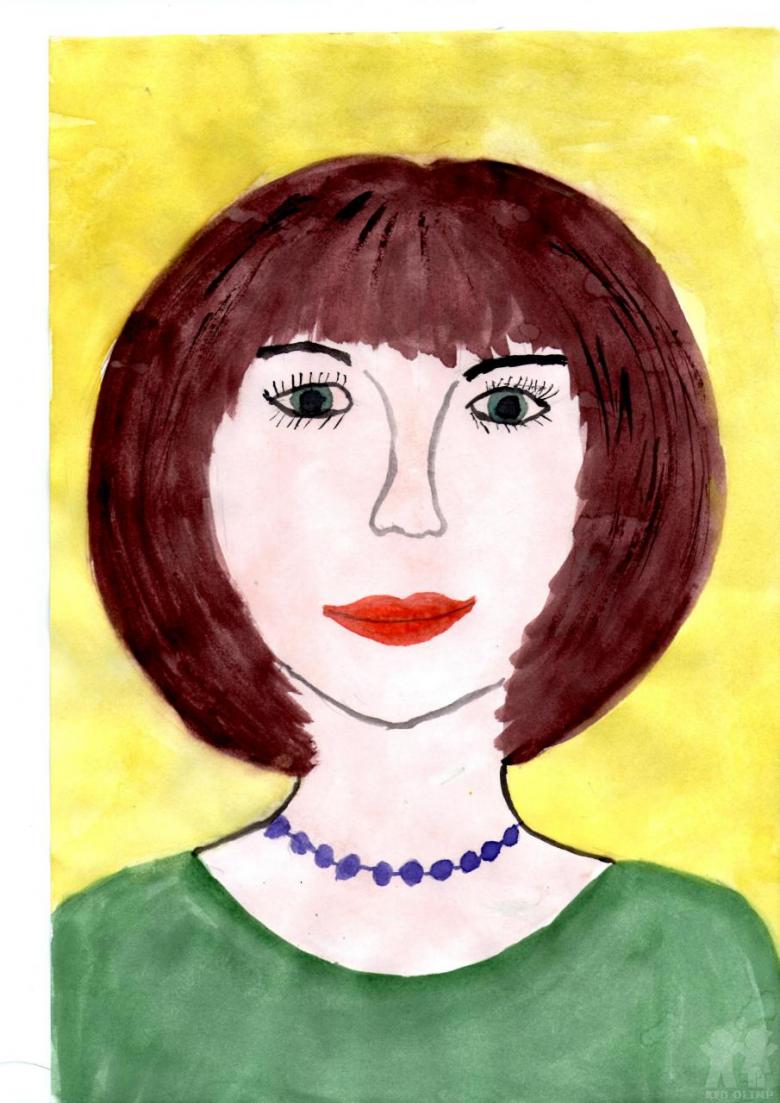
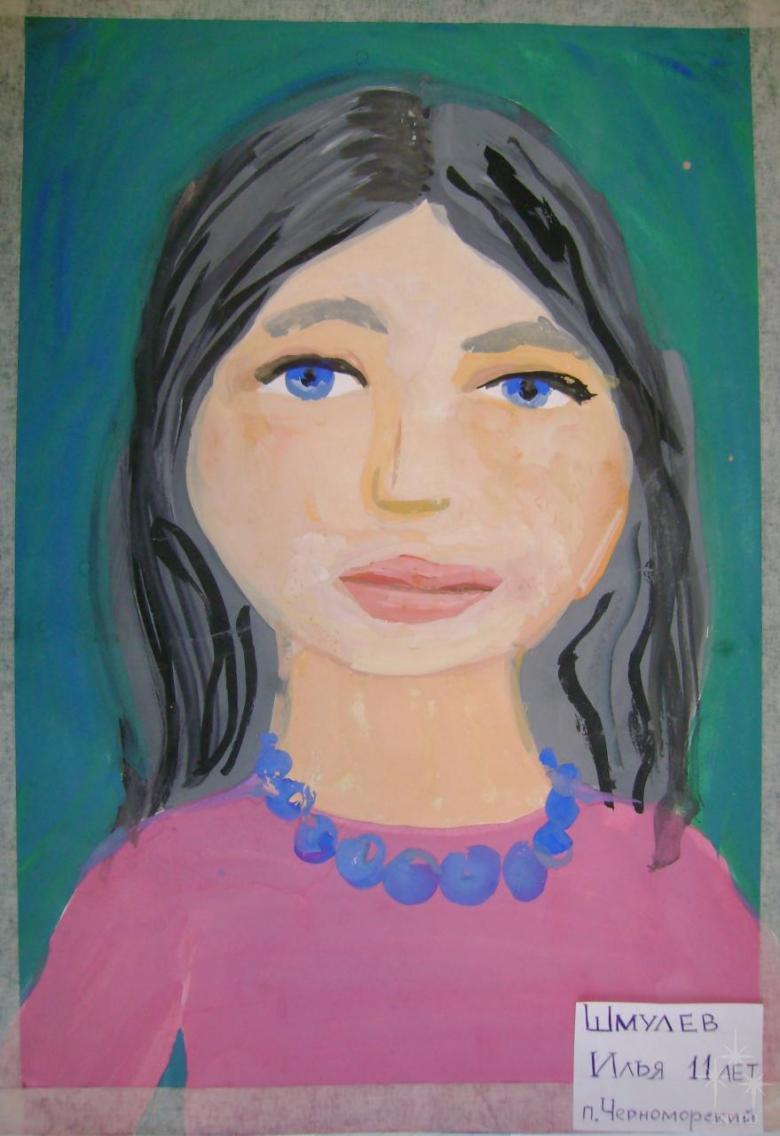
How to draw Mom with your own hands - drawing a beautiful portrait
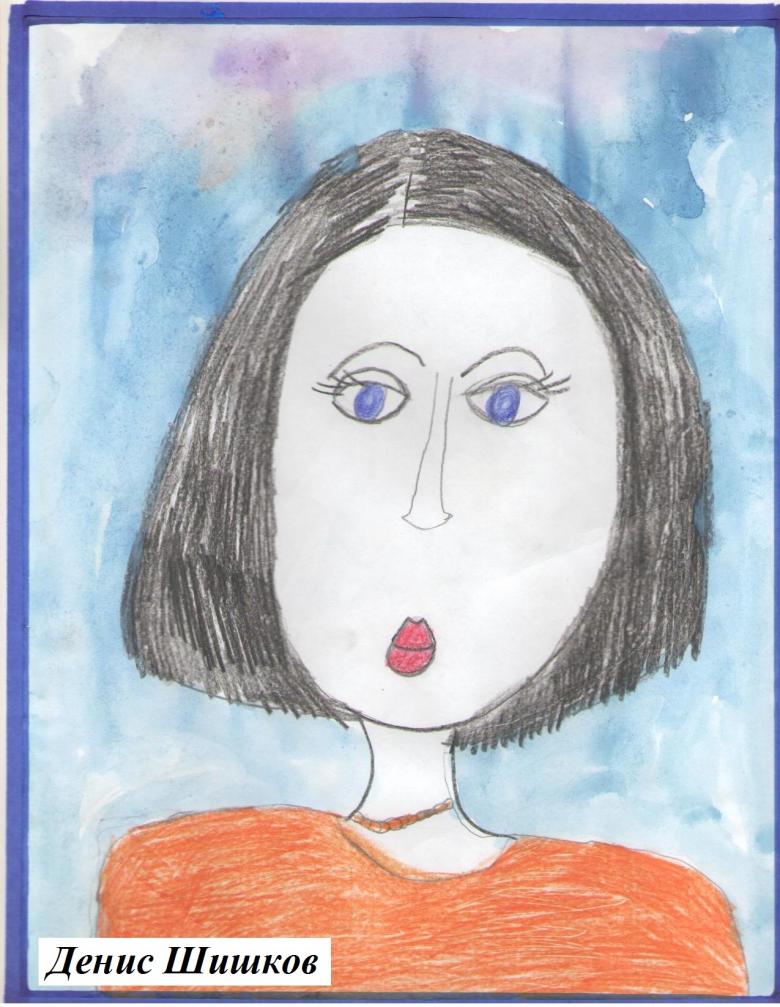
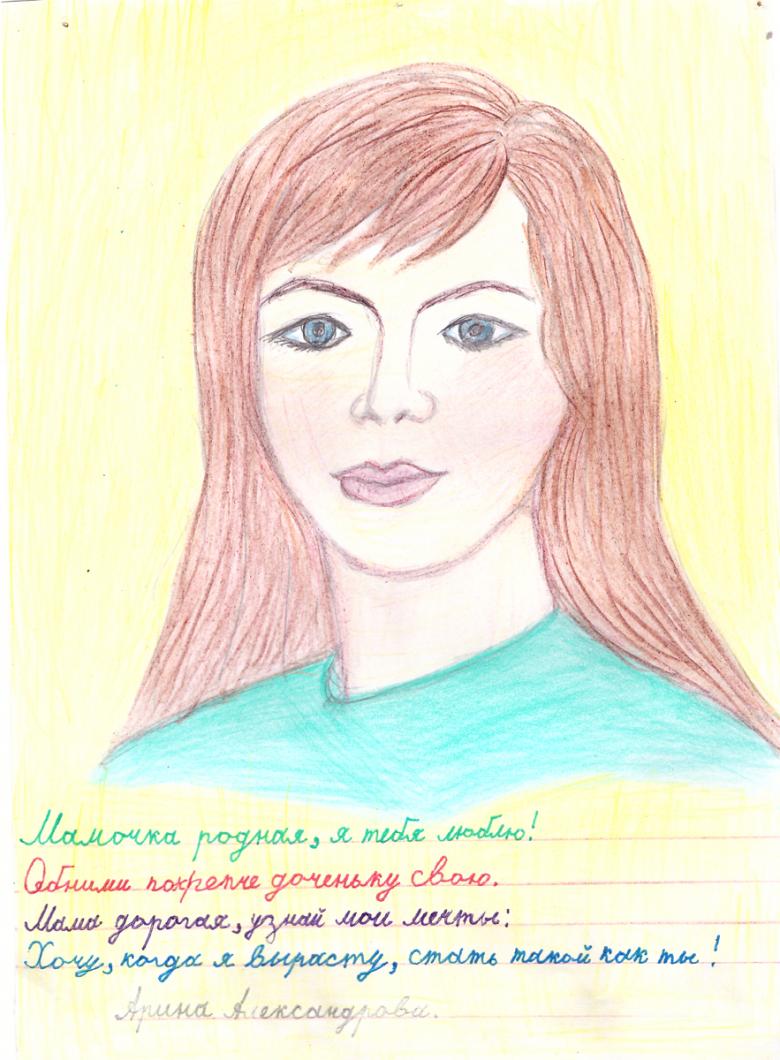
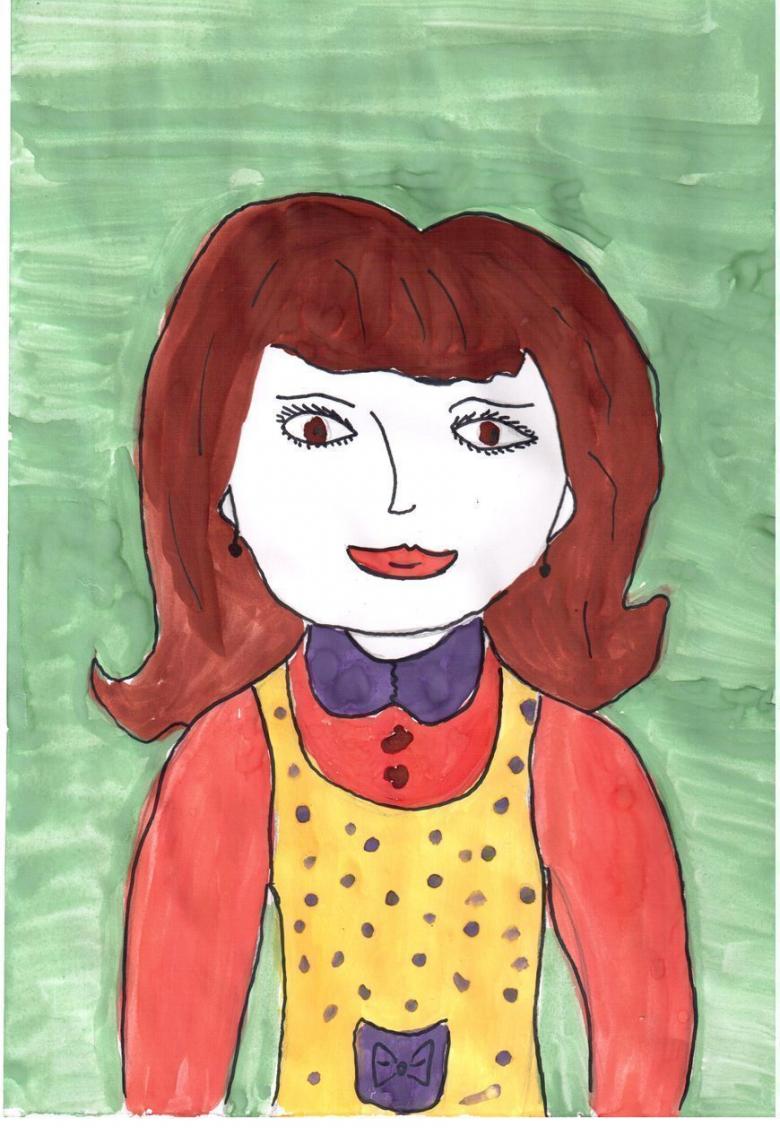
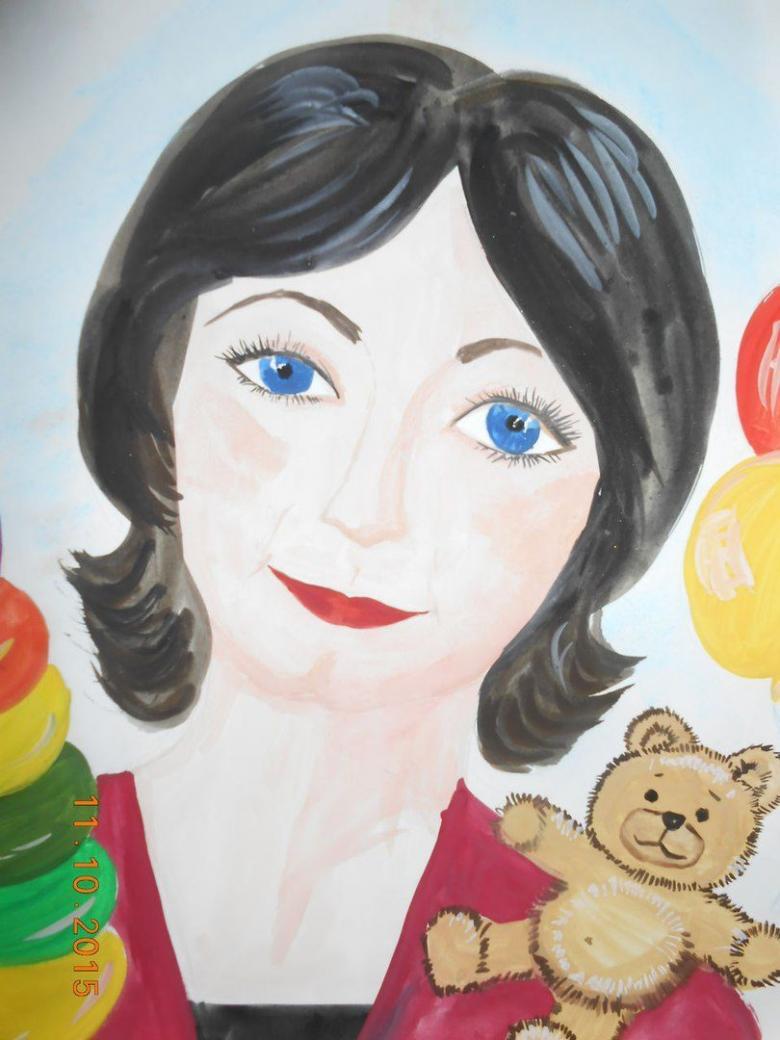
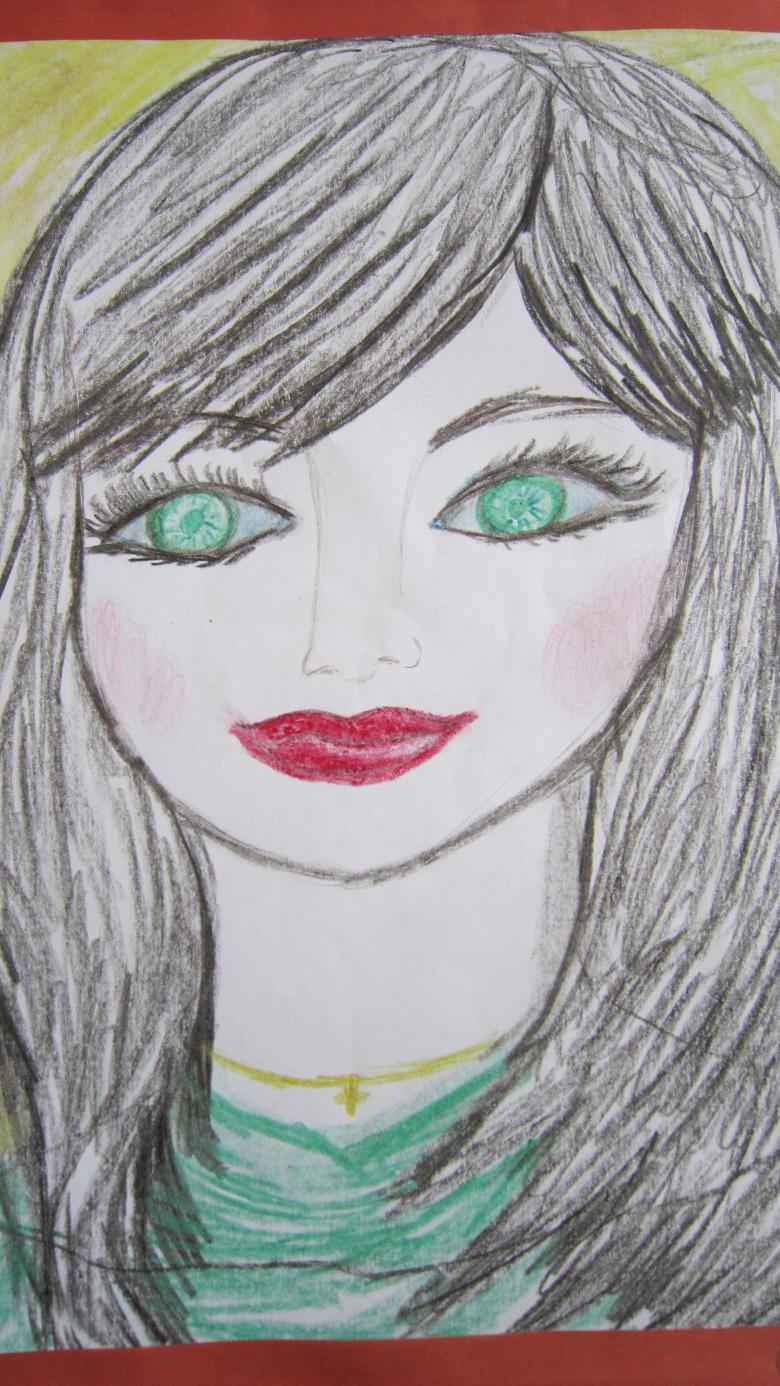
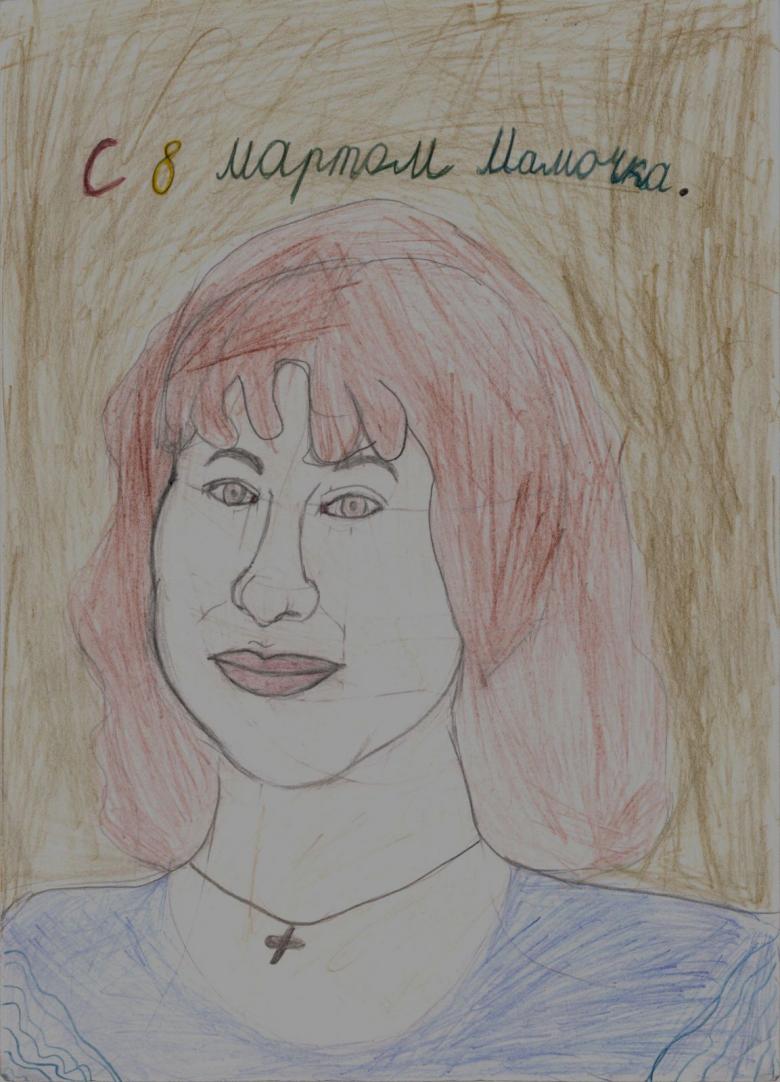
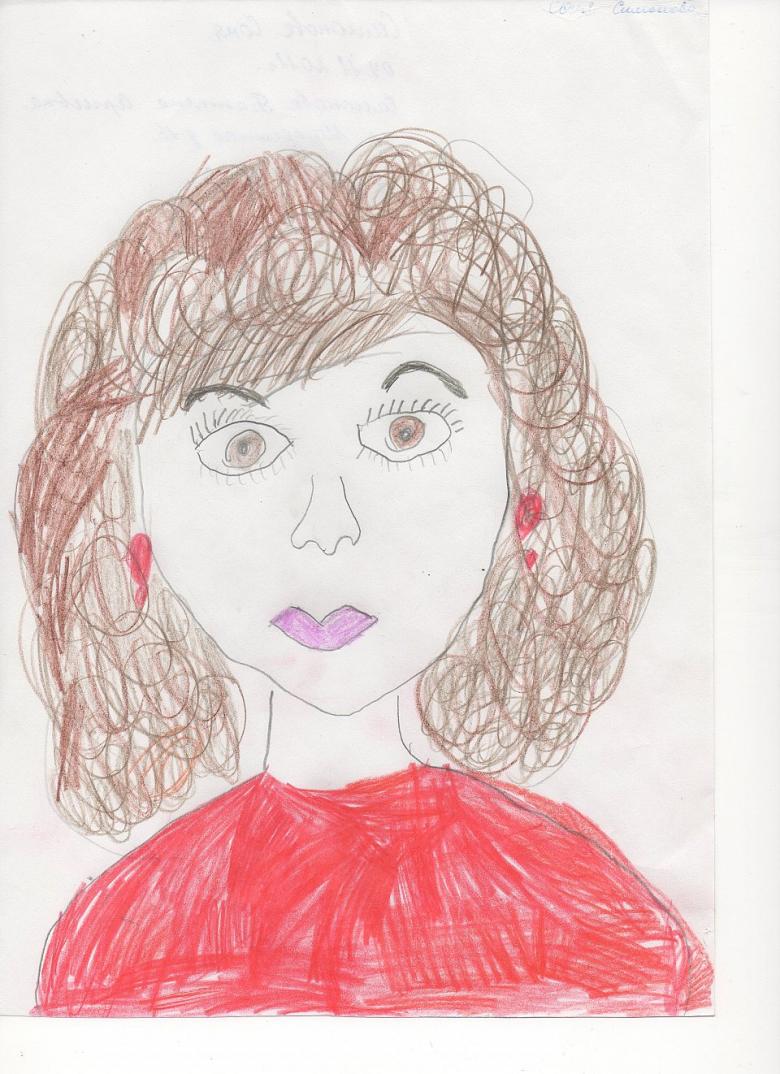
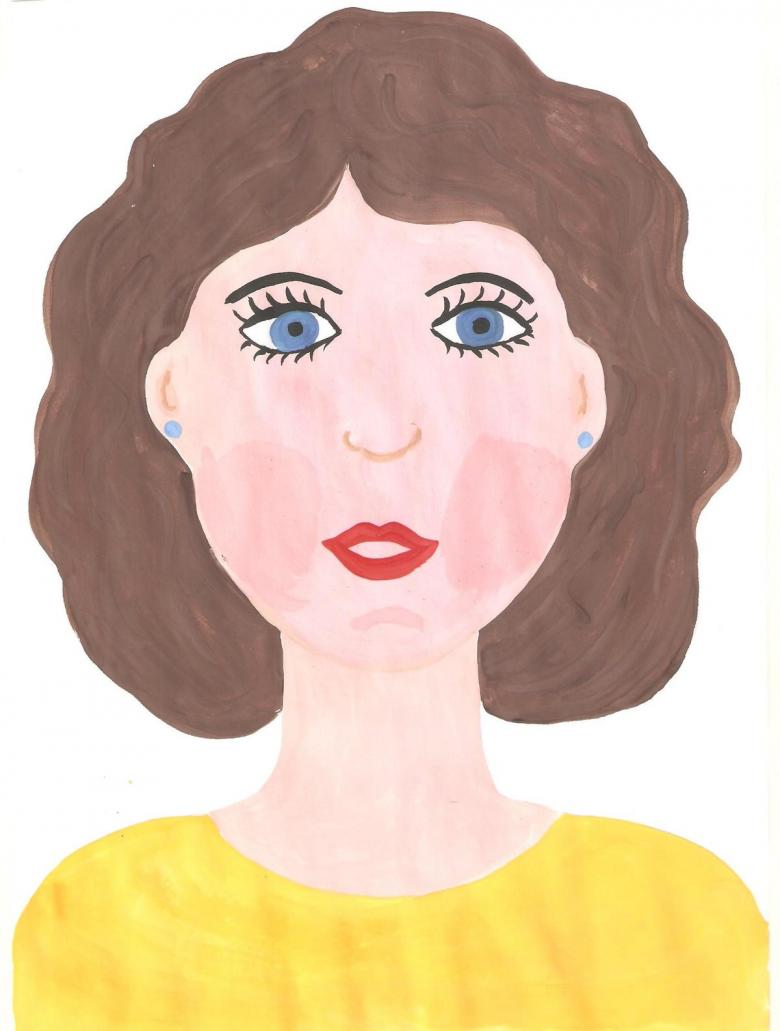
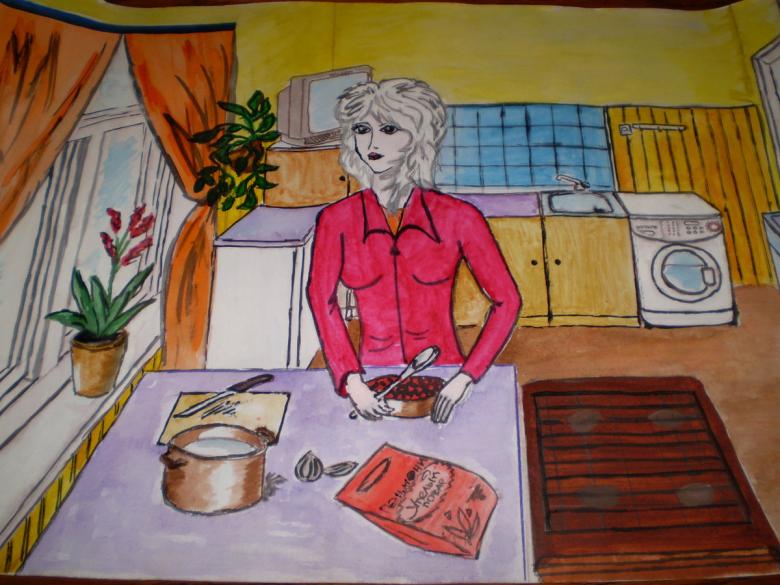
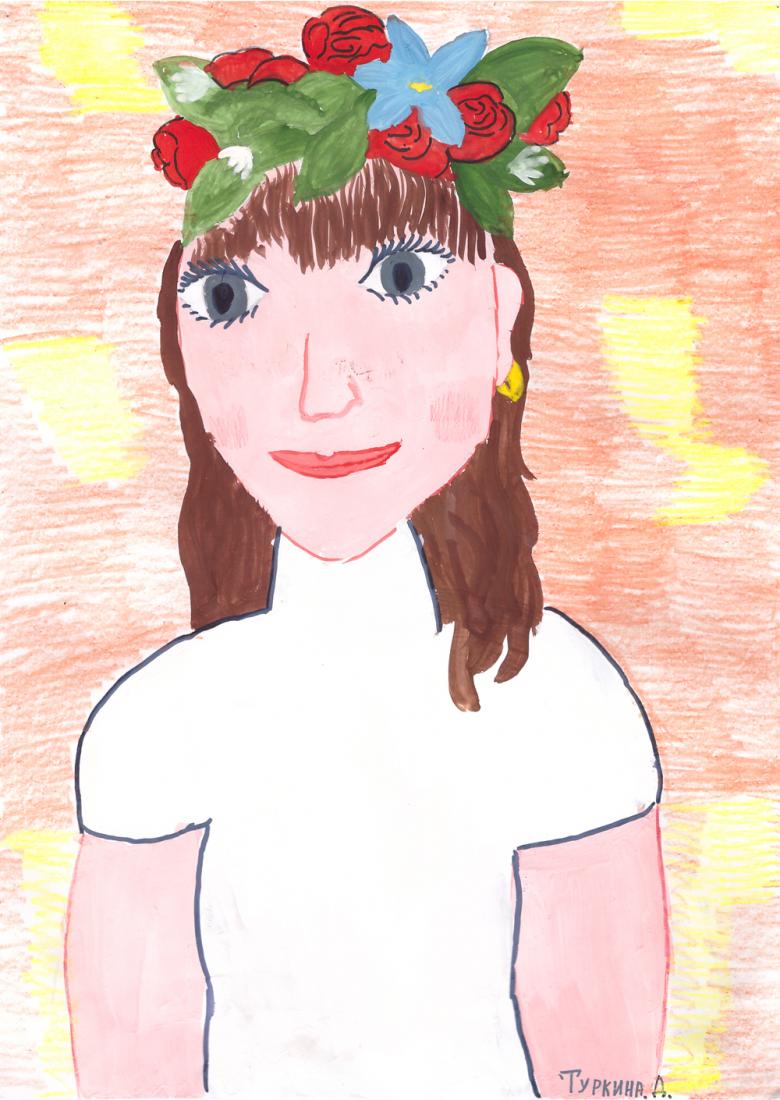
Every child always wants to draw the most beloved person in the world - mom. In order for the portrait to turn out beautiful and realistic, you need to learn how to draw a sketch. A simple master class will teach you how to draw a beautiful portrait of mom in full-face and profile
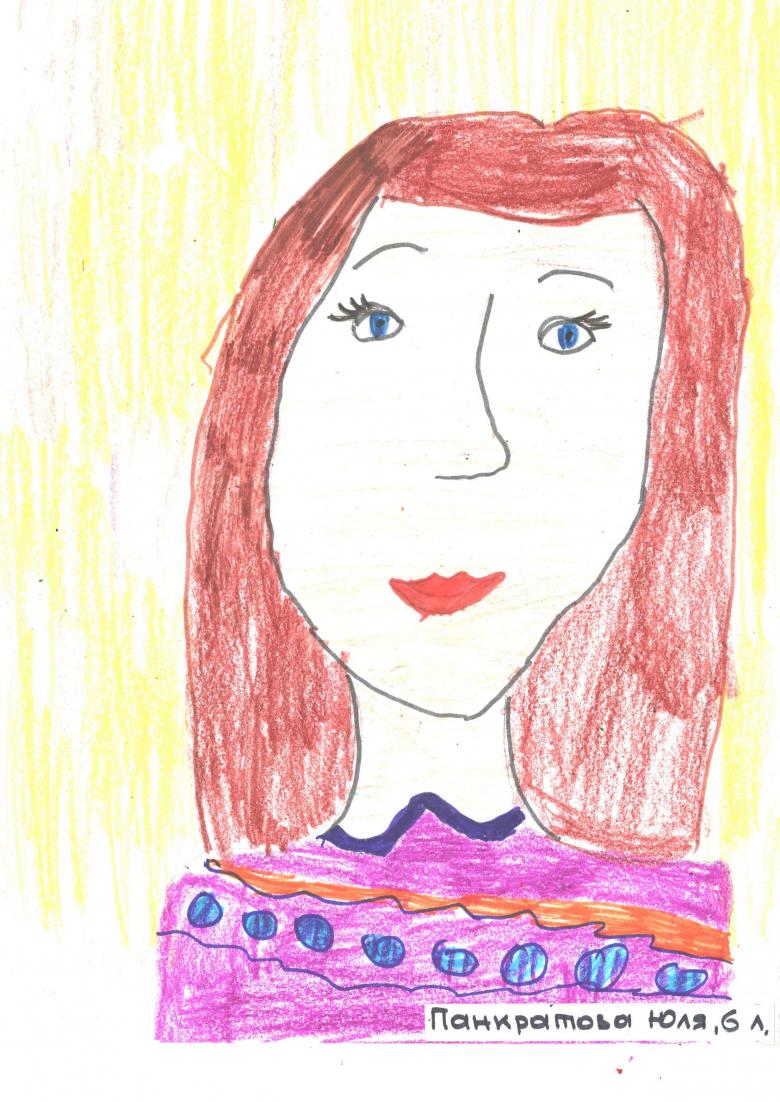
To work you will need:
- a simple pencil;
- white worksheet of cotton paper of album format;
- eraser;
- ruler;
- colored pencils.
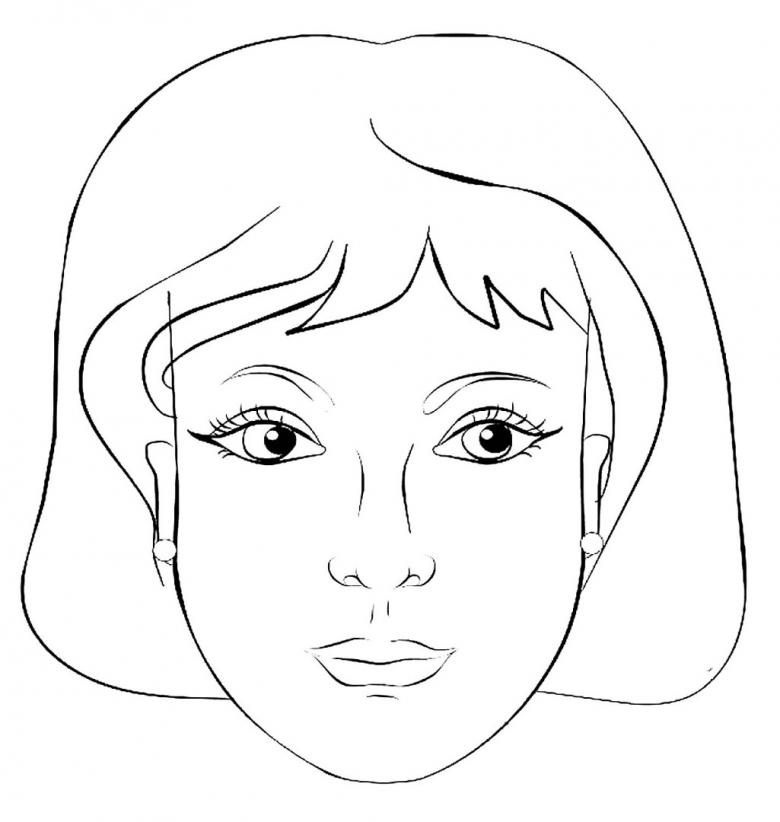
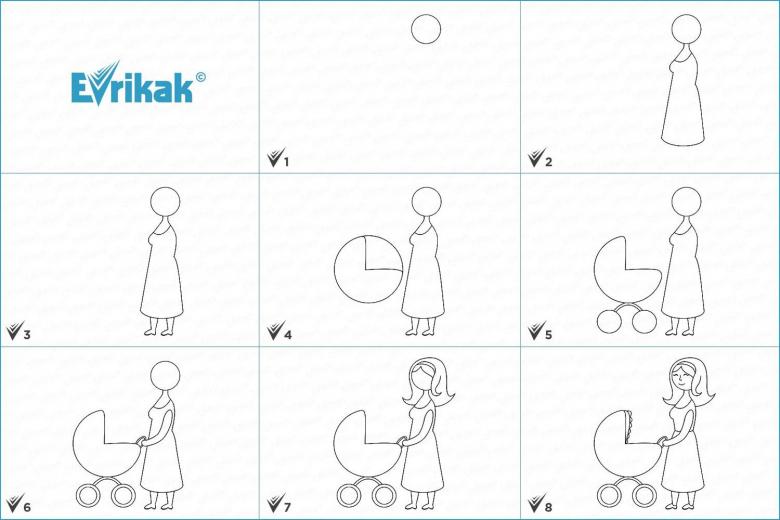
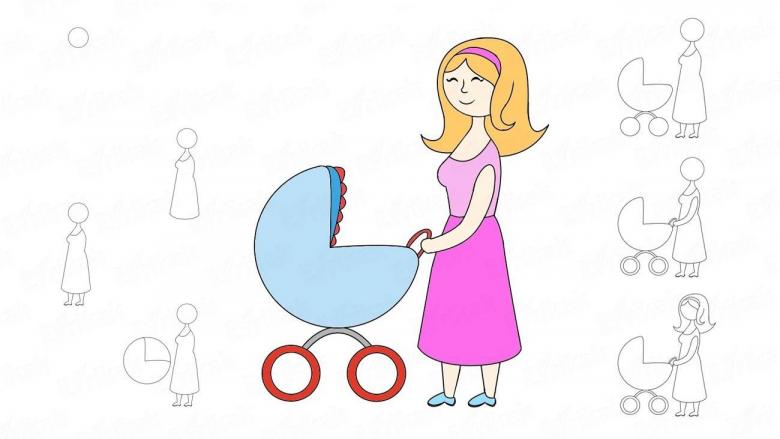
Below is a step-by-step sketch and then a drawing based on it.
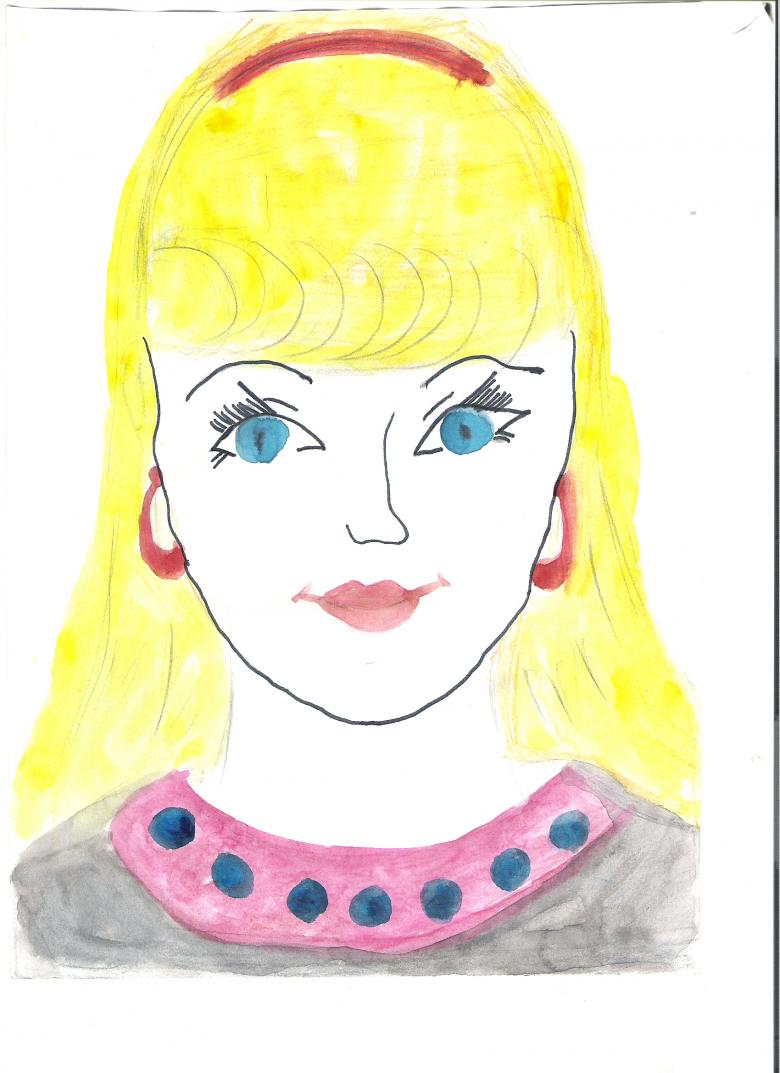
To draw Mom's portrait was easy, you can take her photo. Such a sample will help to draw a picture as close to the original as possible. You can also ask your mom to sit nearby and pose while drawing. Surely your favorite mommy will never say no to her daughter or son.
Drawing a portrait of mom in full-face
In the beginning of work on a portrait in full-face drawing you make a sketch with the help of a ruler and a pencil. The axis of coordinates for observance of proportions and symmetry of a face is created. To do this, a straight line is drawn in the middle of the sheet. On it, perpendicular short lines are made at the top and bottom to create limit points at the top and bottom of the face. After that, an oval is drawn, which will be the base of the face.

Then an oval is drawn, capturing both points. Towards the bottom it needs to be narrowed by drawing a clearer chin line. After that, a neck sketch is made of two slightly inwardly curved lines from below the oval. The width of the neck should be narrower than the width of the oval, to maintain the proportions you need to be guided by the photo.
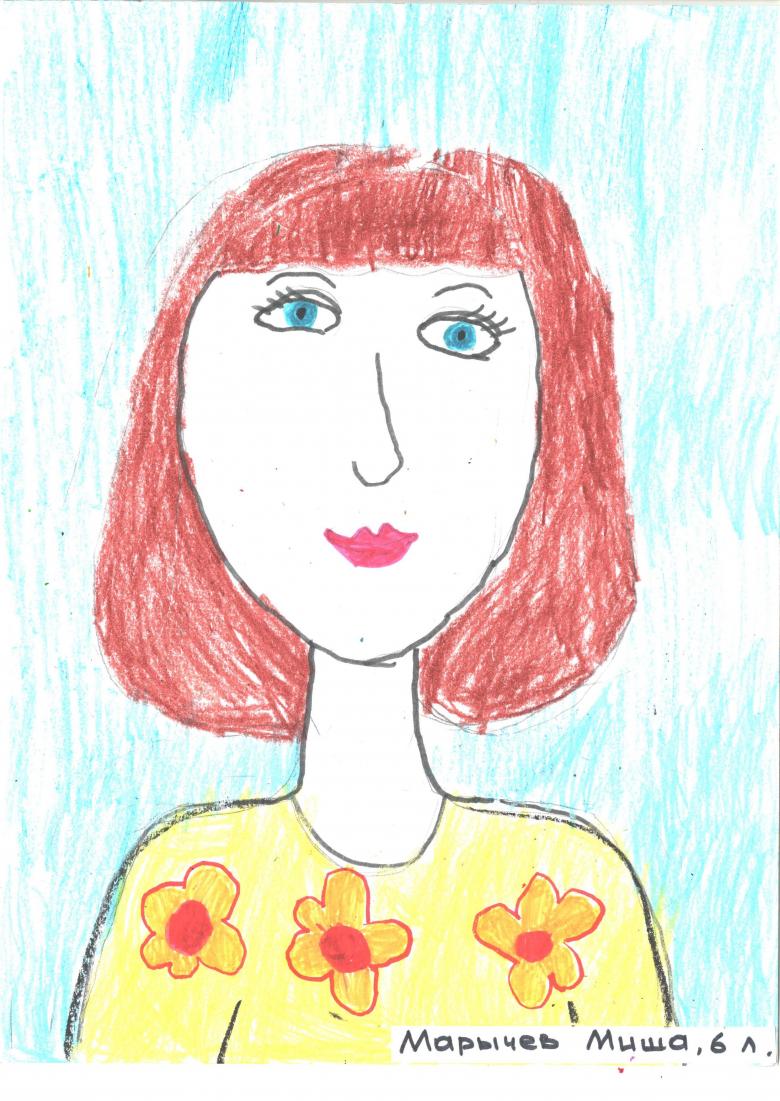
To draw a symmetrical face in realistic style, the straight line inside the oval should be divided into three parts to make the sketch symmetrical in the vertical and horizontal plane of the drawing. A photograph of mom should be used to sketch the nose, lips, eyes and mouth.
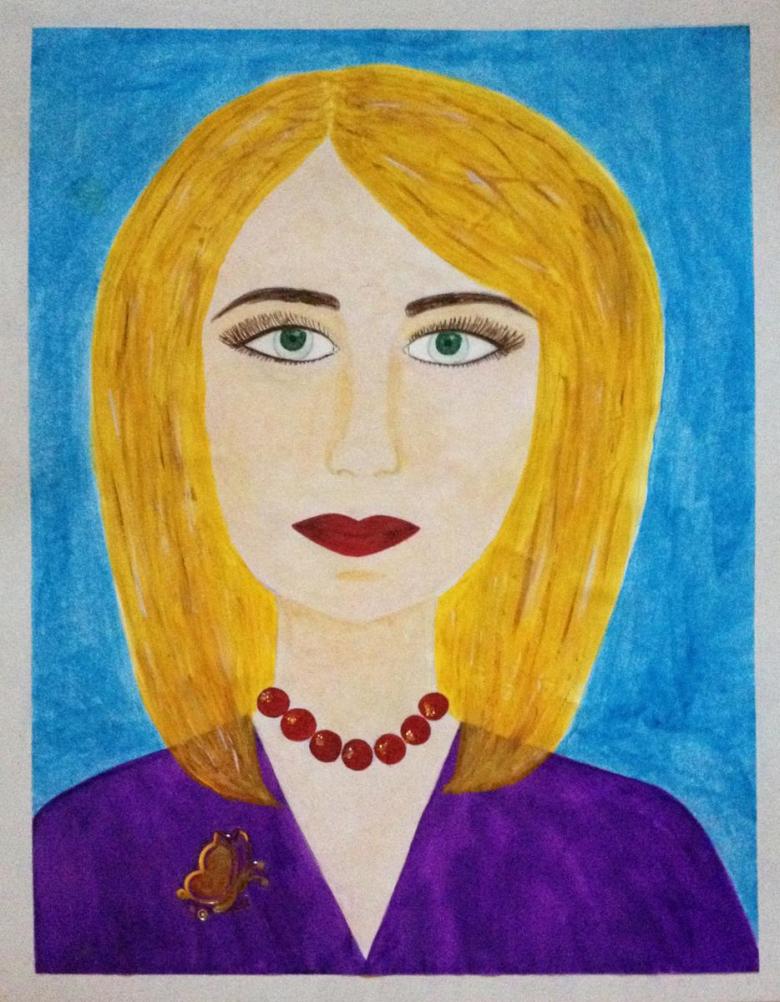
After dividing the oval with two lines inside it, there should be three paired segments. Each horizontal line should be divided by the vertical axis into equal segments. The oval of the face is drawn on them.

Important! The line at the top of the oval must be longer than the bottom.
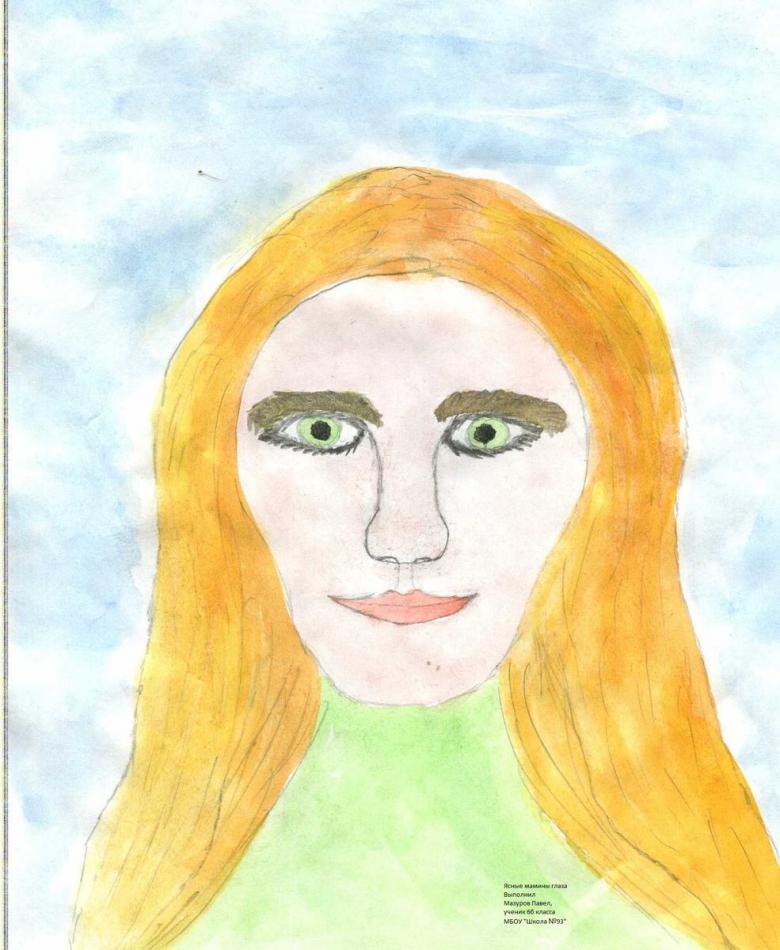
After that, you can proceed to the sketch of the face:
- The sketch of the eyebrows is created over the upper horizontal line in the upper two paired halves. The eyebrows are depicted with two curved lines, which will be shaded inside;
- The lips are drawn in the lower paired halves of the oval, about ¼ from the upper line. The upper lip is drawn with a line resembling the letter "M", but in a stretched form. The lower lip is drawn with a smoothly curved outward line. The line in the middle of the lips is drawn in the form of a wave, which rises smoothly in the middle, at the contact point of the lips, and then also smoothly descends;
- The nose will be positioned with its tip on the lower horizontal line. To indicate the wings of the nose you need to draw on each side of the vertical line, stepping back the required distance, rounded opening and closing brackets, as in mathematical calculation. Between them a wavy line is drawn at the bottom, which will represent the nostrils. It, like the upper lip, is depicted in the shape of a stretched "M". Both halves of the nostrils and wings of the nose must be symmetrical.
- Eyes need to start with the lower eyelids. To do this, a smooth line, slightly curving inwards, is drawn at the top of the central segments under the eyebrows. Its ends should look slightly upwards. From the wings of the nose upwards two perpendicular lines are drawn on each side of the centerline to the intersection with the line of the lower eyelids. This determines the distance of the inner corner of the eyes from the nose. From the points of their intersection begins an arc that will represent the upper eyelid. On the created schematic sketch it is necessary to correct the shape of the eyes with a photo of the original, creating the desired cut.
- After that, the back of the nose is made with two curved lines connecting its wings with the inner corners of the eyebrows.
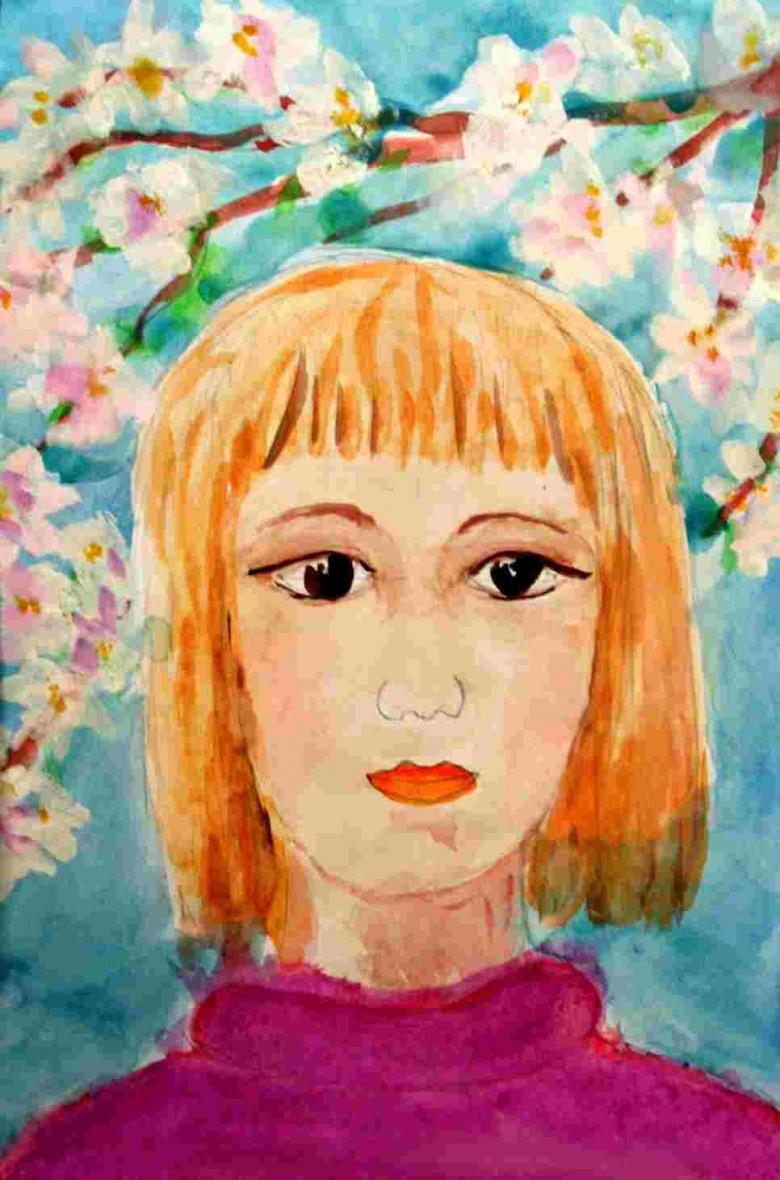
The sketch of the face is ready. Now you can erase all the auxiliary lines on it with an eraser and proceed to draw the details of the face and create the light and shade. It is also necessary to draw the hair, and then proceed to coloring the portrait of mom with colored pencils or paints. The finished drawing should be framed and presented to your mother for her birthday. Daughter or son can thus make mom the most memorable gift, which she will cherish.
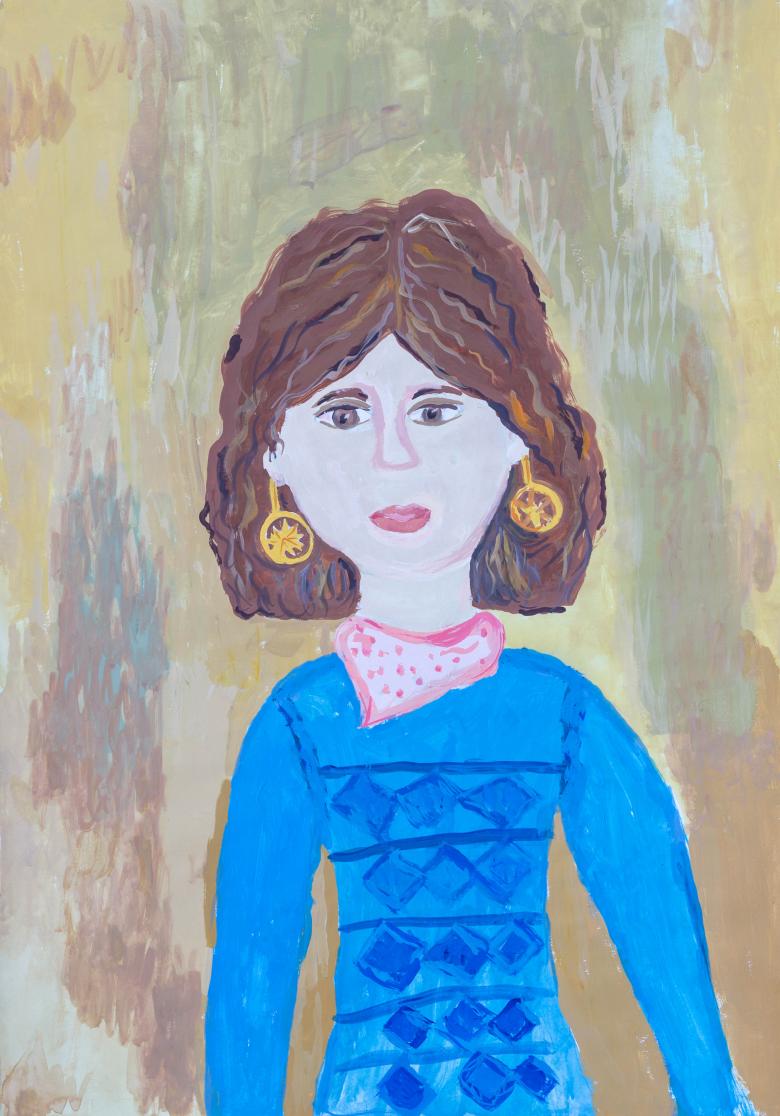
Master class on drawing a portrait of mom in half-turns
You can draw a portrait of mom for her birthday in different angles. Having mastered the creation of a face sketch in full-face, you can begin to learn how to draw a face in a half-turn, or in profile.
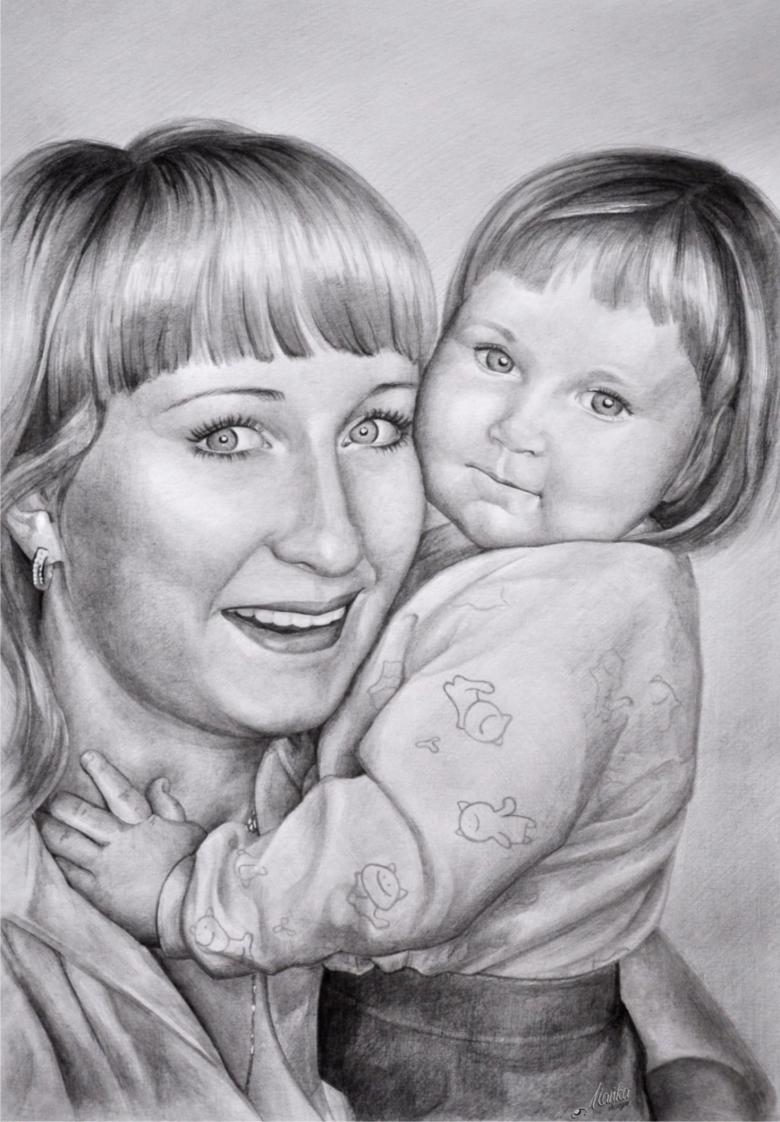
To draw mom in this perspective will require:
- A sheet of clean, landscape-sized Watman paper;
- a hard, simple pencil;
- eraser;
- colored pencils or paints.
You can also draw with a simple pencil, having sharpened several pencils of the same hardness with a knife, not a sharpener. In order to observe the safety of the work, you can ask parents to do such work.
The master class repeats the basic elements of the full-face drawing technique with some features:
- You need to draw an elongated irregularly shaped oval, one side of which should resemble the cheek and the cheekbone line going to the chin;
- Divide the oval with a slightly convex vertical line in the place where the back of the nose should be. To be able to easily find the place of such a line, you should use a photo, where Mom is photographed half-turned;
- Draw a short horizontal line perpendicular to the vertical axis, leaving the top and bottom inside the oval;
- Draw a slightly curved horizontal stripe at the top of the divided oval, which will represent the eyebrows;
- Near the intersection of the vertical and horizontal line, begin to draw a slightly concave line on the back of the nose, depict the tip and nostrils with bracket-like lines;
- Under the bottom horizontal line, start drawing the lips as described in the first master class;
- Above the bottom horizontal line, draw the tip of the nose nicely, looking at the photo;
- On the upper horizontal line draw the eyes so that the line goes in the middle;
- Draw carefully all the details of the face;
- Create a hairstyle by framing the face with hair;
- Erase unnecessary schematic lines in the picture eraser;
- Coloring the picture.
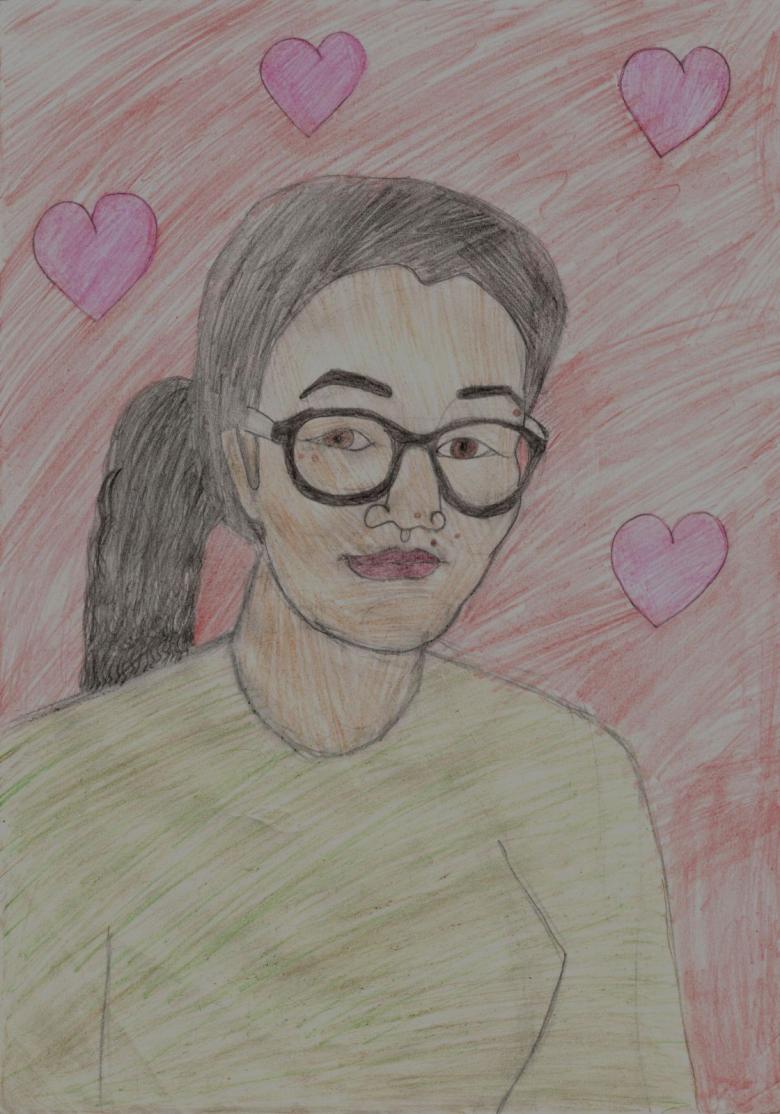
The drawing technique in both cases should be based on the creation of vertical and horizontal lines, which will help keep the eyes, nose and mouth proportional. If you master the rules of creating a sketch perfectly, you can then do without schematic vertical and horizontal lines at all.

