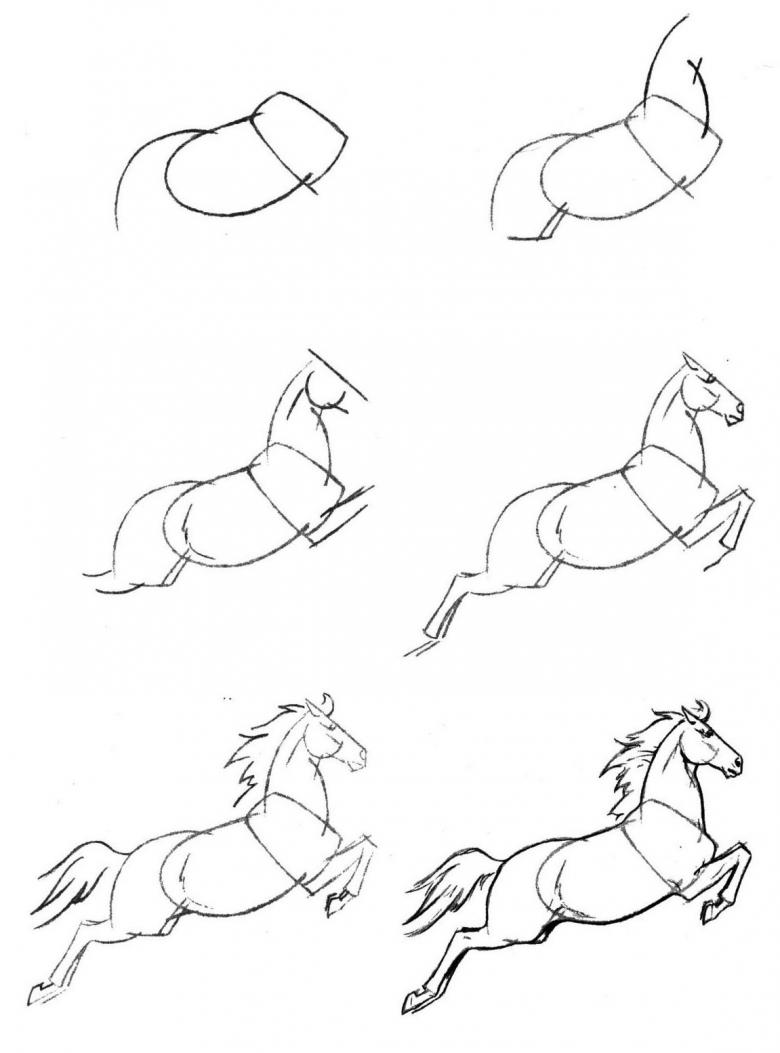
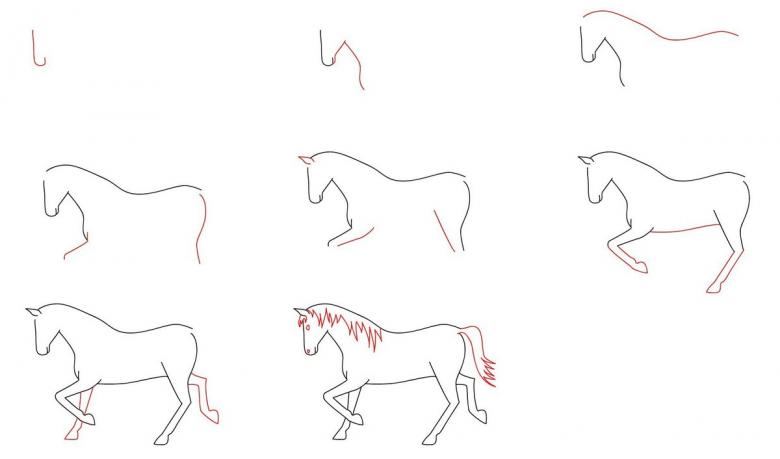
How to Draw a Horse in Pencil - Three Easy Workshops for Beginners
A horse is the most graceful and elegant animal. In the drawing it is important to correctly display the proportions. Legs, torso, head - everything must be symmetrical, relative to each other. But how do you portray her grace in a drawing?
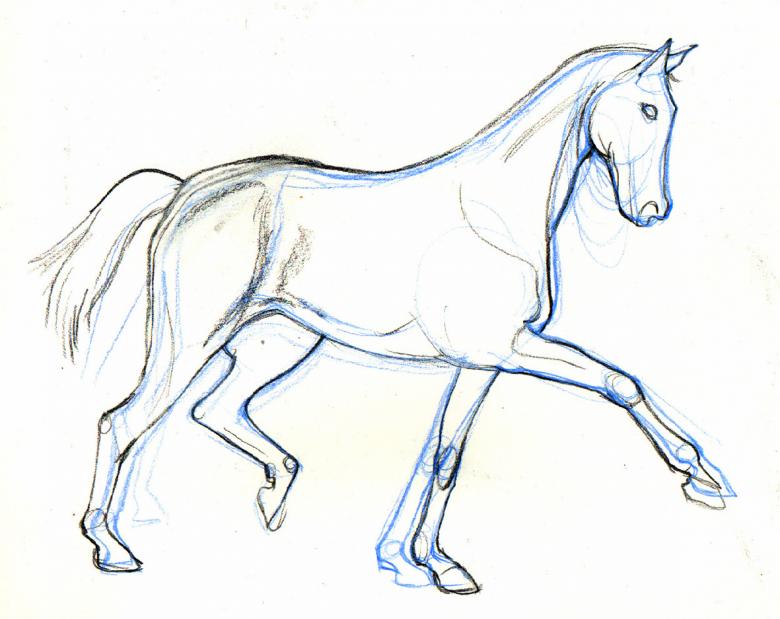
It is not necessary to graduate from art school to cope with the drawing. You should start by depicting the animal in a standing position. If you follow the lessons in this article, you will be pleasantly surprised at your abilities.
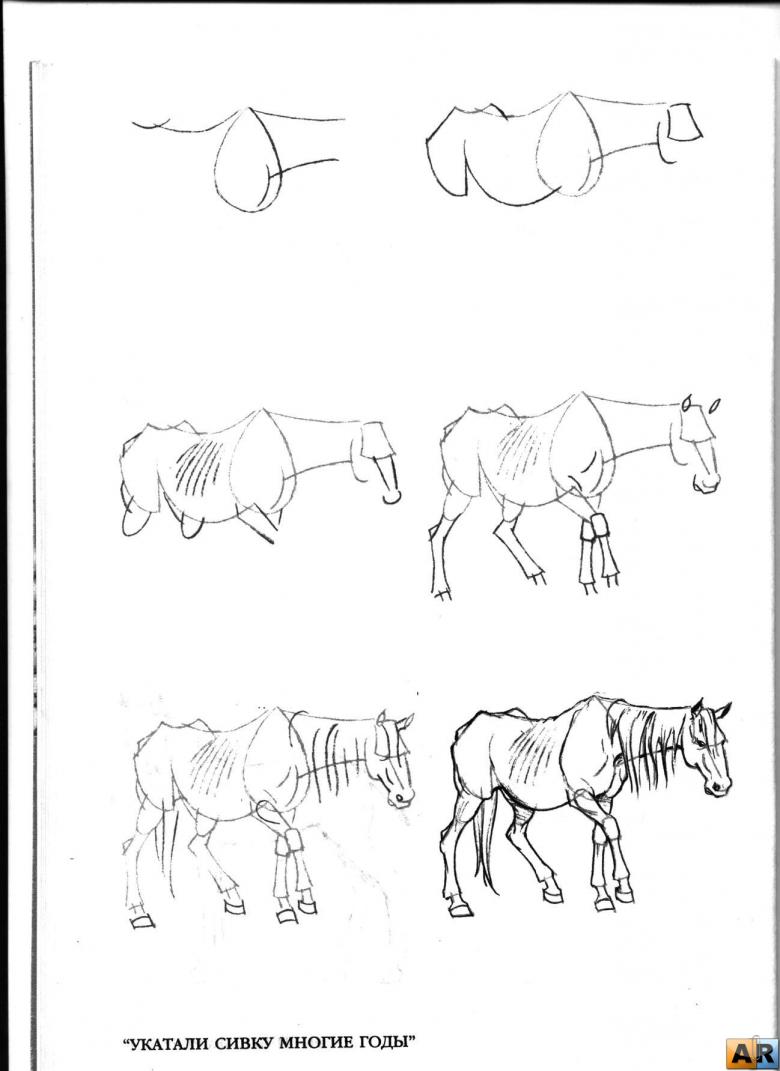
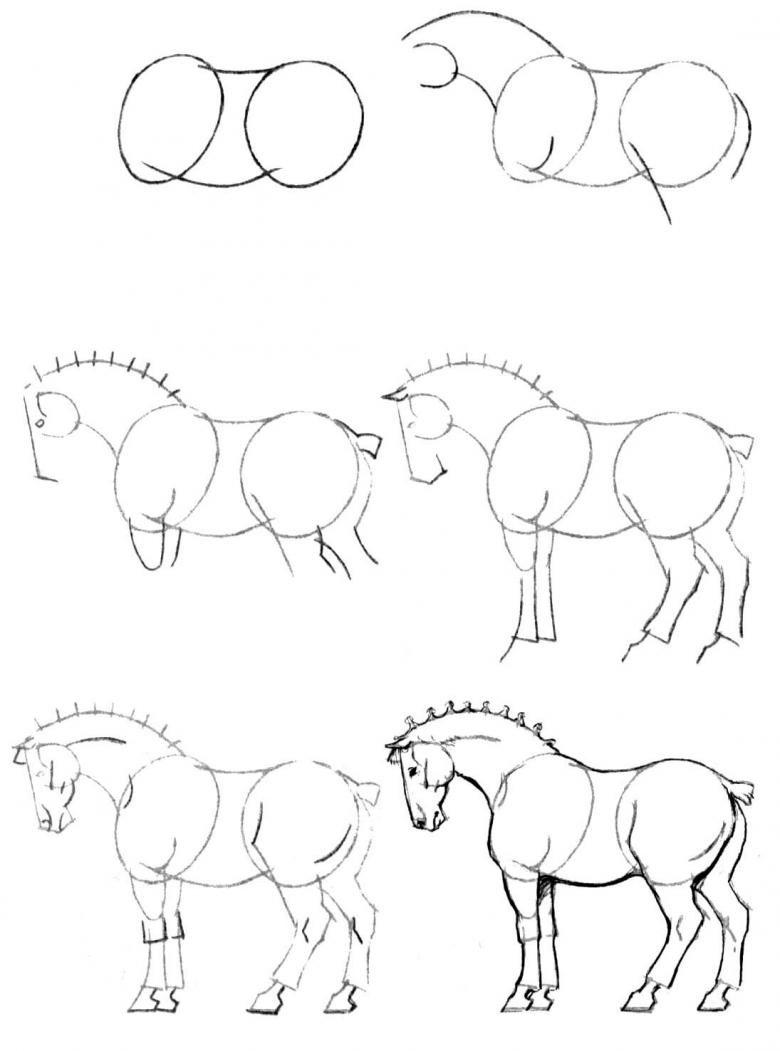
Drawing a Horse in Pencil
You will need a simple pencil, plastic, and a piece of paper. Well? Let's get to work!
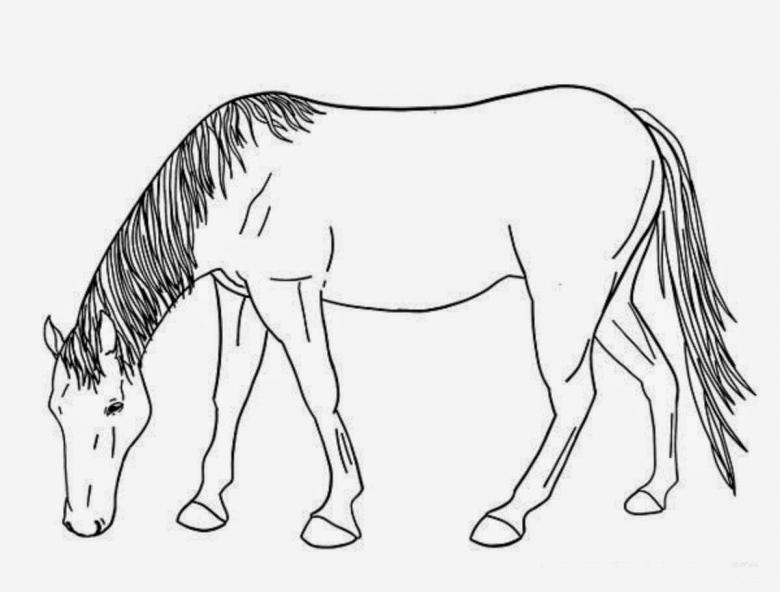
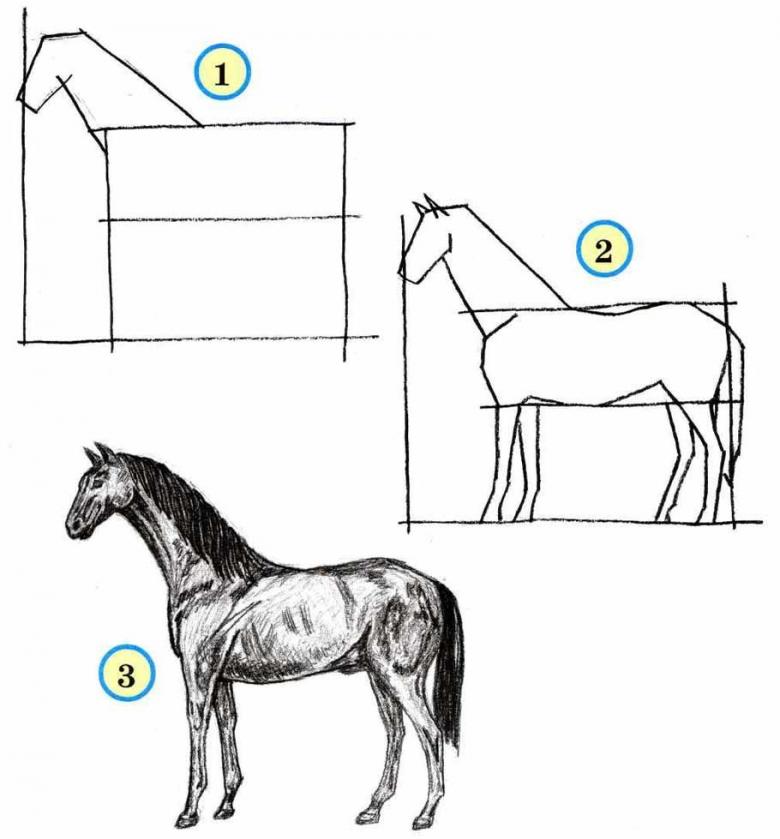
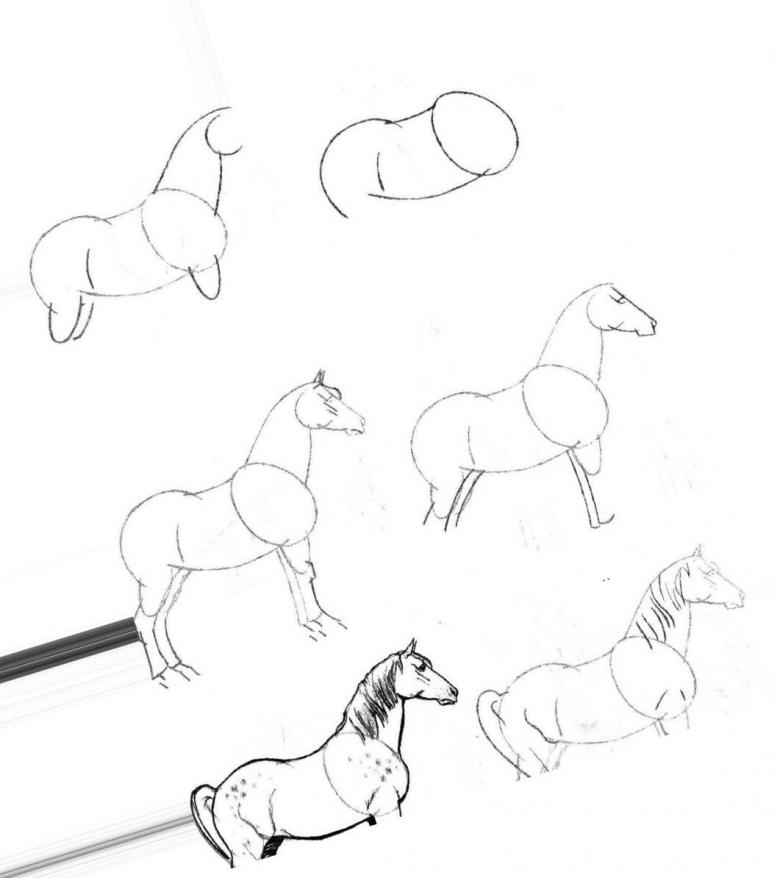
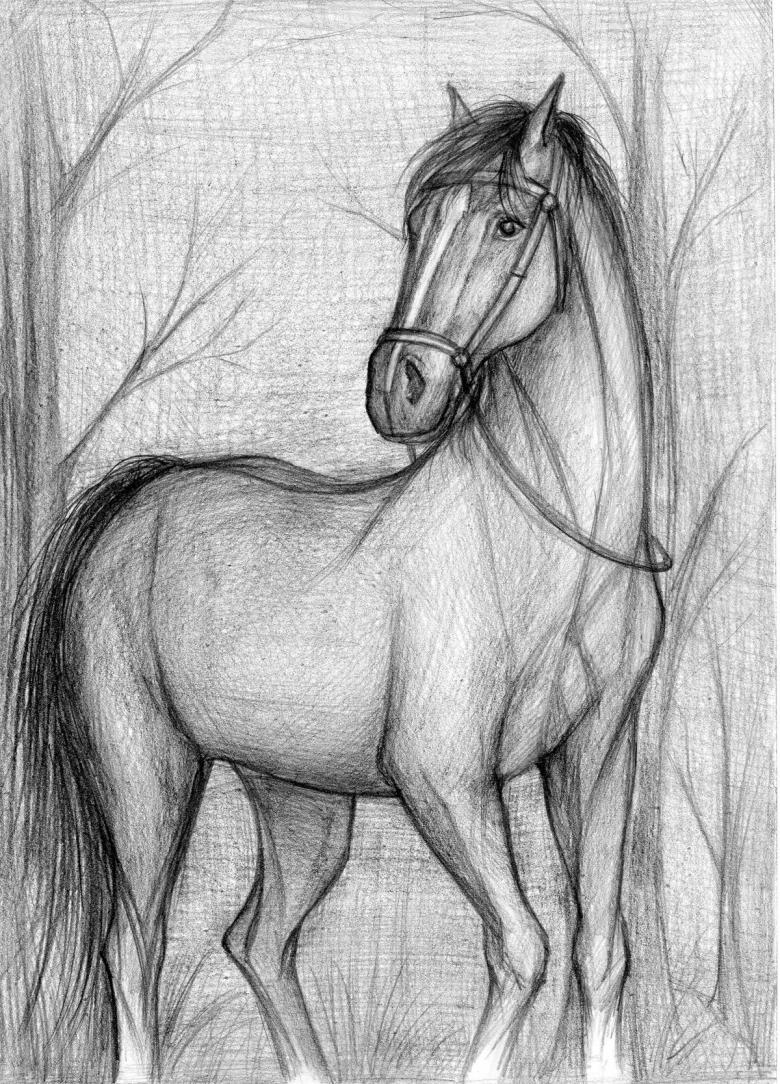
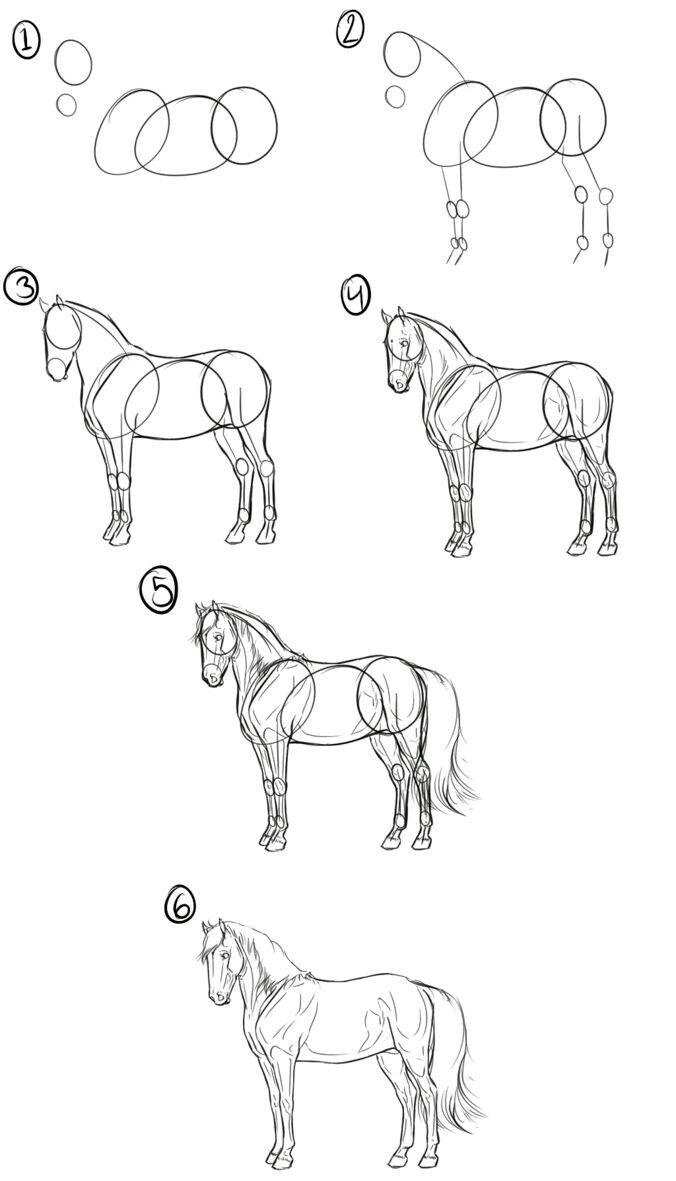
- Step 1. To start, visualize the location of the animal on the sheet. You should start with the head. For this purpose, at the top left of the paper, draw a triangle. All corners must be rounded. Do not make any sharp corners.
- Stage 2. It is necessary to draw two ovals just below and to the right of the head. This will be the chest of horse and his back body.
- Step 3. Combine the two ovals, thus getting the abdomen. Lines do smoothly, without sharp transitions and angles.
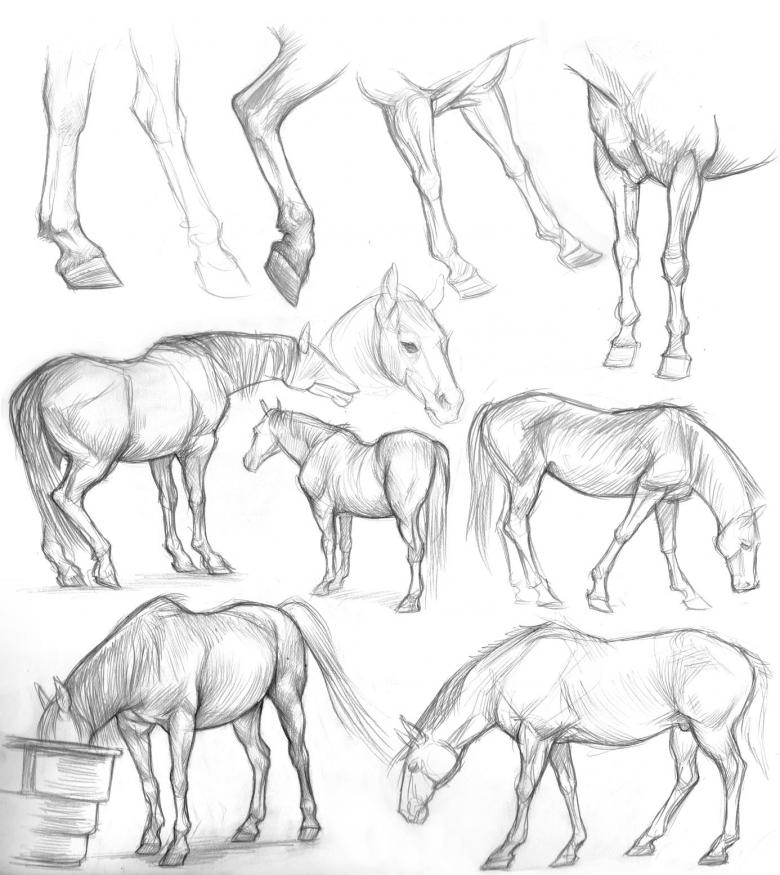
- Step 4. Draw legs. This is a very difficult step. We start with the front legs. Points are needed to mark the curves of the legs. We connect them with straight lines. It is important to keep all proportions to preserve the anatomy of the animal. Knees of a horse are quite high, unlike, for example, the pony. They have short legs, but otherwise animals are similar.
- Step 5. Next, give volume to legs. Draw the hooves, drawing the trapeze. The hind part should be elevated. Having outlined the front legs, we can proceed to the hind legs. Their upper part, much thicker than the front. It is important to look harmoniously, in relation to each other.
- Phase 6. And now the neck. Here it's important to emphasize grace: the lines should be smoothly curved. At the bottom the neck should thicken.
- Stage 7. All parts of the body are outlined with a bold line. Auxiliary lines are erased with an eraser. Do it carefully to avoid stains.
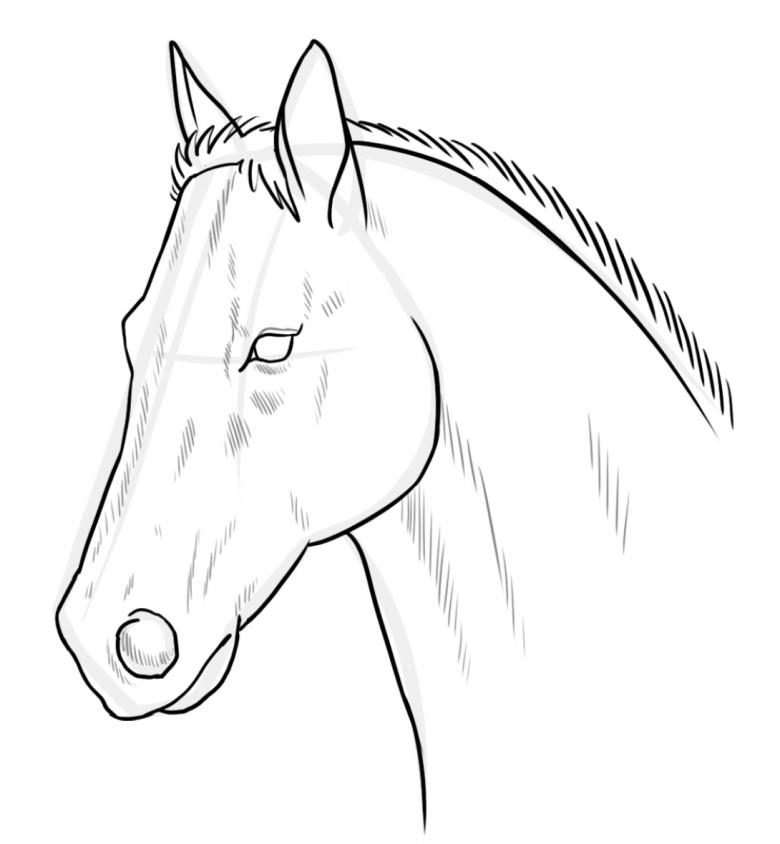
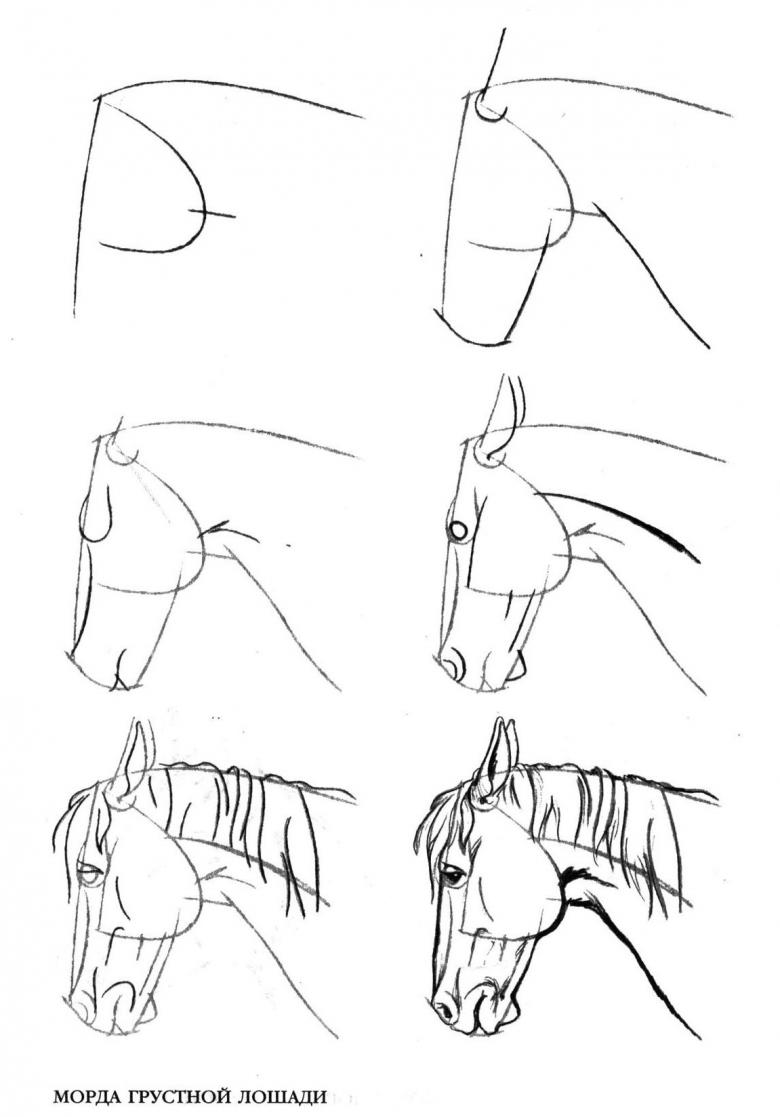
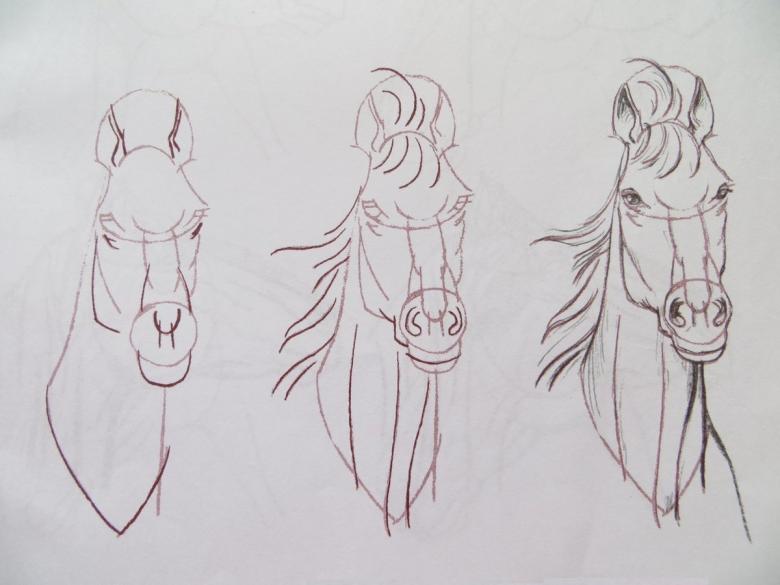
- Step 9. We give expression to the muzzle. Draw the ears. Nostrils and eyes should be large.
- Step 10. Draw mane and tail. For the mane, we draw a straight line on top, and along the bottom we make strands of hair. The tail can be drawn in any way. It can grow in the wind or be braided.
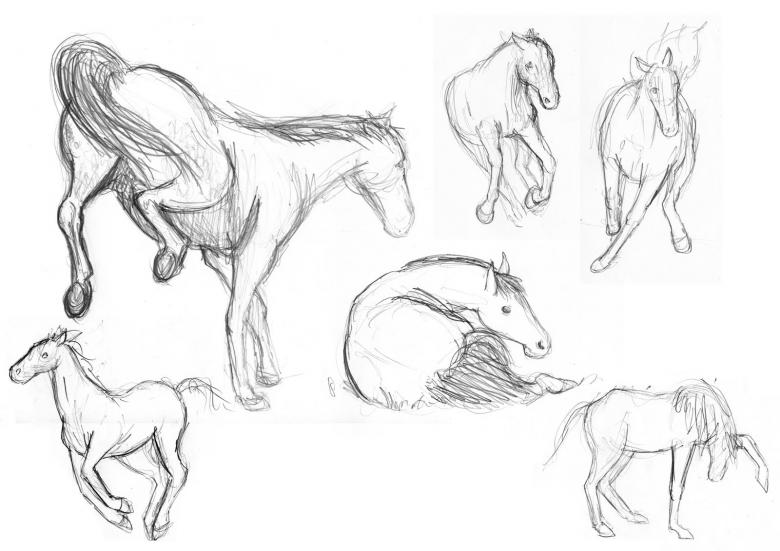
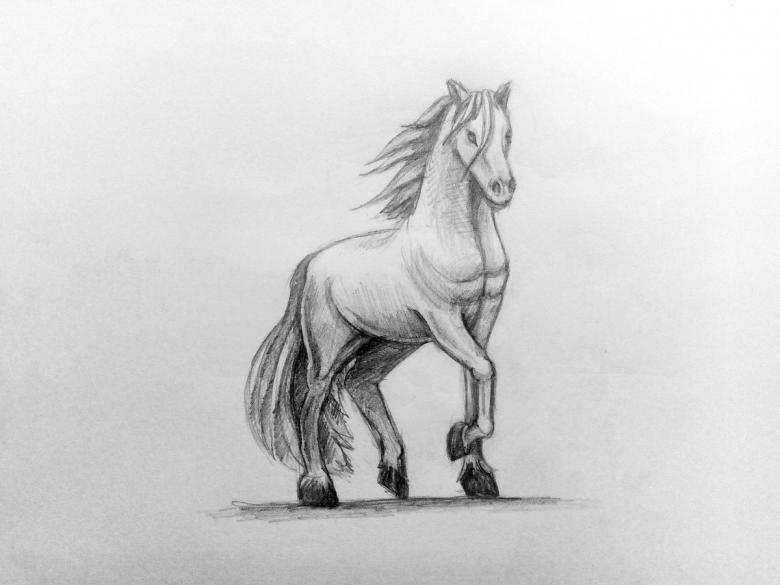
- Stage 11. At this stage, it is important to show the musculature of the horse. To do this, you can open a photo on the Internet and make a sketch with small strokes. This will help you better convey the power and strength of the horse.
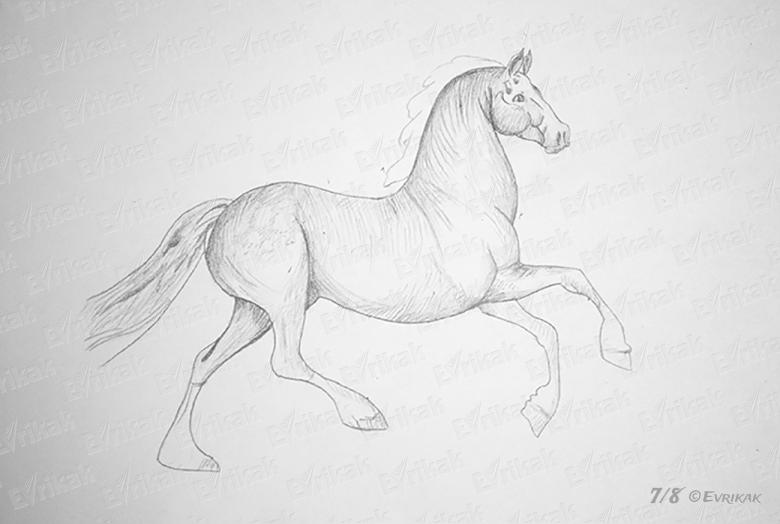
- Step 12. Finish the work by shading with a pencil. Marks the light transitions. Dark parts of the body to darken, and light parts on the contrary.
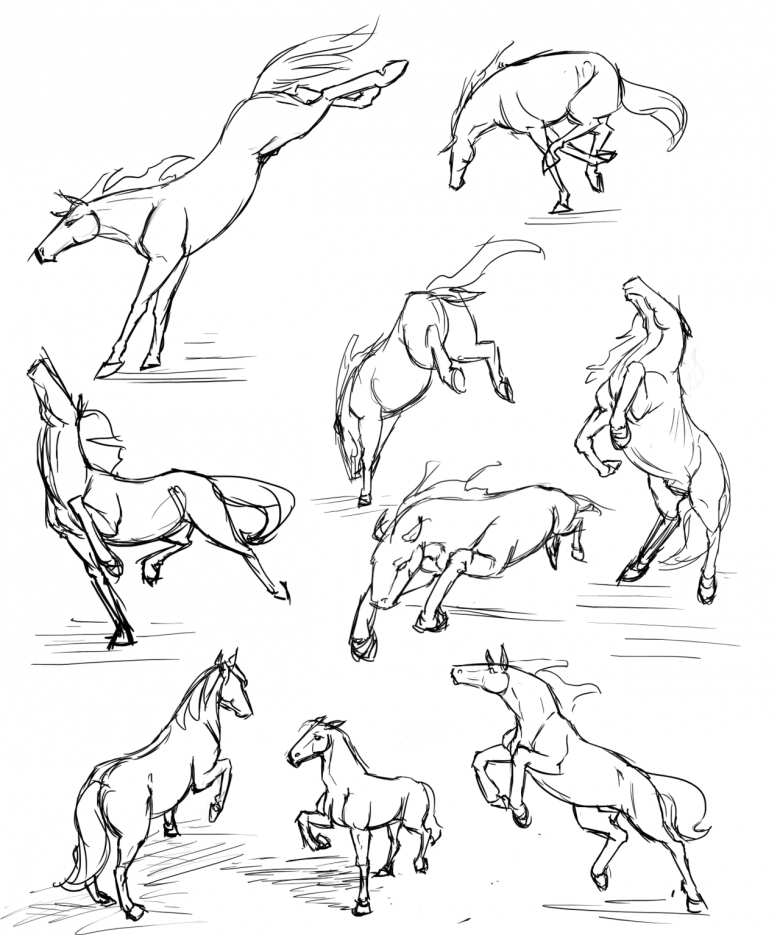
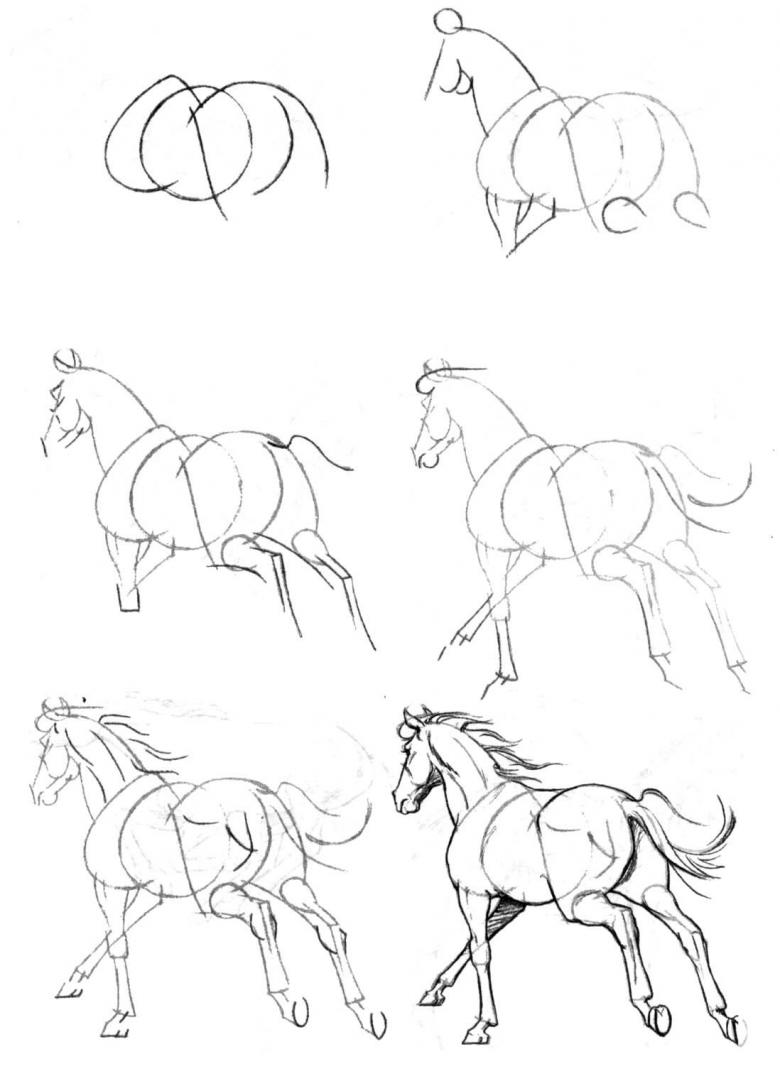
That's how easy and simple it is to learn to draw this graceful animal. But what if you don't want to stop there? Then you can begin to work more complicated, namely to draw a horse in motion. This will require more attention and patience.
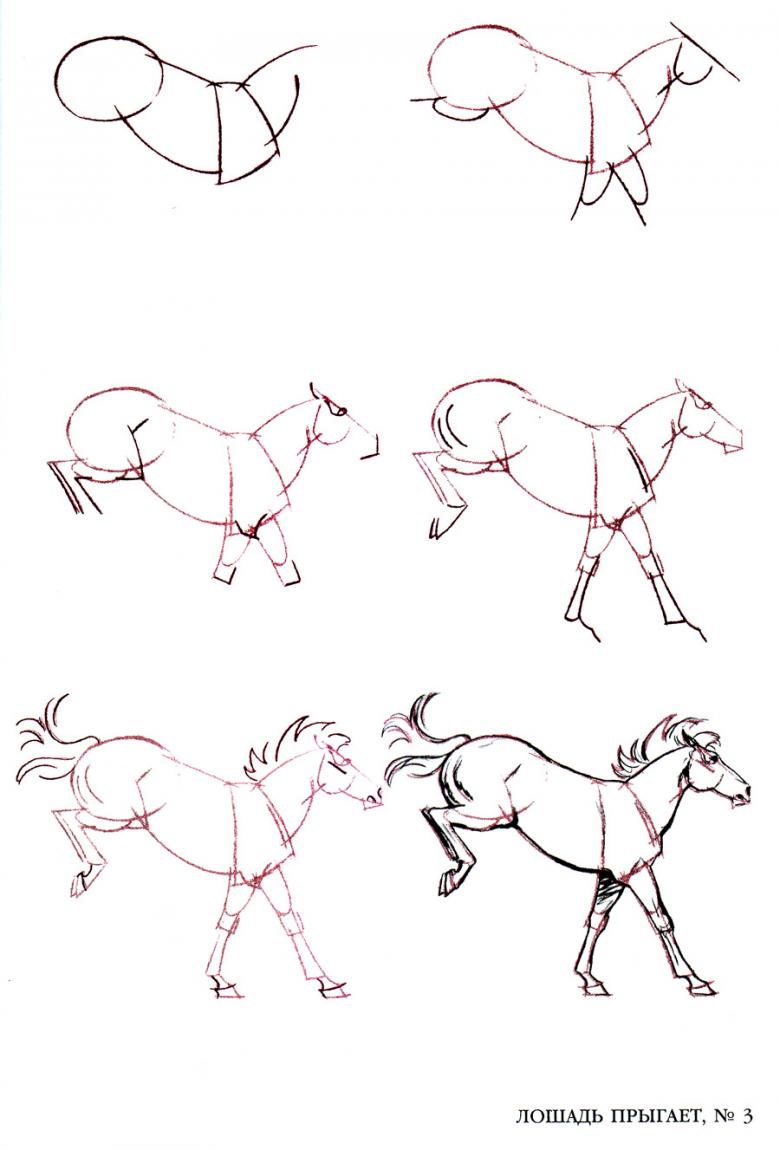
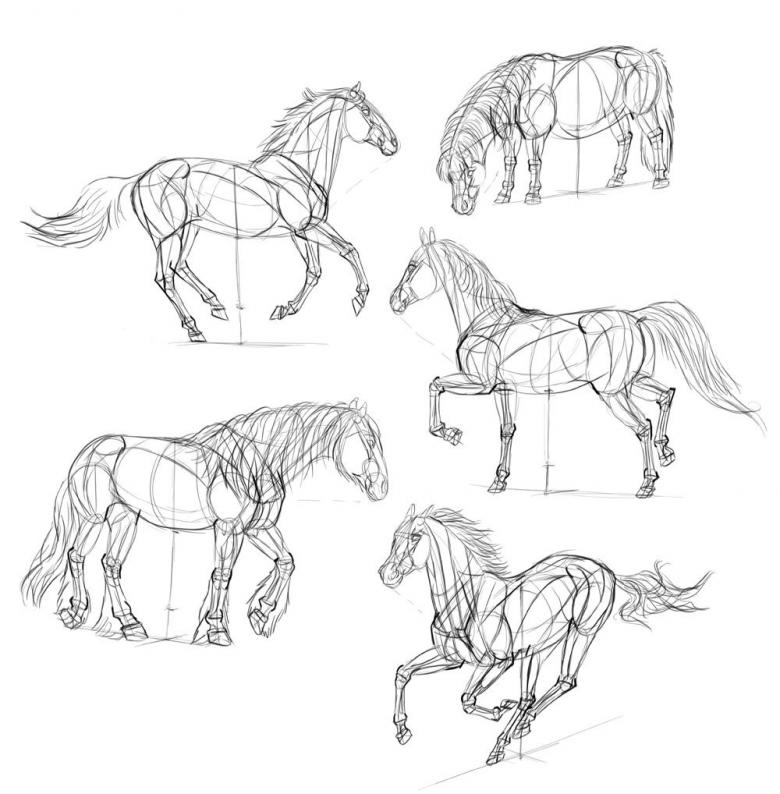
Draw a horse in motion
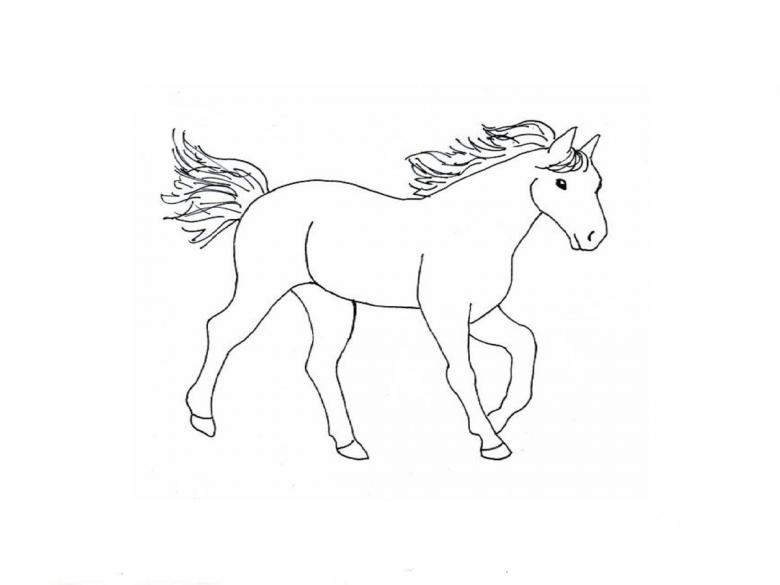
For such a picture there are also step-by-step instructions. The work can be done with a simple pencil, and then circle the felt-tip pen.
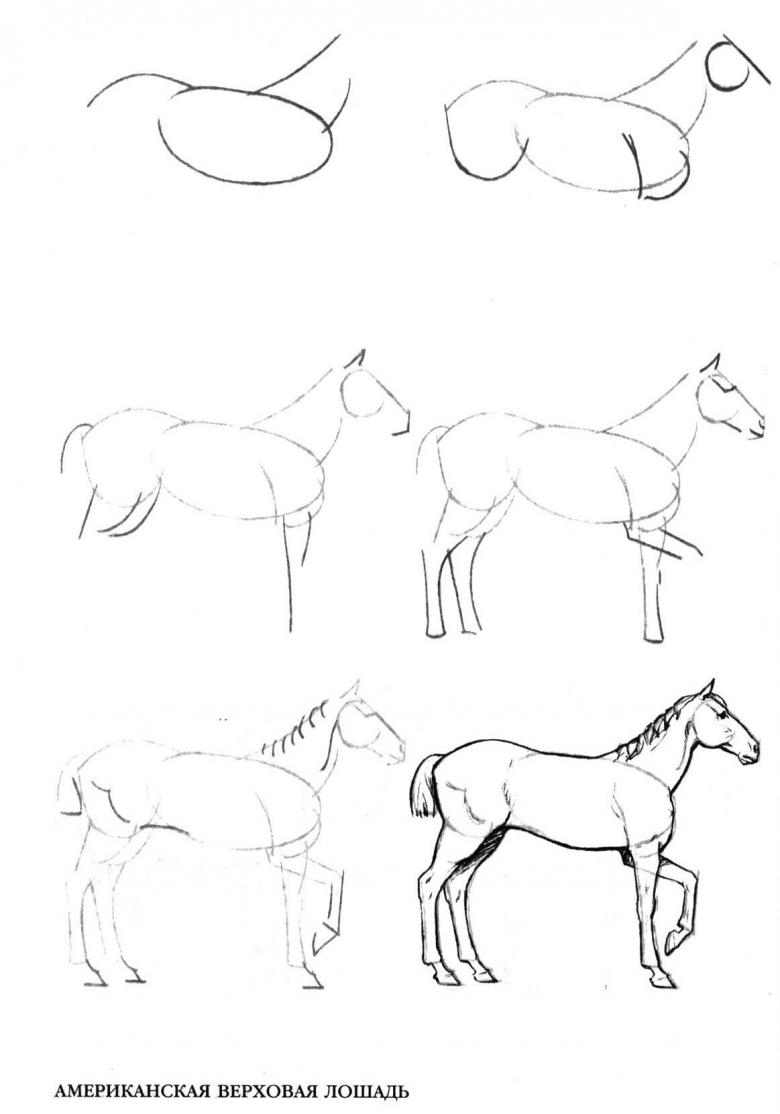
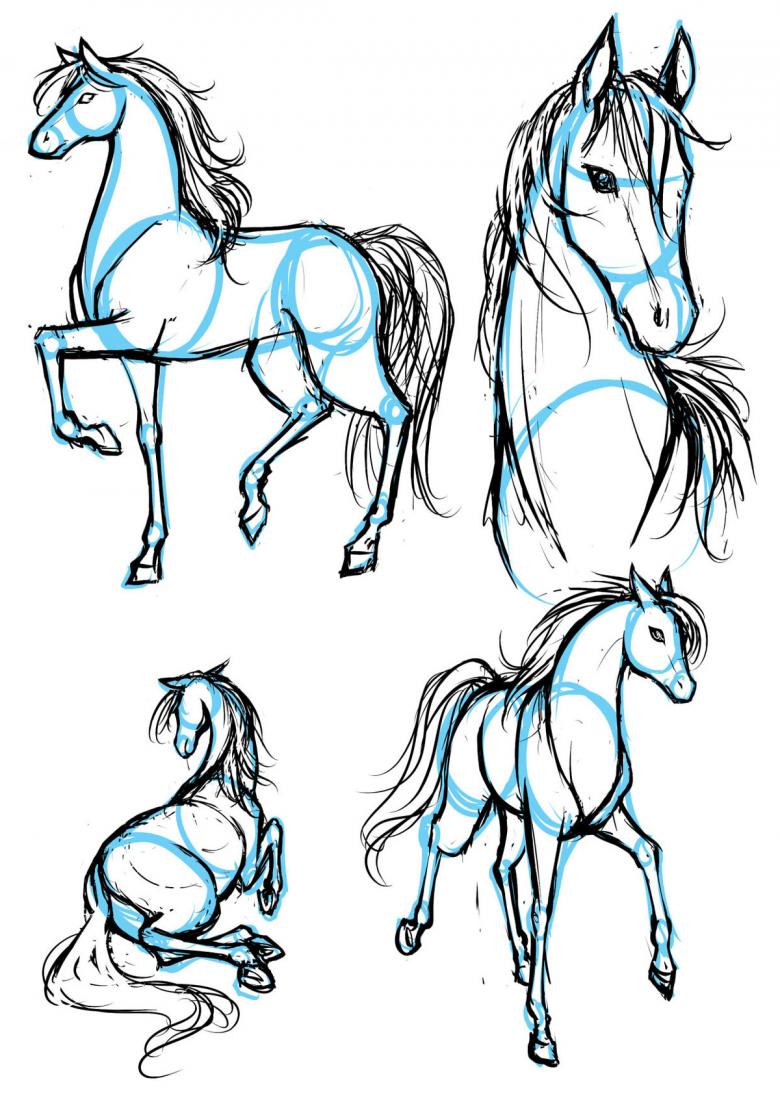
- 1 step. Draw the body. To do this, you need to draw a horizontal oval, similar to a potato.
- Stage 2. From there left upwards draw a curved neck. Lines should be smooth without sharp transitions.
- Step 3. From the neck outline the shape of the head. Give it the necessary look. Draw the mane from above.
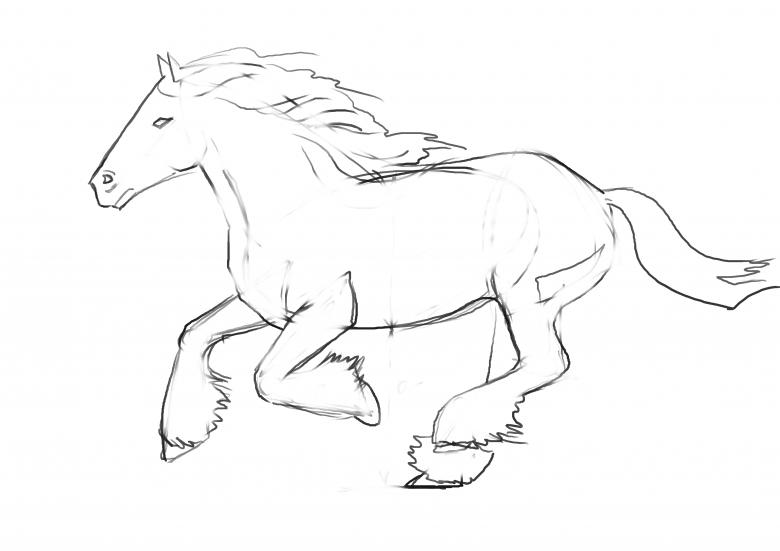
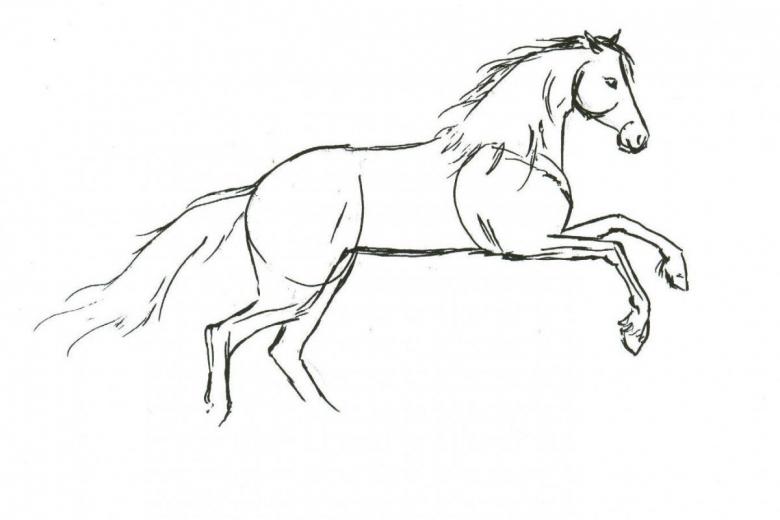
- Step 4. With thin lines make a sketch of the legs. They have to be in motion. Everything should look natural. You can look on the Internet for pictures of horses running. This will help you convey their positioning more accurately as they run.
- Step 5. Draw the tail. You can add grass to the background.
- Step 6. Once again, trace the whole silhouette of the animal with bold lines, removing the excess with an eraser. Here it is possible to use a felt-tip pen. Give some of the details, more clearly delineate them.
The horse in motion, ready!

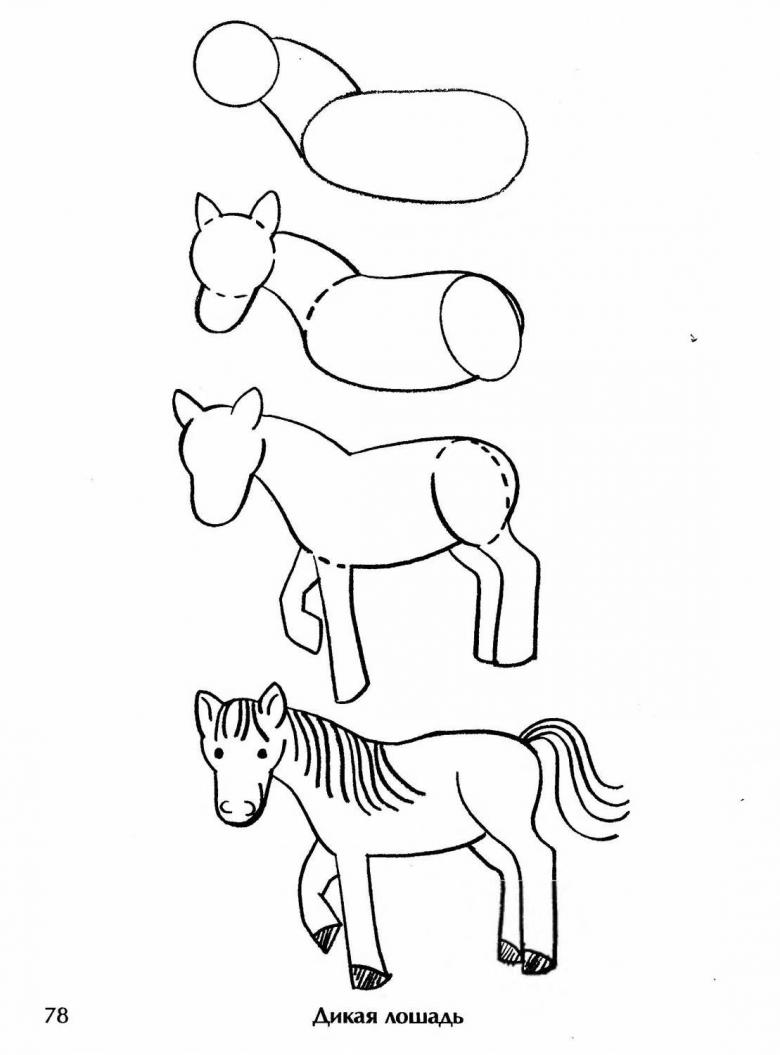
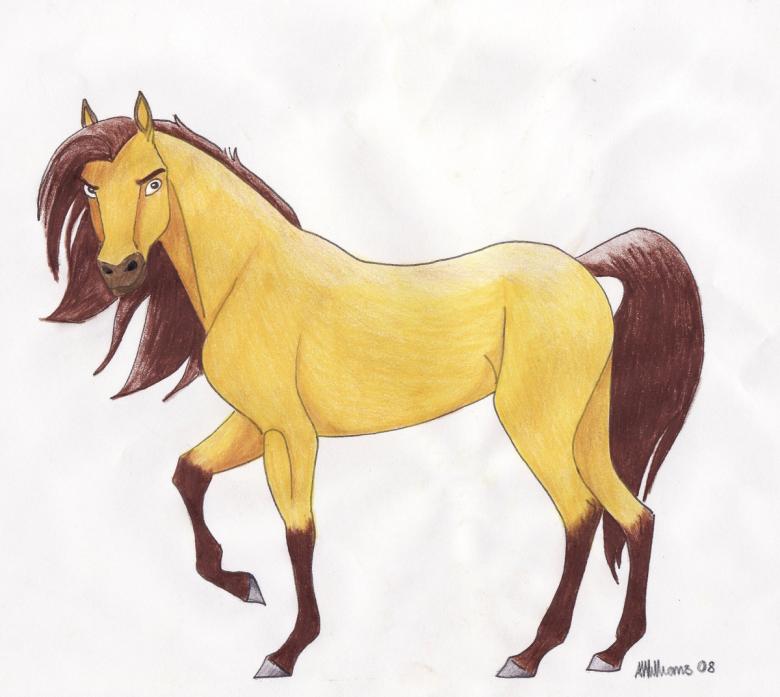
Now, let's imagine that your child has watched a lot of cartoons and wanted a bogatyr horse Julius. So that he would be as funny and memorable. No need to worry, you can cope with this task as well.
Drawing Yulia Bogatyr's Horse
To do this, you will need a black felt-tip pen. Brown and orange paint, a brush and your good mood.
- Step 1. We are going to draw the silhouette with a black felt-tip pen. The horse is in profile, with its head turned towards us. Draw two round eyes close to each other. Draw eyebrows and pupils.
- Stage 2. From the center of the eyes draw a curved line of the nose. Draw nostrils and a wide smile.
- Step 3. Draw an ear, resembling an inverted seed. Drawing the bangs.
- Step 4. We proceed to the neck. Bogatyr horse is thinner than a real horse.
- 5 stage. From the upper line of the neck we draw a torso line. Outline the elevated pelvis. From him - a line down, it will be a hind leg. Julius's legs are also thinner than those of normal horses.
- Step 6. Draw belly and front legs. One leg is bent. Outline hooves and second leg. We add a mane to the head, draw a tail.
- Step 7. Now it is necessary to paint everything. Brown paint body of the animal, tail and mane - orange. Black felt-tip pen hatch hooves.

That's all. Bogatyr horse Julius is ready! With these easy and simple step-by-step tutorials you can learn to draw any animal. The main thing in this case is patience and persistence. Don't stop there.

