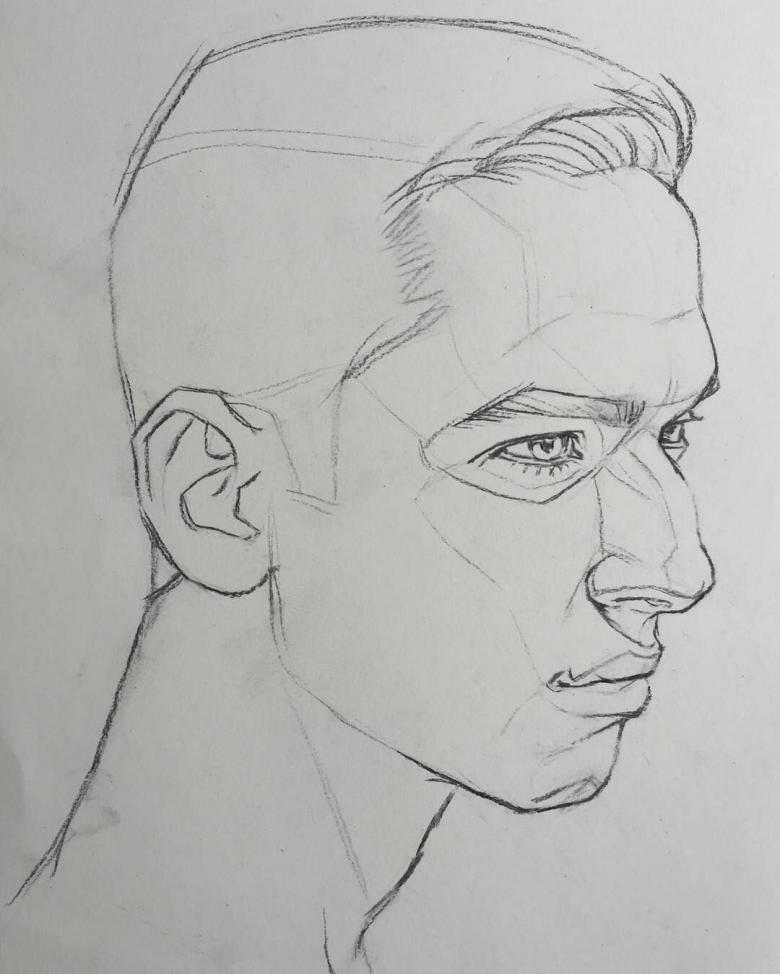
How to draw a face in a step-by-step pencil - basic rules, easy master class, photo ideas and examples
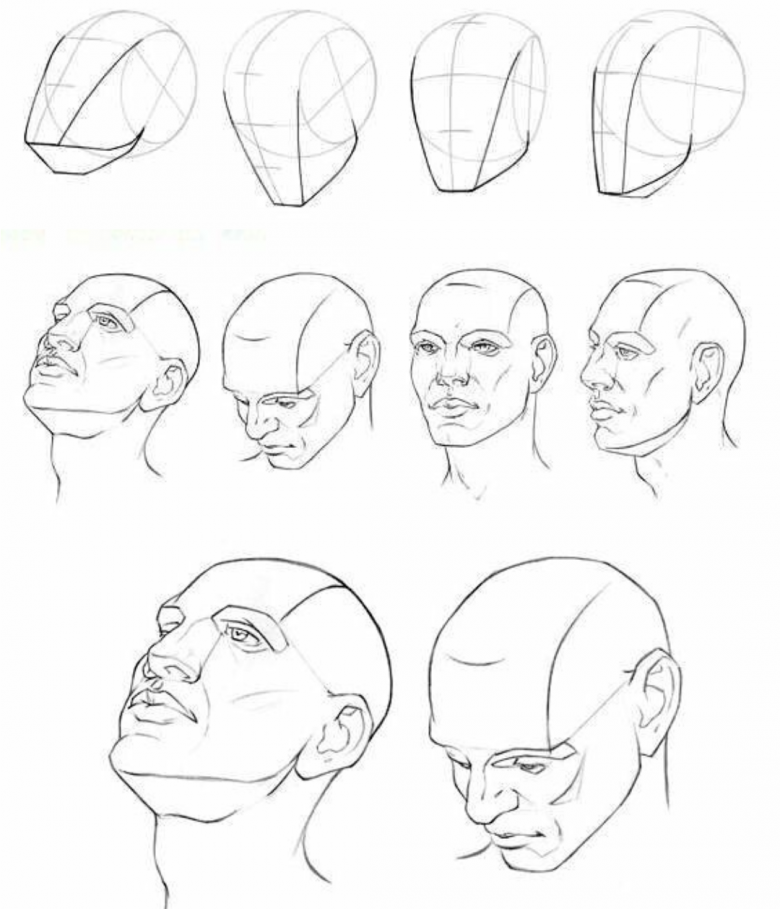
In the fine arts, drawing a person is one of the most difficult tasks. In order to correctly draw a person, it is necessary to have at least a basic knowledge of anatomy. The physique itself needs to be carefully studied in order to convey it as accurately as possible on paper.
Basic rules for face painting
Before proceeding to a more detailed study of the nuances, you must first prepare a base from which you can then build on. Let's look at the basic rules of drawing that must be followed.
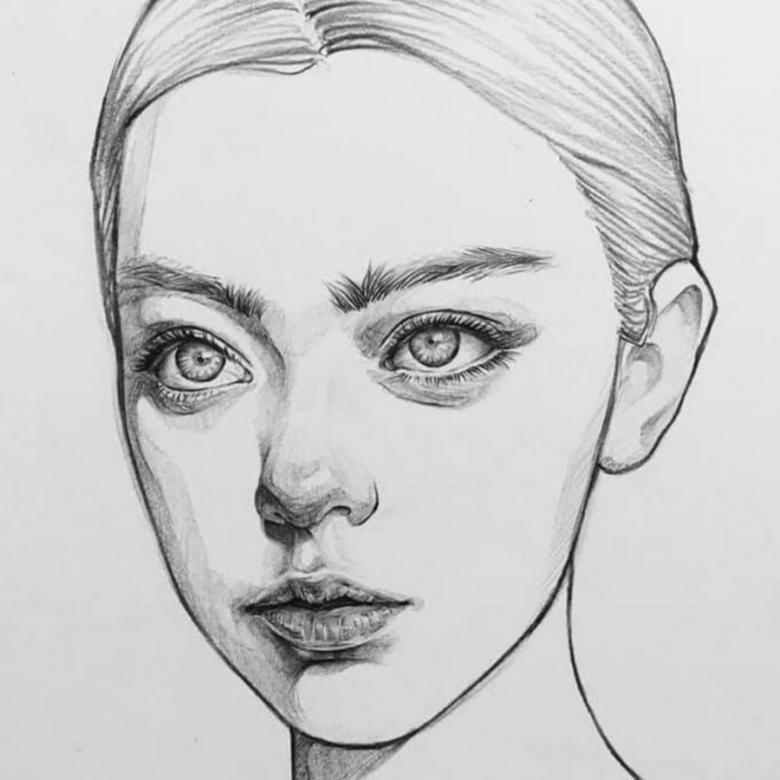
- Before you start sketching, you need to think carefully about the placement of all the elements in the drawing.
- Once everything is thought out, then comes the creation of the sketch. For this you need a good, well-sharpened pencil medium hardness. This will allow you to create thin, barely visible lines, which, if necessary, can be removed and corrected.
- The lines of the sketch elements remain until the desired result is seen.
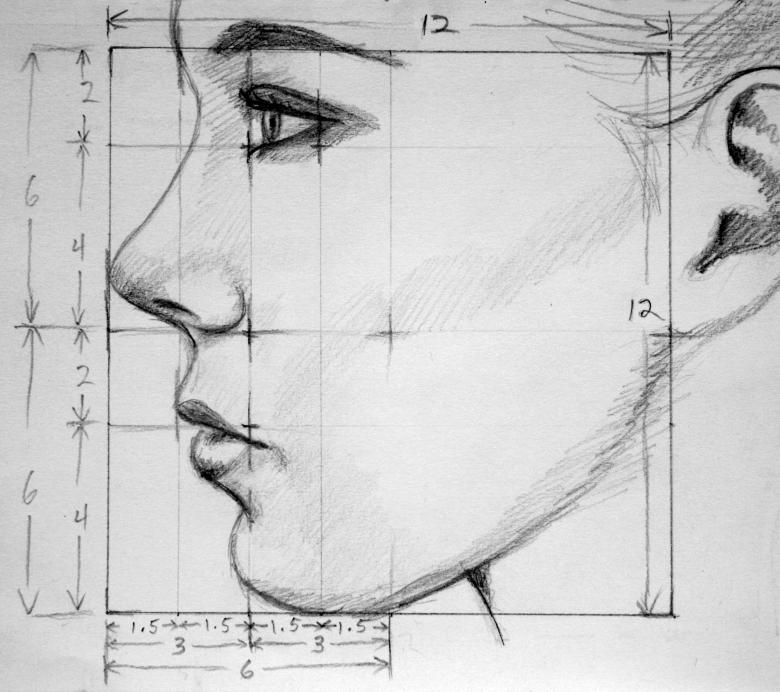
- At each stage, the proportions must be carefully observed.
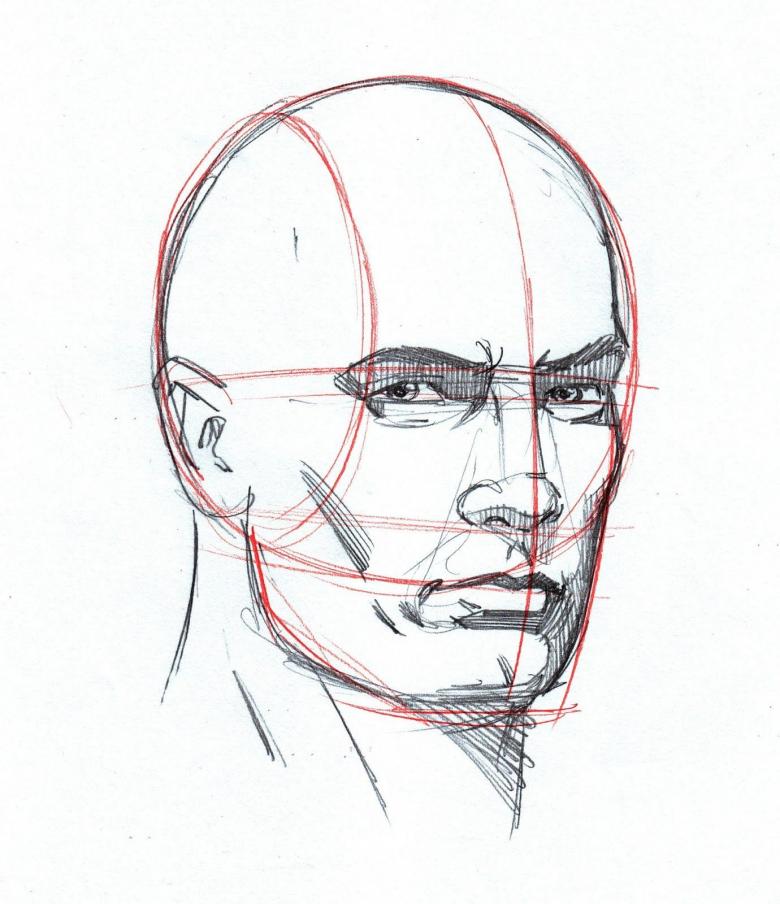
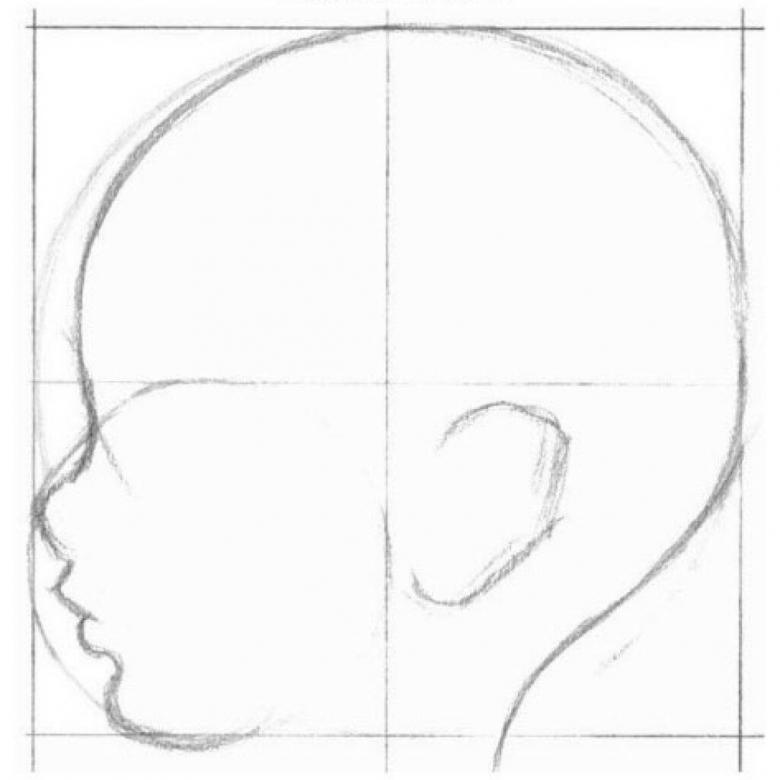
- Whatever the shape of the face, it is always somewhat pointed at the bottom and rounded at the top.
- The final stage is constant practice. It allows you to hone your skills literally to automatism in small details, of which then the entire picture takes shape.
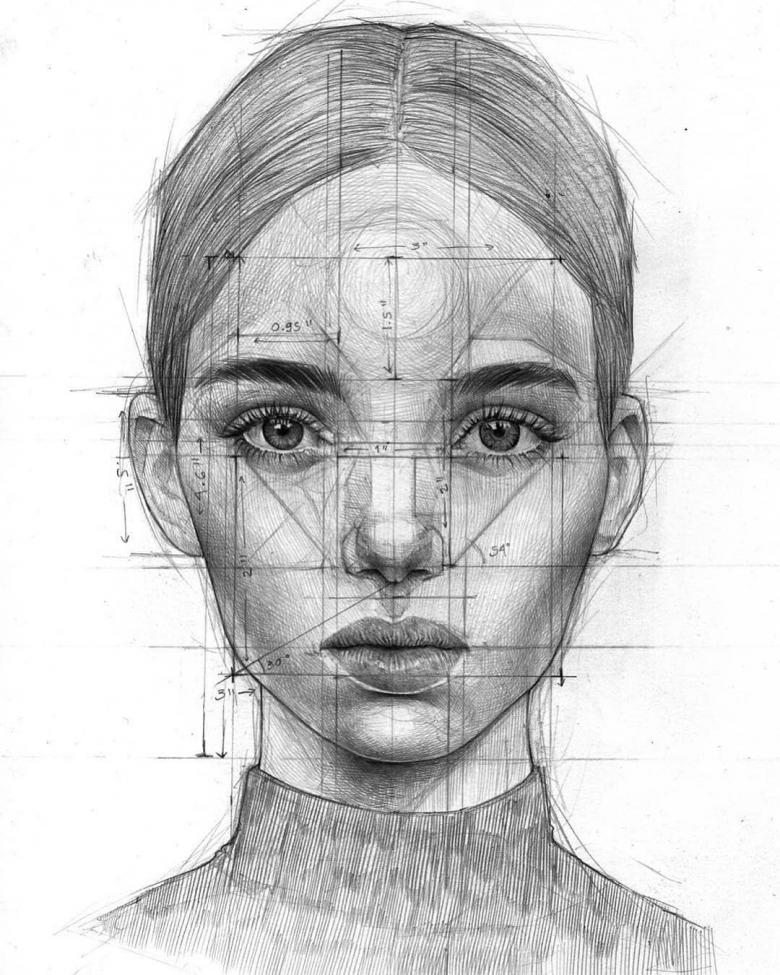
Step-by-step master class in face painting
Stage 1
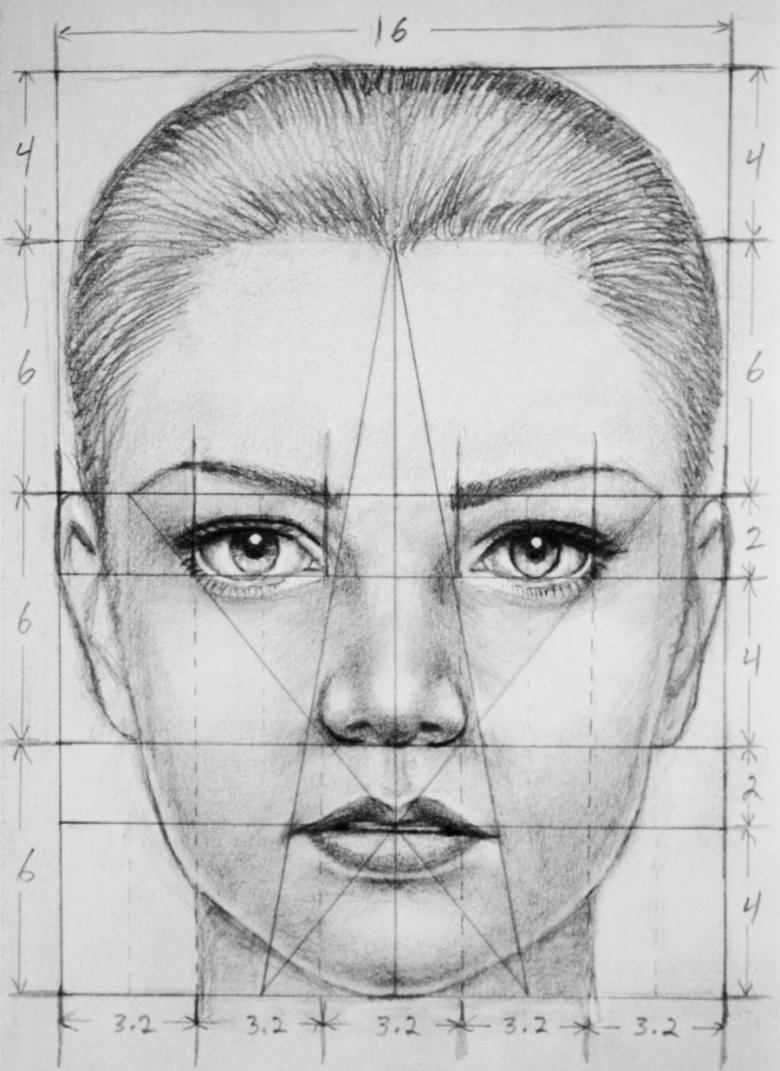
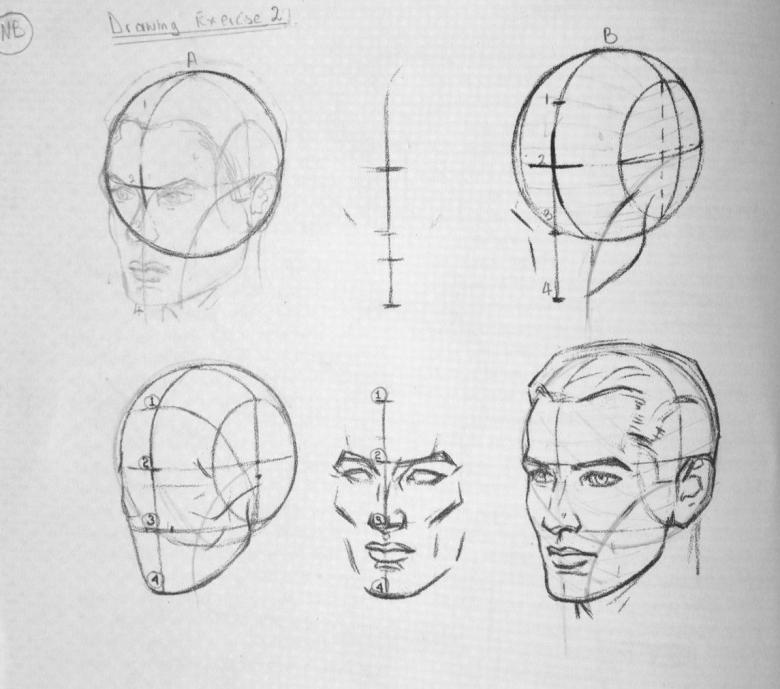
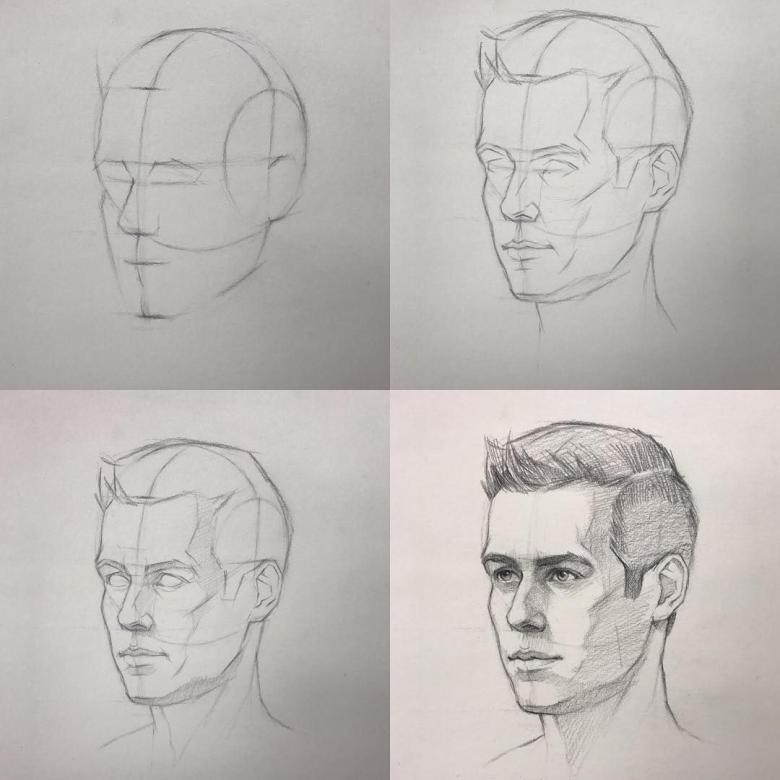
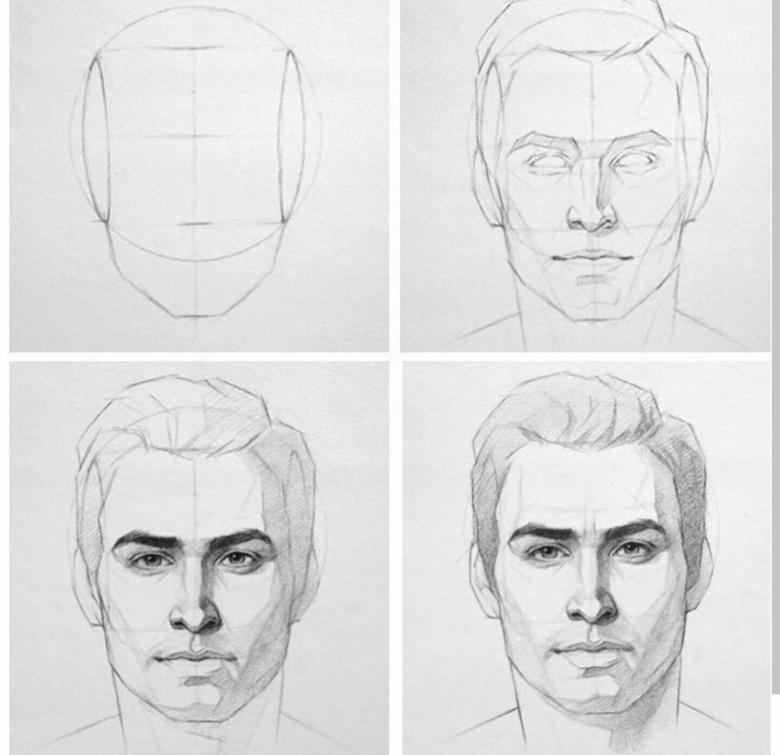
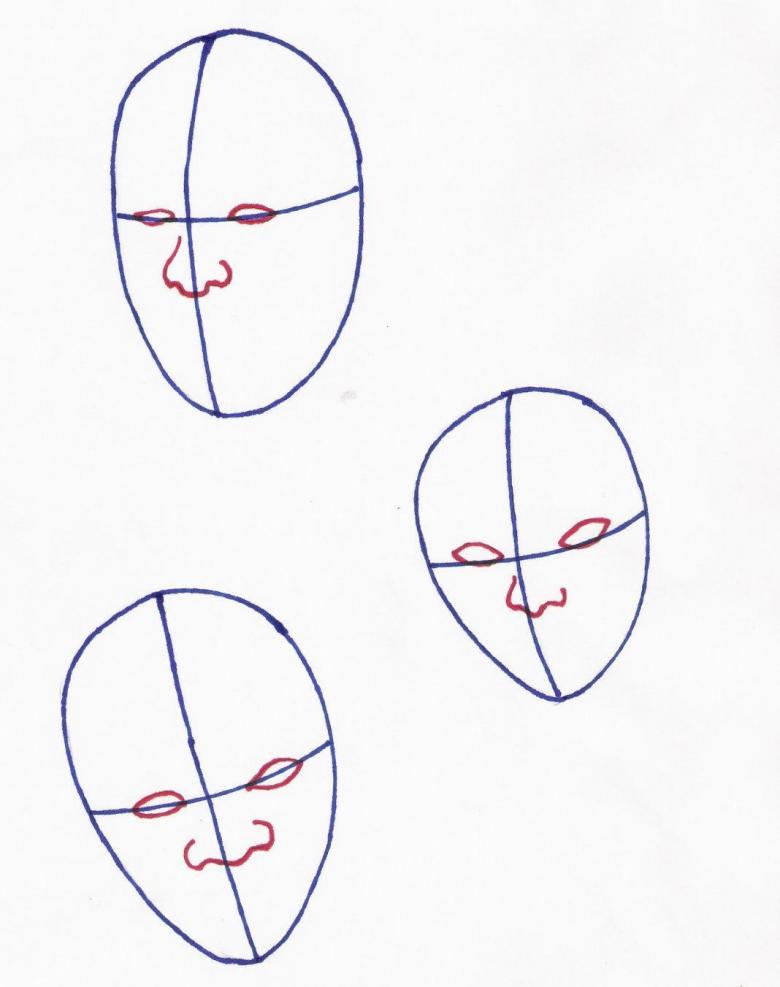
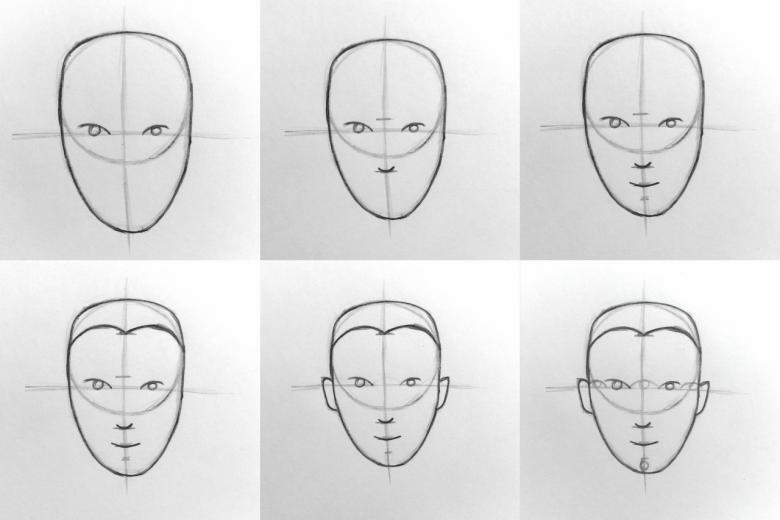
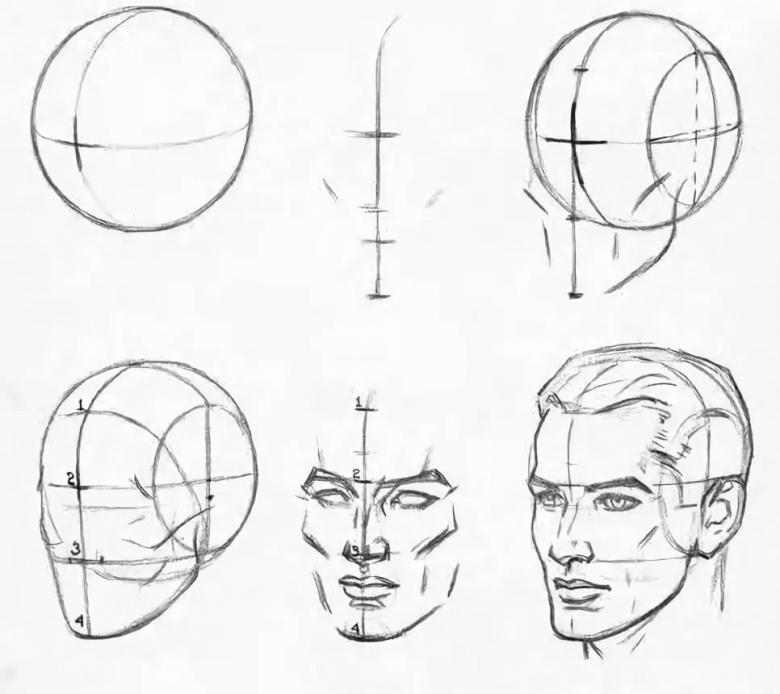
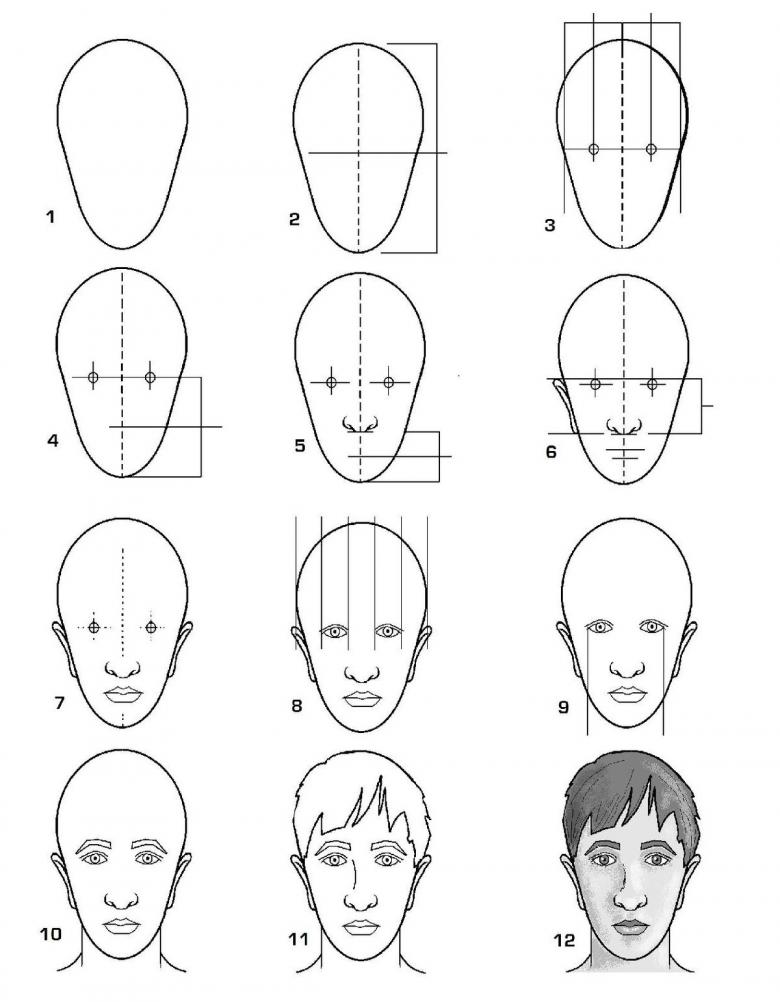
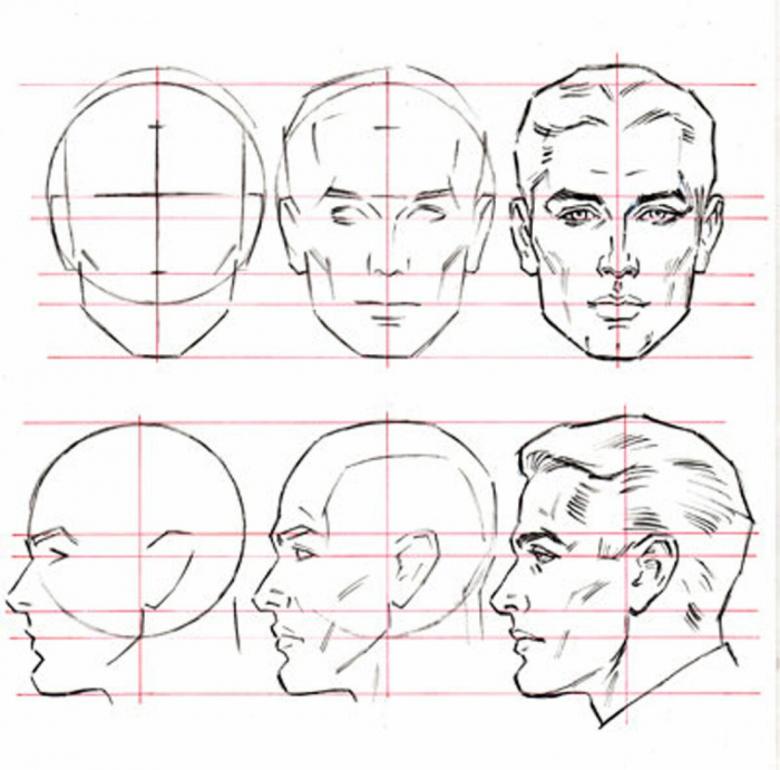
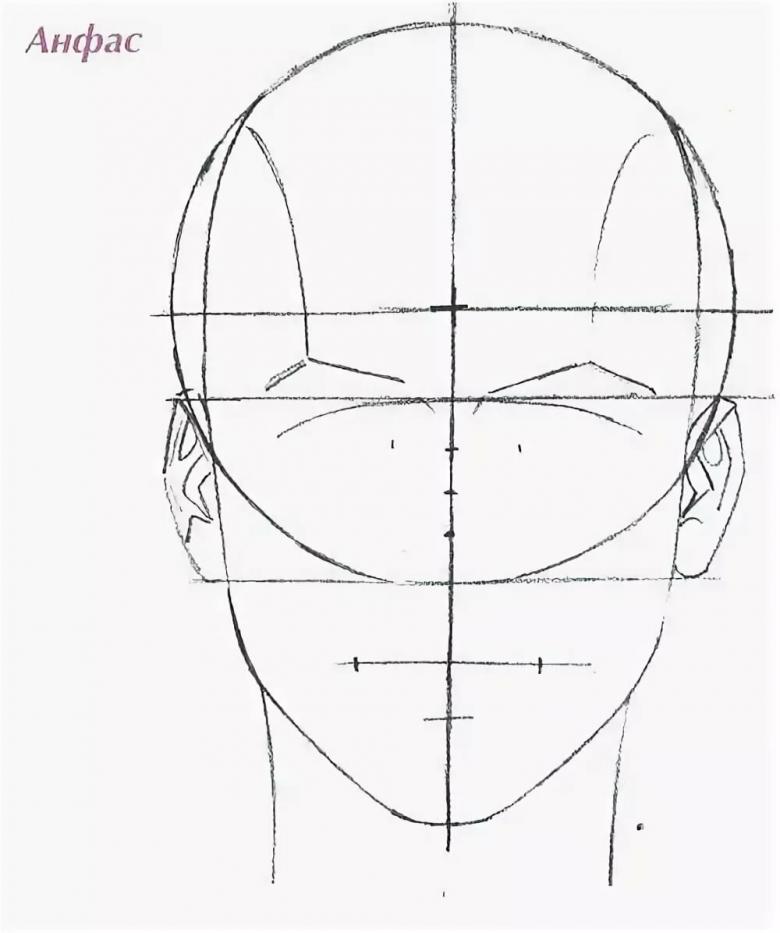
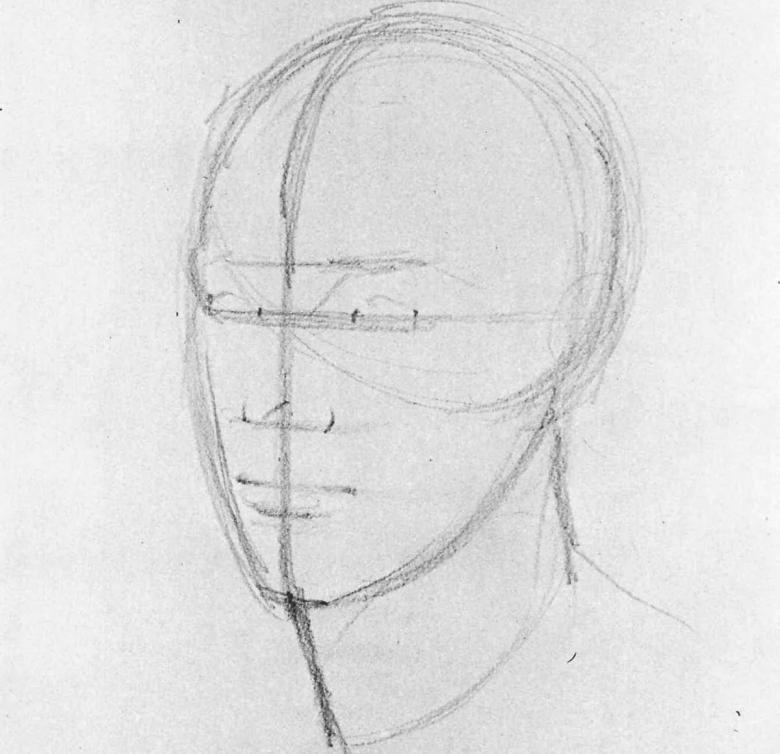
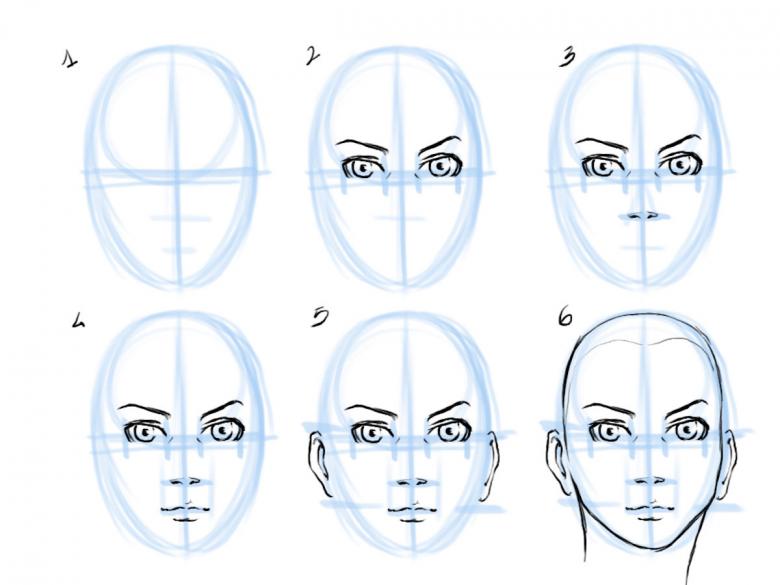
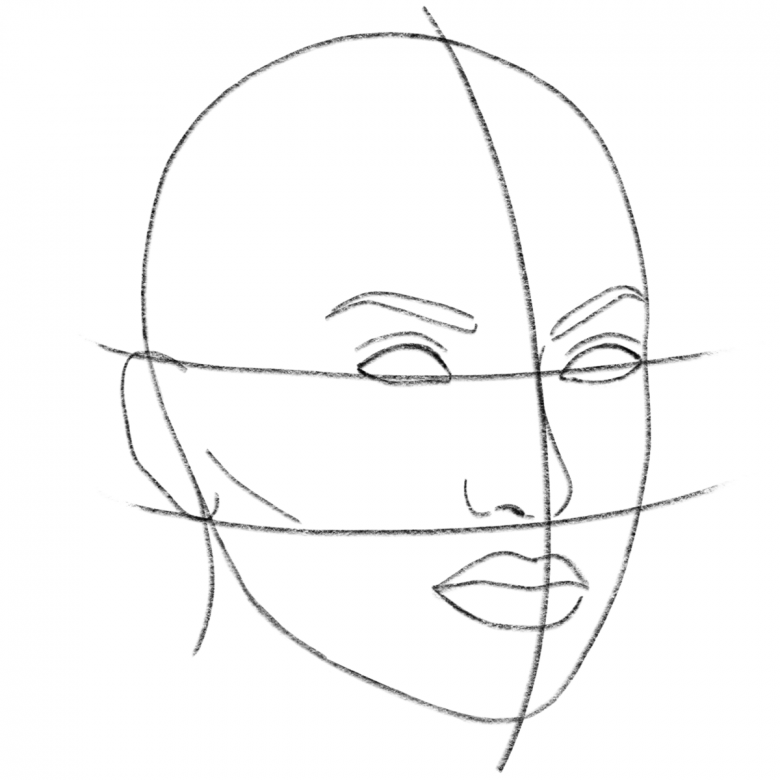
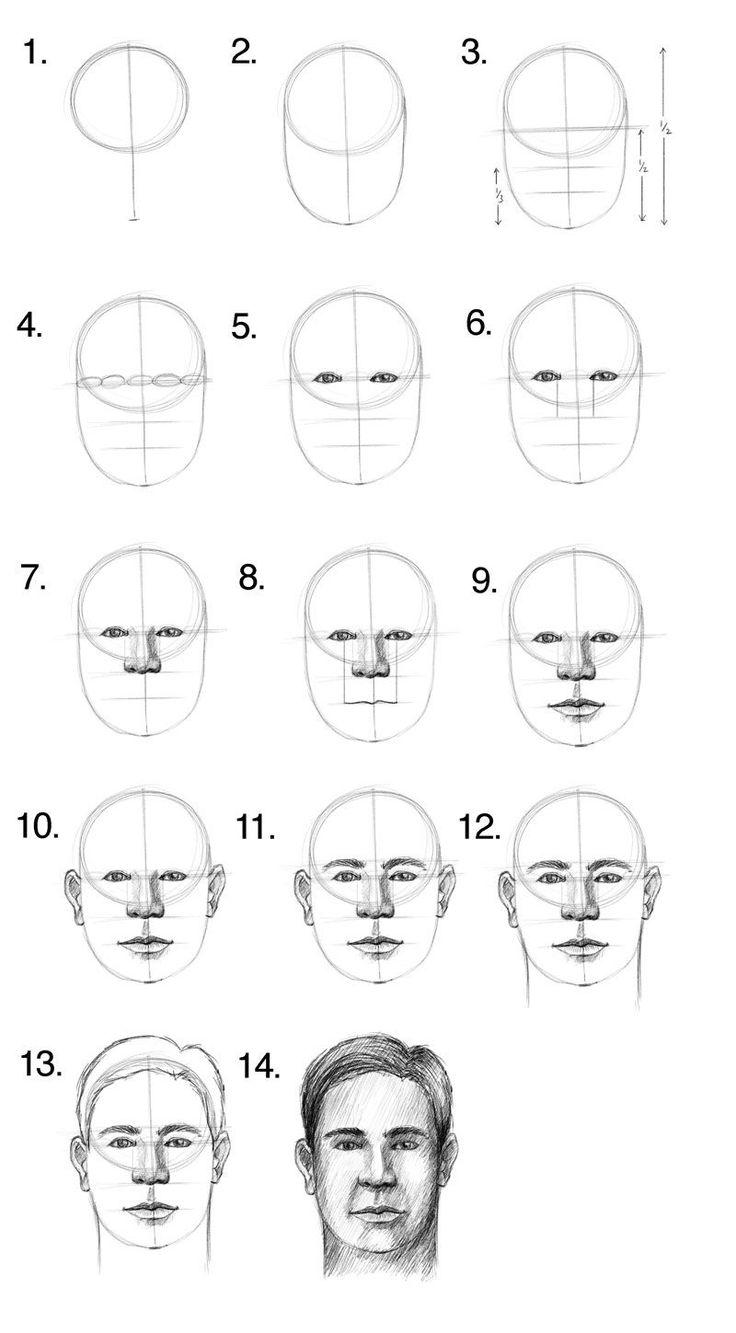
First you need to draw an even oval, divide it with a vertical and horizontal line, thus making a cross inside the oval. Then it is necessary to draw another horizontal line, which will be located below the already existing similar line. It should be located so as to divide the distance from the original horizontal line to the chin in half.
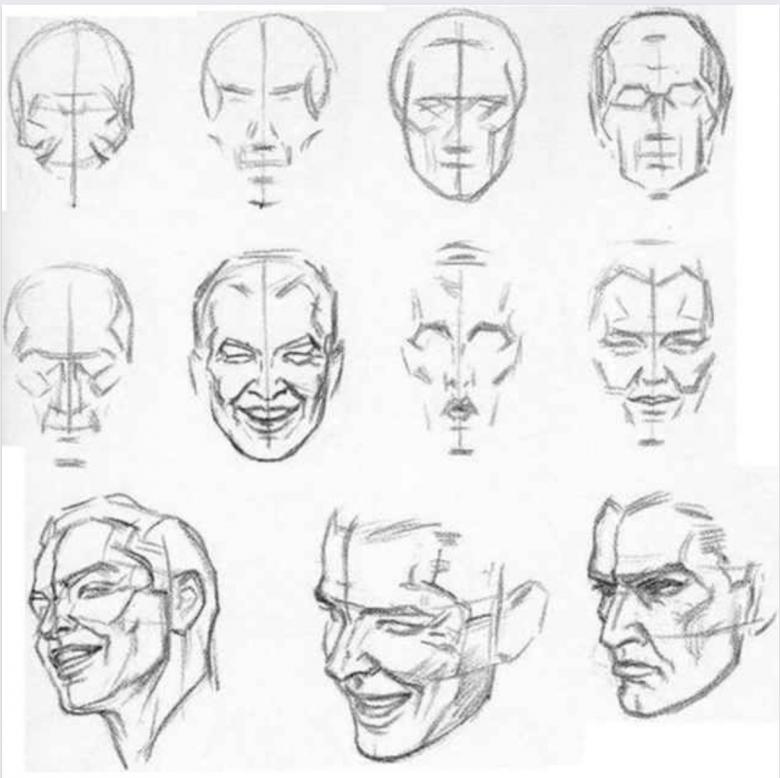
The task of these lines is to approximate the location of the eyes and lips on the face. The vertical line is used to determine the location of the nose.
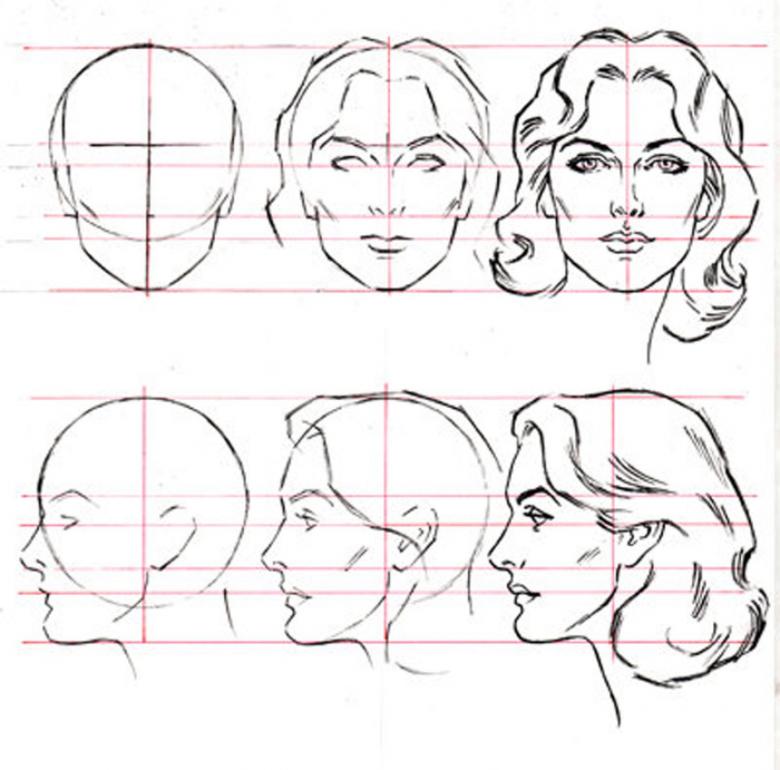
Later, these lines will need to be erased, so you need to draw them as lightly and thinly as possible.

Step 2
The next step is to define the nose on the face. To do this, you need to draw approximate sketches of the nose on a vertical line. It is also necessary to mark with short horizontal lines the place of the lips and the chin. It is worth remembering that the lower lip should be slightly wider than the upper.
Step 3.
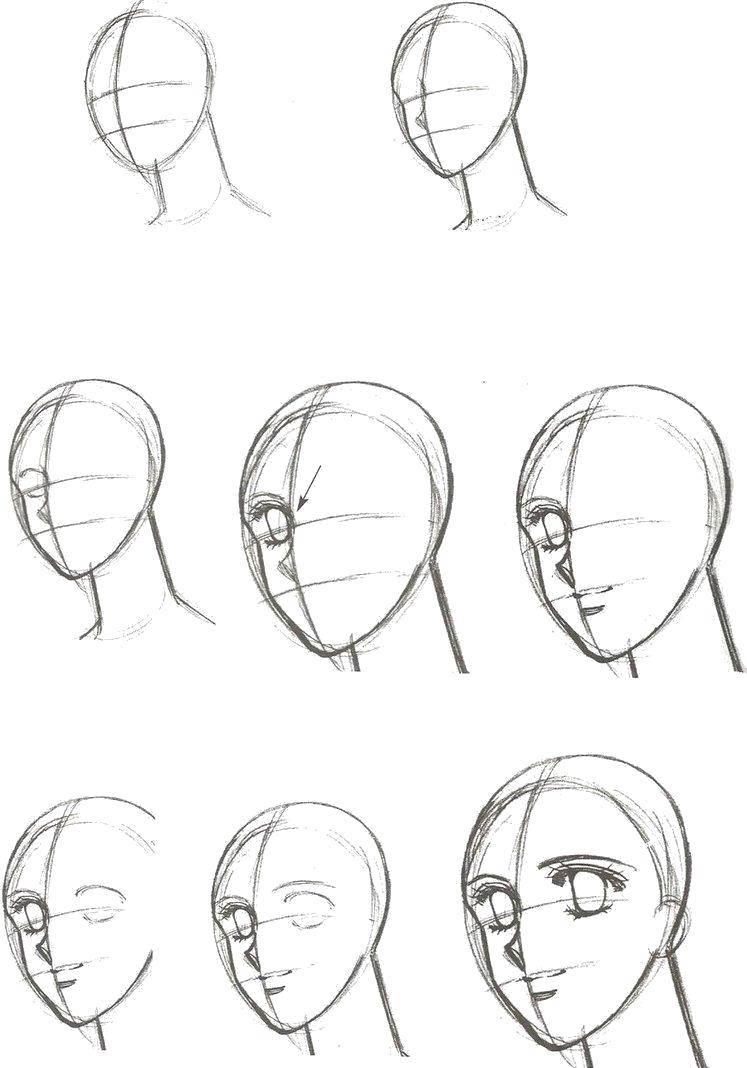
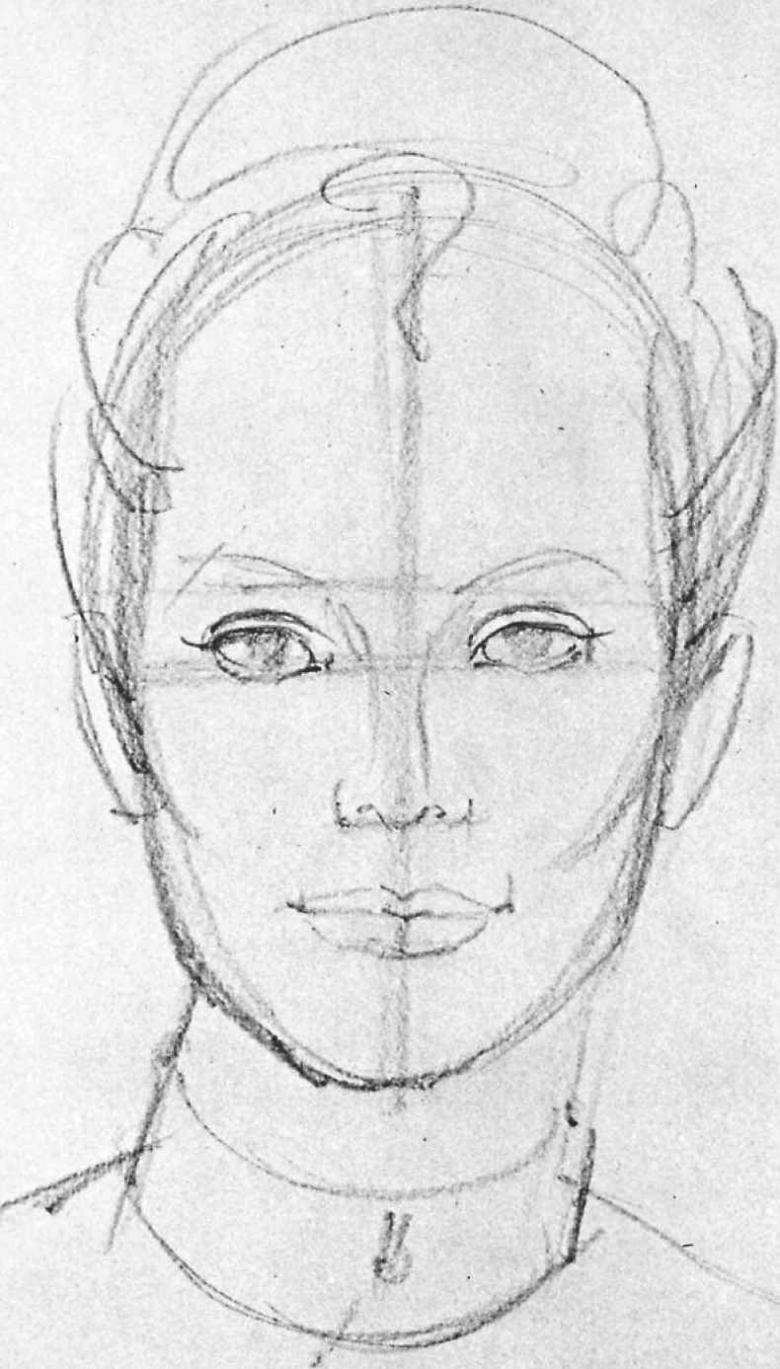
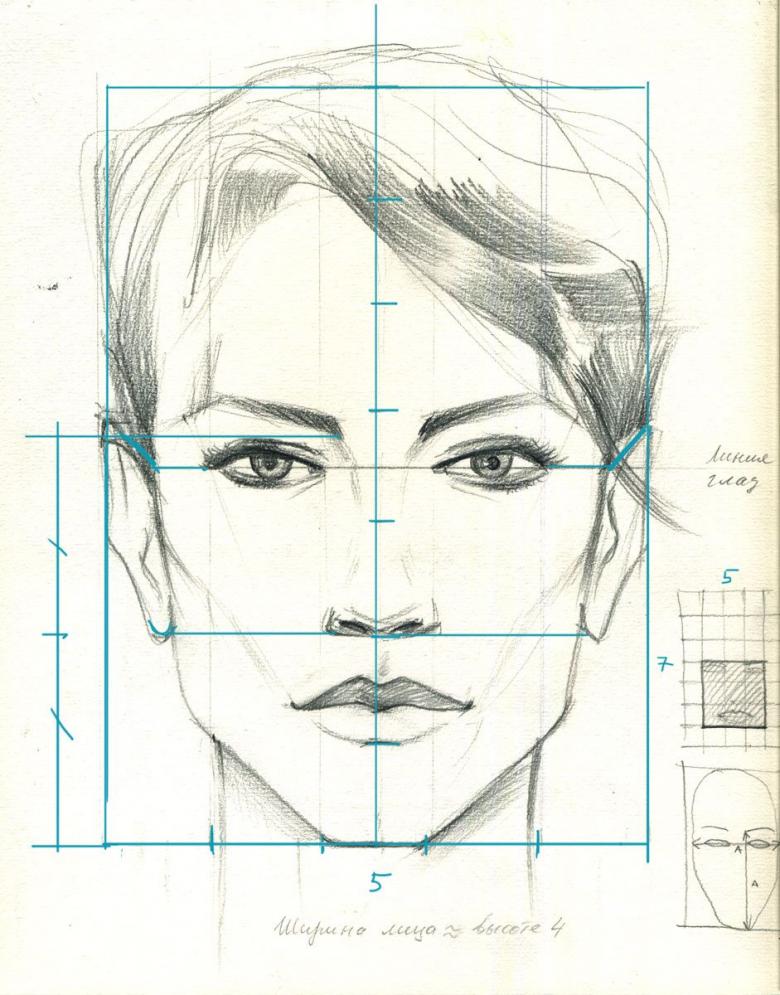
Next, you need to start drawing the eyes. They are located slightly above the nose. It's worth noting, the beginning of where to start drawing the eyes is indicated by the corners of the nose sketch. From there start the inner corners of the eyes. In this case, between the eyes should be such a distance that it could theoretically fit another eye.
To understand from where to start drawing eyebrows, it is necessary to visually add one more eye above already drawn sketches of eyes. This is the height at which the eyebrows are positioned. It is necessary to start drawing them from the inside, to draw the arc correctly.
Step 4
Now we have to start drawing the mouth. In previous steps, we have already indicated approximate places. Now we have to determine its size. To do this, you need to use the inner edges of the iris of the eyes. From them visually draw a line downwards. The distance between them will be the optimal size of the mouth.

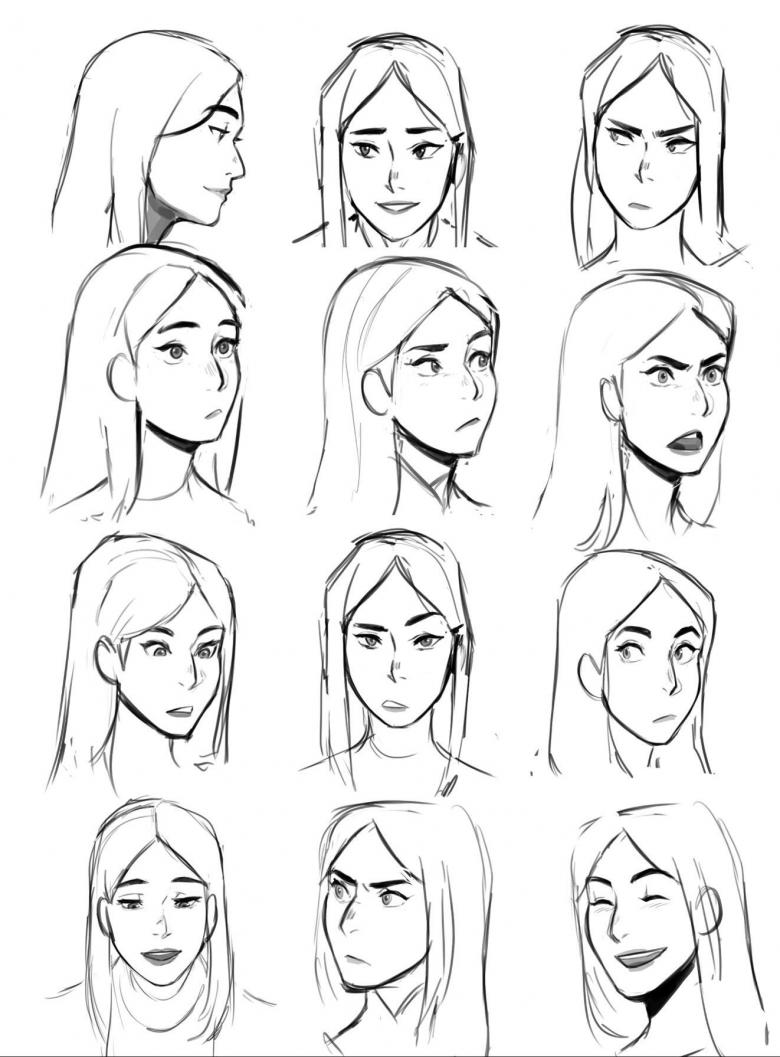
It should be understood that this is true only for a quiet facial expression. If you plan to draw a smile, the mouth should be wider.
Step 5.
Now that all the sketches are created, you need to remove the auxiliary lines that were originally drawn. Once the auxiliary lines are erased, you can evaluate the resulting, full-fledged sketch of the face. At this stage, individual parts are evaluated, their compatibility. If necessary, corrections are made to make the face more realistic.
Step 6
When the evaluation is complete, the corrections are made, you can start detailing the drawing. Pay attention to the chin, depending on the gender of the face being drawn, it can be stronger or weaker. Women may also have a strong chin, but it is necessary not to overdo it, otherwise this detail could spoil the overall impression of the drawing.
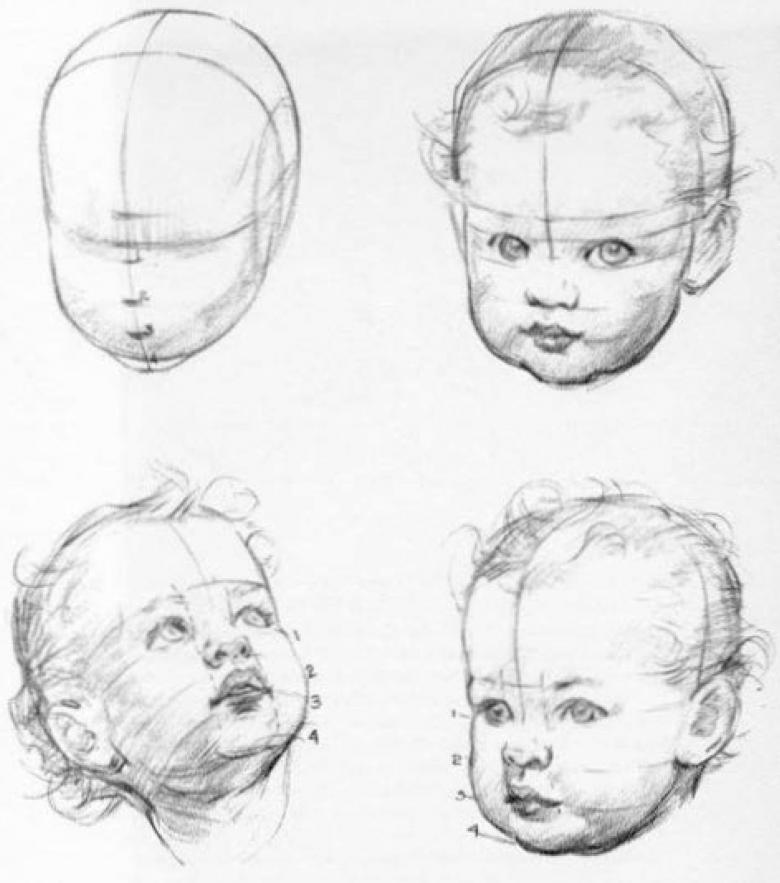
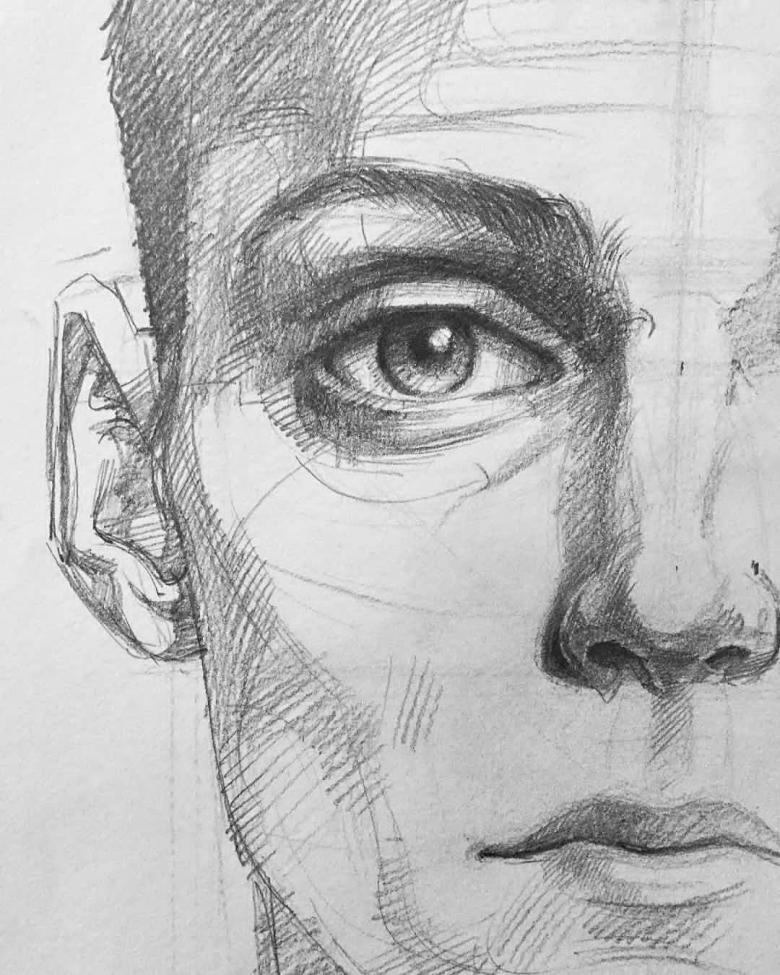
It is necessary to paint over the pupils with black color, to draw the eyelids. It is worth paying special attention to the eyes. They require painstaking work, contain many fine details, literally reflecting the soul of a person. First you need to start drawing the eyelids, then the eyelashes.
After that, you can start adding shadows to the pupil and iris of the eye.
Step 7.
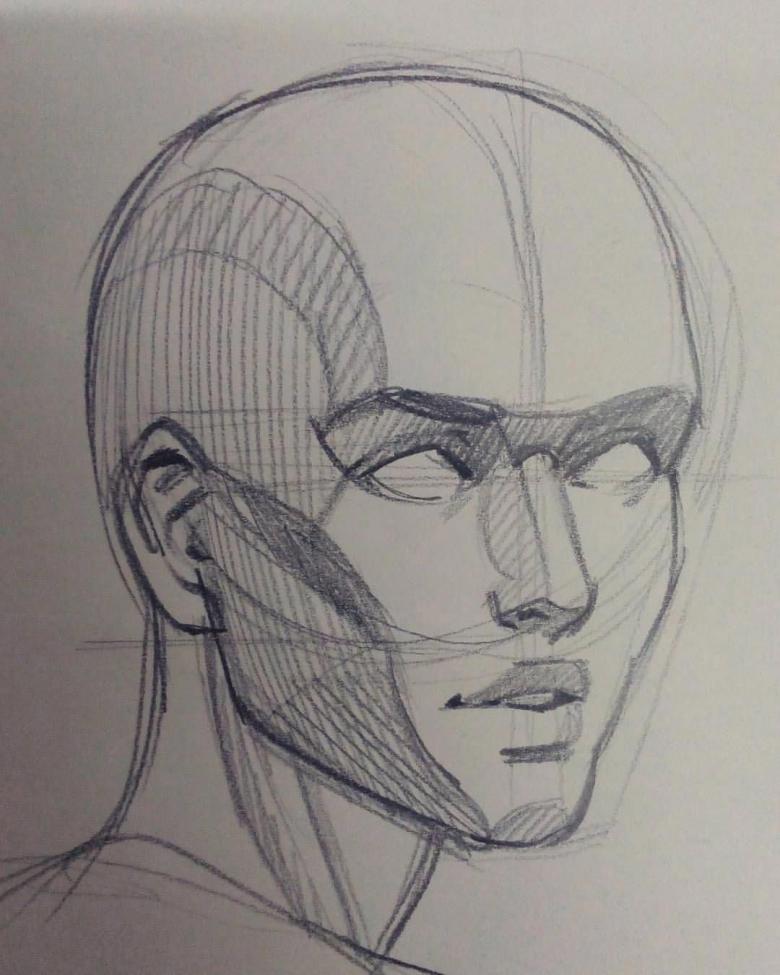
The final step is the shadows. They should be added all over the face to add expression to the pattern. Pay special attention to the lips, as they have a very uneven surface. It should be done with softer pencils, to make it easier to shade.
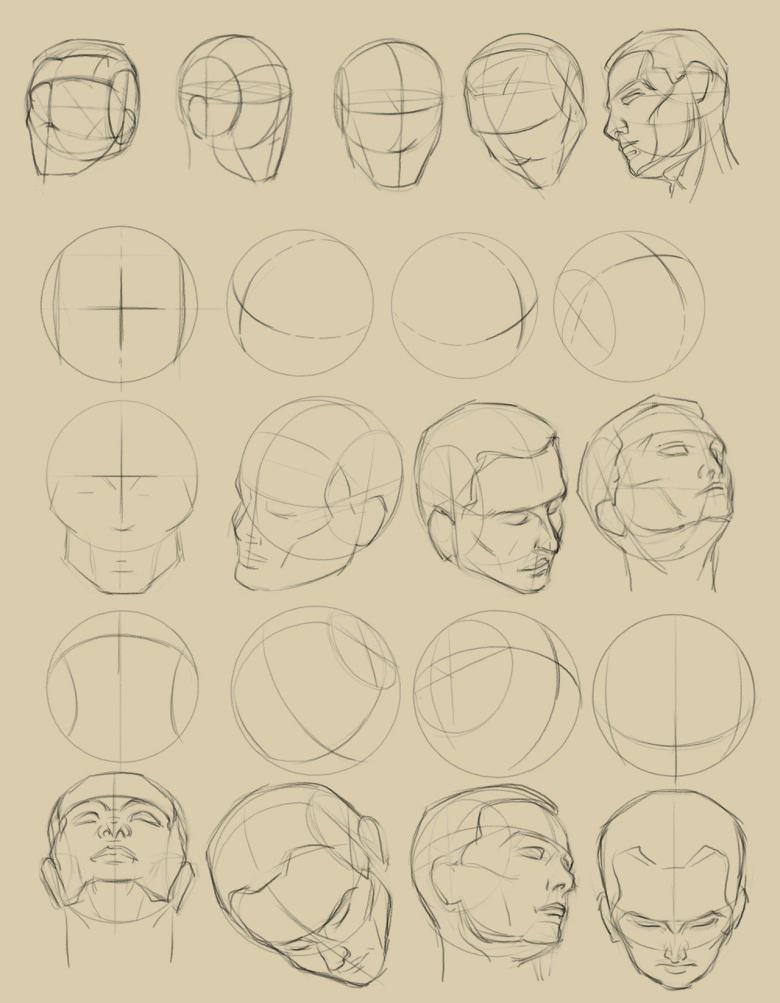
We have analyzed step by step the basic rules for drawing the human face, and the physique in general. It is necessary to stick to them in each stage of drawing to maintain the proportions and the original style.

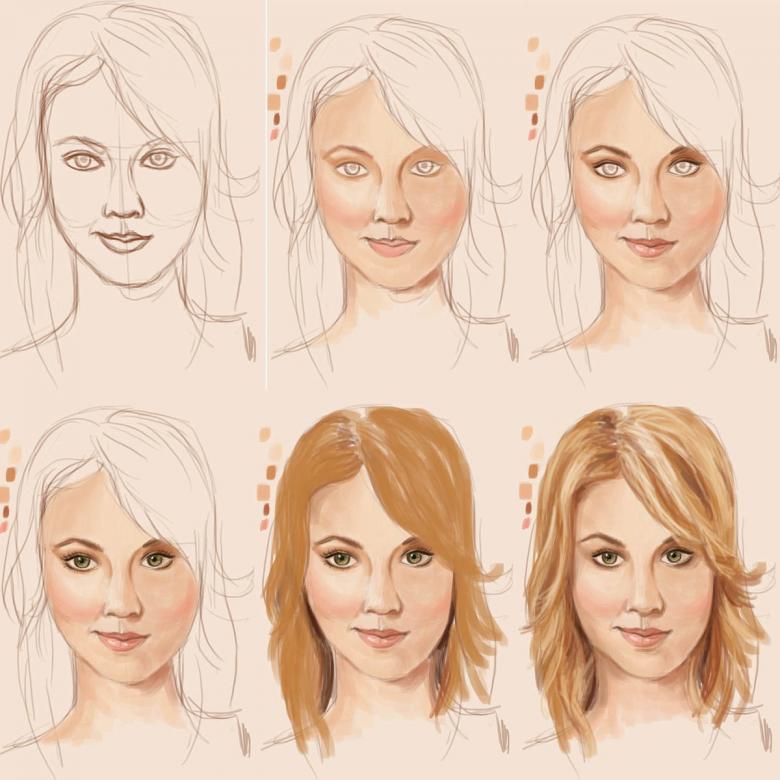
A pencil drawing, if desired, can be completed with colored pencils.
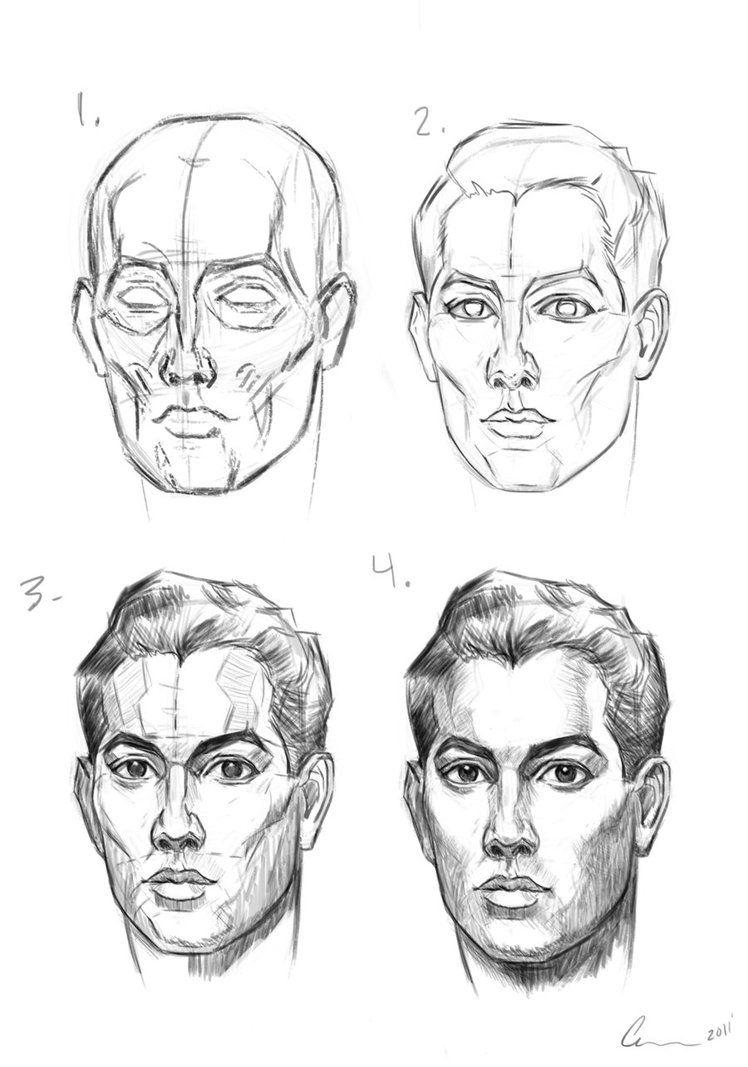
However, in order to do it qualitatively, it is necessary first to choose the right color scheme, starting from the skin color, ending with the iris of the eyes and the color of the lips. Soft pencils are best for this purpose. Virtually the same hardness that I use for drawing shadows.

