How to draw a rabbit step by step in pencil - step-by-step instructions for children, photo ideas and examples
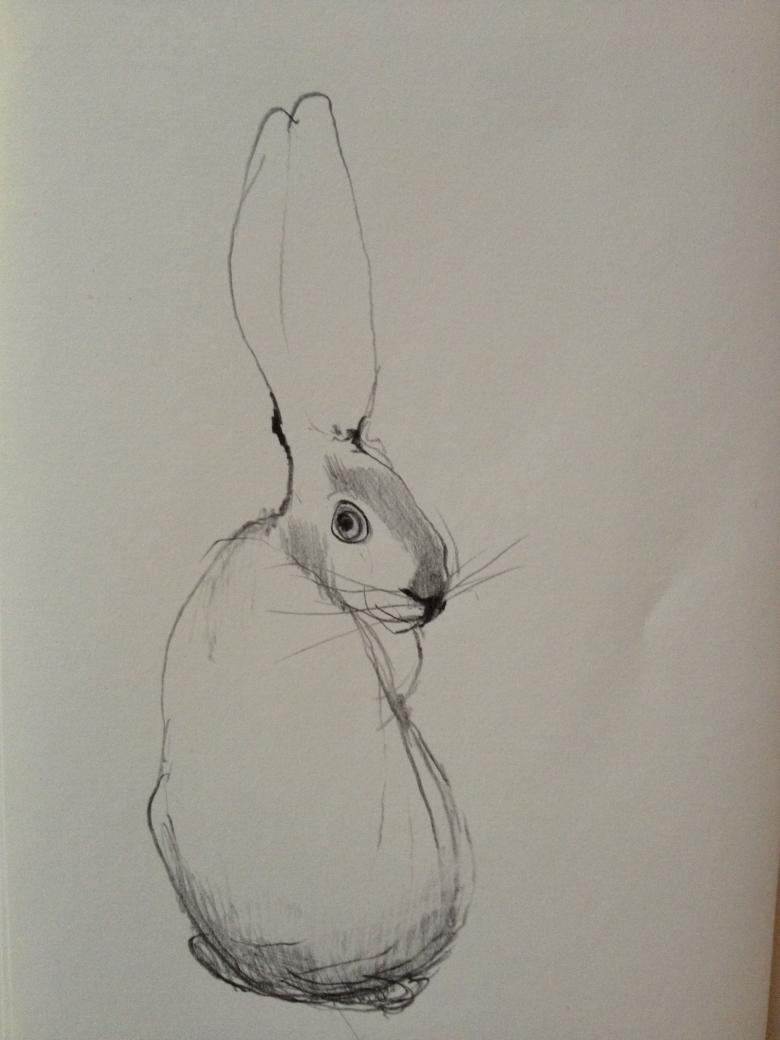
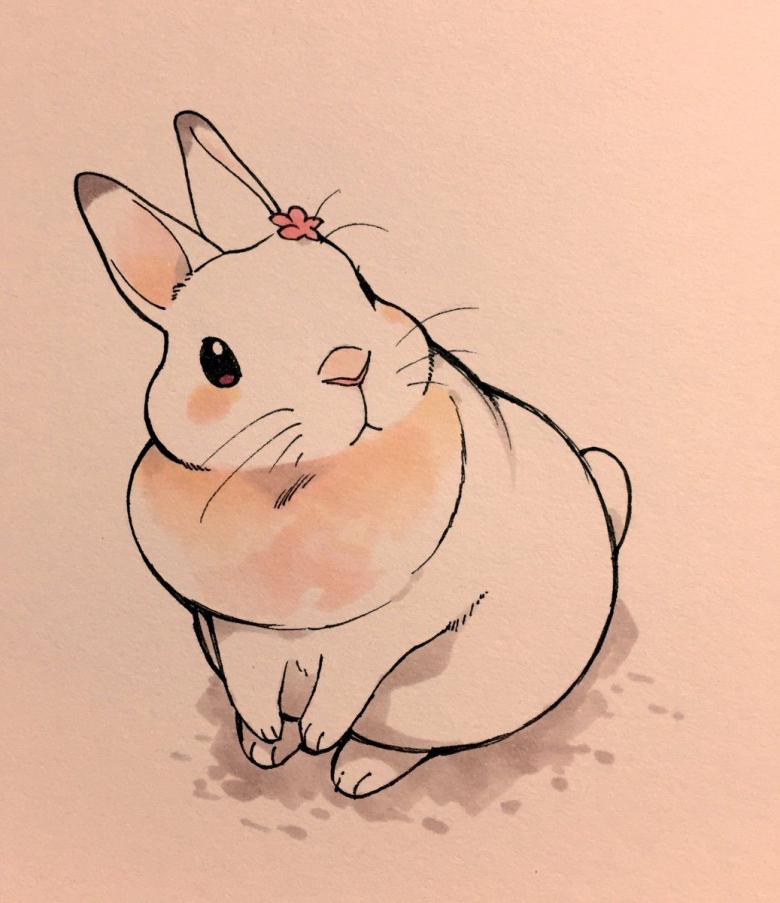
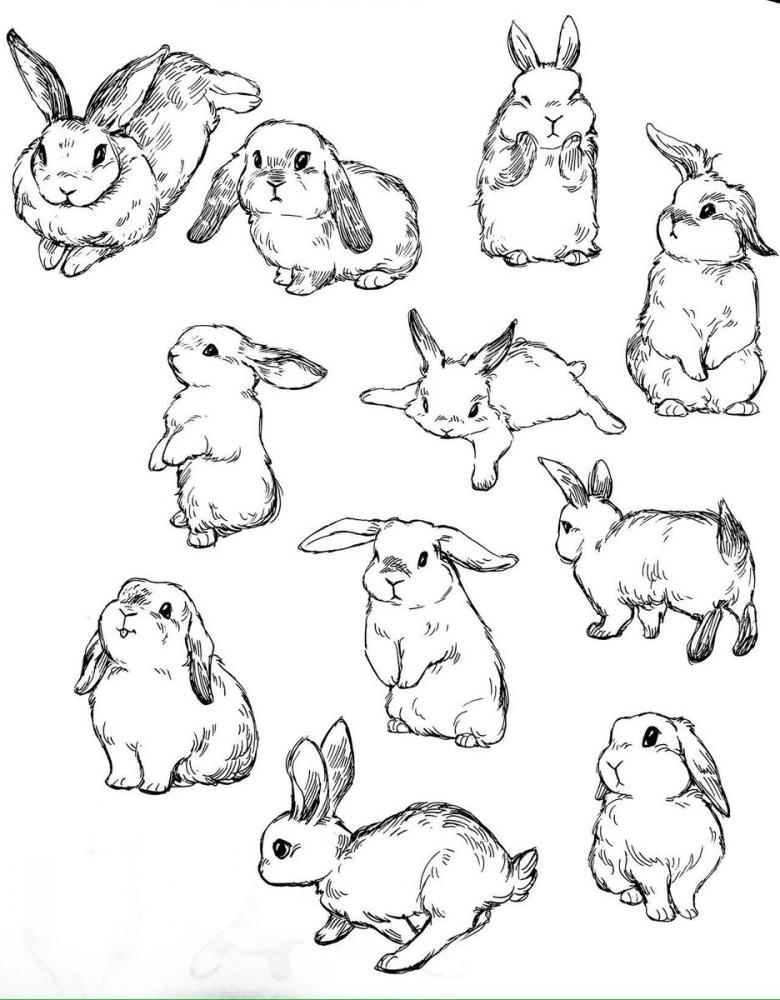
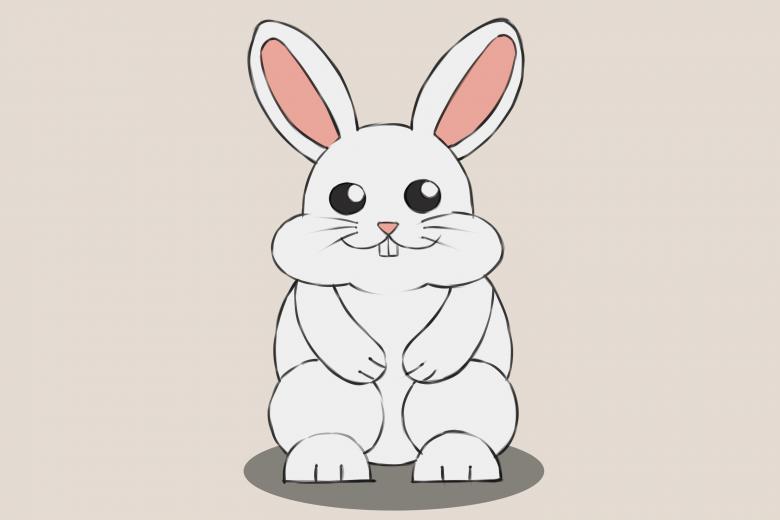
To learn how to draw a rabbit, you should use the workshops below. Step-by-step described steps will help to perform the image without effort and will be accessible even for beginners.
Tools and materials required
To perform the drawing, you need to get hold of the following tools and materials that will help portray the animal:
- A set of simple pencils. Make sure that there is different softness in the lead. It is obligatory to have hard pencils, marked in Latin letters - H, 2H, 3H. And a soft pencil, preferably several - B, 2B, 3B.
- A soft and thick eraser.
- Colored pencils, which can be standard and watercolor.
- Paints - gouache or watercolor.
- Suitable paper for each type of lead or paint.
Step-by-step drawing of a rabbit
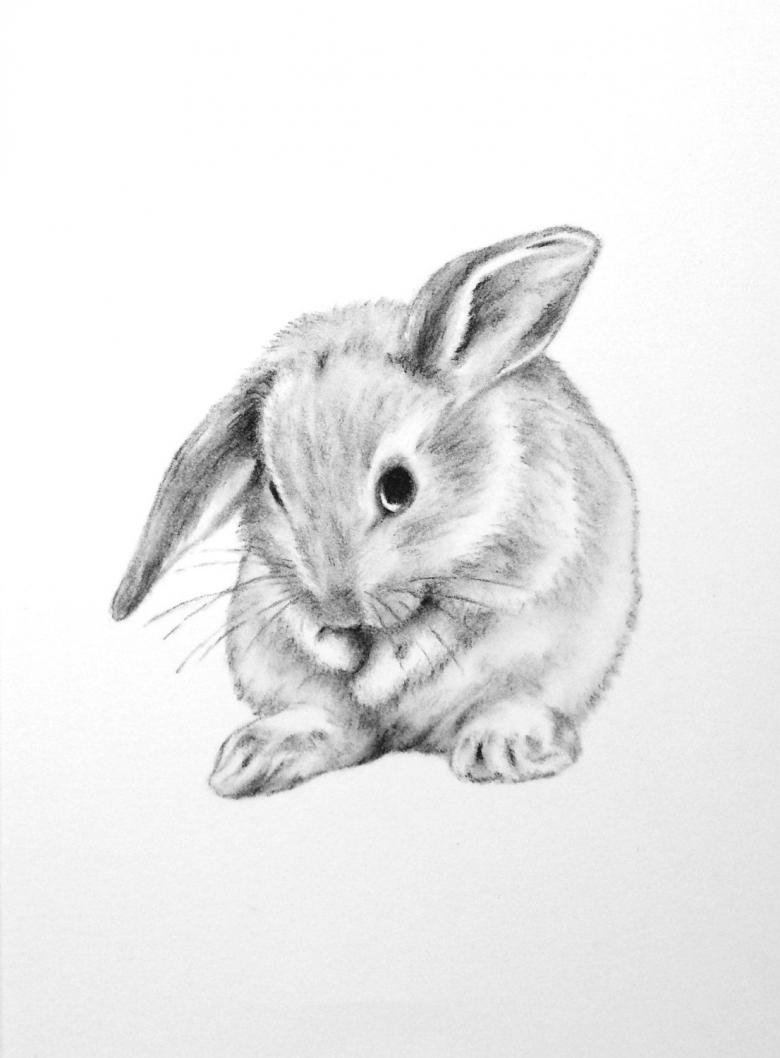
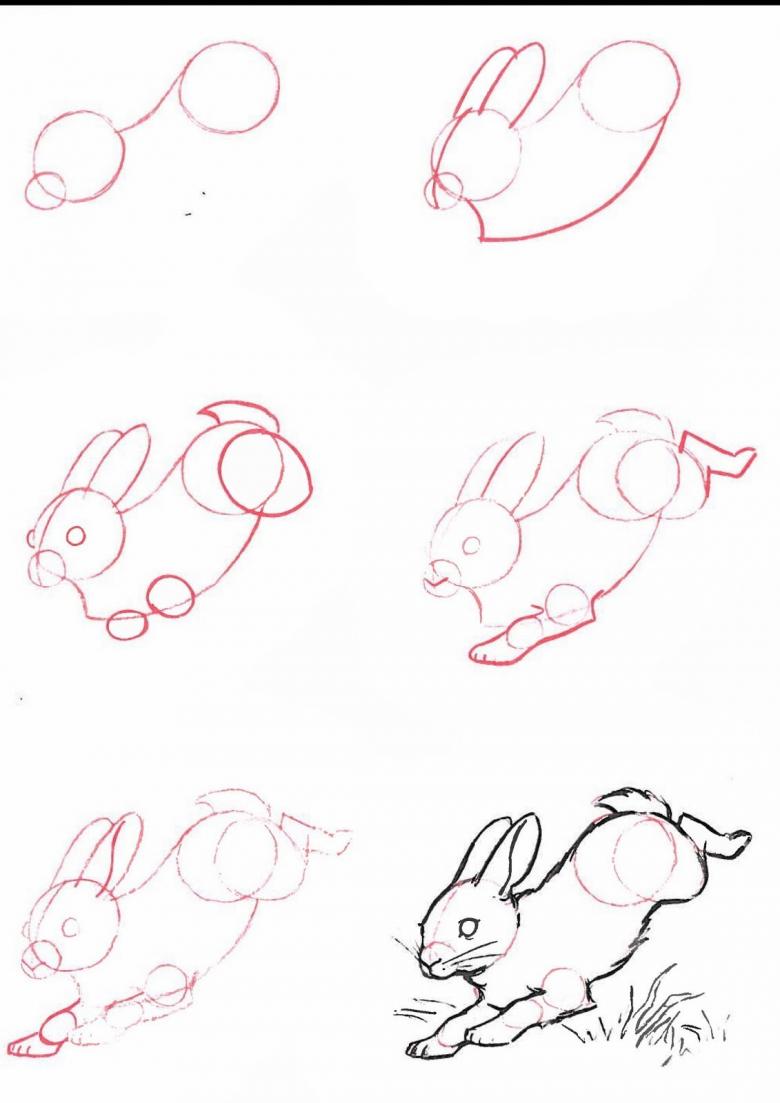
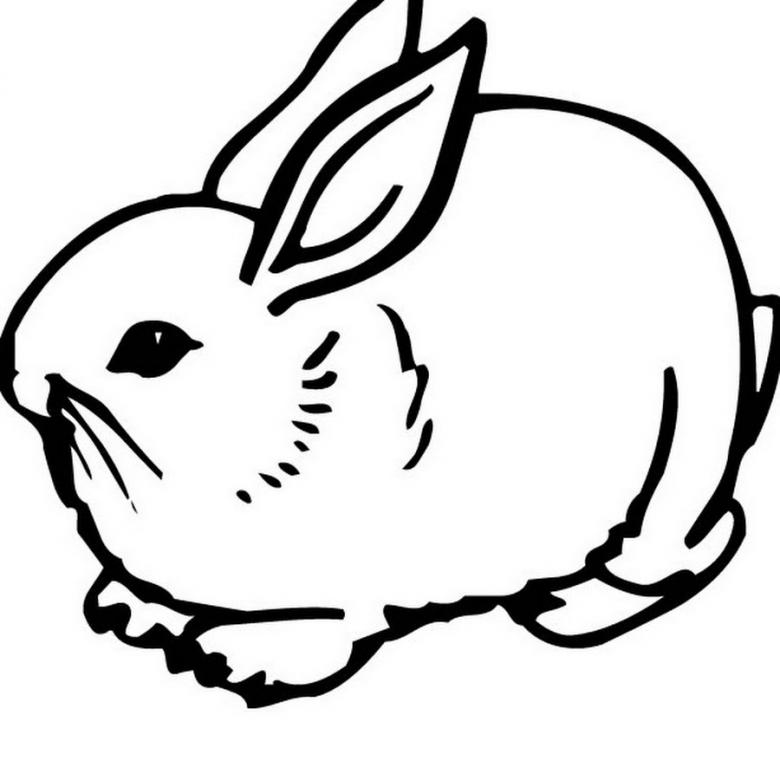
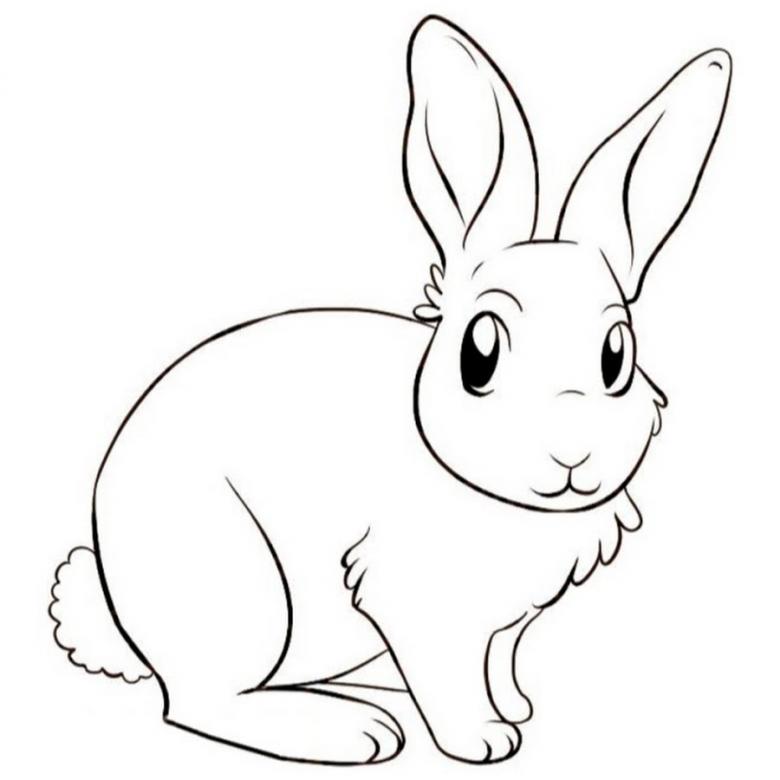
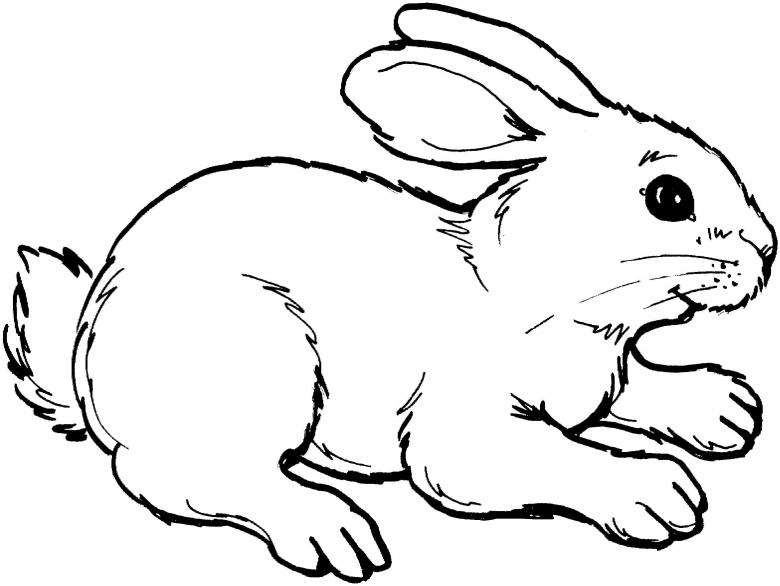
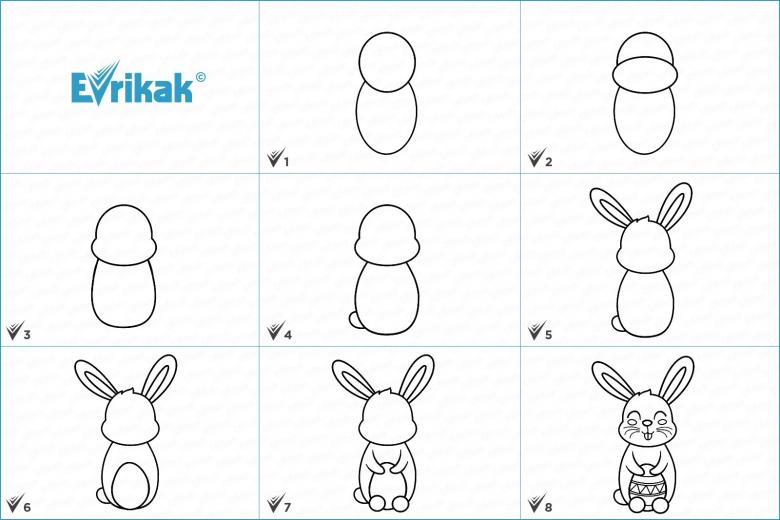
A cute little bunny can be easily drawn if you follow the following step-by-step guidelines:
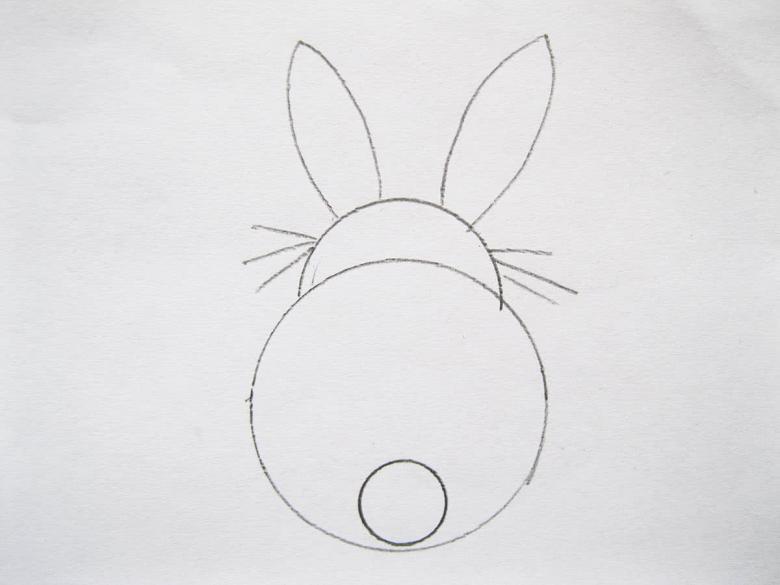
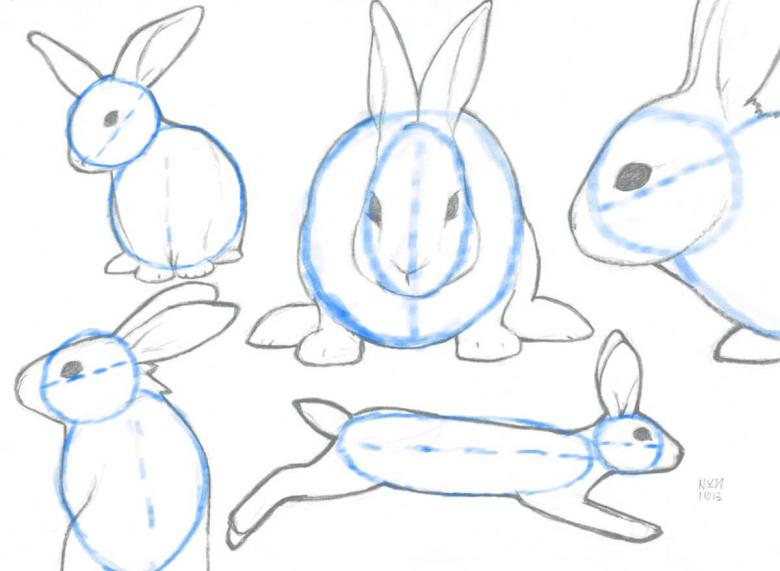
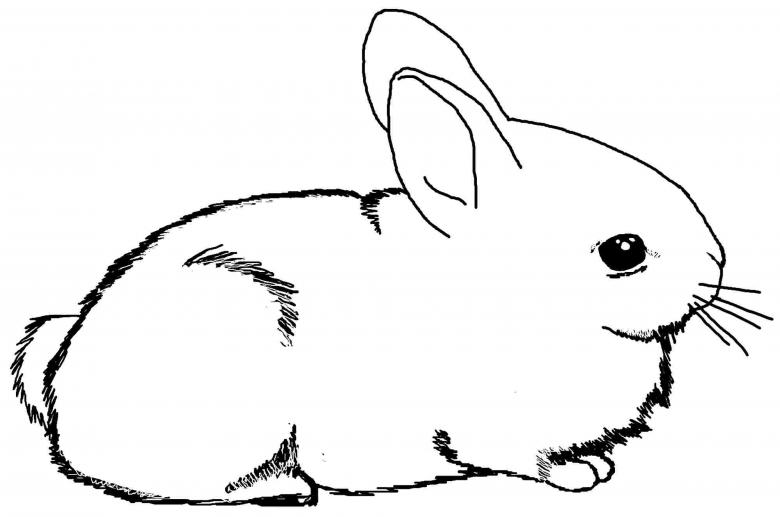
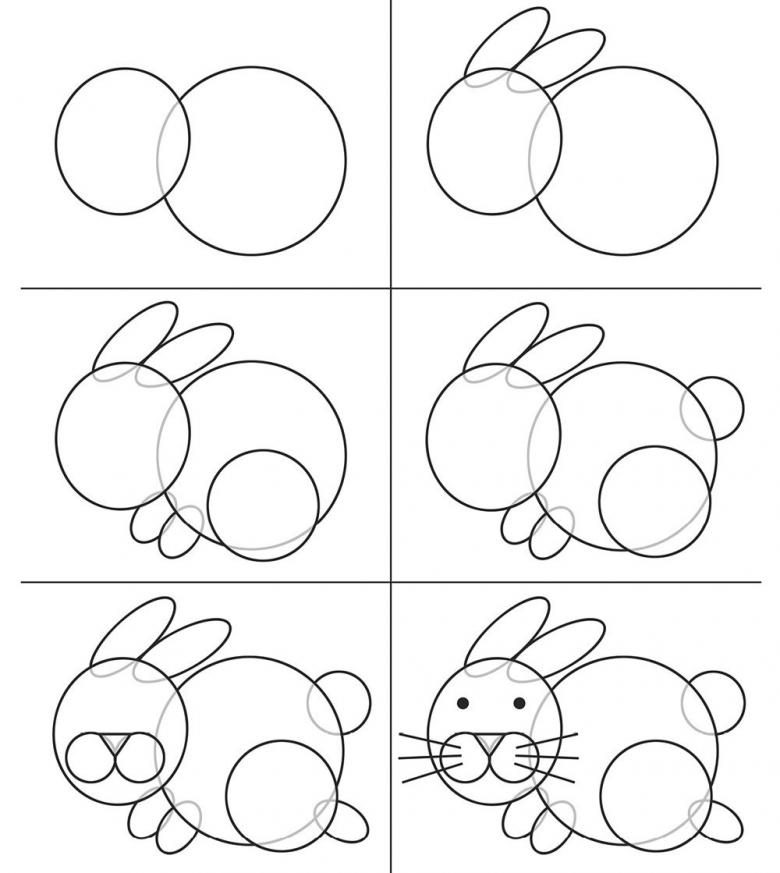
- Draw the right circle, which is the animal's head.
- Starting on the right side redraw an oval shape, about 2.5 times the area of the circle.
- To the bottom right of the larger part to draw a small bulge, which will form the tail.
- Below, small elongated in the diagonal direction of the outline of 3 paws. That's how much will be visible from this angle.
- To the head from the top right to draw elongated elongated ovals with an extension at the bottom. These will be the ears.
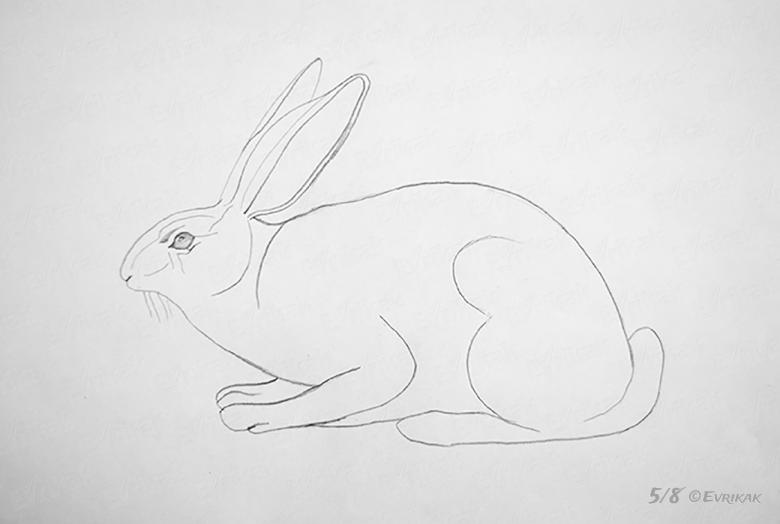
- Start shaping the head properly. Need to fix the lower left part of the convex parts, which are the nose.
- Draw an oval eye. Outline the tip of the nose and the line of sight, where the antennae will be.
- Draw a whiskers - on one side they will be coming out directly from the lip part. On the other will be visible from the outer contour.
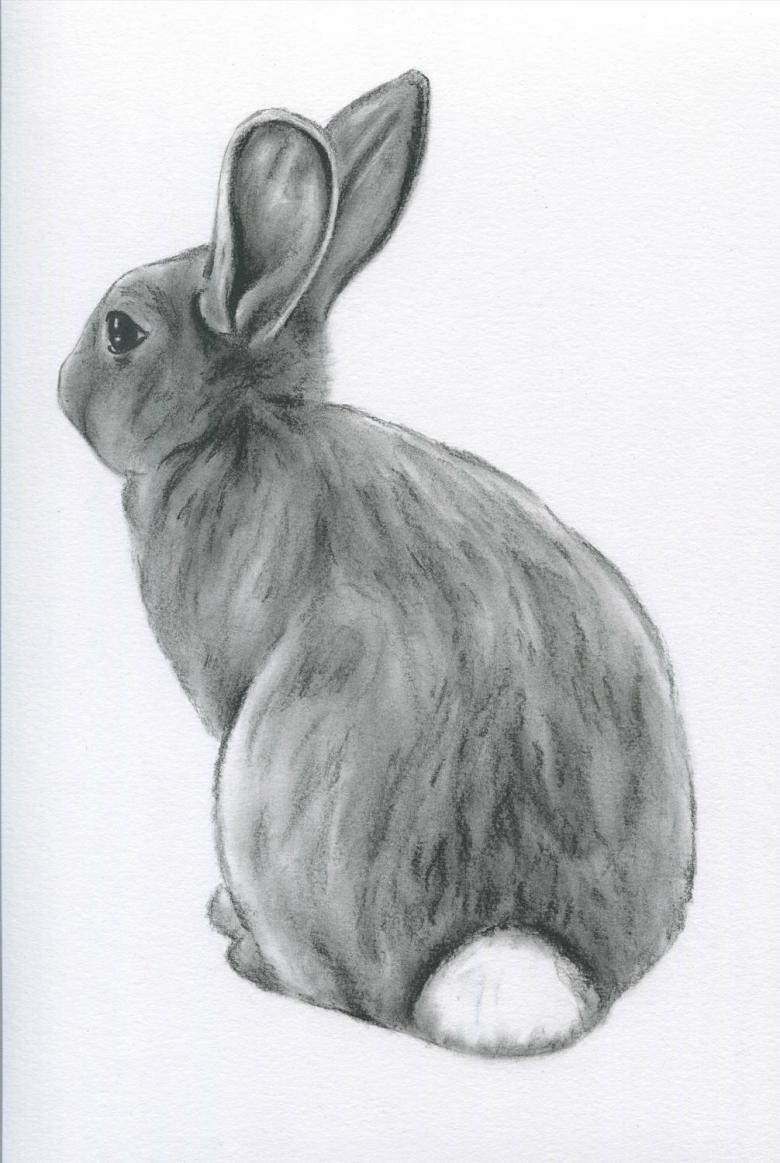
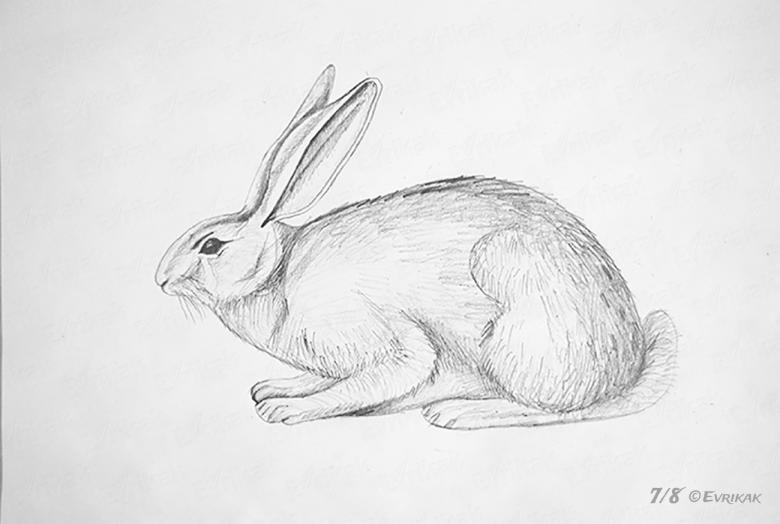
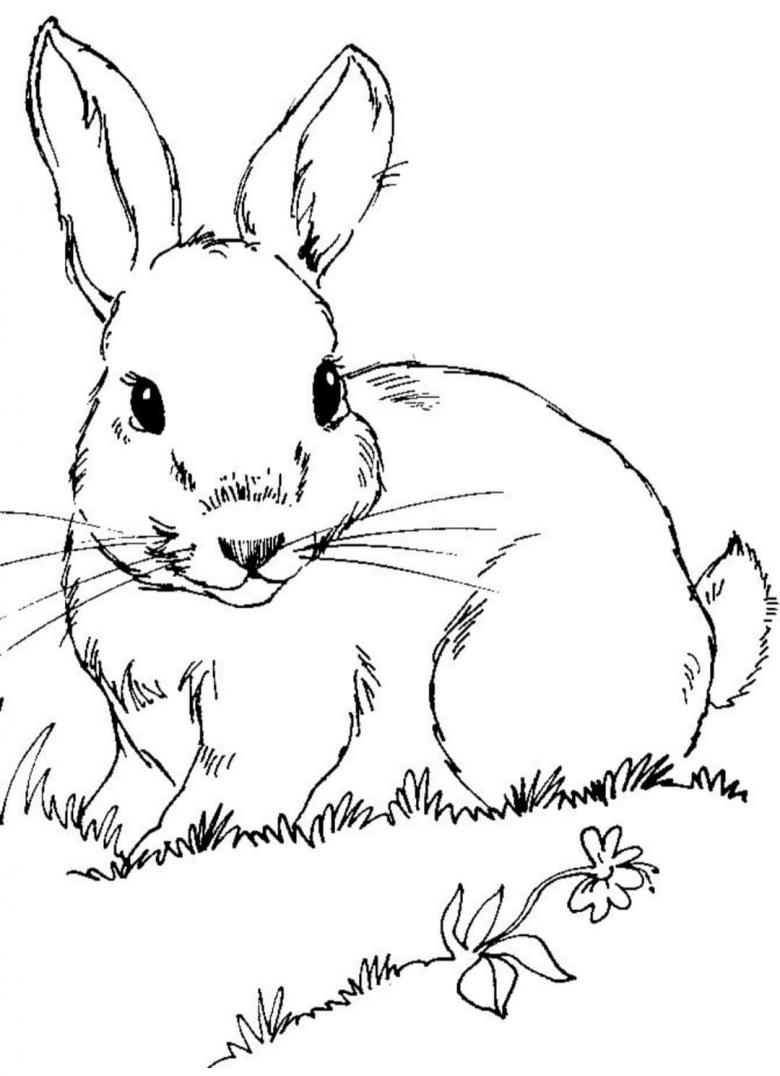
- Draw fine details - fur on the contour, tufts on the tail.
- The last step is to draw the fur of the skin and the formation of the eye.
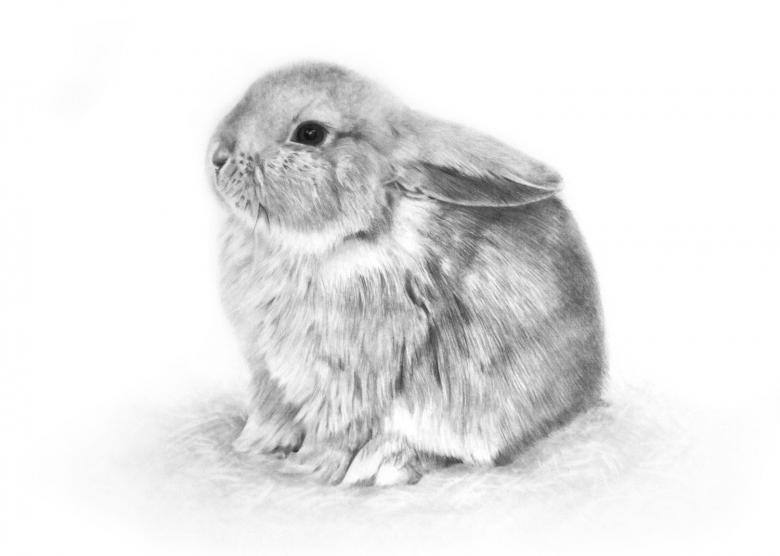
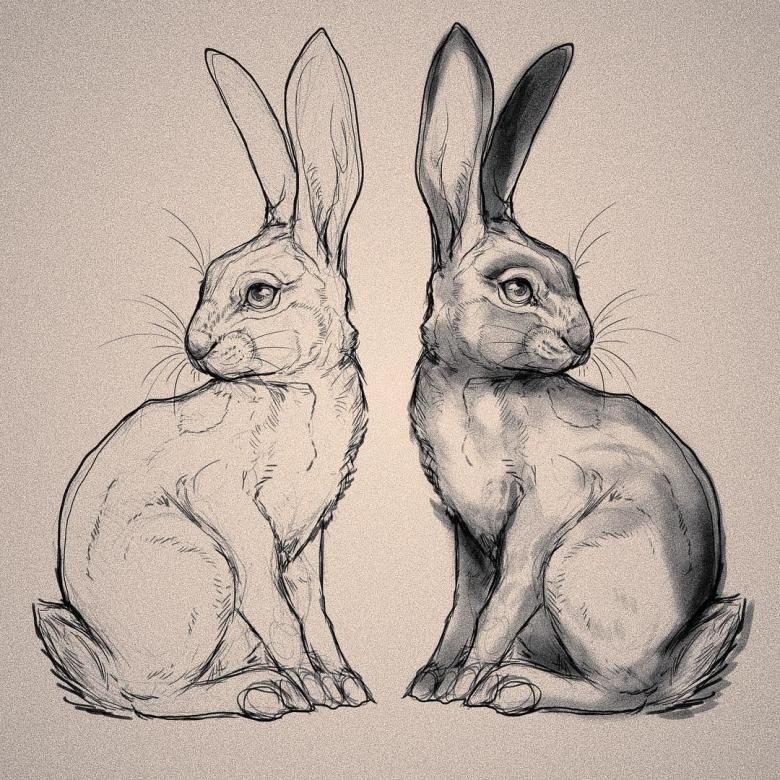
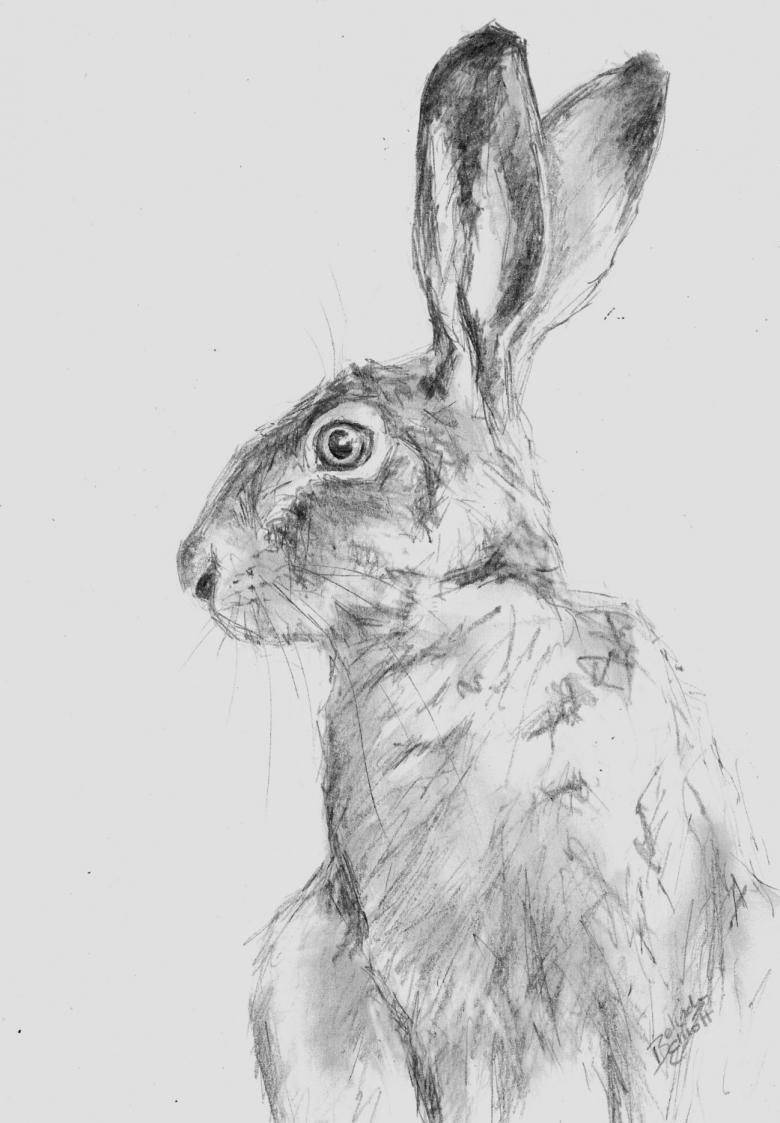
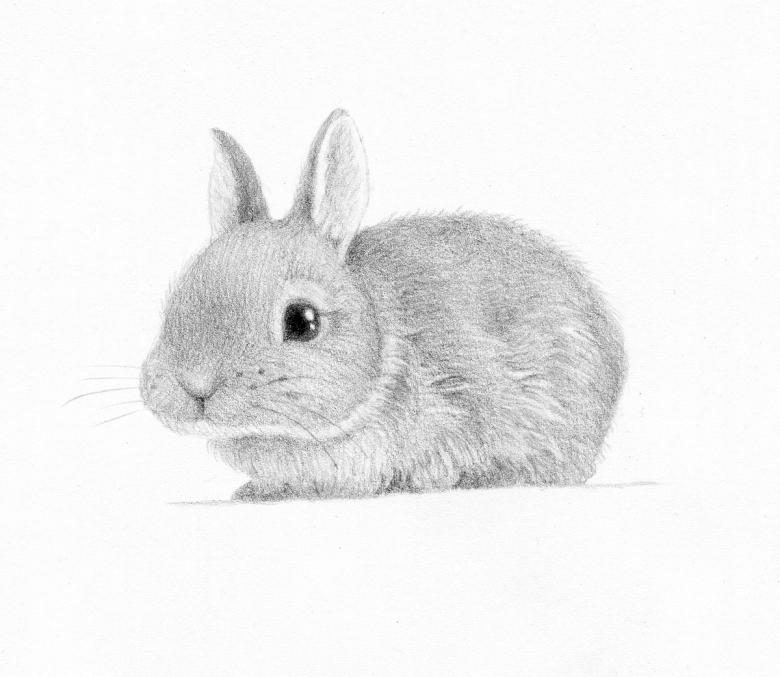
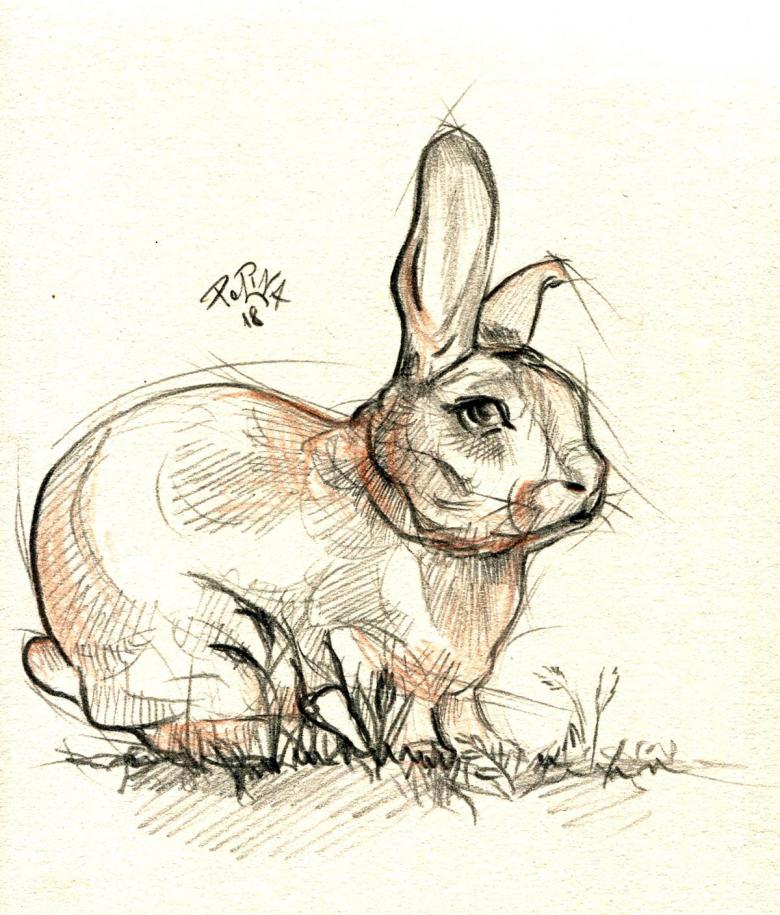
- To draw the tufts, it is necessary to use a sharp thin lead, both hard and soft pencil, alternating them to create a certain texture.
- For texture, it is desirable to use techniques of drawing and shading individual elements.
Drawing for children
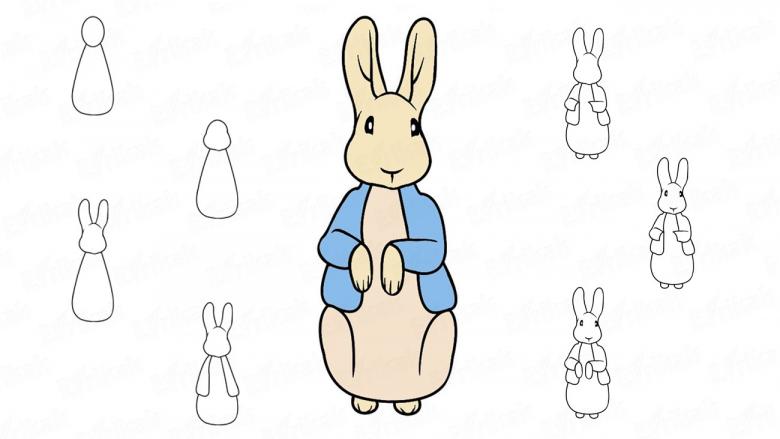
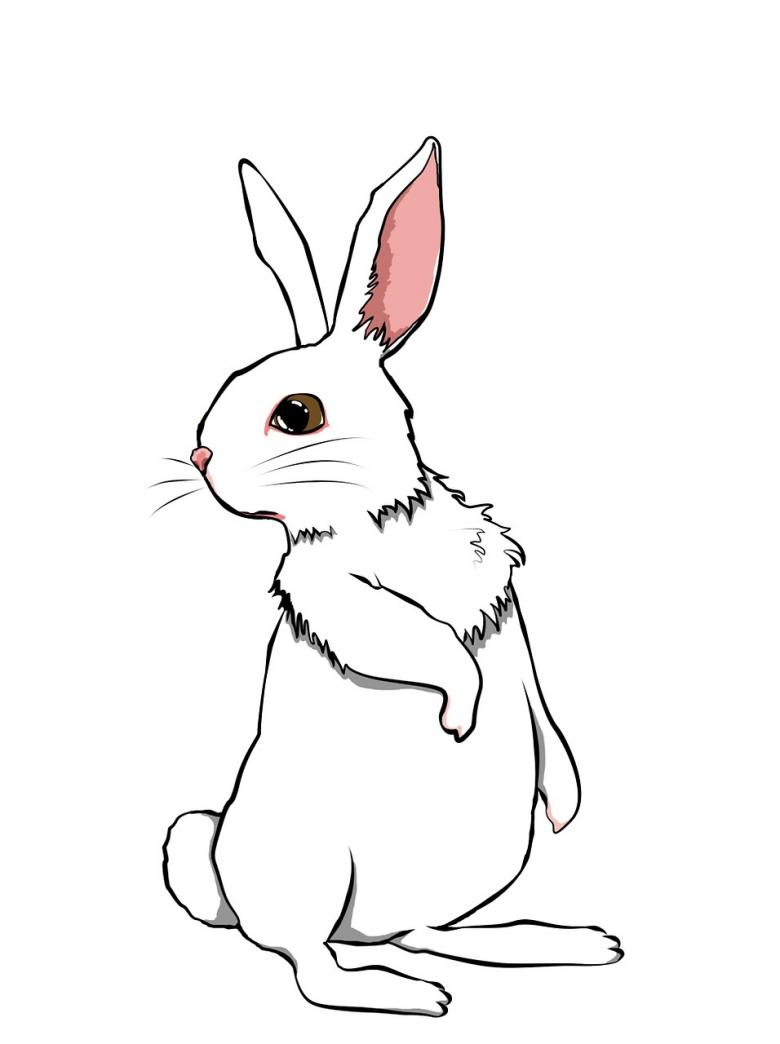
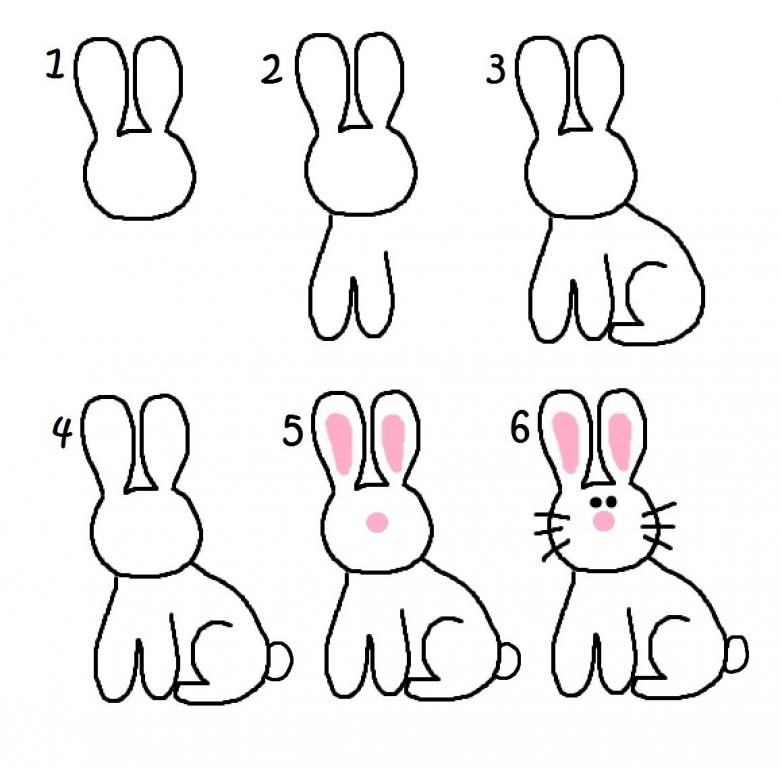
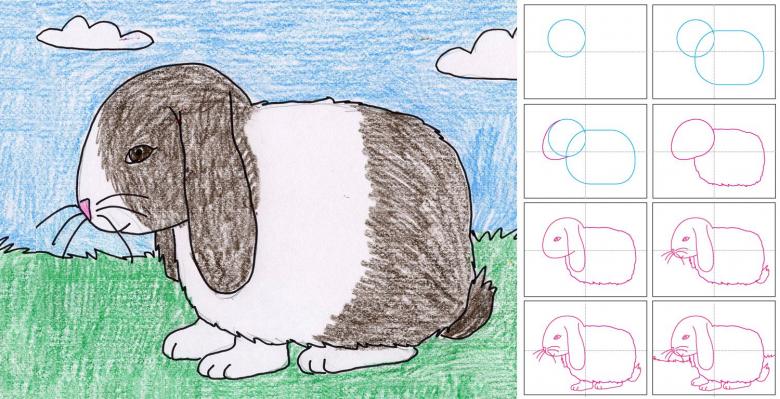
For a child to be able to draw an animal, it is necessary to make everything as simple as possible:
- You should start at the top of the sheet.
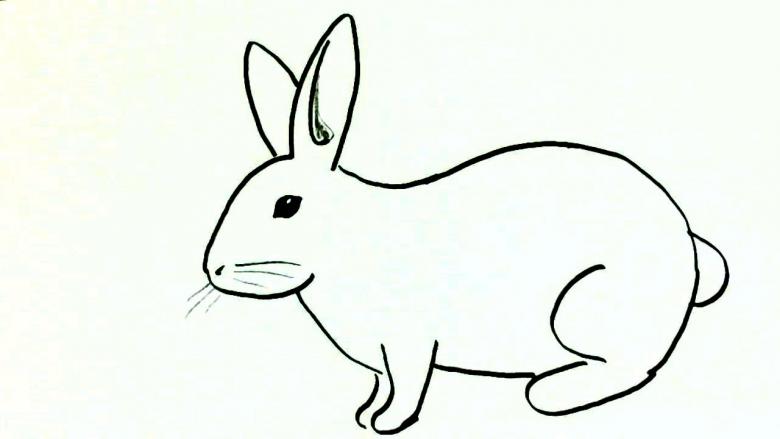
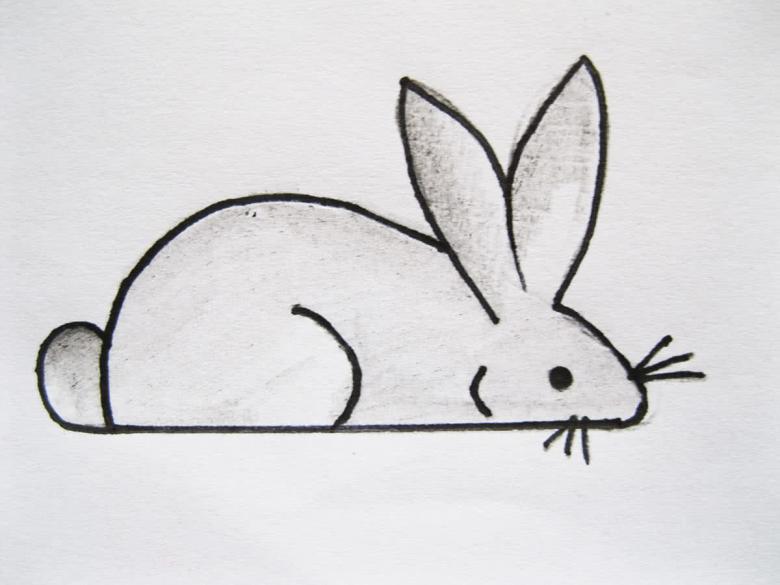
- In the technique it is necessary to draw the outline of the bunny at once. It is better to start with the ears, then move on to the muzzle.
- Draw the chest and torso. Shape paws and tail.
- When the proportions are correct, you can portray elements of the muzzle. Remember that the eyes must have pupils, and the muzzle must contain the shape of the nose and lips. After that, on both sides of the drawn elements of the mouth, depict the antennae.
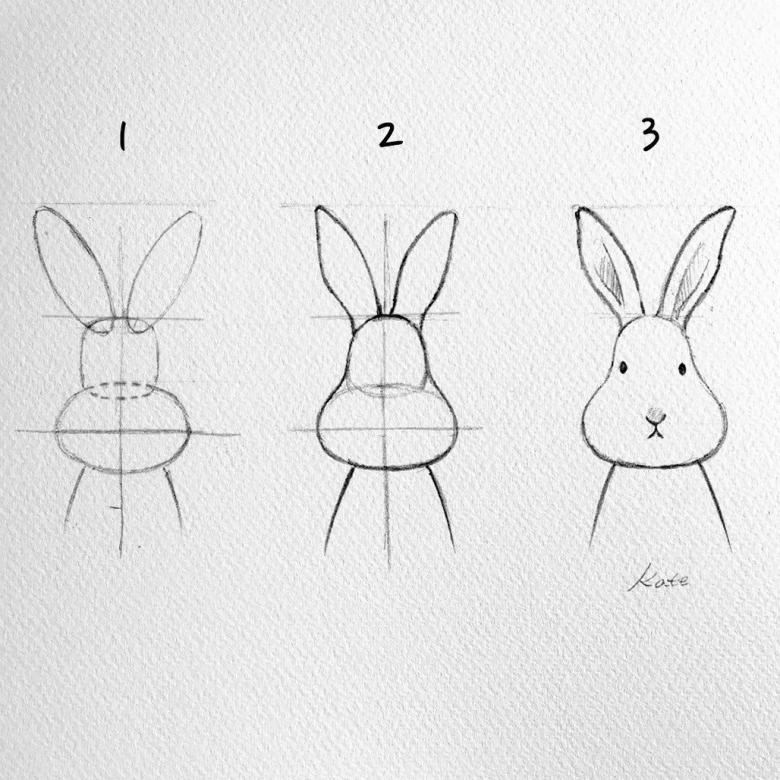
This lesson does not require that the hare is drawn anatomically correct and should not draw all elements of the fur. Moreover, the child will not be able to do it, unless he is engaged in art school.
Rabbit with a carrot
To draw an Easter drawing, you should follow the recommendations of the following master class:
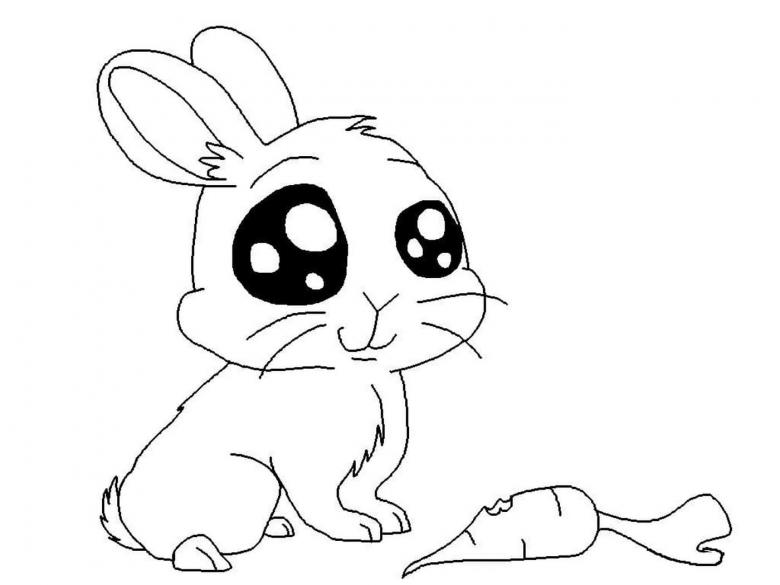
- The first step is above from the middle of the sheet to draw a rounded head. On top of it draw the ears.
- Draw an eye and other elements of the muzzle. Rabbit will be turned slightly in profile, so you can see one eye. And the very nose and mouth of the animal will be at the bottom left of the muzzle.
- Rabbit will stand on his hind legs and leaning front on a carrot. From the body draw only the upper part of the two diverging lines.
- Draw a fairly large carrot, which lies in a horizontal direction. On it rests two front paws of the rabbit. At the top of the carrot draw two ovals, facing each other.
- Complete the drawing, making sure to draw the elements and shadows.
- It is necessary to explain to a child that the object cannot have only one color. There are shaded and lightened areas.
- The bottom of the carrot will be dark. The top surface will be lighter. Draw stripes on the cone-shaped part of the vegetable and depict leaves at the base. And, regardless of whether it is depicted with a crayon or a colored pencil. The same applies to the part of the rabbit's body that is behind the carrot and the right ear in case the muzzle is turned to the left. In these places it is necessary to draw dark areas with a pencil.
- Eyes to show the light. At the pupil to make a light flare. This technique of superimposing shadows and highlights, helps to realistically portray the animal.
- Is done in graphite or colored pencil.
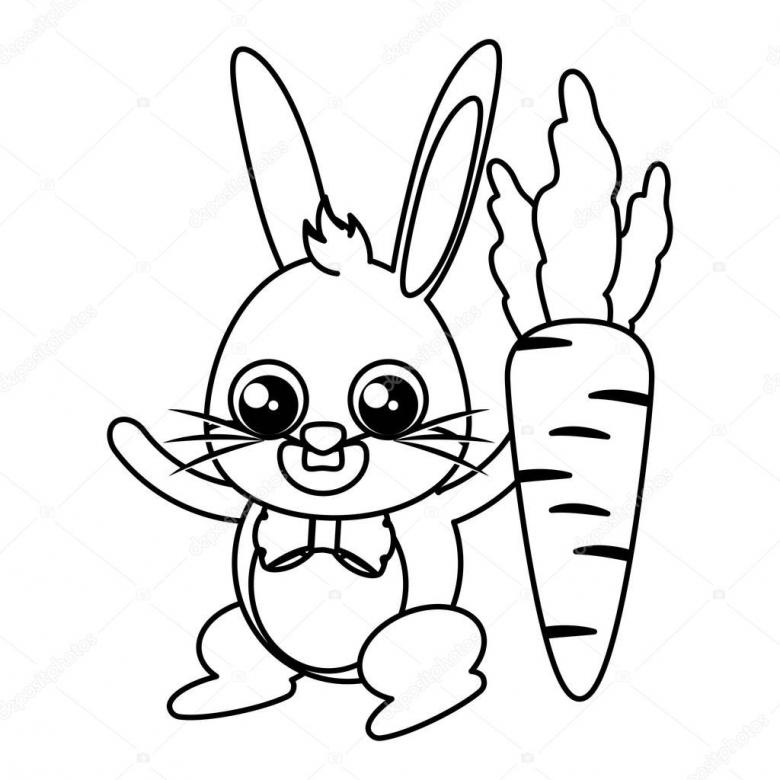
The use of watercolor requires a different approach. The paint is applied on wet paper, layers are applied over a pencil drawing. It is done carefully so as not to mix the colors.
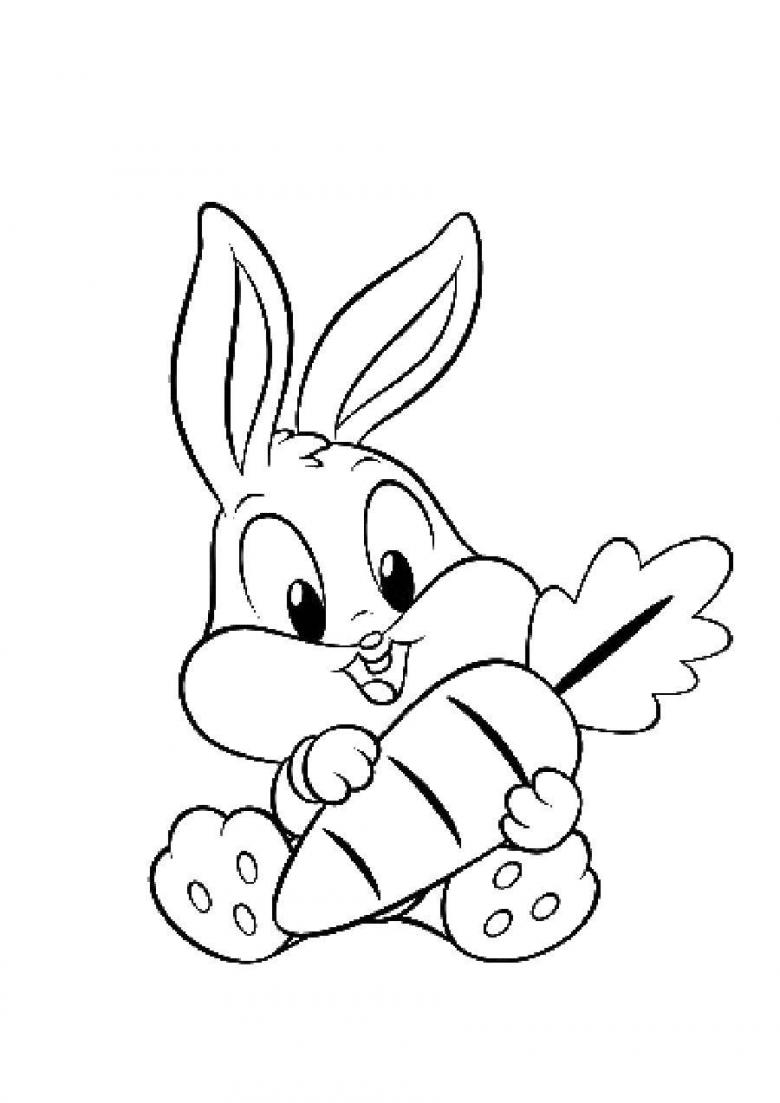
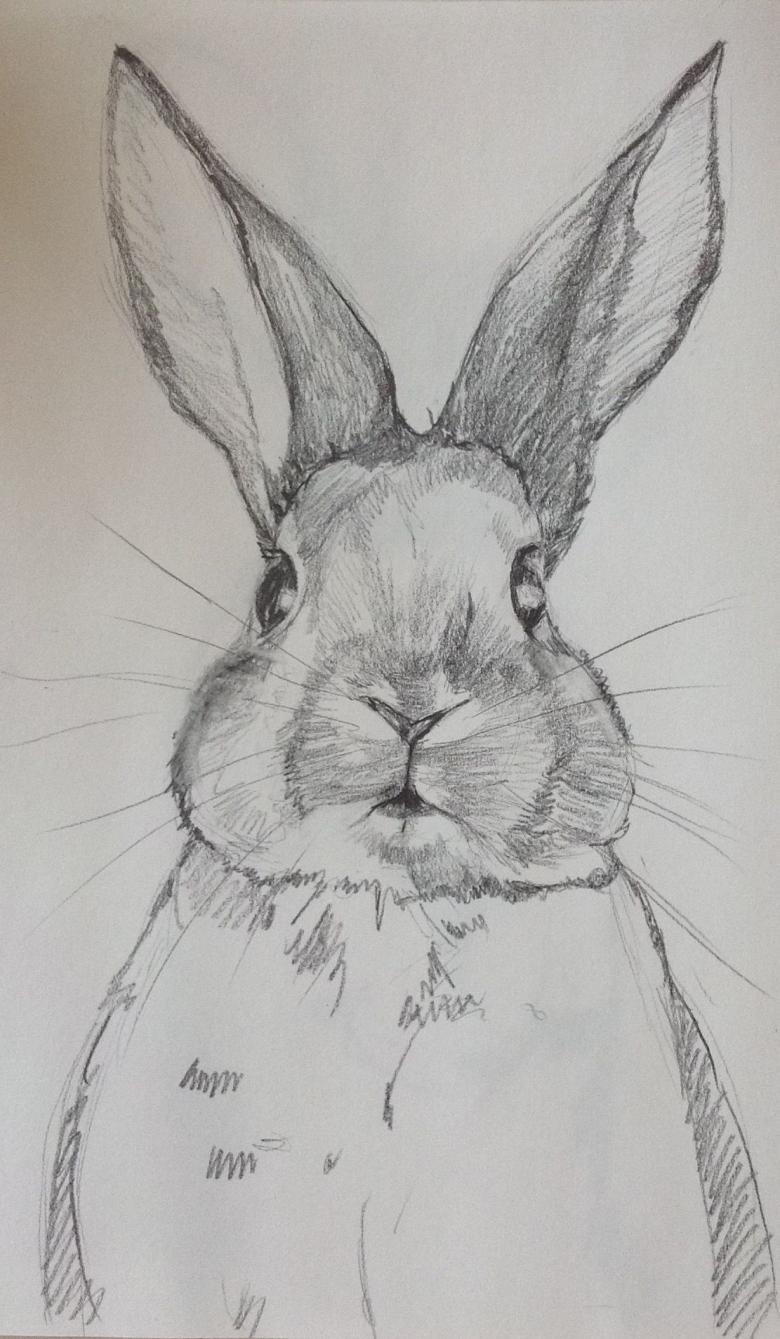
If the drawing is not done right the first time, do not despair. It is necessary to try several times different ways of casting shadows, they are the most difficult to understand and implement. If you do not have any drawing skills, you should first draw just a muzzle.
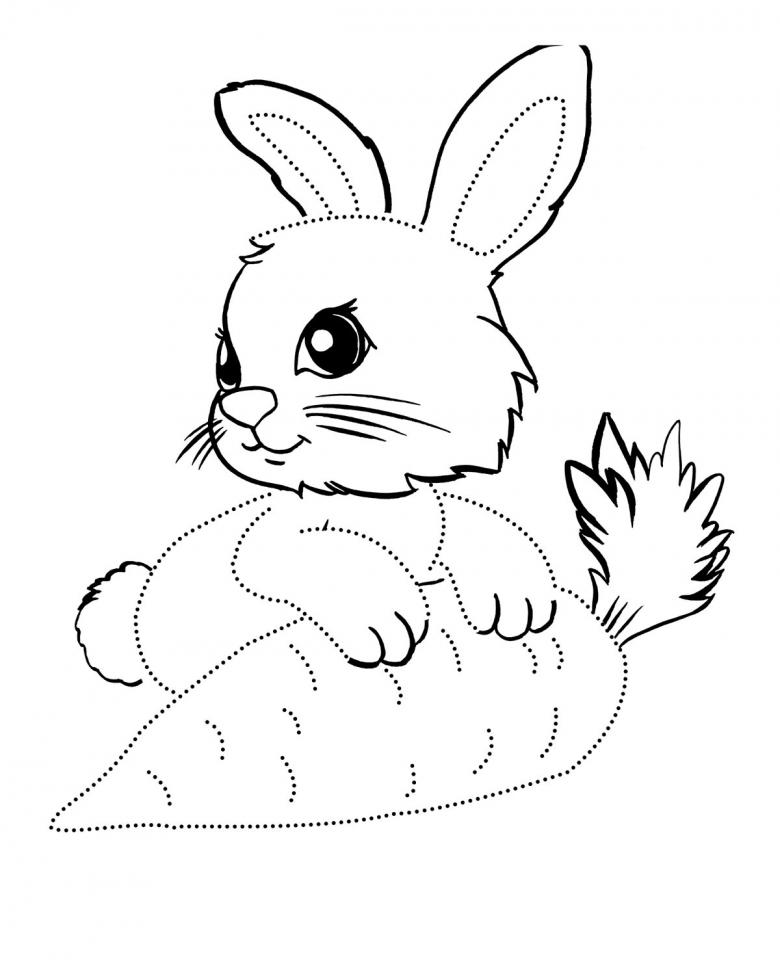
In this case, to make a finished drawing, you can depict rabbits in a cup or flower pot. This will be easier for beginners. And it is important to remember that it takes more than one year for the drawing technique (creating a drawing with a graphite pencil) to lend itself and become easy to do.


