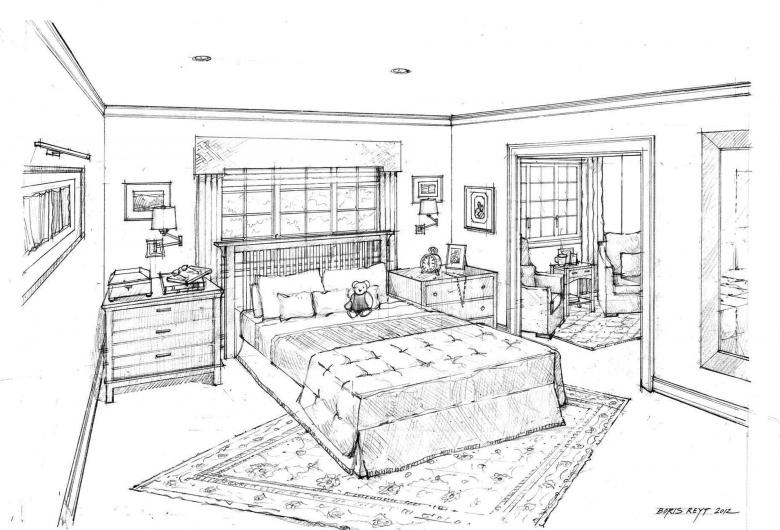
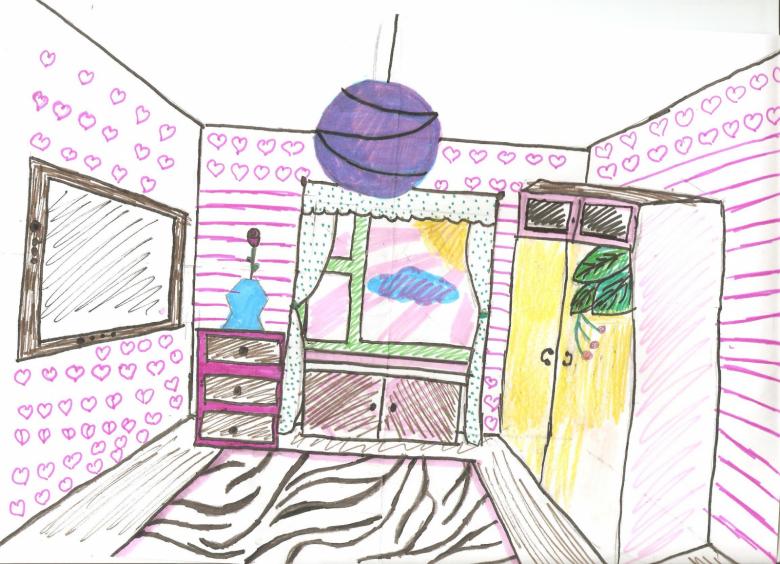
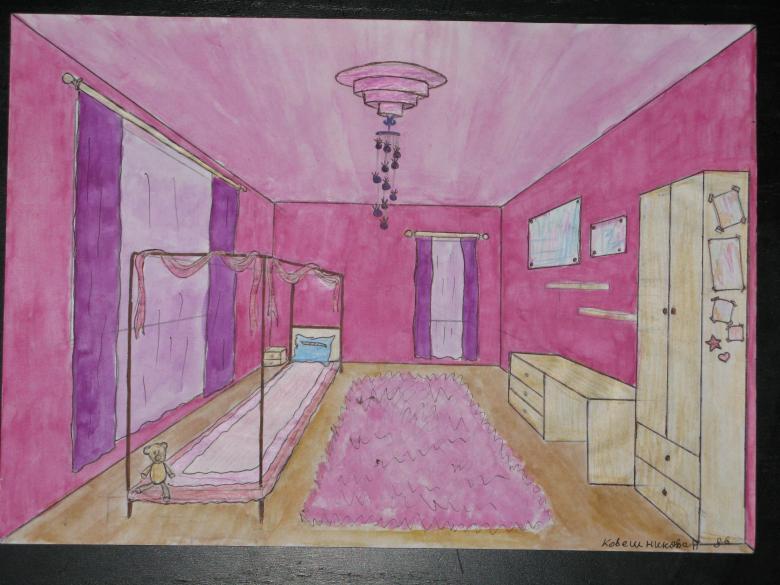
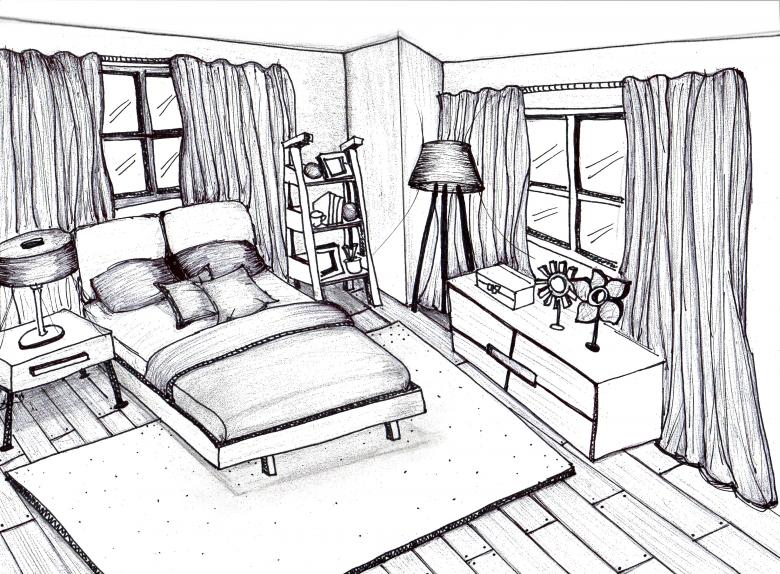
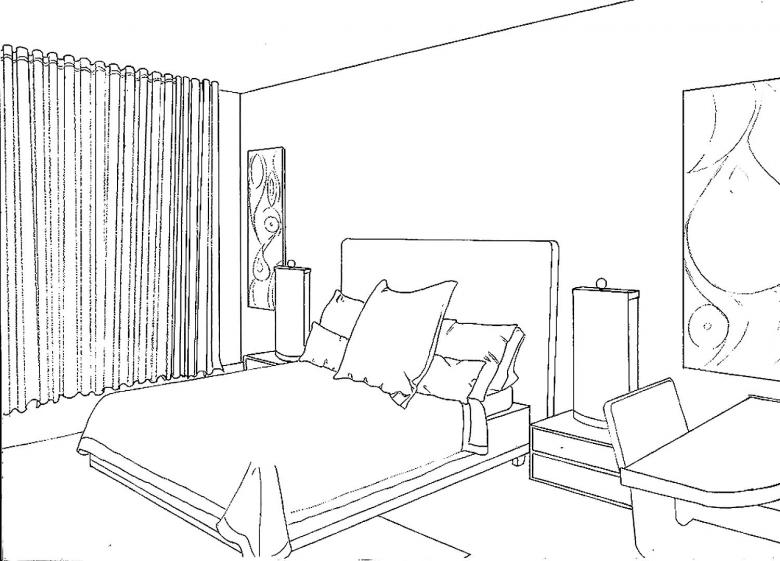
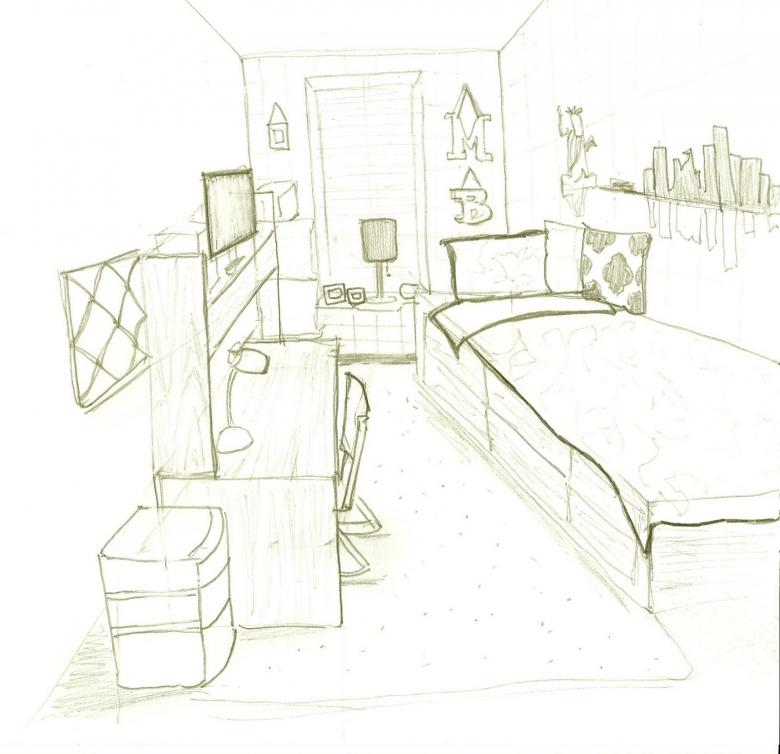
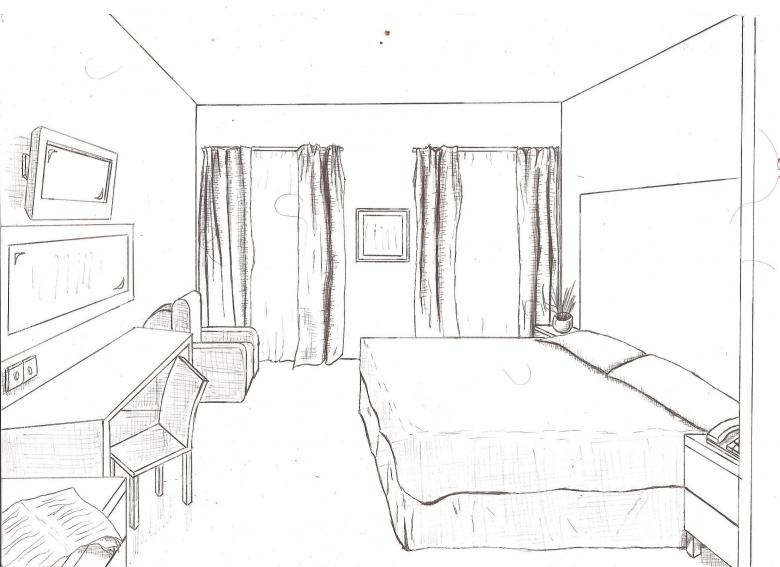
How to draw a room: dimensions, design, features and projections
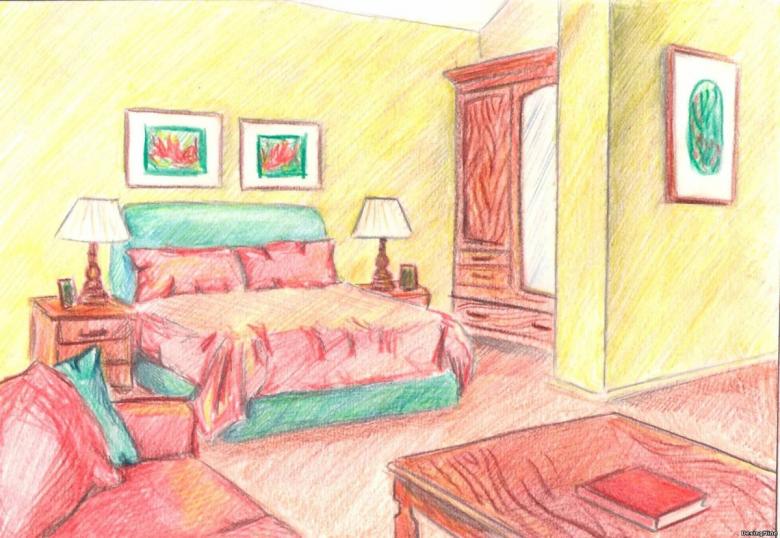
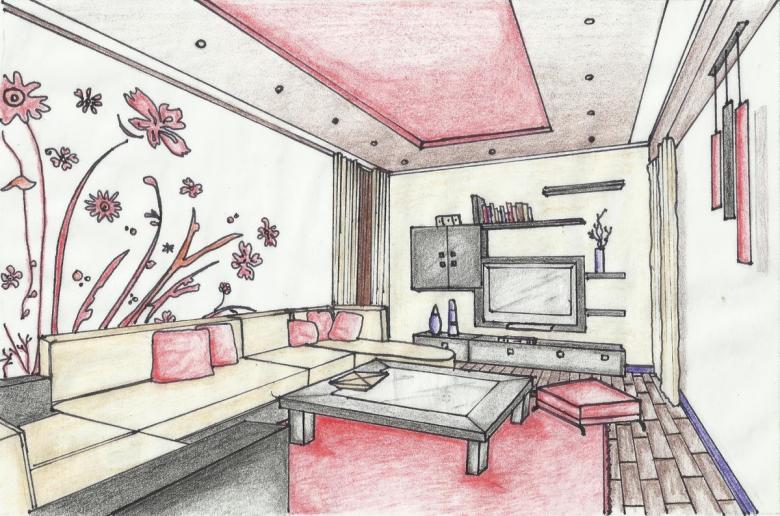
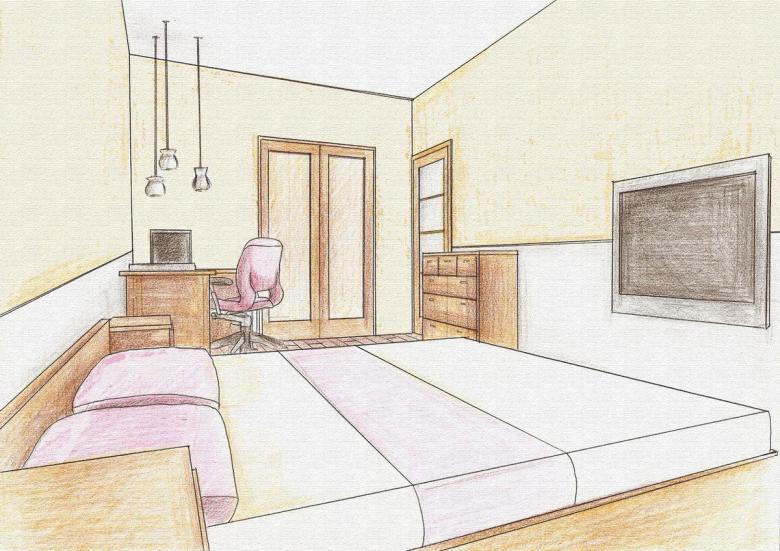
To learn how to draw a room by hand, you need to understand the definition of the concept of perspective. Then you can get to work and study in detail the lesson of drawing a room in perspective.
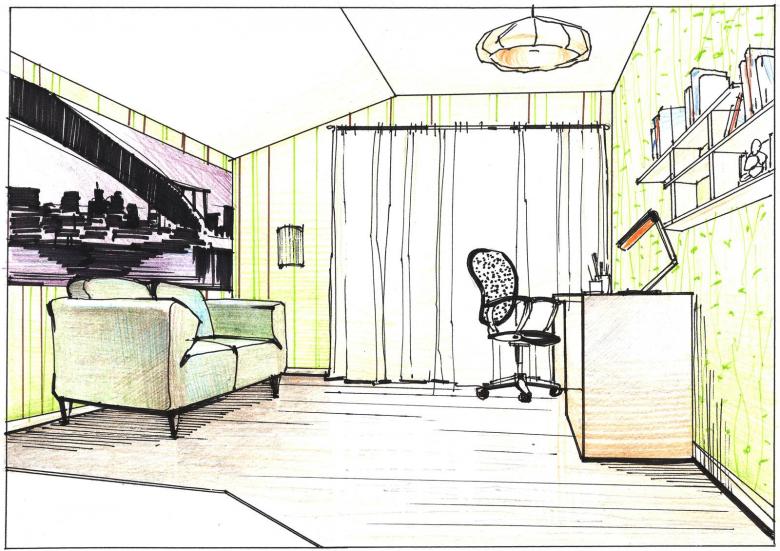
Perspective is a technique of displaying objects of space on the sheet with the corresponding apparent changes in their size and shape outlines. The visual perception changes depending on distance: for example, two parallel roads converge at one point on the horizon line.
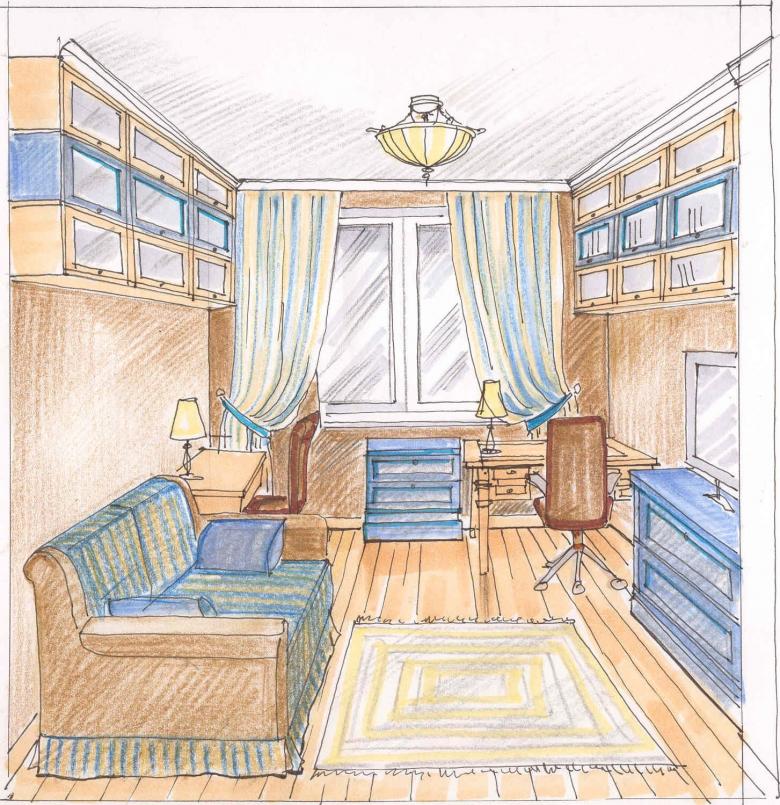
In this lesson, the two parallel roads will be represented by the two parallel walls of a room with interior objects along them, which converge at one point on the third perpendicular wall, where the horizon line is located. It is not difficult to learn how to depict an apartment room with furniture, it is important to learn how to observe the proportions.
Designing a room by hand
Room design should begin with a drawing. Without visual inspection, it is not possible to evaluate the picture. Many people simply can not imagine the spatial arrangement of objects, so it is imperative to learn how to properly draw each constituent element.
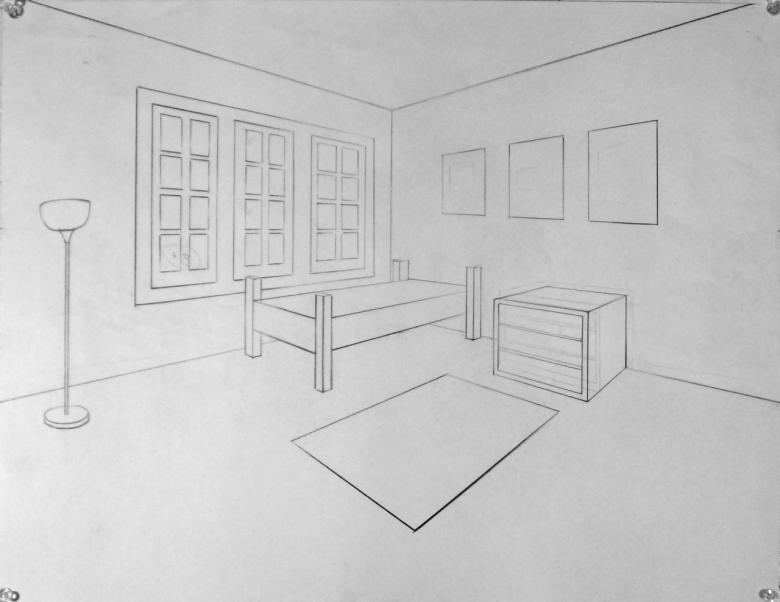
For a detailed drawing of the style of the room, furniture and interior use the perspective method. The following will be a more detailed discussion of the perspective methods used to visually depict the interior of a room.
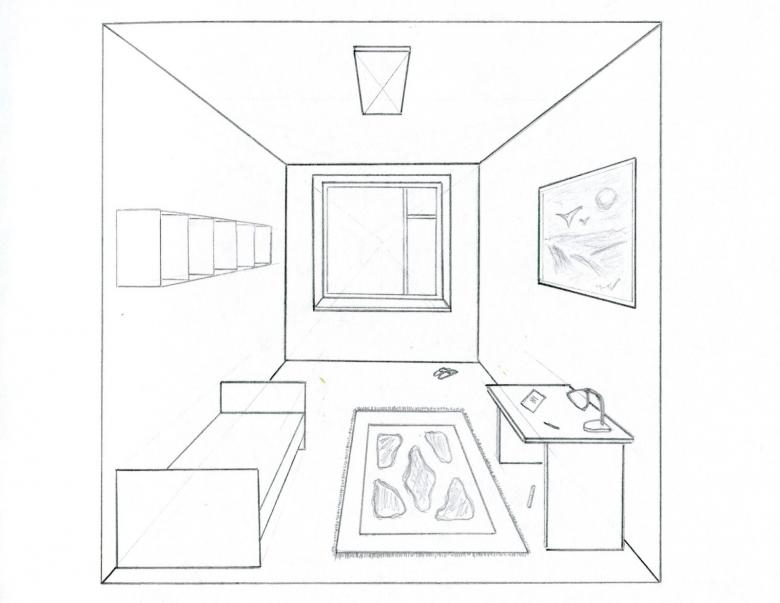
Description of the Direct Perspective Method for Beginners
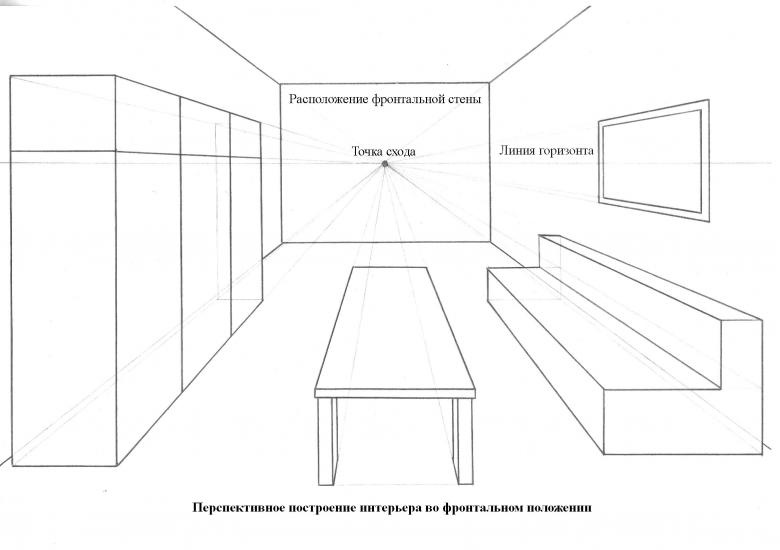
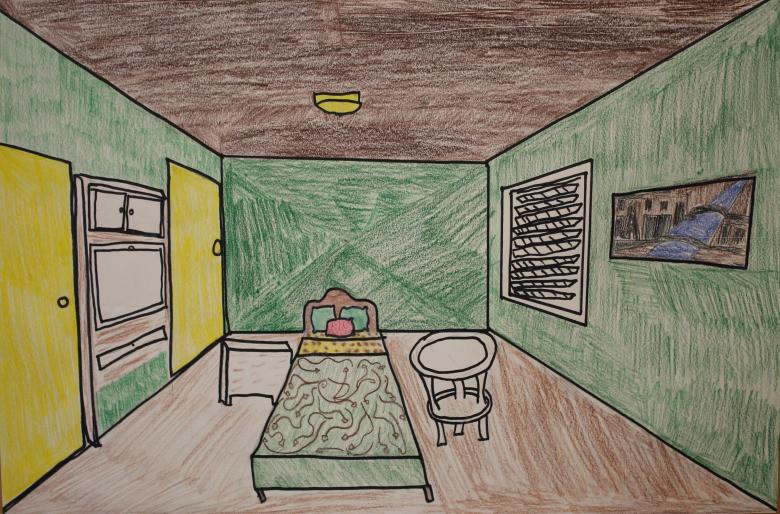
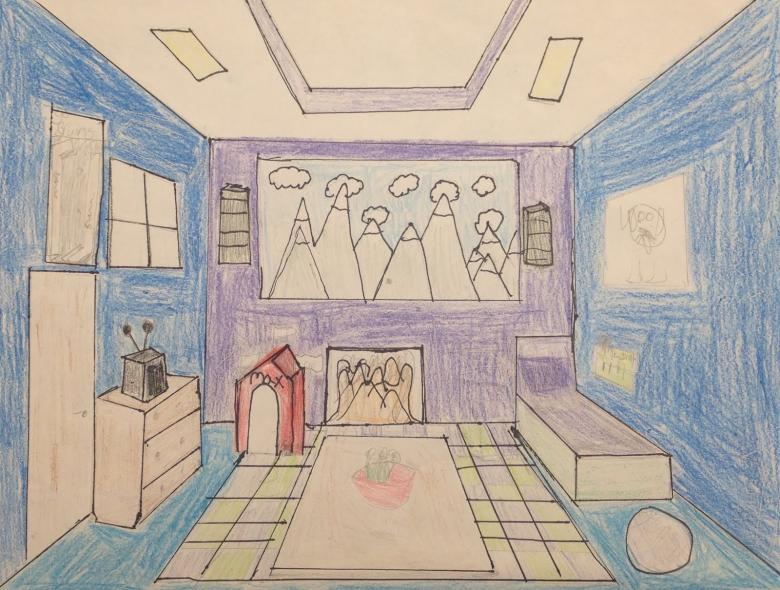
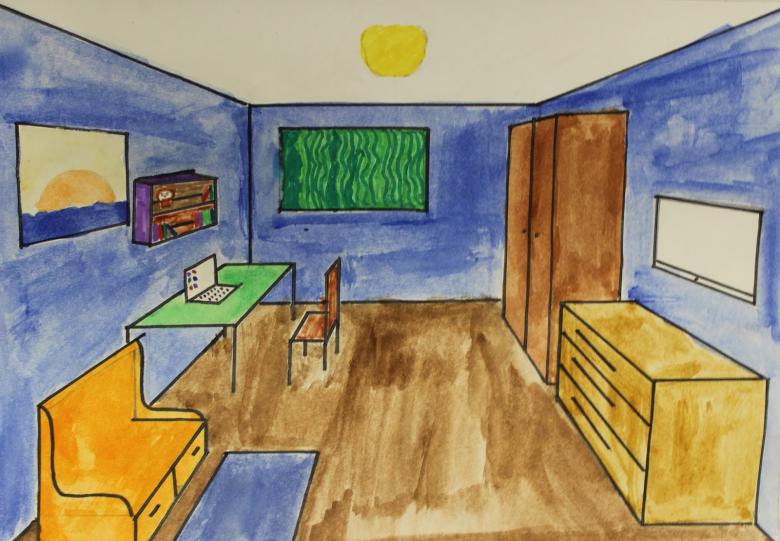
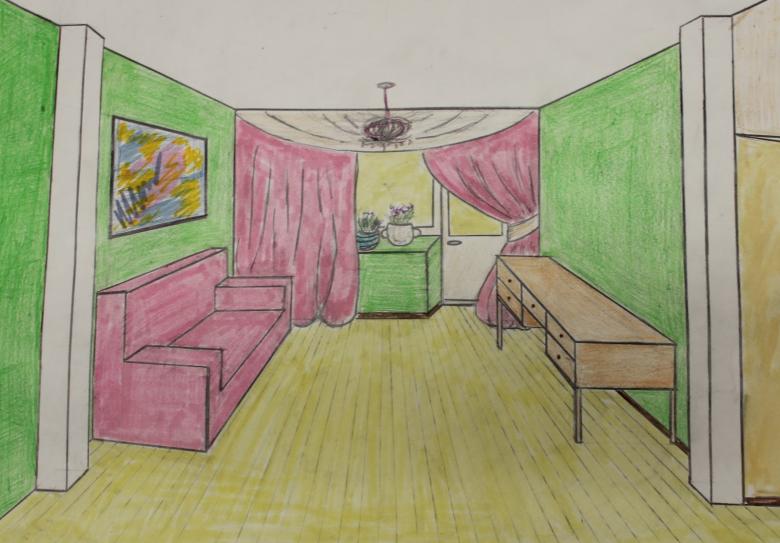
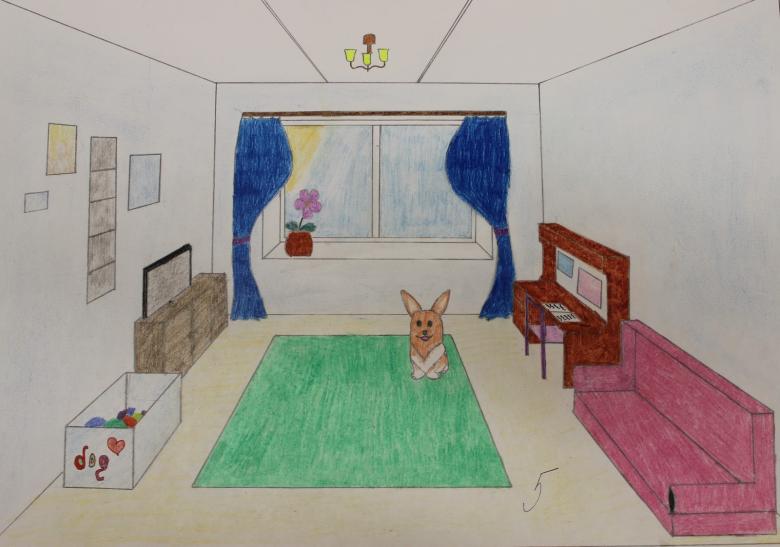
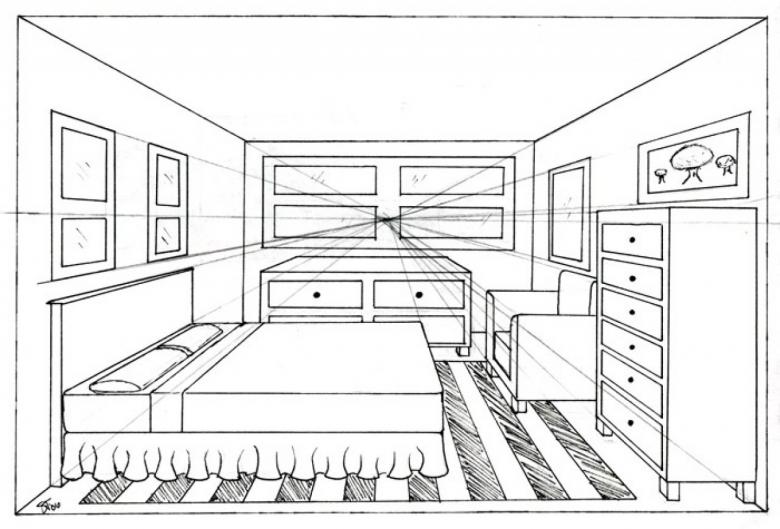
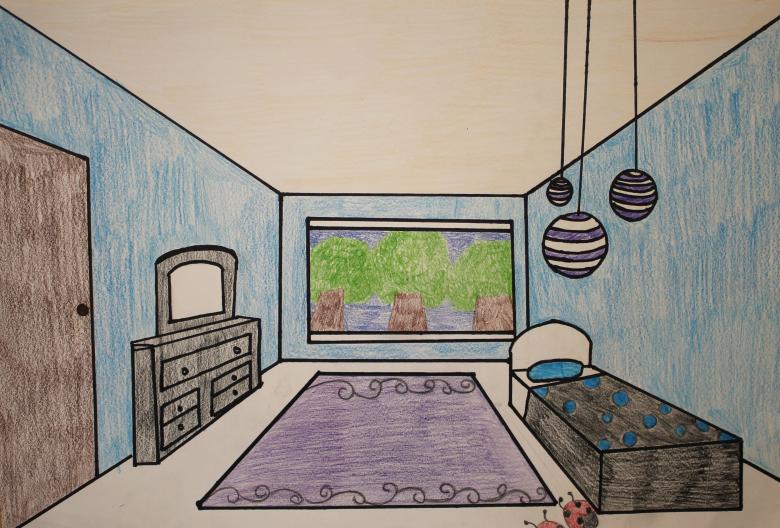
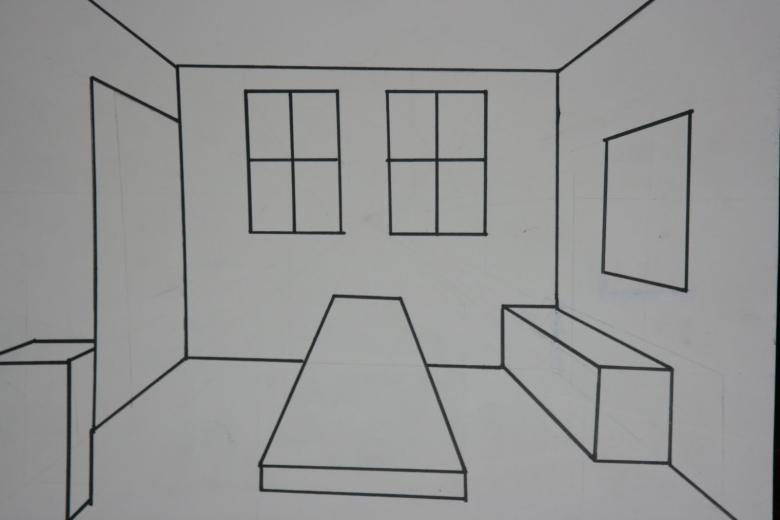
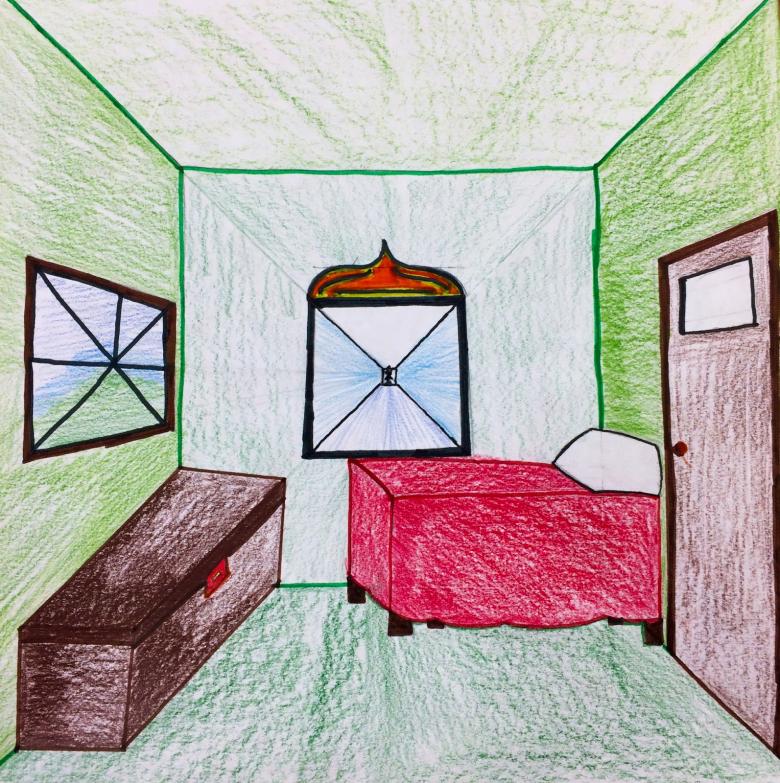
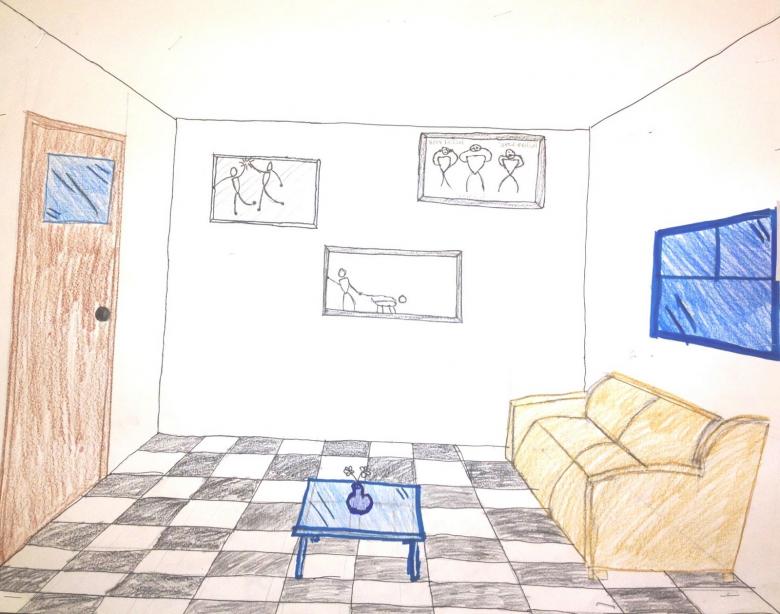
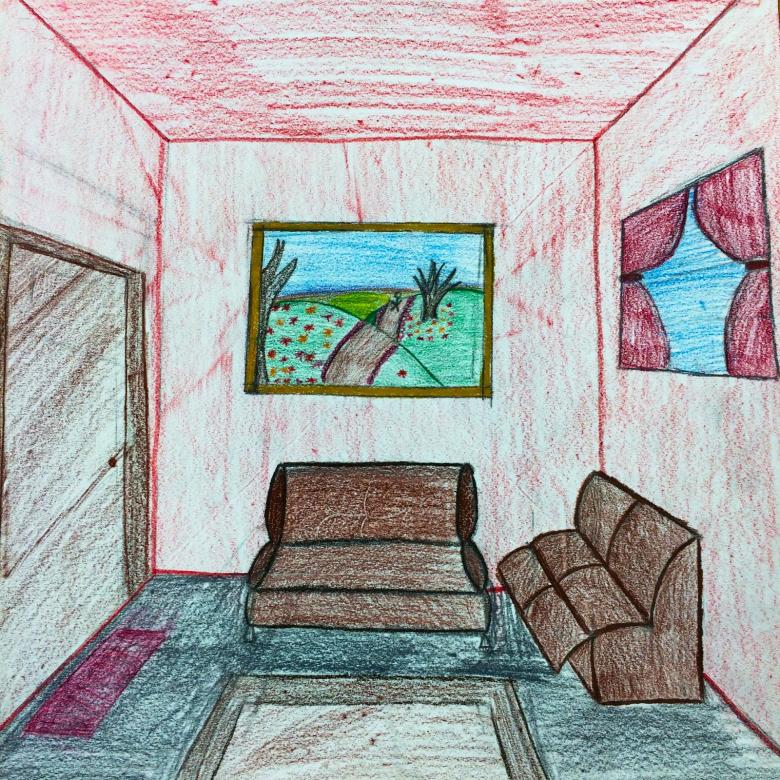
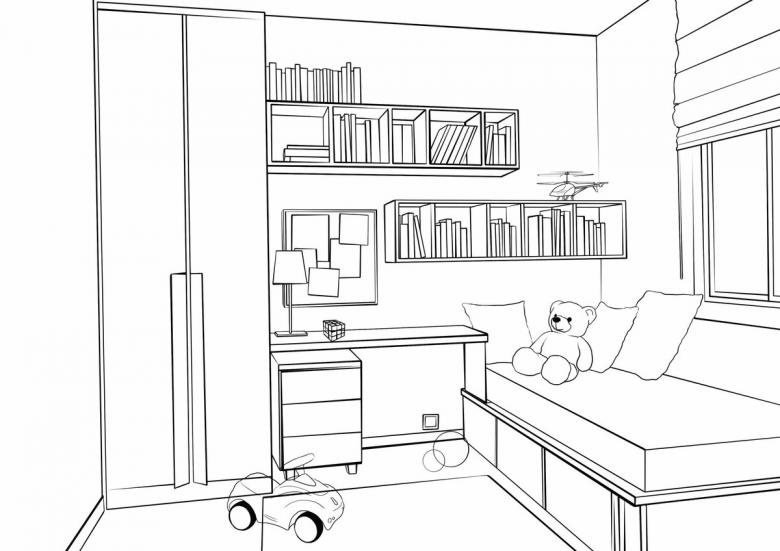
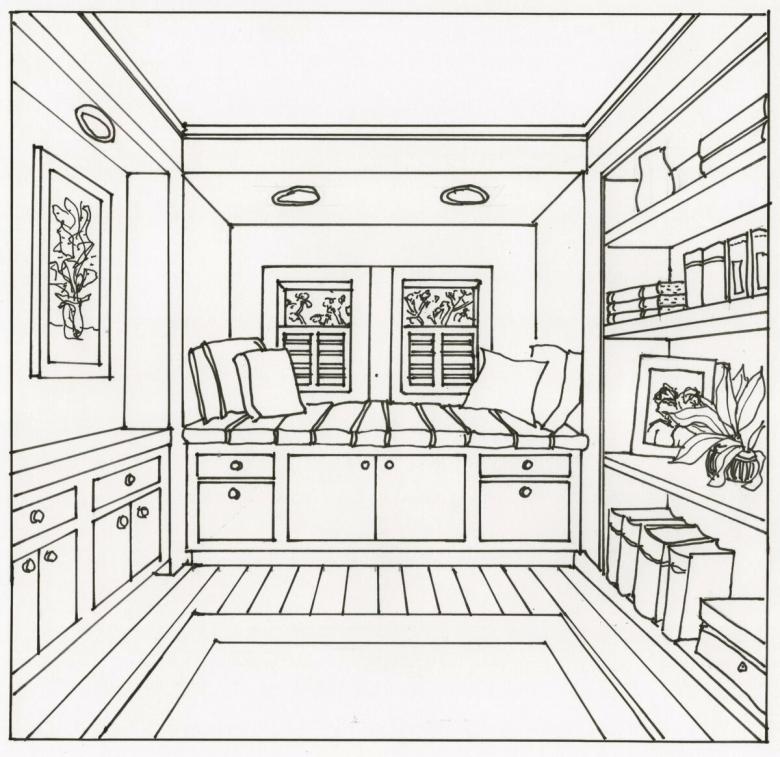
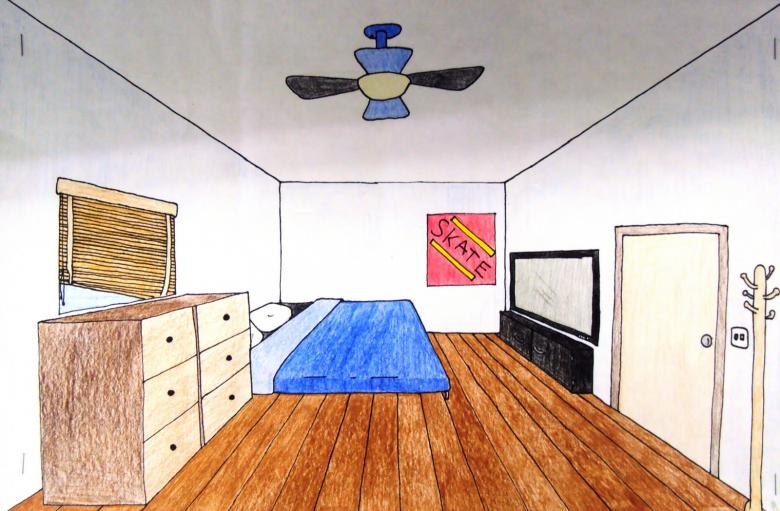
The straight perspective method is characterized by the use of a single vanishing point, which is located in the center of the sheet. To begin work, you should draw the main wall in the form of a rectangle. The size of the rectangular wall should relate to the sheet at a scale of 1:3.
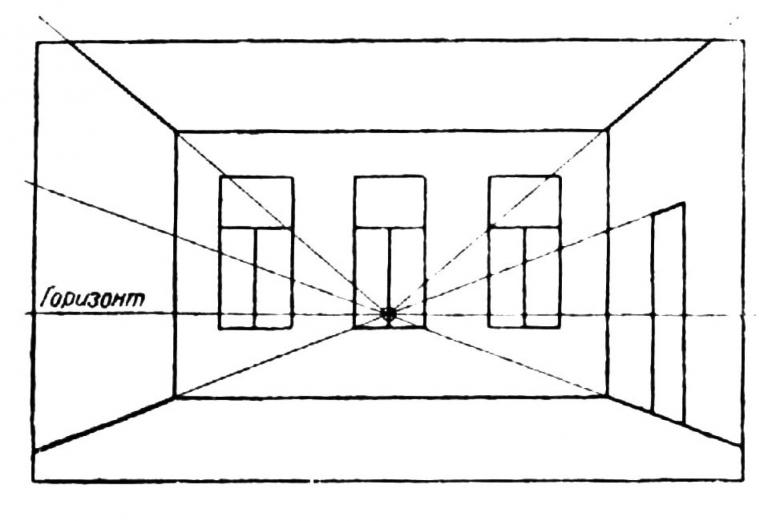
In the center of the reference wall to put a vanishing point. After that the corners of the square are connected to the central point with lines that go beyond the rectangle. It is possible to give a designation to this vanishing point, for example A. The lines which have gone out of corners of a square, form walls, a floor and a ceiling of the room. The inner diagonals of the square, except for the vanishing point, are erased. The next step is to outline the windows and doors of the room.
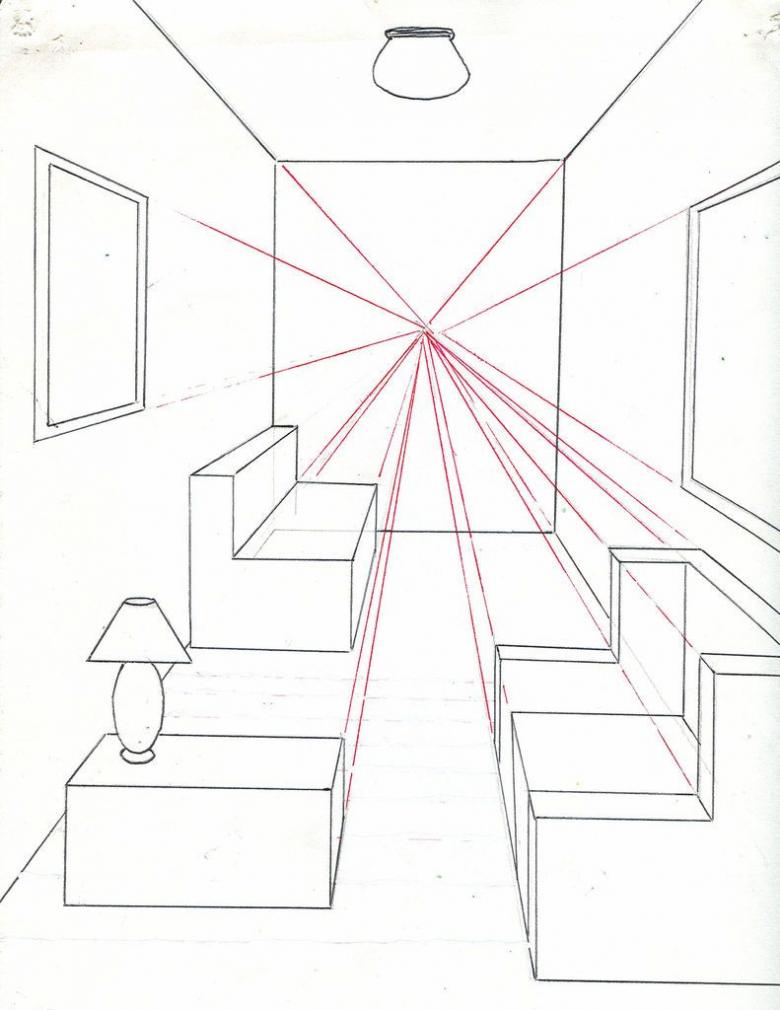
Important! You must choose a vantage point in the room from which to view the perspective - usually a wall free of furniture, windows, and doors. In this way you get the most complete picture depicting the interior of the room.
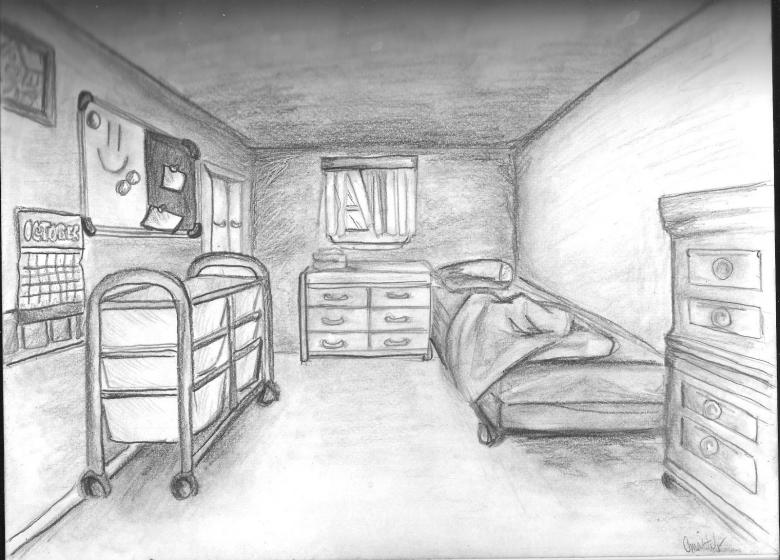
The height of the walls and windows is usually measured with a tape measure, and shown in approximate proportions on the sheet. For example, the near edge of the window will look larger than the far edge, forming a certain trapezoid. Two horizontal lines running from the vanishing point to the wall where the window is located, form the desired opening. The window space is bounded according to the proportions by vertical parallel lines. Working lines are erased, and a window space is obtained.

The doors are sketched in the same way. The depth of the door and window openings are sketched by lines drawn into the depth of the opening from each point of the rectangle, these segments are parallel to the floor and ceiling lines of the main wall. After drawing the main openings with their depths, all auxiliary lines are erased.
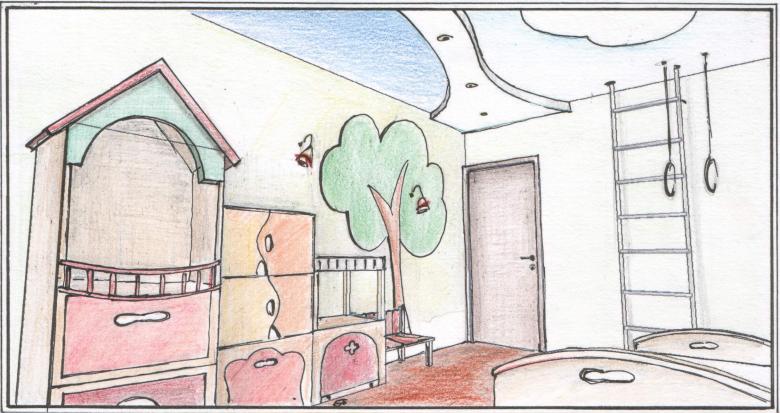
A step-by-step description of the angular perspective method
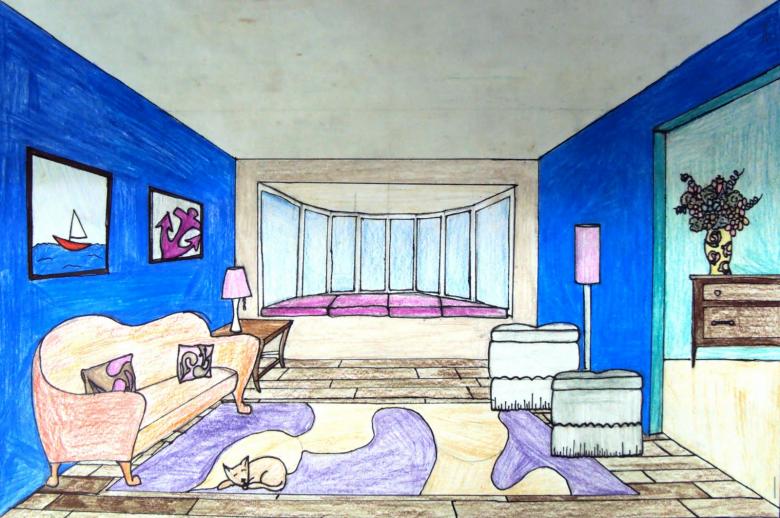
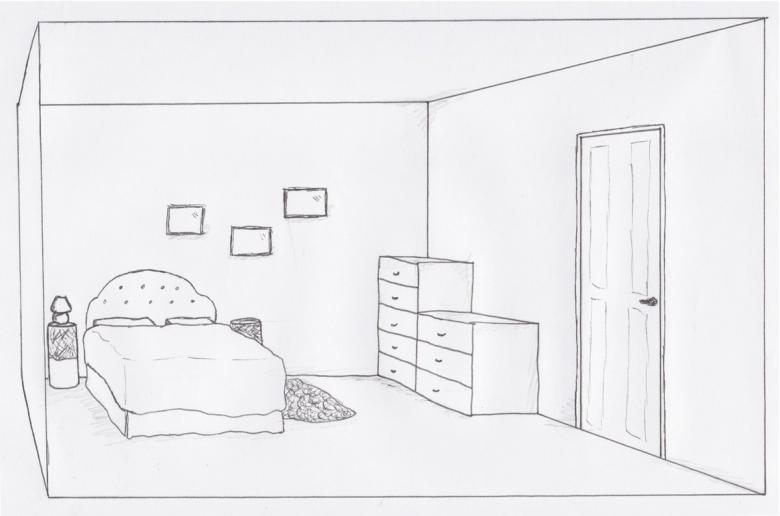
The method of angular frontal perspective is characterized by the presence of two vanishing points, one of them the main, located on the sheet. For the novice designer, the complexity of this method is no greater than the previous one.
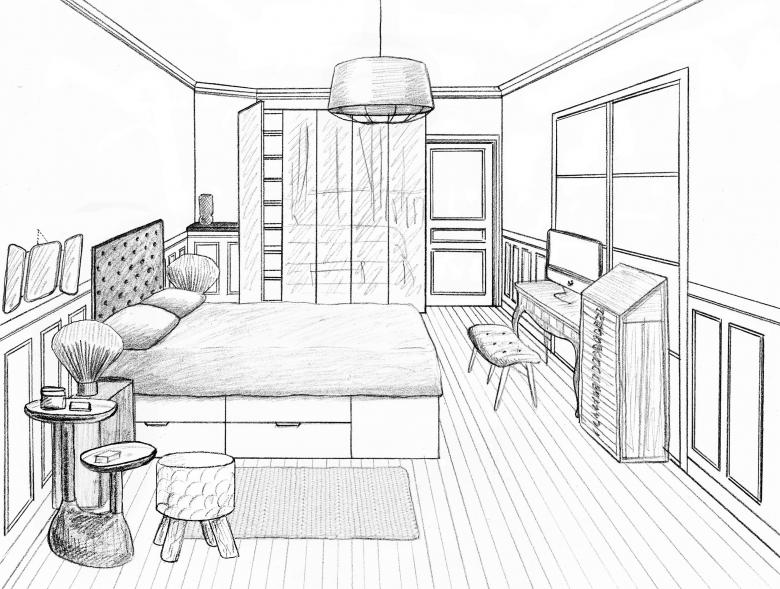
To start working on your own image of a room, such as the living room, you need to prepare a simple pencil, a sheet of paper and an eraser. For a neat image, you can use a ruler.
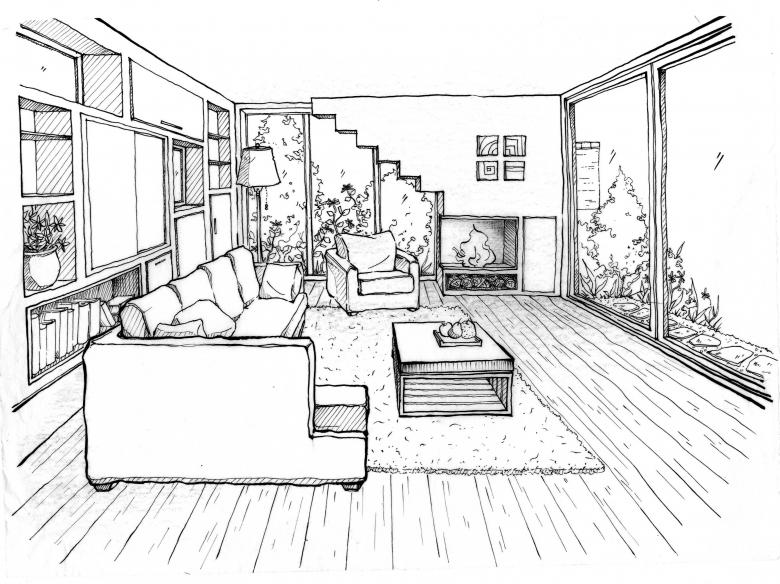
Step-by-step instructions:
- Step 1. On the sheet, using a ruler, a horizontal line is drawn, in the middle or slightly above. On the horizon line, a point is put, which will be called, the vanishing point, since many lines of the drawing will come into it. There is another vanishing point on this line, which is located to the left of the edge of the sheet at some distance. Next, you draw the vanishing lines: the segments from each corner of the sheet to the opposite one through the vanishing point.
- Step 2. Next, draw a rectangle whose corners are located on the vanishing lines - this is the main wall of the room. Most of the wall should be located below the horizon line.
- Stage 3. At this stage, all the lines inside the rectangle are erased except for the horizon line. An image of the room walls in perspective is obtained. Then additional rectangles and vertical lines should be drawn, which serve as an outline of the future furniture.
- Step 4. Then auxiliary rectangles and vertical lines are connected by segments with a vanishing point. Sketches of the ovals that will make up the room lighting, floor lamps are made.
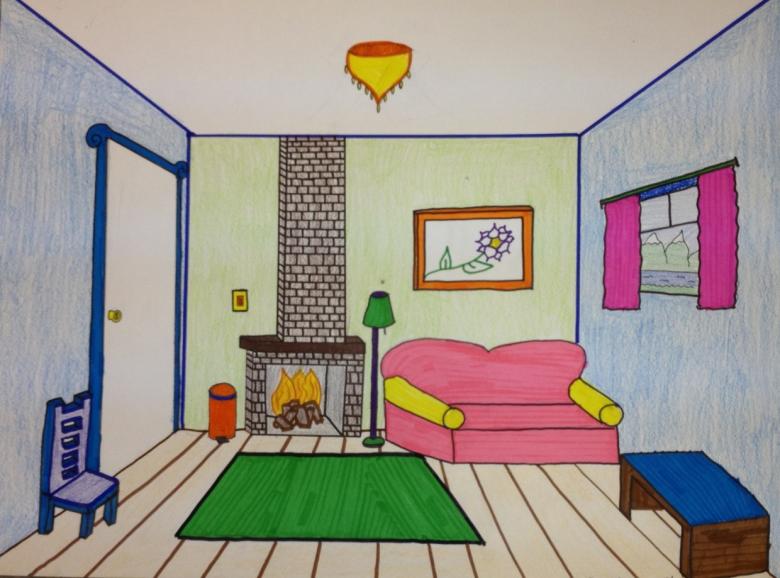
- Step 5. Auxiliary lines that are not needed are erased. At this stage it is already clear where the interior objects will be located: sofa, fireplace, lamps. Furniture elements are drawn with additional rectangles and curved lines.
- Step 6. Convergence lines are marked again, marking the lines of the sofa, the lines of the location of the fireplace and paintings on the walls, the arcs for the floor lamp. Parallel lines are sketches of the logs in the fireplace.
- Step 7. Arc lines are added to the details of the logs, the vase on the table and the lamp. Dorisovyvatsya lines outline cushions sofa, marked area of the table in the form of a rectangle with flattened edges.
- Step 8. additional lines are added to the image, giving the appearance and volume of the interior objects.
- Step 9. The details of furniture along the walls are almost completely marked. It is necessary to finish drawing the chair, which is moved to the side of the wall. Its central vanishing point is not used. For a turned armchair, the vanishing points are on the right, outside the sheet, and are marked with vanishing lines. One point was already marked on the left side of the sheet, now the right ones are marked. On the front visible wall with the fireplace, the bricks of the fireplace are marked up to the ceiling.
- Step 10. Using the right vanishing points, a sketch of the chair is obtained. Using the left points, a sketch is made of the pouffe, located in front of the chair. Finishes sketching the bricks of the fireplace on the main wall.
- Stage 11. All missing details for the interior items are completed: armchair, pouffe, floor lamp. The furniture legs and decorative elements are outlined: furniture trim. Then, auxiliary lines are erased and everything is ready!
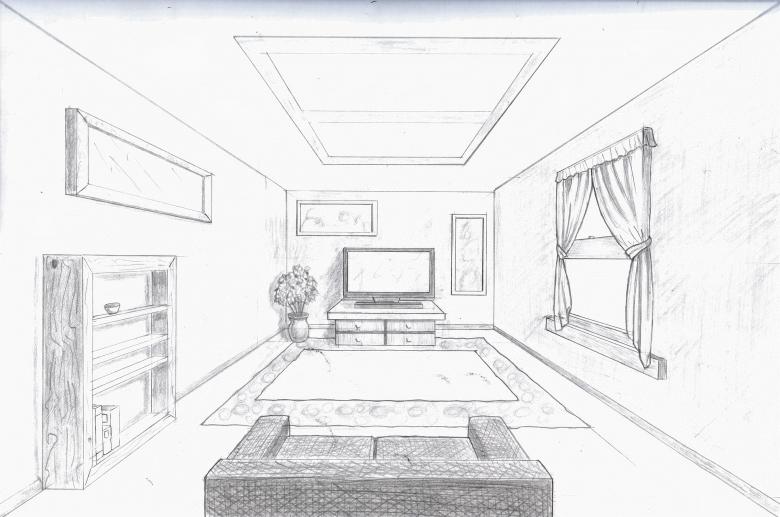
Now you can see that drawing a room in perspective will not be difficult even for a novice artist-designer. Start working on your own project with the drawing of a room plan, which will help to implement the conceived ideas for the arrangement of furniture and decorative items in the room. Based on the above description of the perspective methods for depicting a room, even a child can repeat the simple steps and draw his or her own dream room.

