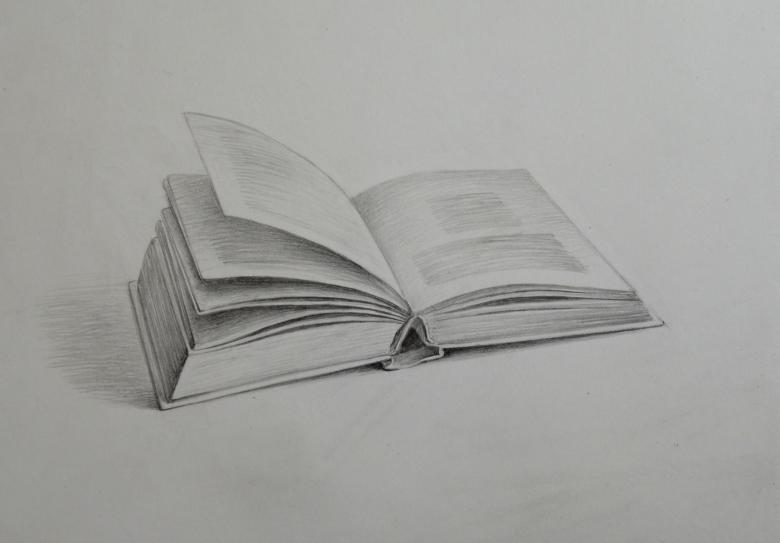
How to Draw a Book in Pencil - 5 Step-by-Step Master Classes for Beginners
Anyone in his life necessarily faced with the book publications. However, few people have thought about how to draw a book, what it looks like. Here are examples to help you learn how to draw books step by step with your own hands. You should begin by preparing the necessary supplies.
Easy method
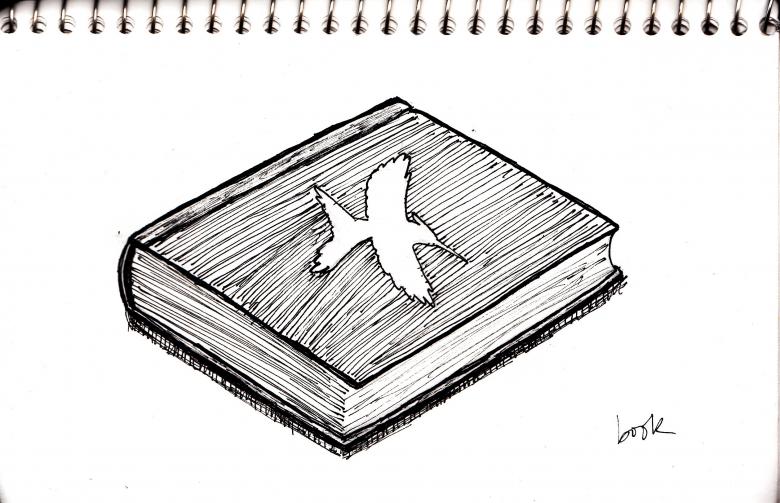
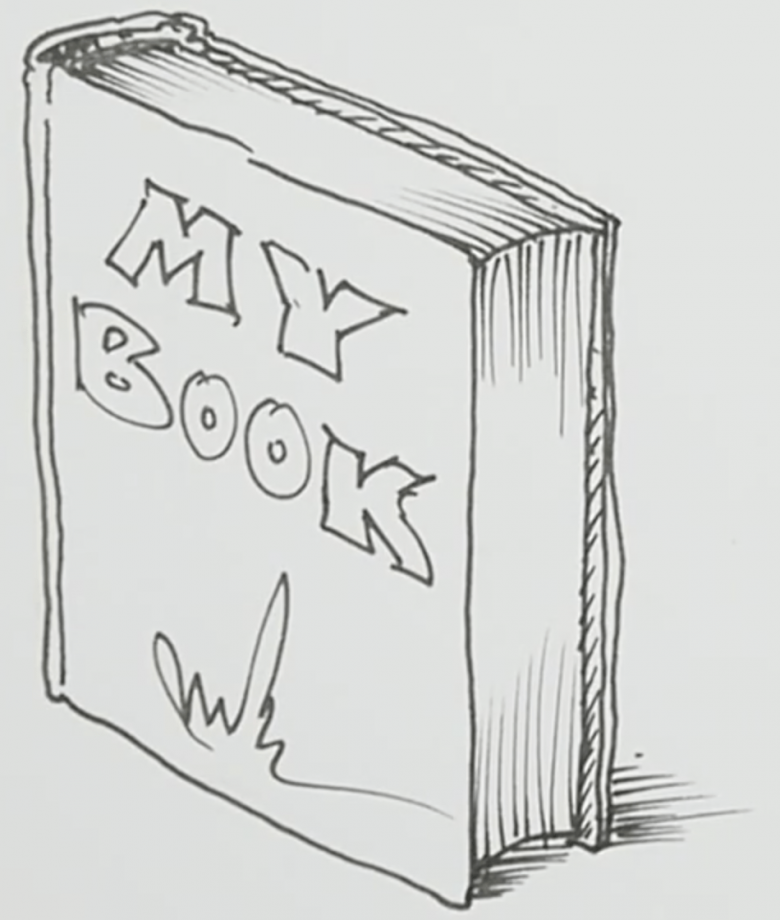
If it became interesting to see images of books, then this lesson will help it. It is quite simple, but the end result will be a beautiful illustration. It is desirable to learn from the image of a closed book. For the working process you will need: black marker, scrapbook paper, colored and plain pencils, eraser.

The drawing process is as follows:
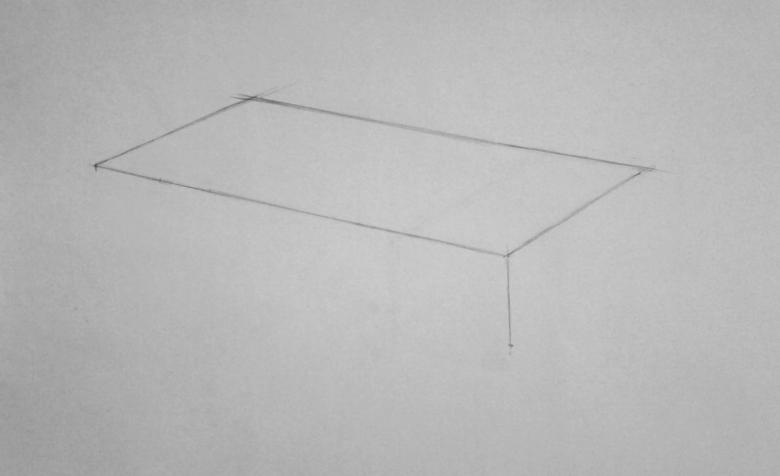
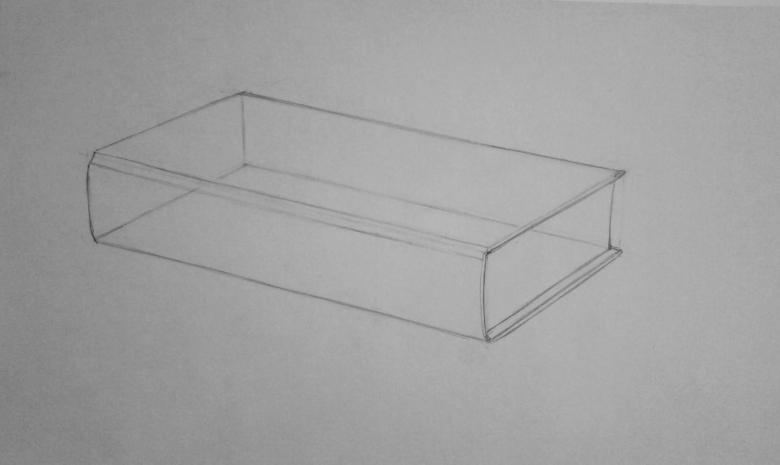
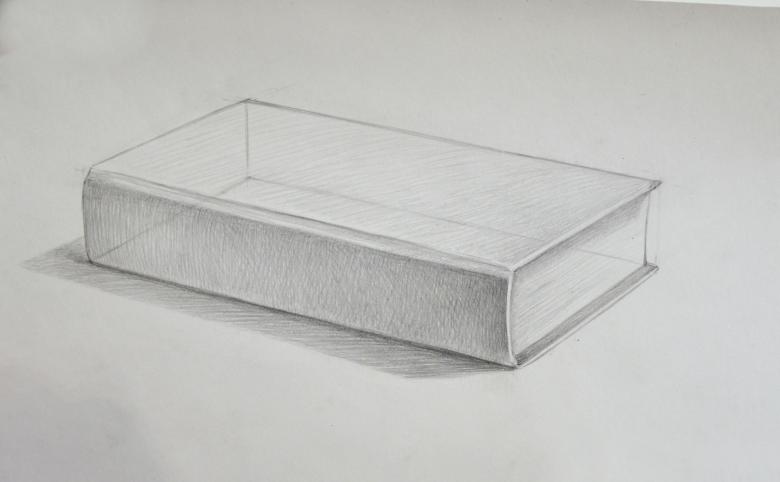
- Draw the top cover as a rectangle with the top offset to the right.
- On the right side and bottom draw lines forming a corner (bottom cover). The distance between the rectangle and a corner depends on the desired thickness of the book.
- In the resulting distance to put strokes, marking the pages.
- Connect the arcs at the corners of the bottom cover and the top cover.
- Think well about the design of the outer cover. Sketch the chosen version.
- Make a beautiful font and a suitable color for the title of the book.
- Draw the outline with a black marker. Paint the outline on the cover.
- The pages can be left white or choose dim colors.
As you can see quite simple option for this manual can be taught, even kids.
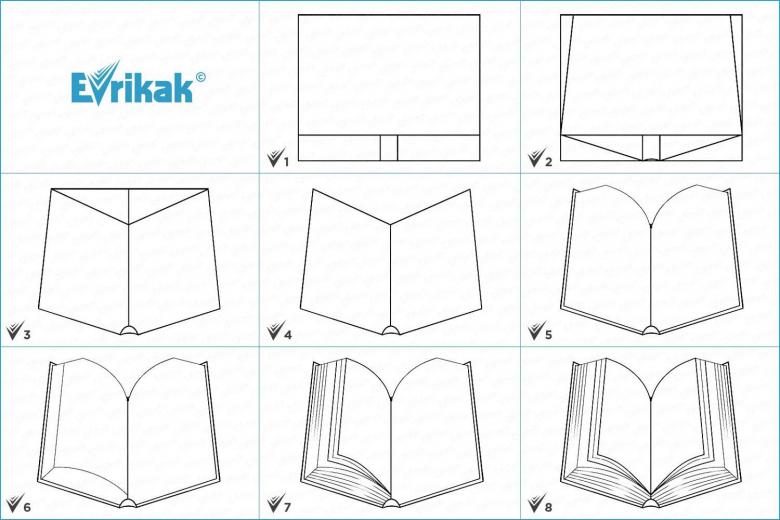
In open form
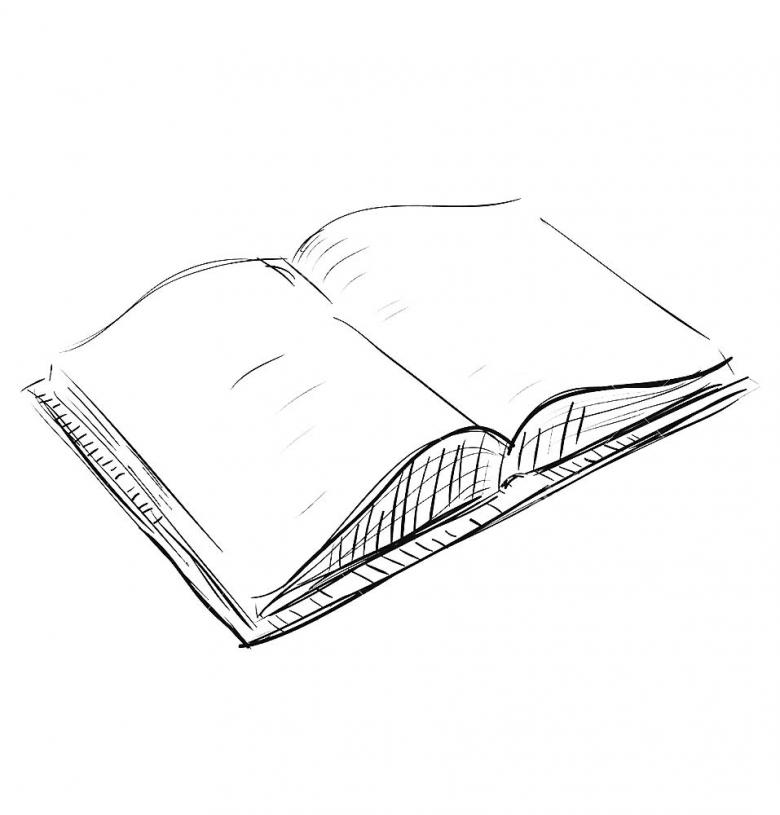
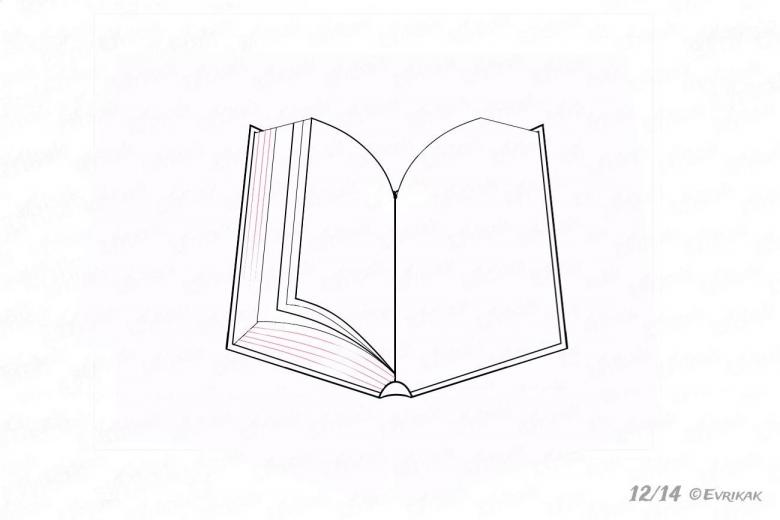
The process of drawing the open book is also not very difficult. You just need to tune in and prepare an eraser, a piece of paper, a pencil and a felt-tip pen.
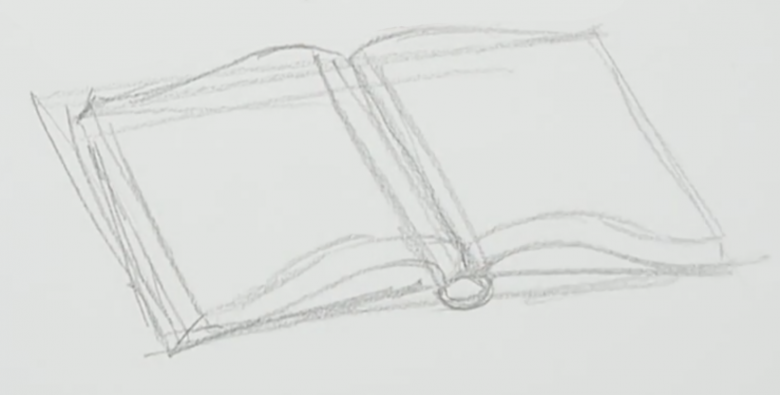
The work consists of the following:
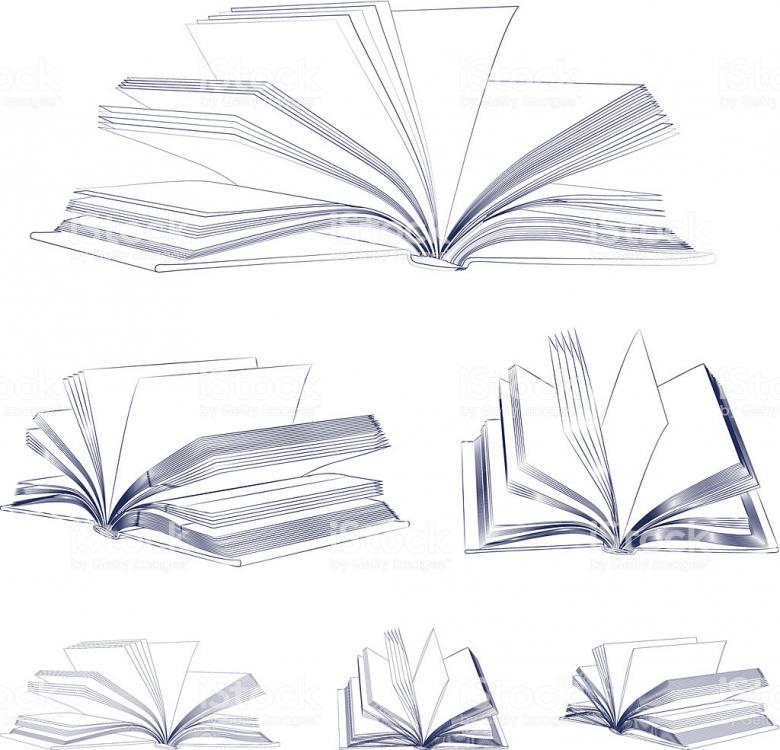
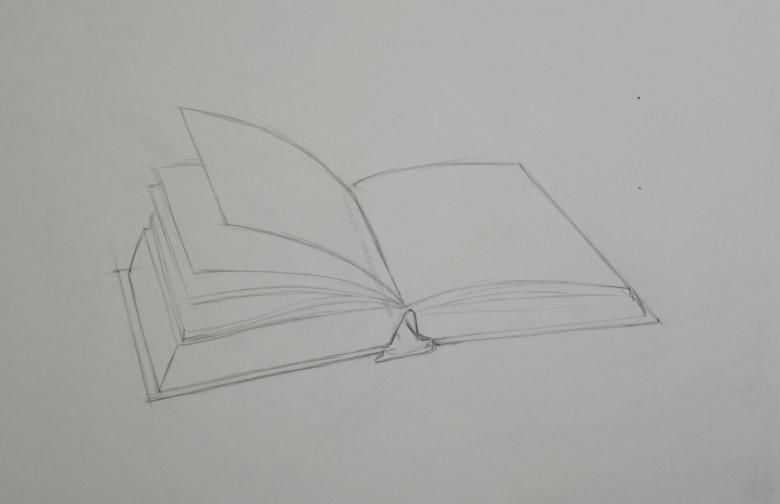
- Near the left edge of the sheet, draw a slightly oblique vertical line of length equal to the intended height of the book. From it, above and below, draw arcs of length equal to the width of the page. Connect the ends of the arcs with a straight dashed line. On the other side of the line create a mirror image, with one difference: make the arc lines in the form of a sign "~".
- From the corners to draw lines down to the thickness of the book. At their lower ends repeat the upper contour. Lower highlight a thick line (cover).
- In the area of thickness sketch strokes, repeating the contours of the pages.
To make the drawing look more "lively", you can draw something on the open pages and indicate the text.
Children's version
There is a good option for an open book for children's creativity. For work you will need: sketchpad, felt-tip pens, pencils, eraser.
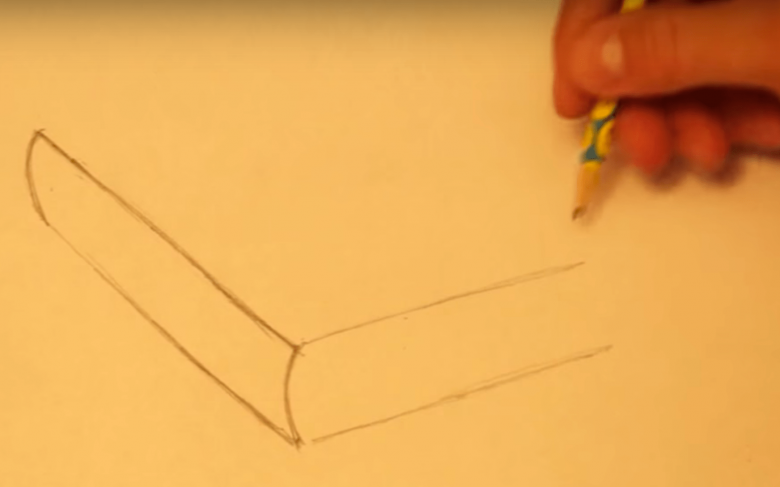
The process itself is not complicated, it is necessary:
- In the center draw a vertical line equal to the height of the book. From the ends, on both sides, draw slightly curved lines to the width of the pages and connect them with verticals. From the bottom of the dashes to the thickness of the book, connect them, forming a volume.
- At the thickness, stripes indicate the layer of pages.
- Draw a rectangle on the right side, in which to place any outline. Under it with a variety of lines to create a semblance of text. Do the same on the left side, but for the entire page.
- Paint with a suitable color at the end. Paint on sketch. Highlight the cover from below.
This skill can be very useful for creating children's pictures, which include textbooks, story books, etc.

Stack
This lesson is much easier if the previous illustrations are mastered, but has peculiar nuances.
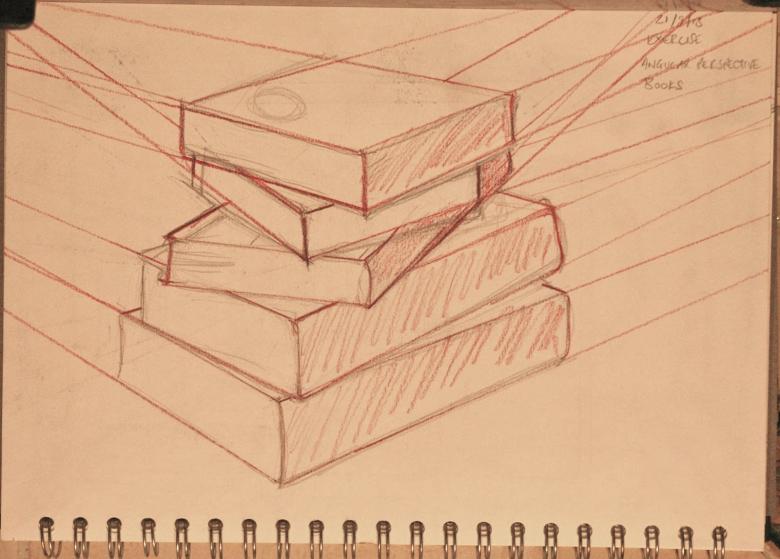
The supplies remain the same, and the process itself is:
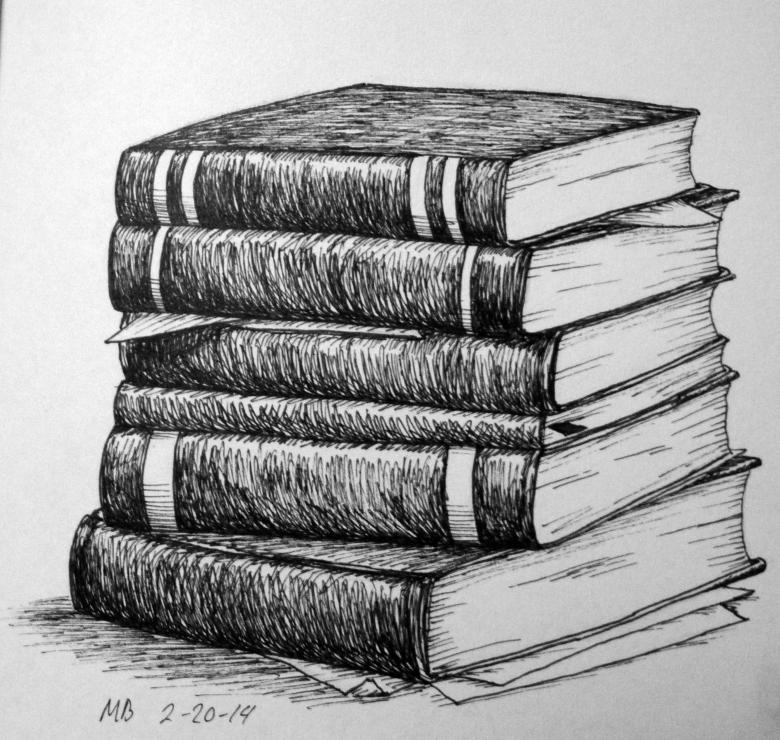
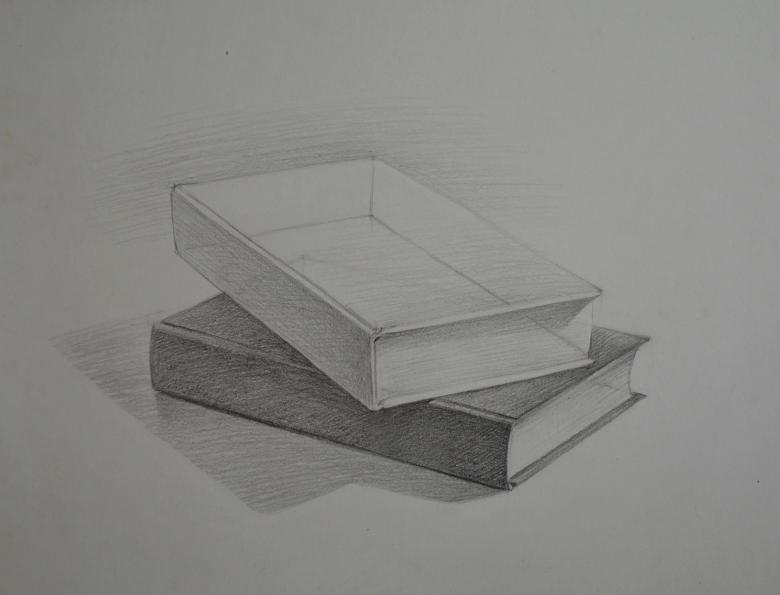
- In the center of the sheet, with a certain slant, sketch the back of the cover.
- From the corners, draw upward segments equal to the thickness of the book (they can be made arc-shaped) and connect them with lines.
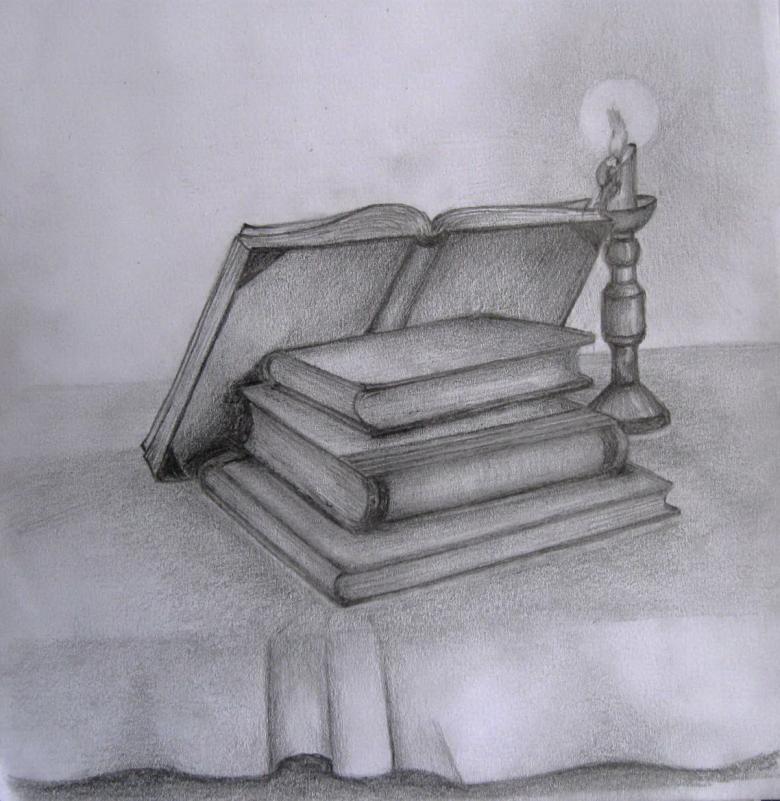
- Determine the location of the top book and, in the way already described, draw it. Thus you can draw any number of books of different locations and sizes.
- Remove unnecessary lines, make the main features more pronounced.
- Detail what you have drawn, mark the layers of pages and shadow them from the cover.
- The next step is shading. Darken the cover of the bottom book. Underneath it, create a shadow with strokes. Lighter shading layer shade the end of the next book.
- Drawing in general, following the rules of light and shadow.
If desired, you can perform a similar composition in color and with the design of covers and ends.

Kawaii Books
Drawing cute books in the kawaii style will appeal to every child. Such images have eyes, and the process itself is fascinating and interesting. To work you will need: simple and colored pencils, eraser, album sheets of paper.
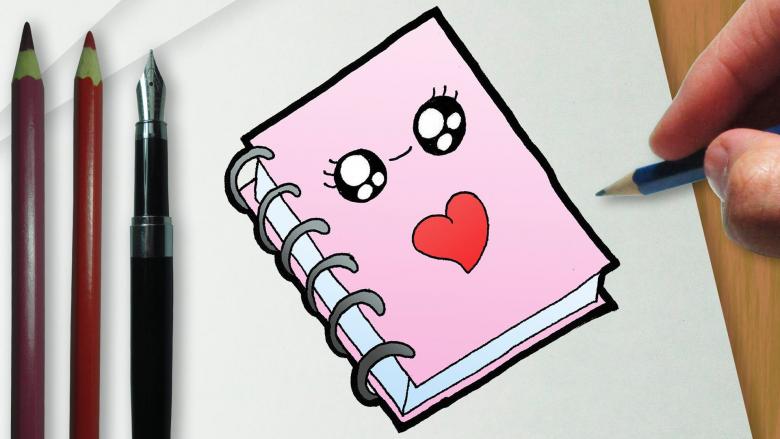
To create beautiful books you need:
- Having departed from the top, on the left side of the sheet to draw a horizontal line (the width of the book) of the required length. To its ends with a certain slope to draw a vertical (the height of the book) and connect their ends.
- From the three closest catches pull down short arcs (the thickness of the book) and connect them at an angle. The left resulting thickness will be the end, and the other - the layer of pages. In the last area to outline the two circles and detail them, creating eyes like a doll LOL or Disney characters. Add to the sketch an open smiling mouth.
- In a similar way to form a stack of similar books.
- Outline all the contours with bold black lines and color the drawing in your favorite but appropriate colors.
By learning to draw a room from the inside and books in different positions, you can create an entire library on paper. And you will feel like a real artist!

