How to draw a hut with pencil, marker and paint - step-by-step master classes for beginners
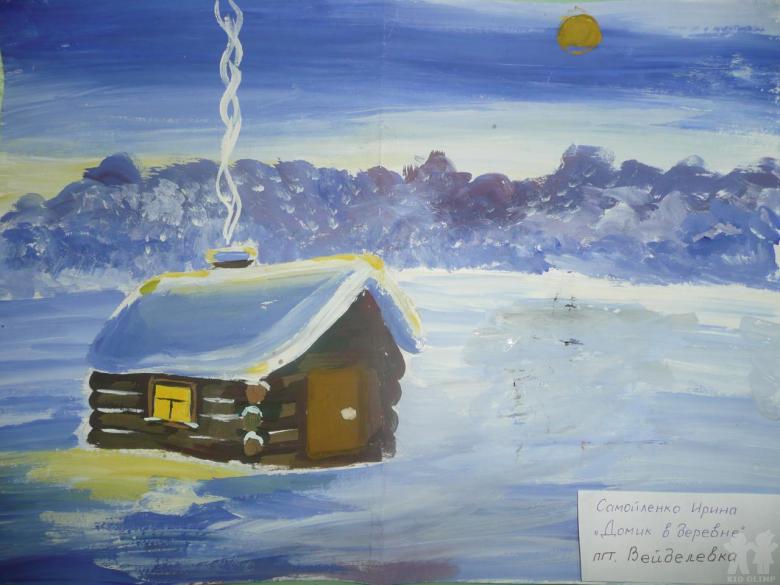
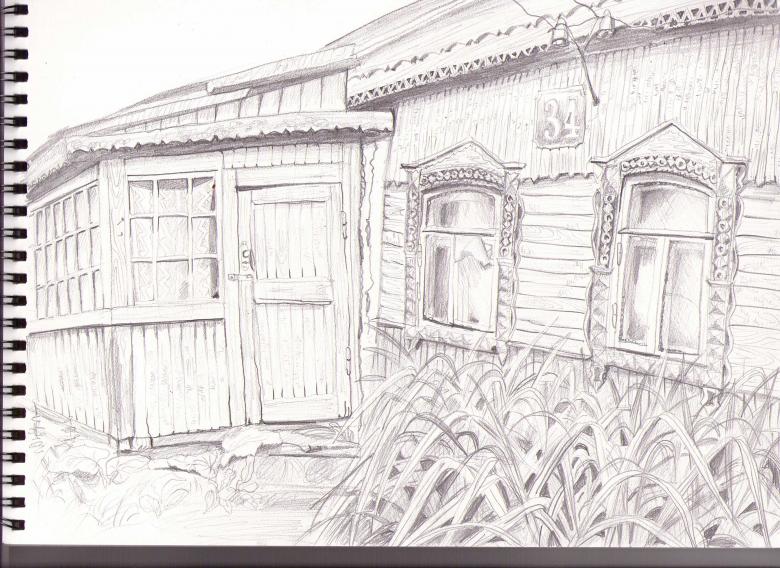
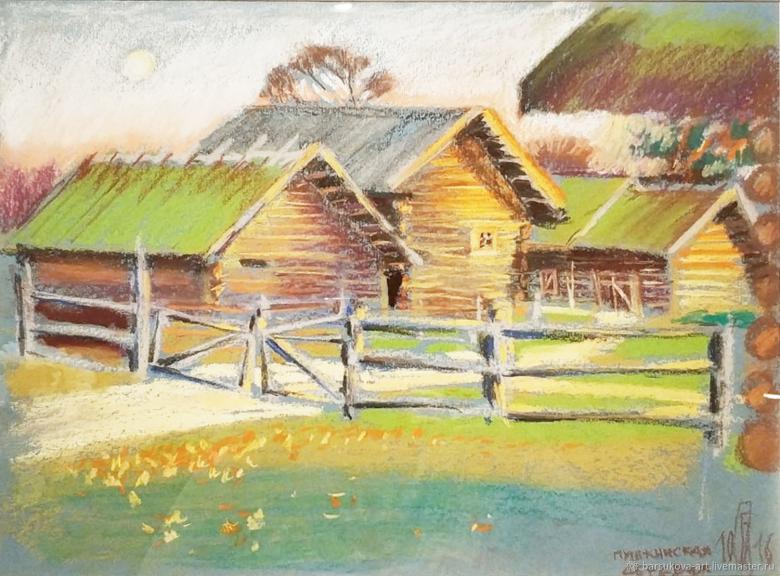
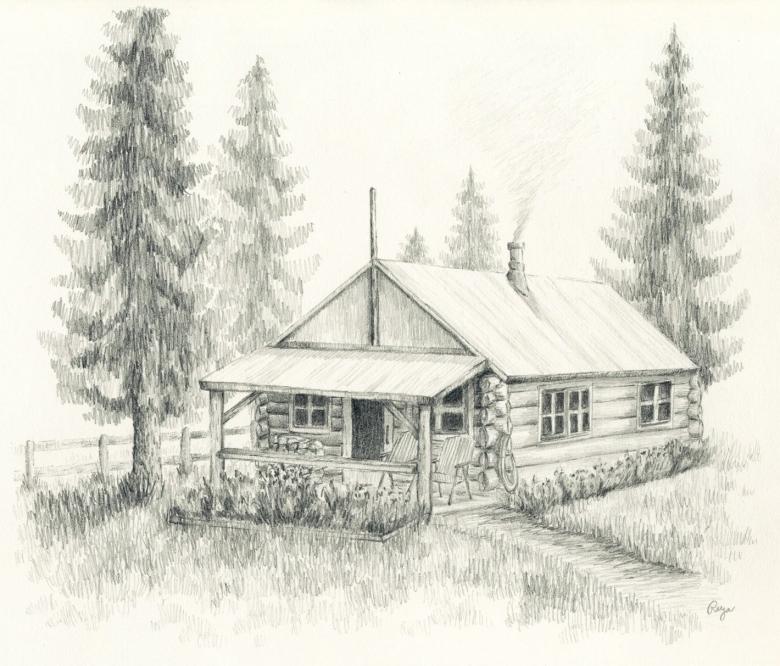
Many artists were often inspired by unimpressive Russian huts and rural landscapes. This is a touching and nostalgic theme, filled with love for the homeland. The simple sketch is easy to draw with simple lines, and some details, shadows will help to achieve a good realism. Even children will be able to cope with the task.
Drawing a House with a Pencil
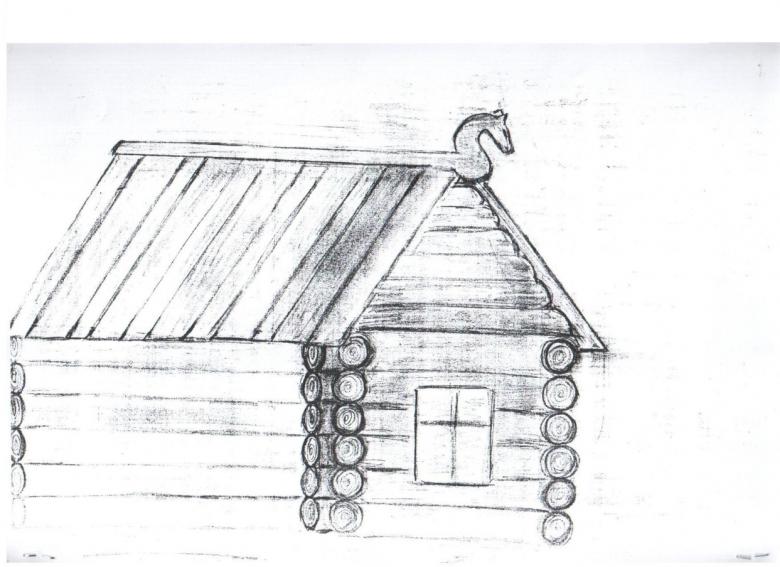
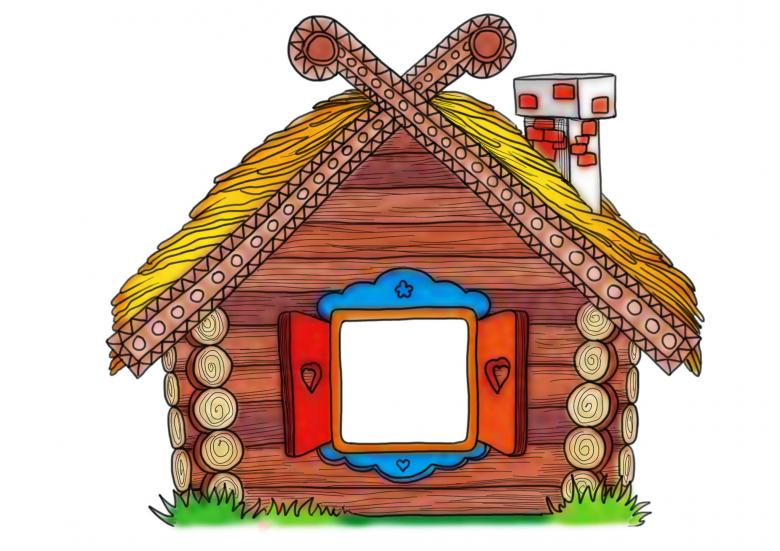
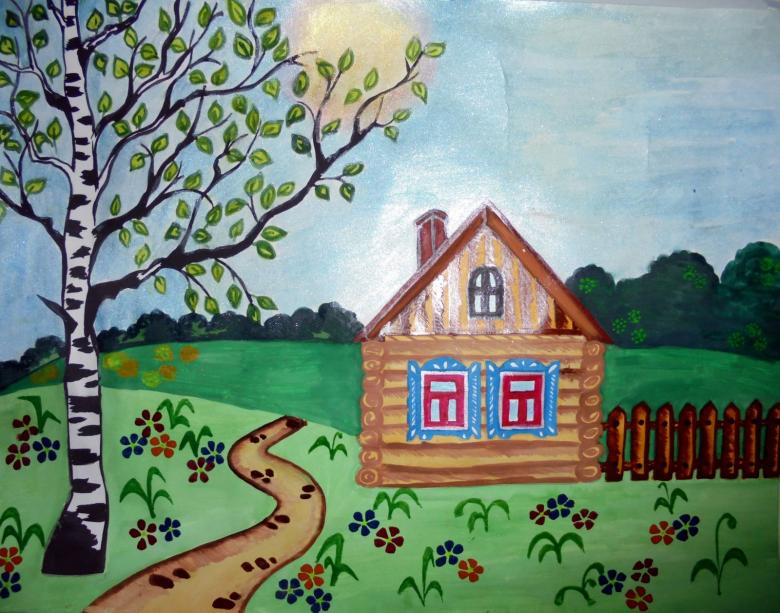
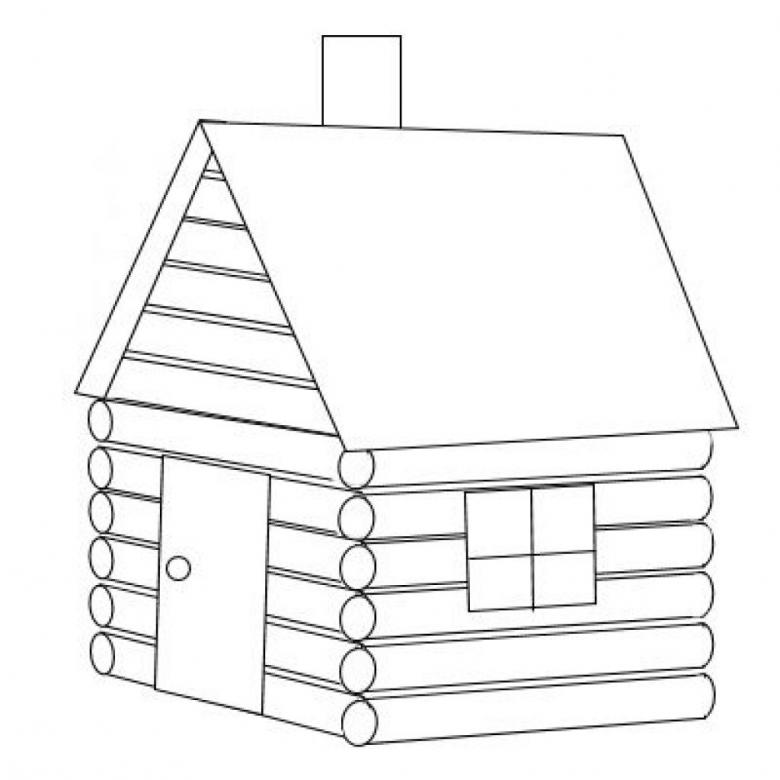
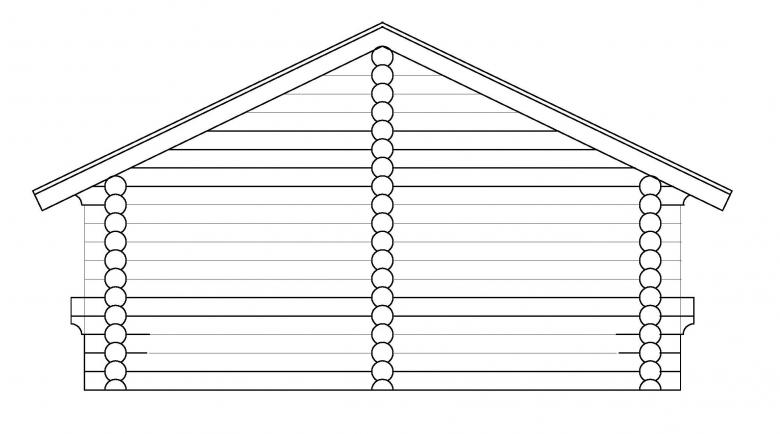
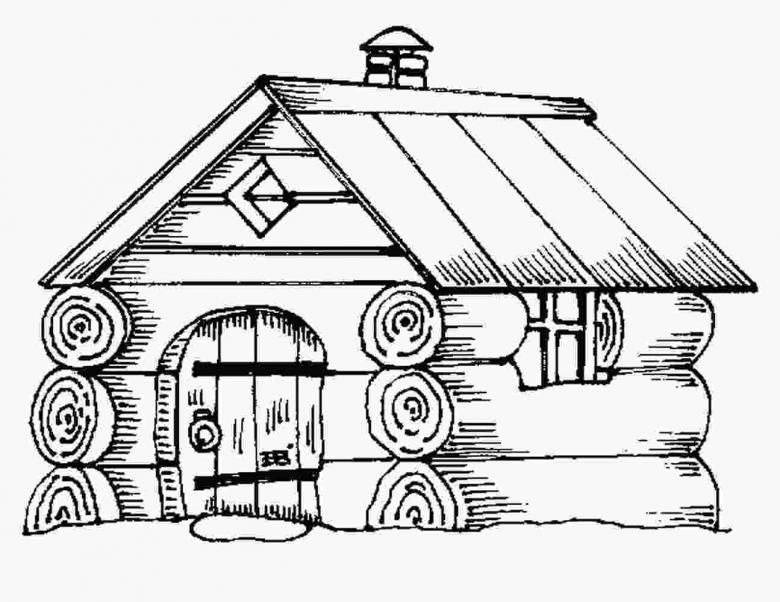
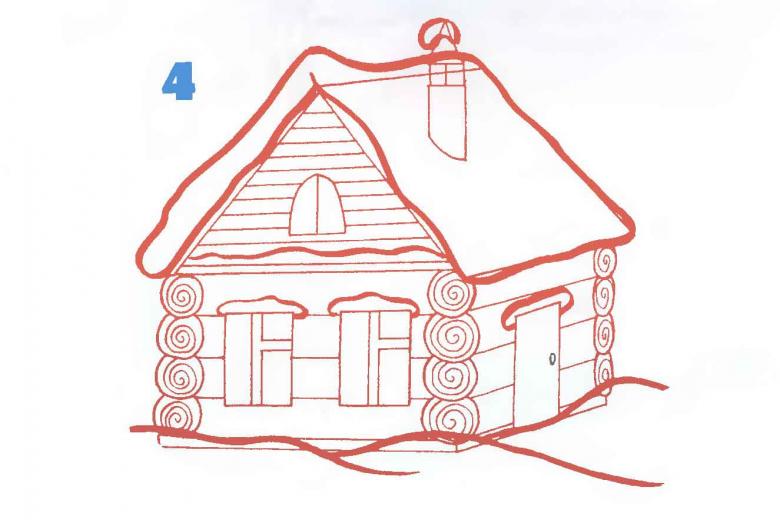
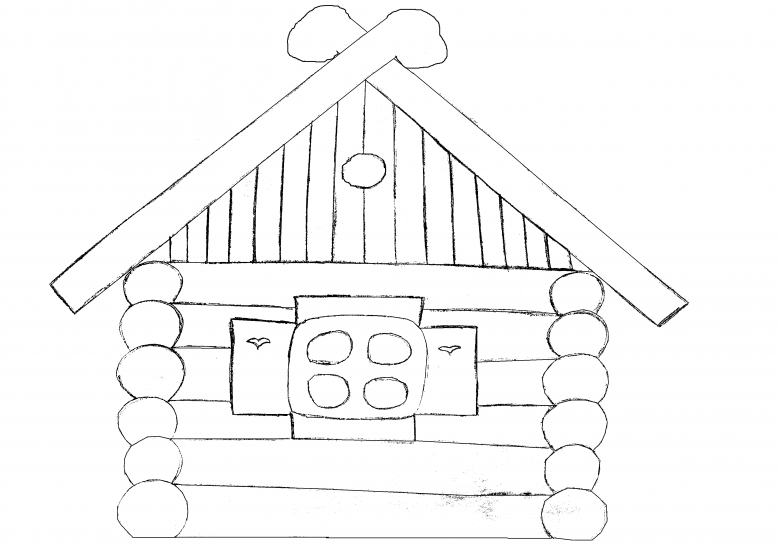
The first lesson is devoted to the image of a wooden house in full-face. If you are going to paint your work, prepare felt-tip pens or paints. Step-by-step steps:
- First, we need to draw a rectangular figure with the upper part missing.
- At this point will be the roof, looking crossed at the top by triangular lines, their outline on both sides, giving volume. The original mark is erased.
- Podskrivuyu foundation.
- Now we make out the exit of the logs on the edges, having the appearance of circles.
- There will be three windows - two are the main ones, one is an attic window. To the last one, we finish drawing small windows and a flat triangle on top.
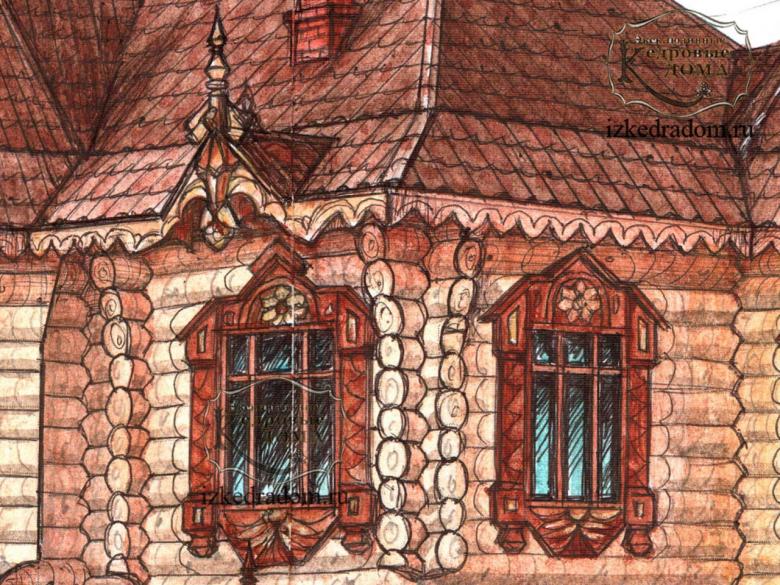
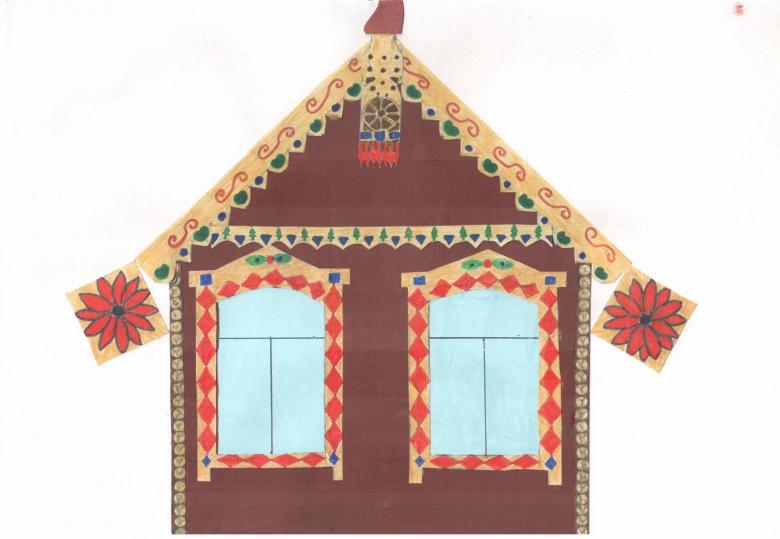
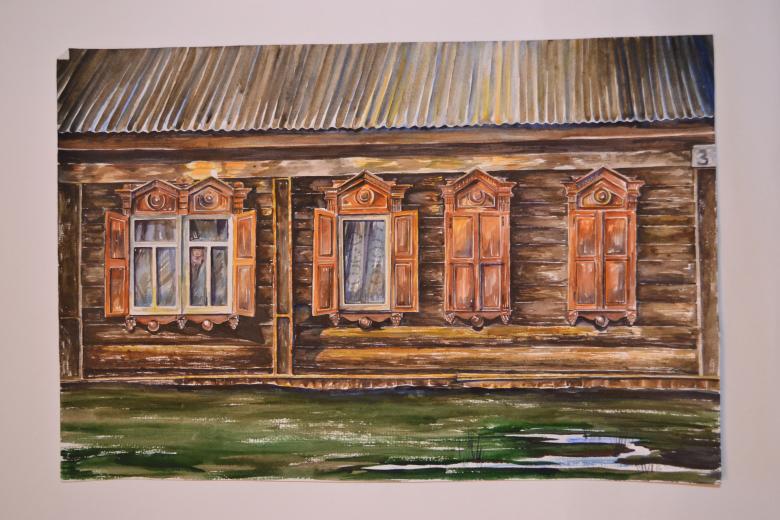
- Shutters are added to the bottom windows, over the frames are placed platbands, they can be made in any pattern.
- For the roof we add a brick chimney, from which the smoke comes.
- Vertical strokes mark the log masonry.
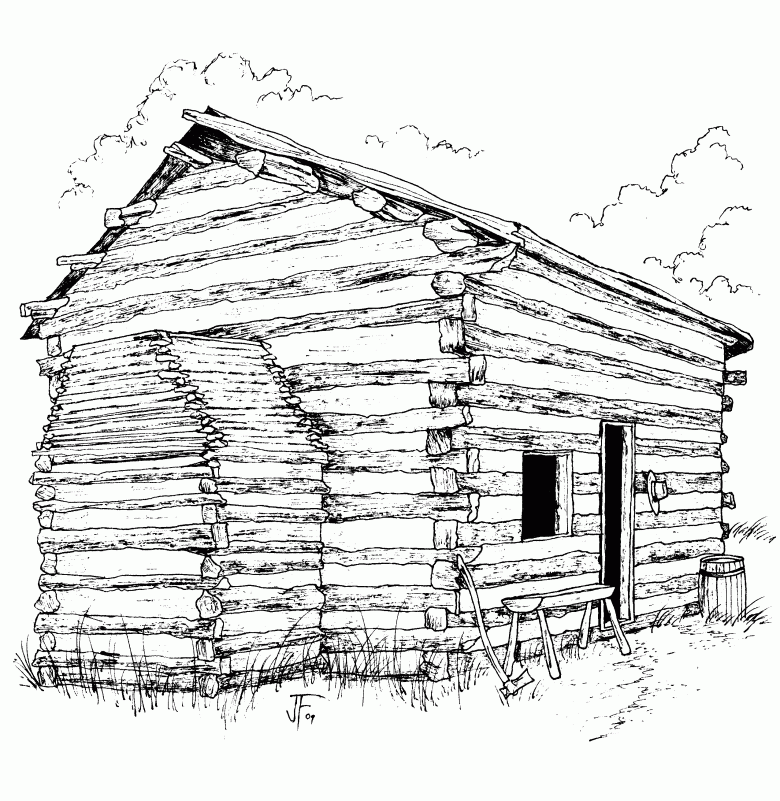
The drawing can be shaded with an ordinary pencil, using light and shade, or painted in vibrant colors. To get a true picturesque picture, next to it we draw a fence of palisades, trees, a running river, grass with zigzag strokes.
Interior decoration
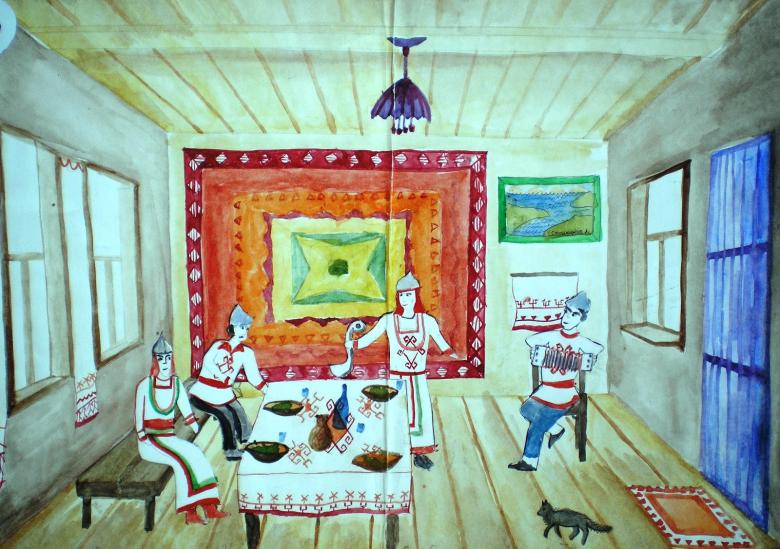
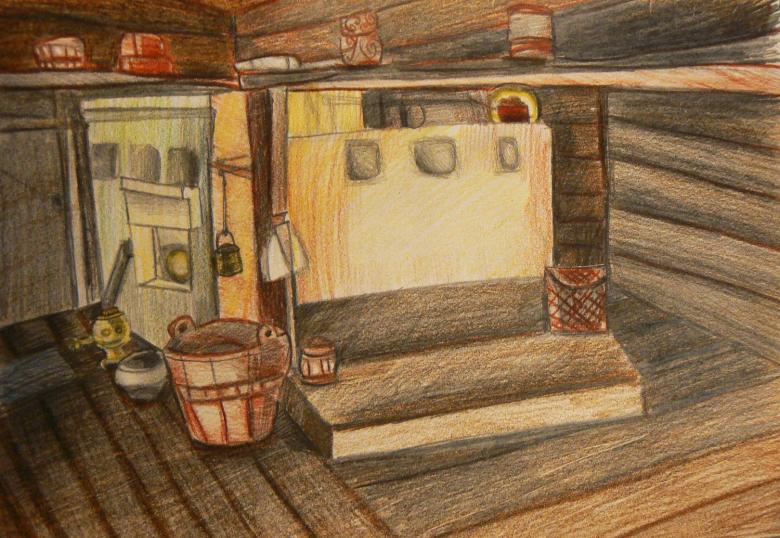
In the beginning let's work on sketching the perspective of the room. Having drawn a big rectangle, we place in it a similar smaller one, joining their corners. Workflow:
- obtained walls should be drawn with vertical lines under the logs, things will be placed clearly parallel to them;
- In the distant projection there is a stove;
- The bench will be placed under the window on the right;
- on the left is the doorway, above which kitchen utensils are stored on a shelf.

It is not forbidden to change the components of the location at your discretion and even experiment by hanging a cradle, curtains, installing a samovar and other household appliances.
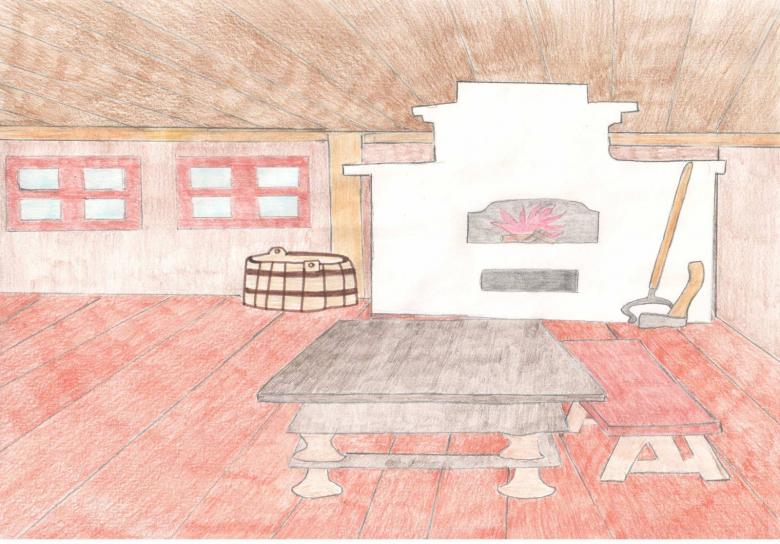
Russian stove
As you begin the task, trace a figure that resembles a large, low bottle whose neck is a pipe extending into the ceiling. Use the law of perspective to make it three-dimensional. Starting from the base of the throat, bring the rear silhouette, similar to a rounded wagon. Its top is a cot, to which a three-step staircase leads. A brick-lined hemisphere in the center is the place where food is cooked, the same cutout in the lower area is the firebox with firewood. Nearby there is a grub, a poker, and a tub of wood.

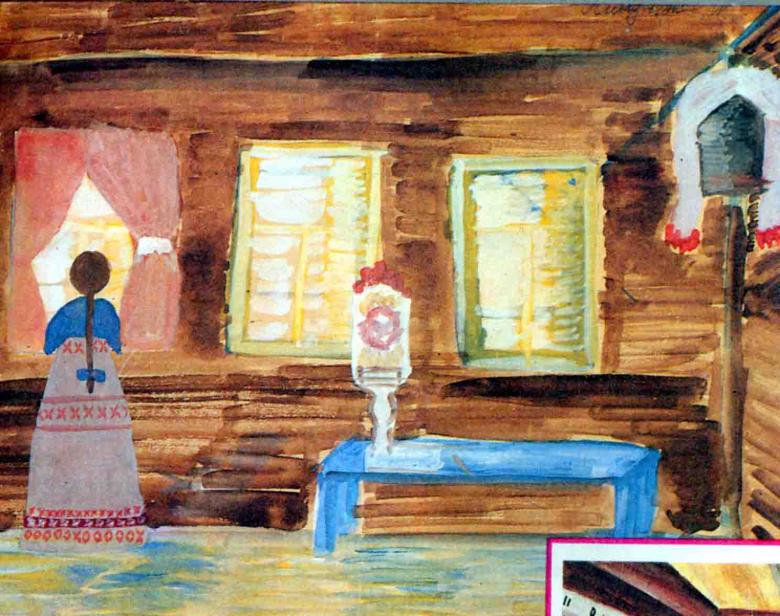
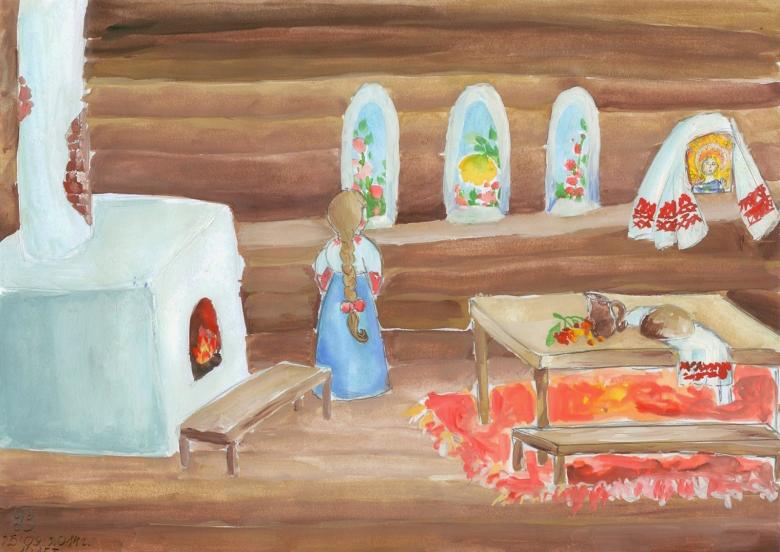
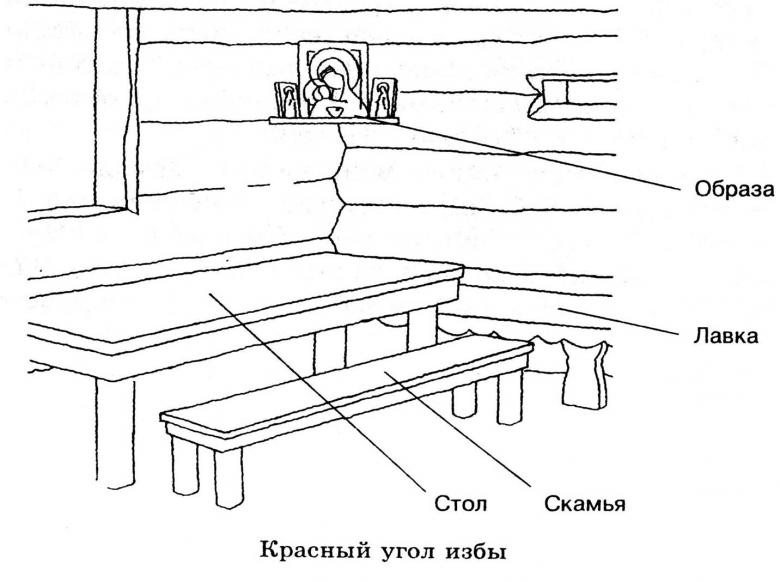
The red corner
In the past this was the main area of the room, where the iconostasis was placed. Draw a corner perspective with the outline of the log parallels. At the top point we draw one under the rushnik or several icons on the shelf. On the left under the window we put a table and a bench near it. Everything will turn out without difficulty if you follow the exact arrangement of objects in relation to the drawn wall markings.
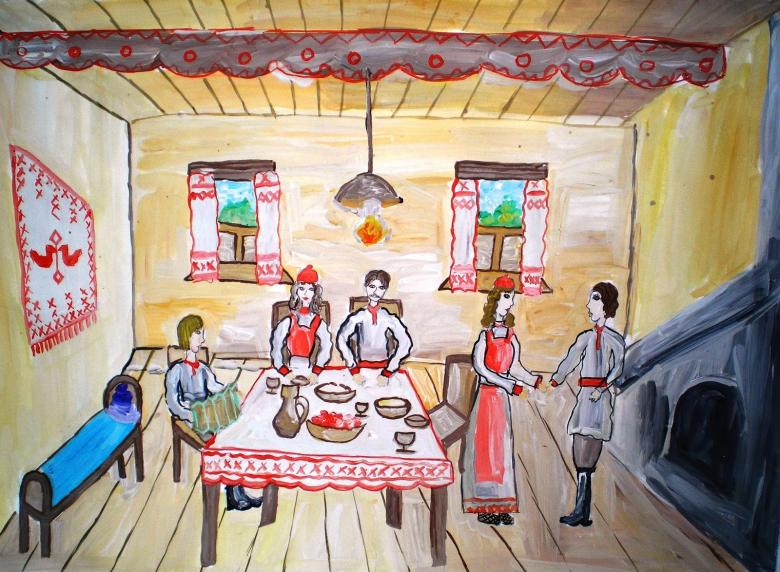
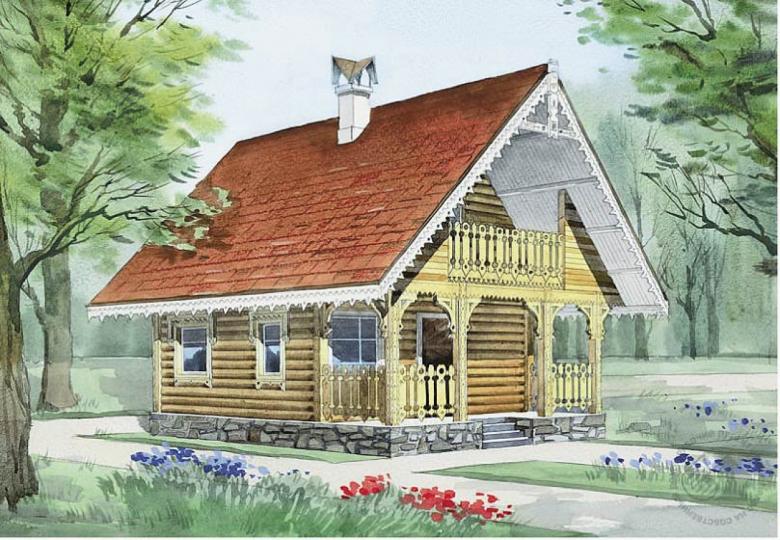
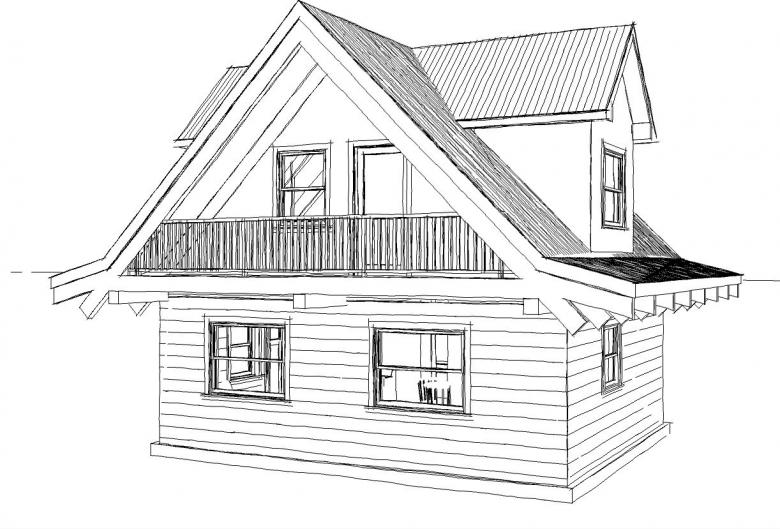
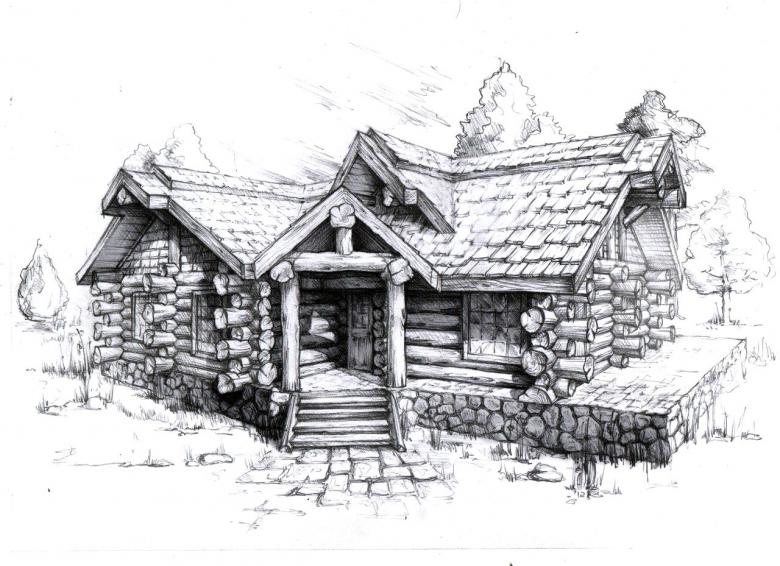
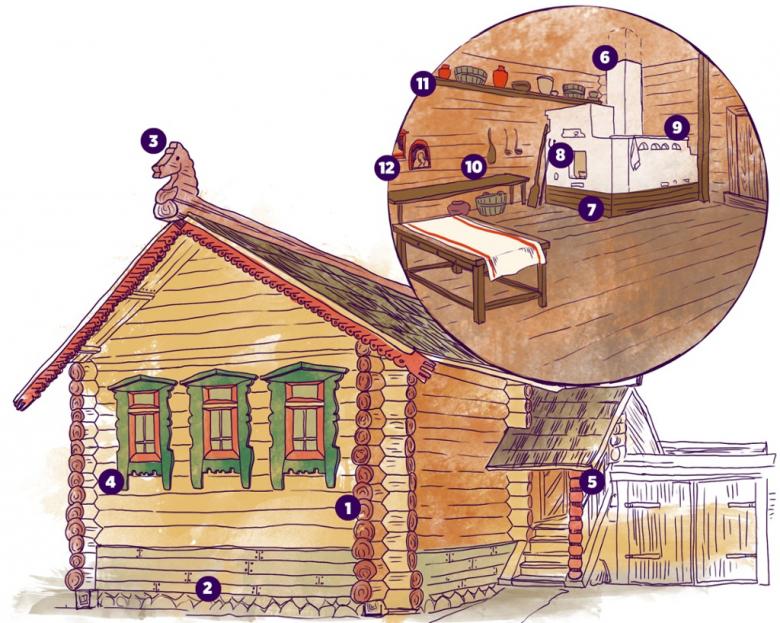
The house from an angular perspective.
Over this option will have to work, it is more complicated, but after understanding the principle of perspective, the task will be quite feasible. Step by step process:
- Draw a cross on the sheet, where the vertical line is the side of the wall.
- From it draw two lines to the left in an oblique position, so that they join on the horizontal bar.
- Do the same on the right side.
- It's time for the roof, with the timbers protruding outward, and the foundation base. All elements are introduced in proportion to the projection lines.
- We mark the windows.
- At the corners there are circles of timbers, in the foreground you can see them in two rows.
- Fix a brick chimney.
- Draw the entire dwelling, highlighting the log structure.
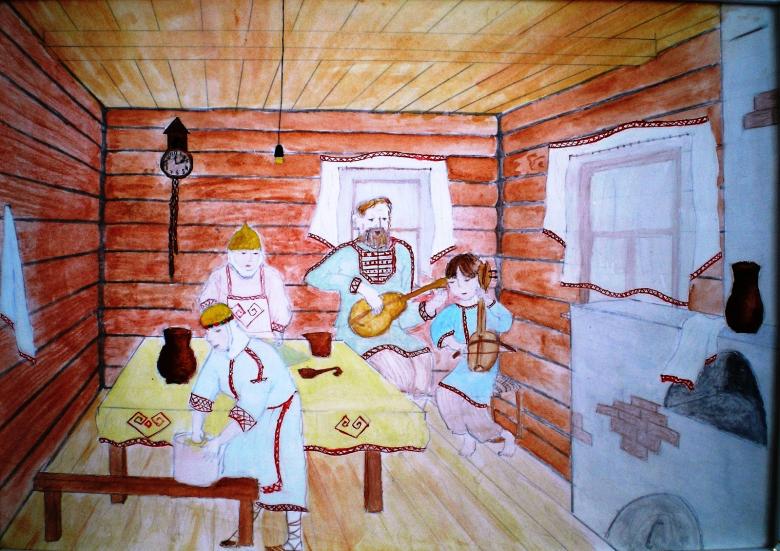
Erasing all unnecessary, continue to create, blending in the surrounding landscape. In this matter, trust your imagination.

A fairytale hut
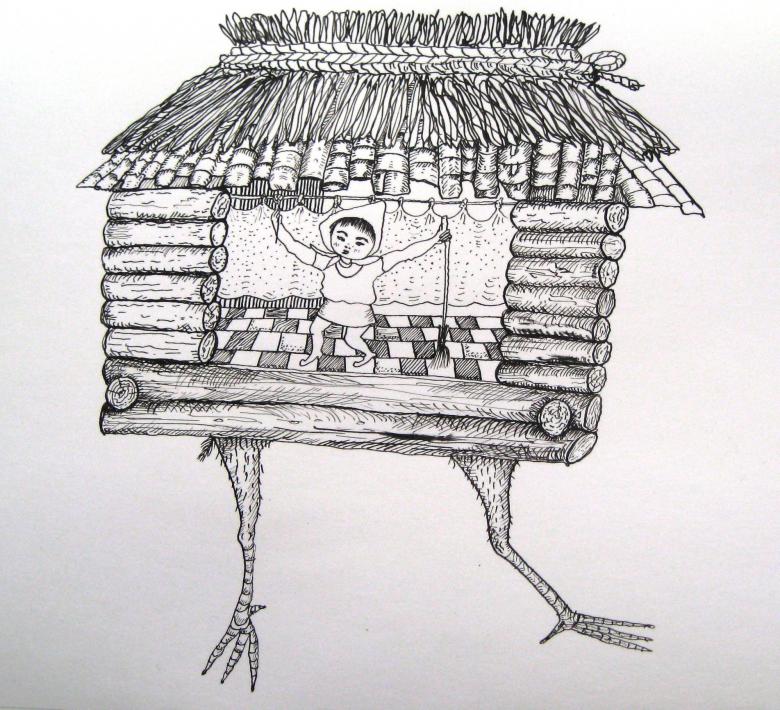
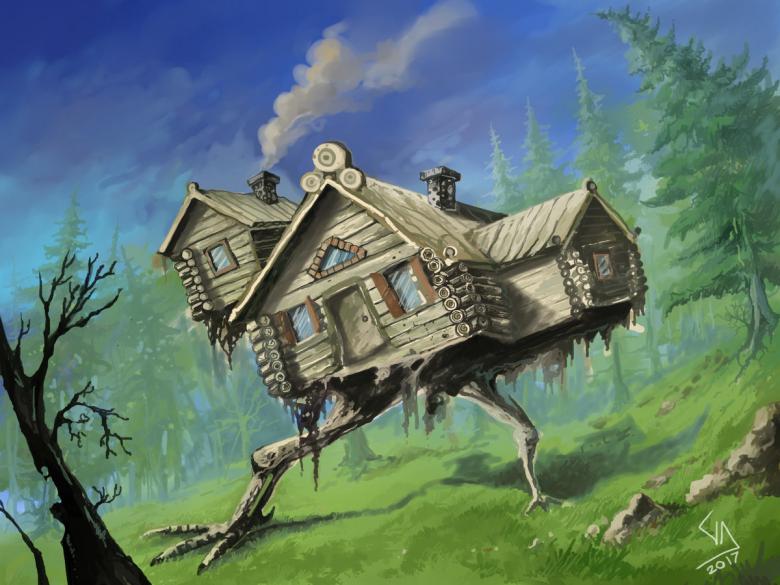
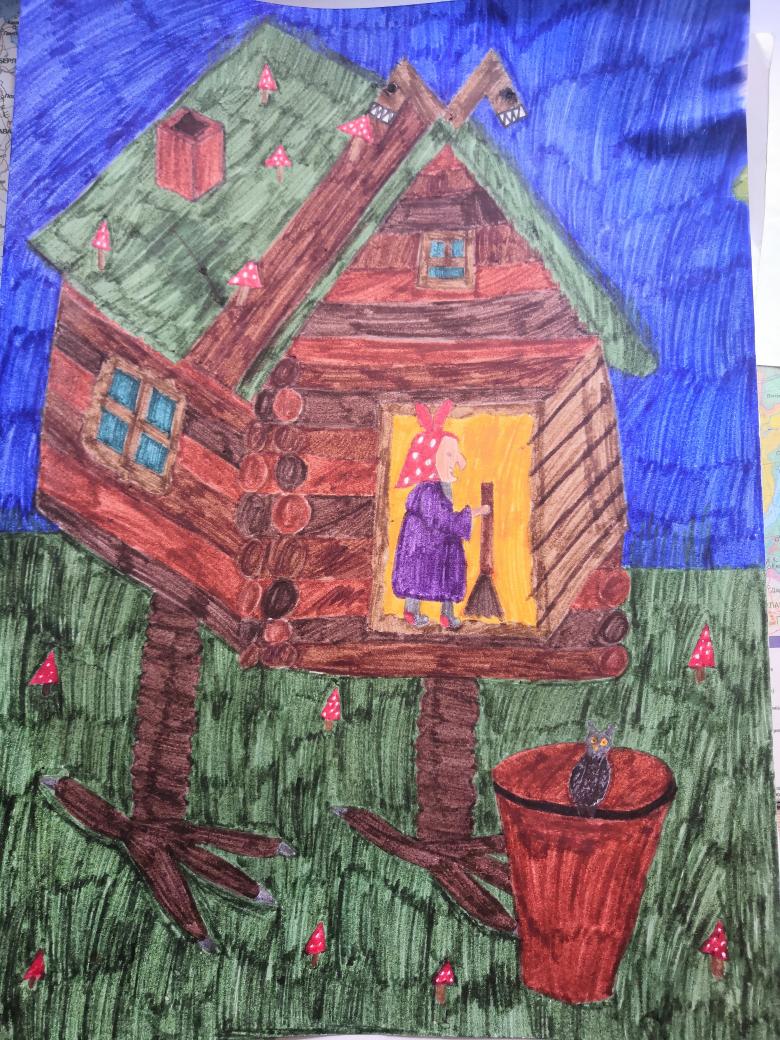
A dense forest hides the Baba-Yaga's dwelling on chicken legs. Perhaps it is settled on marshy mounds, and surrounded by fly agaric, but that you will conjecture later, now we will draw:
- Draw the configuration of the trough, that is, the bottom is already on top;
- On top we add a high triangle roof, along its edges we put wavy ornaments;
- At the bottom, one window repeats the outline of the house, another - any shape in the attic and under it a canopy;
- In the corners we place, as usual, the circles, and draw them in spirals;
- we make up the shutters and the chimney with the chimney, and mark out the horizontals of the logs;
- thick legs with chicken legs grow to the floor.
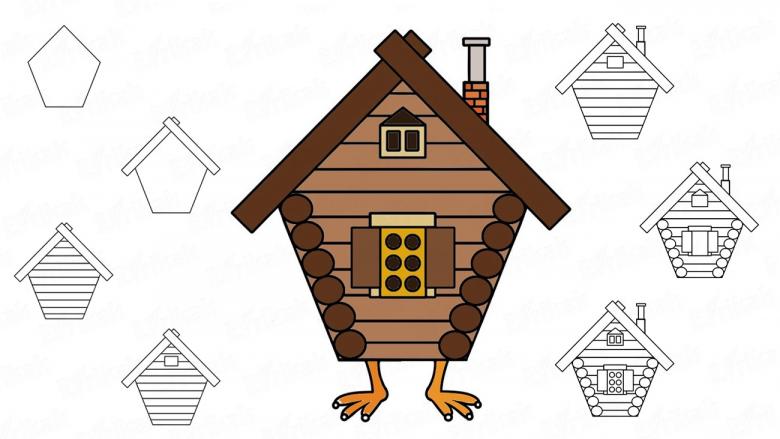
Around depict a forest thicket, you can put a crow on the horse. Color the masterpiece to your liking, giving the picture a sinister hue or a bright cheerful look. If it comes out awkwardly, that's okay, because the hut was mastered by an evil force. So feel free to arrange a presentation of his creation in front of the household or in school.
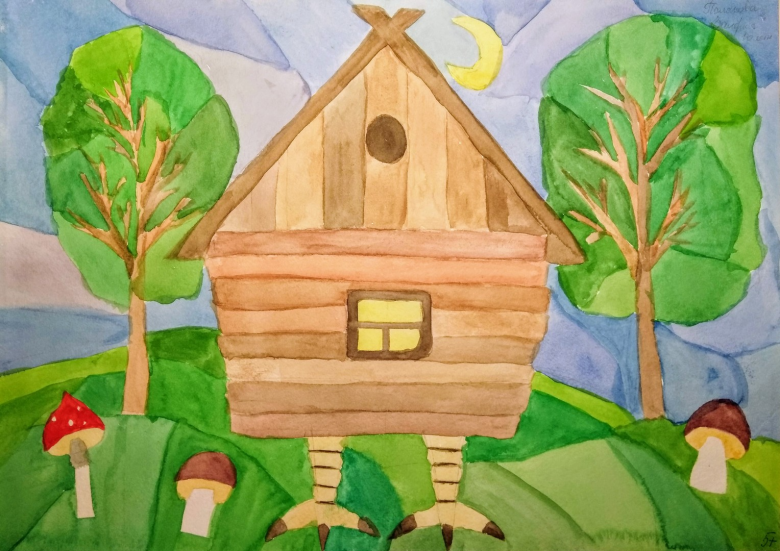
Drawing a hut is very interesting, getting the basic skills, you can go further, creating a whole village with a cozy home image on the background of nature. The seasons will bring a new enchanting atmosphere to the canvases - in winter they will be covered with snow, in rainy weather they will be enveloped in a subtle nostalgia. Such an activity will appeal to both adults and children. Create yourself and teach it to your children!


