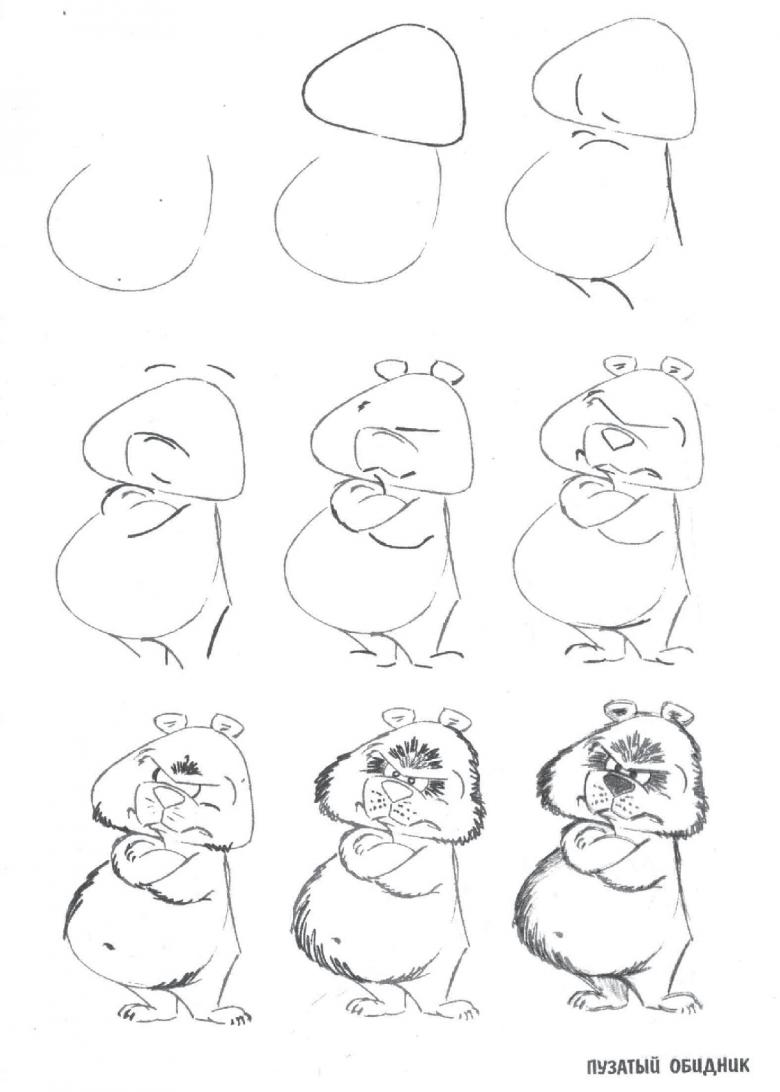
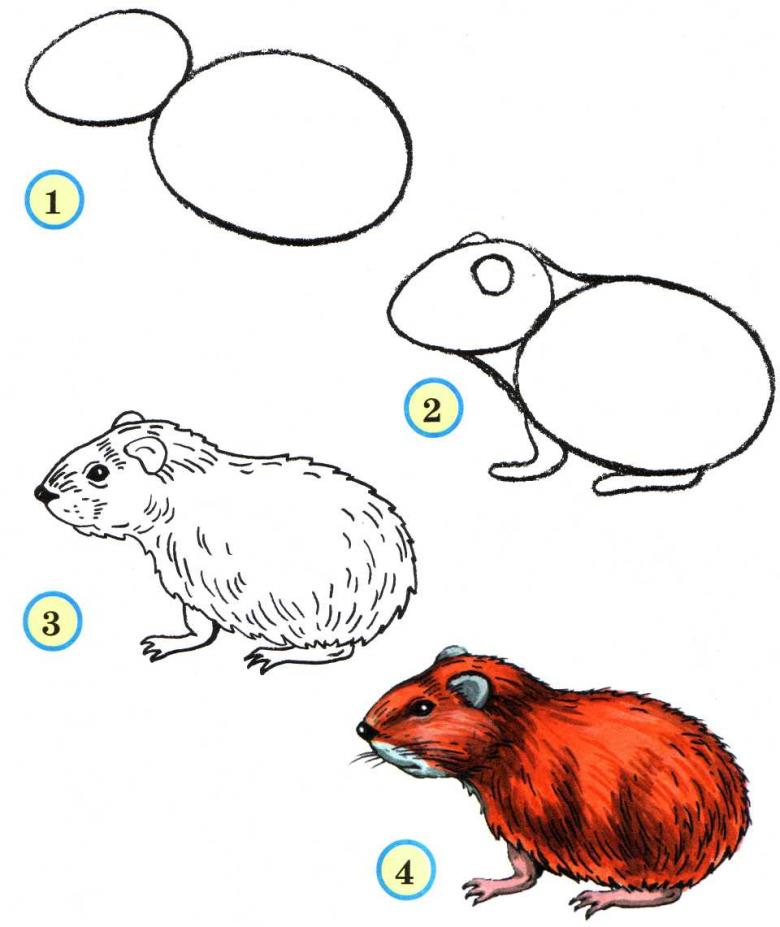
How to draw a hamster step by step in pencil - easy children's master classes for beginners
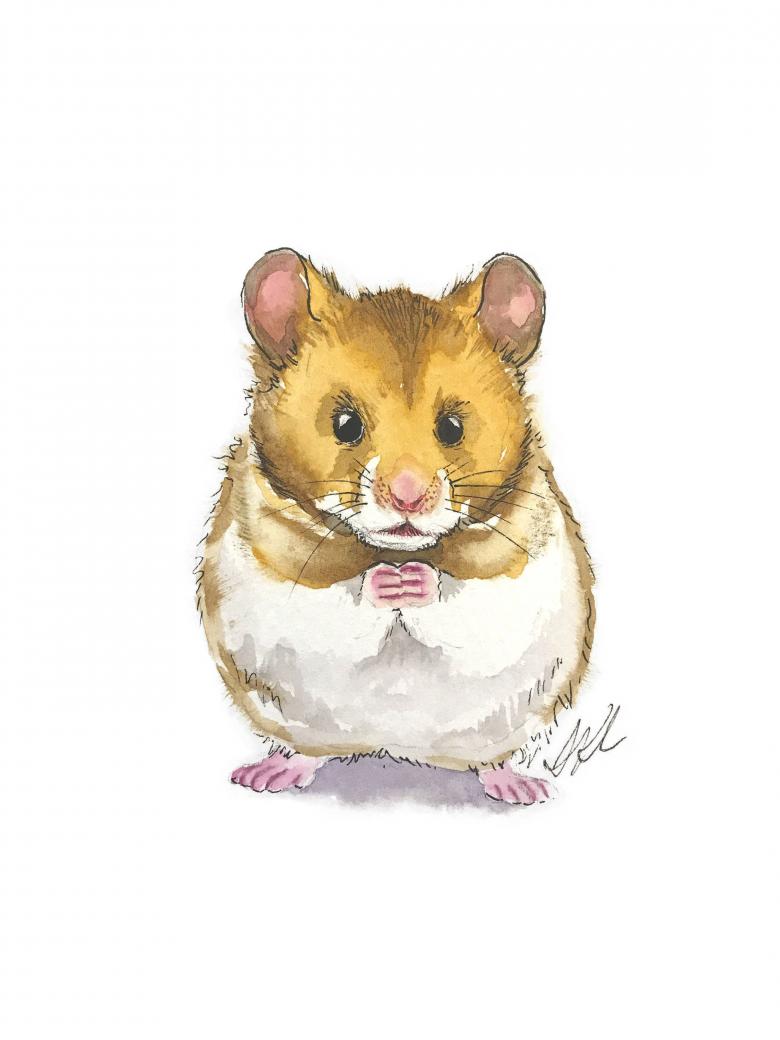
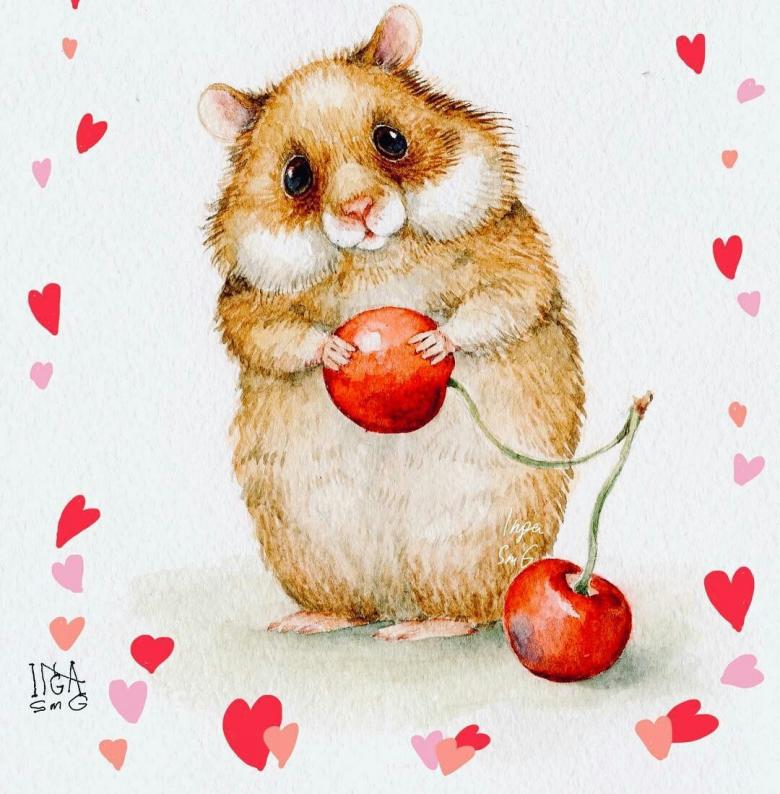
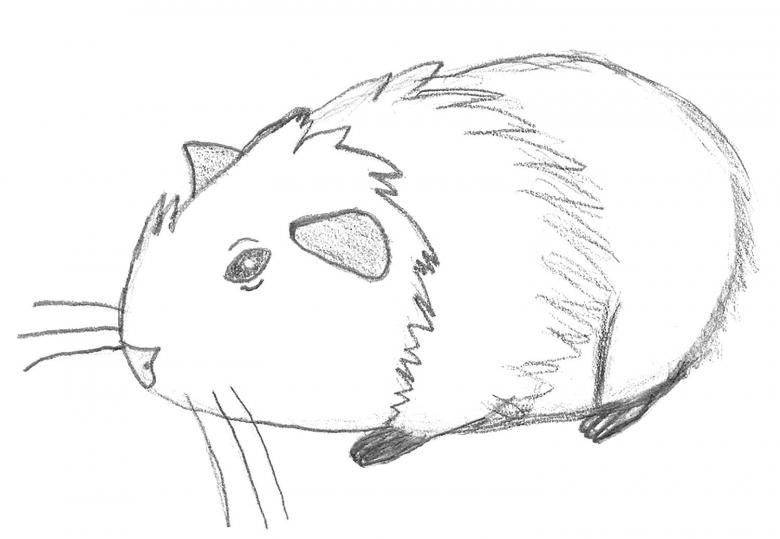
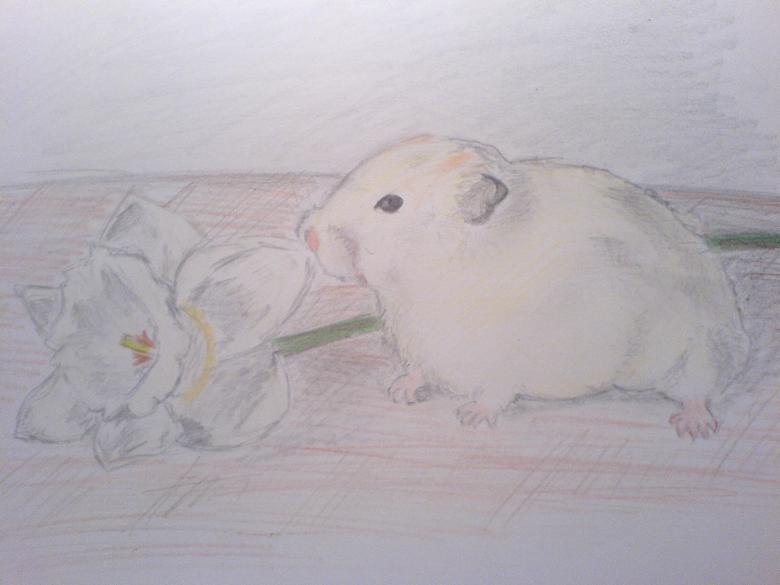
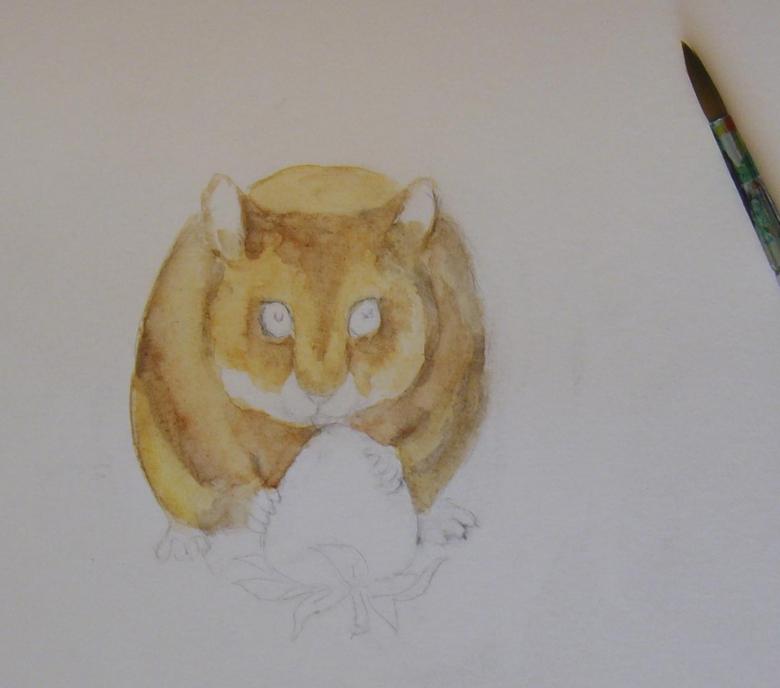
The hamster lives in the wild and is not considered a pet. However, the beautiful appearance of this rodent has attracted human attention. He is distinguished by his swollen cheeks, in which he is happy to shove a lot of food, small size, brisk movement, good behavior in the hands of the owner.
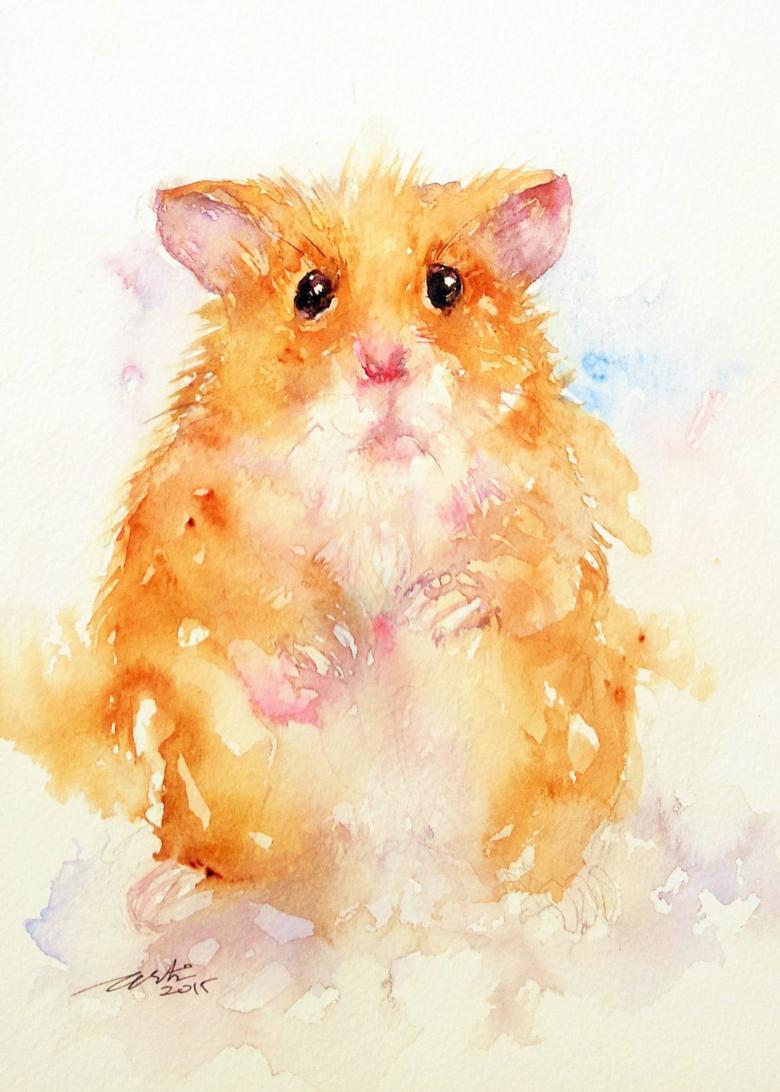
He rarely bites, so he becomes a pet for the whole family. If you do not have the opportunity to make such a friend, and the children have long been asking, then you can simply draw a hamster together with the younger generation. The following will show you how to do this step-by-step.
Let's draw a funny hamster thanks to the cells in a notebook
This drawing will make you realize the principle of creating an accurate image of the animal on a notebook sheet of paper. It is important to realize that this is a creative process your hamster may be slightly different. However, you will now understand where to start and how to progress to form a good drawing. That will be enough for today.
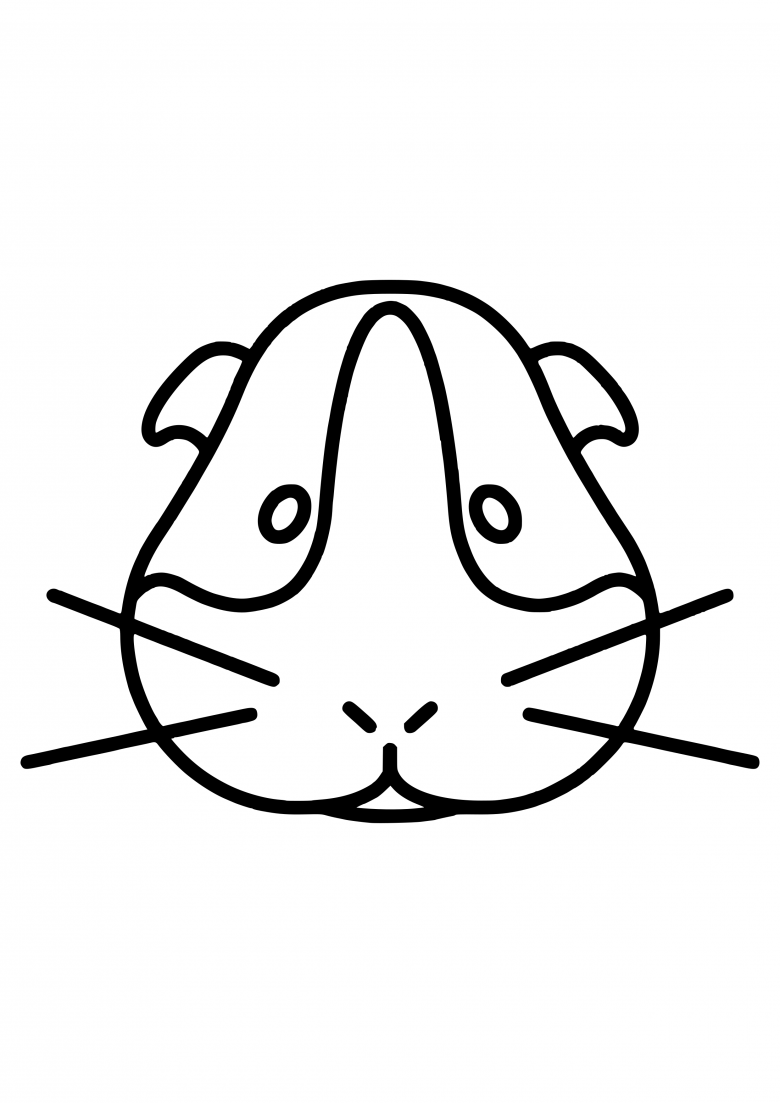
To begin, you need to prepare a pencil, pen, and colored pencils. You can move on to the drawing:
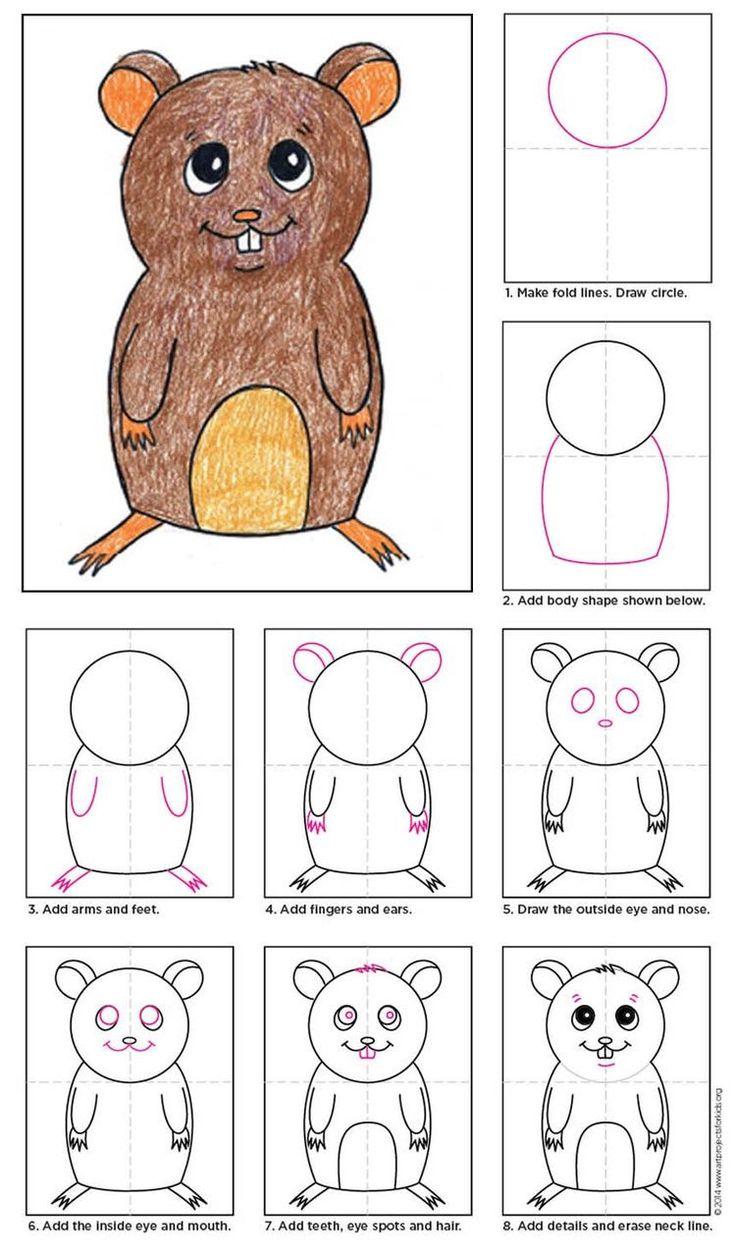
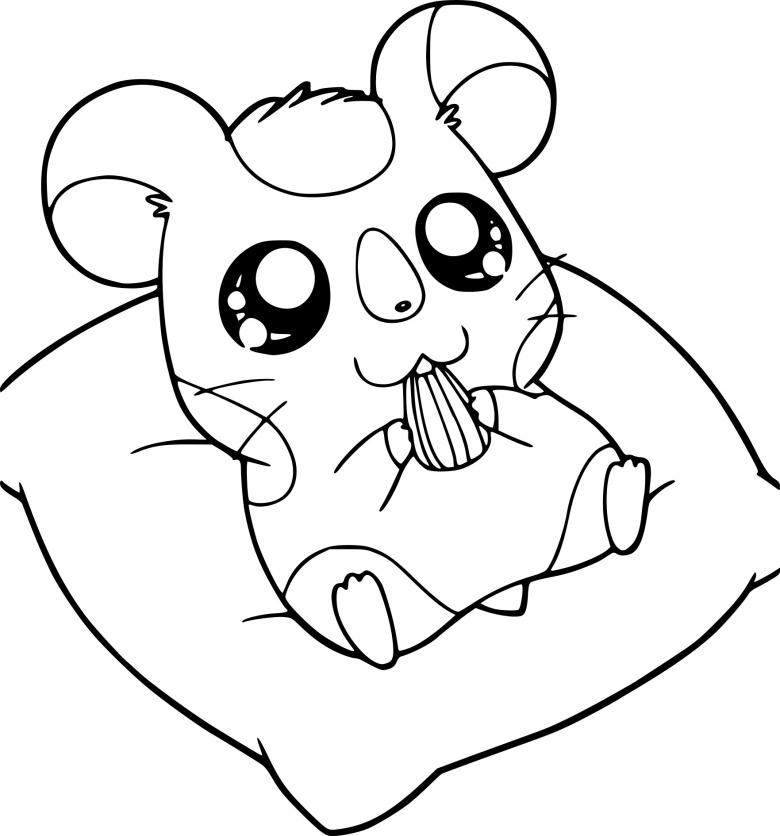
- Draw an arc two squares to the bottom side on the base of the top of the sheet. Now step back five squares to the right and add an identical arc. From the top of the outline, draw a small one-cell circle to form the ears. Inside the oval, create a smaller copy of the circle. From the ears draw a line two cells to the left and right. In the middle create a wisp of wool.
- You need to highlight the large cheeks, thanks to the same semicircular lines from the bottom of the sketch. In the place between them create a nice mouth. Add a nose, thanks to the oval of the desired shape. Now you can add the teeth to the mouth. The teeth should be shaded.
- Next to the nose or above it, draw eyes of the oval type. Highlight the pupils and shade the empty space. Leave highlights for beauty. Add eyebrows. From the cheeks create an outline of the body, and shape the paws of the animal pointing upwards. Let it be cute.
- In the lower part of the body add two more paws, as he has four limbs. To finish, you should draw a seed in either upper paw.
- Now use colored pencils to paint the animal. Seed can be painted over, thanks to the pen, apply it to highlight the contours.
- Allow for coloring with any authentic colors. Hamsters can be white, black, brown or alternate colors. More often than not, there are bicolors. Therefore, use two colors of your own choosing. This job can be done by your child. They usually like to color, but not create details.
Well, what is not so difficult? Did you like it? Then move on to more complicated options. Do not worry they will also turn out, if you stick to the plan the work will be easy even for a beginner.
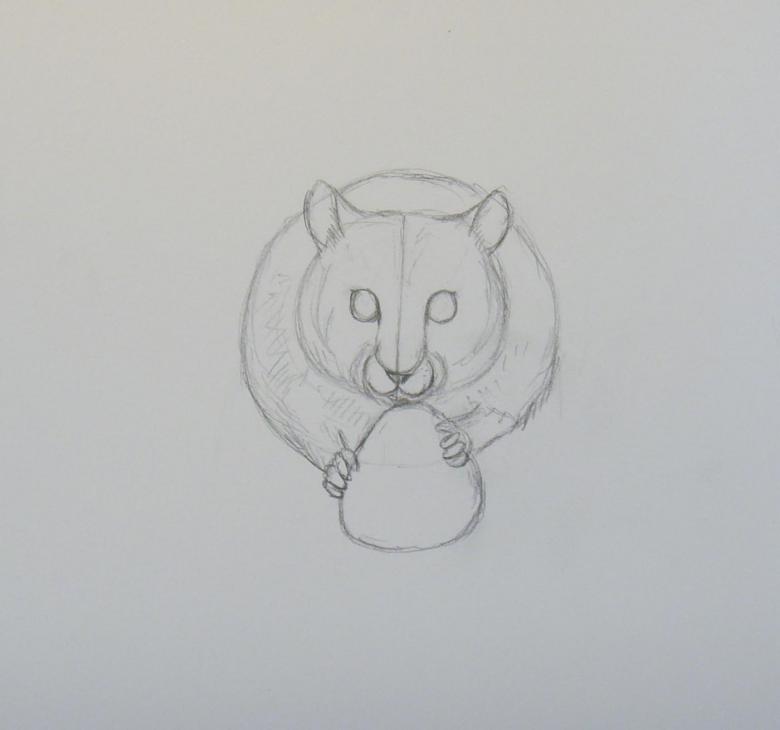
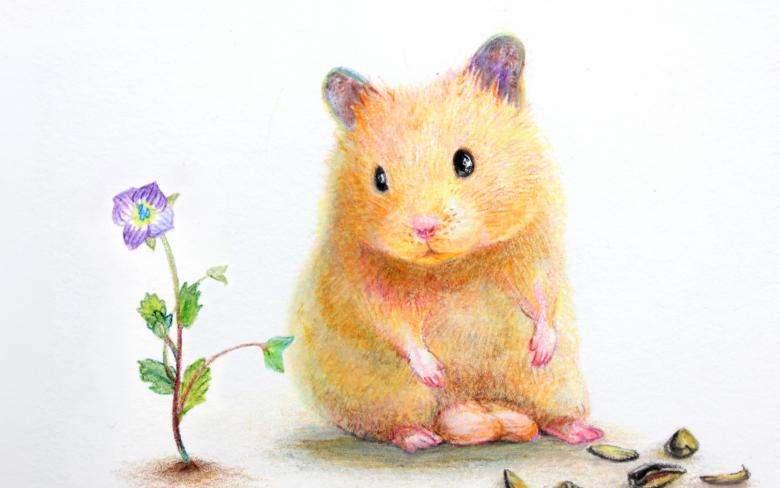
The live hamster image is the most kawaii
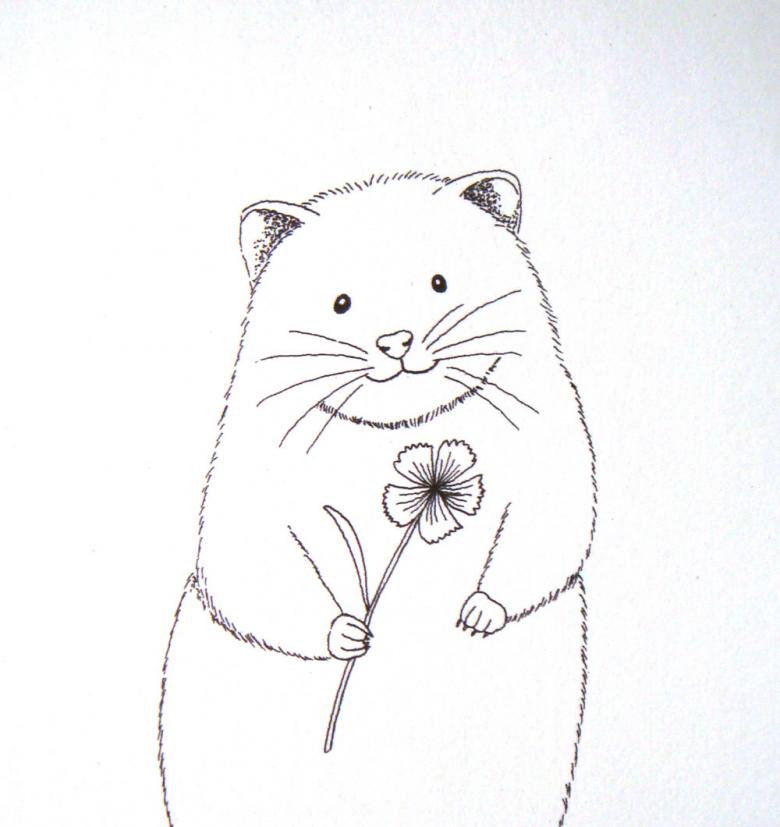
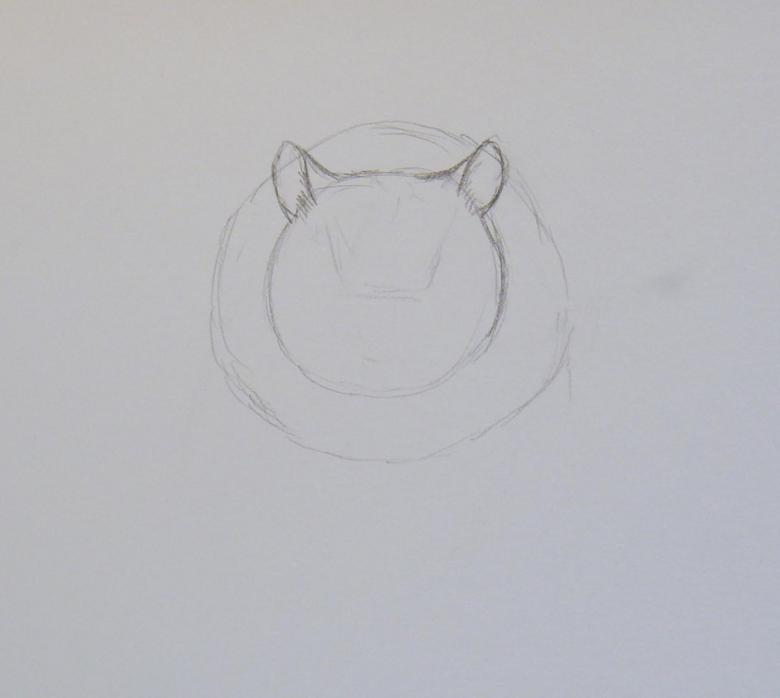
If you do everything according to plan, then it's easy to depict a hamster in full size. A black pen and pencil will help. Let's begin:
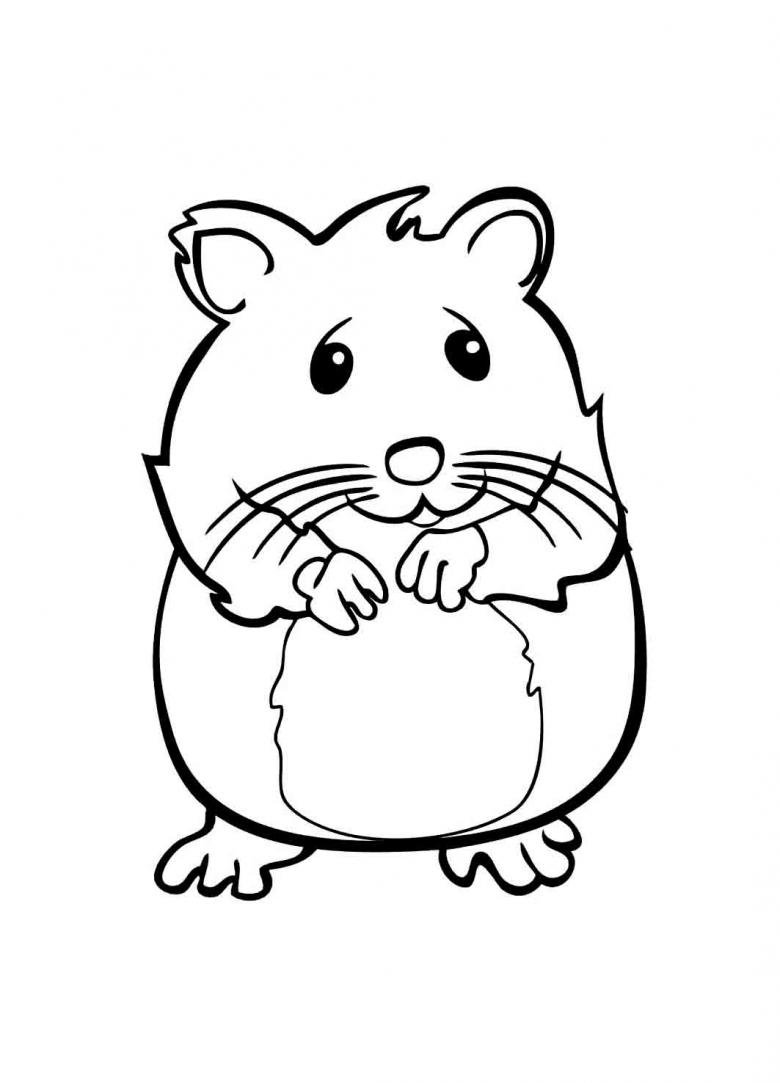
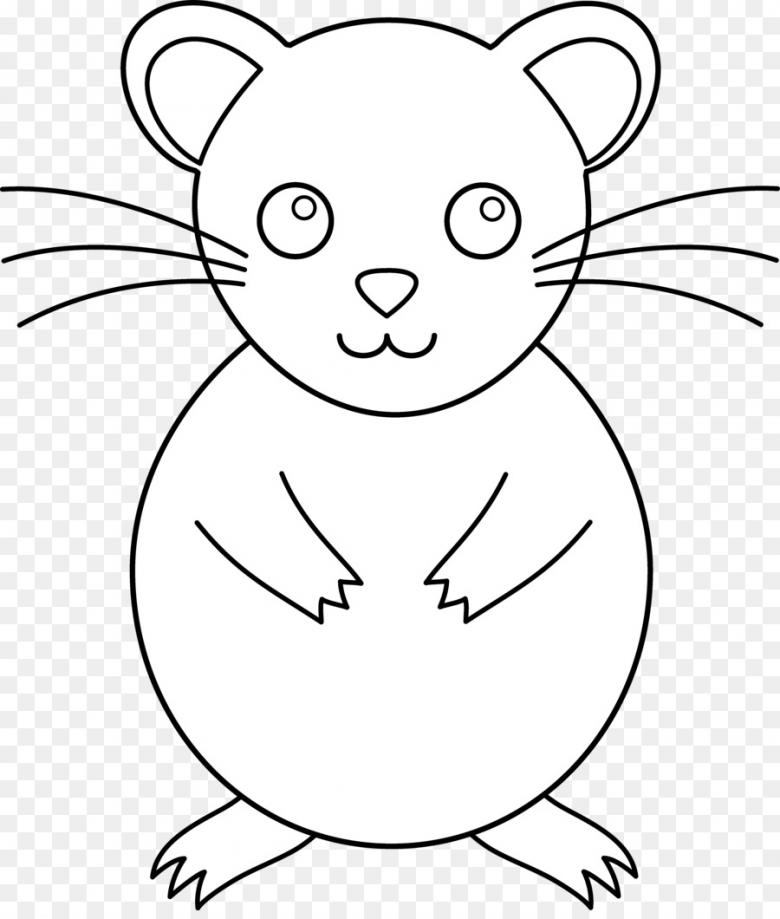
- Draw a circle. This is the rodent's natural eye. Paint over it, but the glare remains for beauty. The outline is highlighted in pencil. Indent to the left and create an outline of the body shape of the beast. Bottom two semicircles shape the chin. A little higher up, form a nose and mustache in both directions.
- Go back to the top of create the left and right ear. Right of the ear drop a line down to form a volumetric body. Also from the other ear make a line down to get an identical body, like a hamster.
- The outline is almost ready. But it is necessary to add paws on the front. In this case, only two paws will be visible, because the others will be hidden under the body of the animal. Add an image of wool to the outlines. Of course - it's not a starter level, but you're good at it.
- It is necessary to highlight the contour with a black pen. Dashed lines highlight the nose, sides of the body, cheeks. Now you can use felt-tip pens or pencils. It is necessary to revive the picture. Highlight the nose pink. Wool can draw the color of love.
Bravo you have succeeded. But this option is not the most difficult to learn. Would you like to continue?
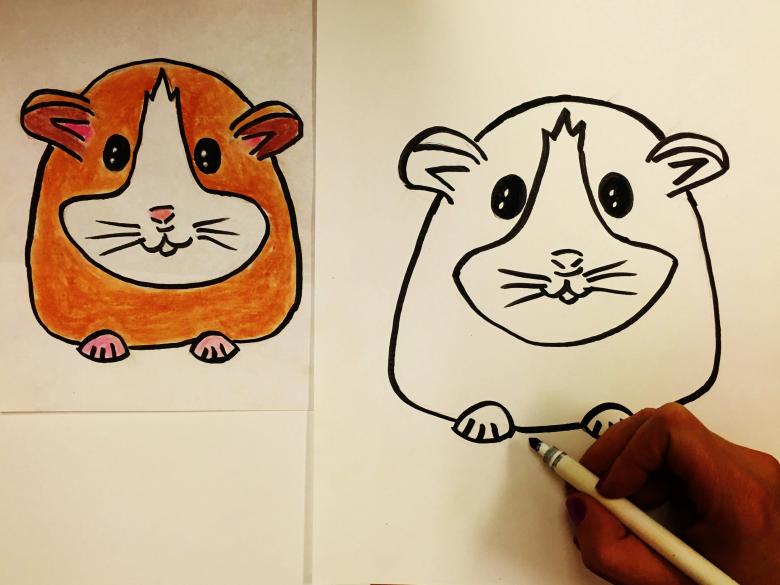
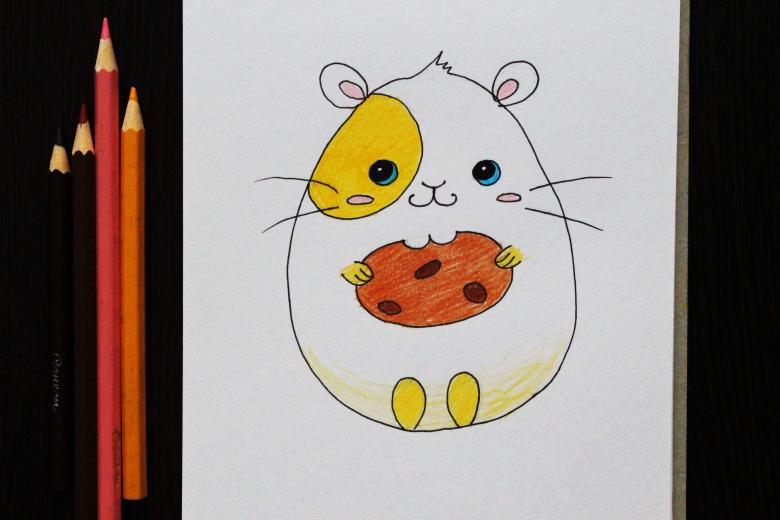
Let's create a funny version of a hamster.
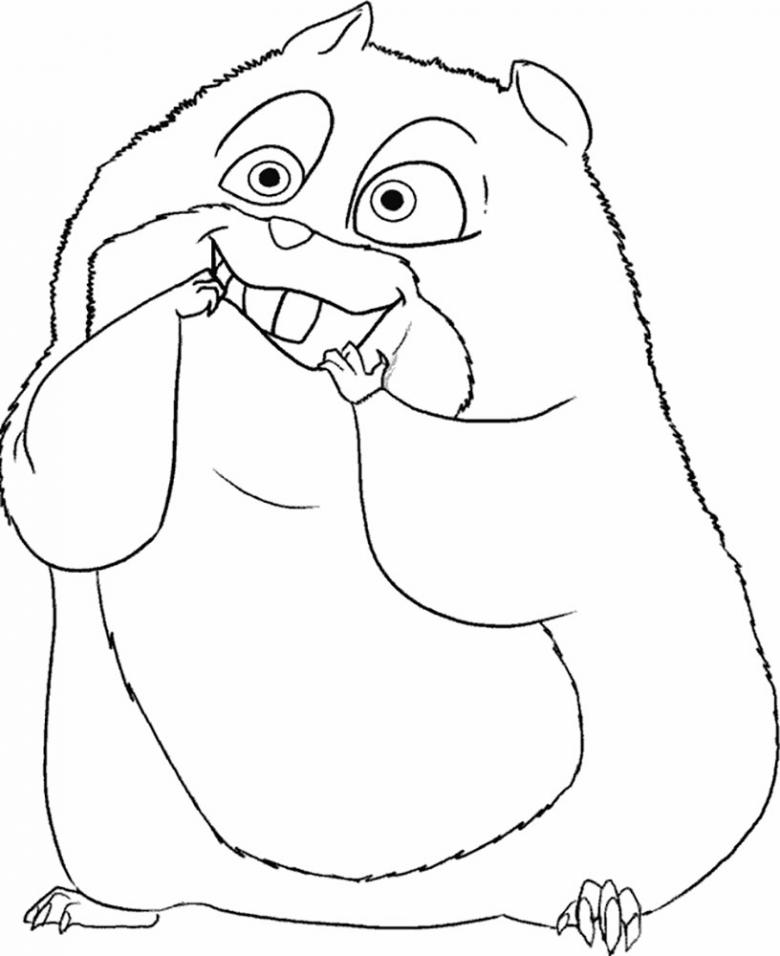
Of course we won't be drawing a kamazoo this time, but use a kraft sheet to make it harder for yourself and reinforce the skills you've learned. Use a pencil, eraser. It is better to use children's pencils:
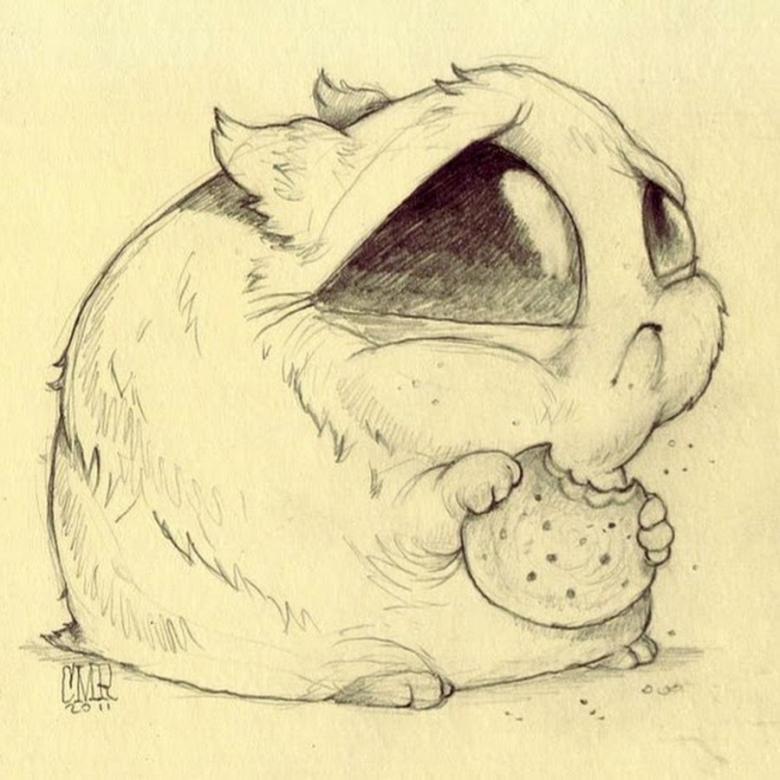
- In the middle, create an oval hamster shape with a slant to the right. It is necessary for the base of the drawing and the formation of the hamster's torso. In the upper part, highlight the head and torso, thanks to the two arcs connected in the middle. Of course hard to start, but further on the formation of the image becomes easier.
- Highlight the eyes, thanks to the separation of the pupils and highlights. Below, shape the nose, mouth and two adorable teeth. On the sides, add ears. Do not forget the expressive eyebrows.
- Below the oval, add paws. Front ones, point closer to the mouth. In them represent a piece of cookie. Image ready. It remains to paint a funny hamster.
- Use black to highlight the contours of the body. It is important to highlight the eyes, ears and mouth. Yellow is advantageous for the fur of the animal.
- It is necessary to paint the cookies. For it is suitable white, black, yellow or a combination of colors.
- Be sure to highlight the feet and nose pink. Be sure to add a shadow under the hamster.
This is the end of the lesson. You learned how to draw a hamster well. Was it easy? Come back again and we'll learn to work with another theme.

