How to draw a pigeon step by step in pencil - easy master classes, beautiful photo ideas and examples
The pigeon has long lived close to man. It is used to send messages over long distances, sending small things. Amateurs breed on the basis of pigeons - found in every city, because they are beautiful, make pleasant sounds and are not fastidious in the breeding process. But this bird is without that found everywhere on the planet. Even a child knows the stories associated with pigeons that occurred in different eras.
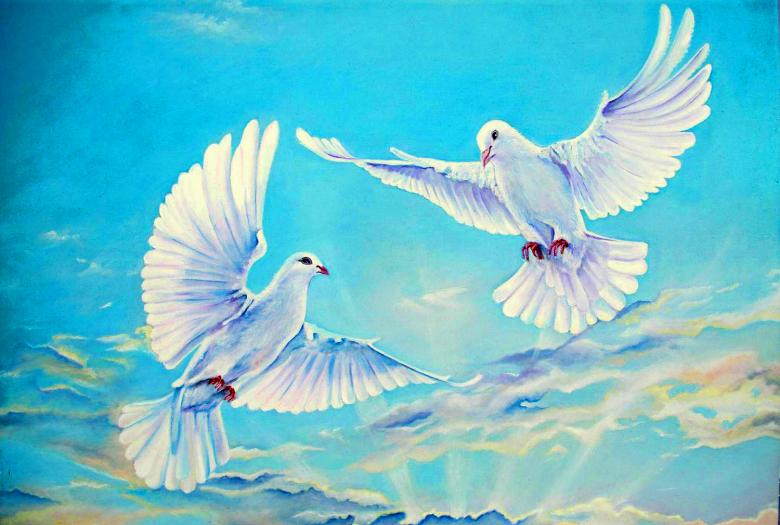
The pigeon is a symbol of friendship and peaceful coexistence. In the Bible, the Holy Spirit descended on Jesus Christ in the form of a dove. Therefore it is often drawn together with the Messiah. But in order to portray the pigeon, you need to learn, thanks to the methods of experienced artists. Ready to get acquainted with the proposed techniques of depicting our feathered friend step by step? Then let's begin:
The easiest way available to everyone
Birds have grace and beauty. For this reason the pictures are bright and memorable for a long time. Even kids love to draw birds with adults. You will need colored pencils, felt-tip pens and black pen. If you're ready? Then we can begin:
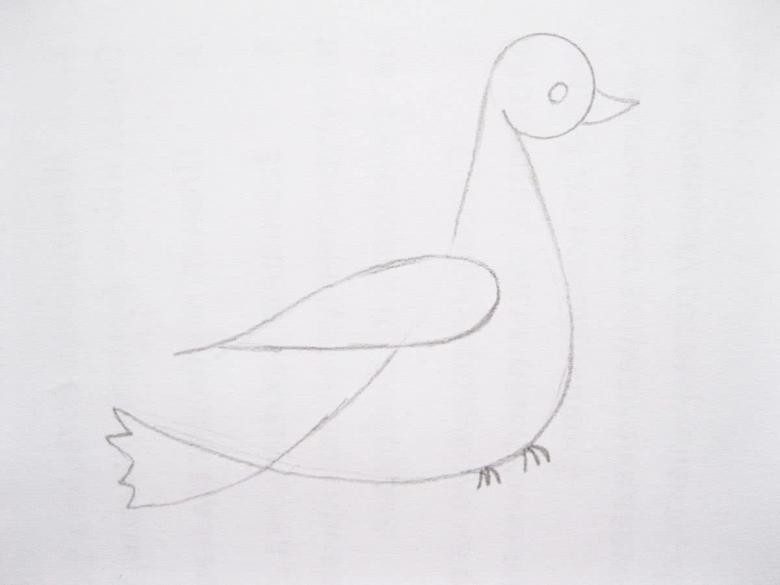
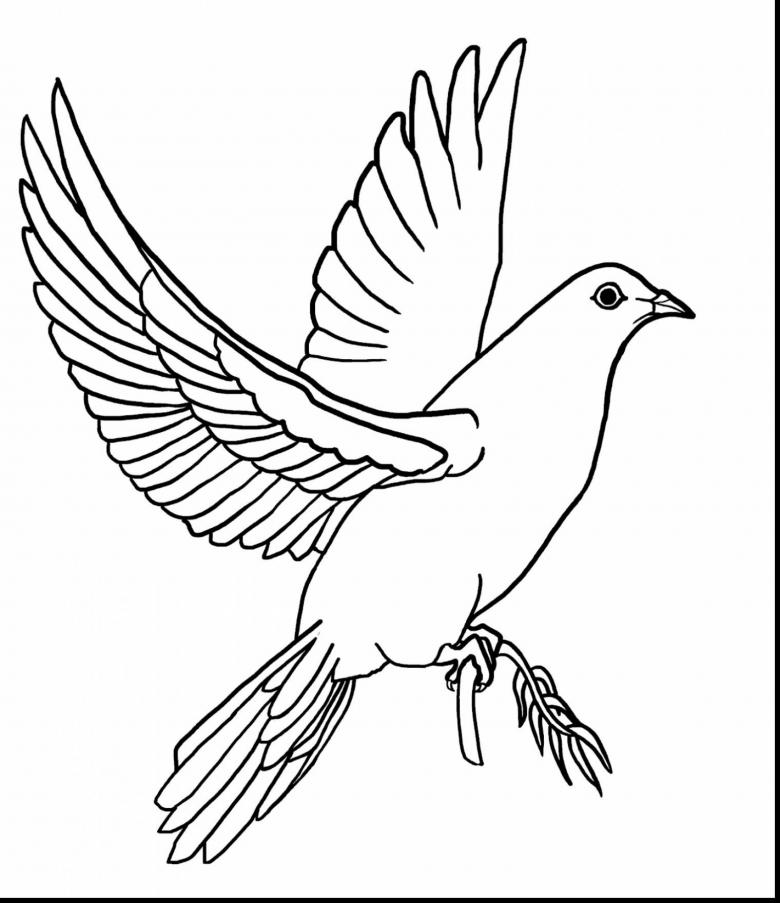
- On top of the sheet, draw a small circle to indicate the head. Add a slightly extended oval. It should go slightly beyond the border of the circle and down about 5-6 times the size of the circle. This will be the chest of the dove.
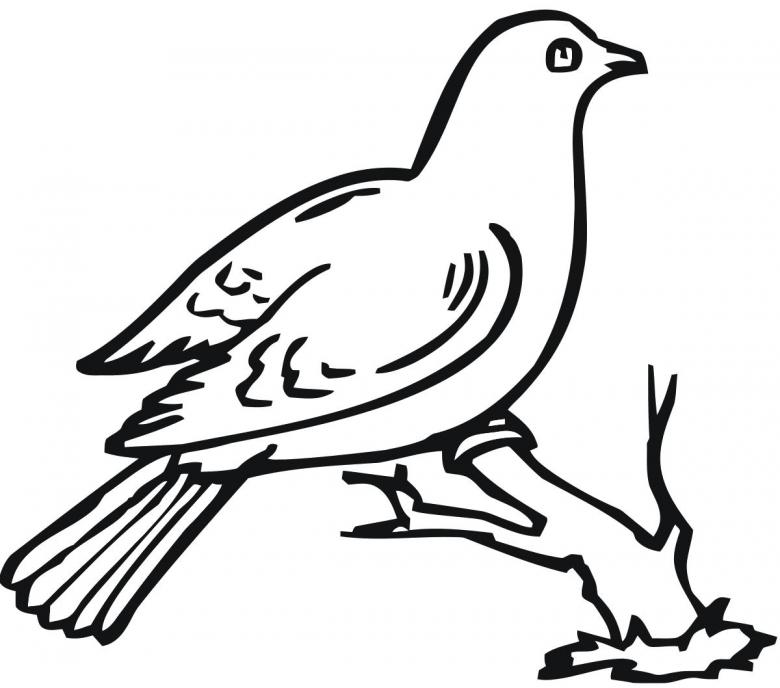
- Let's depict a pigeon on a branch, because it looks natural on the basis of the connection with nature. Therefore, at the bottom under the oval add a long line. Along the way, create the contours of the tail, thanks to the long rectangle under the torso.
- In the area on the left side of the torso draw a small arc. This will be the outline of the left wing. Right create on the opposite side in the form of a petal. You can mark the location of the eye. Add a circle around the head. Here, too, mark the place for the beak. At this stage it is sufficient to mark it with a small line.
- At the bottom of a large oval, thanks to a pencil add a triangle. He will divide the tail into two parts. Draw a branch. To the existing line under the oval, add another line. Now you can add paws to fix the dove on a branch. Need to highlight the three toes.
- Erase unnecessary strokes in the area of the wing improvisation. Add wavy lines to highlight the feathers. Add the pupil and the outline of the eyes. Create a triangular beak with a division into two parts.
- Draw the borders of the drawing with a felt-tip pen or pen. Highlight the plumage in the area of the breast by adding stripes and dots.
- Move on to coloring the drawing. Use brown for the twig and beak. But for the beak, add pink. Cover the other parts of the bird with grey color. For a three-dimensional picture in the area of belly and wing, use blackout effect.
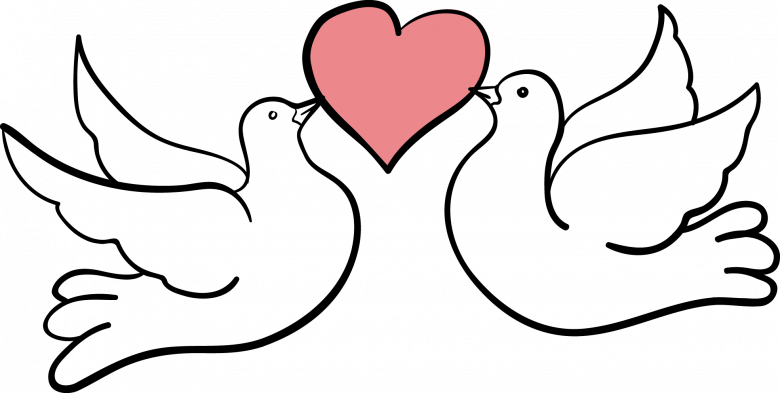
Is it heavy? Certainly not! At the live master class, even 7-year-old Varvara was able to cope with this task. She was the youngest student at the time. And for an adult, it would not be difficult to depict a bird using this simple example.
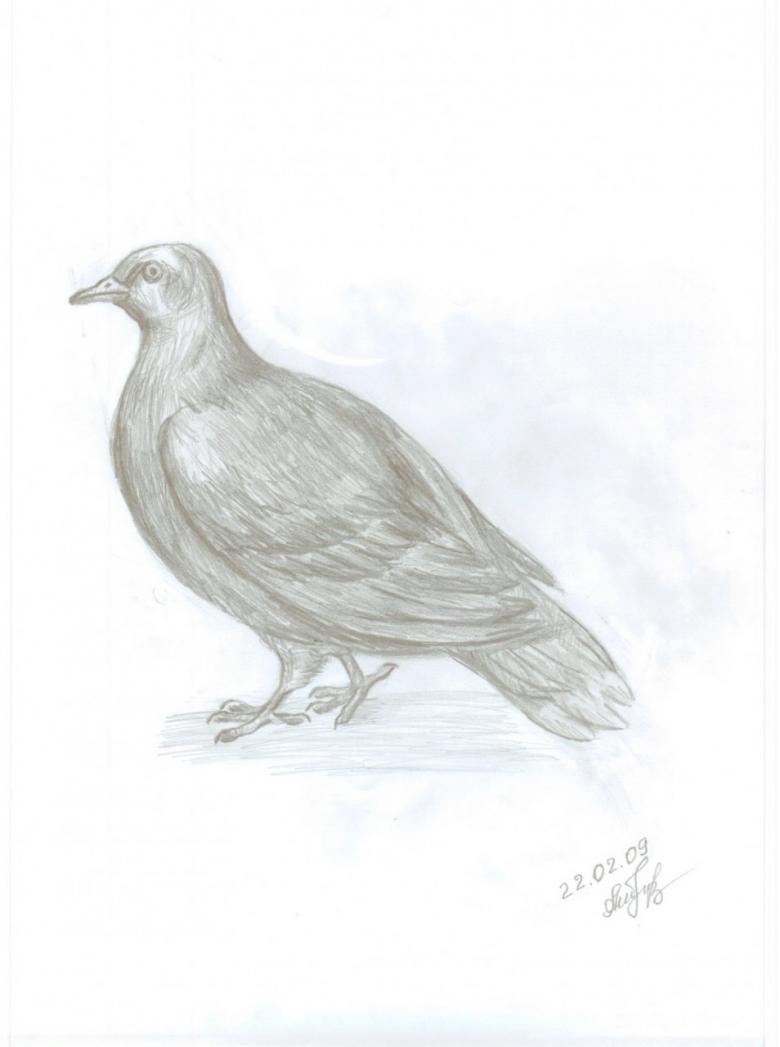
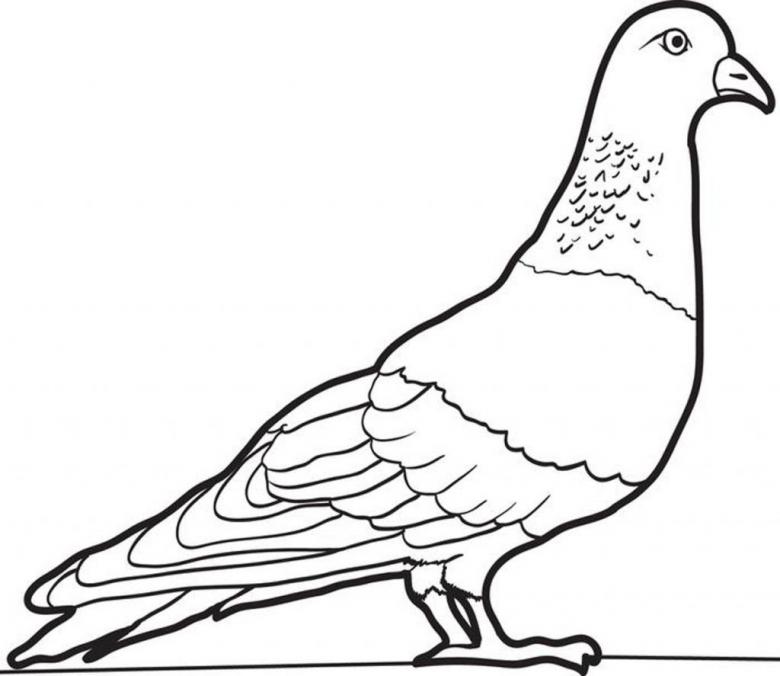
Let's draw a gray dove thanks to pencils
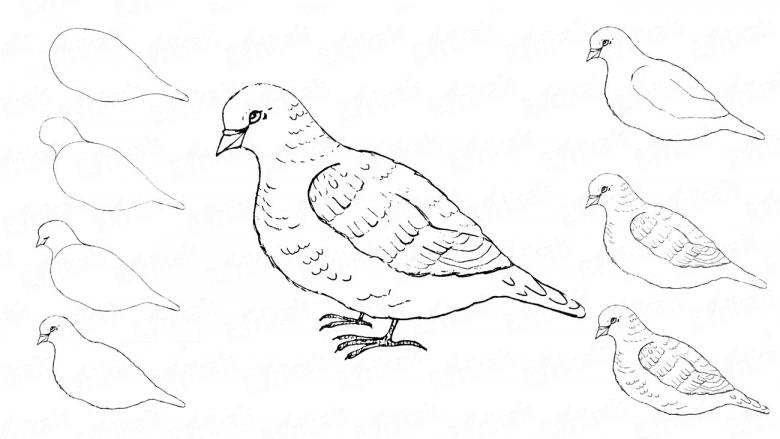
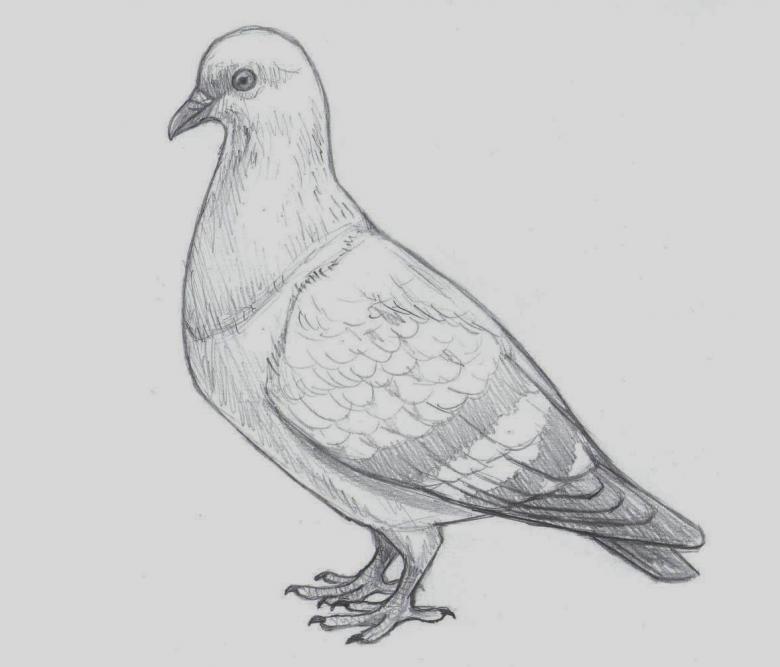
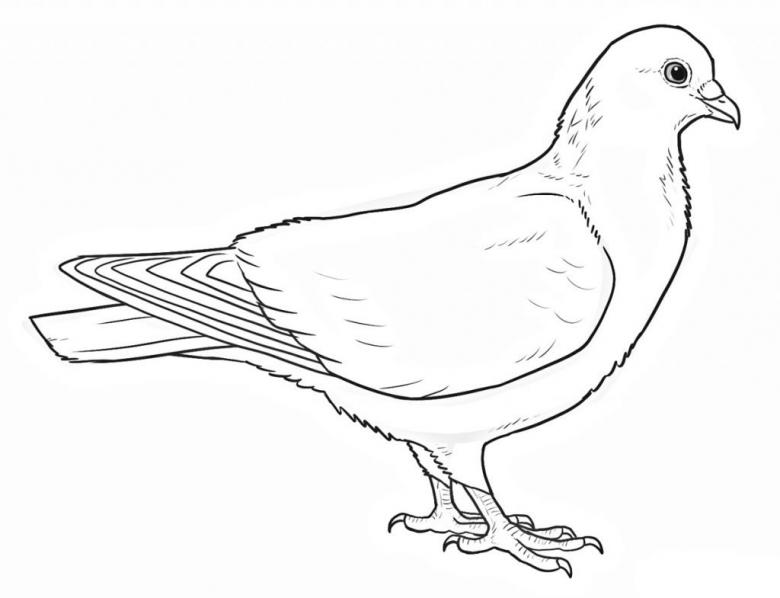
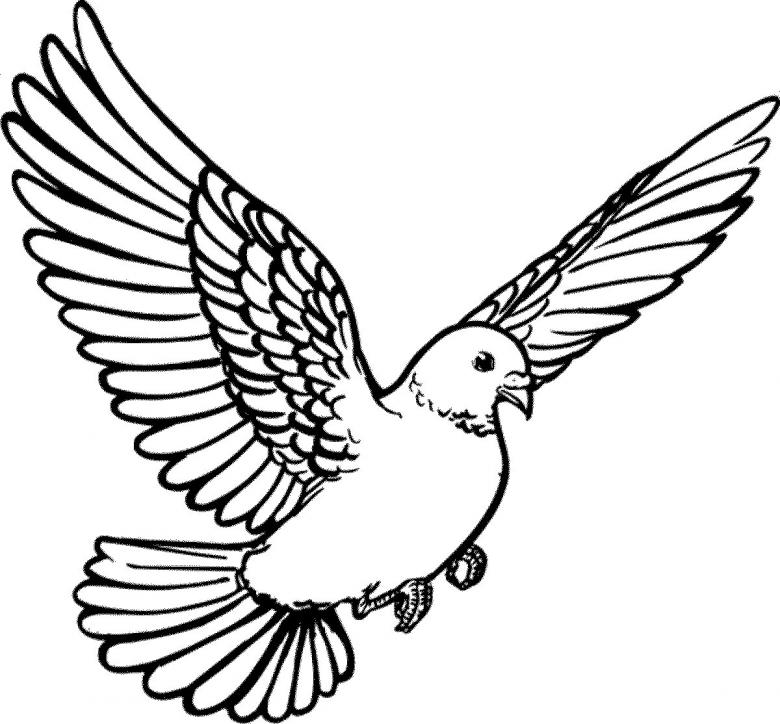
You have already acquired the necessary skills for this work. Now let's create a realistic image of a dove. This drawing will be the next step in developing your artistic skills. Use a pencil and an eraser. Coloring do paint or pencils. Can't wait to get started:
- Create a sketch thanks to the small oval in the corner on the right side of the sheet. It will be used as a head. To the left, create another oval, but you do not need to connect it to the first geometric figure. Instead, draw two slanted lines from the edges of the ovals to connect the head and torso. Obtained neck. Bluebirds have a short but nimble neck that allows them to look around while flying and moving on the ground. Thanks to it, they can easily find food, and clean their feathers.
- To form the tail, draw two oblique lines. Start from the underside of the large oval. At the end, connect them with a stripe. But do not draw it very long or large.
- Mark out a place for the future paws. Draw two lines from the body down to the bottom of the sheet. At the front of a small oval add a triangle. It takes the form of a beak.
- Erase the lines are not used blank. Add a wing to the torso. Create four front elongated fingers. But one turn in the opposite direction. Form the details of the figure. Gradually form the volume, and highlight the contours. Add not large claws for paws. You can draw detailed plumage and tail.
- Plumage should be applied to the lower part of the wing. Create 3-4 rows of feathers. Use semicircular arcs.
- Need to draw a round eye with an inner pupil. Nostrils positioned on the cornea - it must be finished drawing.
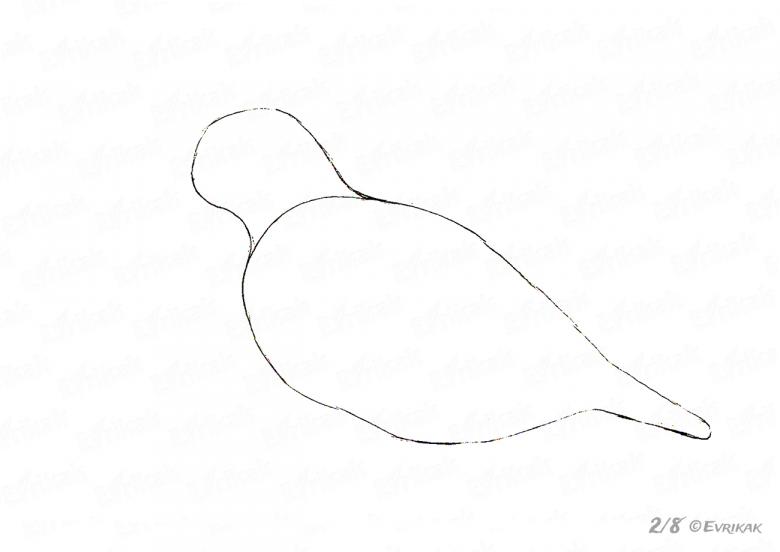
If you correctly used the step-by-step plan, then it remains to use colored pencils, felt-tip pens to depict the harmonious shimmering on the feathers.
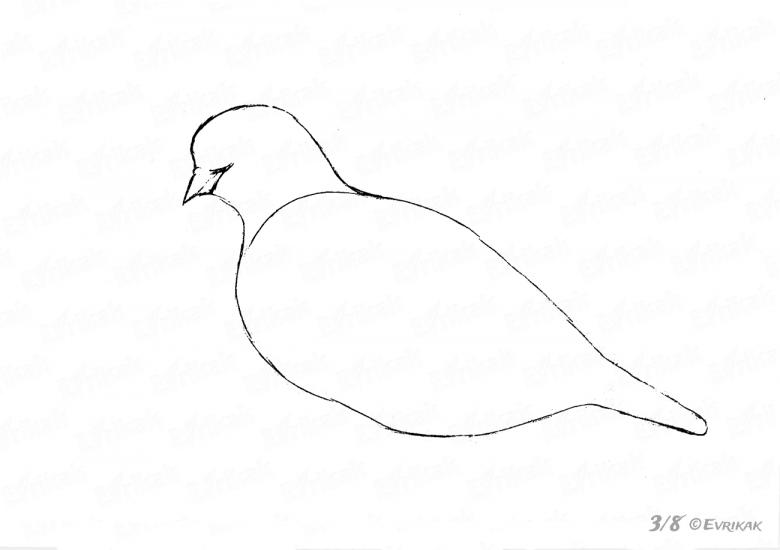
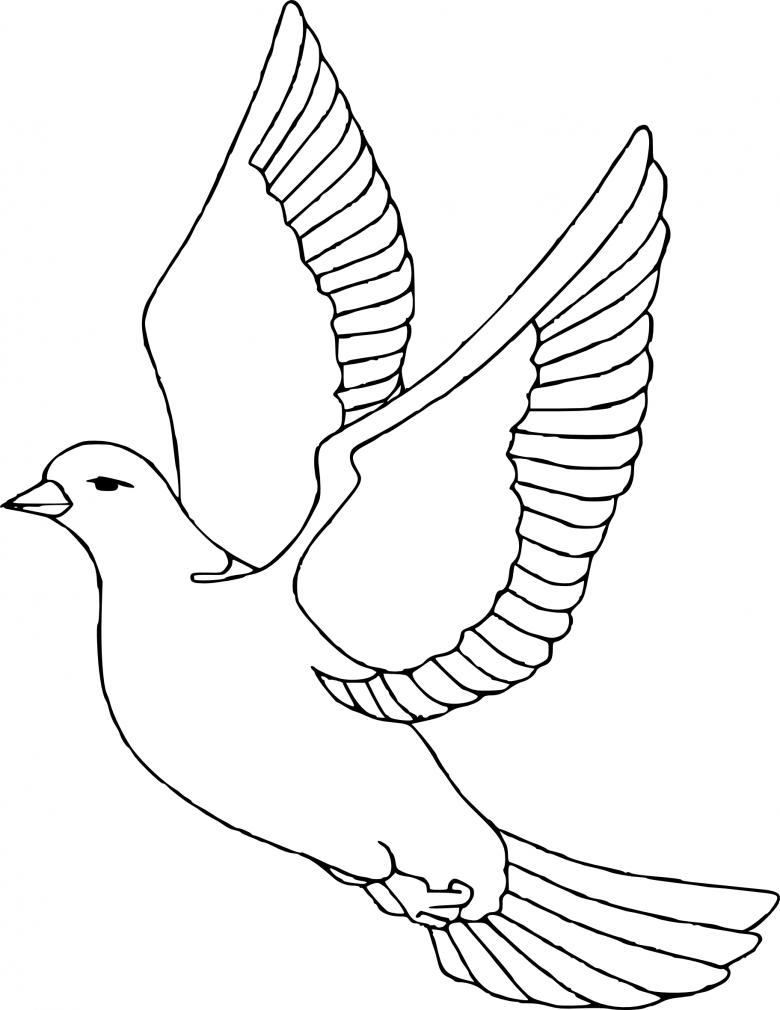
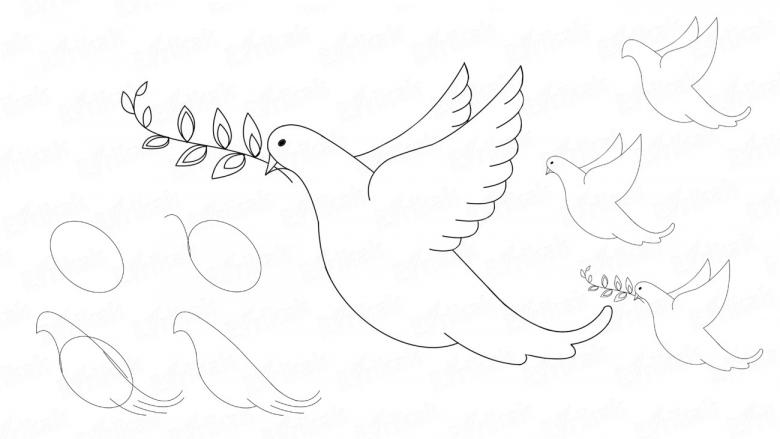
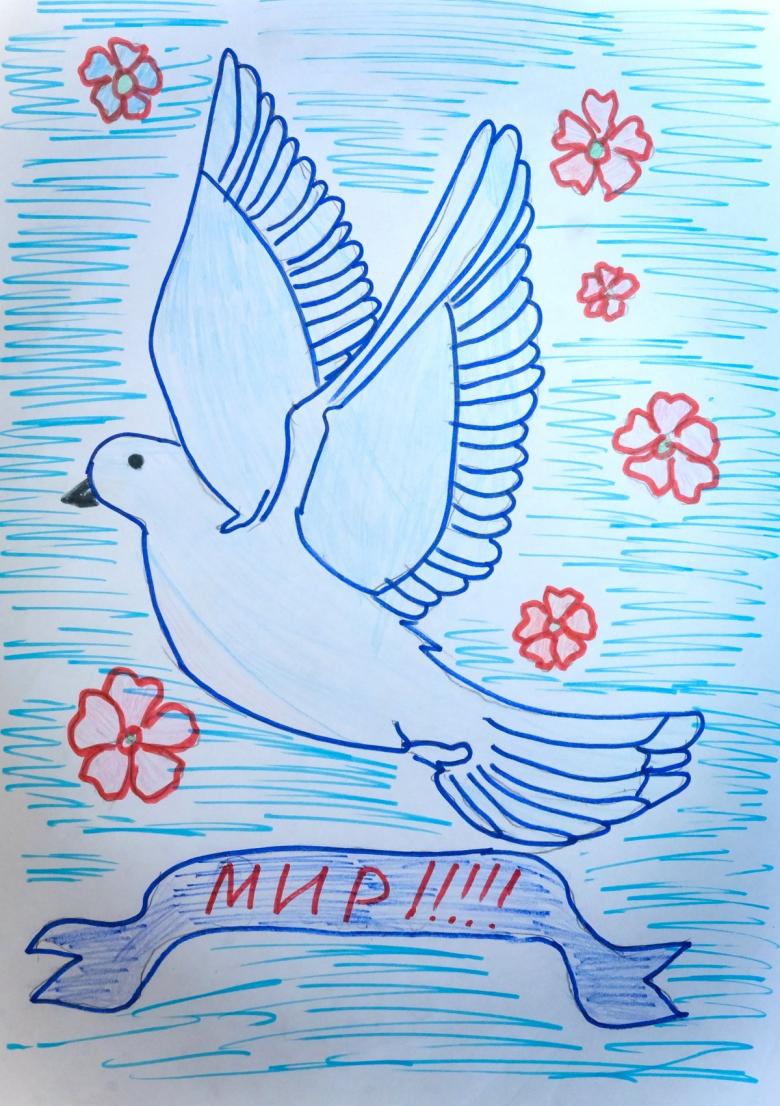
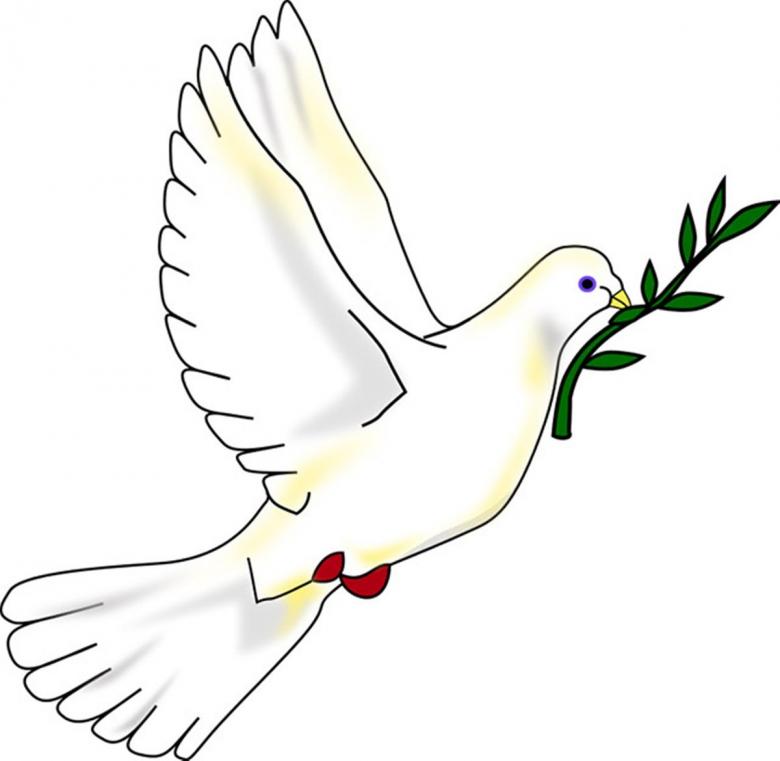
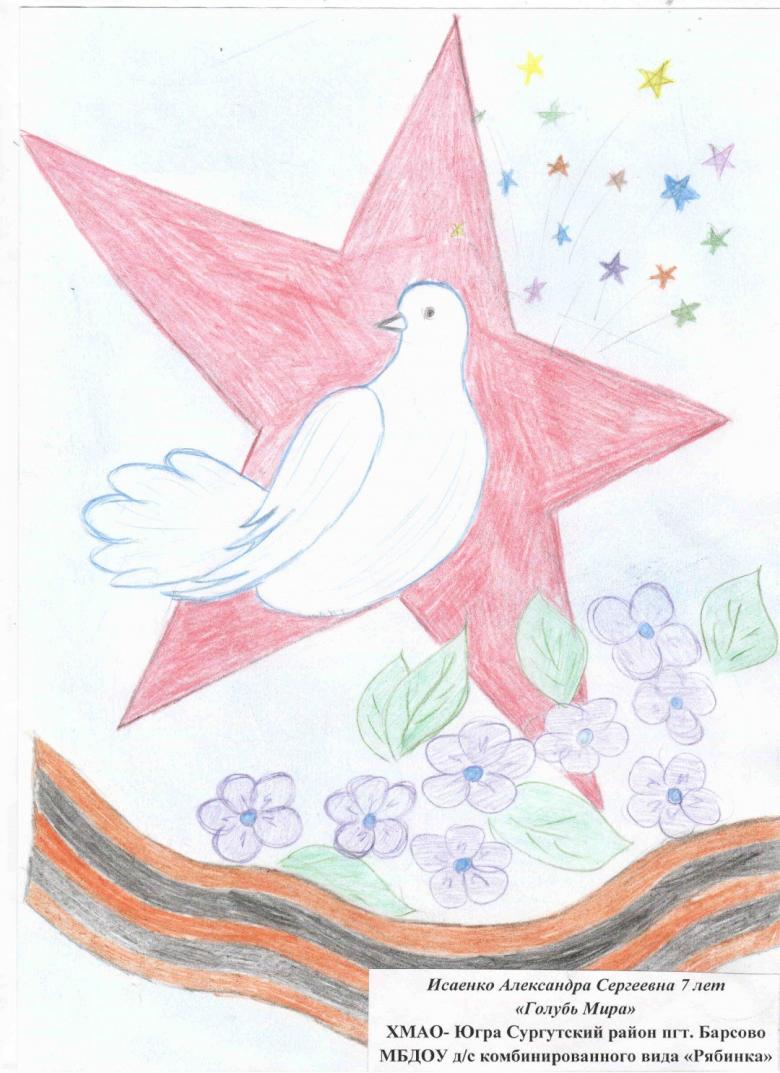
Let's draw a white dove for the Victory Day Celebration on May 9
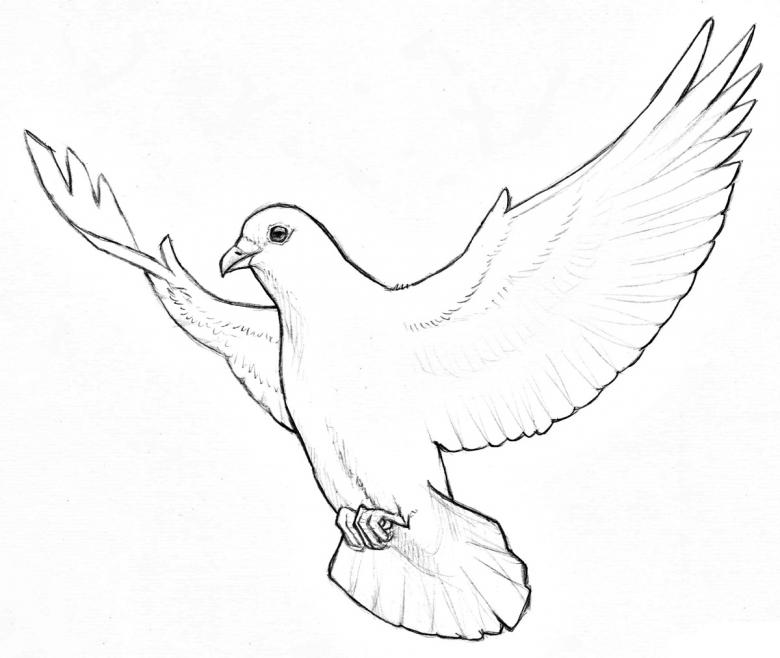
We move on to the most challenging and rewarding lesson on drawing a dove. For the Victory Day Celebration on May 9 you will definitely need the skill of drawing a white dove, as it reflects the desire for peaceful coexistence of the peoples of the world. You'll need the same tools and liner. Be careful and be creative:
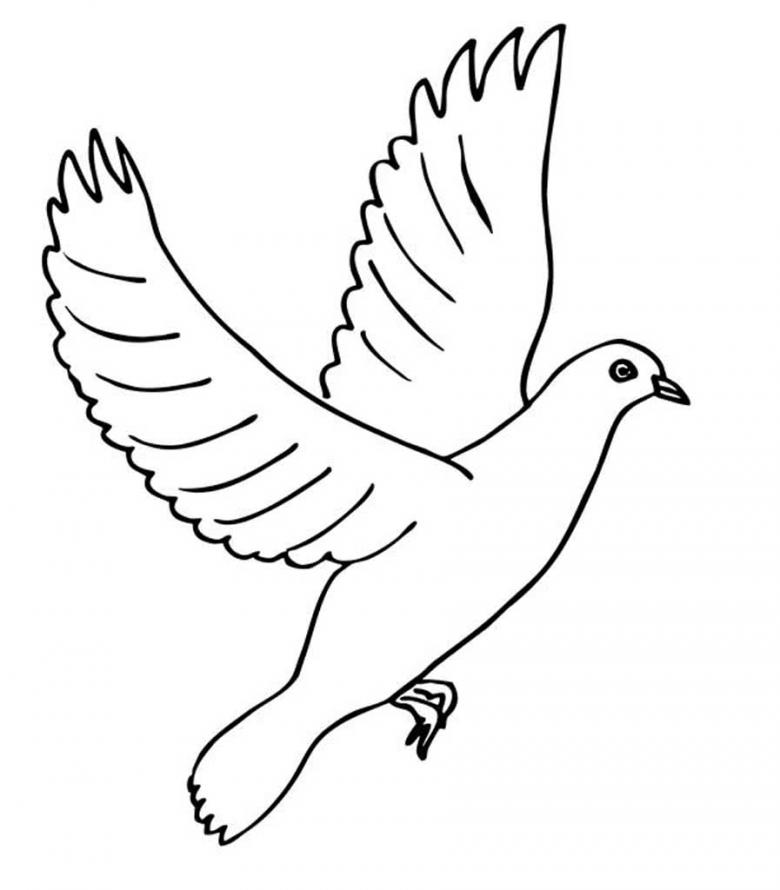
- Visualize: the size of the drawing, where the head, beak, wings, torso, tail will be. Based on this knowledge, create a simple sketch.
- Now it's easy for you to realize that two different sized circles are needed to form the head and torso.
- But there's a lot to learn from this example, too. Connect the ovals with curved lines. Create a diagram of the tail. If too difficult to rely on the sample.
- Opposite smaller oval draw a triangle. Smoothly connect it to the head to form a beak. Try to make a natural curves to copy the gracefulness of birds.
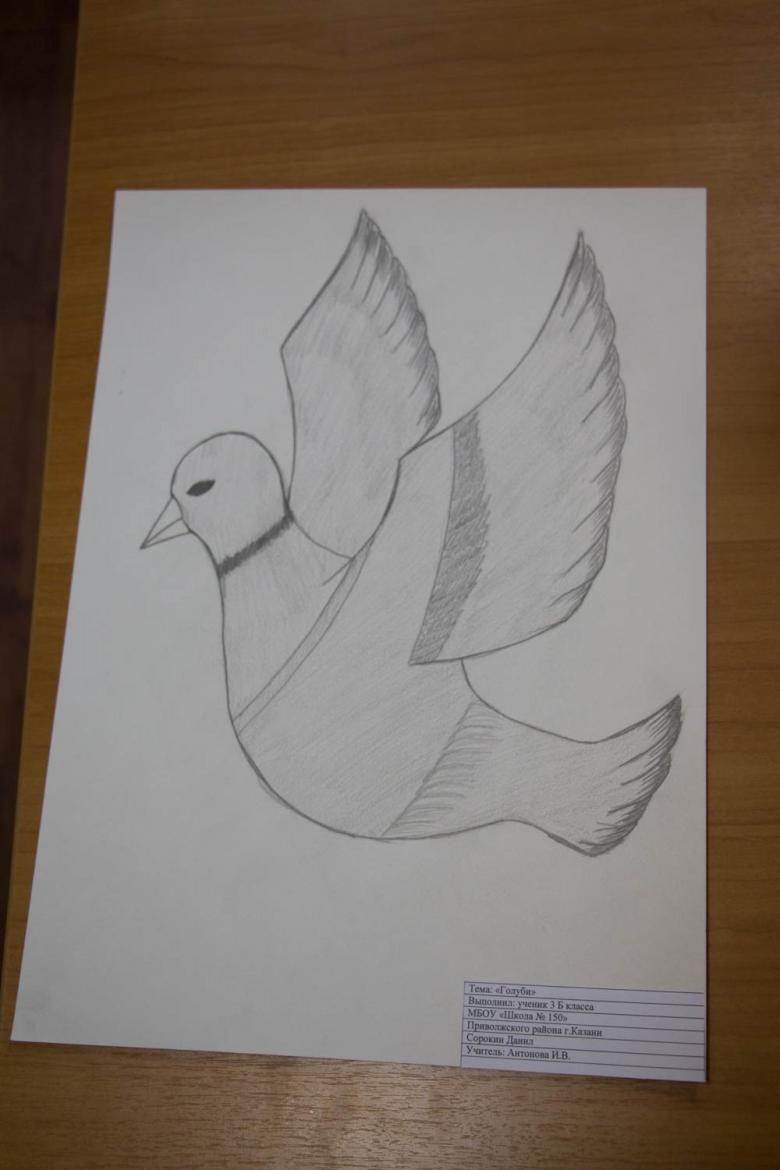
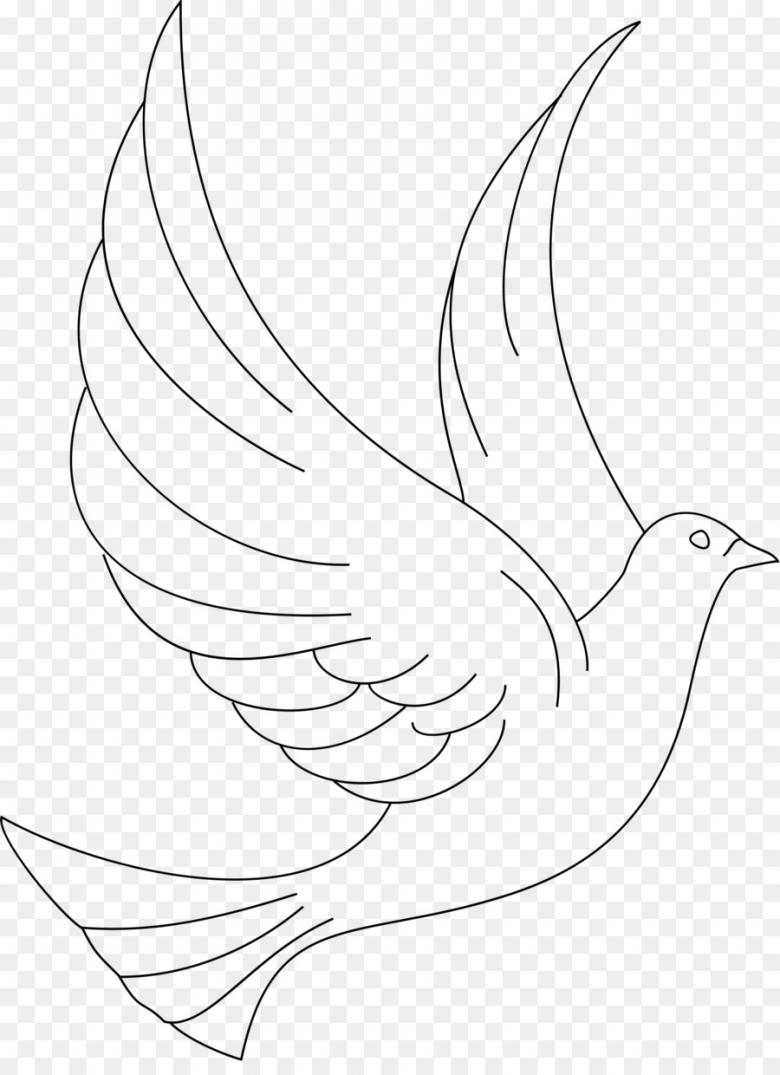
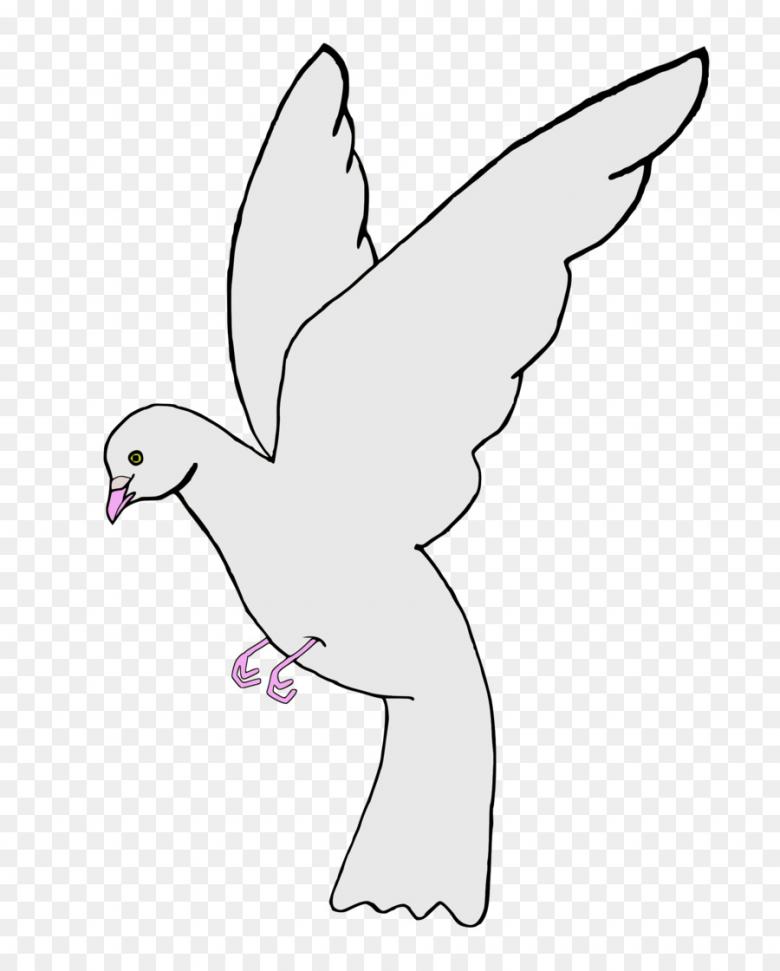
- Think about how best to finish drawing the wings on the basis of a larger wingspan. Pigeon must be represented as if he is going to fly. Rear wing depict a long curved line. For the foreground make, more, flat wing.
- Draw the plumage for the tail and wings. Use long or elongated ovals. Short feathers are good for highlighting the tail. For the front wing, small feathers are fine.
- You can erase unnecessary strokes or outlines of ovals. Move on to detailing. Add stripes to the top of the wings to visualize the flight of the bird. In the lower part of the body frame tucked paws - highlight the little toes. Mark out the two parts of the beak.
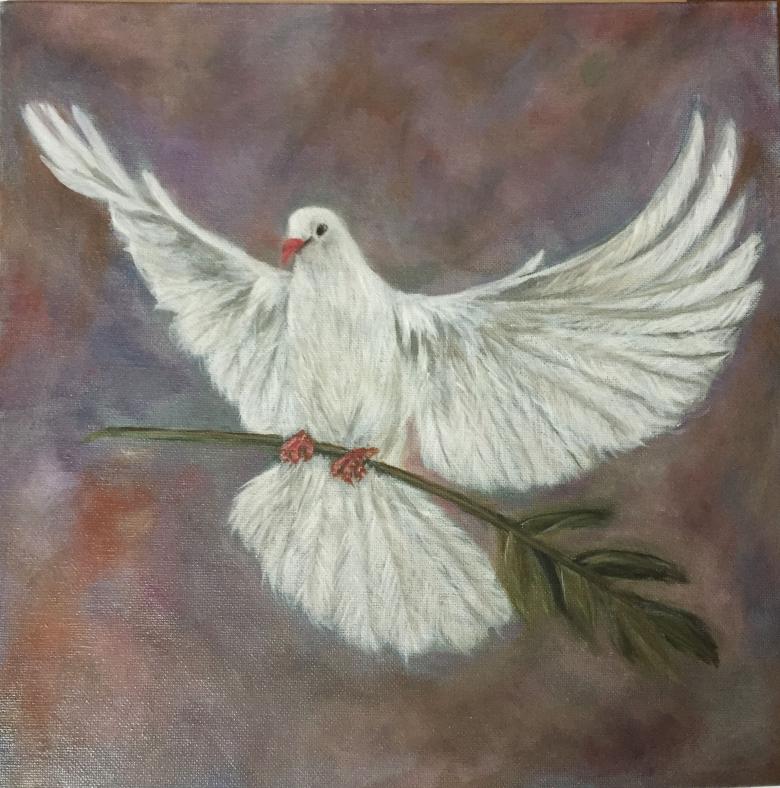
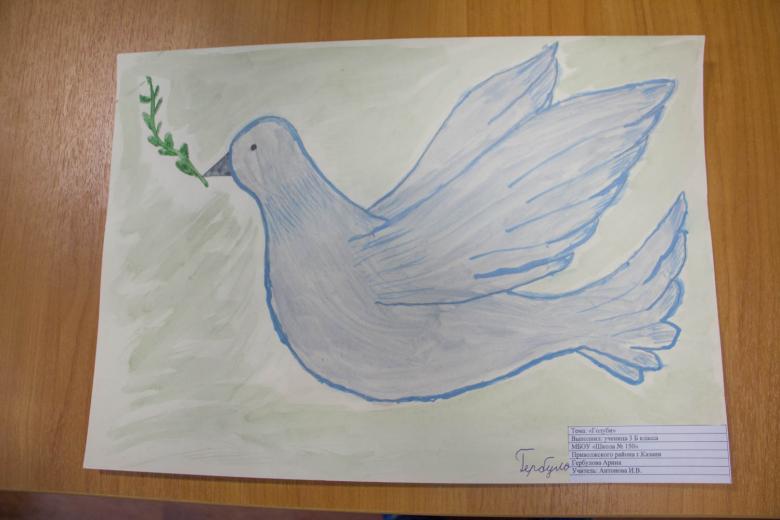
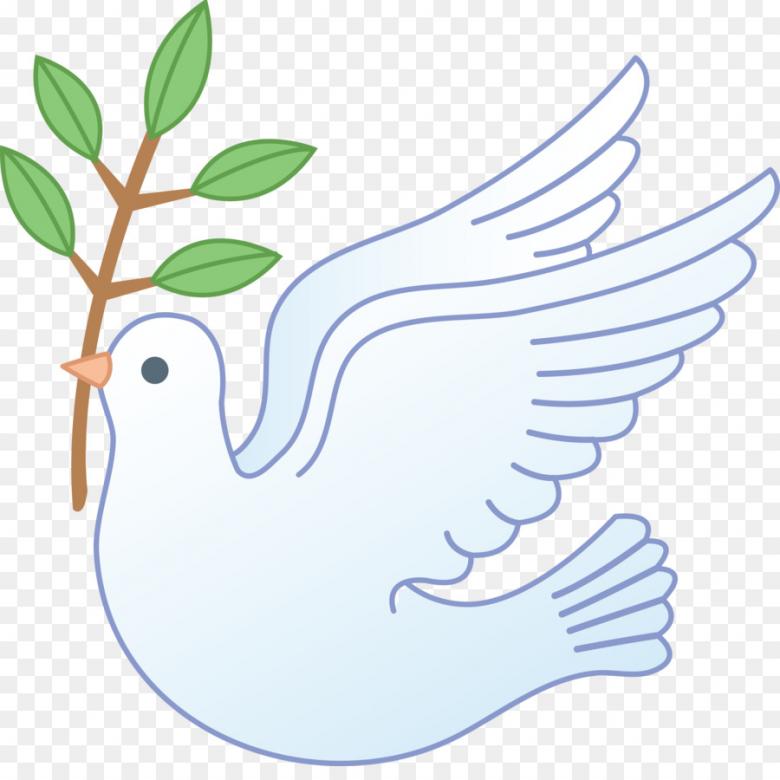
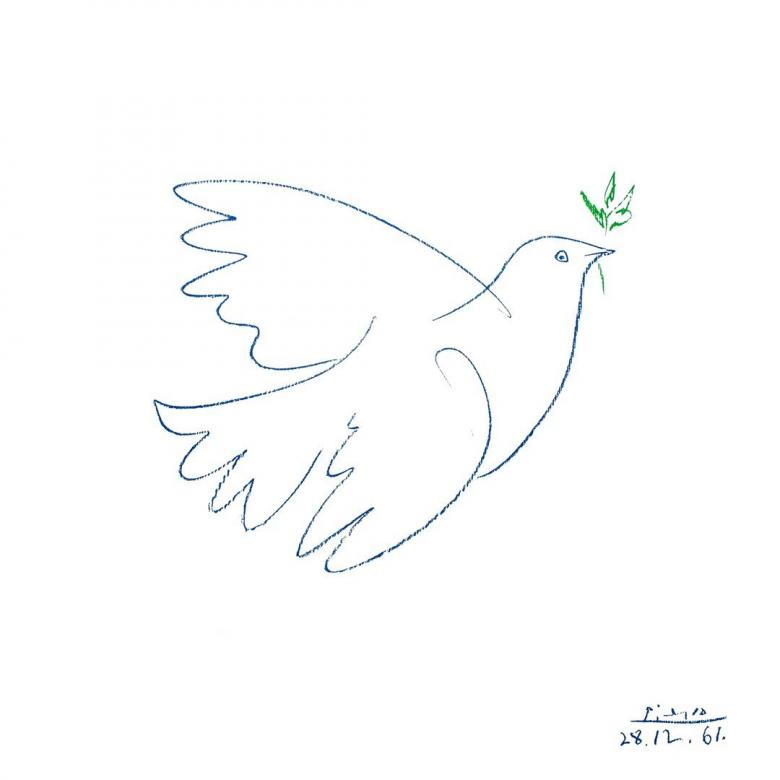
- For the beak need to make a sprig. It must be in the open position beak. On the sides of the branch mark out leaves. Thanks to the previously obtained skills and availability of samples it will not be too difficult to cope with this stage.
- Draw the outline of the picture with a ruler or black pen. Draw the eye. You can begin to paint. The pigeon remains white. Paint the beak in black or brown. The main focus on coloring a twig. It should be beautiful. So use brown, black and green for the leaves. You can add red berries.
- Pay attention to the background around the dove. Create a blue sky, a yellow sun. You can add color to the feet as they will look better. A light beige shade for the wings is acceptable.
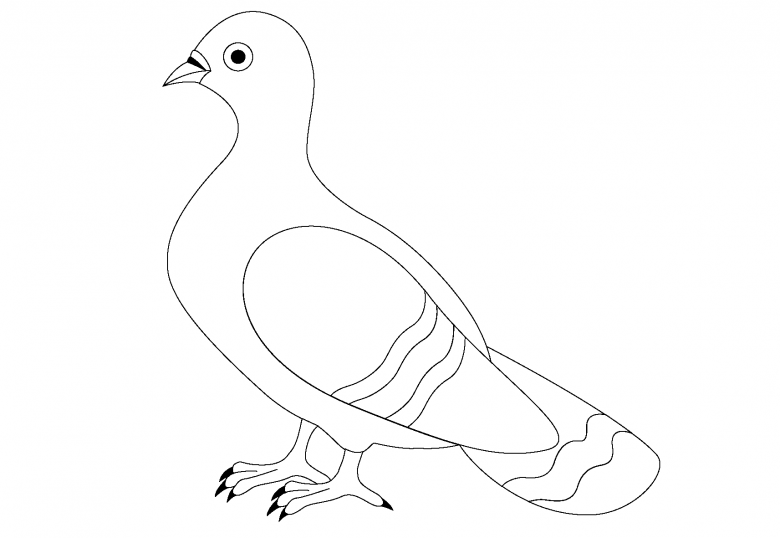
Since you relied on the instructions, you got a natural white dove. You can give this drawing to a veteran on Victory Day, May 9. Such a demonstration of attention will warm the soul of the defender of the Fatherland.

