How to draw fruit in a step-by-step pencil - 5 easy master classes for beginners
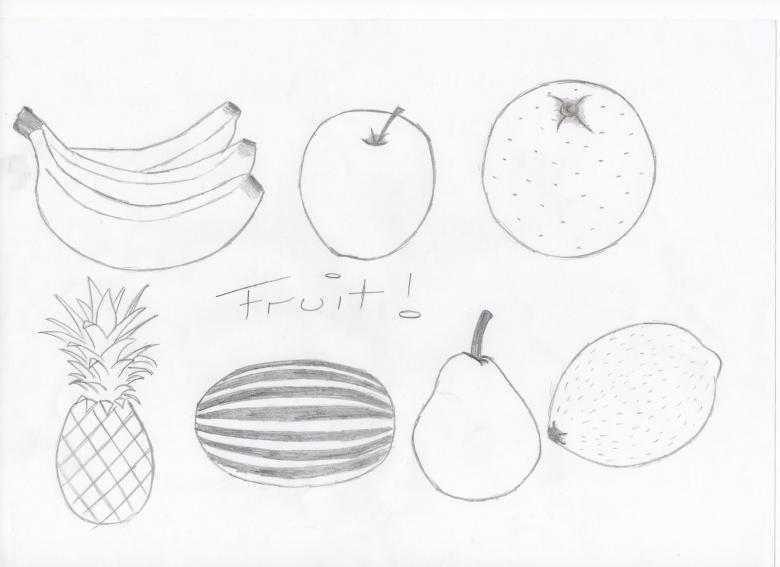
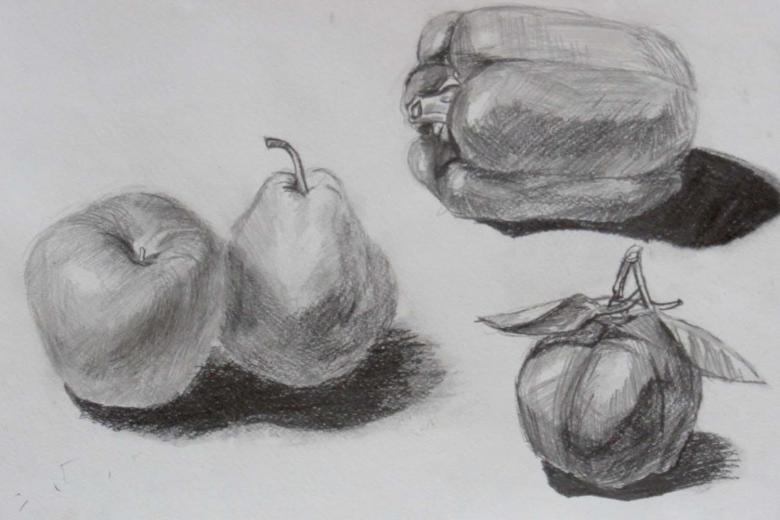
Large and original paintings of still life take a worthy place on the walls of kitchens and country houses, but to draw them you need to master the technique. By learning the technique of how to draw fruits and vegetables you can easily combine them into a composition and create amazing masterpieces with your own hands.

To begin with, it is important to learn the lesson of reproducing different geometric shapes, and then proceed to the study of perspective and light and shade. Using step-by-step instructions and recommendations, even a child will be able to reproduce a picture of familiar fruits and vegetables in a step-by-step fashion.
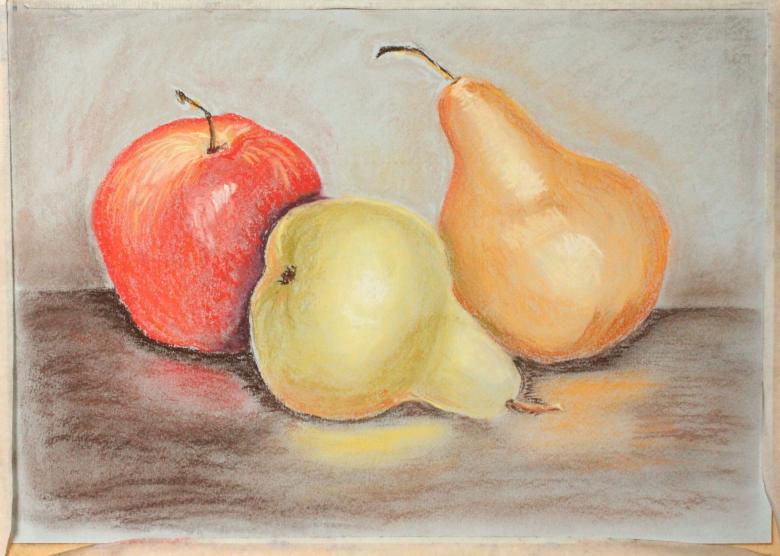
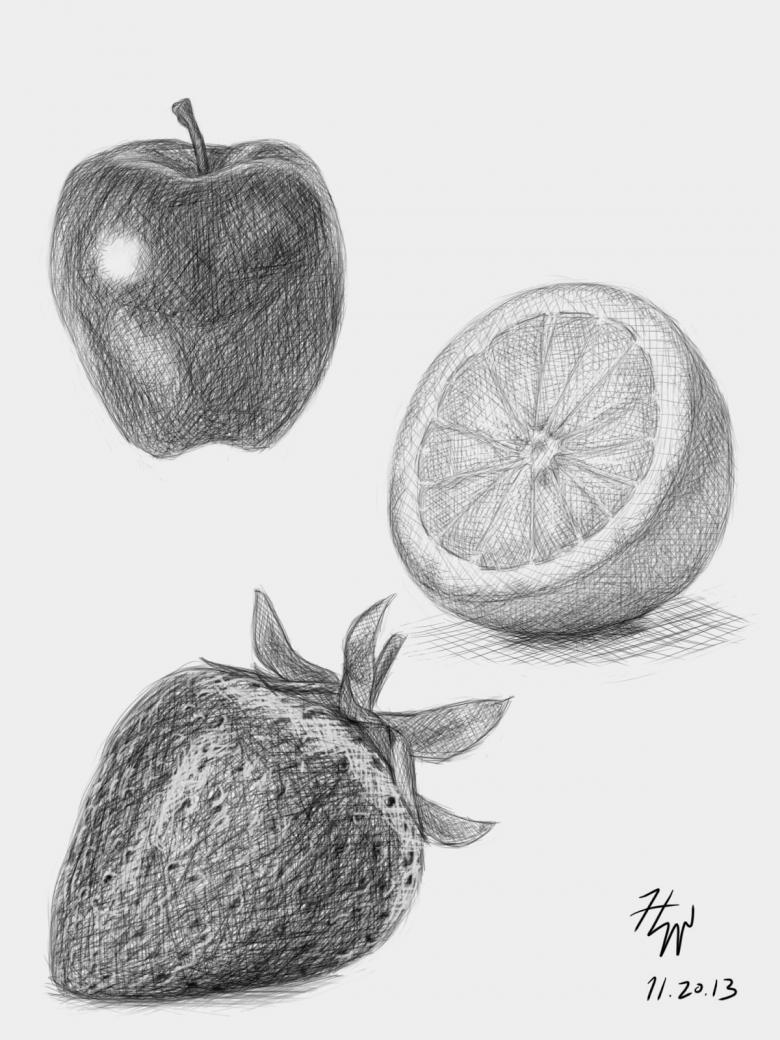
Juicy and beautiful apple
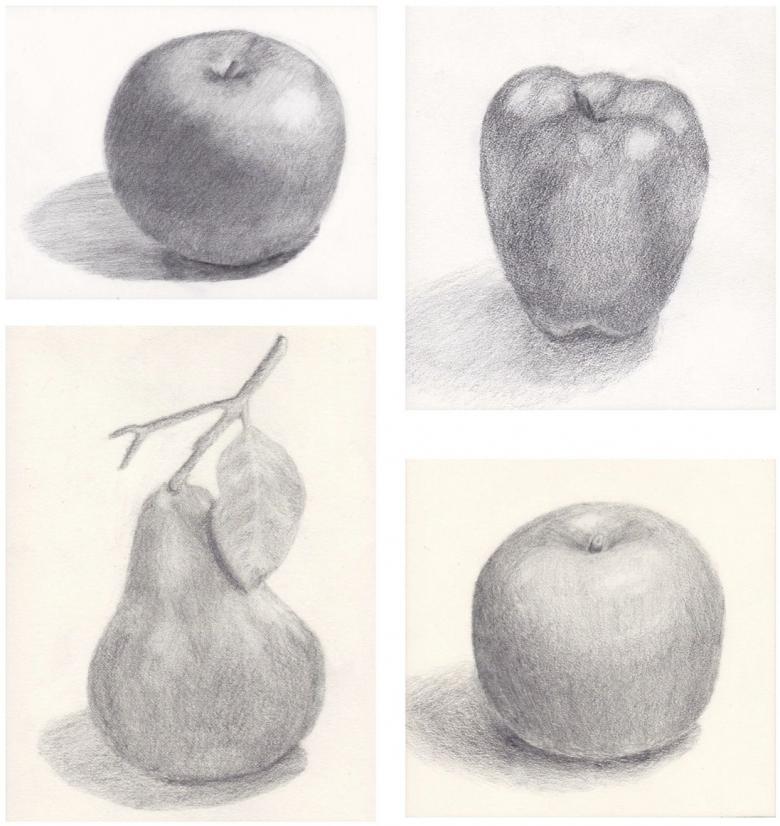
Apples appear on our tables in mid-summer and do not leave the diet until late fall, so they can be drawn from nature. For the creative process you will need a pencil, the apple itself and a sheet of paper, having carried out the preliminary preparation you can begin the process of drawing:
- The outline of the fruit is depicted in the form of an ordinary circle, after outlining it, it is necessary to give a naturalistic image, for this purpose, a concave line is drawn at the bottom and top of the figure;
- In the bottom recess an inverted crown is drawn, this will be the middle of the flower from which the apple has developed, and its upper part should be decorated with a stem, a simple stick with a leaf at the end.
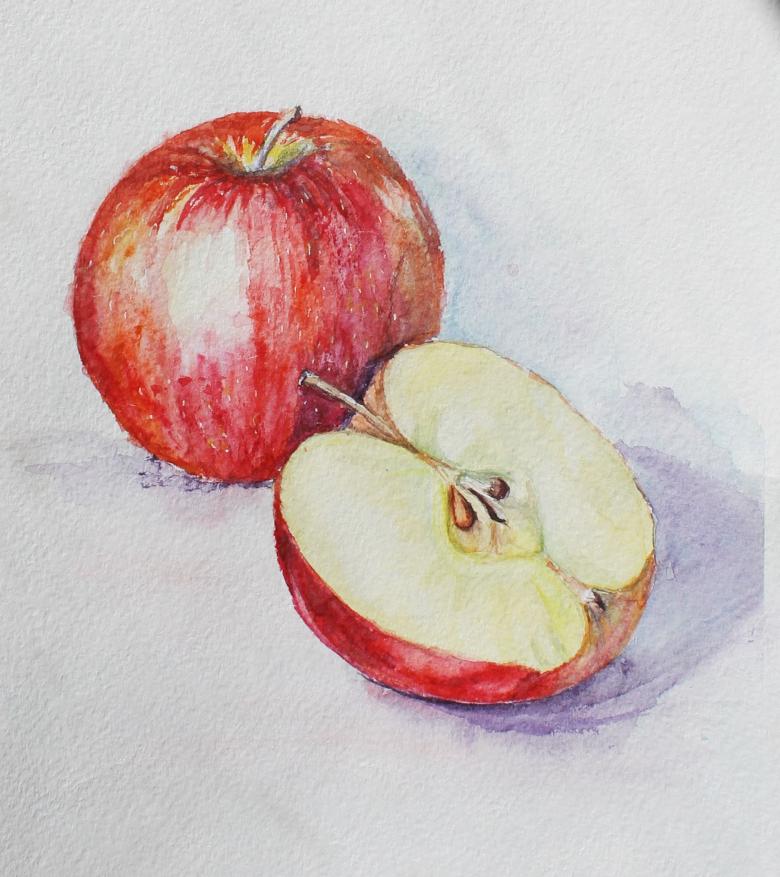
You can paint the apple in any color of your choice, because there are green and yellow, red and orange apples of different colors growing in the gardens. While drawing, a child can learn to use watercolors and gouache, paper crayons or colored pencils.

Plums and Apricots
Identical in form, these fruits are even easier to draw than apples, the only difference will be the color chosen for coloring:
- On paper, it is necessary to draw an oval, this will be the outline of the fruit;
- The oval is divided by a longitudinal stripe, and its edges need to be rounded;
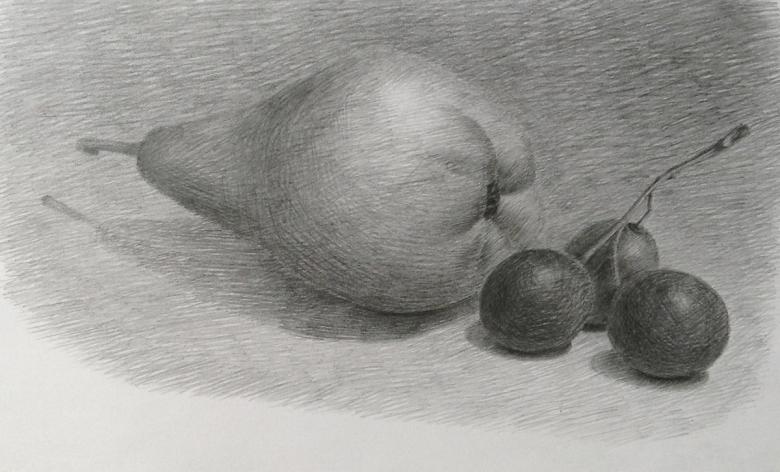
- With the help of light and shade, the rounding on the skin of the fruit can be conveyed.
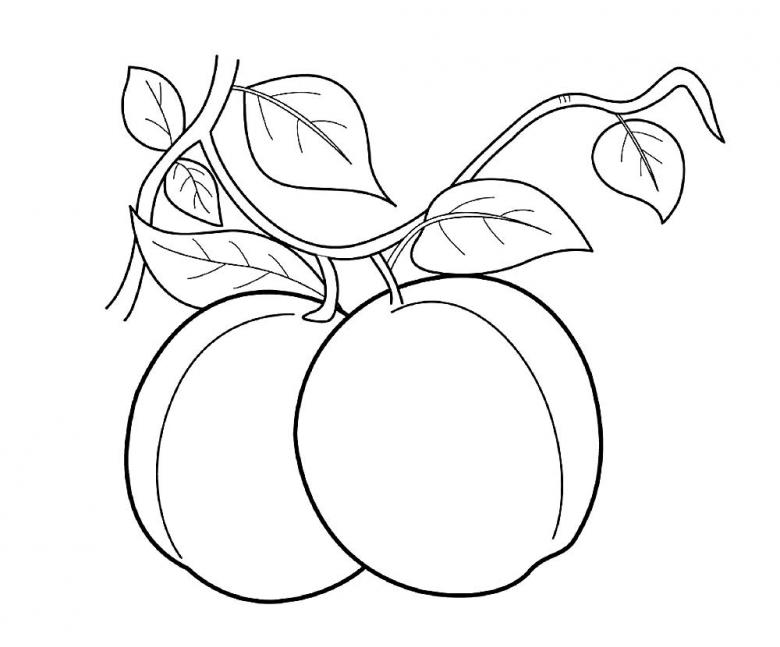
It is better to paint plums in dark purple or blue, and for apricots choose pastel tones of beige or pale orange.
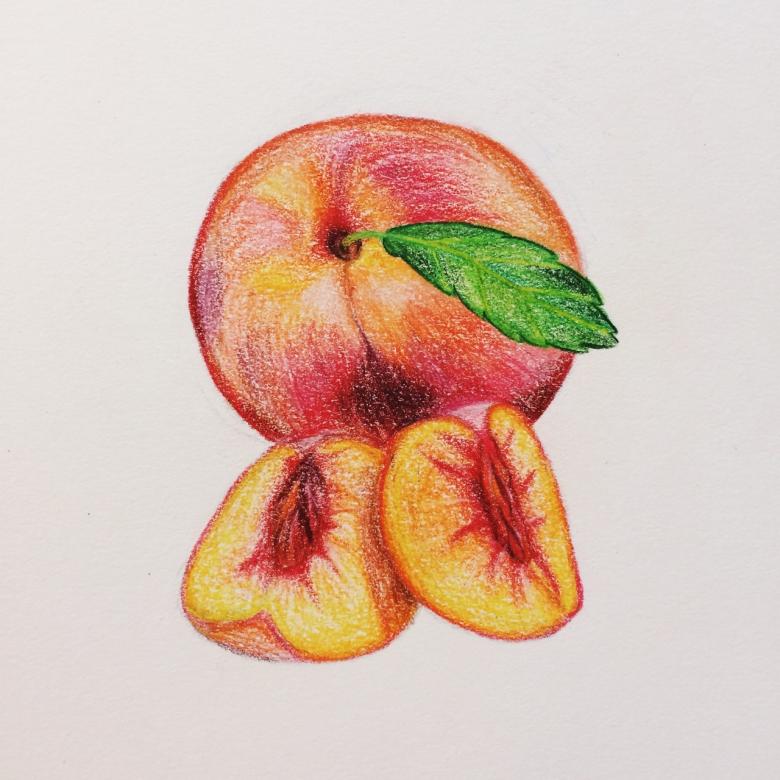
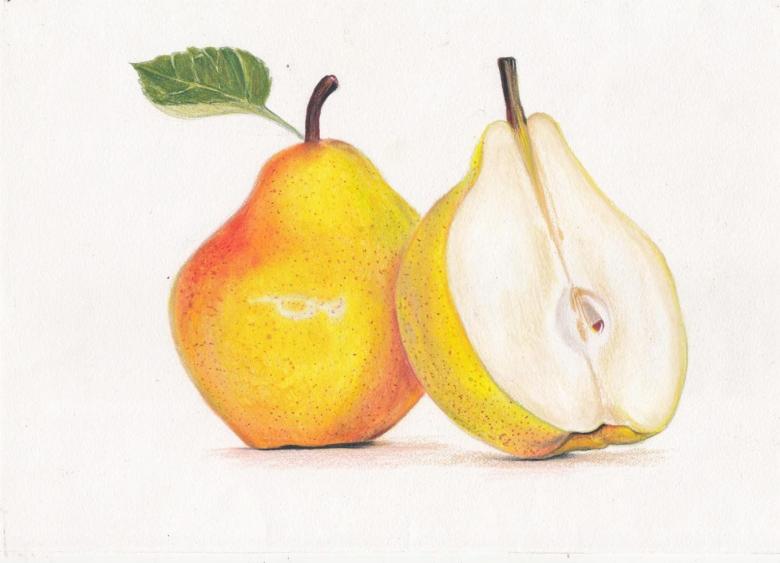
A green pear with a ponytail
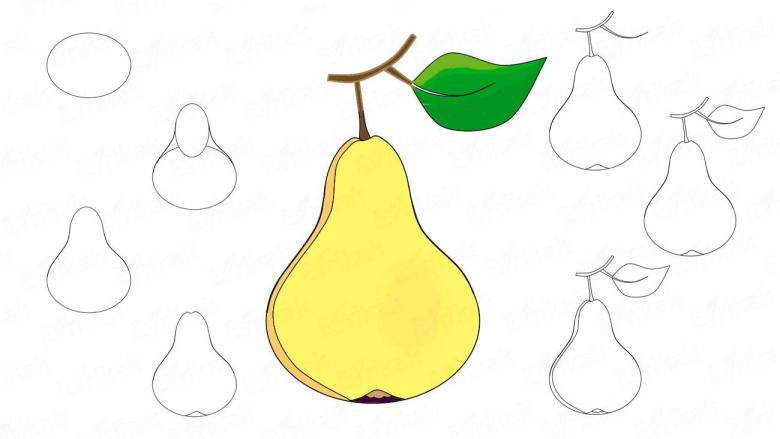
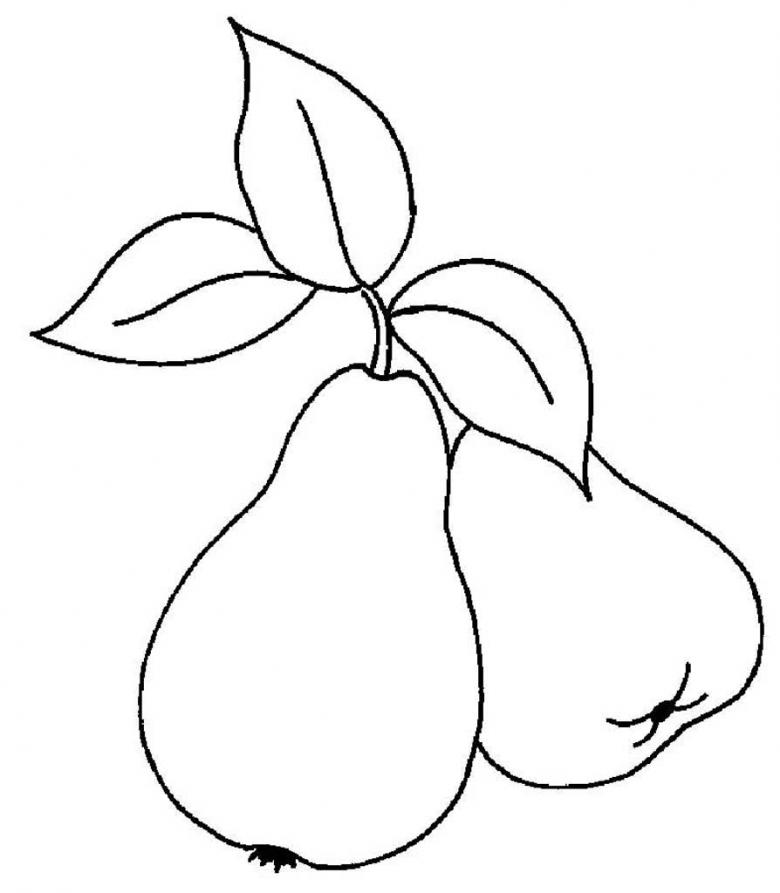
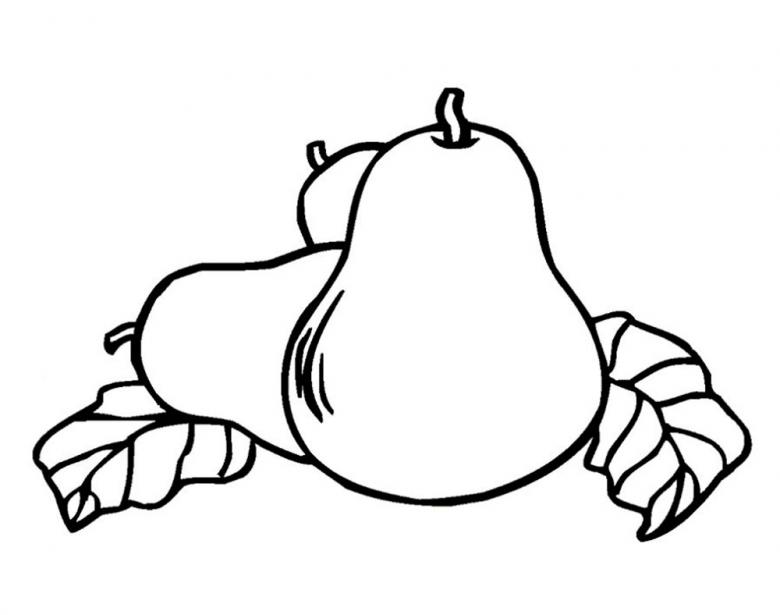
Drawing a drop-shaped pear is best started with practice, and it's a good way to consolidate knowledge of different shapes with your child:
- A circle is drawn in the center of the sheet, a thin semi-oval is drawn to it from above, and concave lines must be drawn at the joints of the two figures;
- At the bottom of the finished figure, a concave line and an inverted crown are drawn, as on an apple, and the top of the figure can be decorated with a rather thick pedicel.
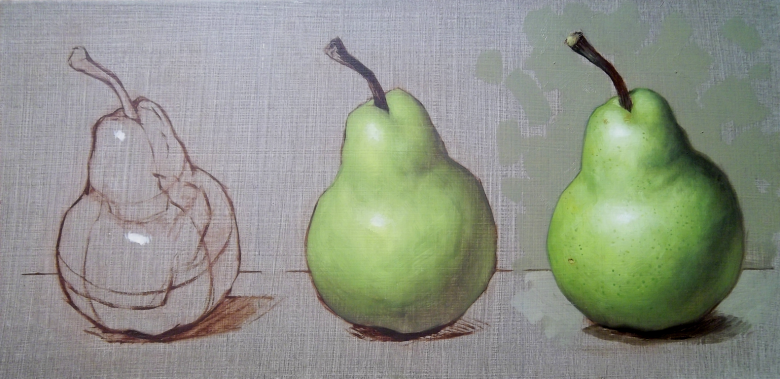
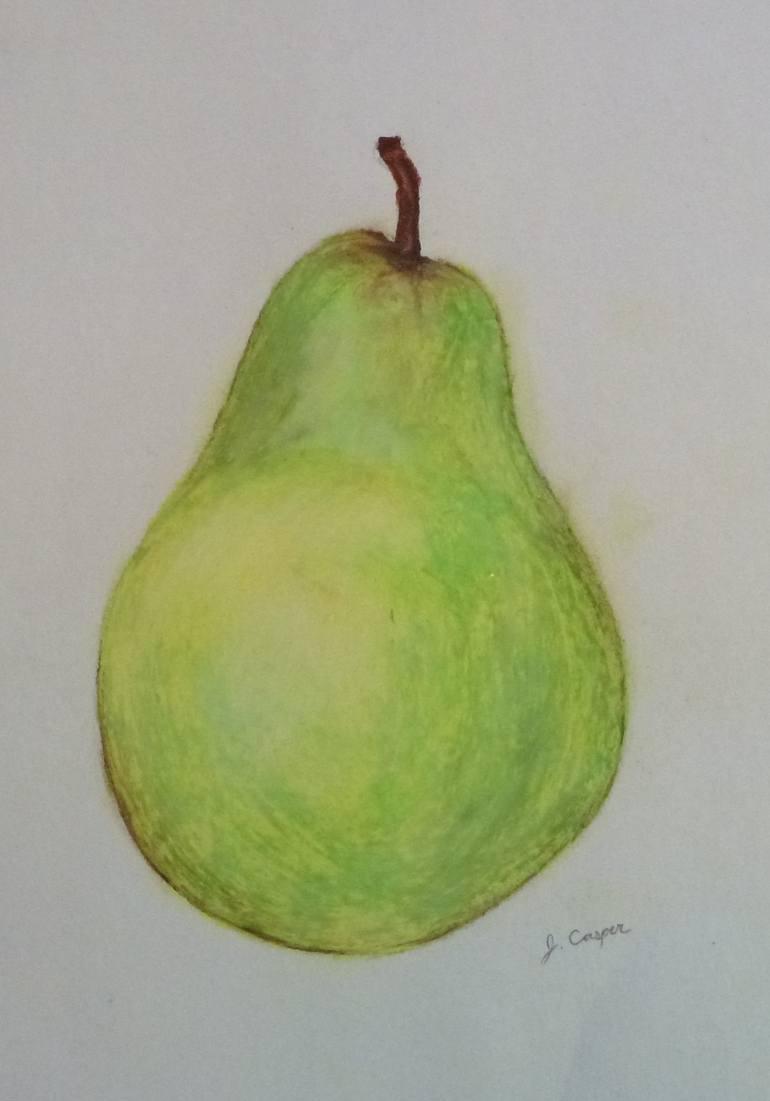
The pear is painted in green or yellow, it is better to use the technique of blurring, to transfer the light and shade.
Orange cut in half
Citrus fruits are not difficult to draw, but most often it's just a ball of a certain color, and a picture of a cut orange is quicker for a child to like:
- with a pencil it is necessary to draw a circle on the sheet and put a point in its center, from it to the sides to draw thin lines of rays;
- Step back from the outer edge of the peel 2-3 mm need to connect all the rays curved lines, it will cut across the fruit slices;
- The outer contour can be drawn in orange, using a thick felt-tip pen, this will be the zest of the orange, and the next layer should be white;
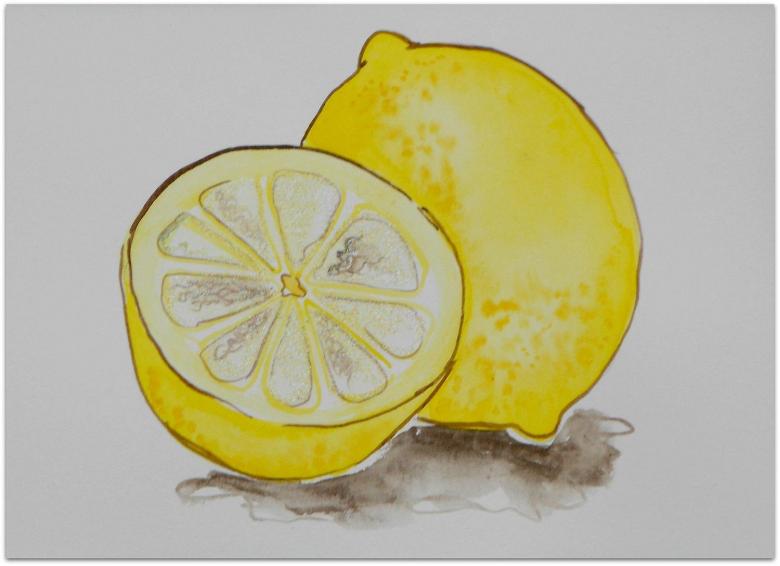
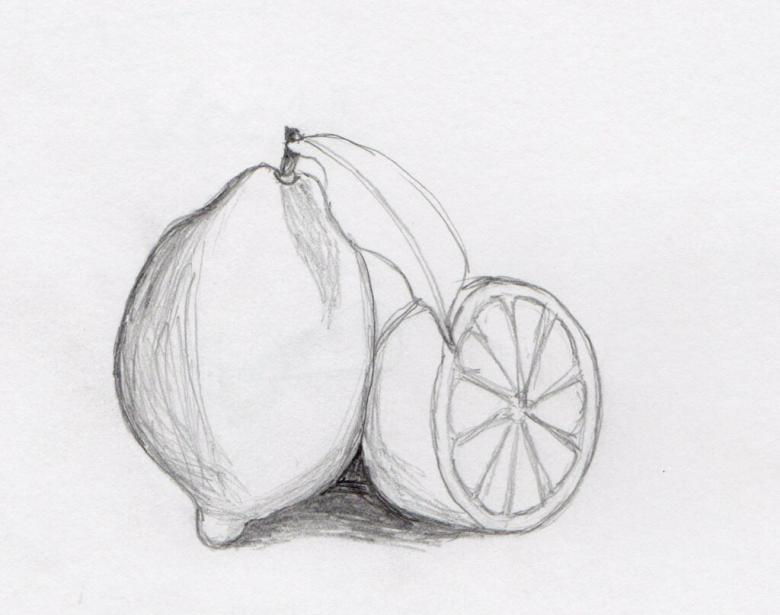
- If the main color is yellow, it is easy to draw a lemon in the same technique, and red is good for drawing a grapefruit;
- If you use yellow as the main color, it is easy to depict a lemon in the same technique, and the red color is suitable for drawing a grapefruit.
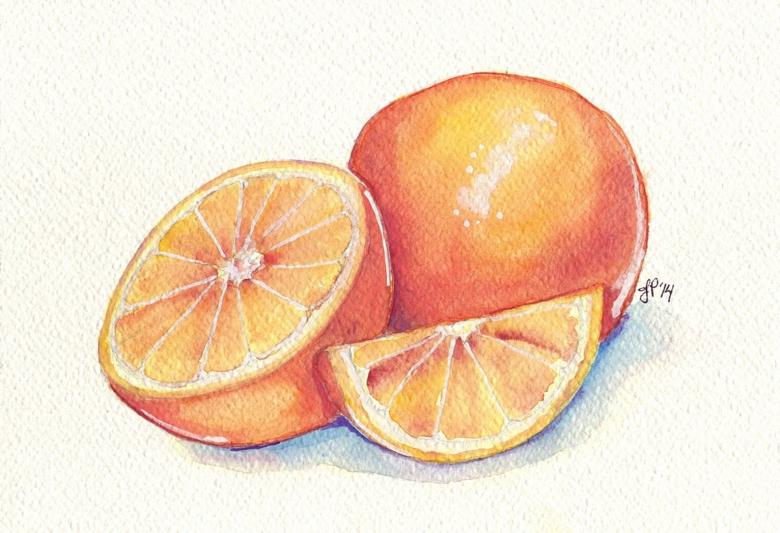
By making several identical blanks and picking up different colors, it is easy to turn them into a coloring game for a child, so he can learn the main types of citrus fruits.

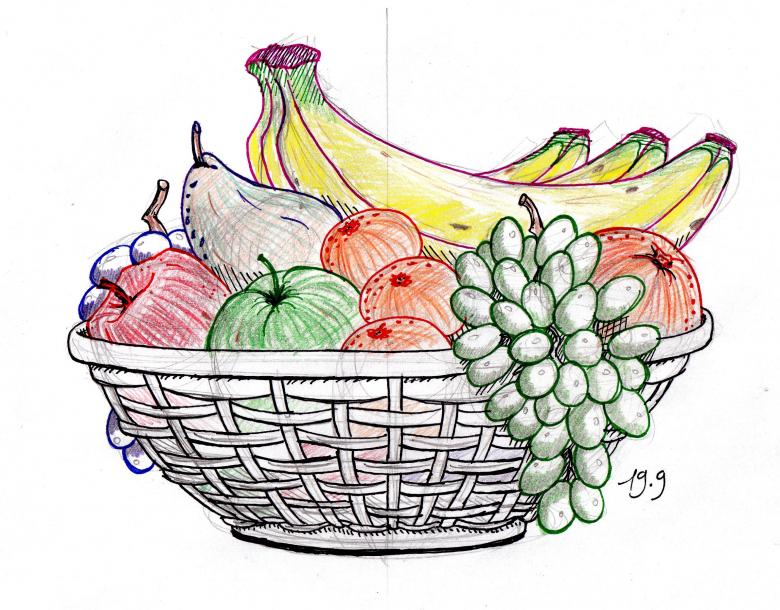
Large plate with different fruits
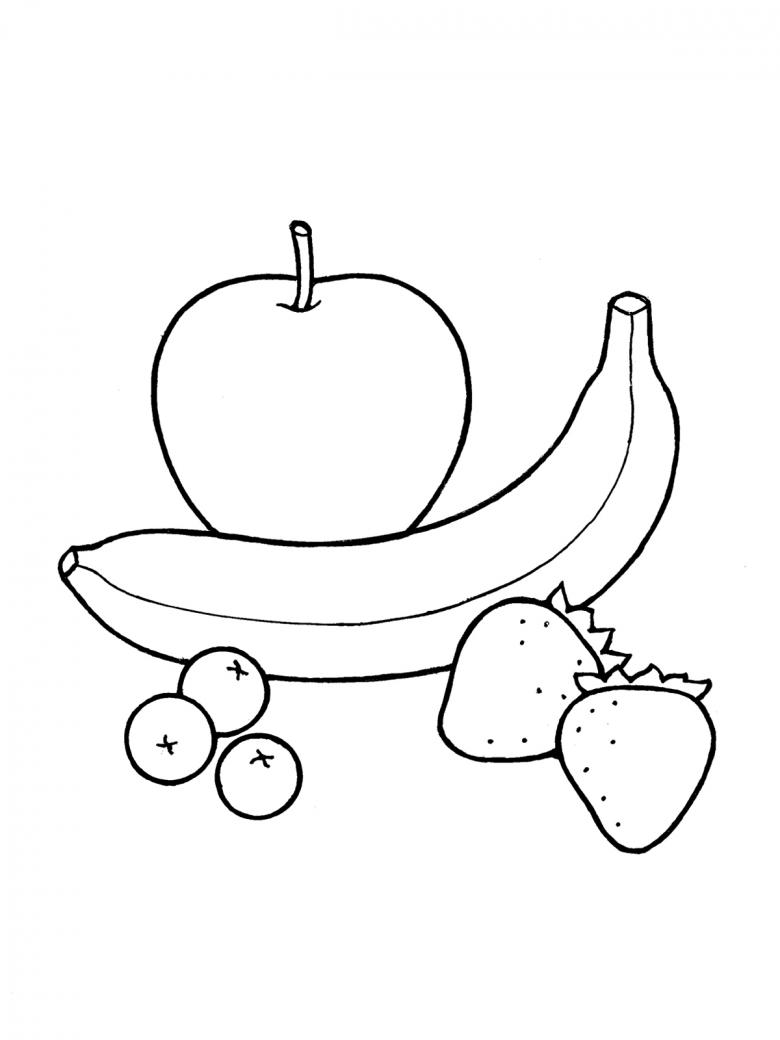
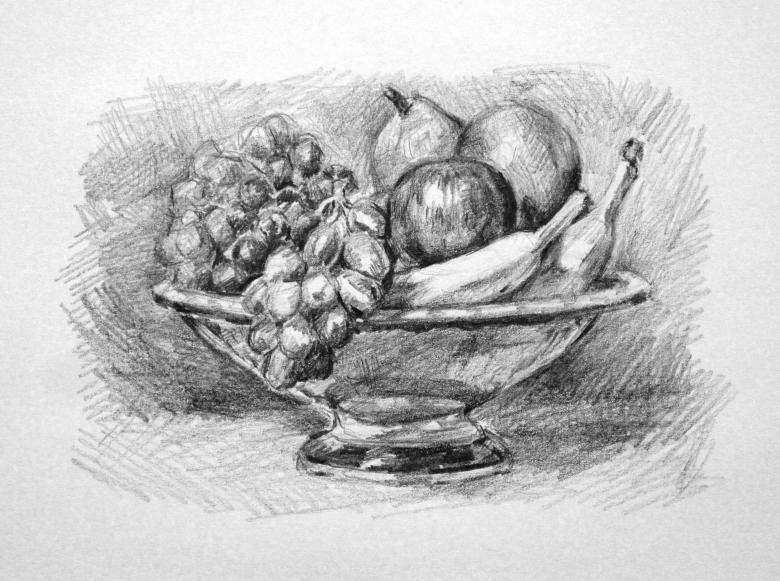
Having learned how to draw individual fruits, you can also proceed to their layout, and a great solution would be the image of still life. For ease of drawing all the objects can be placed on a large plate, which can easily be redrawn from a picture or used as the basis for a photo:
- A plate is depicted on the sheet, for this purpose it is necessary to draw a semicircle, it can not be closed, leaving space for placing all the selected fruits and vegetables;
- In the foreground, it is best to depict simple and quickly recognizable figures, these can be apples and pears, they can be placed horizontally and vertically;
- Decorate the composition and add additional colors to the resulting picture of fruit such as plums, but it is best to complement the image with small details;
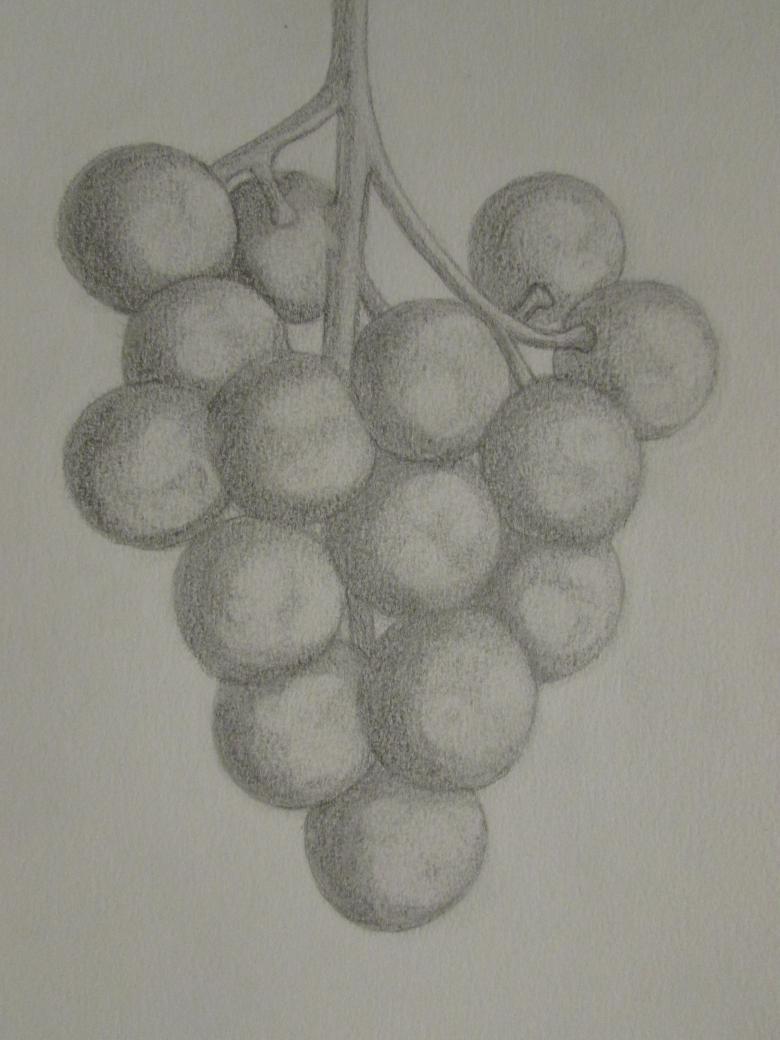
- beautifully will look on a plate purple bunch of grapes, for this draw a hill of small circles behind the apples, covered with tracery leaf green;
- All the berries must be carefully outlined and painted in a lighter shade than the outline, so the berries will not merge into one lump of color and will be clearly visible in the picture;
- The green leaf of grapes is very simple to draw, the maple leaf template is suitable for this, only the edges of such a sketch need to be traced with openwork lines;
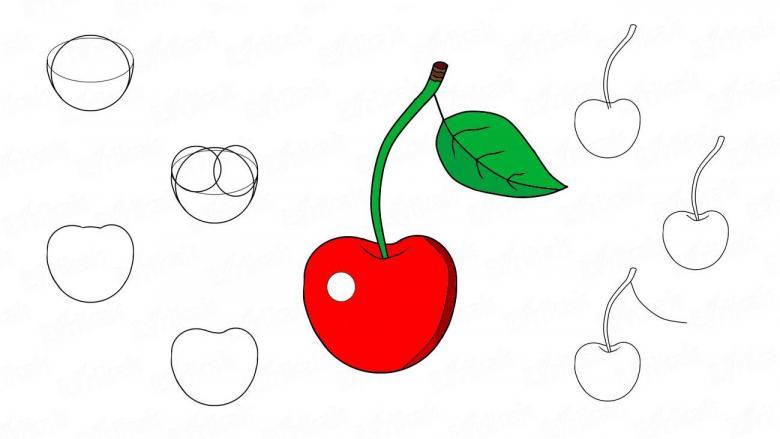
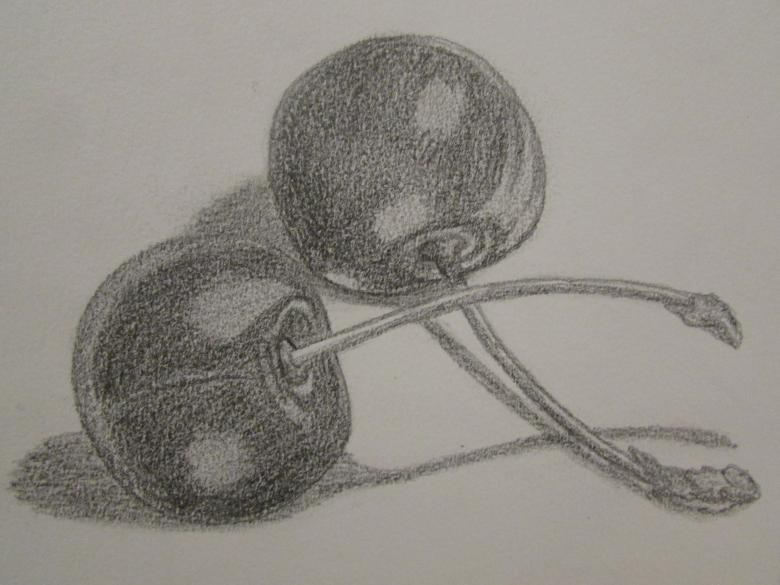
- on the edge of the plate mono place several cherries, for this purpose, two circles with a concave top are connected with an L-shaped pin of green color;
- single cherries is also better to draw with petioles, it will give an opportunity to quickly recognize them in a picture and draw it in fine detail, which will emphasize the naturalistic nature of the drawing;
- the final stage of drawing will be uncoloring the picture, saturating it with paints can begin to decorate the background, it is best to choose for it calm and shallow shades.
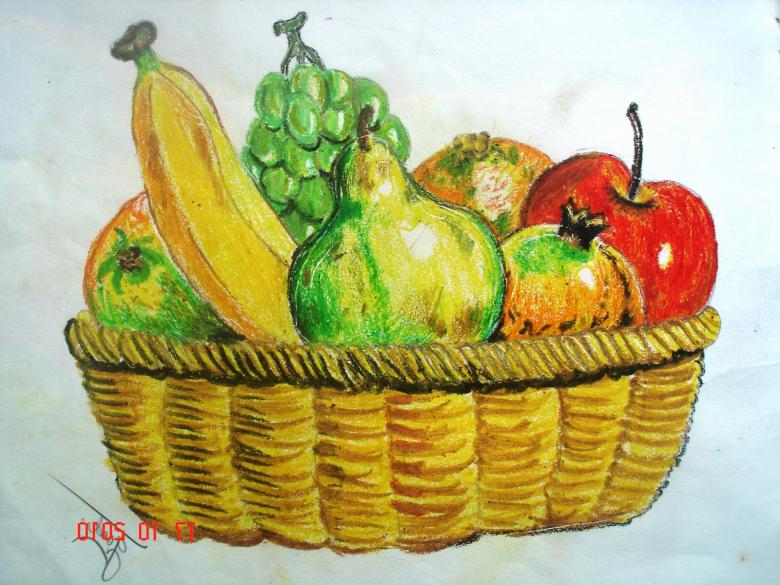
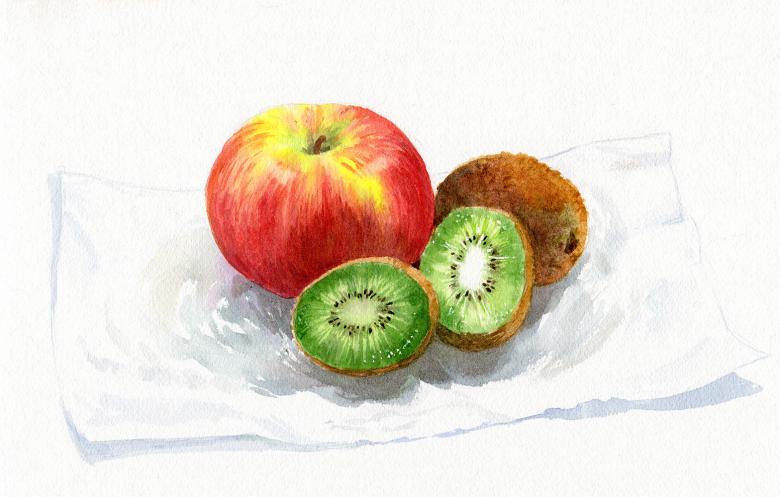
Using watercolors it's easy to turn the resulting picture into a real masterpiece and place it in a frame and under the glass after it dries. These paints help to paint individual fruits imitating their real color with different shades and natural light reflecting the depth of color.
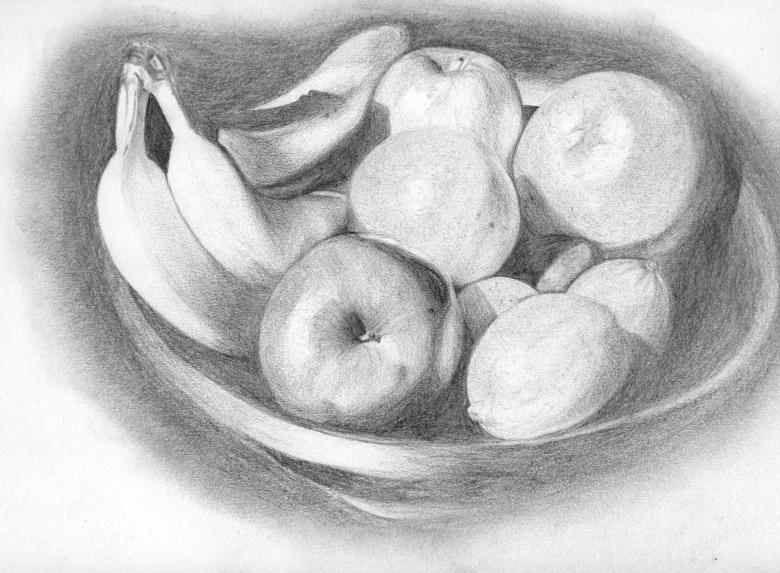
Simple master classes will help you learn the technique of drawing fruit, which is useful for creative activities with children of different ages. Even if children are not into creative lessons, they can be used to learn shapes and colors, names of new fruits and even vegetables.

