How to draw a dragon step by step in pencil - a selection of interesting master classes for beginners
No one has ever seen a real dragon. That's why our ideas about this mythical animal are drawn from books and cartoons. But if a child wants to try to draw this wonder creature, you shouldn't discourage him. On the contrary, in every way help tips and do not interfere with the creative flight of fancy sonny.
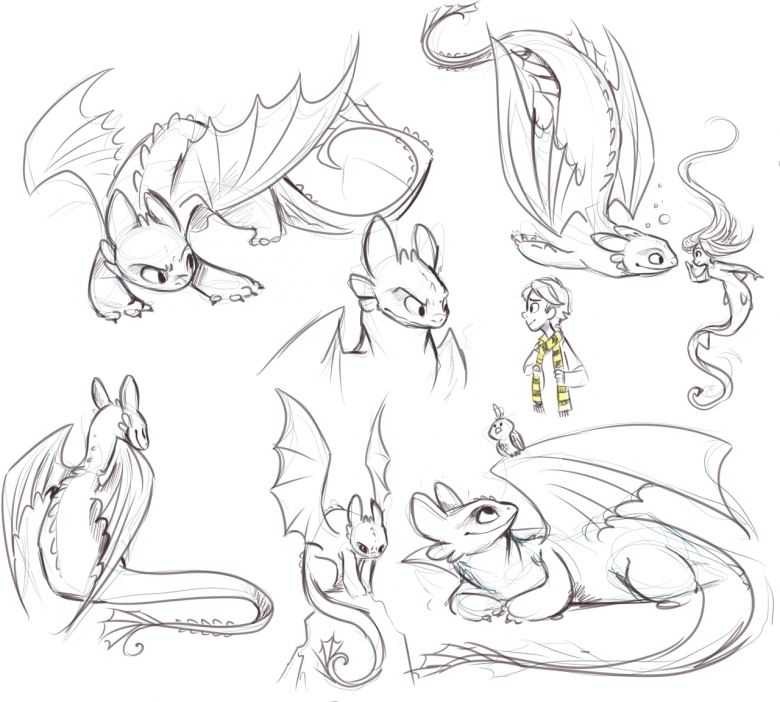
Kind dragon
Start working on a fabulous creature with a sketch. It is not necessary to depict a dragon as evil and intimidating. You can draw a plump goody-goody with a happy smile on his face.
A step-by-step lesson:
- Place a sheet of paper vertically in front of you. Draw two circles with a pencil at a distance of 45 degrees. The upper circle - the head - should be one and a half times smaller than the circle-tummy.
- Connect the circles arched line, marking the back. Under it draw another line connecting the head and stomach with the neck so that near the head the neck was thin, and closer to the stomach expanded.
- From the large circle deduce a line like an infinity sign - it will be the tail. Dorischete another such line, so that the base of the tail was thicker, and the end of it thinned.
- On the side opposite the tail, draw two small vertical ovals - the future paws.
- Next step: Draw a shape resembling inverted beans on the head of the dragon - this nose.
- On the head add two more circles-eyes and finish drawing the nostrils at the end of the bean. Under the nose should be visible mouth on the left and a little bit on the right.
- Next proceed to tracing the wings, finishing drawing teeth and vertical rulers - crosspieces.
- At the end of the tail add a triangle - the tip. At the top draw more triangles, denticles, and bottom of the tail, outline the part and divide it into segments by parallel lines.
- Ditto - teeth and stripes - must be done on the body of the dragon.
- To the oval soles add two arcs on the right and left - the knees of the beast, and on the soles themselves add one more oval, and on top draw three circles - fingers.
- It remains to add the hands, bent at the elbow and folded on the stomach (two elongated ovals and one circle - palms).
Now it remains only to paint our hero, adding to his skin circles of more contrasting shades.
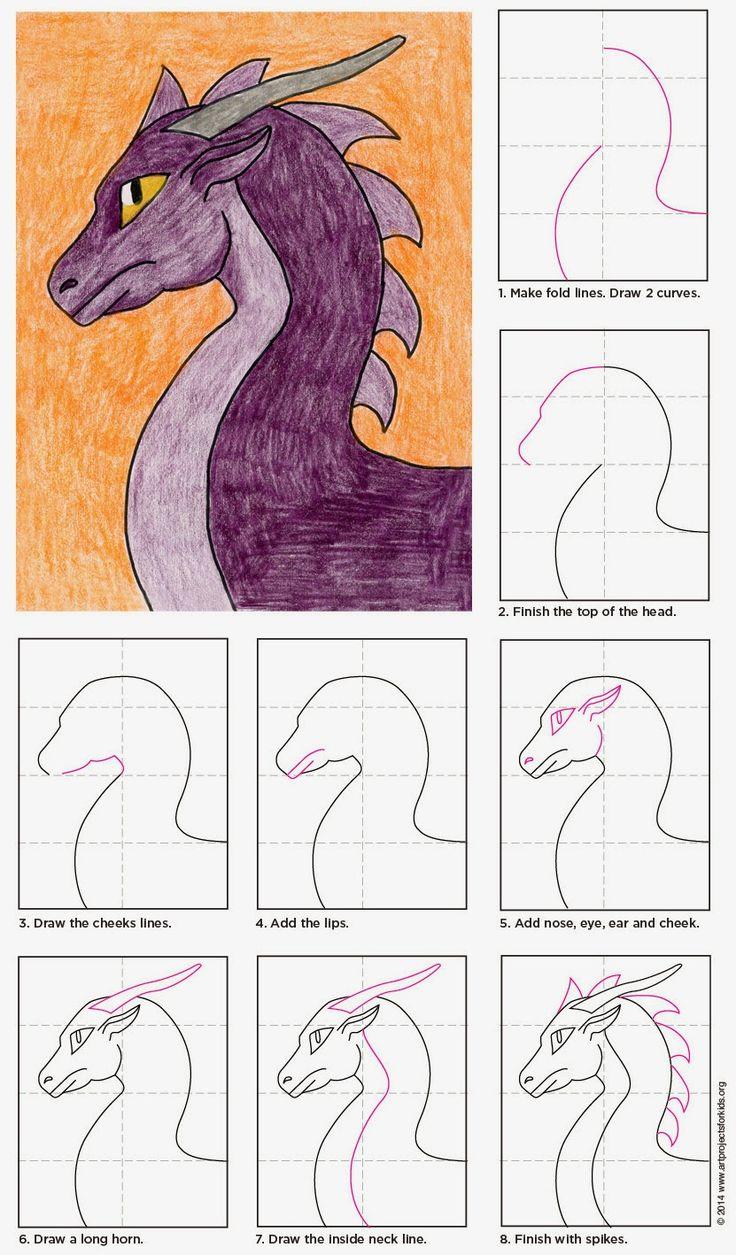
Standing dragon
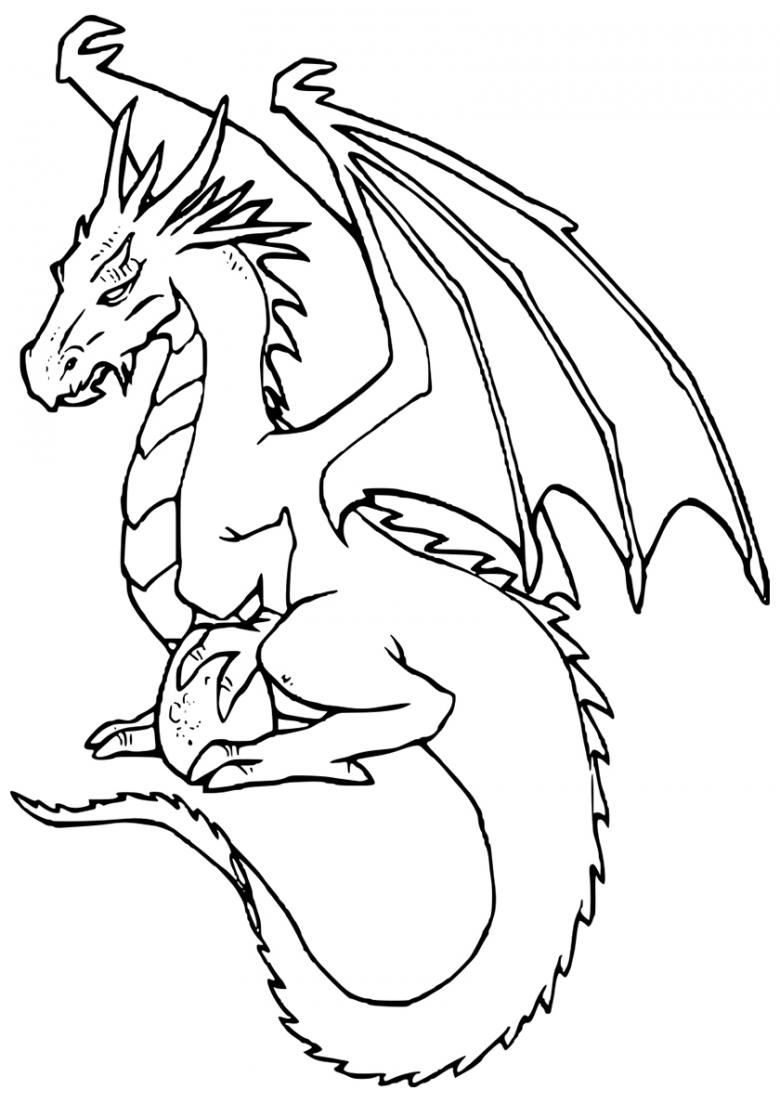
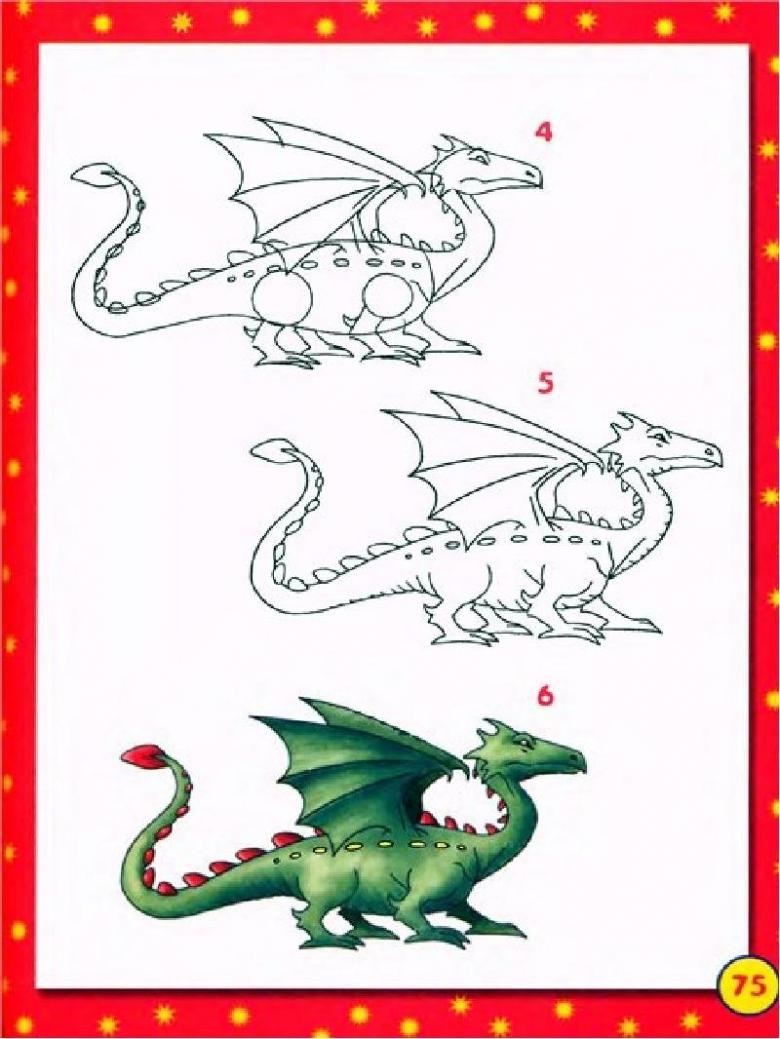
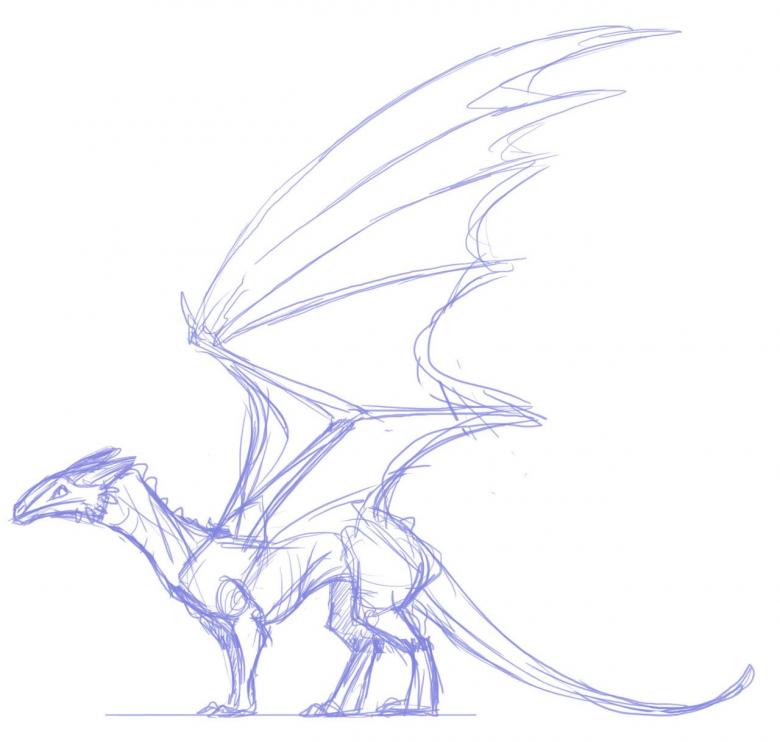
Another dragon-good-natured, which can be seen in the photo on the Internet, also with a tummy and pretty face, but not collapsed, as the previous, and stands almost at attention. Learn to draw such a creature easily.

Step by step master class:
- Above the middle of the sheet draw a circle - this will be the head of the dragon.
- At right angles to the head drew two rectangles - the neck and nose.
- Under the neck add a larger circle - the body, which frame the right series of small circles - the tail, and two oblong ovals on the left - the legs.
- Draw around the outline, smoothing the sharp corners and wiping unnecessary internal lines with an eraser. Only the tail is left pointed at the tip.
- Doris on the head two circles - the eyes, and the body of the hand - it will be one.
- Proceed to the drawing of small details: pupils in the eyes, nostrils - on the nose, two protruding teeth, triangles, spikes on the whole line of the back outside, wings.
- Separate part of the stomach and cross it out with horizontal lines.
Black and white dragon is ready. It only remains to add color.
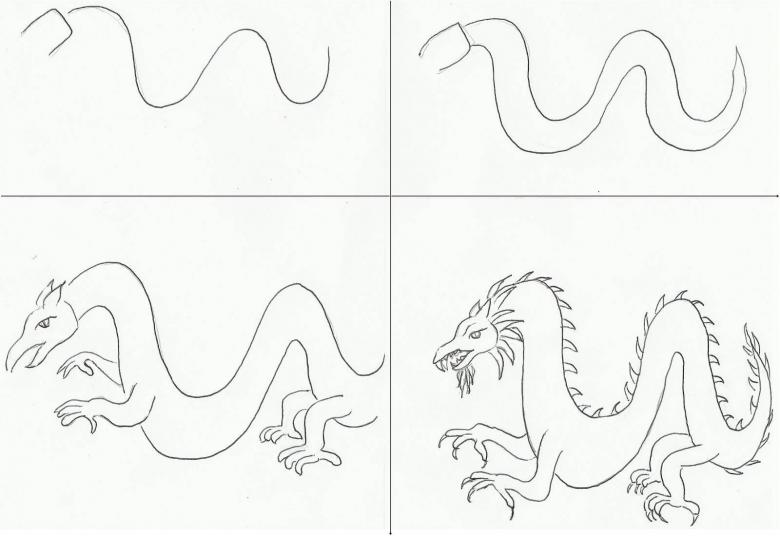
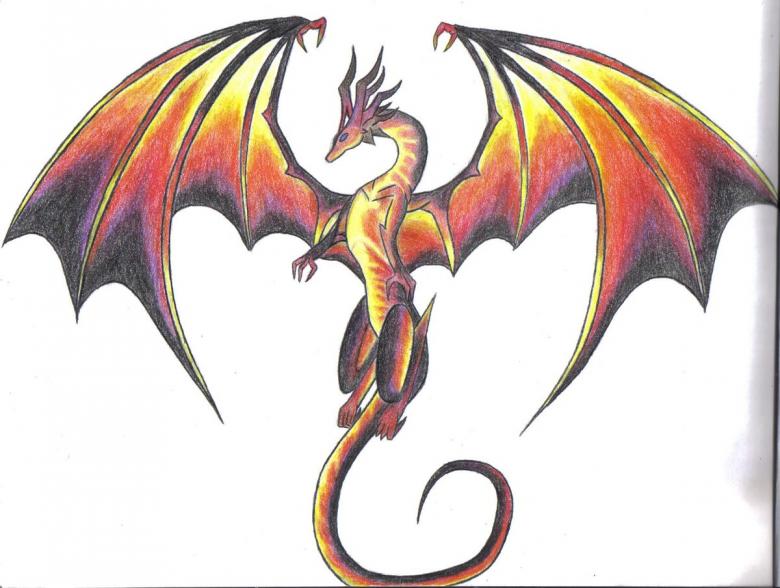
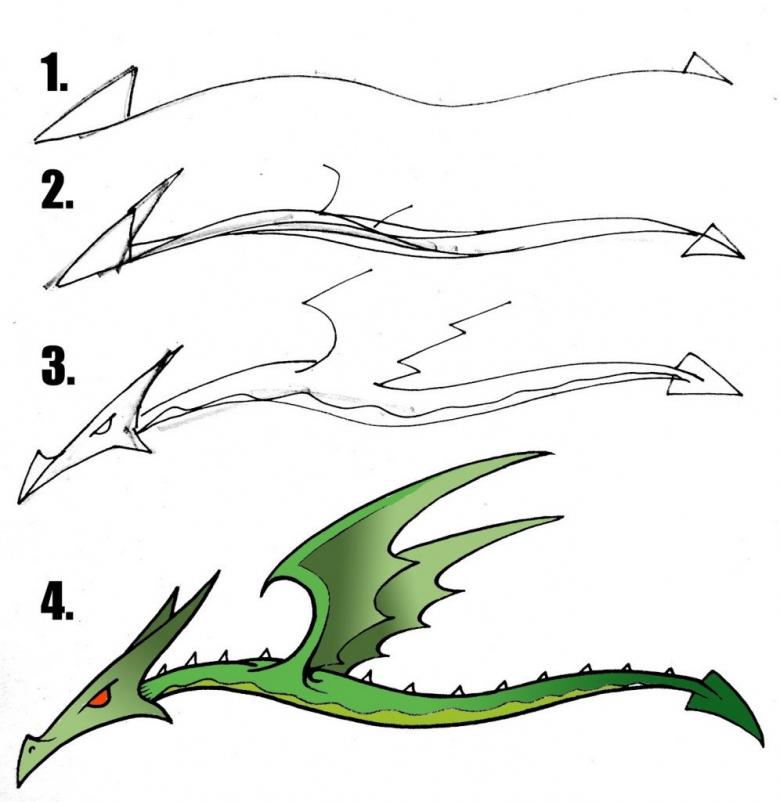
A soaring dragon
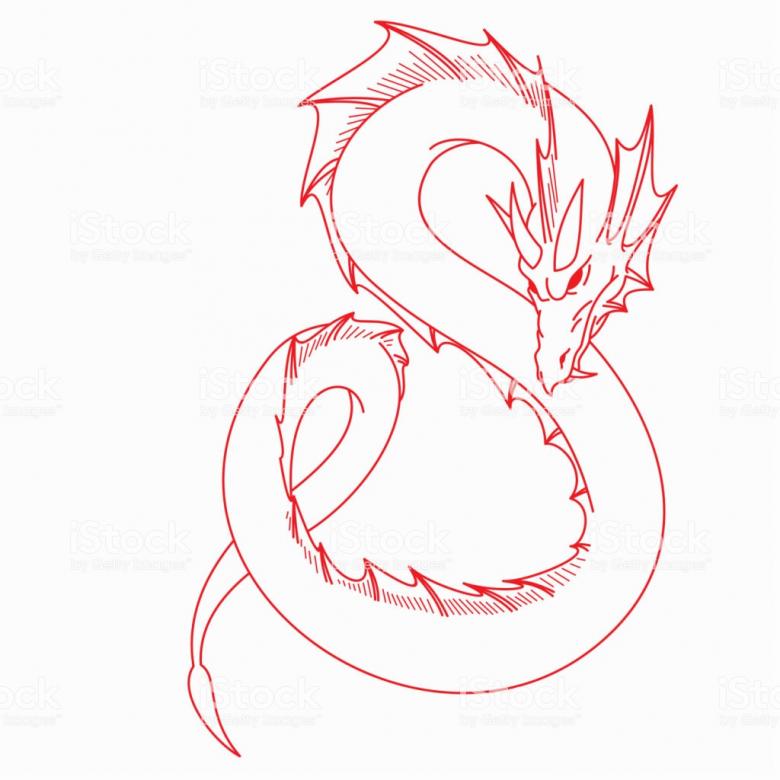
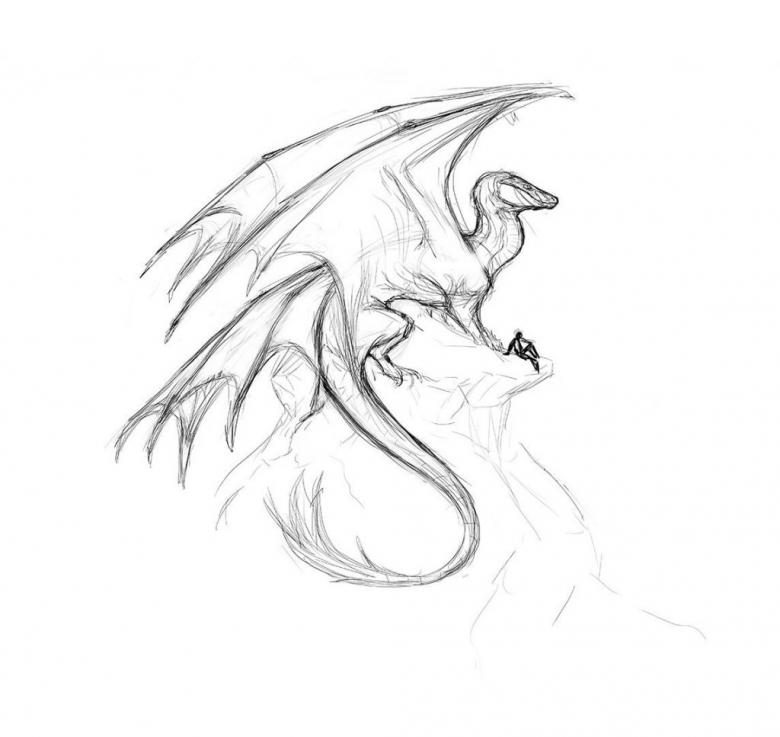
Now that you've mastered the technique of drawing kindly cartoon dragons, let's move on to more complicated techniques - try drawing a dragon with outstretched wings, getting ready to take off. You won't be able to tame such an animal, but you're welcome to admire the beautiful drawing.
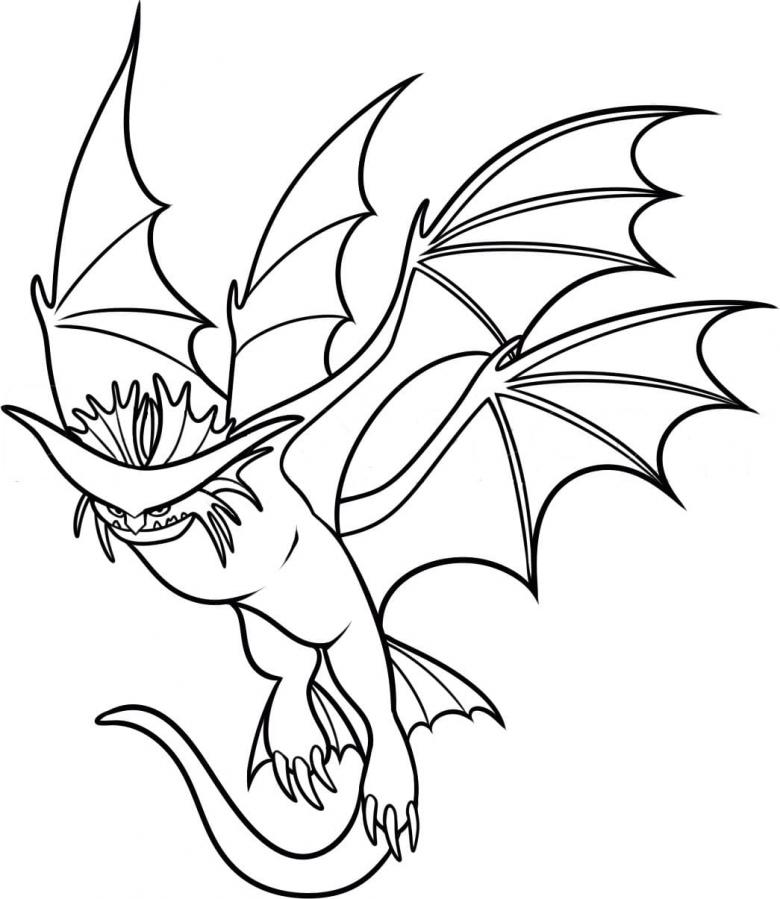
How to do it:
- Draw half of the figure of eight, slanting it slightly to the right. On top finish drawing two small circles of different diameters - head and elongated nose. Two more circles on the lower bend - the body. The circle, which is closer to the head, should be larger than the second.
- Connect the head and the bottom two circles curved line on top. Mark the sides of the two triangles - the wings, the bottom of which should be drawn semicircles, to get a curved line.
- Add a tail to the back - it should also wriggle and have a triangle at the end.
- Add the back paws just below the body and the front paws should rest on the ground before jumping.
- Doris barbs on the back and upper part of the tail. The upper part of the wings, duplicate the parallel line and trace out the vertical lines. Add eyes on the head, draw nostrils and mouth on the tip of the nose, and highlight the claws on the feet.
- Erase all unnecessary lines inside the dragon, add spots, trace the contours.
Sketch ready. Proceed to coloring animals.
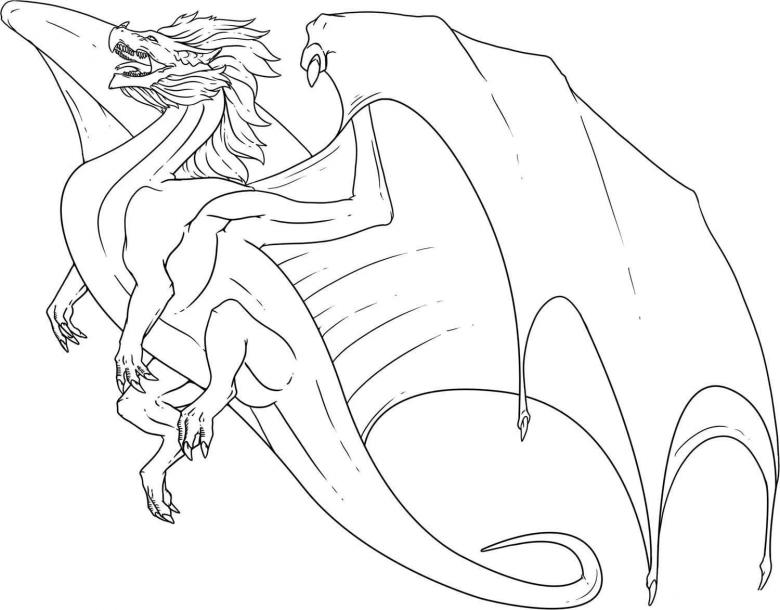
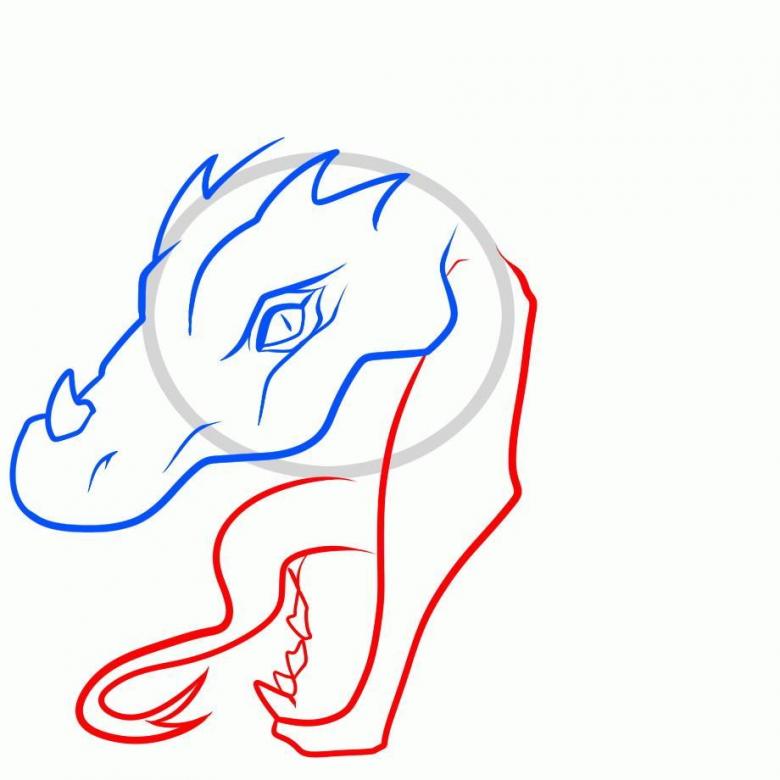
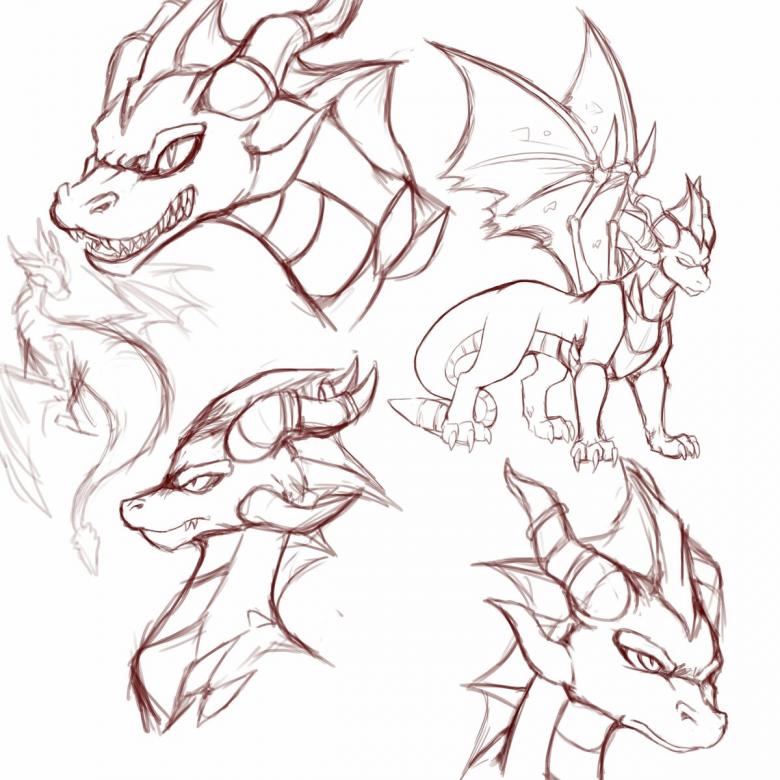
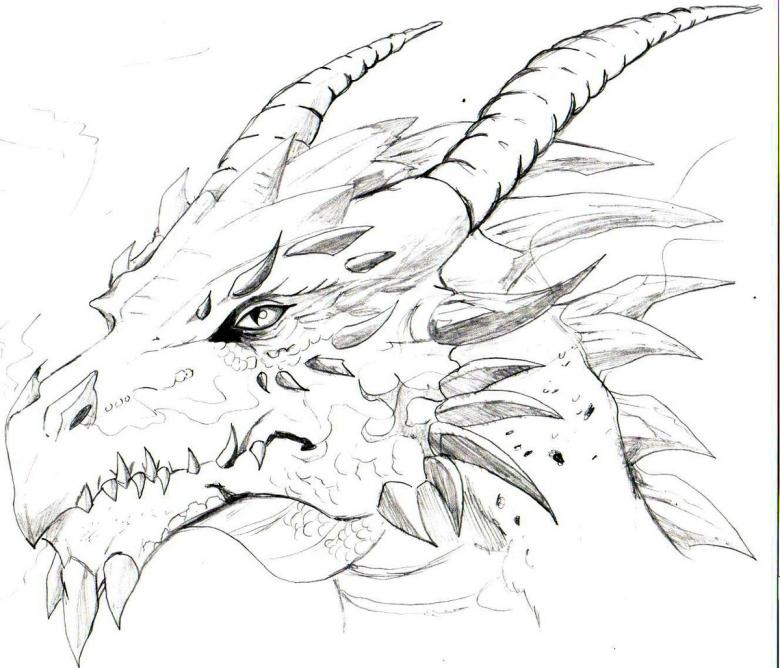
Dragon Head
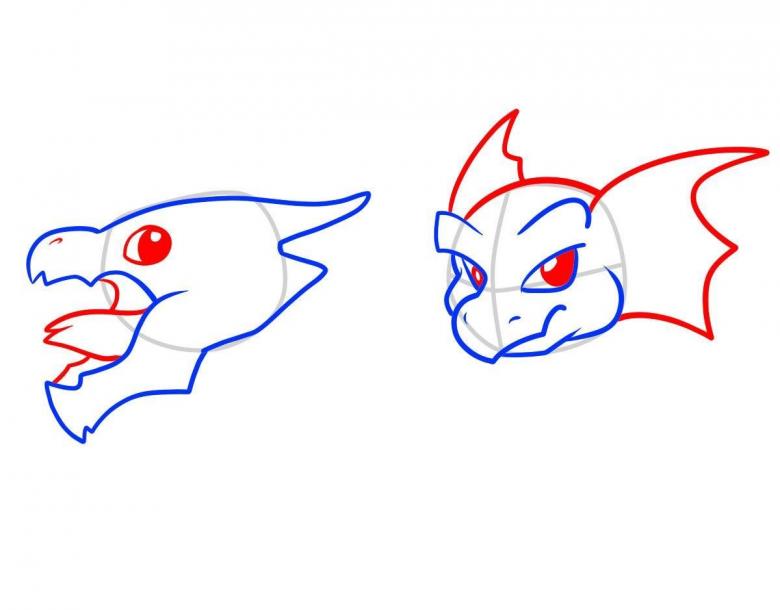
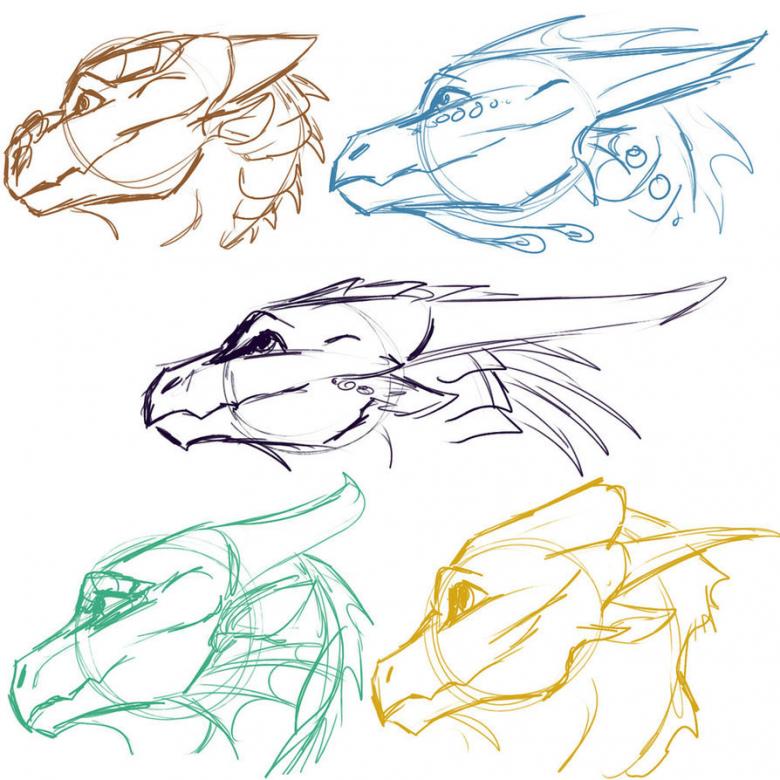
If you want a "portrait" of the dragon, you can try to draw just its head.
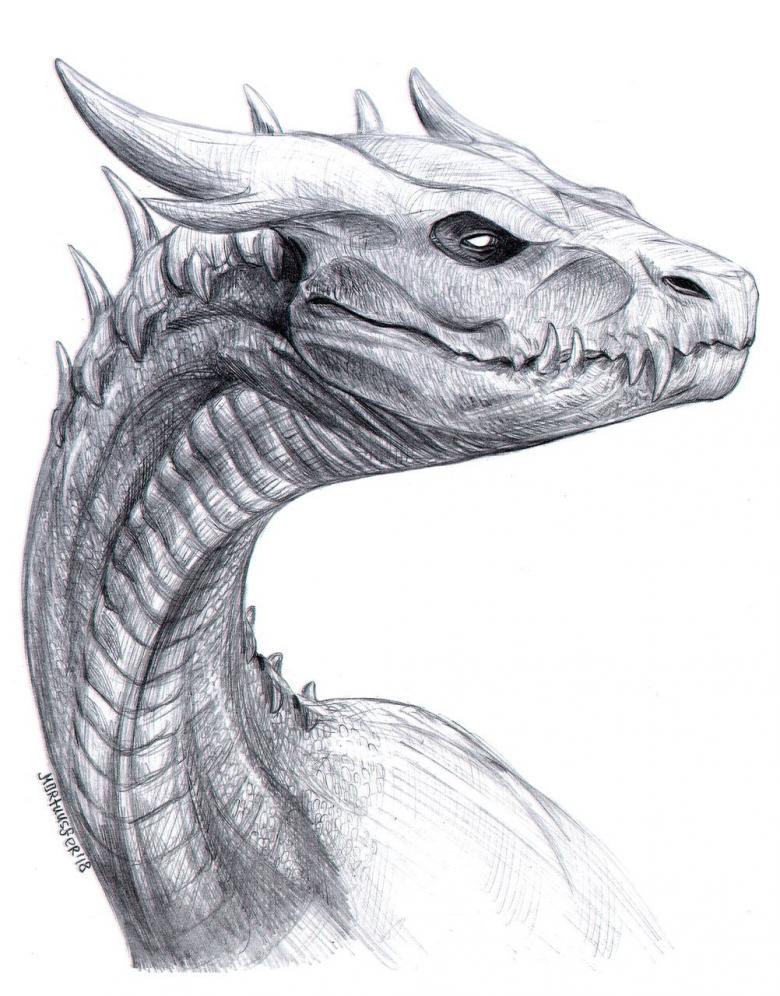
Stages of work:
- Draw two circles so that one goes a little beyond the other - this is the head. Left and slightly below draw a small square - the nose. Connect it to the circles with three trapezoids, expanding as you approach the circles.
- From the right circle draw three curved lines downwards - the dragon's neck.
- At the top of the head add two figures, resembling rolled paper sleeves, and on the right - a triangle sticking out.
- From the goblet lines extend to make horns, and under the right sketch the outline of the eye.
- Protruding triangle make the curves - these are the fins. Continue to make jagged edges on the neck.
- Draw more detail nose, adding nostrils and two protruding downward canines.
- The left side of the neck, divide into segments with horizontal lines.
- Erase unnecessary lines.
You can start painting the picture.
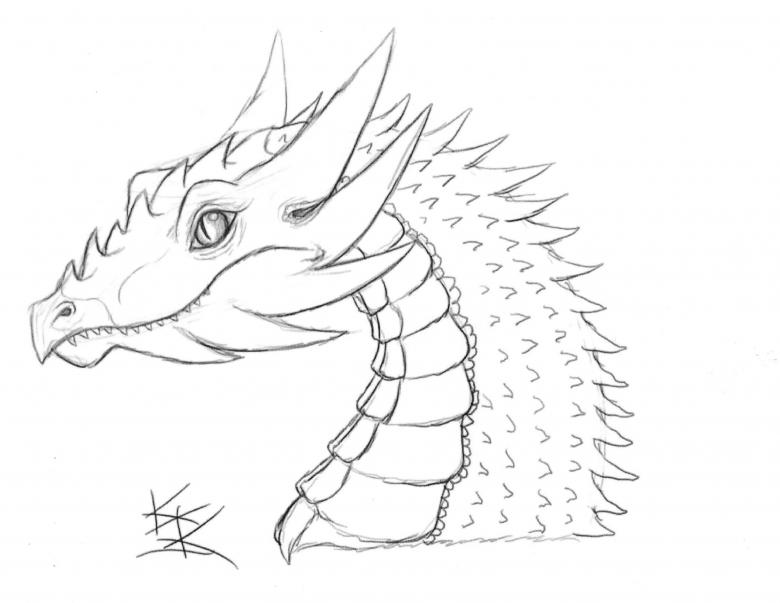
Girls are unlikely to be interested in such work, but the boys you work on the dragon will not be able to tear away. The main thing is to prompt and direct, what to do and in what sequence, so that the drawing will turn out really beautiful.


