Hyacinth of paper with their own hands - detailed step by step master classes, photo ideas, tips
The first spring flowers, they are called snowdrops, notify us of its arrival. When you really want spring to come soon, you can create it with your own hands. Paper bouquets, skillfully made by artists, sometimes as beautiful and bright as alive.
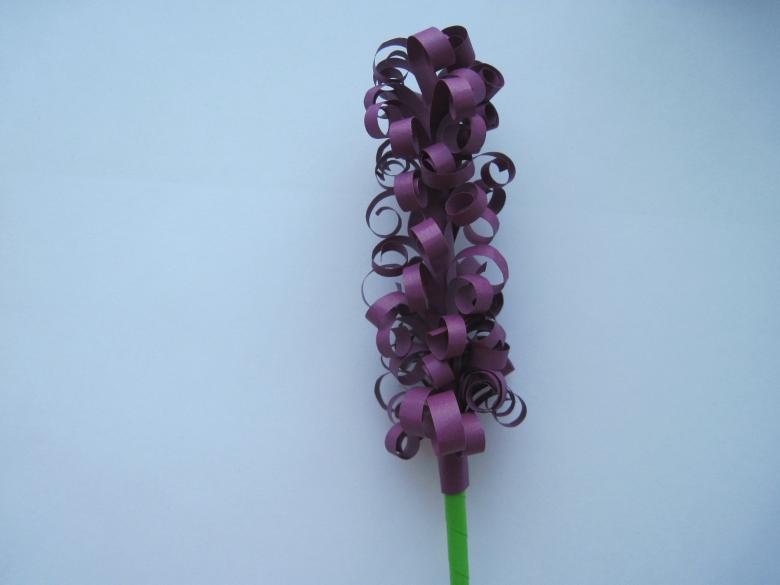
Many of the handicrafts are so easy to make, that even a child can create them. Such a flower would be a great gift for mom or grandmother. There are fantasy, outlandish compositions of flowers, and there are those that exactly copy the real. We will tell you how to make a hyacinth from paper, which will be very similar to the original.
Myths and Prototypes
Ancient Greek mythological history is associated with the hyacinth. Hyacinth - a very beautiful prince from Sparta, who was accidentally killed by Apollo during a joint game of discus throwing. From the drops of blood of the dead young man sprouted beautiful fragrant flowers.
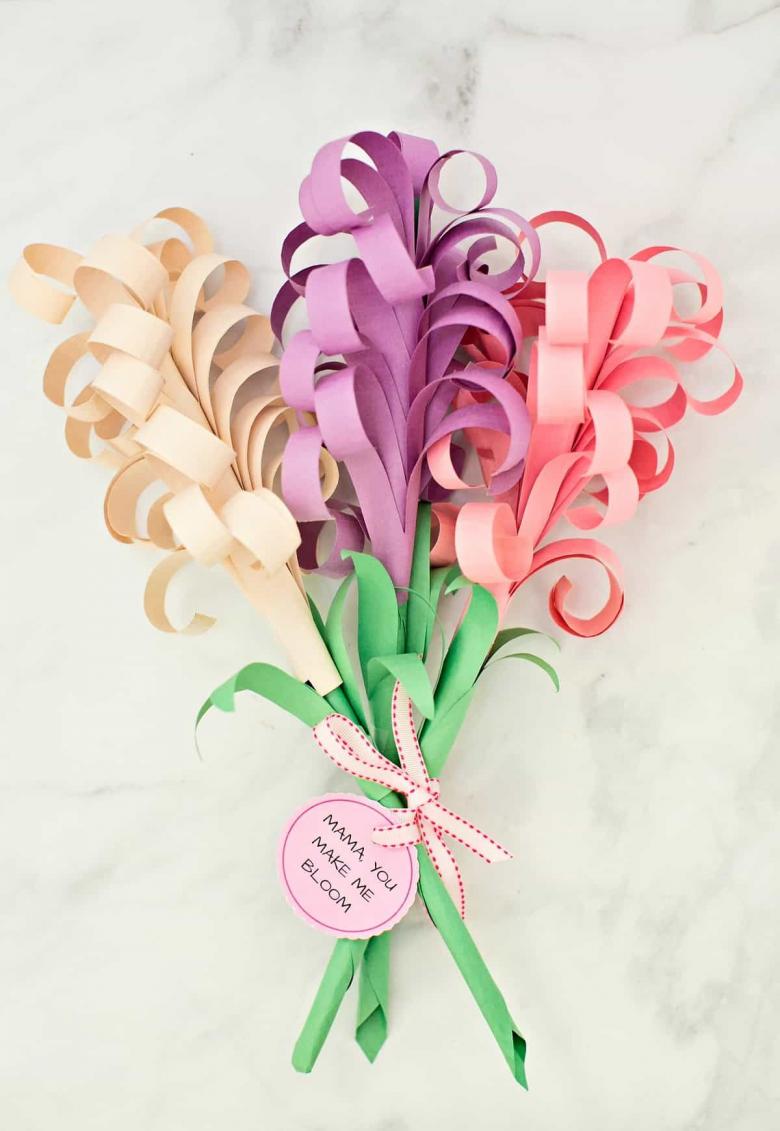
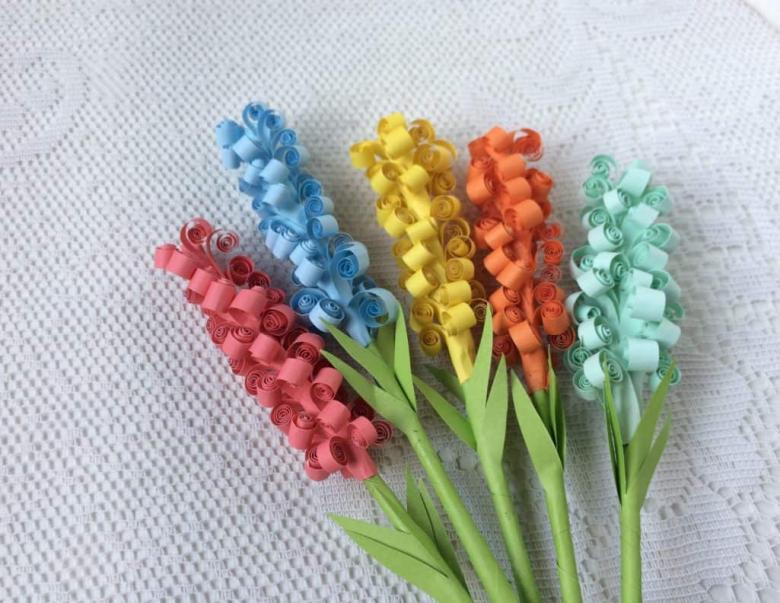
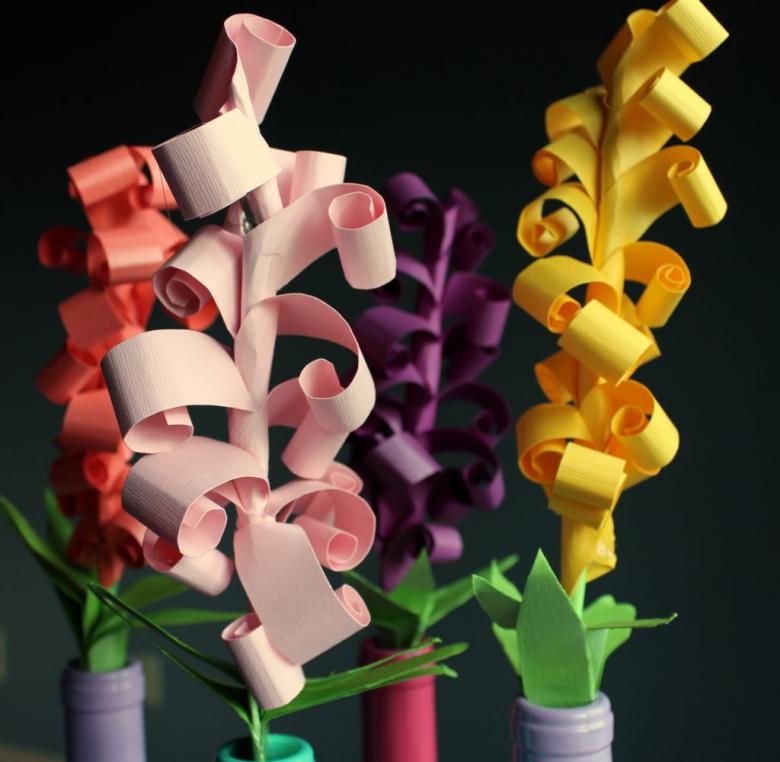
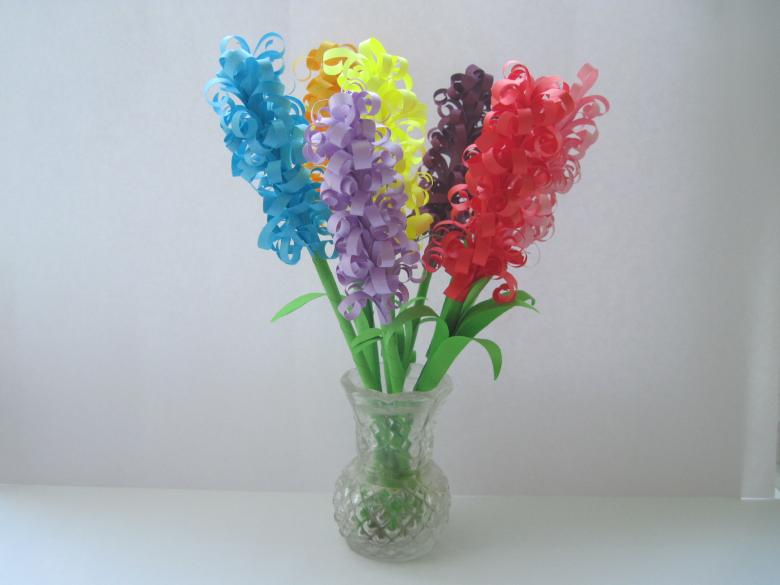
In modern depictions we find hyacinths in white, blue, lilac, pink violet, purple and even yellow. It is a bulbous plant with a thick, low flower stalk. The small star-like florets with bent petals-arrows are densely assembled in a pyramidal vertical inflorescence. On the whole, the flower even appears to be curly. The stem is framed by two or more flat, long and narrow leaves.
These features of the real plant are reflected in the paper crafts.
Preparing for the job
We will need a very small set to work with:
- Double-sided colored paper of medium density.
- Stationery scissors.
- Pencil glue or PVA glue.
- A 30 cm ruler.
- A pencil or thick needle.
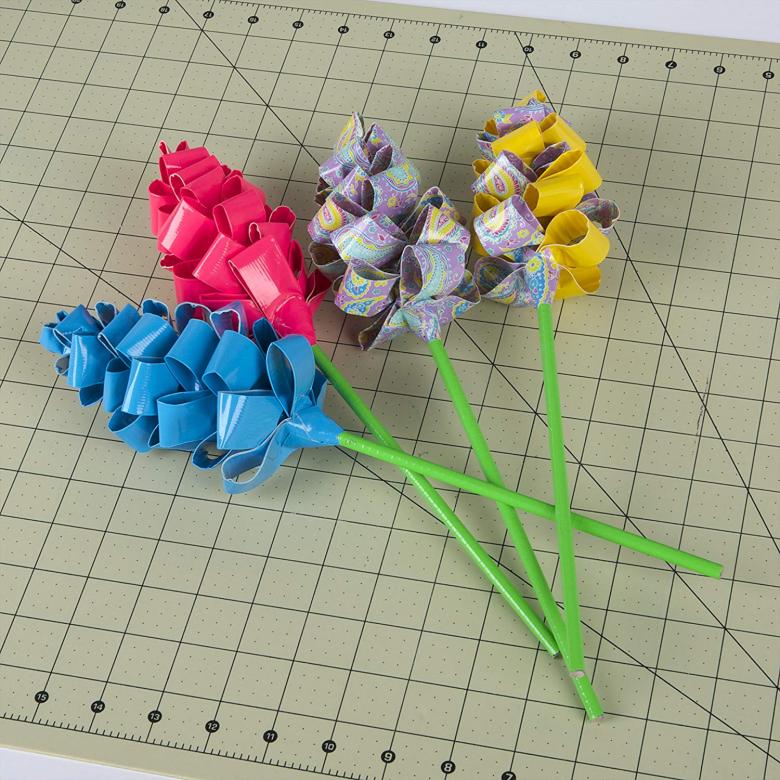
The color of the paper can be arbitrary: the same tone or different, compatible shades. For the stem and leaves you will need green paper, preferably the closest to the real, grassy shade.
The process of making
First, try to make a simple hyacinth using our basic step-by-step master class.
Blanks .
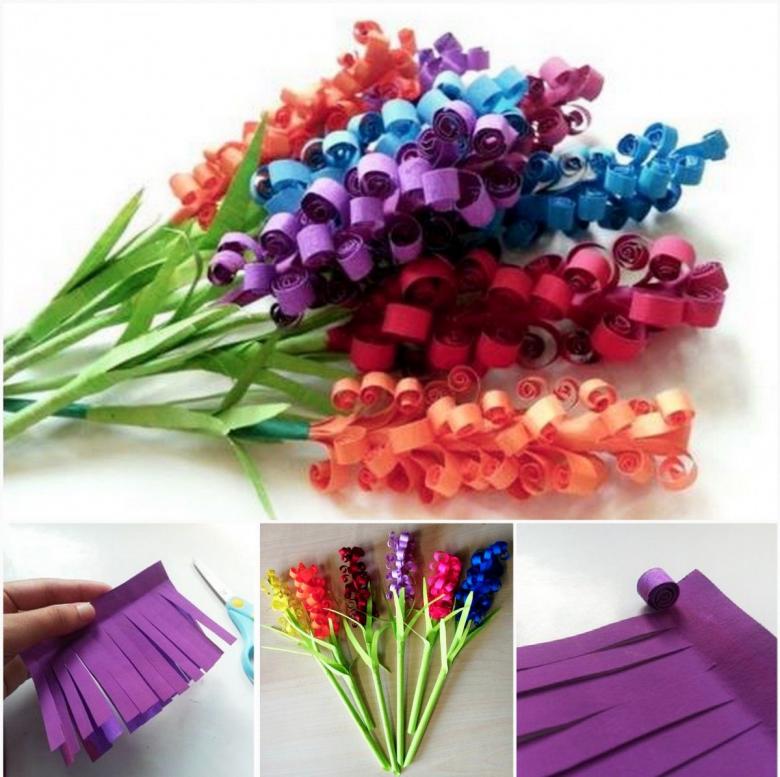
Cut green paper into rectangles with sides of 5-6 cm and 15-20 cm. These will be the stems. We will need as many blanks as we plan to make flowers.
For the inflorescences we also need rectangles of double-sided colored paper - 5 by 20 cm.
Inflorescences .
On the long side of a rectangular blank, bend the paper to a width of 1 cm. For convenience, especially if we are working with children, we can draw a thin line with a pencil on a ruler.
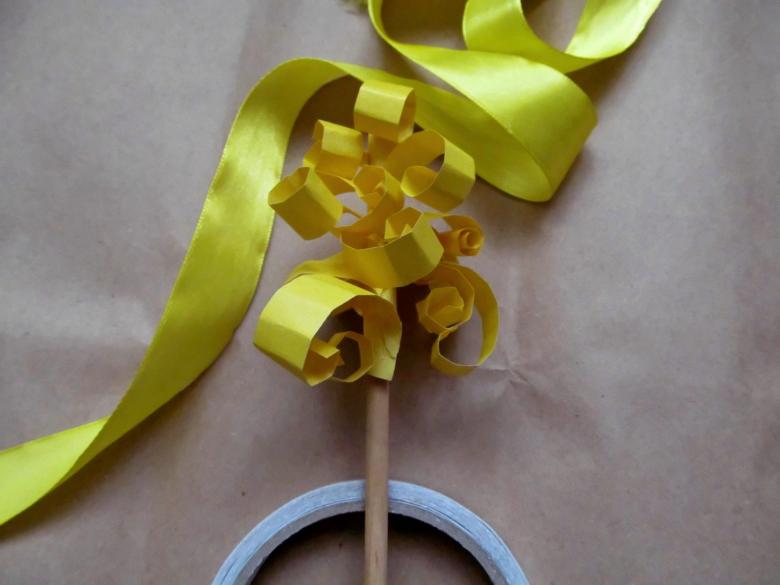
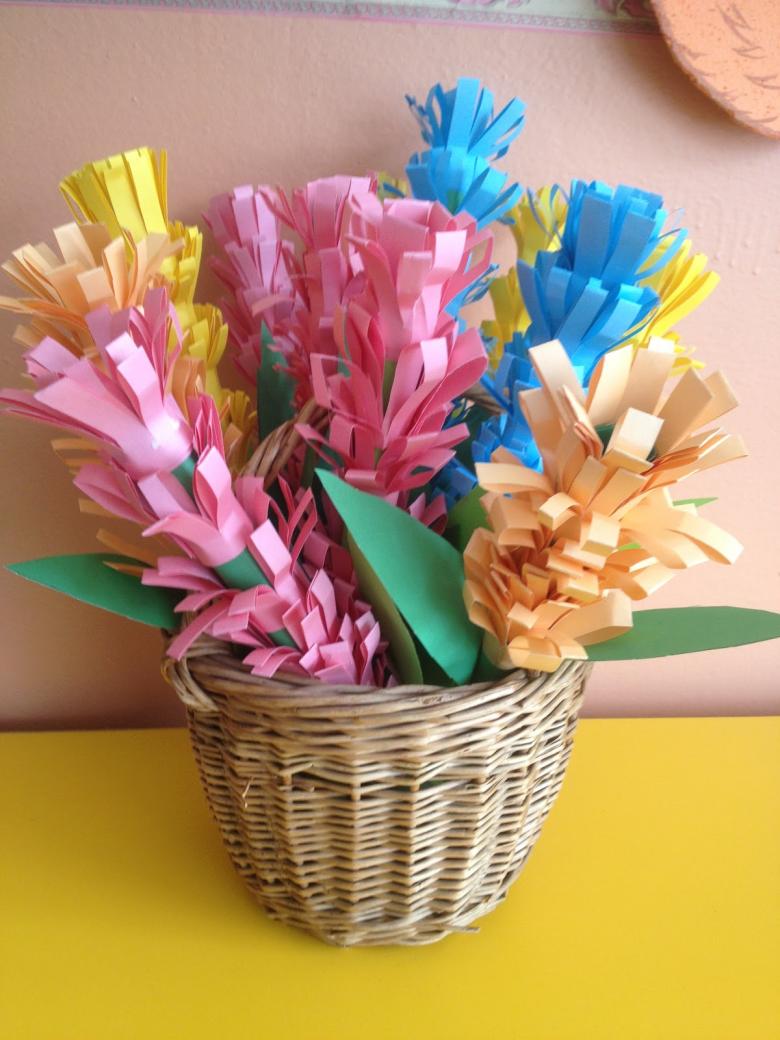
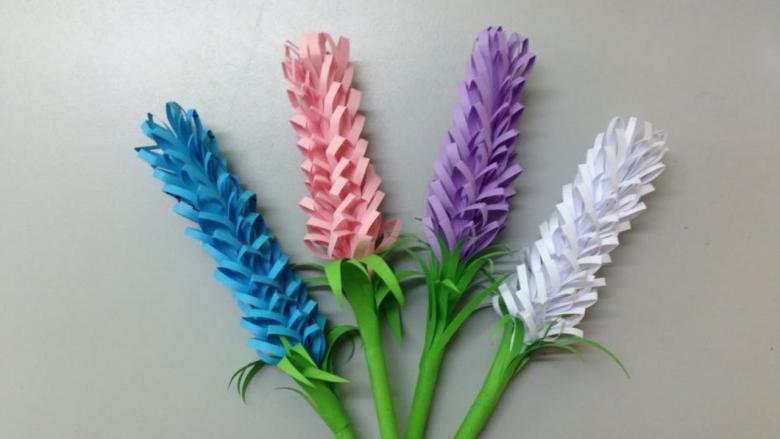
So, our rectangle is divided into two parts - 1 cm wide and 4 cm wide. The side of 4 cm we cut across to the fold. We make a fringe with a side of not more than 1 cm. You can cut it with a pencil marker, or by eye. This way petals will look even more natural.

Petals
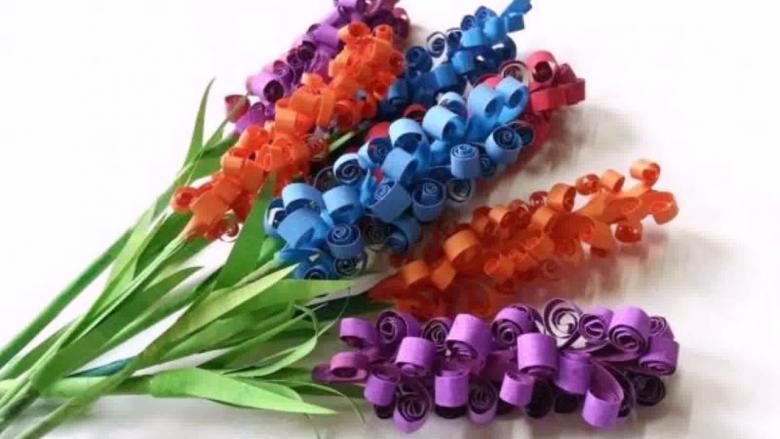
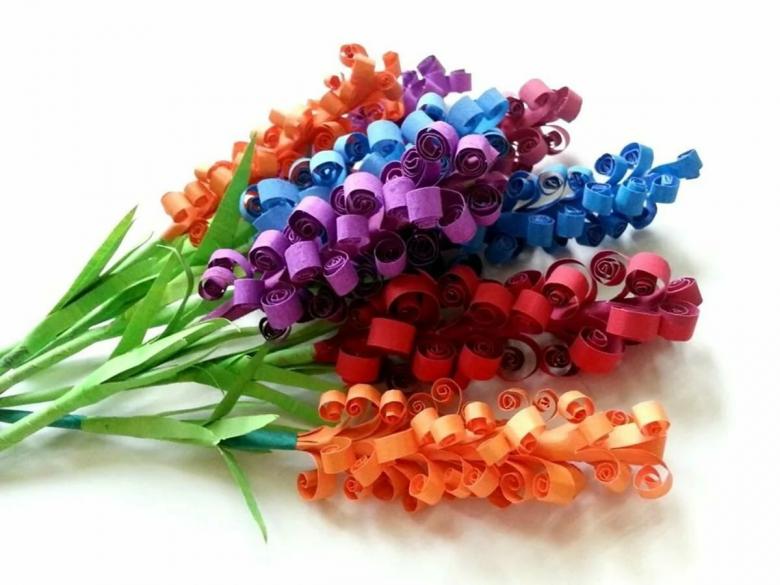
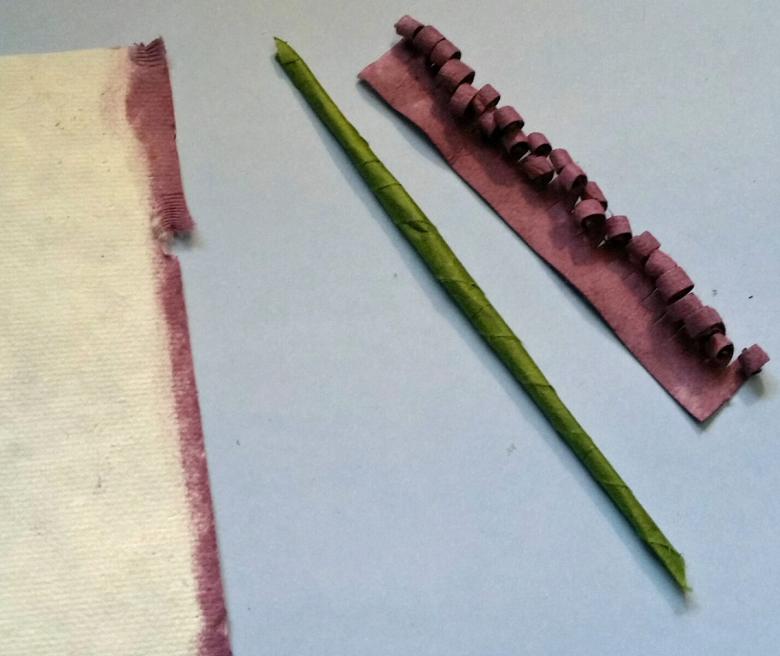
Now the most laborious stage of the work: each piece of fringe should be twisted into a spiral. You can do this with your hands or use improvised materials - a pencil, a needle, a wooden skewer. The more thoroughly this work will be done, the better and neater the hyacinth will look.
The stem
A rectangle for the stem is twisted diagonally into a tube. Moving from the corner, fix the ends of the paper with glue. Let the stem dry.
Leaves .
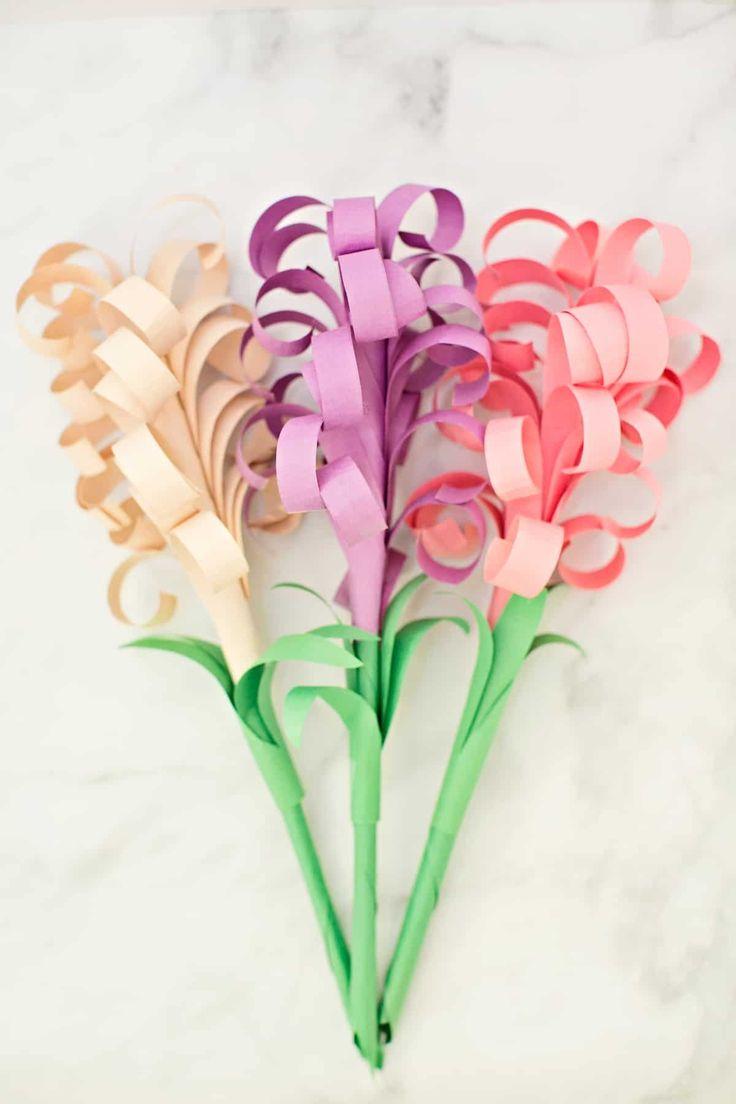
Again, take the green paper and cut a rectangle 5 cm wide. The length is arbitrary. On one of the wide sides bend the edge of 1 cm, as we did for the flowers. On the other side we cut teeth in the form of leaves.
Assembling .
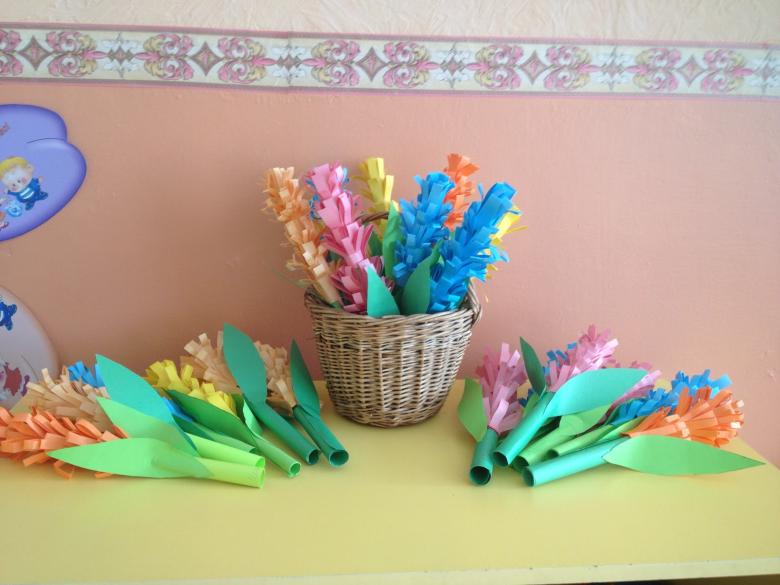
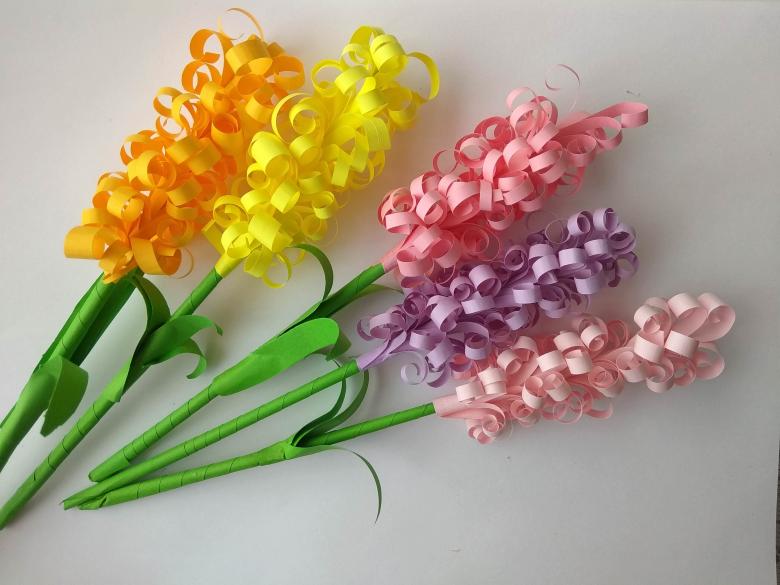
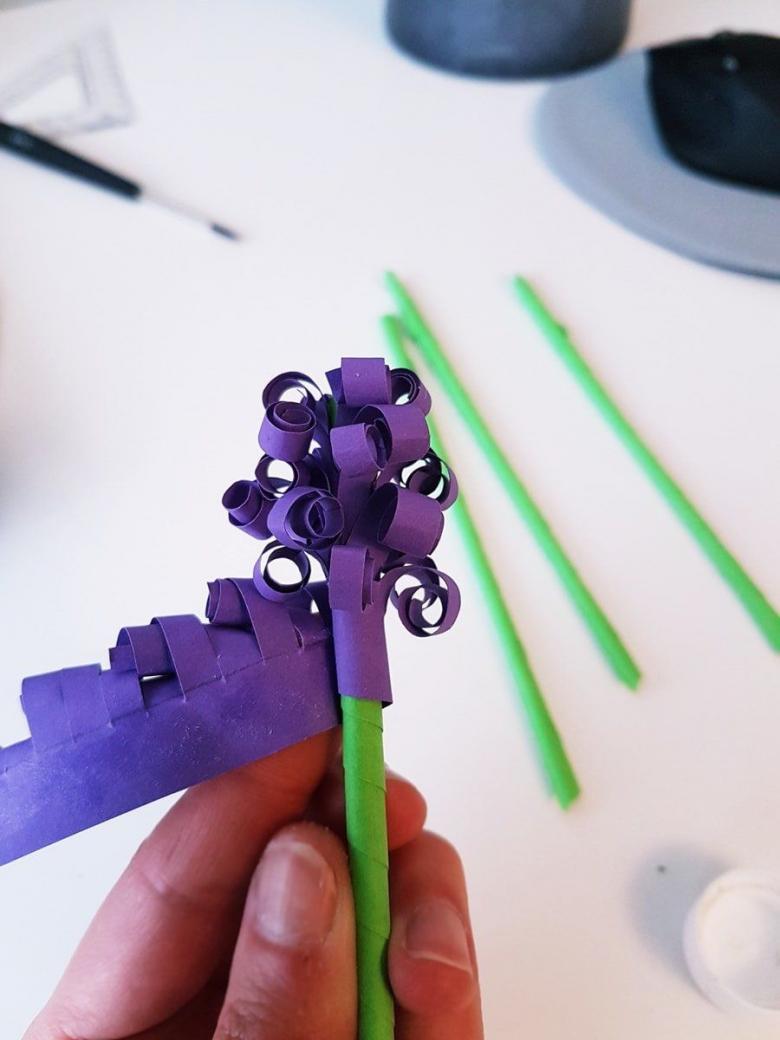
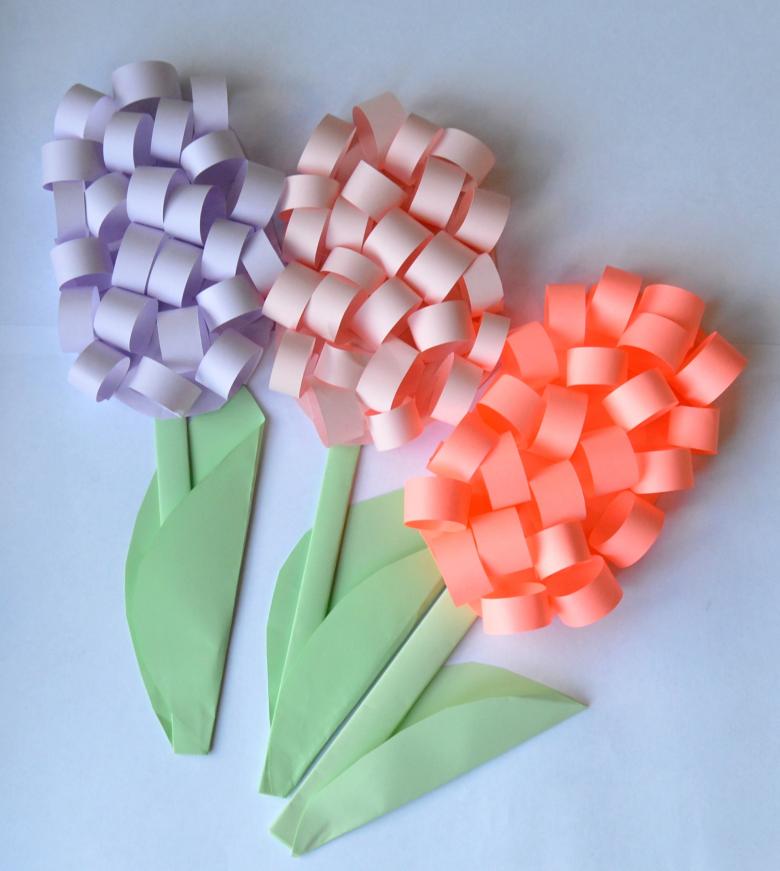
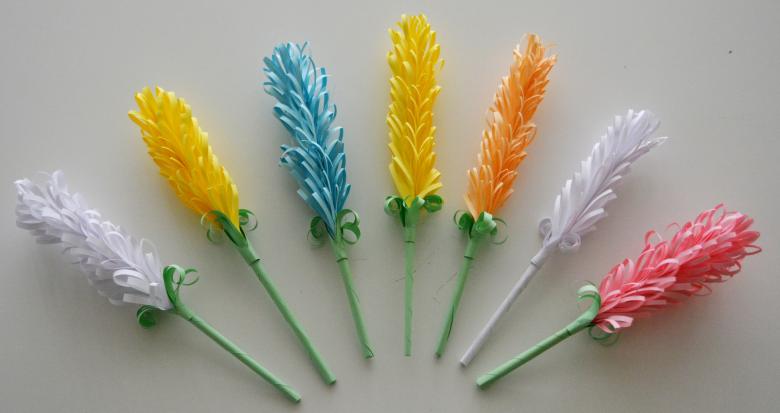
- Take a strip of paper with prefabricated petals and start to wrap the stem in a spiral, moving from top to bottom. Secure the top edge with glue, we place the turns as tightly as possible to each other, so that the flower was puffy.
- Now the stem also wrap the workpiece with leaves. Also glue the ends.
- Green leaves slightly bend outward, evenly trim the tip of the tube stem.
- Similarly, assemble the remaining flowers.
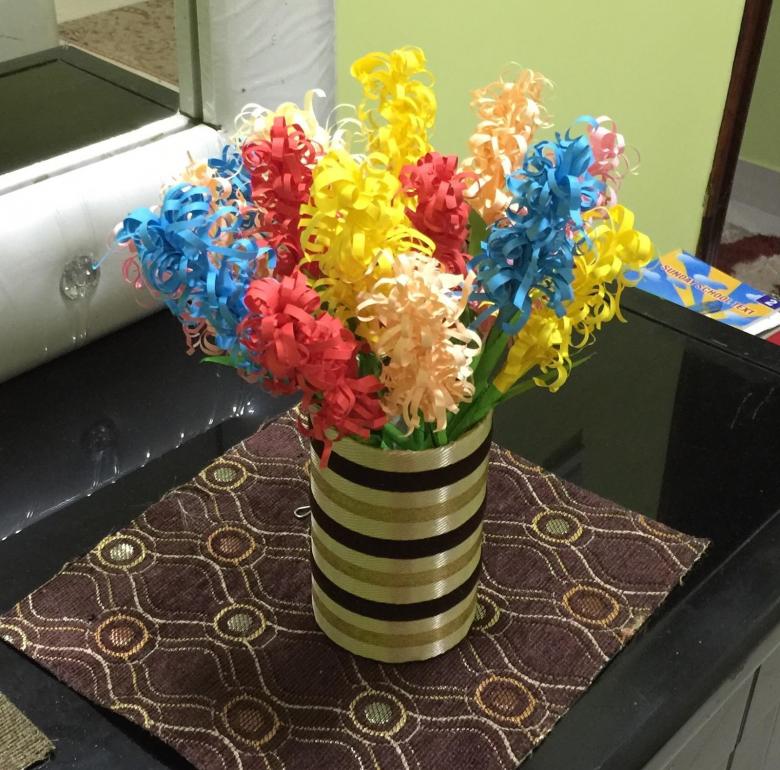
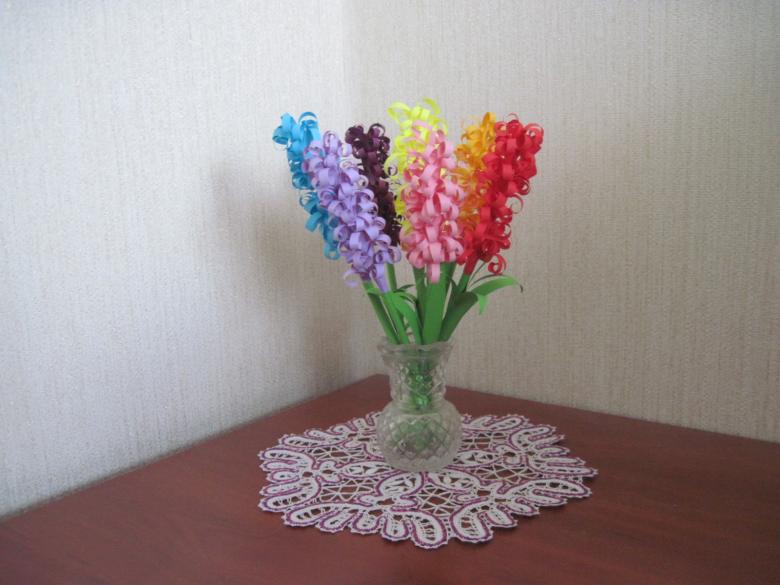
Bouquet ready. It remains only to choose a beautiful vase or place it in a pot of suitable size. The pot can be made from a cut plastic bottle. Decorate it with a beautiful scrap of fabric or a piece of wrapping paper, cellophane.
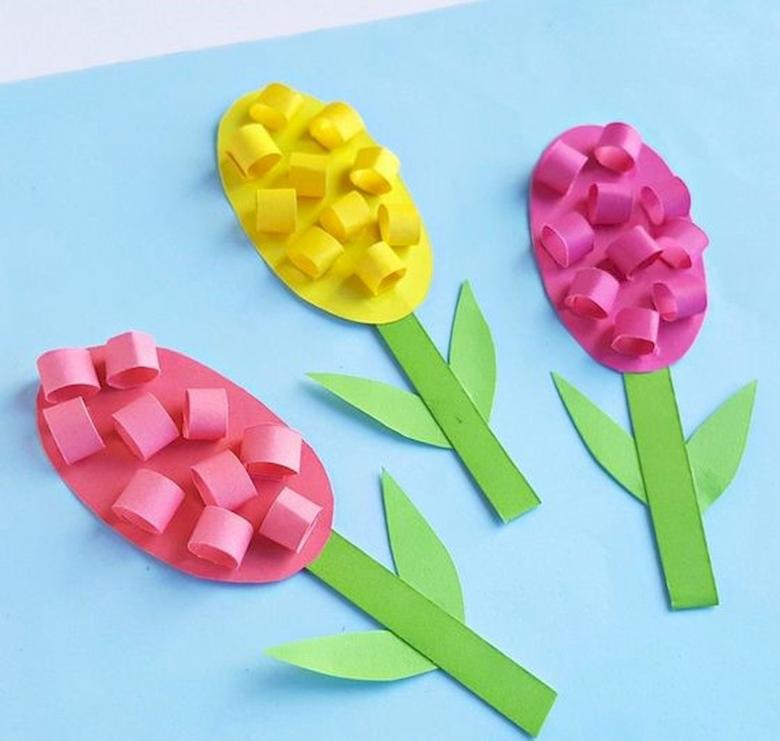
Fill the inside of the container with crumpled paper, paper scraps. In them you can easily strengthen the stems of finished flowers.
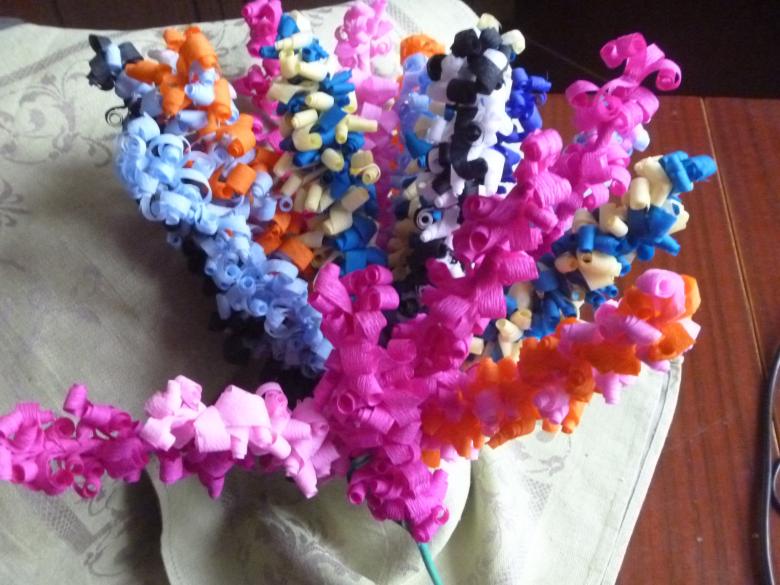
Hyacinth of corrugated paper
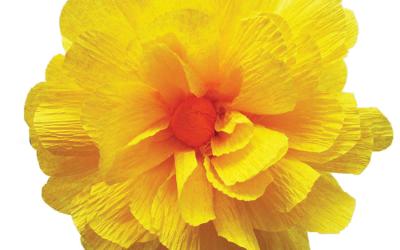
Corrugate, that is to collect in the folds of the paper cloth, industrial way began in Europe in the middle of the 19th century. Now you can buy corrugated paper in any store for creativity and in any department with stationery. From her, in particular, are beautiful paper flowers.

The technique of making hyacinths from corrugated paper is not different from the usual. But it requires more technique and accuracy. Since corrugated paper for crafts is very thin and malleable. One careless move, and the work can be spoiled. The process will have to start all over again.
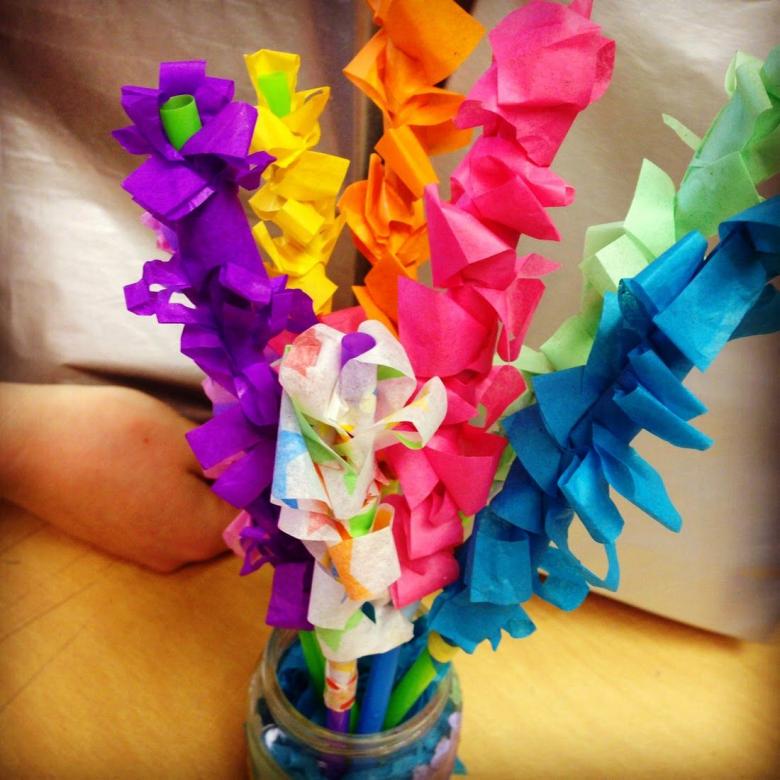
It is very important to have the paper, so that the cuts on the workpieces went along the edges of the folds of folds on the paper. Otherwise they will be very difficult to curl, as the paper will stretch in an undesirable direction.
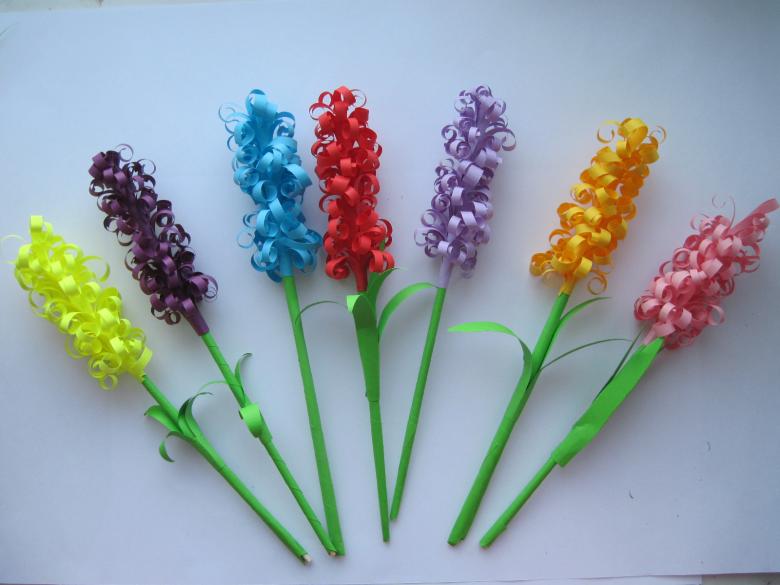
But all the efforts will be repaid by the fact that the finished flower will look like a real one, like two peas in a pod.
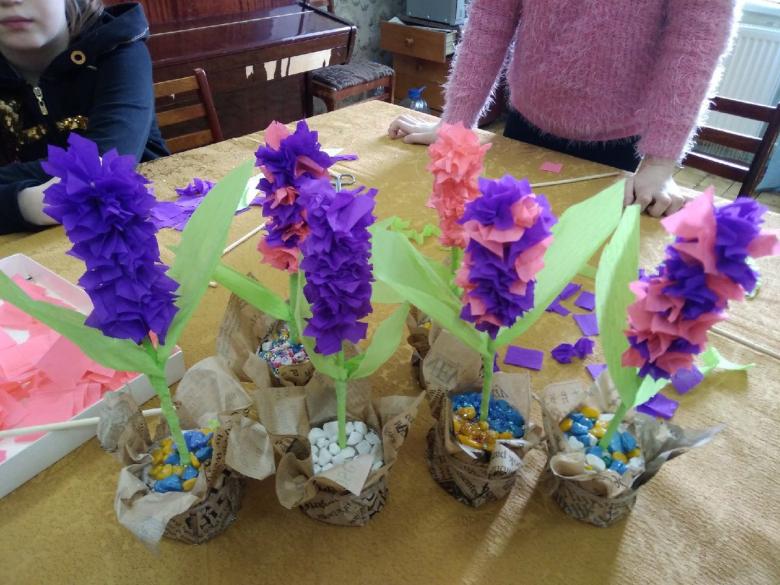
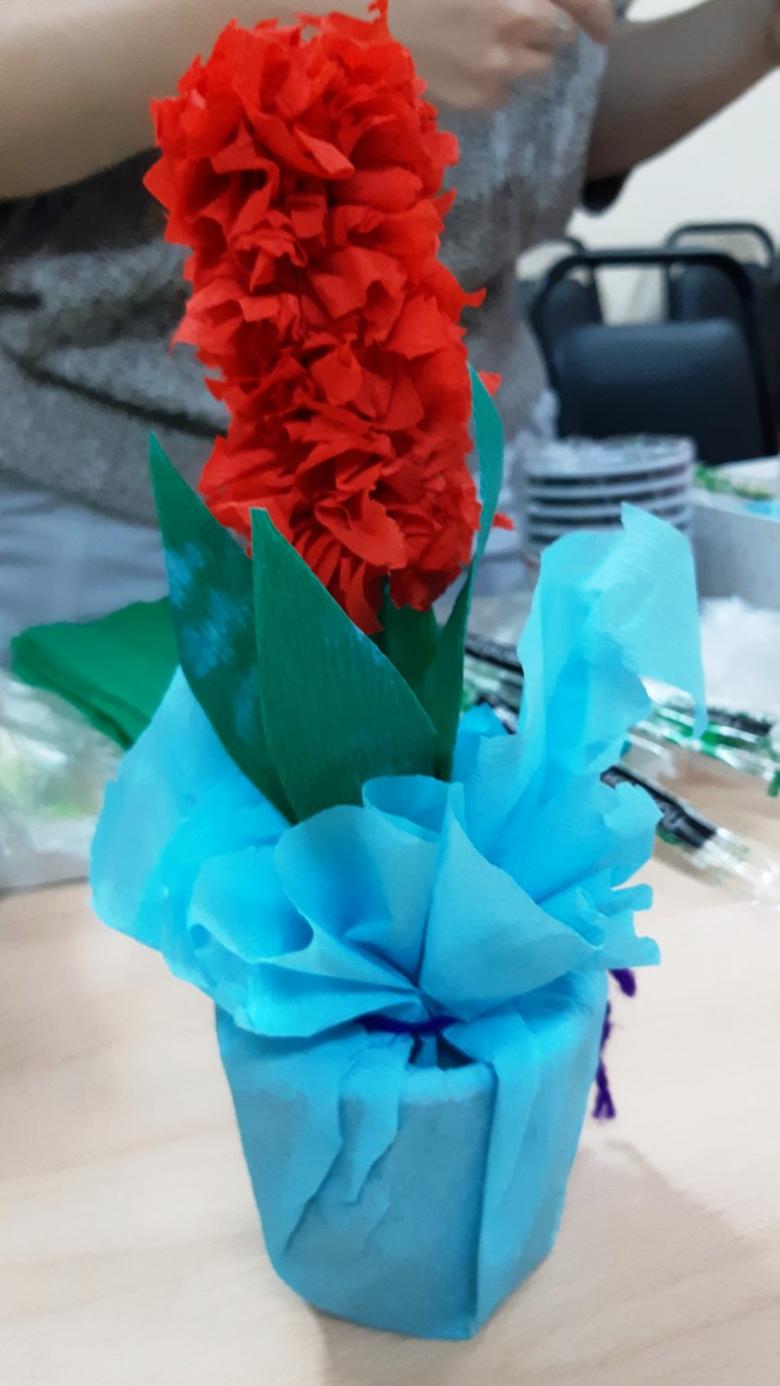
Hyacinth from napkins
Consider another option for making hyacinths - the method of facing. For this, the best suitable paper napkins, which are in every home.
- We choose napkins of suitable colors.
- Do the stem and green leaves as our imagination and existing skills suggest.
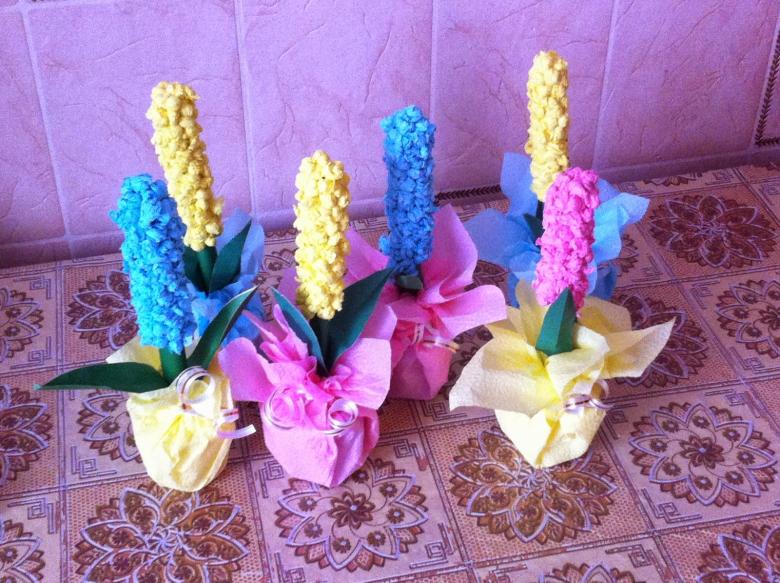
- For the flower we need a cylindrical base. Reel of toilet paper is suitable. The cylinder of necessary height and diameter can be rolled from several layers of thick white paper.
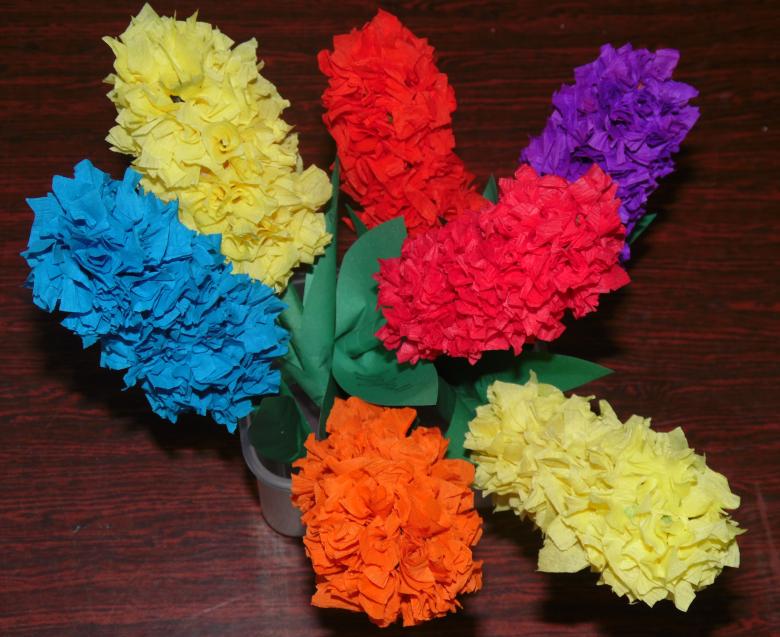
- Cover the base with tissue blanks. The fluffy, airy, original product is ready.
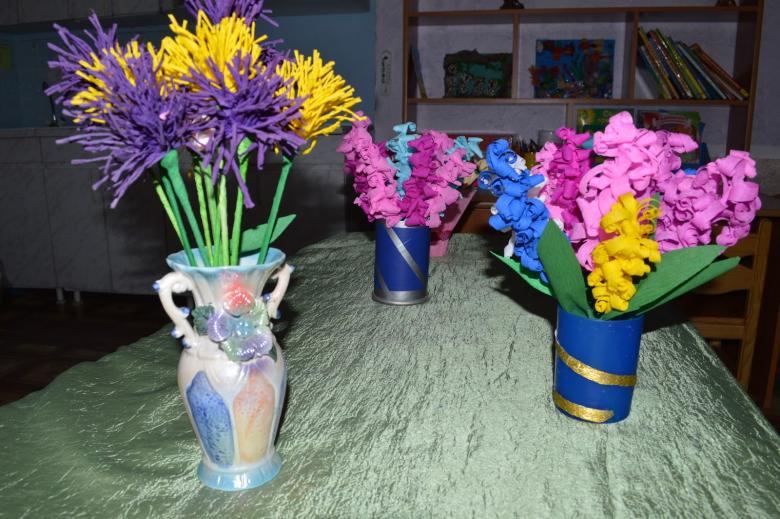
Billets by punching
Multilayer napkins or paper towels are perfect for facing. You can also use corrugated paper.
- Fold the paper tissues in several times and cut them into small squares of side 2-3 cm. You don't have to do it very evenly and achieve absolute uniformity.
- We take such a piece, put the tip of a pencil or a skewer in the center, bend the corners of the paper to the stick, twist it a little.
- Then lightly dip the tip of the paper in glue and stick it to the base.
- So step by step fill the entire space of the cylinder. The closer together you place the elements, the more natural and larger the flower will be.

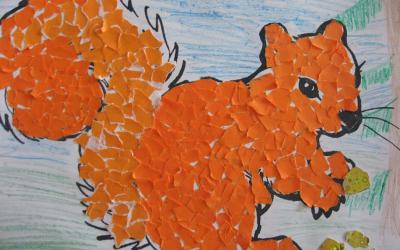
The method of facing easily make three-dimensional and flat applications with young children. The technique develops motor skills, spatial and figurative thinking.
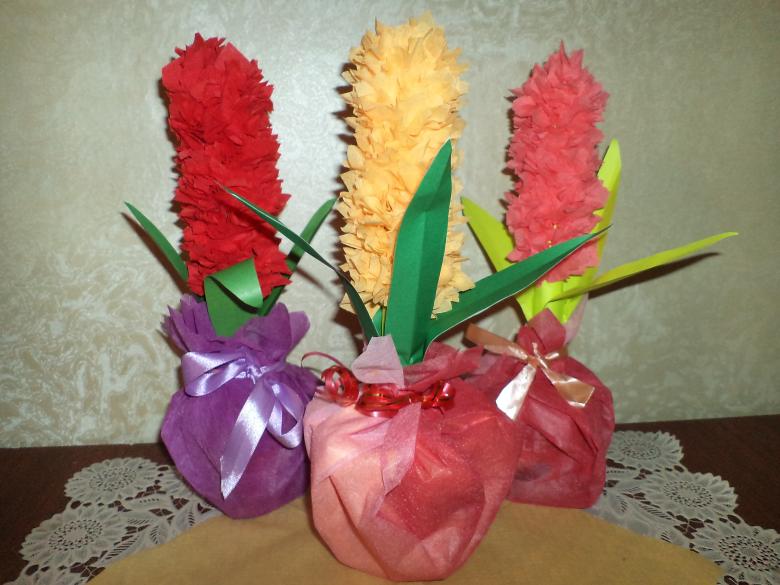
How to use
On the Internet you can see photos of finished works of masters of floriculture. Their compositions are hardly distinguishable from natural ones. But even without special skills you will get a lot of joy from creativity. Especially if it is a good, unforgettable gift from your baby to your beloved mother, grandmother, sister on March 8.
After all, from love, even in winter, beautiful flowers bloom.

