Crafts for the 2nd grade - simple and clear master classes with photo ideas
As the fall season arrives, and children begin to go to school, parents wonder what crafts can be done with a child. Yes, such that they are not repeated, not the usual ships and florets, and something interesting and colorful. In this article we'll look at several options for crafts out of colored paper and other materials.
First, you need to carefully prepare the materials from which you will need to make a masterpiece. If you intend to make something from colored paper or cardboard, you will definitely need scissors, glue, a ruler. Secondly, you need to carefully read the technology of making a craft.
Such gatherings with your favorite child will allow you to communicate more, which will help you understand your child, as well as bring the parent and child closer together. Here are some ideas for crafts for school:
Dragonfly of colored paper and beads
For a paper dragonfly, you will need colored paper, pearl imitation beads, 7 large and 2 small, thread or fishing line, scissors, a simple pencil, and a needle.
Making technology
Take two sheets of colored paper of different, matching colors. For example, pink and purple. Draw on the back (white) side of the two semicircles. Both of these semi-circles to fold fold folded. You will get crimped wings.
Then you have to take the fishing line and put it through two small beads, which will represent the dragonfly eyes. When the beads are in the middle of the fishing line, thread both ends into a large bead. Repeat with the large bead one more time. We got the head and the beginning of the body.
In the folded wings of pink, make a hole, put a line of beads through this hole and do the same with the purple wings. For a beautiful design, make sure that the sharp corners on the edges of the semicircles "look" outward. Both the top wings and the bottom wings should be pointed upwards and downwards. Next, continue stringing the remaining beads. This will be the abdomen and tail of the dragonfly.

You can make a dragonfly by threading all the beads and wings together. If you want, you can make a moustache for the dragonfly.
Dragonfly ready!

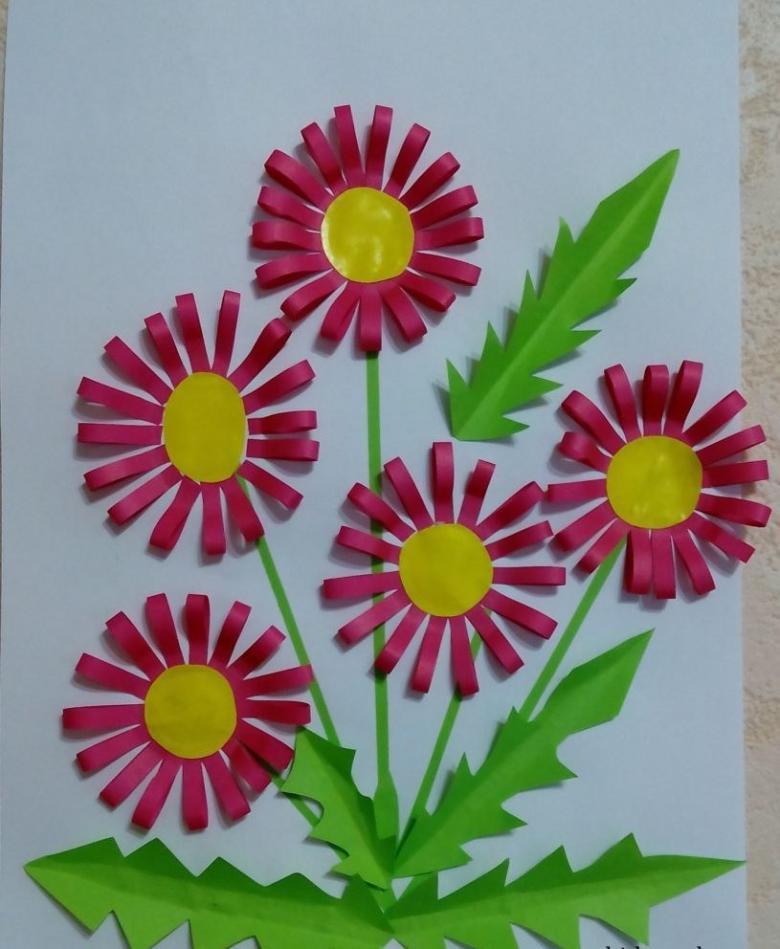
3D Card with Daisies
For a pretty colored paper card with daisies, you will need glue, colored paper, colored cardboard, yellow beads, scissors, a simple pencil, and a sheet of white paper.

The technology of making a card
Take a sheet of colored cardboard, choose the color of your choice. Fold it exactly in half so that all the corners match each other. This will be the base of the card.
Then take a white sheet and fold it into four. Draw daisy petals on it in several places. All petals should have the same shape and size. Next you should cut out all the petals. This way we will have many petals of the daisy. That is, cutting out one drawn petal, we get four, as the sheet is folded in four.Set aside the cut out petals and from the green sheet of colored paper cut out leaves.
Let's proceed to decorate the card
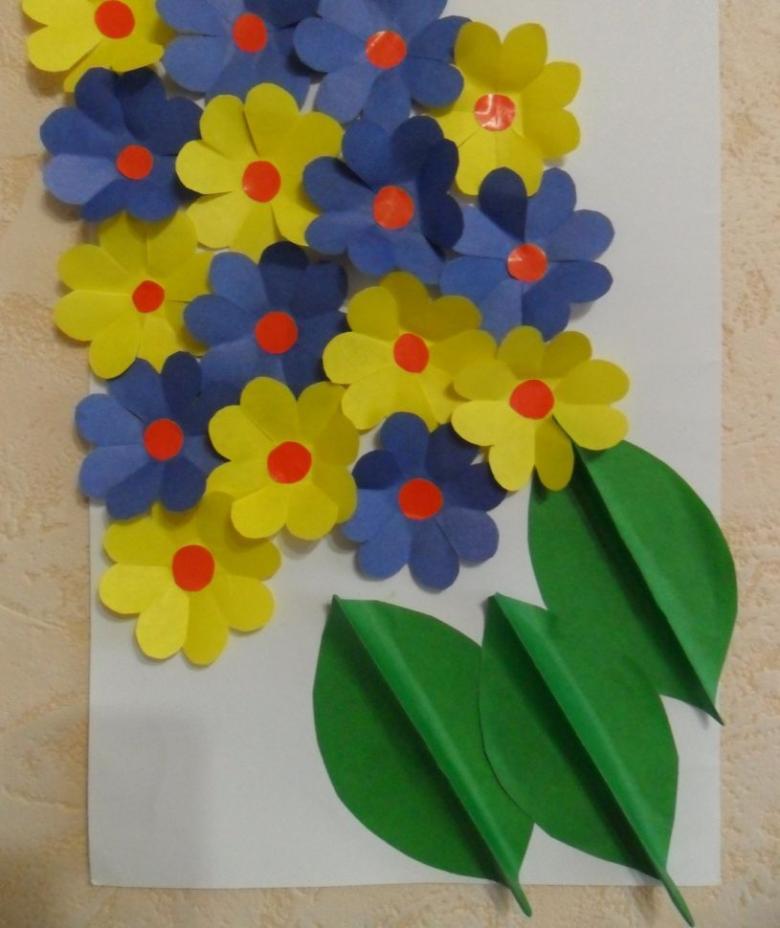
Roll all the petals of the daisy lightly in a pencil to make them look like real petals. This way the flowers will be more voluminous. Glue the white petals in a circle, making a semblance of a flower. You can glue the flowers in one corner or all over the card. In the photo you can see a step by step master class.
After gluing the petals, you need to dab them with glue in the center and put yellow beads in the center. This will be the heart of the flower.On the sides of the flowers you need to glue leaves of paper.

The card is almost ready. If you want, you can make a border and draw a frame around the edges of the card. It will look even more beautiful that way. Inside the card, you can beautifully write wishes or an autumn poem and give it to the teacher on the first day of school. Similar crafts can also be made during a lesson at school. To make a beautiful card at school, you need to practice at home to get your hands dirty.
Animals and birds from lids
Another interesting handicraft that even a small child can easily make. For it, you will need a cap from a plastic bottle, universal glue, material like felt, plastic eyes for toys (you can buy them in the department for sewing), a marker.

Making technology
First, you have to decide what kind of animal you want to make. For example, let's take a frog.
Prepare the materials: choose a green color for the feet. Cut out two pieces of fabric, the shape resembling a crown, put them aside.

Take the lid, wash it, dry it and degrease it with alcohol. Degrease it so that the glue will adhere well to the material and the base. After that, glue two eyes on the lid. Then take the prepared feet of felt and glue them with the same glue under the lid, imitating the paws of the frog. Under the eyes draw a smiling mouth.
The frog out of the lid is ready!
Gift bag
Many people buy paper bags to put some kind of gift in it. However, it is not always possible to find the right size and color of the bag. Such a gift bag can be made with your child and give some gift for the new year in it.
For the bag we need wrapping paper, paper glue or double-sided tape, pen laces, scissors, hole punch.
Making technique
Take a sheet of wrapping paper and cut out a square that is suitable for making a bag. Then fold the sheet in half so that all the corners are joined together exactly. The resulting folds iron with your fingers.
Open the sheet of paper and the resulting strip of folded edges of the sheet. It turns out that the sheet is folded in three parts. You need to make sure that one edge of the sheet overlaps with the other, about 1 cm. This centimeter of paper to smear with glue and glue the two edges. You get a rectangle with glued edges.
Then you need to take the rectangle vertically and determine where the bottom of the bag will be. Therefore, the opposite part will be used for the handles of the bag.
The bottom of the future bag to bend by about 2-4 centimeters. This will be the thickness of the bag. The sides also bend by 2-4 centimeters. The resulting folds lightly iron with your fingers to fix the desired thickness. Then open the future bag. Should get a rectangle in the form of a book.
Shape the bottom of the bag. To do this, bend the bottom of the paper with your finger in the middle between the folds. Do the same on the other side. The resulting trapezoidal ends are also bent and glued one to the other. The bottom of the bag is ready.
For the handles you can buy silk cords in a store that sells everything for sewing and knitting.

Use a hole punch to make holes on both sides. You will have two holes on one side of the bag and the same on the other. Be sure that the holes are the same distance as the opposite, otherwise the handles will be crooked.
Thread one string through the two holes on one side and tie knots on the ends, so that the handle does not come off. Do the same on the other side.
The gift bag is ready! If a little imagination, you can make an interesting bow on a bag.
Making these or other crafts with your child is not difficult, the main thing is to have time and patience. Well, and imagination a little!


