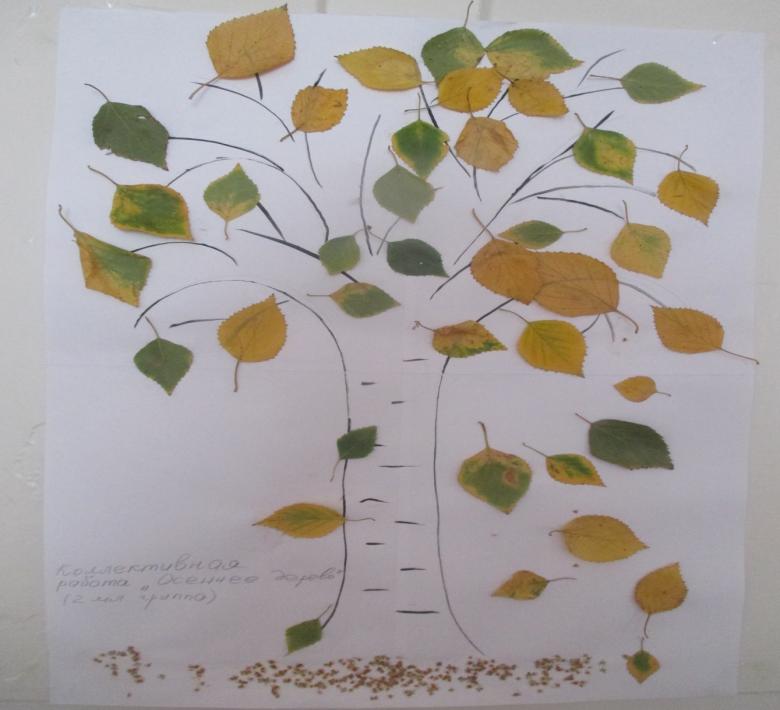
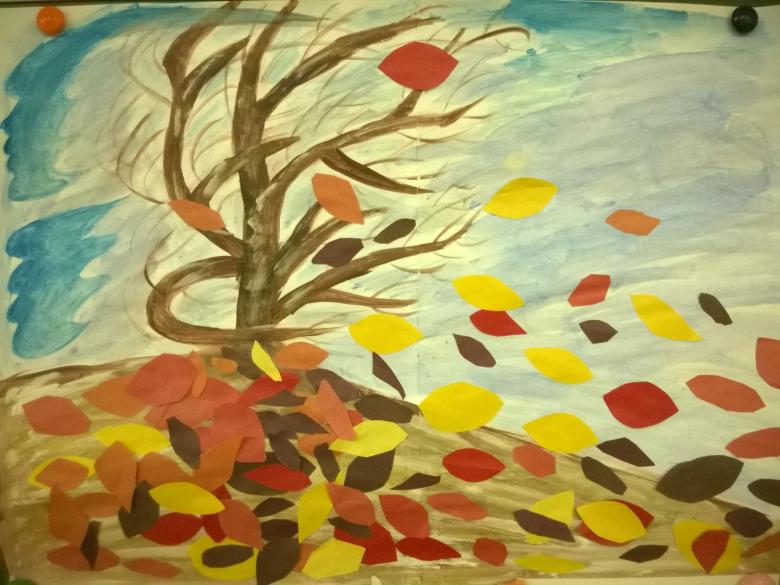
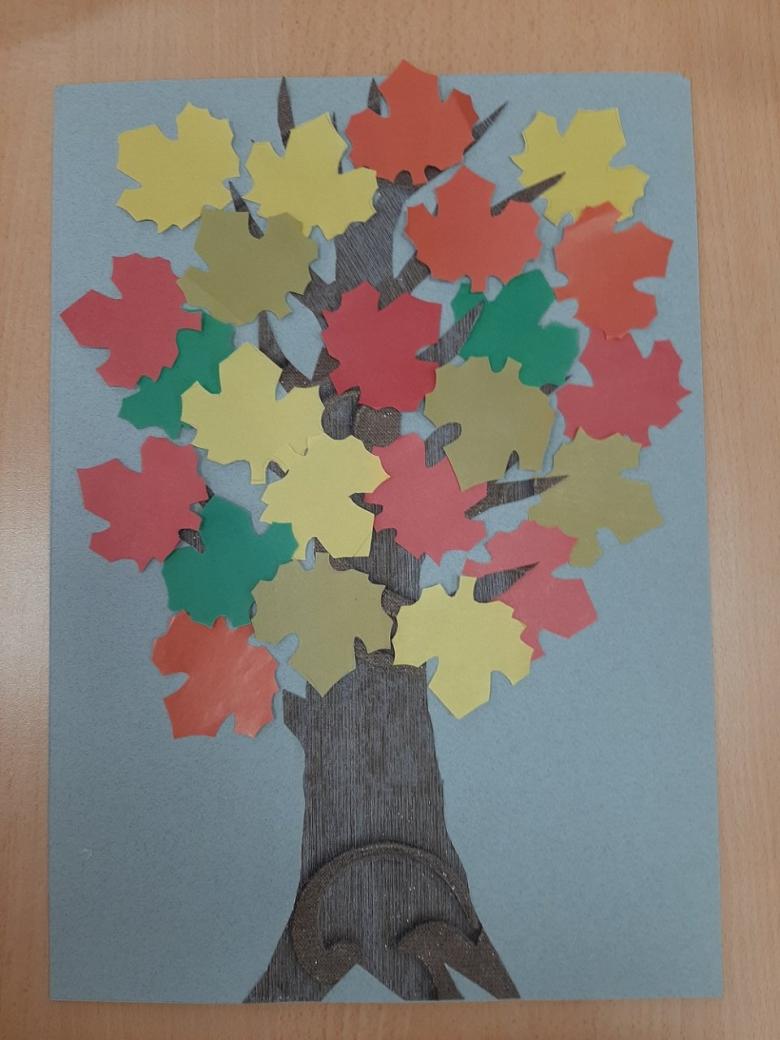
Applications of autumn forest of paper with his hands - a selection of step-by-step master classes and photo ideas
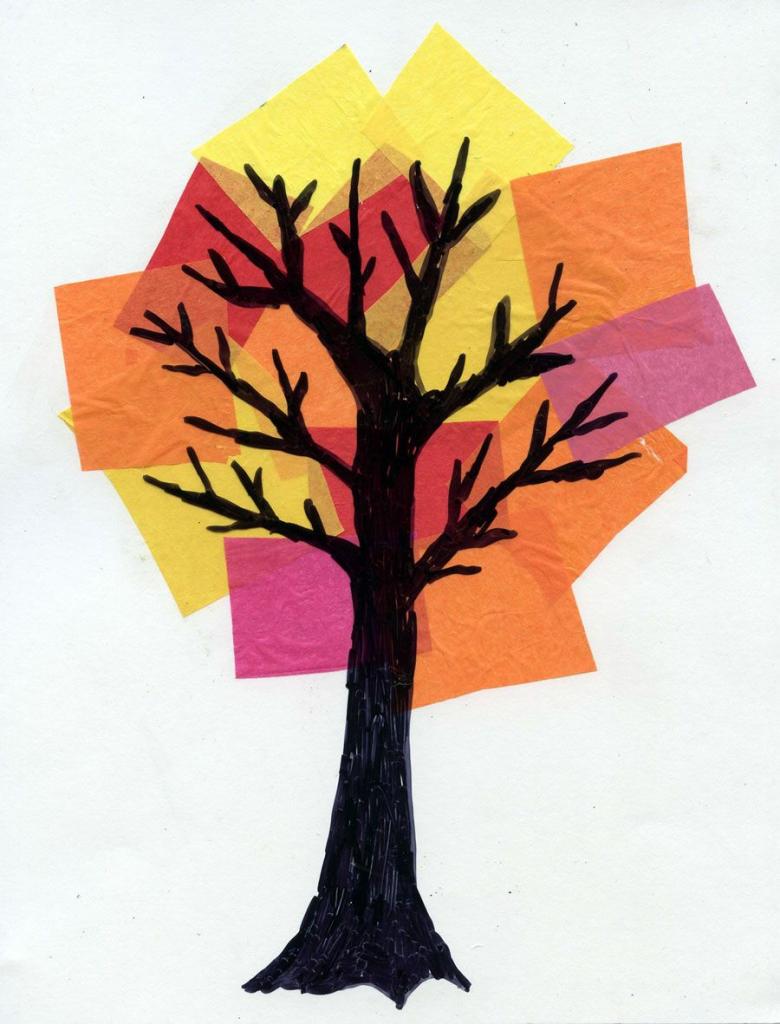
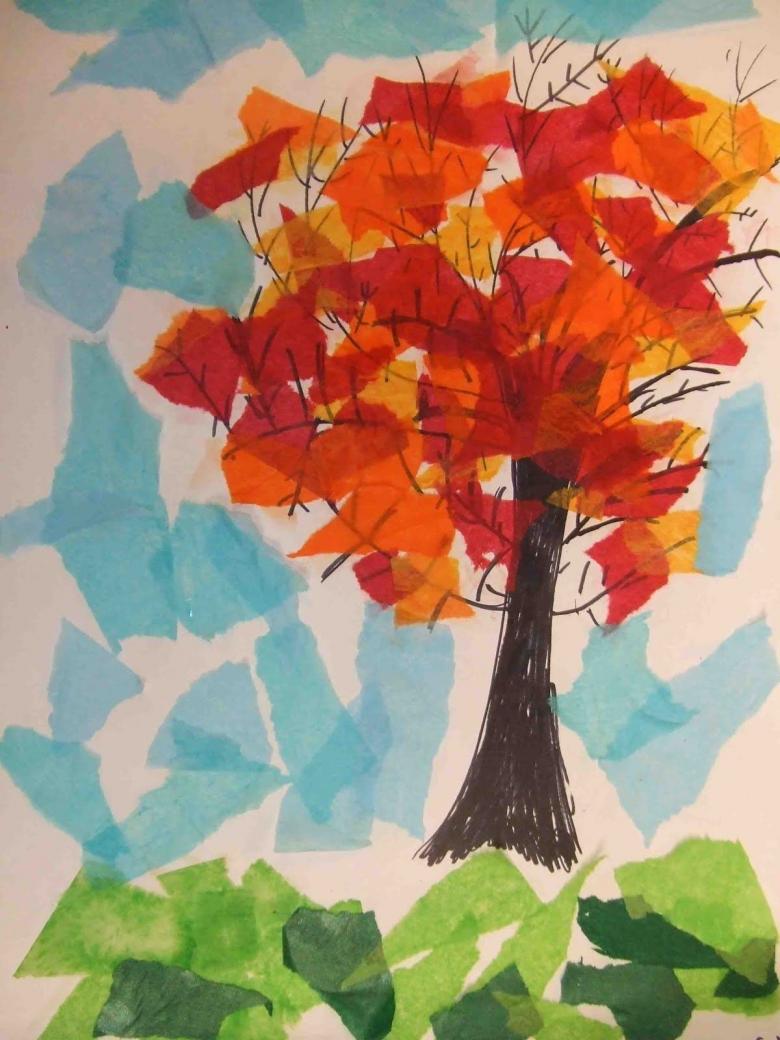
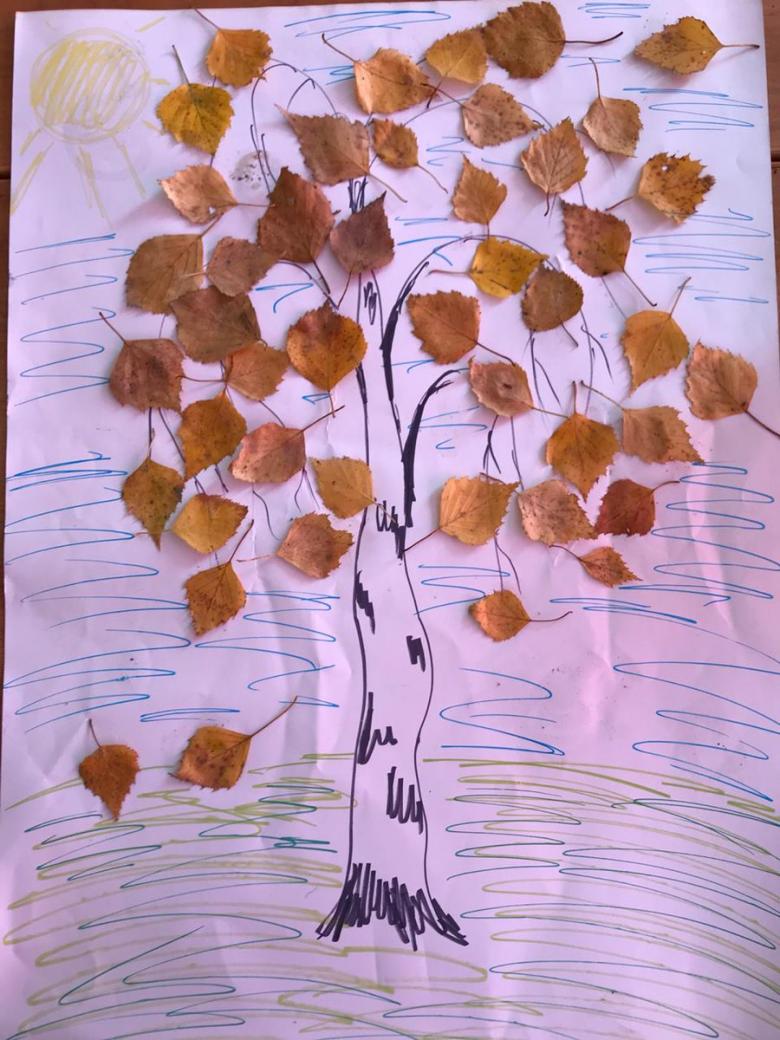
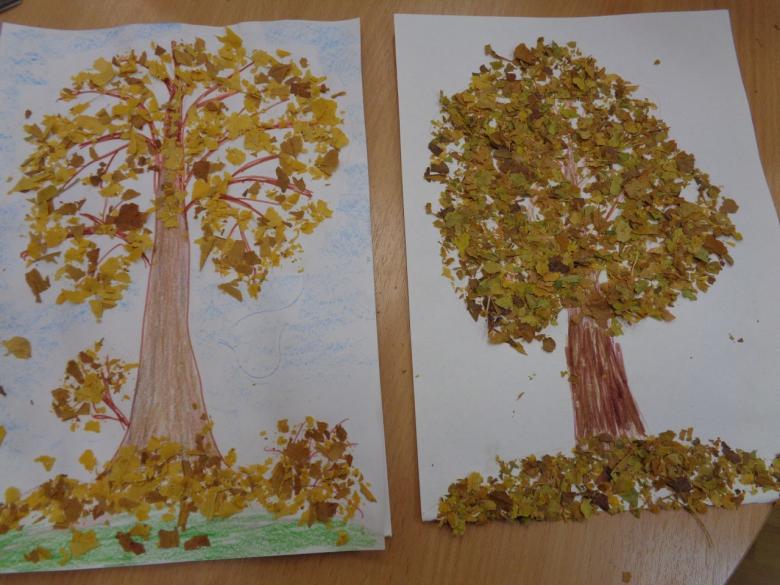
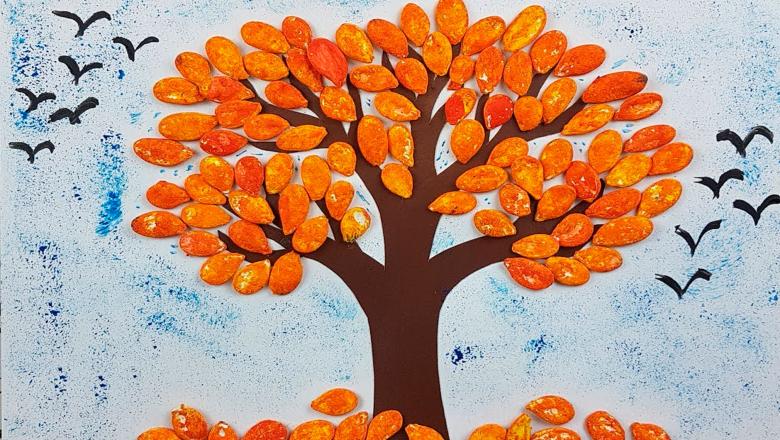
For the full development of children, it is necessary to engage with them in various types of creativity. One of these is application. And naturally, the ideal would be in such an activity a combination of creativity and learning about the world around them at the same time. We propose to learn how to perform with your baby different types of children's applications on the theme of "Autumn Forest. In addition, in addition to the fact that autumn applications children perform in the kindergarten group, the same topics can be found in technology lessons from 1 to 4 grade.
Materials and tools
Before the work begins, you should prepare the tools and materials:
- Heavy cardboard.
- Multicolored paper.
- Scissors with rounded ends.
- PVA glue or a pencil.
- Wallpaper.
- Wool.
- A felt-tip pen.
- Cotton disks.
- Water Color.
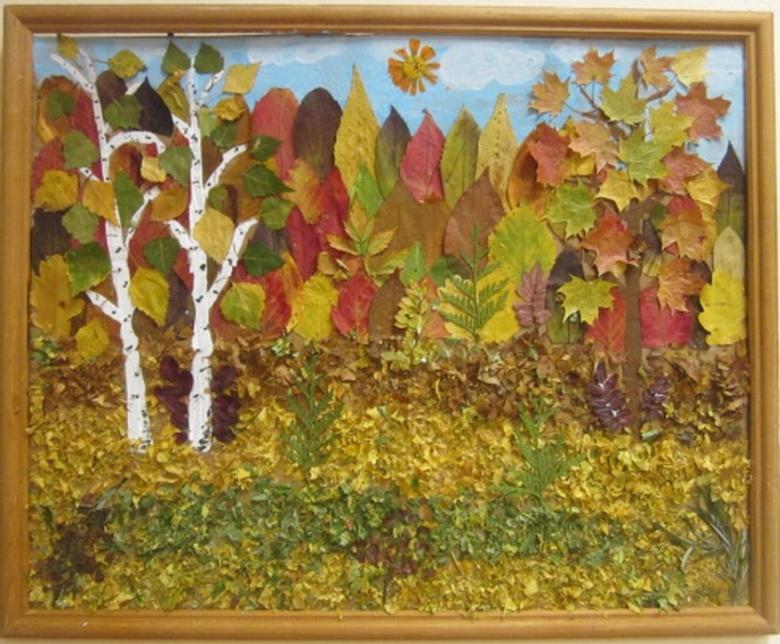
Variants of execution of the applique
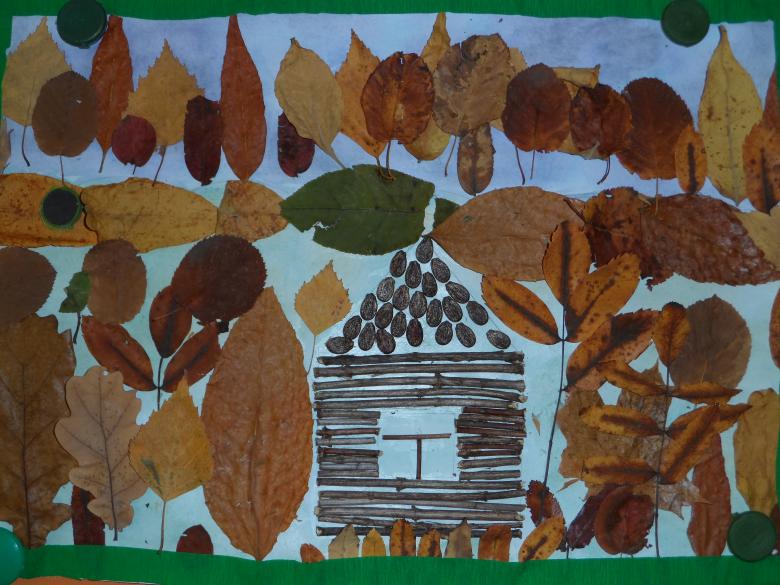
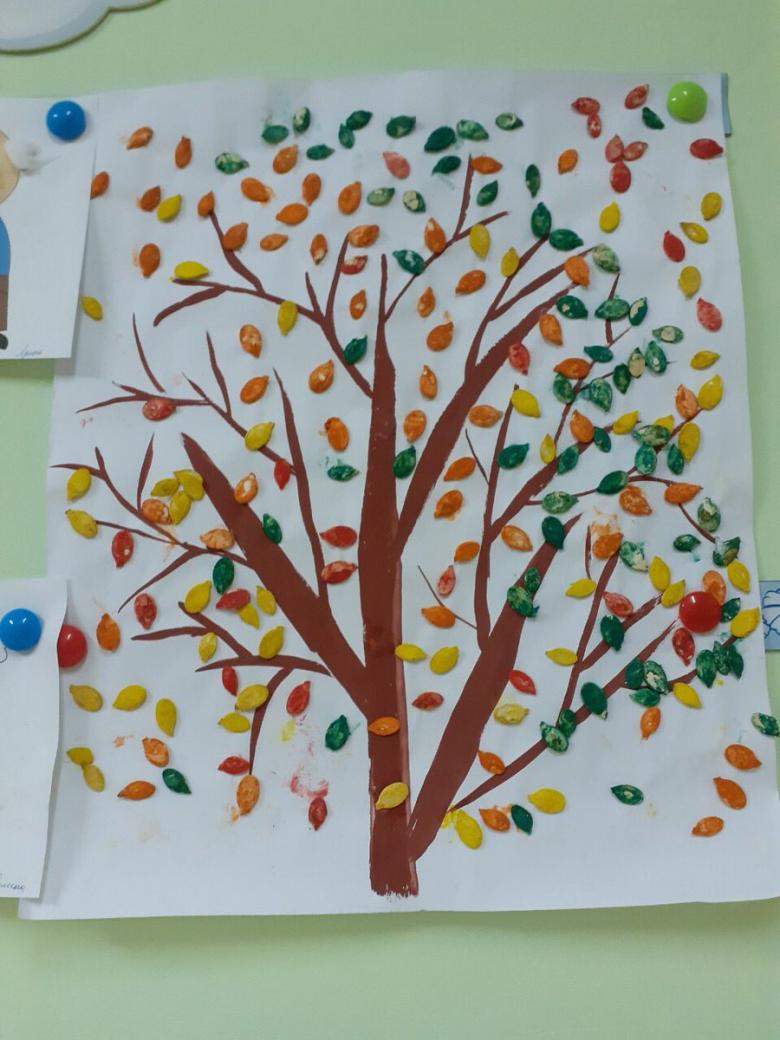
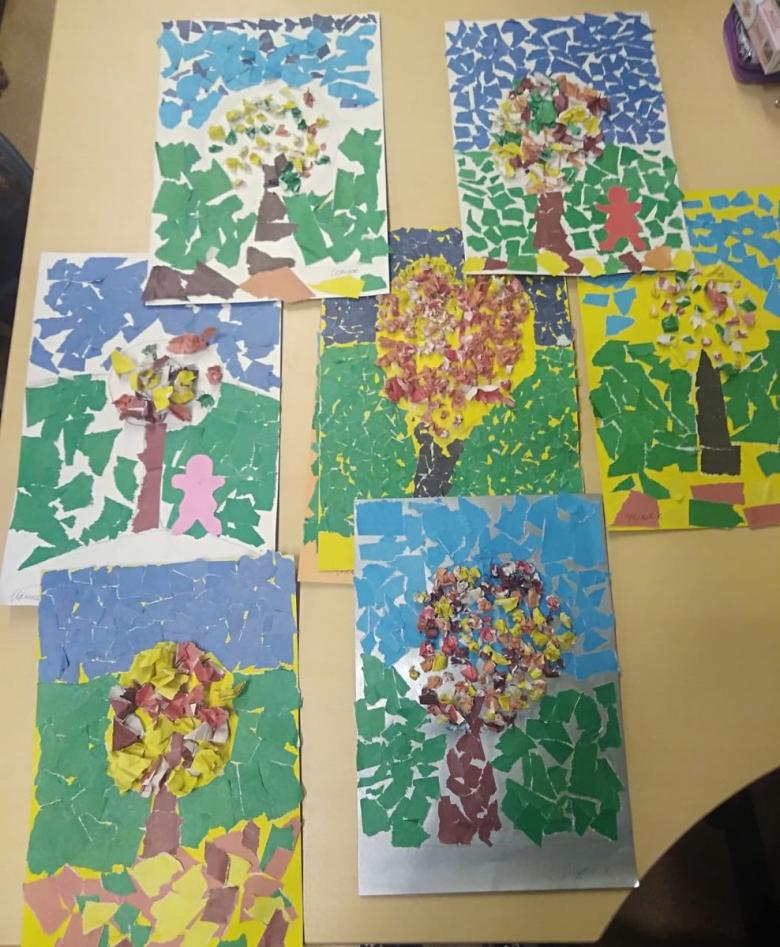
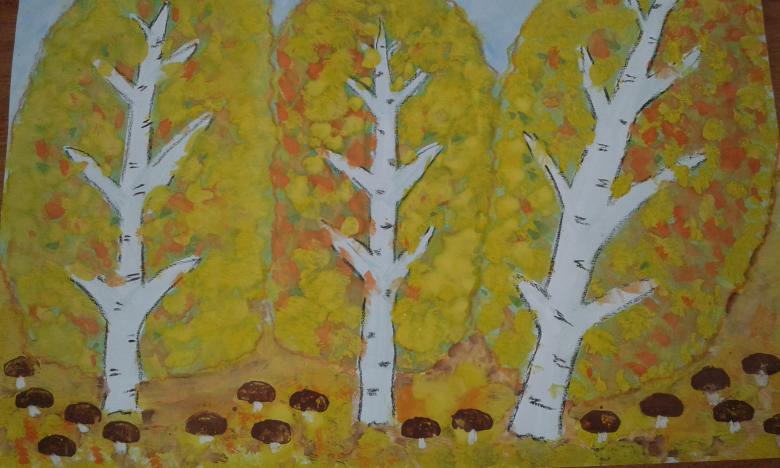
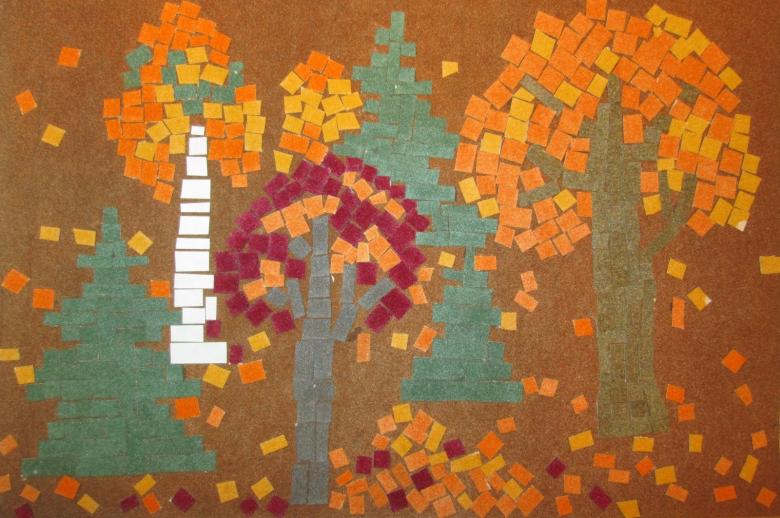
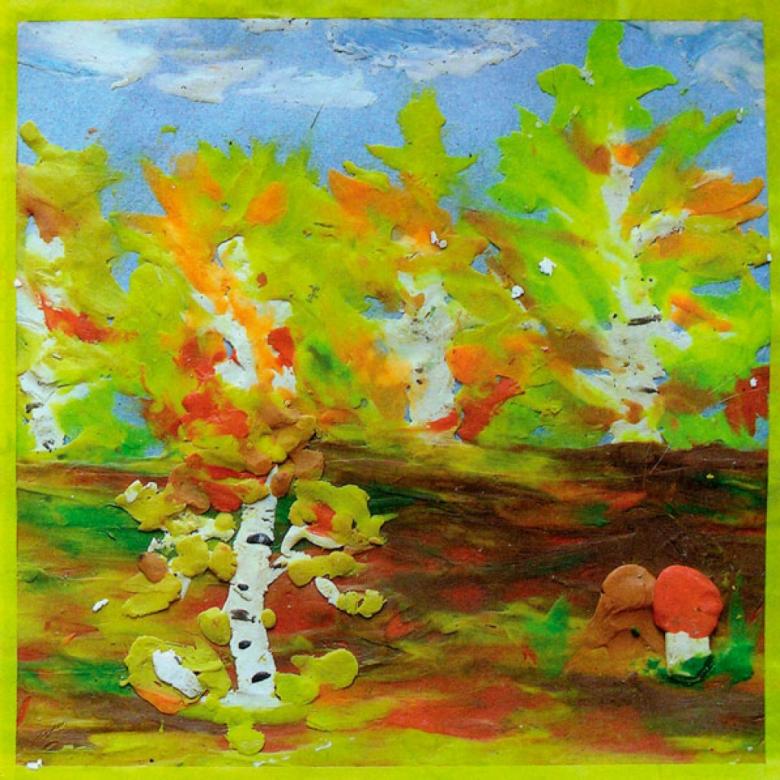
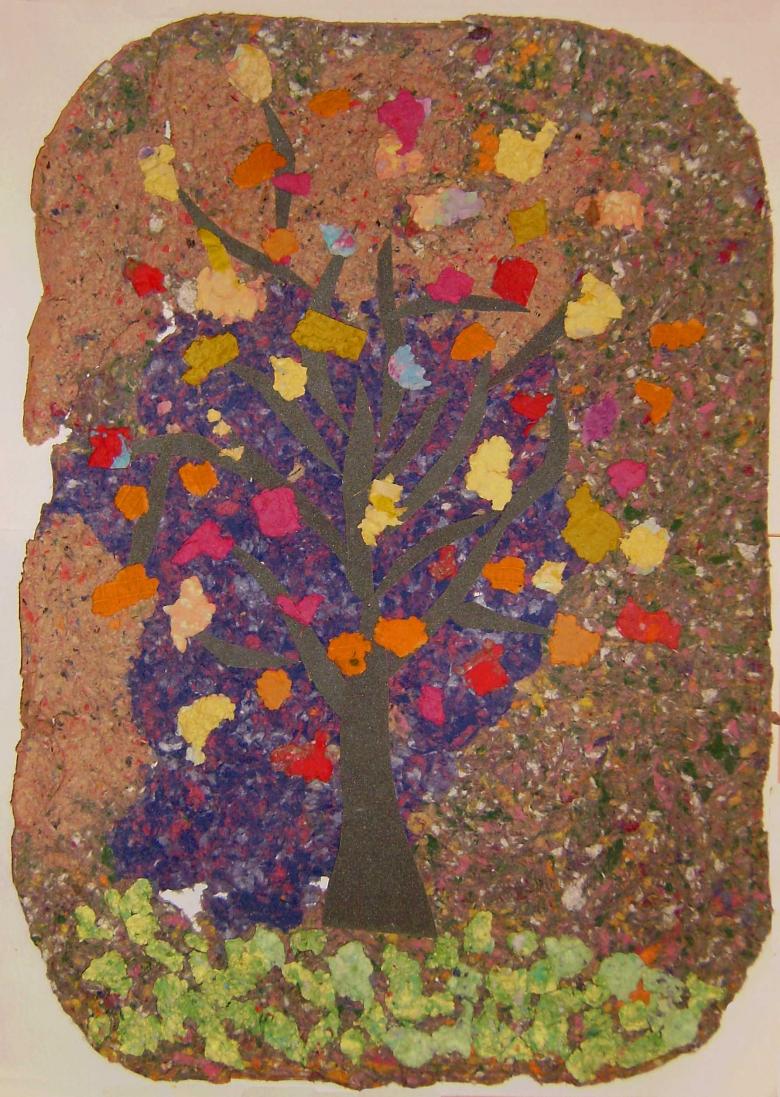
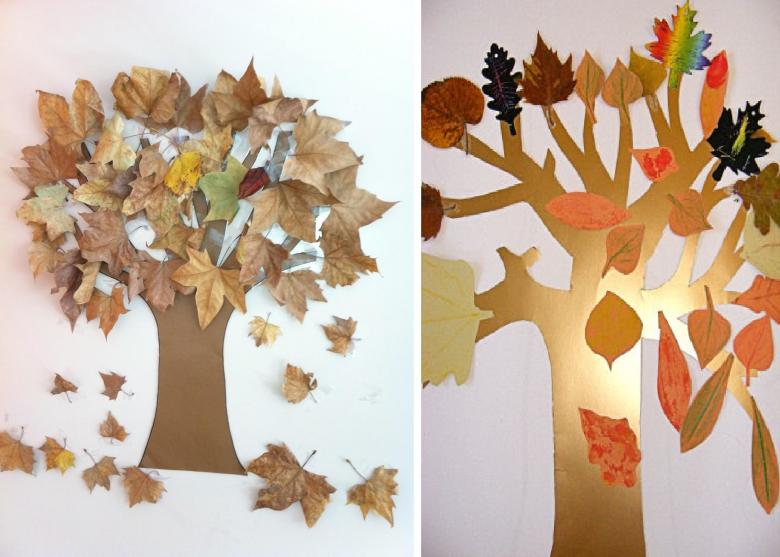
Many believe that such a handicraft can be performed solely from colored paper, but there are other methods. It is possible to glue on absorbent cotton, cotton disks or any other elements. In this case, the result will be completely different. Therefore, it is recommended to experiment, introducing the child to creativity and developing an original approach to creating things.
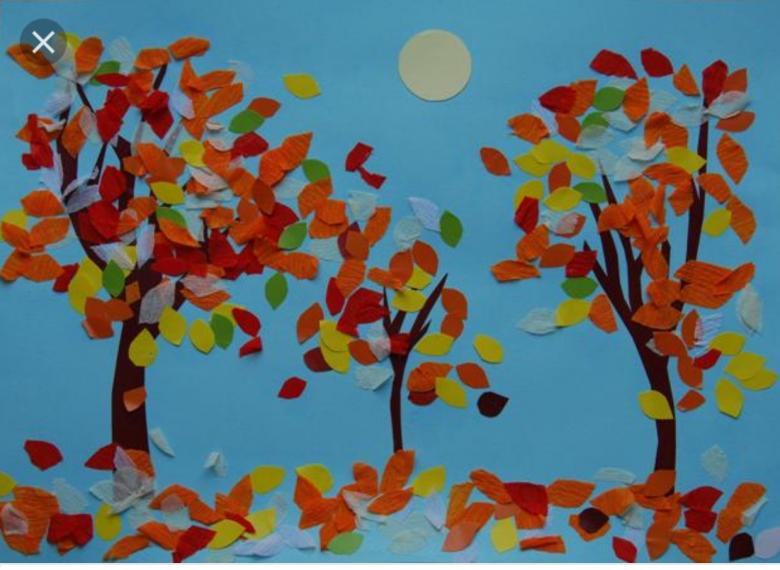
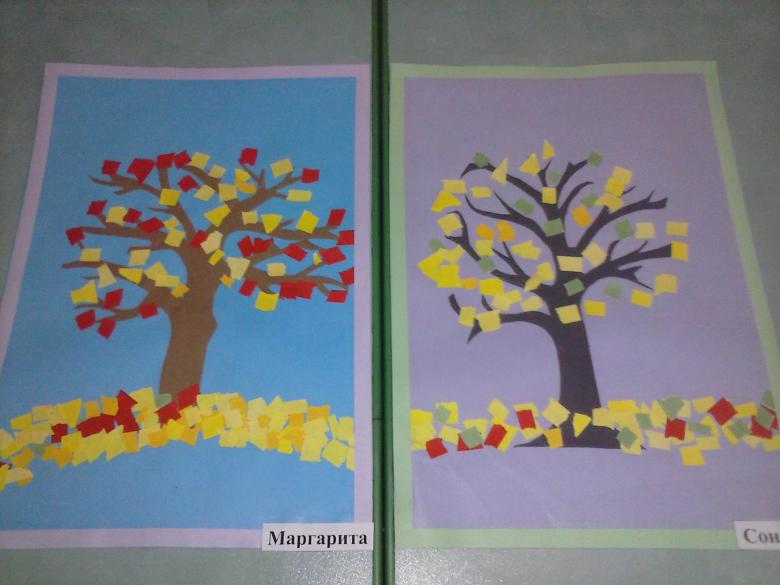
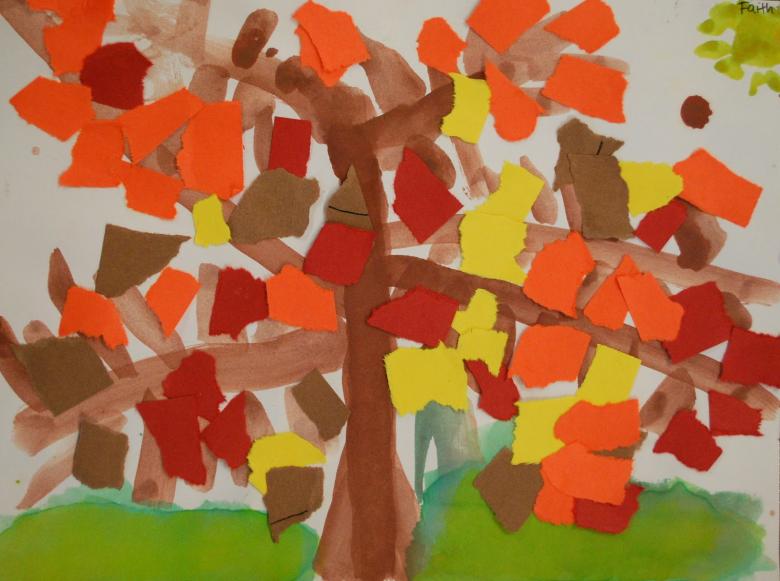
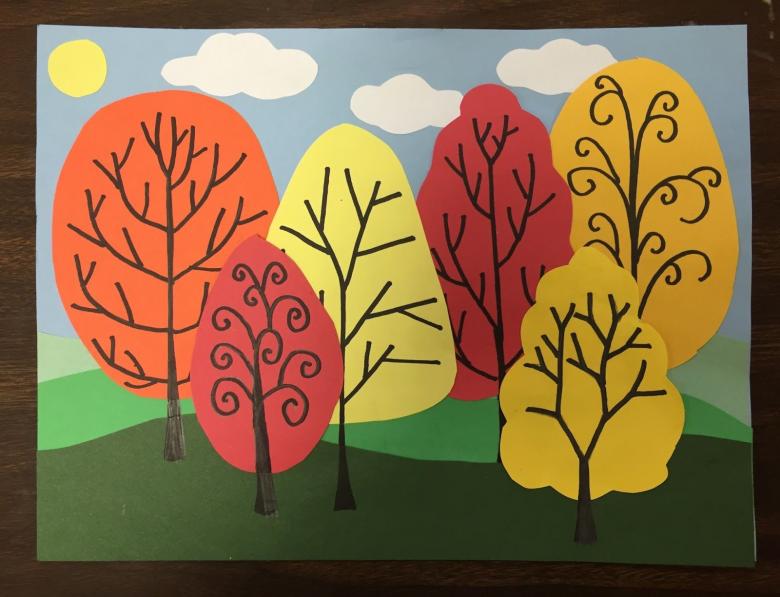
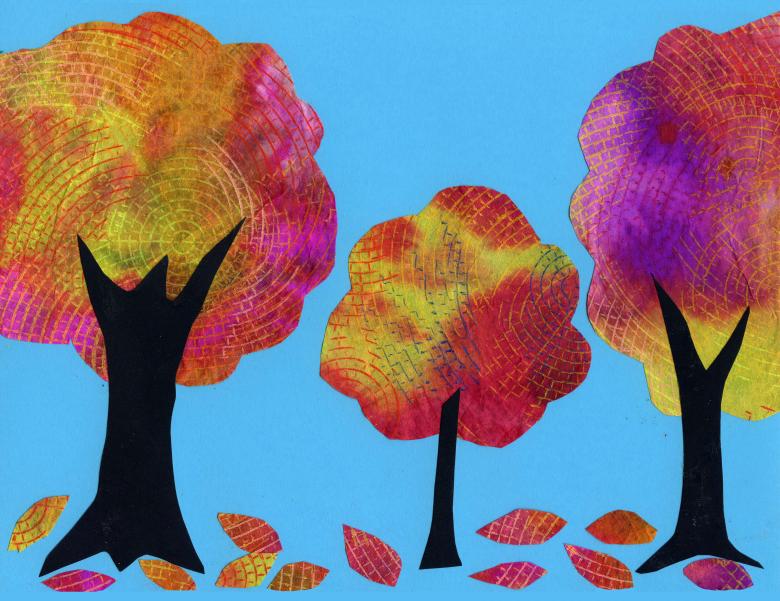
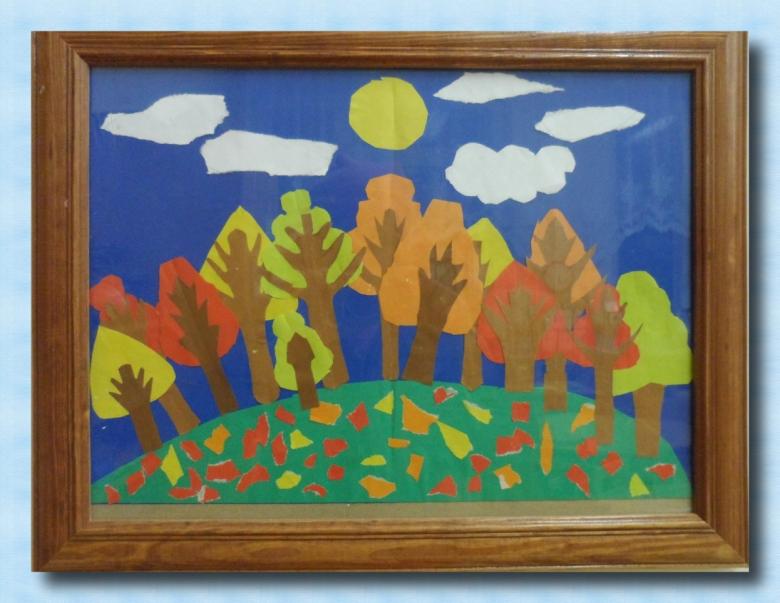
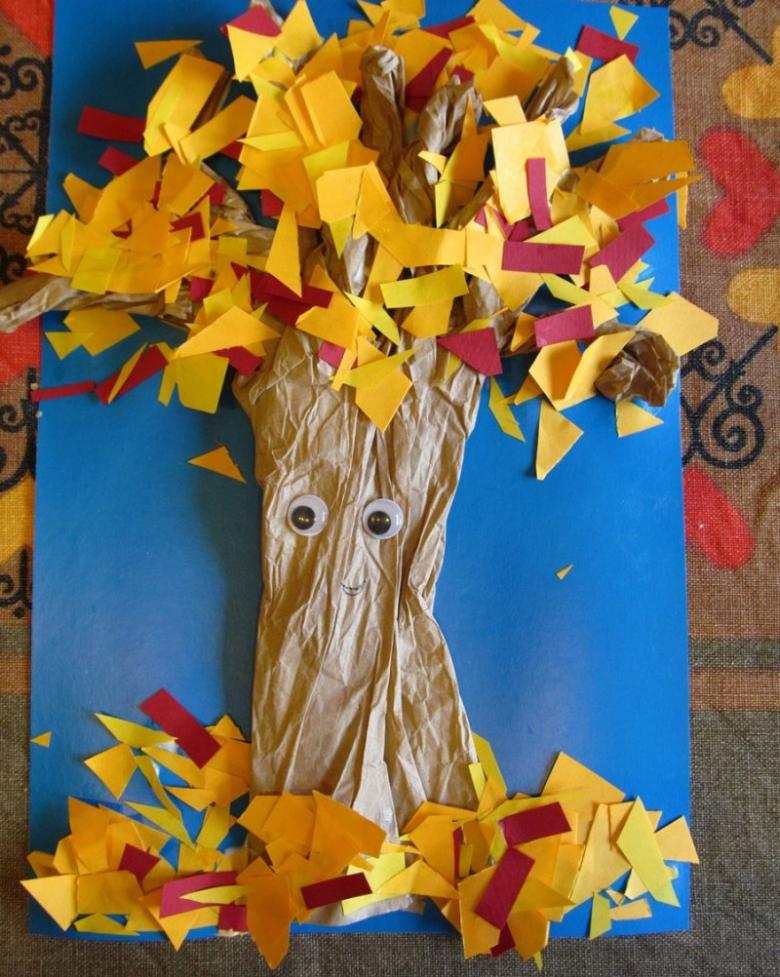
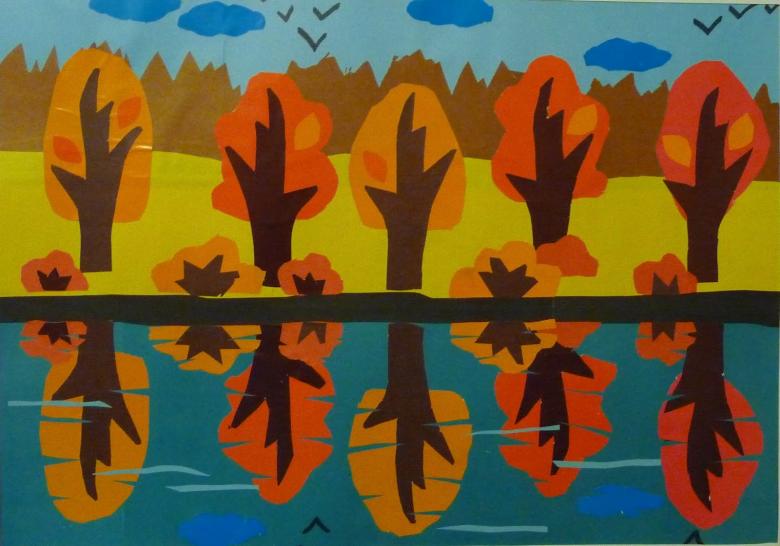
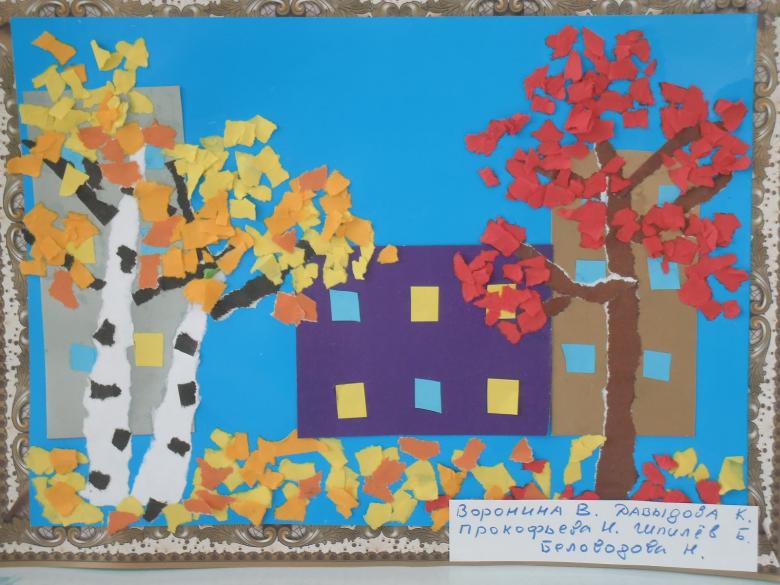
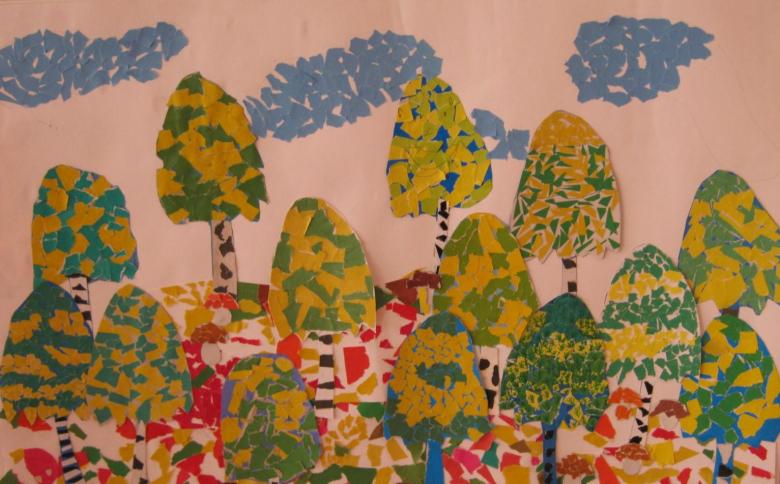
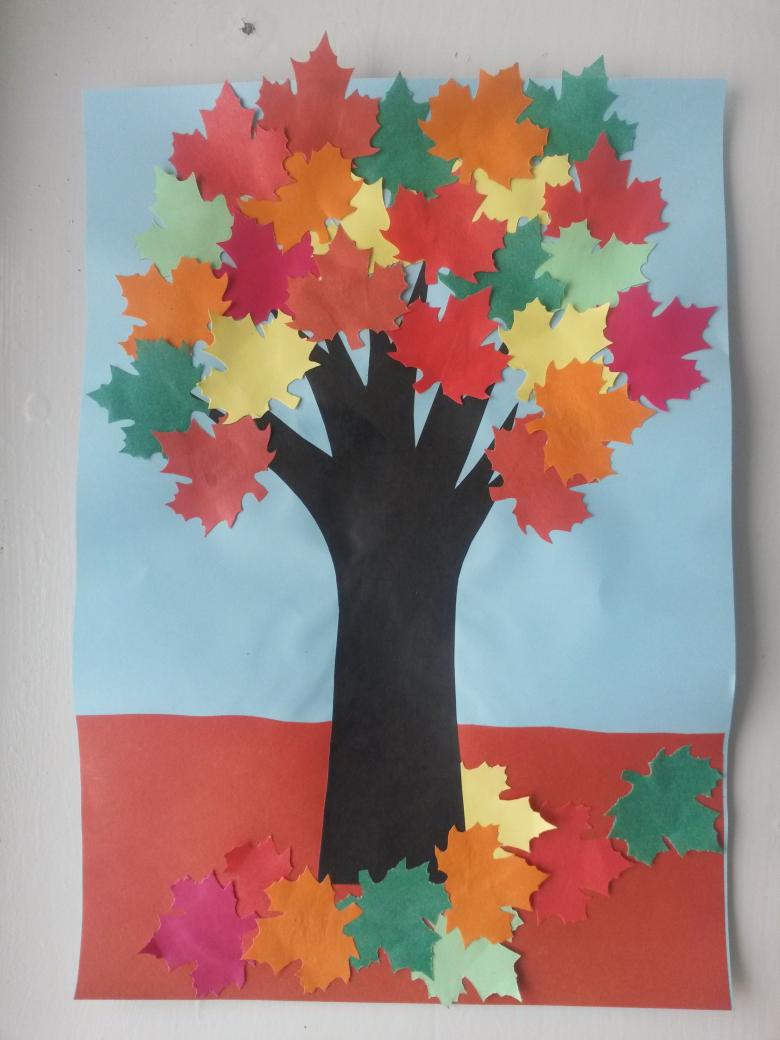
Flat paper applique
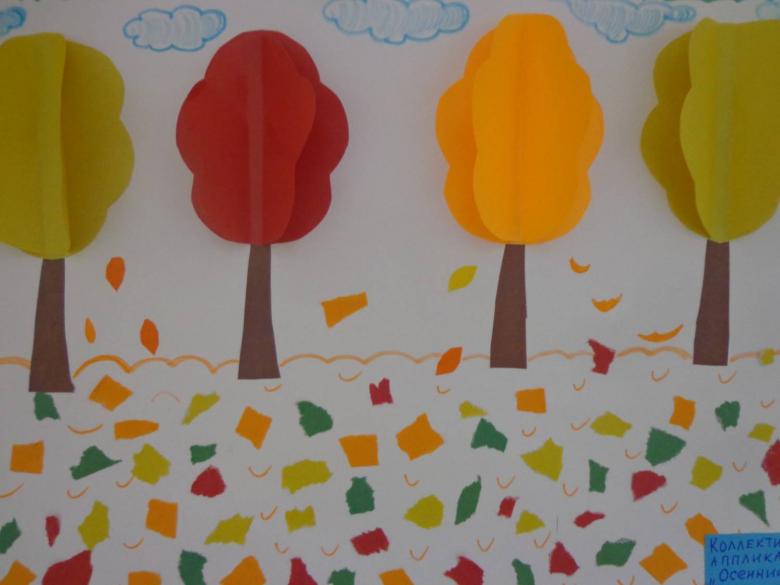
A standard way to create an autumn forest. To perform it is necessary:
- Take a sheet of paper of any color that seems most appropriate - white, blue, green.
- Glue a strip of paper along the bottom, which will imitate the earth. Most often brown or green is chosen. Only choose a color that contrasts with the background.
- Make several trees of different colors. It can be yellow, orange, dark green, brown, mustard. Here the child should draw the outline of the future tree on the back of the sheet, and then carefully cut it out.
- Do not forget to cut out additional trunks for each tree.
- Carefully, greasing the back of each piece, glue them to the prepared sheet so that the trunks stand on the ground.
- Then suggest using a black or dark brown felt-tip pen to draw the branches right on top of the colored paper.
The technique is easy and accessible, even for small children. It is used in kindergartens.
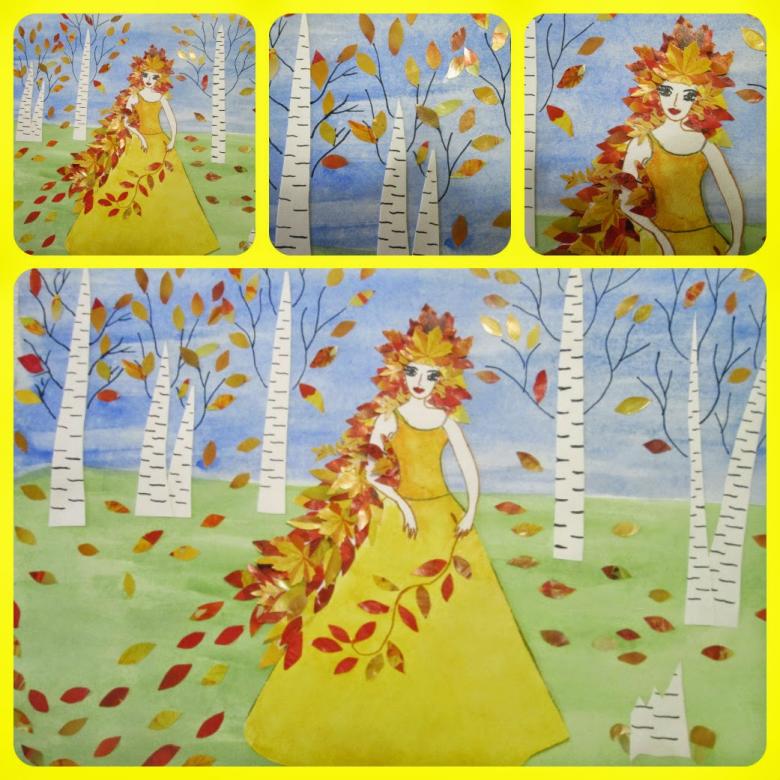
Volumetric Techniques
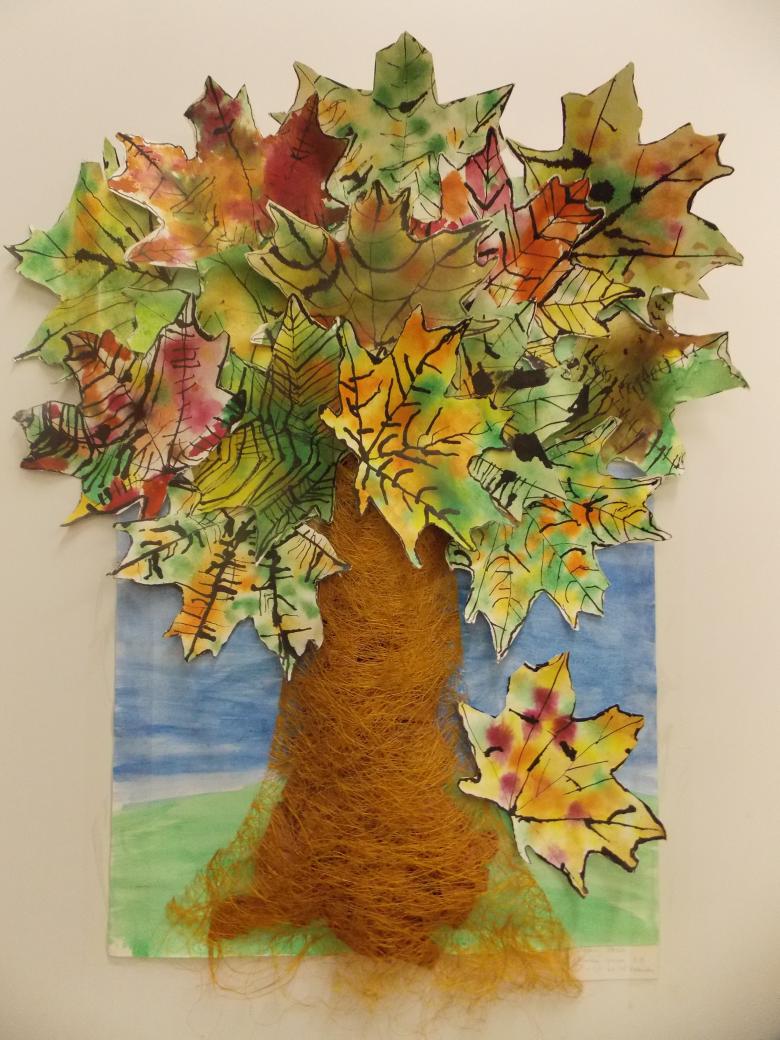
Working not only on a given topic, but also with texture, it is possible to achieve a certain effect when creating an application. There are several techniques for creating three-dimensional applications. Let's try to understand the main and most spectacular of them.
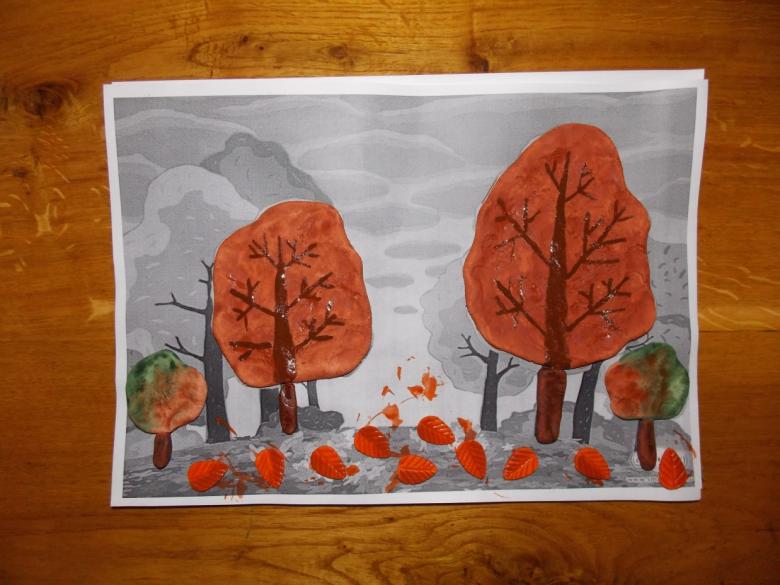
Working with absorbent cotton
This method involves shaping pieces of absorbent cotton into the desired volumes. Fixing them to the main sheet. And then accurately painting the entire surface to create a certain coloristic solution of the entire composition.

This is done as follows in the classroom:
- A piece of absorbent cotton is torn off.
- It is necessary to prepare a small container of water, so that the absorbent cotton was more convenient to mold.
- Dipping your fingers in the water, give the absorbent cotton a certain shape and form.
- Dip or smear one piece of absorbent cotton in glue, and then fix it on the paper in the right place, creating the crown of a tree.
- Take a brush with a fairly voluminous and thick pile and dilute quite liquid paint in the appropriate color, with precise movements paint the absorbent cotton in the desired color. It is not necessary to achieve a solid creation of tone. It will be enough to apply it point by point.
- Cut out trunks from paper and glue them under the absorbent cotton.
Applique with cotton disks
Your child should be asked to take cotton disks and color them in the desired color. Take into account and prompt a child that the final collage will look the most effective if the cotton disks are painted in several shades of one color at once.
Cut out a trunk from colored paper and glue it to the base sheet. Now around the trunk and on top of it begin to glue cotton disks, forming the crown of the tree. Take into account that if they are superimposed one on another, with a slight overlap, you can achieve a greater volume of the composition and its effect.
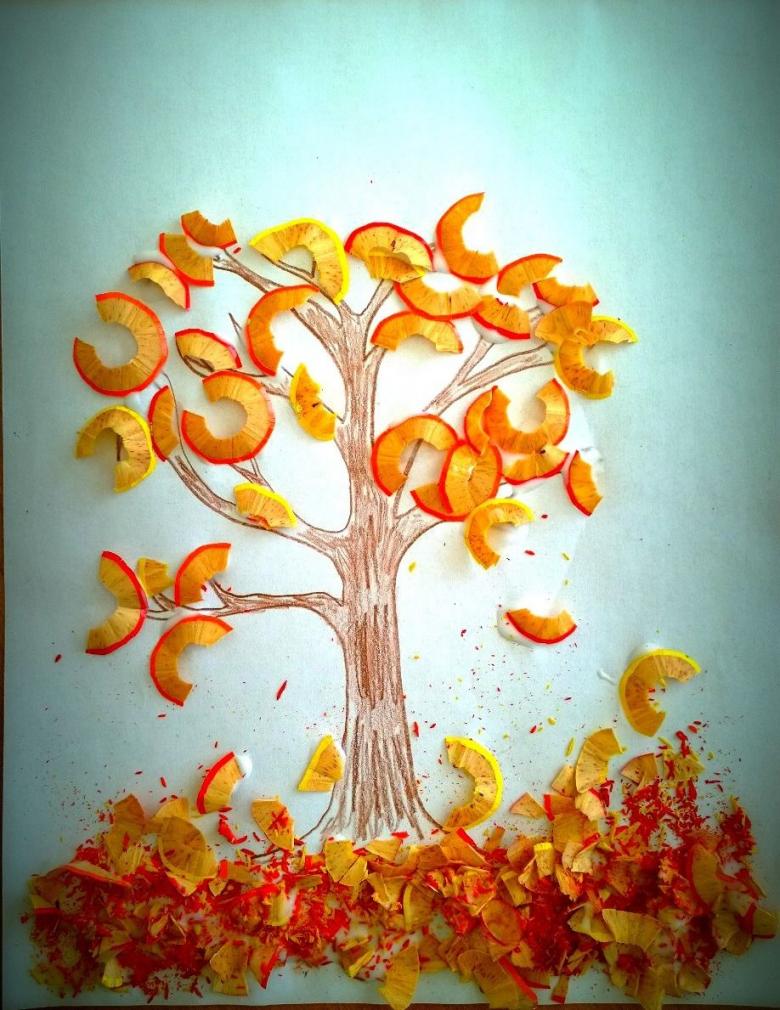
Make several such trees, preferably by painting in different colors of cotton disks.
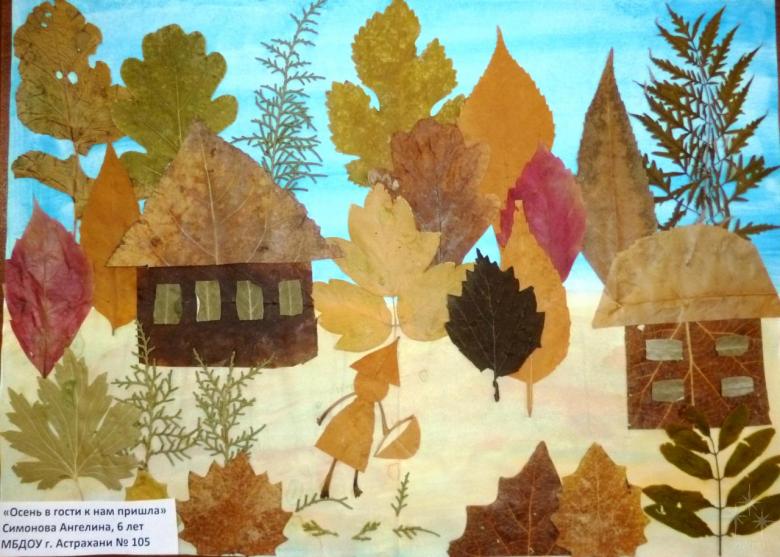
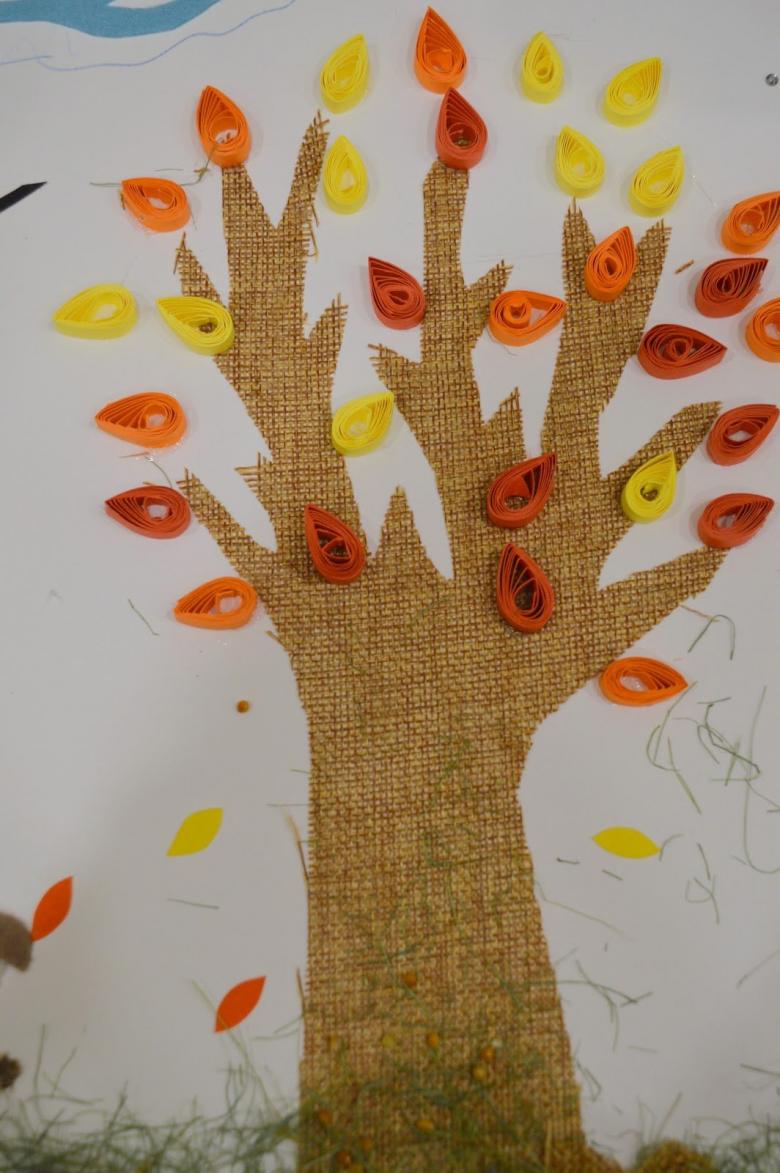
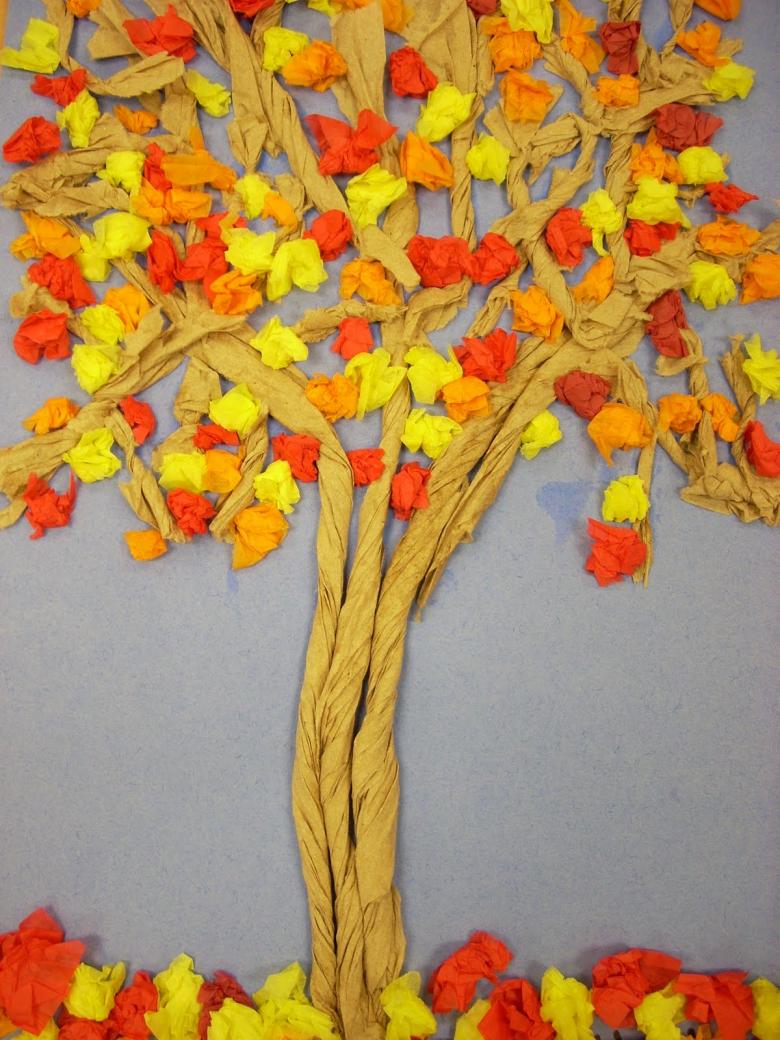
A composition of twisted strips of paper
A colored sheet of paper should in this case be cut into thin strips of small length and glue them into rings. Cut out the trunk and glue it to the base.
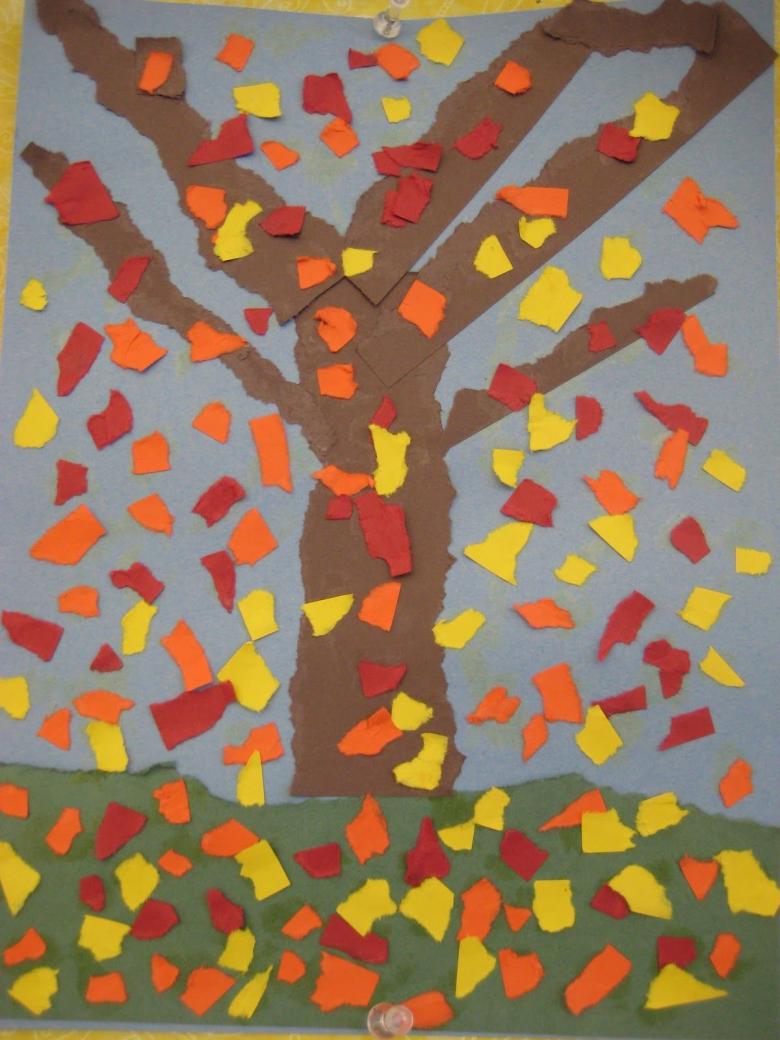
On the rings, put a drop of glue, preferably in the place where there was a seam on the paper. And fix it in such a way around the trunk to form a crown.

Note that the rings can be glued both vertically and horizontally. This will produce a completely different appearance of the tree. Therefore, it is possible to combine several methods in one application to get more texture.
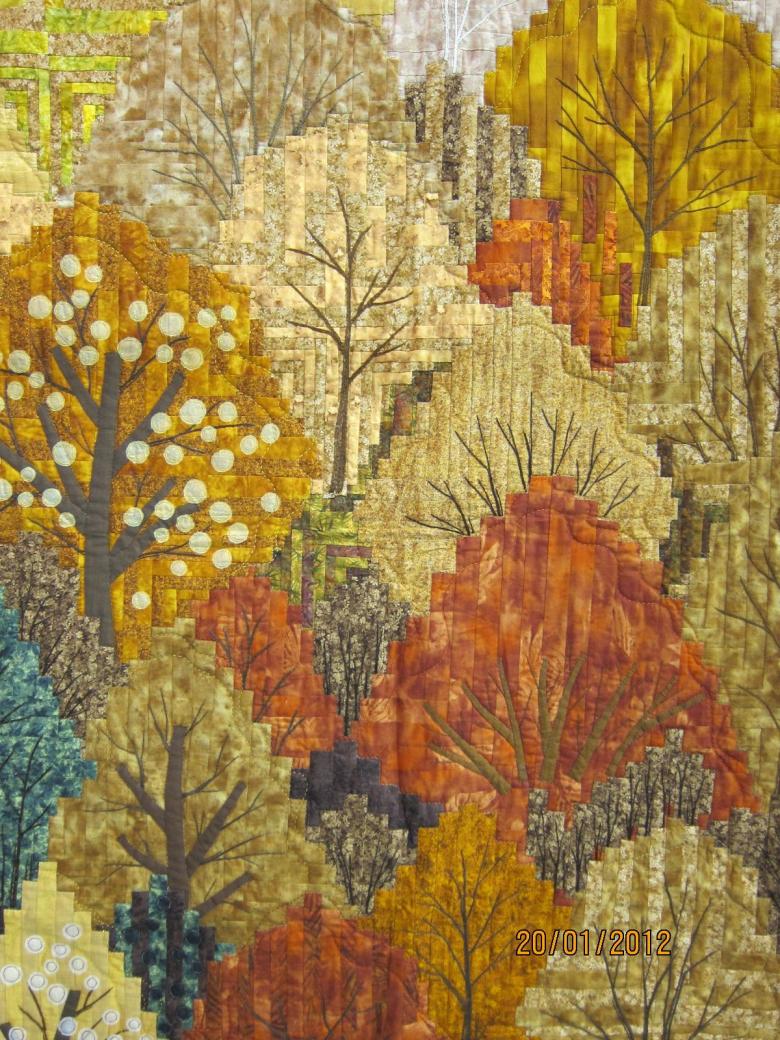
Using ways to create applications of the autumn forest, you can arrange a real master class for a child, both at home and in classes in the garden or at school. Although, there are other ways, which should also be taken into account by the teacher, making the outline for the corresponding classes.

