Children applique cat with his hands - photo ideas, instructions, tips
The cat is everyone's favorite pet, since ancient times has won the love of people around the world. No wonder that the cat is the most recognizable animal, the hero of all kinds of stories, fairy tales and cartoon films. His child, especially a girl, we try to buy clothes with a picture of a cat. When we teach kids to draw, then here, too, the cat is drawn as one of the first.
Applique is a kind of applied art, which is gluing separate pieces of fabric and paper on the fabric or paper.
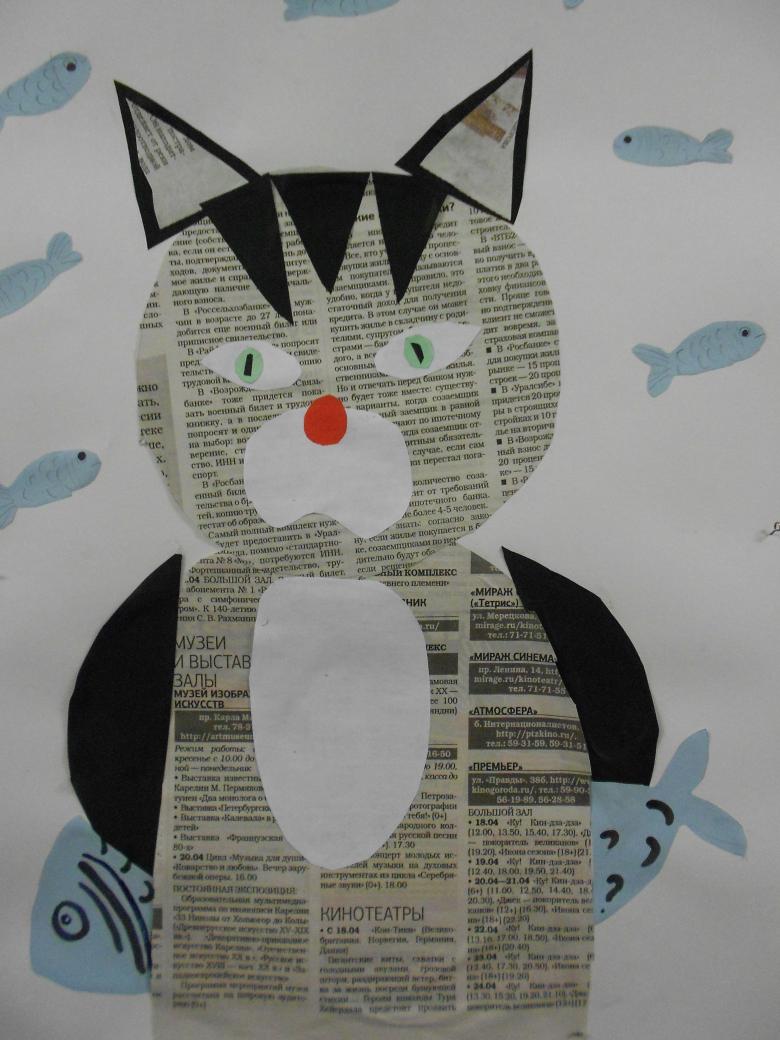
If you love cats and you have small children, we suggest you create a joint applique. Even if you've never done applique before don't worry, the technique is so simple and interesting that it will work out for sure.
Piecing for kids under 4 years old
Babies from two years of age are already very interested in the surrounding things, and if you and your child do something together, then the joy of the baby will have no limits. Offer your child the choice of making a collage on the theme of the cats he or she knows:
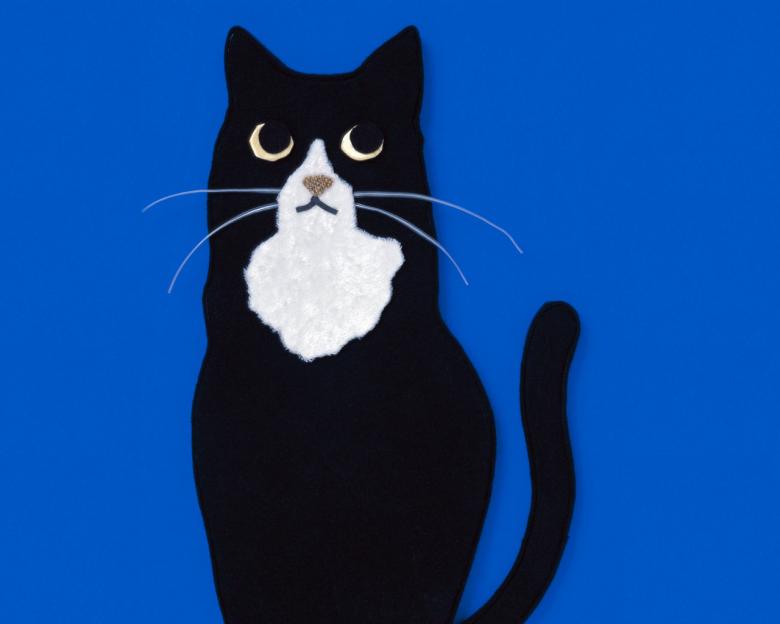
A cat in boots.
A favorite of all children, the clever and resourceful cat in boots. There isn't a parent who, as a child, would not have read his or her child this wonderful tale by Charles Perrault. If you have a lot of little kids rushing to visit, then take the idea below:

On a color printer, print out a picture of the cat in boots. Print a couple more images than the number of children rushing to you. Now print the outline of the cat alone or in full, but in a faint black and white picture. From the colorful and bright image you need to cut out the cat by cutting it into separate pieces.
Invite the little guests to glue these parts to the base. If the kids are not bored, you can create a frame from colored cardboard for the created masterpiece and glue it to the created picture.
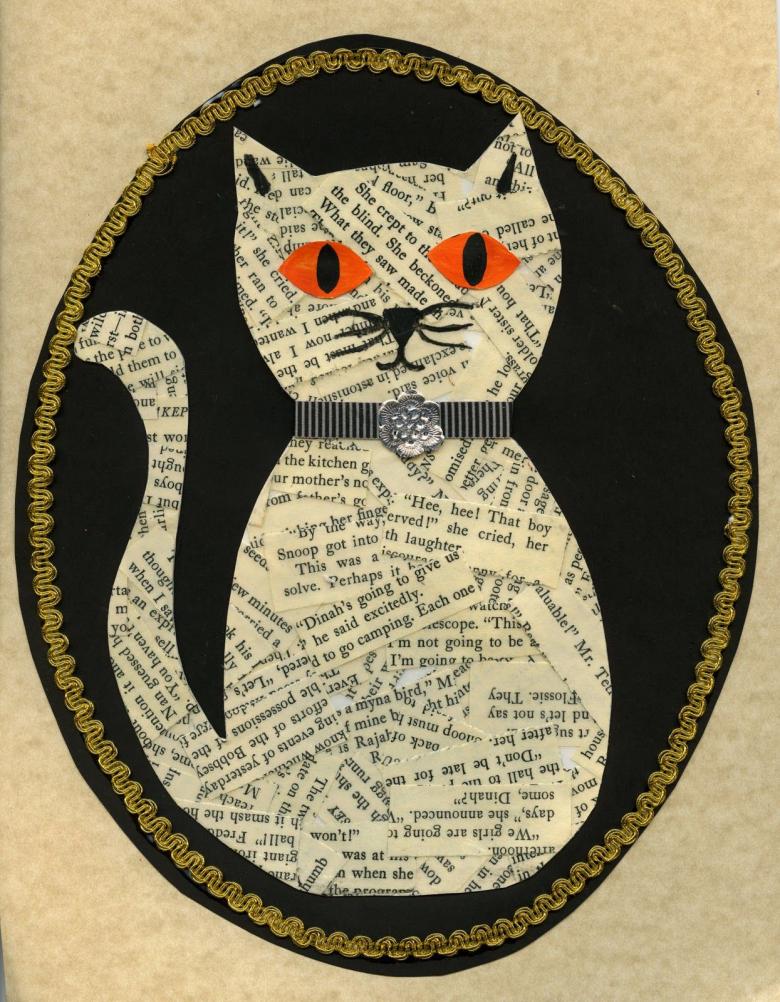
Kitten Woof
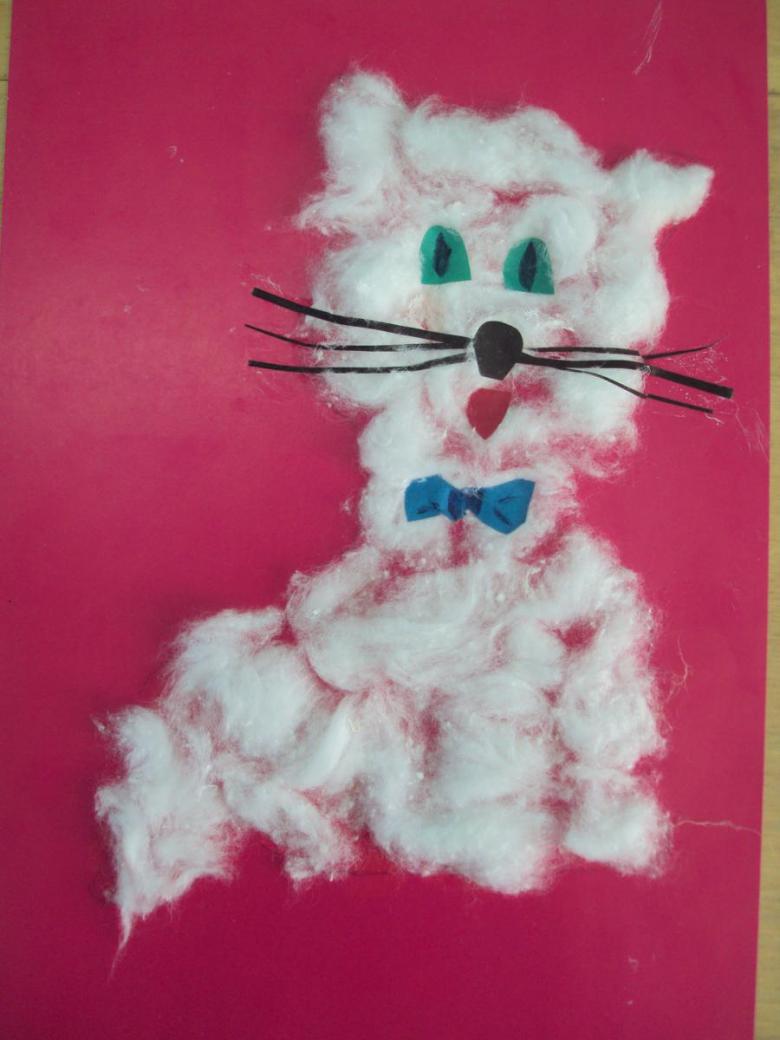
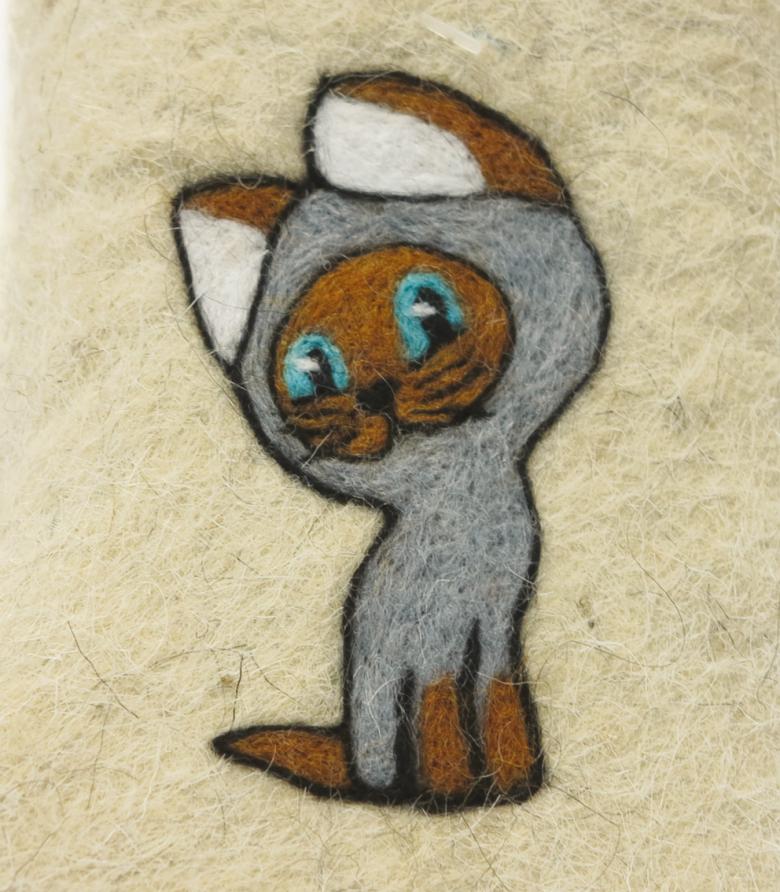
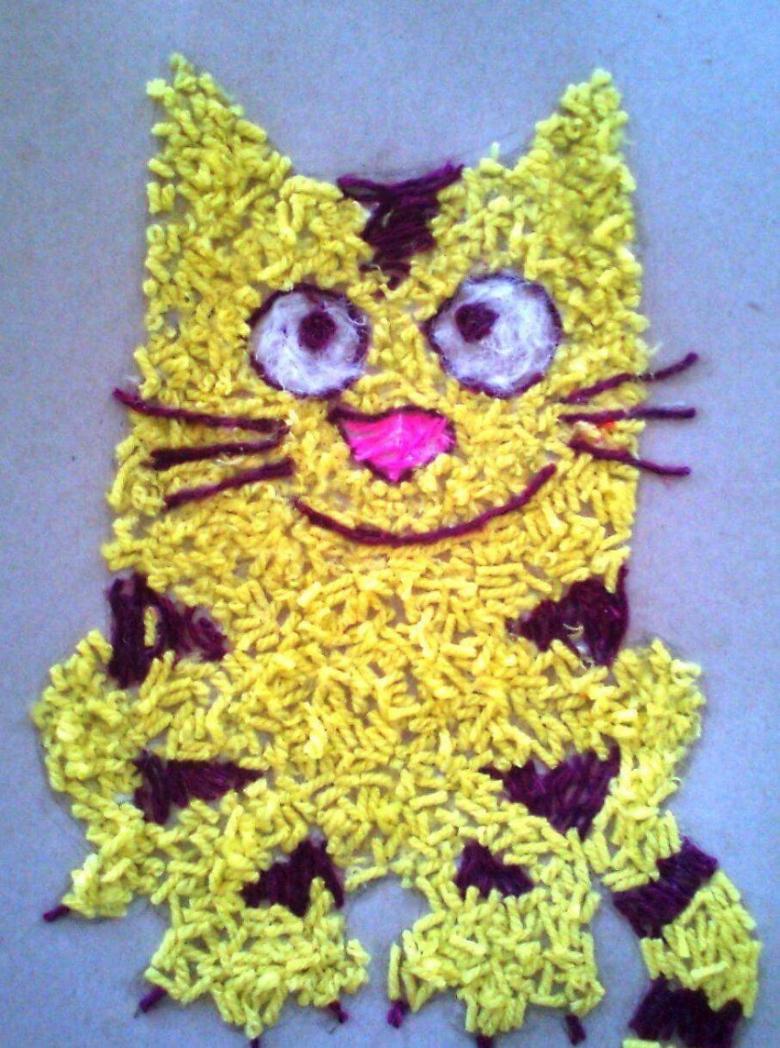
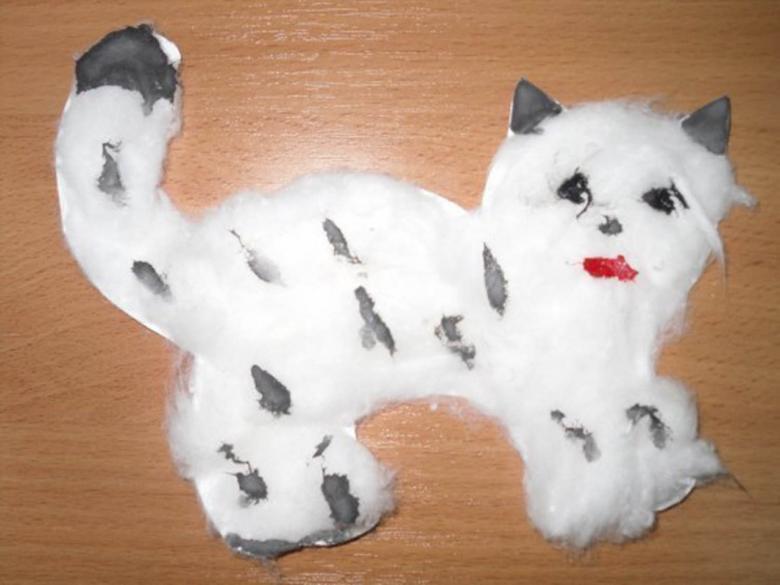
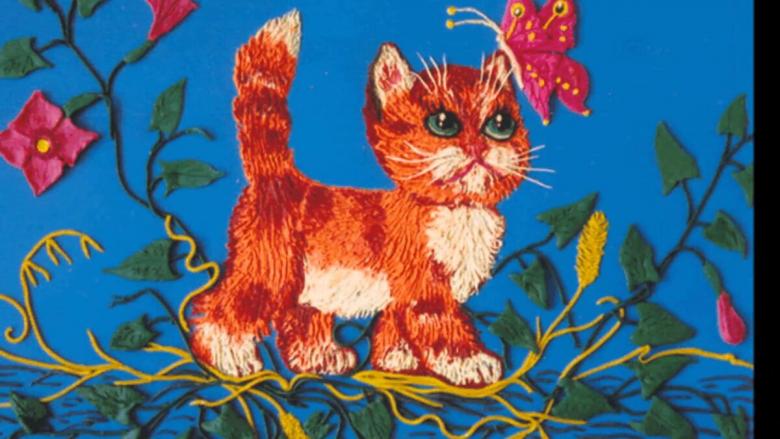
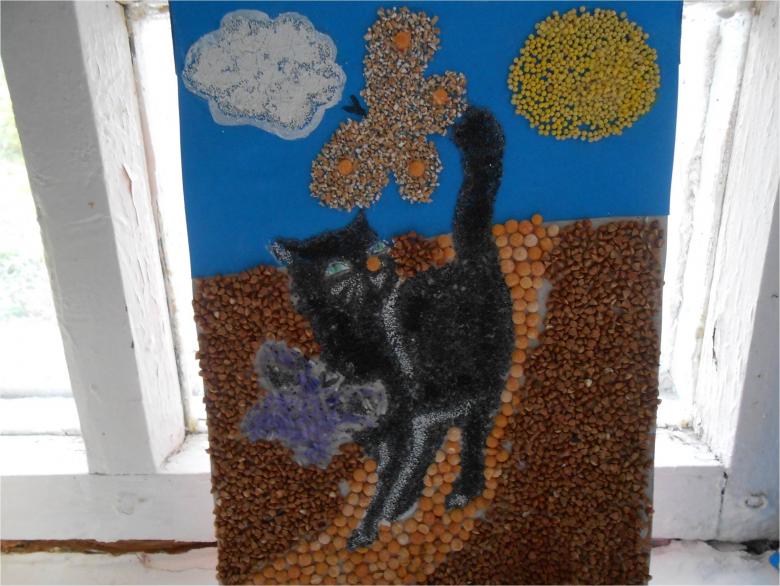
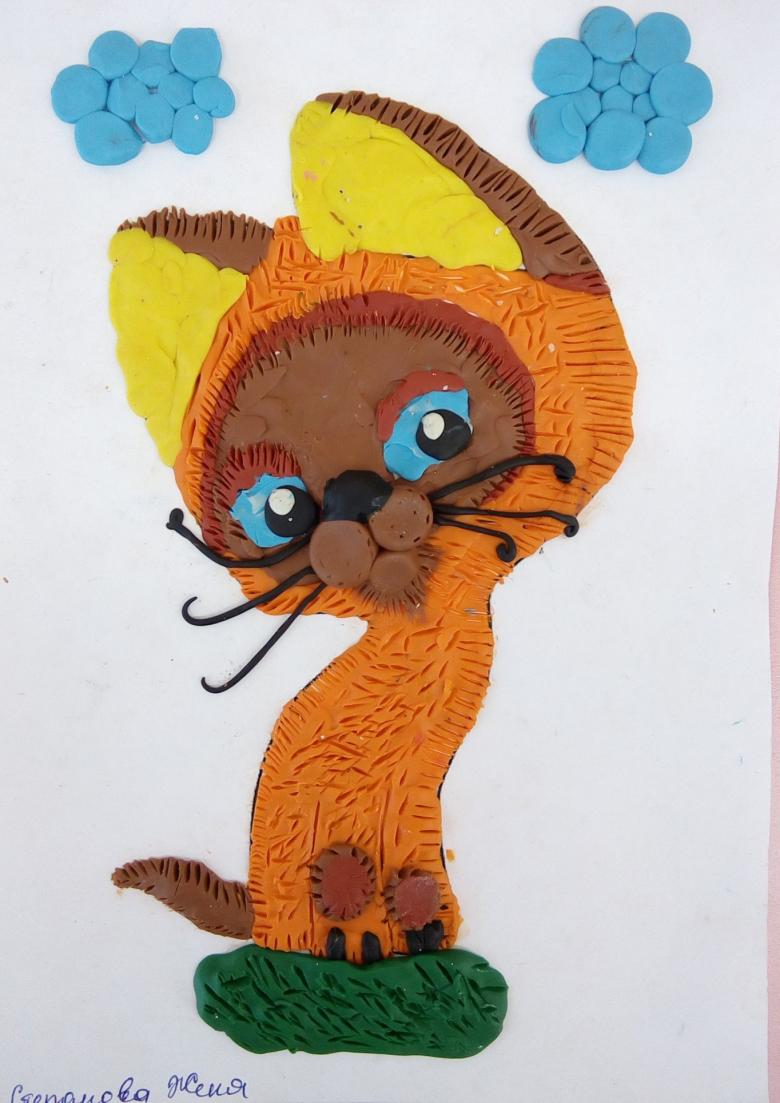
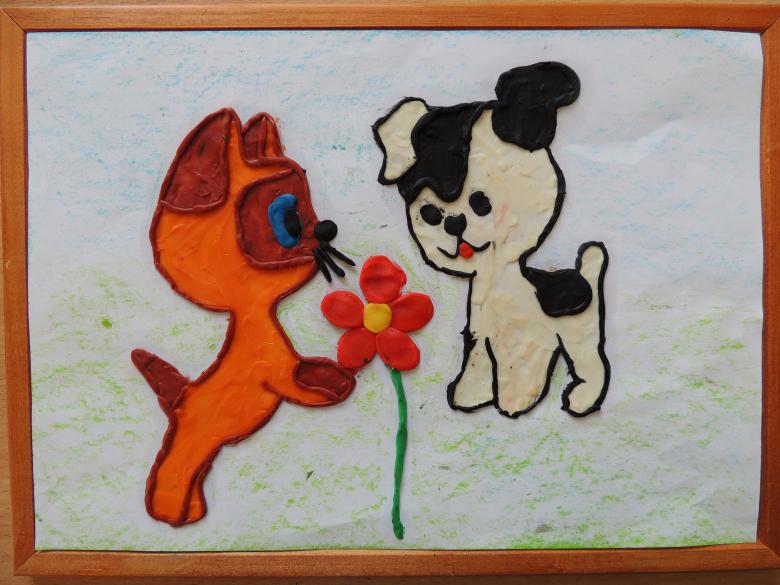
We all watched this Soviet cartoon, and we all turned it on for our kids as well. The drawing of the kitten is quite simple, but nevertheless the application will be spectacular. Prepare the necessary material for the work: plasticine, colored thread, colored macaroni or cereals, colored paper, absorbent cotton, PVA glue. Print out an outline of the kitten on a printer, mark the coloring zones of the kitten with a pencil. If you have the opportunity to buy ready-made eyes, buy them, the appliqué will look livelier. Apply PVA glue to the desired areas and place the material of your choice on top.
Since these crafts are designed for very young children, use quality high quality stationery.
Cat out of geometric shapes
There are those parents who are in the constant process of teaching their baby. At a young age, playing children memorize information with ease and for a long time.
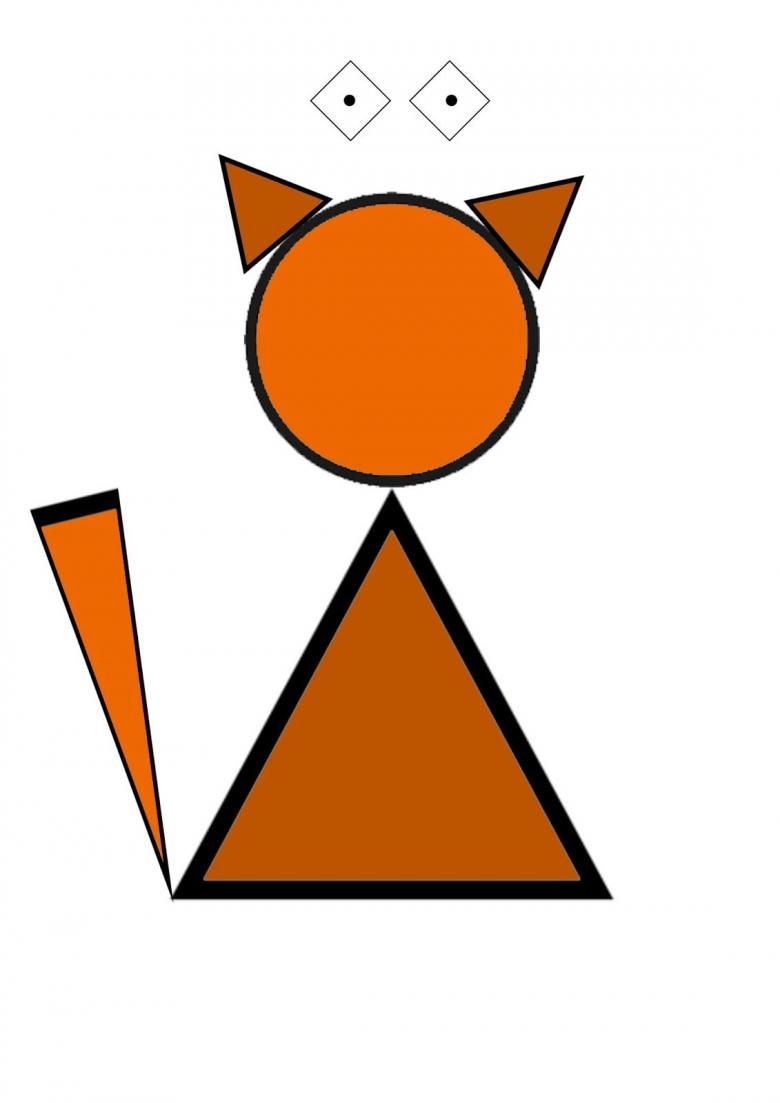
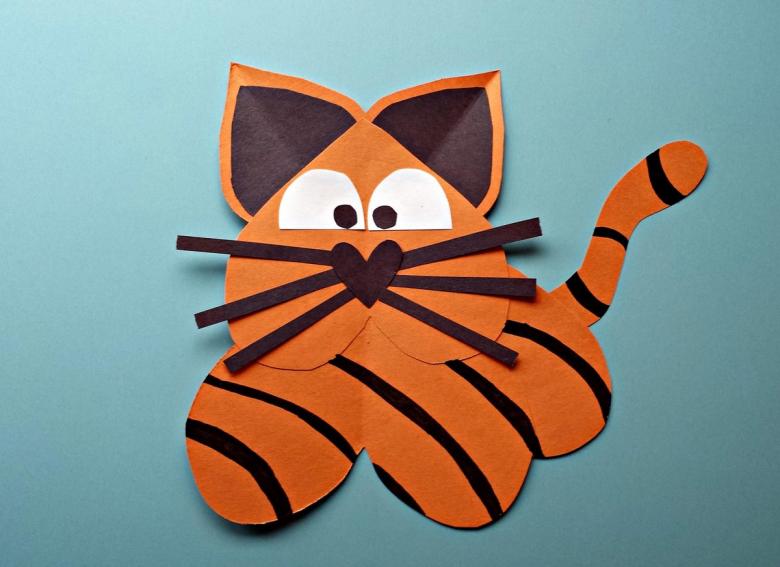
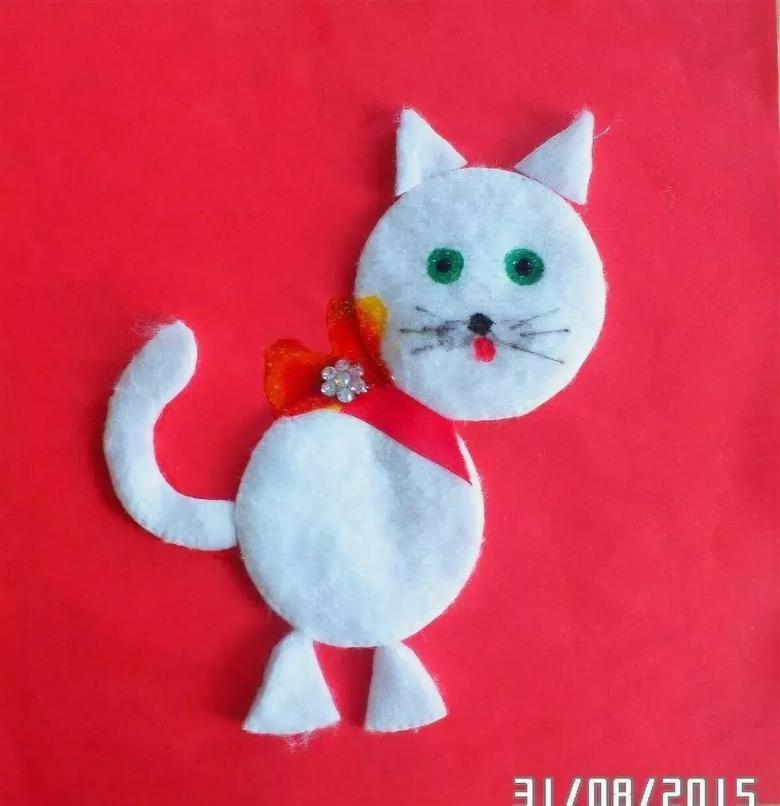
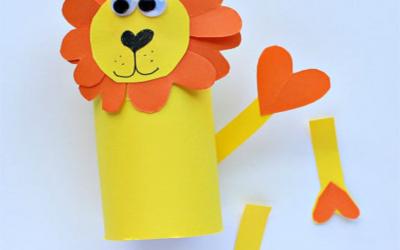
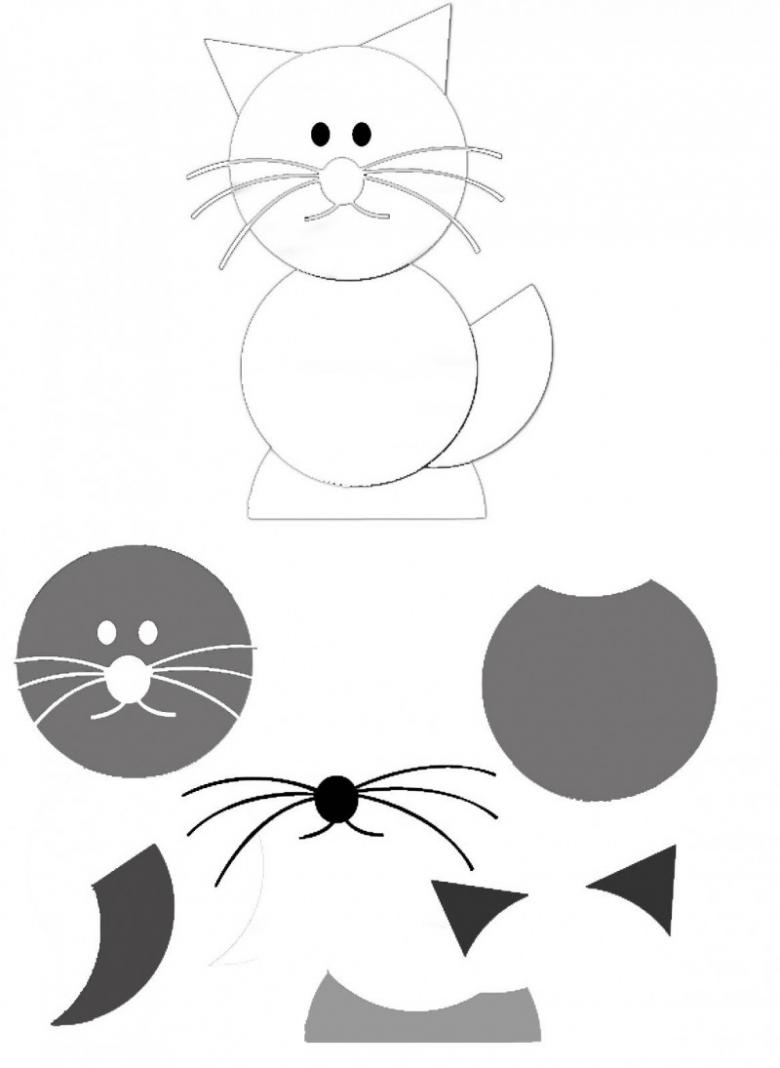
Applique cat can be made out of different geometric shapes. From colored paper cut out ears from triangles, the head from a circle, the body from the oval, legs from rectangles, and tail from a semicircle. Even though the shapes are basic, everyone will tell you that the applique depicts a cat. As a bonus, the baby will learn and know flat geometric shapes.
Application for children ages 4 and up
The older your child gets, the more complex and interesting techniques in applique he will be able to master. Does your child have a pet cat? Suggest creating a collage with a kitty in the title role. On the World Wide Web, you can find accessible catalogs for children's creativity, structured by type of activity and by age of children.
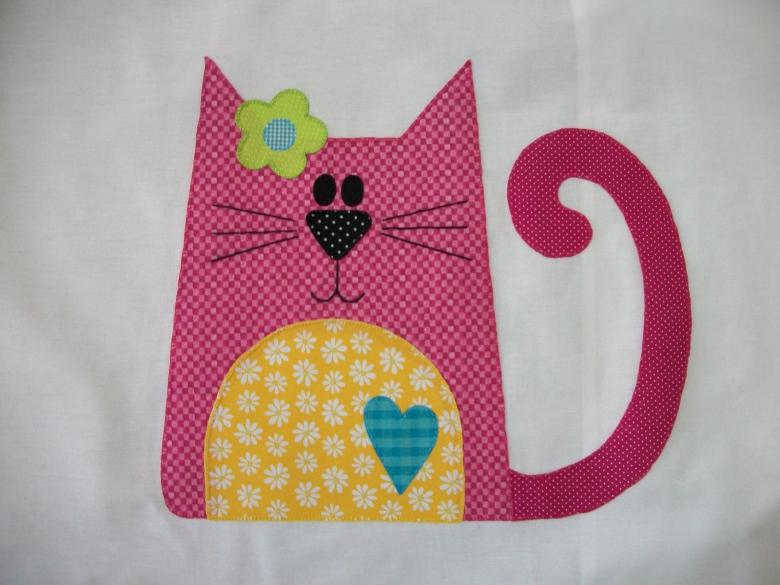
Layered cat applique
Pick up on the Internet or come up with your own interesting and bright fluffy beauty, which is created from contrasting colors.
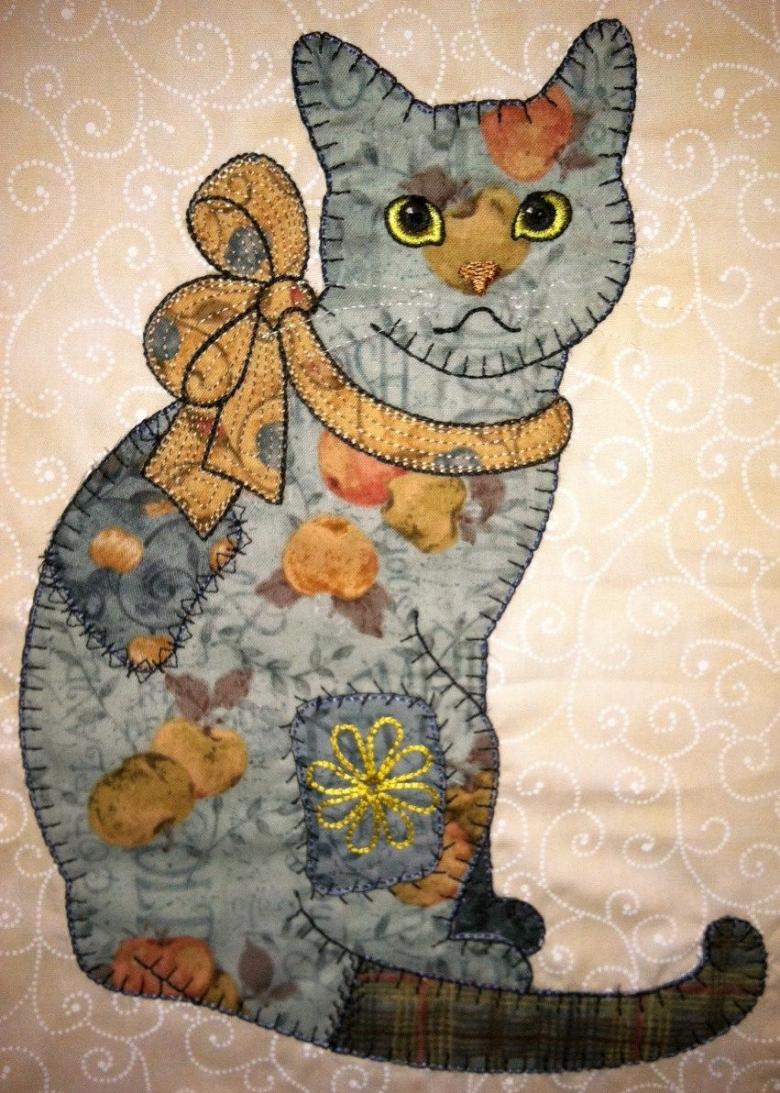
Mentally analyze which layers are superimposed on each other and develop the necessary patterns for superimposition.
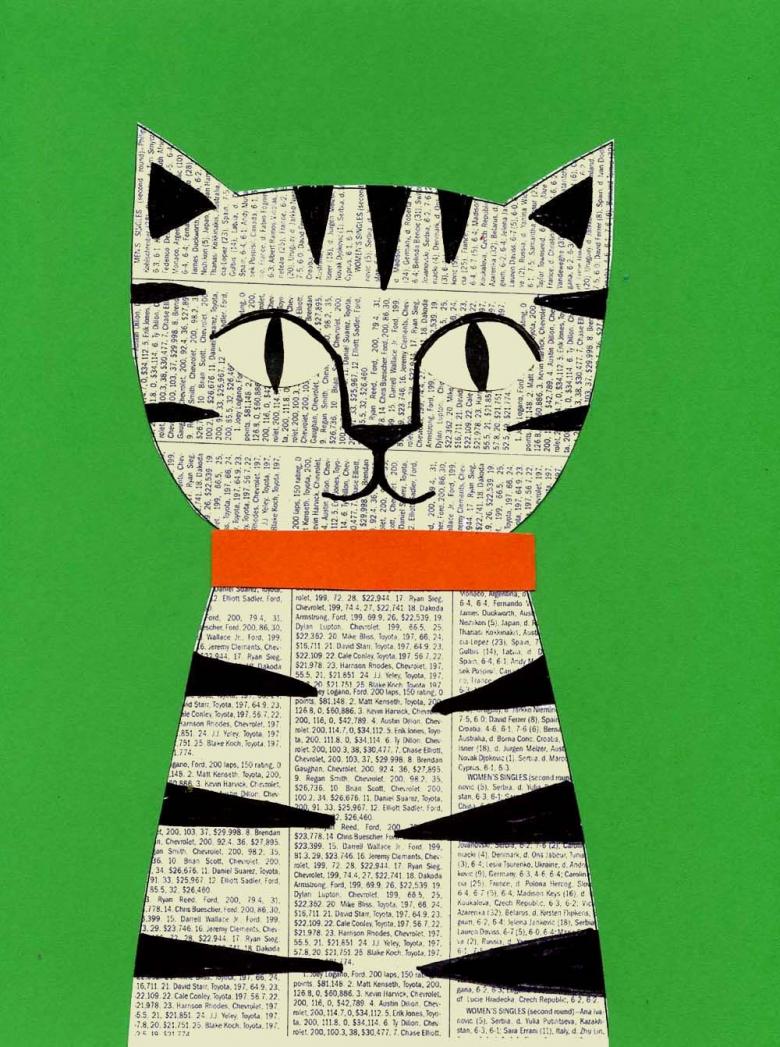
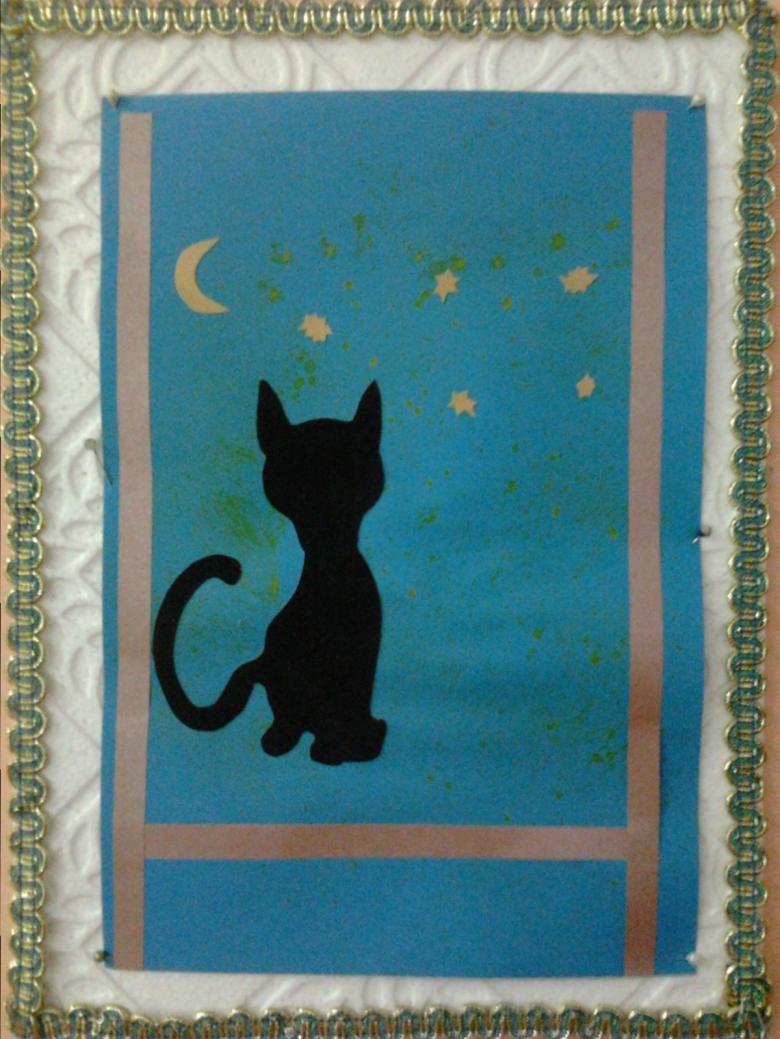
For example, the first layer - the body of the cat, the second - bright spots on the body, the third - eyes, nose, tongue. You can try not to glue the tail or ears to the end, you can add around the main character additional sources of decor, made from a completely different material.

Quilling style applique
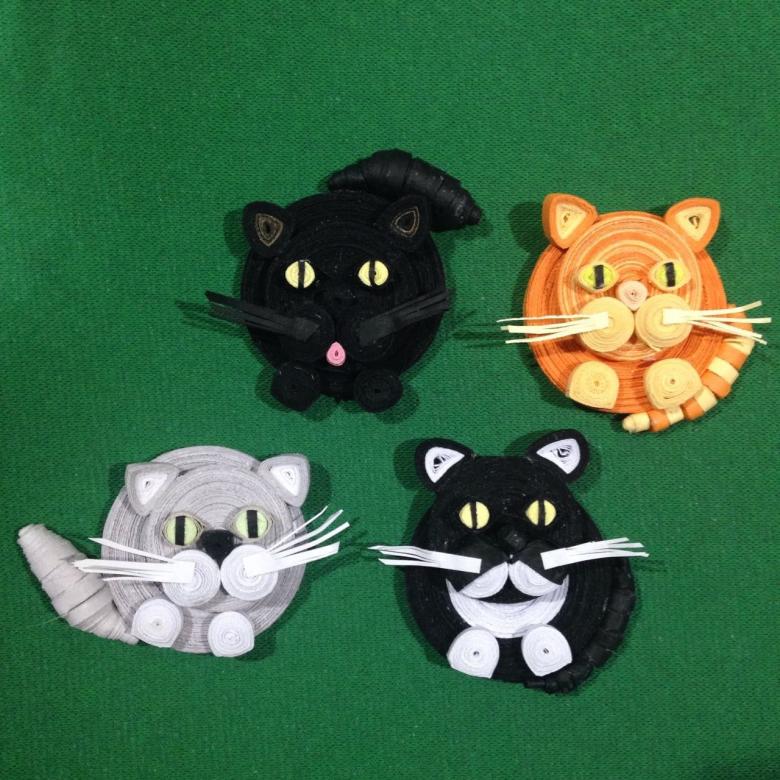
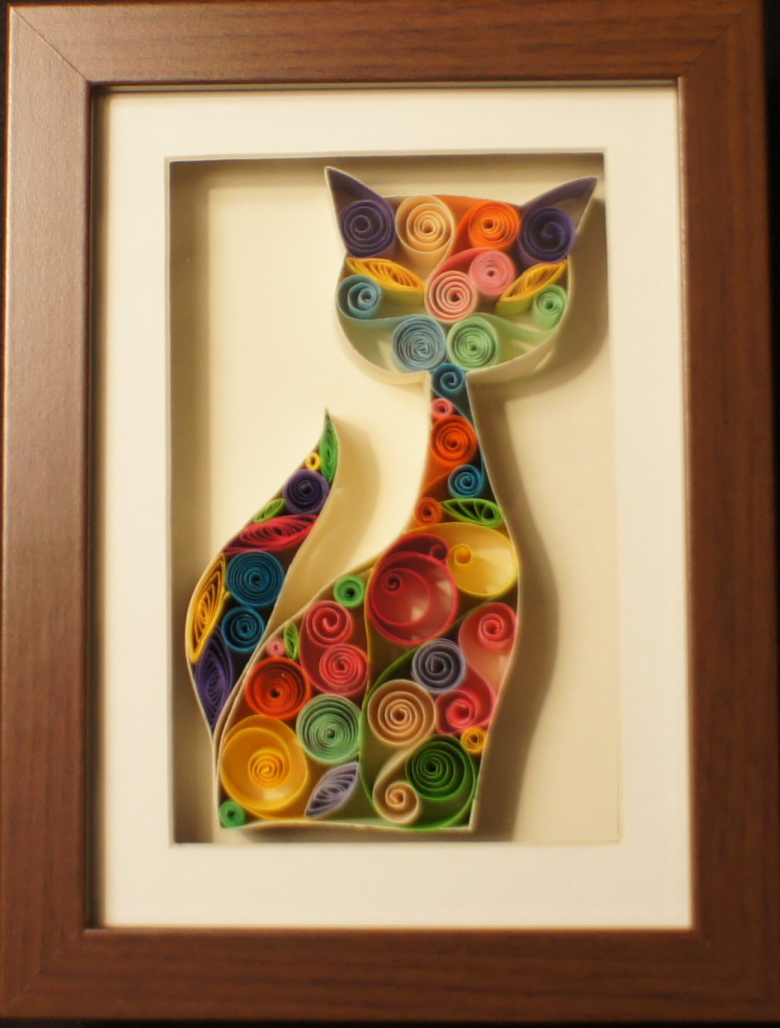
Quilling is the English word for twist, a fairly new trend in applications, which, despite its youth is steadily gaining momentum and finds more and more fans. A simple technique will be interesting and useful for children.
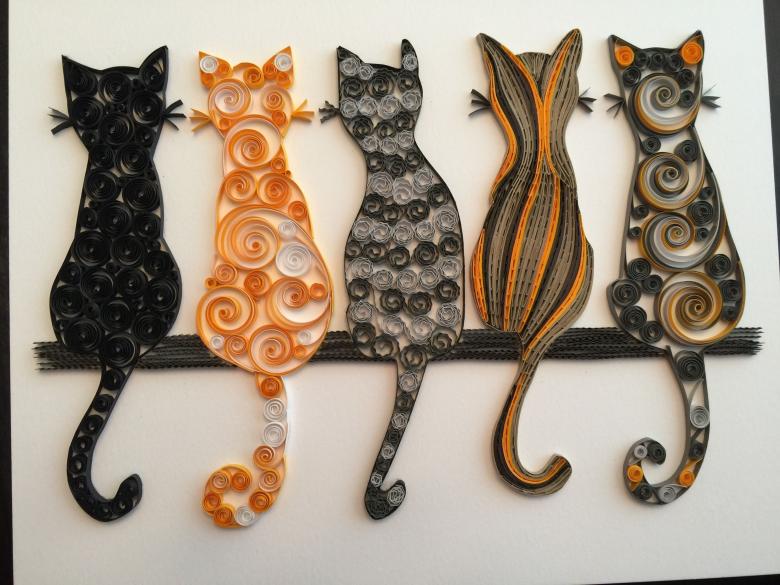
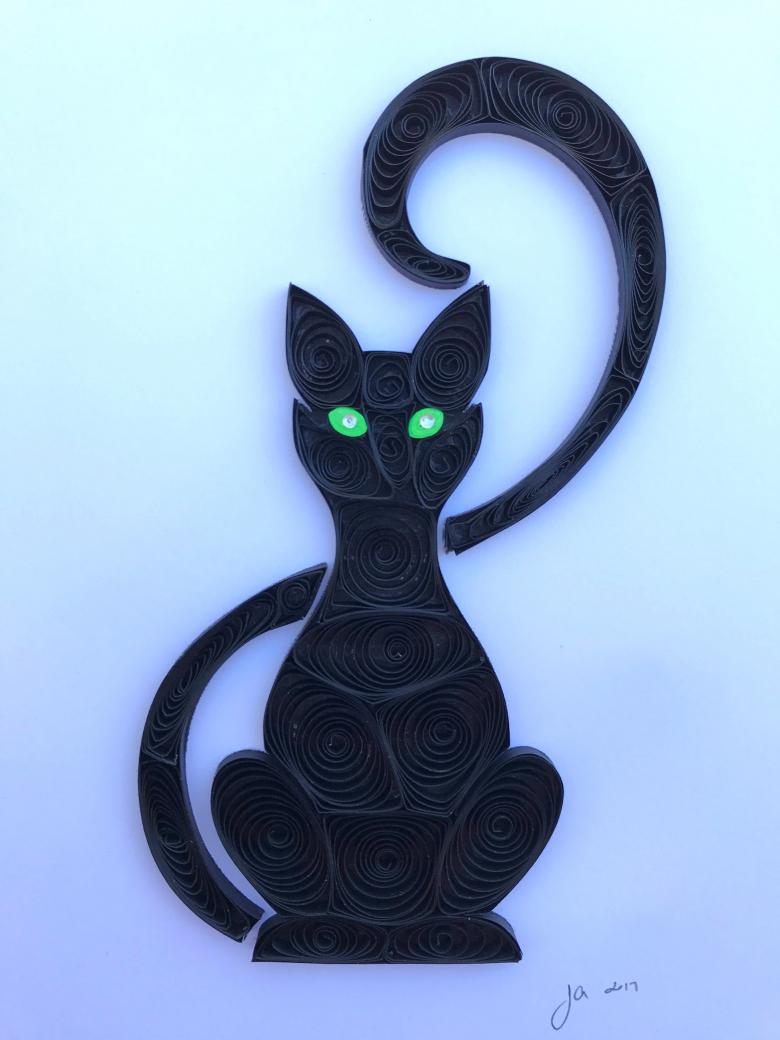
The cat, made of twisted paper spirals, looks very graceful and plastic. The work itself will not take much time and importantly, each participant will get their own exclusive cat.
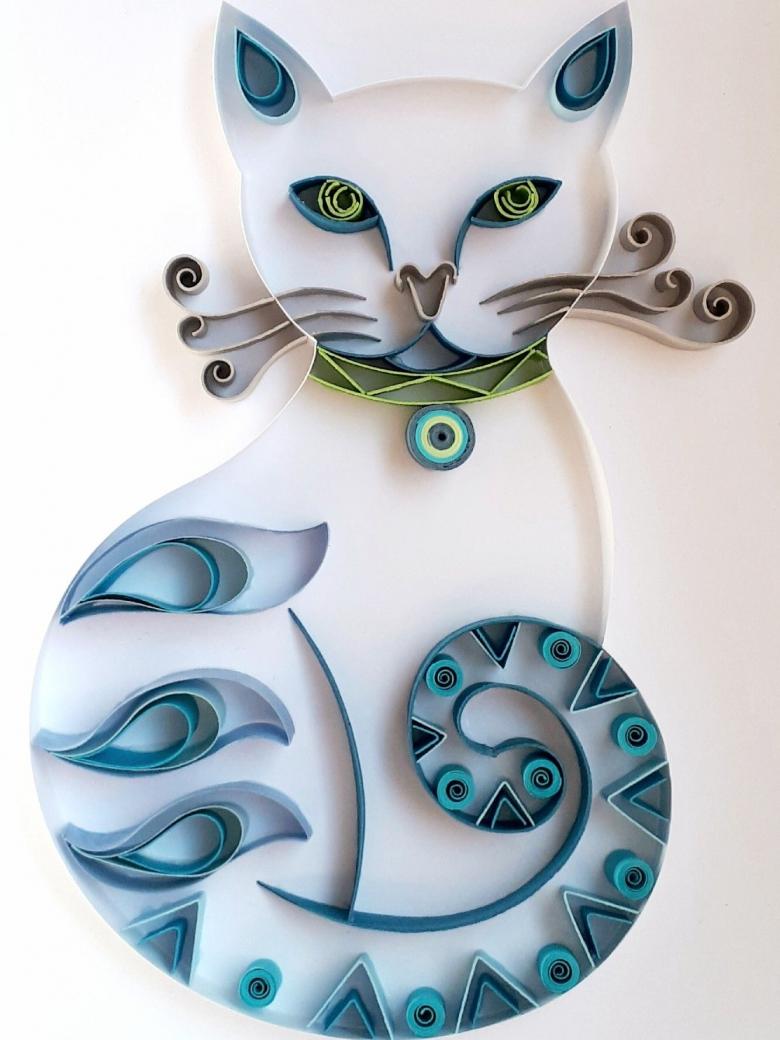
Before you begin, prepare strips of colored paper, PVA glue, toothpicks and colored cardboard (in this case the cardboard will serve as a canvas for the masterpiece).
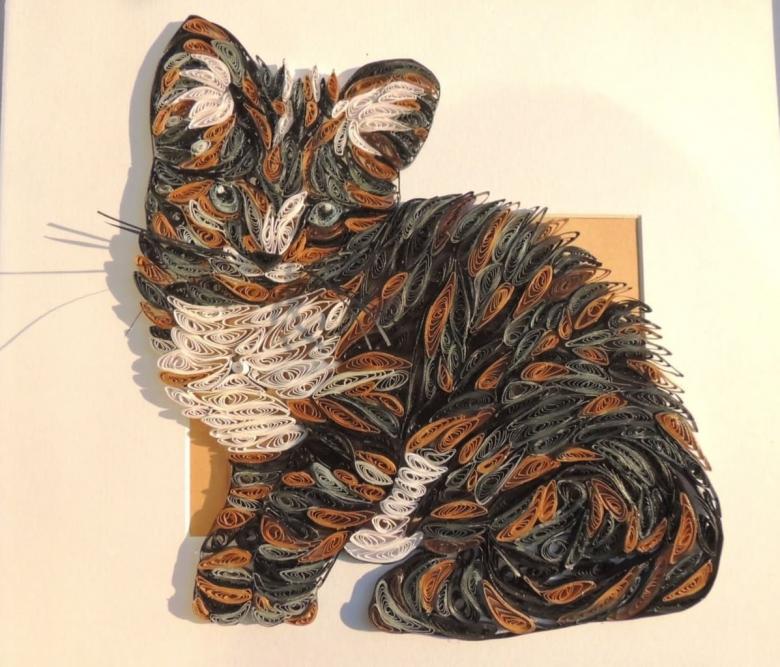
After you have thought up the shape of the cat in your mind, take the toothpick and twist the strip of paper on it. After the spiral has relaxed a little, glue its end.
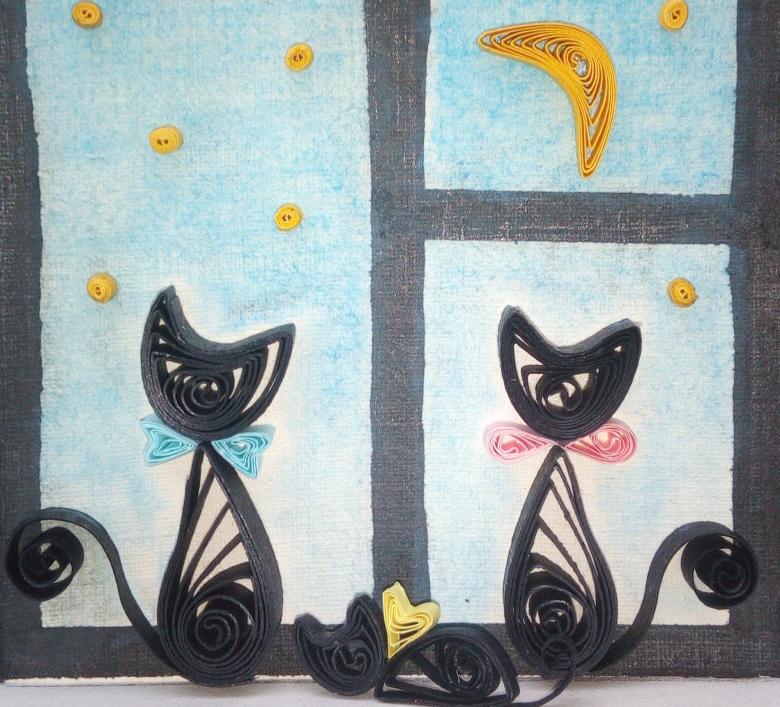
Make the body of the animal from a long spiral, because it is the most voluminous part of the cat - 40-50 cm will be just right. You can also twist our torso from a double sirloin - two strips of blanks twist into a spiral as one.
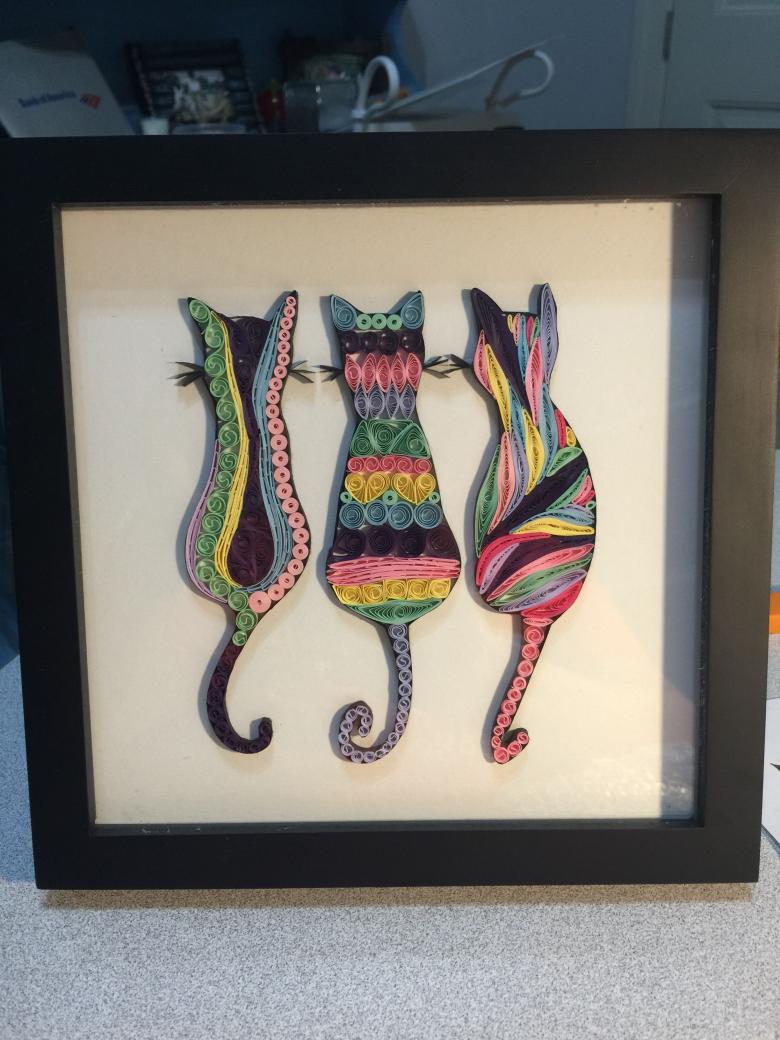
Paws and ears are small and it will be enough to spend 15 cm of colored strips. At the request of the creator of the ears with his hands can give a little triangular shape.
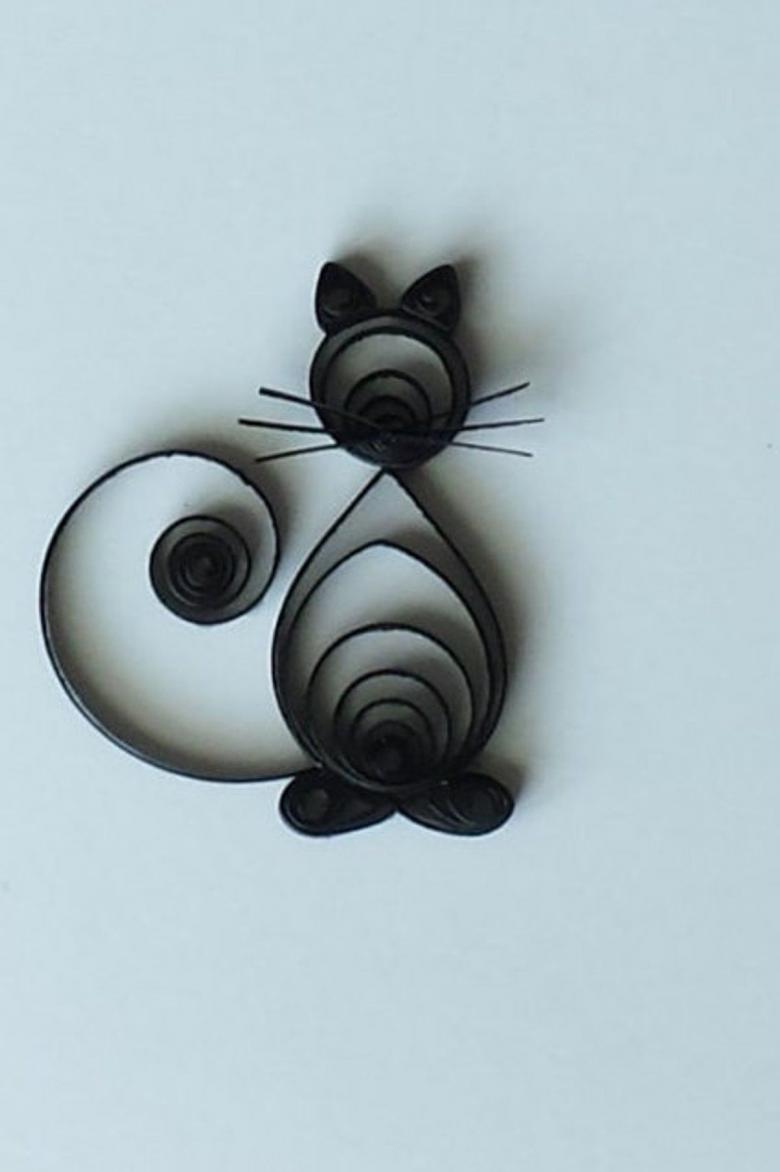
The head of the cat is made from strip length of 30 cm. The tail if desired, you can provide a skinny, consisting of a slightly bent strip, and you can make it luxurious non-twisted band.
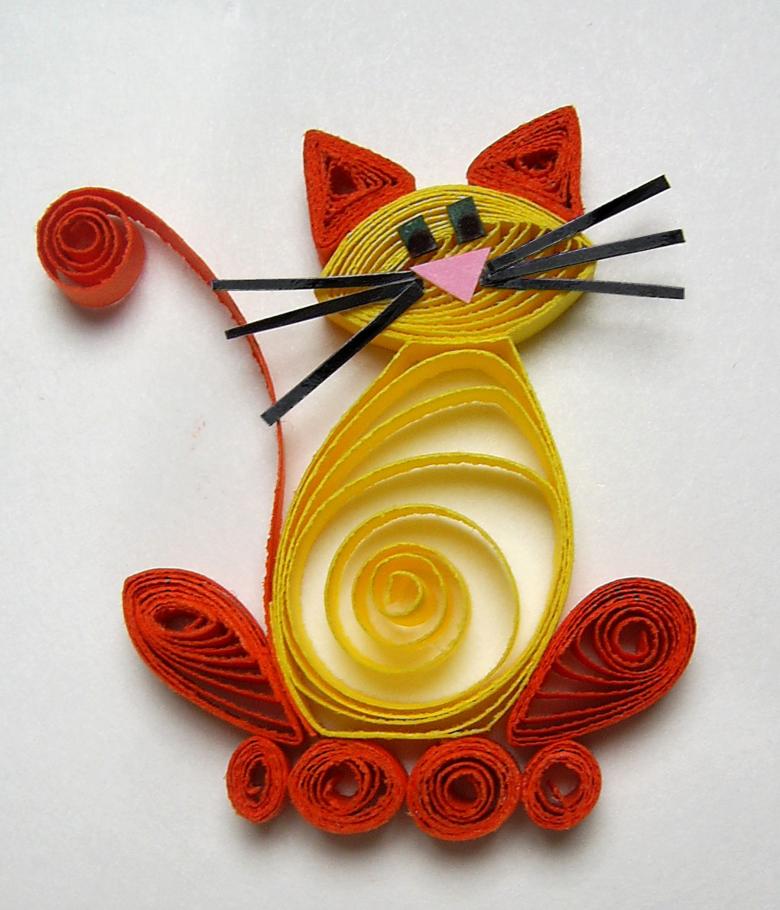
Glue the blanks you have created to the base sheet, giving your heroine the desired pose.
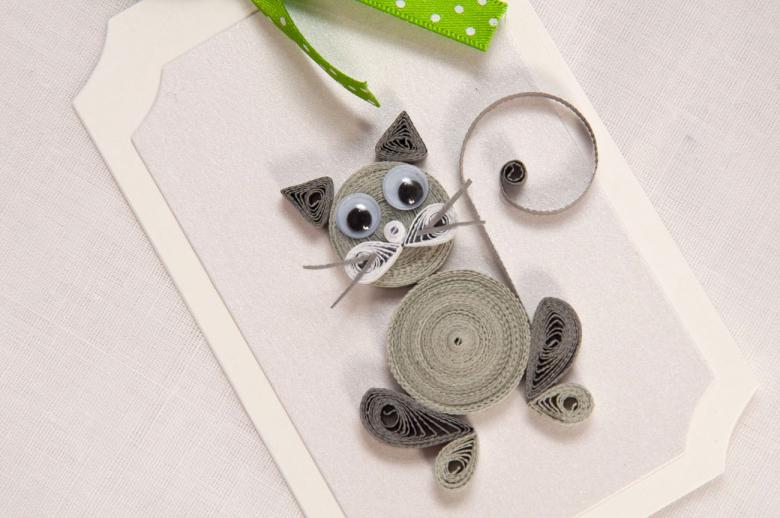
Fabric cats - Mama's art
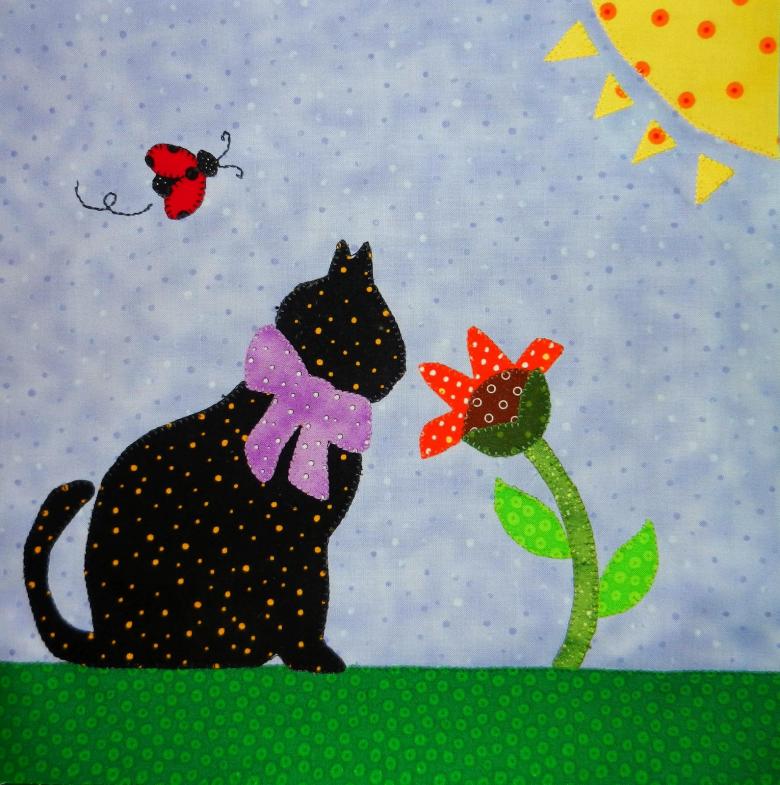
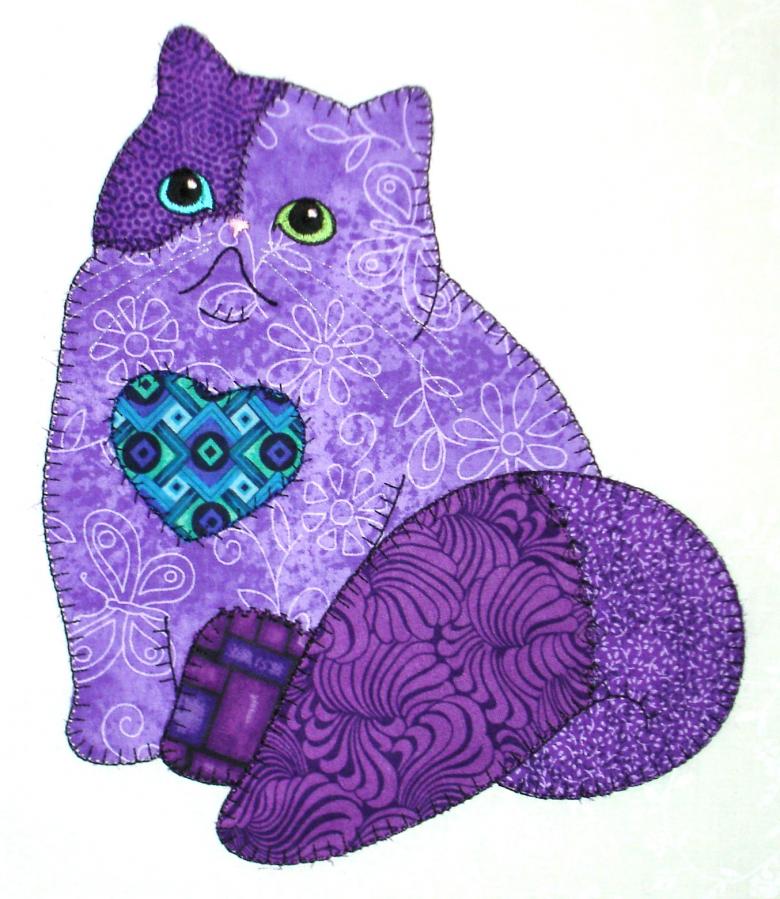
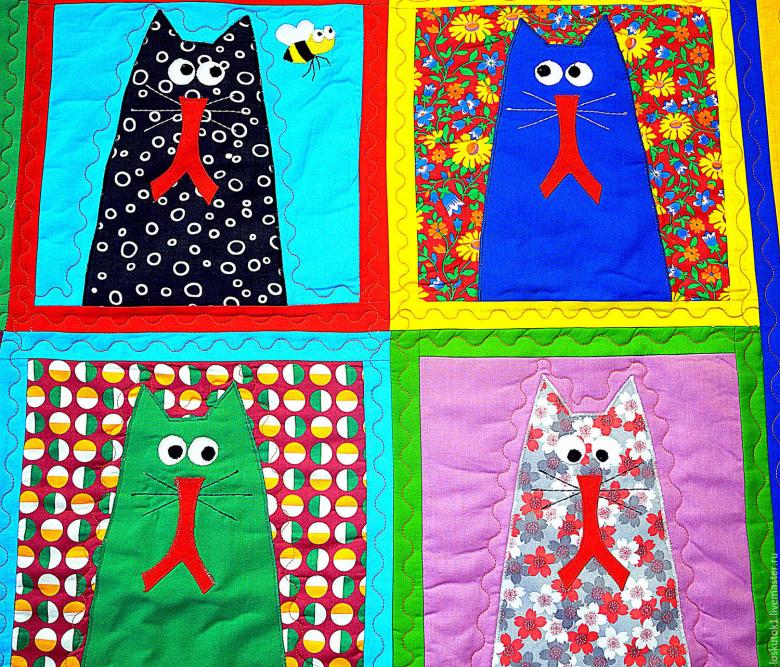
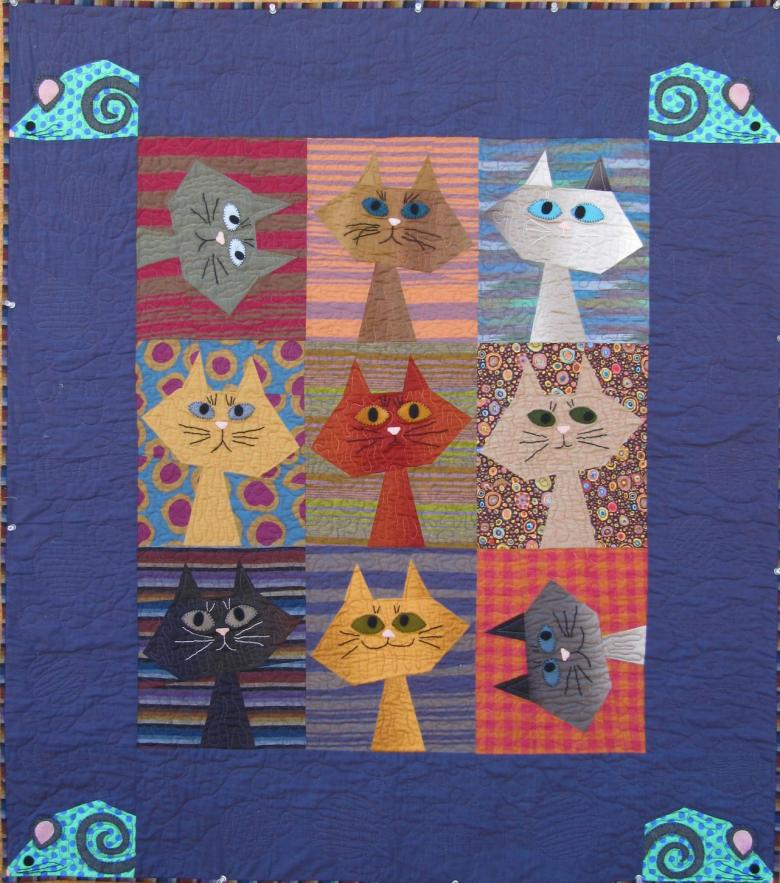
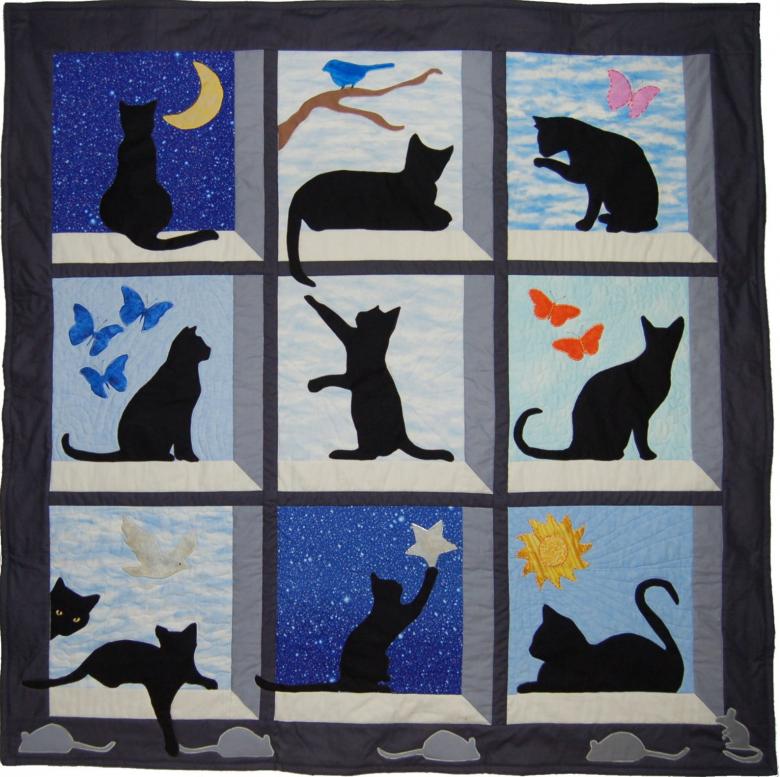
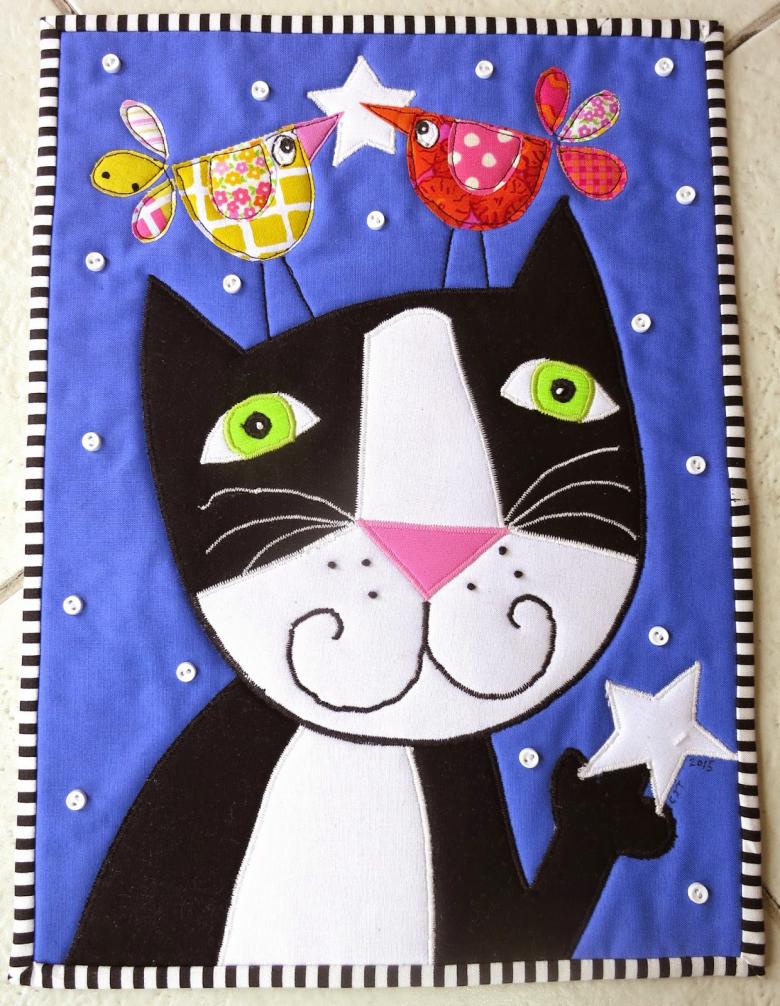
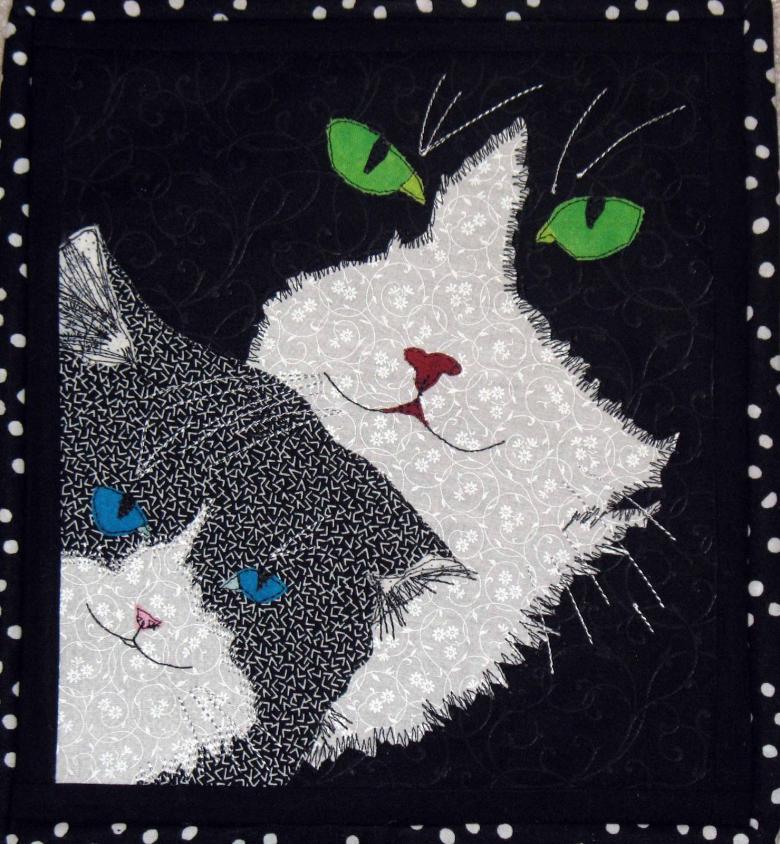
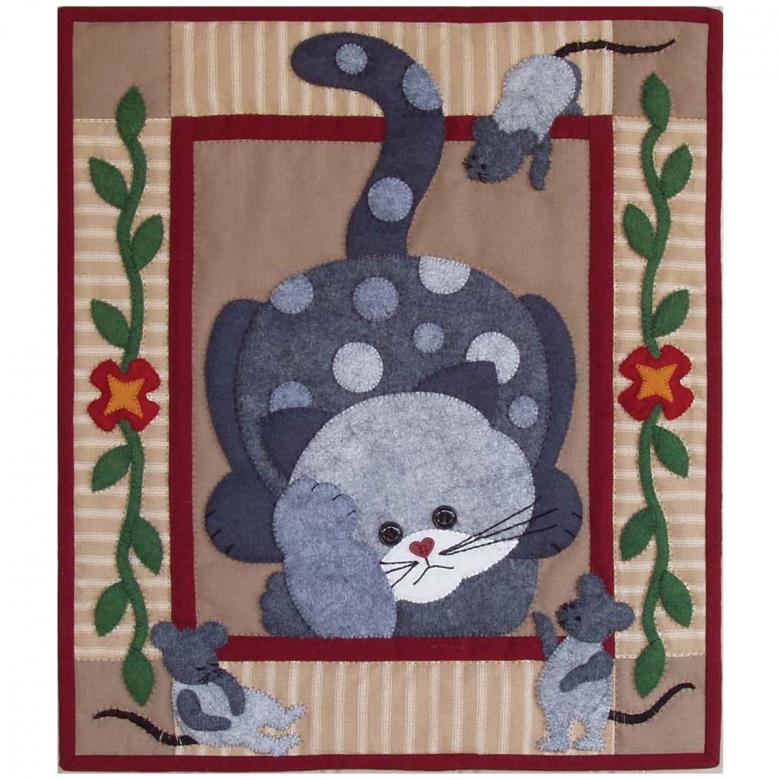
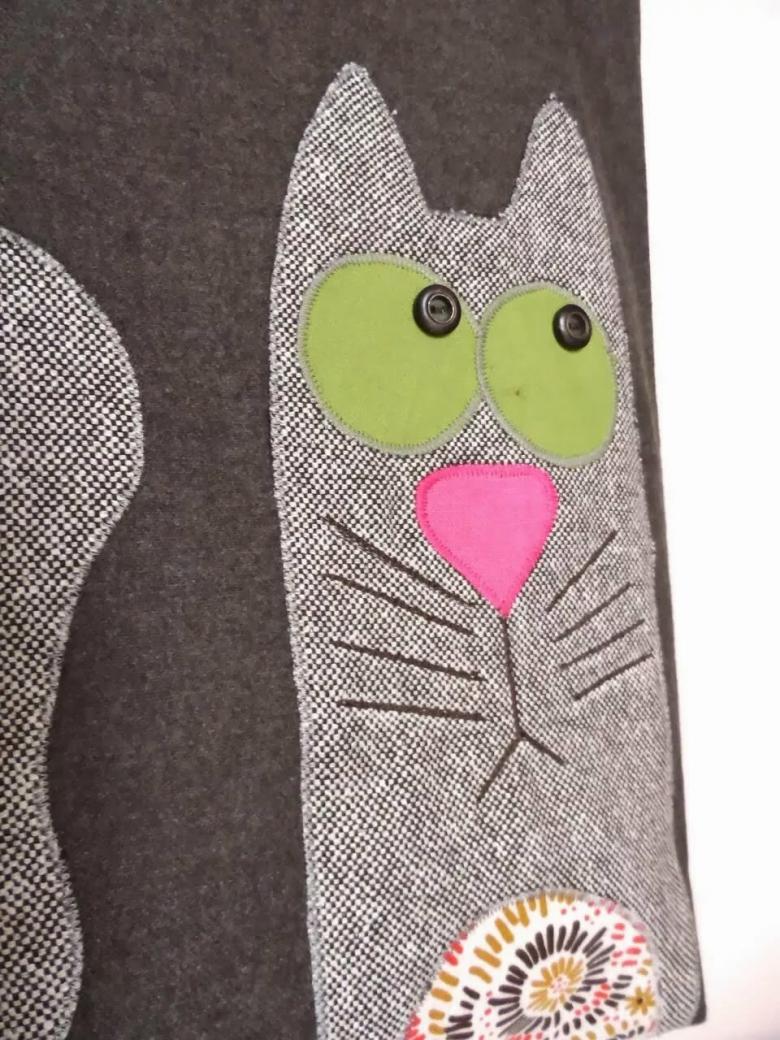
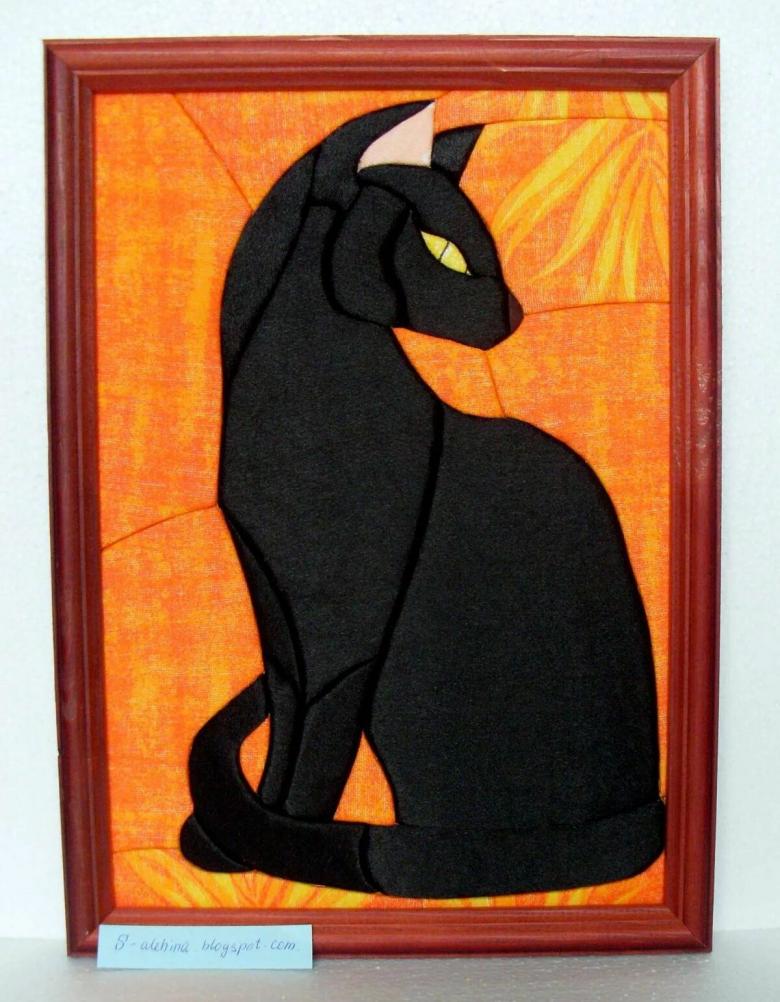
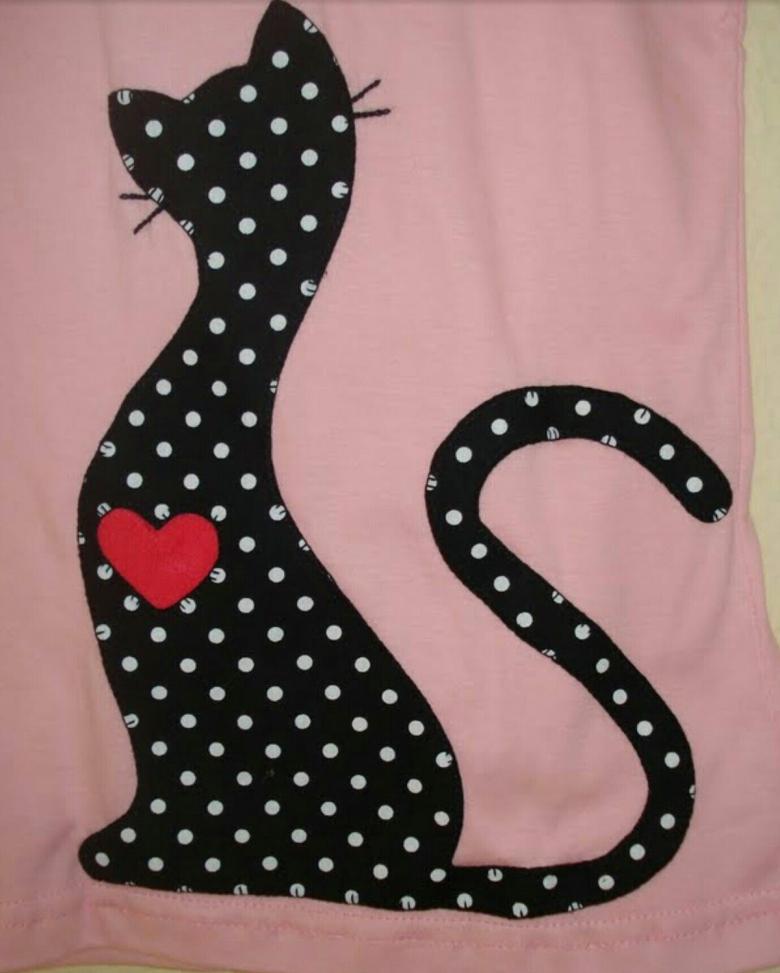
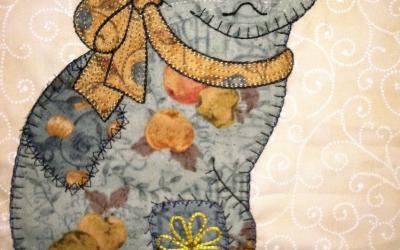
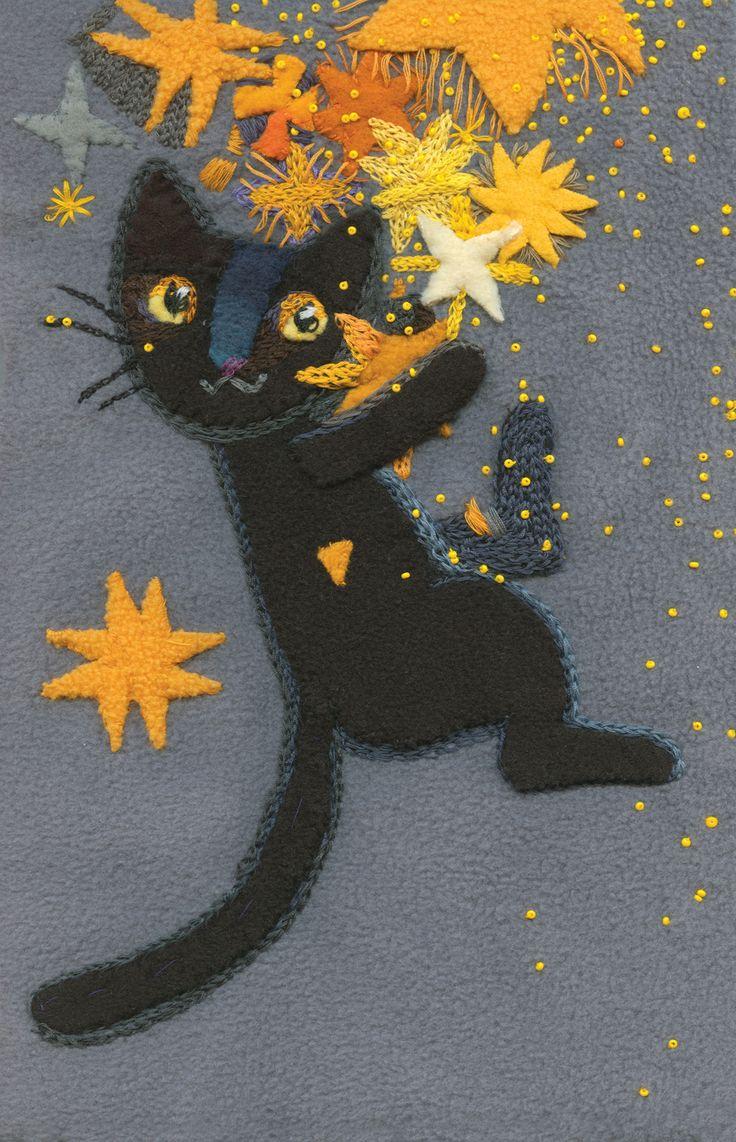
Fabric applique is a chic way to turn the most mediocre thing into an exclusive one. For cat lovers there is great news - there are a great many blanks for making cat patches, it's enough to flip through the photos on the Internet. In addition, you can buy ready-made sticker or patch with a cat in the main role even without leaving home by ordering delivery on a specialized resource.
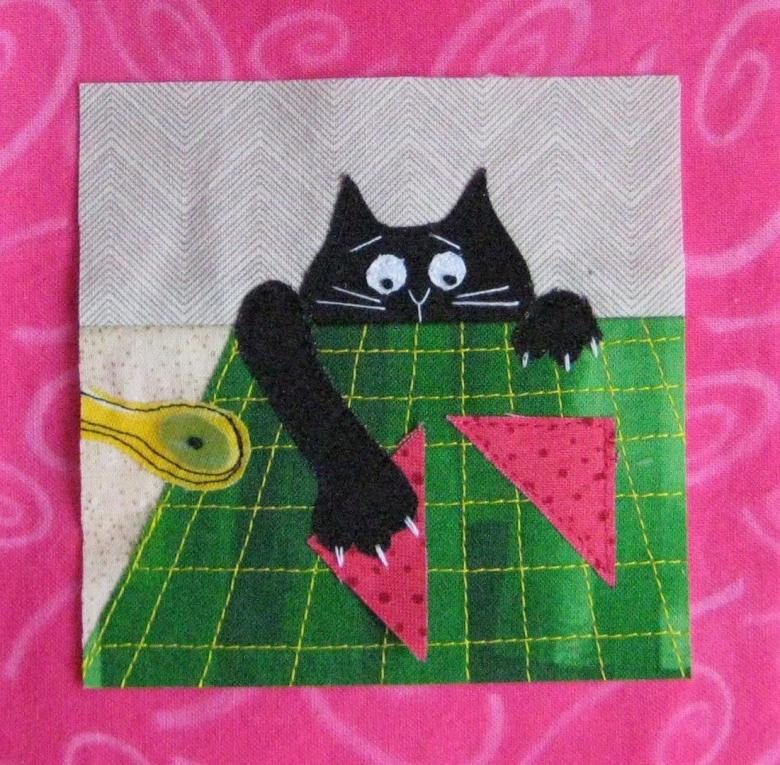
Separately, it is necessary to cover the issue of transferring the appliqué to the main material. There are two ways - you can sew and you can glue. Each of them has a number of advantages and limitations.
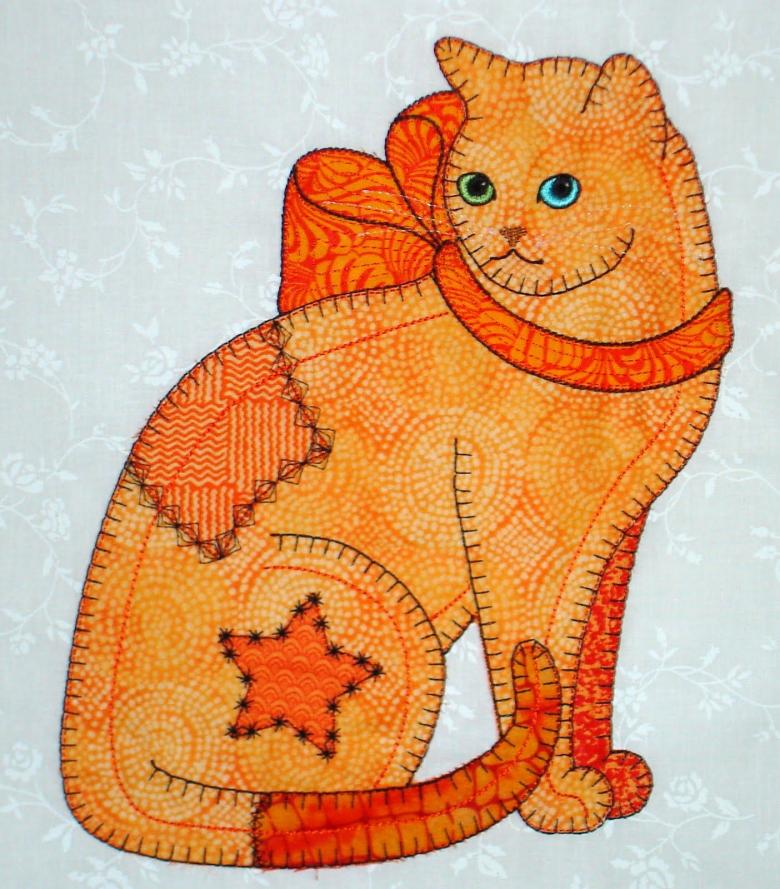
Gluing is done with the help of fleece. Purchased appliqués are usually already equipped with cut out fleeced bases. For a handmade appliqué, you will have to cut out two appliqué contours from the appropriate shade of fleece. One outline should be glued to the back of the appliqué, and the other should be sewn to the base material, glue side up. Once the two pieces are joined together you will have a wonderful soft applique on your now exclusive garment. Some of the decor elements are not allowed to be heat treated, so they will have to be carefully sewn on.
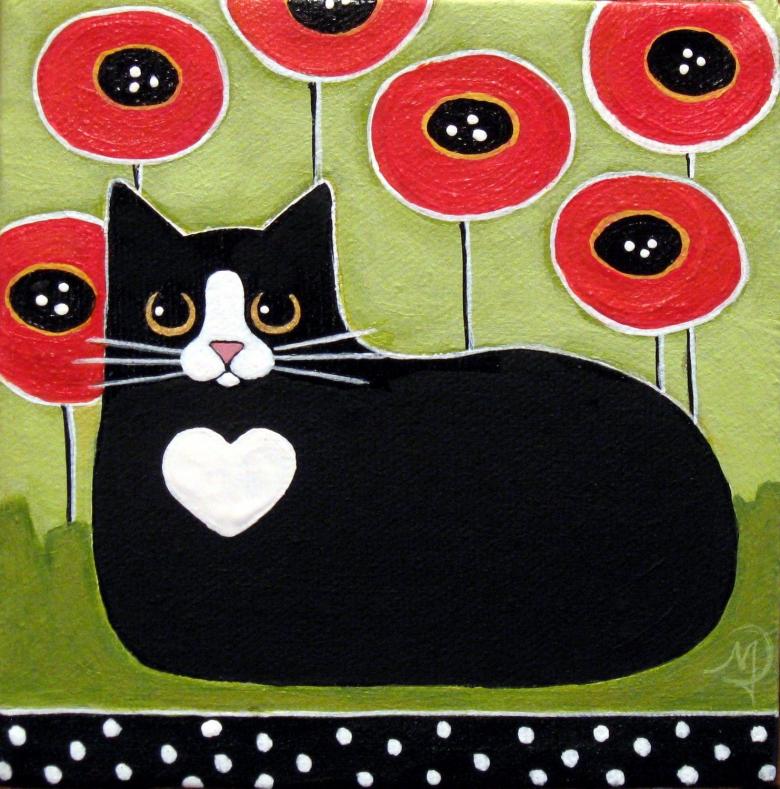
It's great when appliqué begins to be used in decorating clothes. With the right experience and skill, skilled moms can prepare the goods for sale, turning faceless and identical things into individual and interesting.
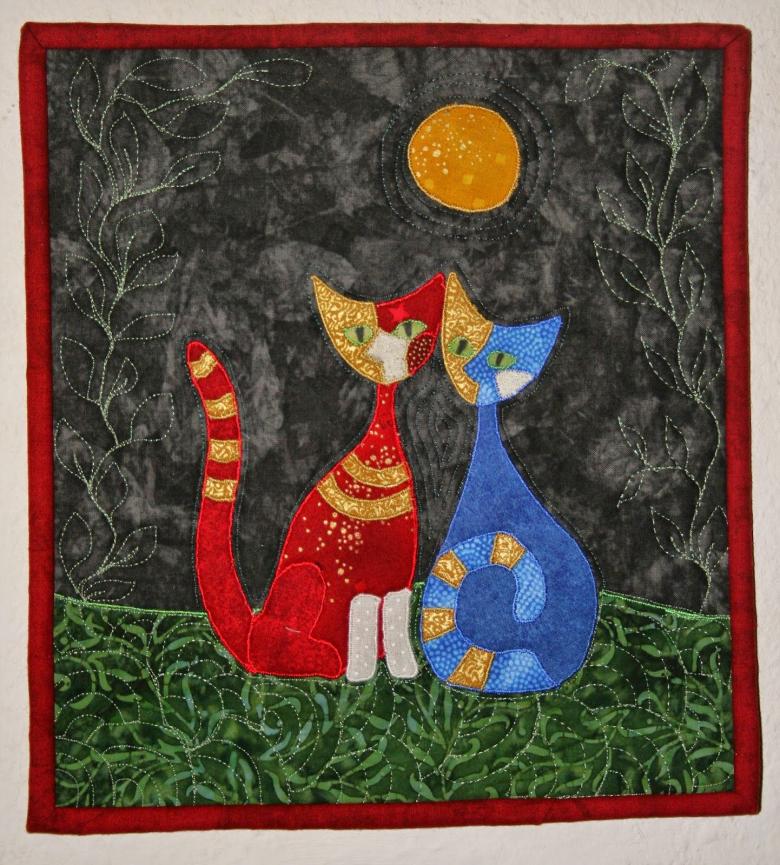
Applique - a wonderful form of creativity, which is available to all, does not require special skills. Develop, create and enjoy life together with your children.

