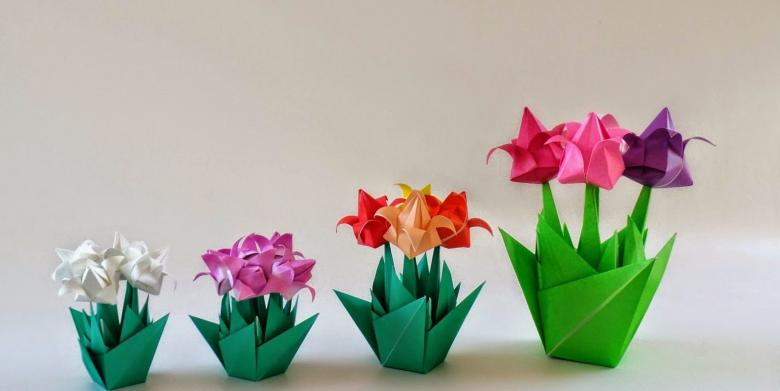
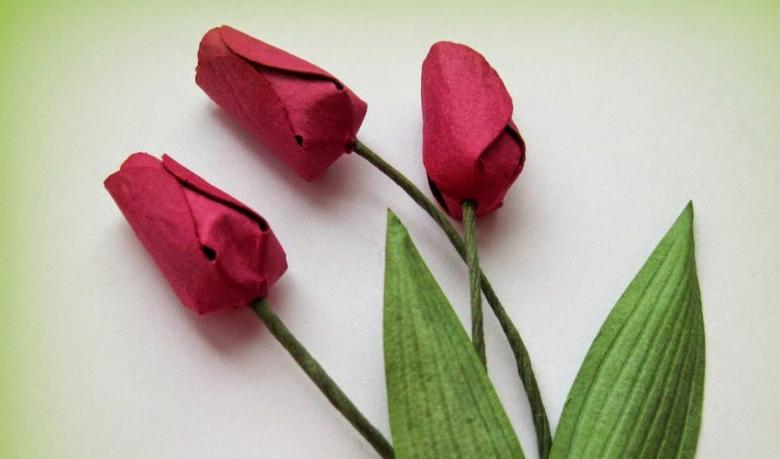
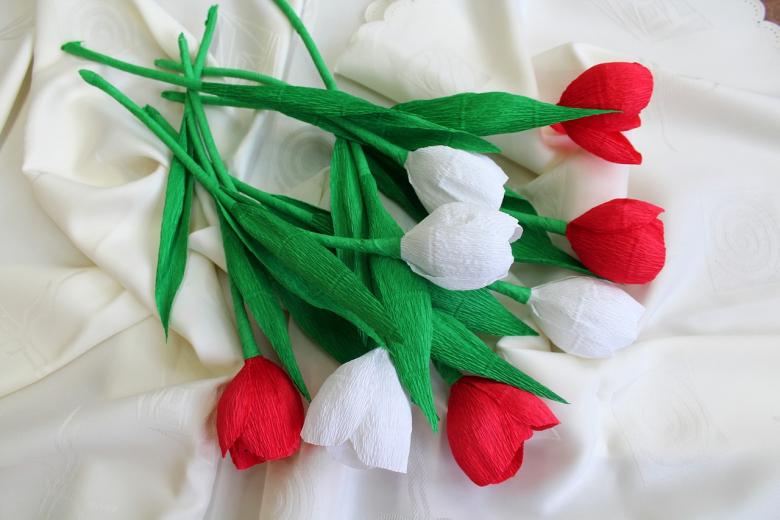
Handmade paper tulips - a selection of interesting step by step master classes with photo examples
Is it possible to decorate a holiday with flowers in January without visiting a florist store? It's easy. For this you will need a bit of free time, a set of stationery and a sip of inspiration.
What can a craftsman need to make a bouquet?
First of all, prepare a comfortable workplace for yourself: a wide table, flat boards for working with glue and creating applications.
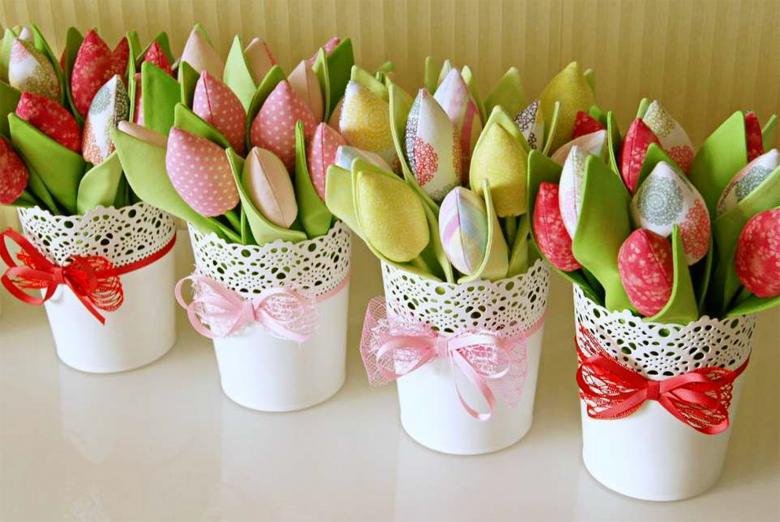
We will consider a variety of techniques for making paper tulips, and so we made a complete list of materials needed (you can add to it if you want):
- Common colored or corrugated paper;
- Foamiran;
- Foil;
- Scissors, glue, threads;
- 2-3 sheets of thick cardboard to create templates or ready-made templates (you can find on the Internet and print them);
- Materials for decor: rhinestones, sequins, beads.
The most famous methods of creating floral handicrafts
There is a huge number of circles and art schools, where children are taught the art of decorating, origami, creating applications. But we made a selection of elegant, different originality and creative idea, techniques. Do not be afraid - for each method will be listed step by step instructions that anyone can use.
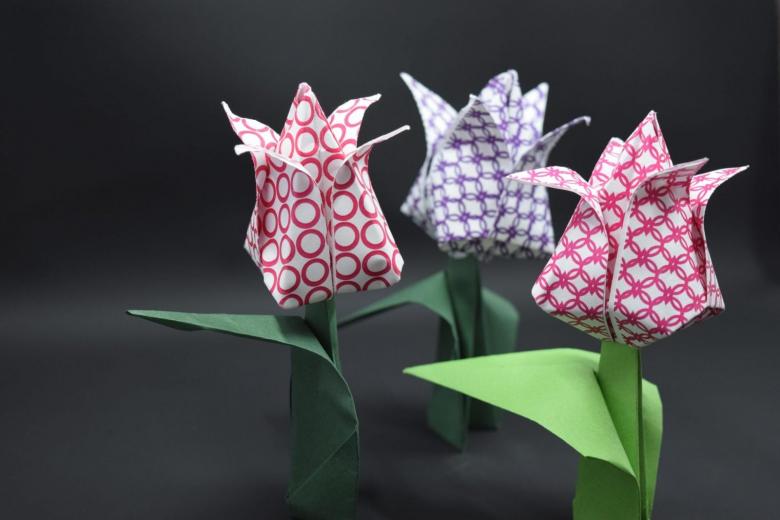
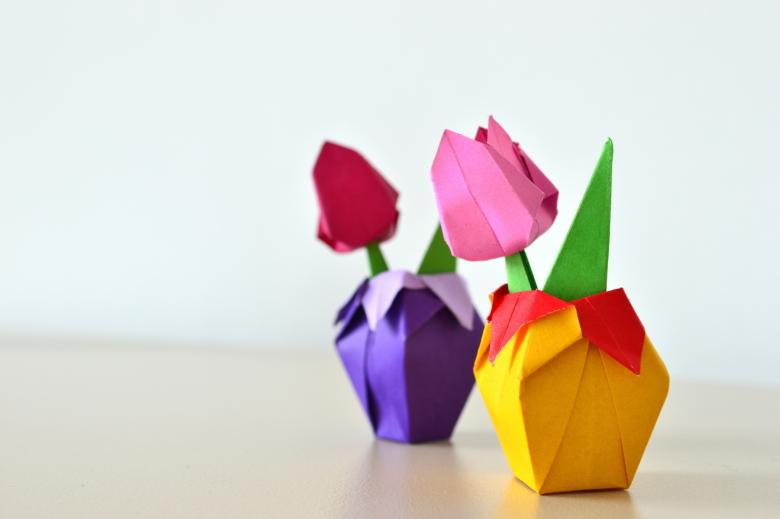
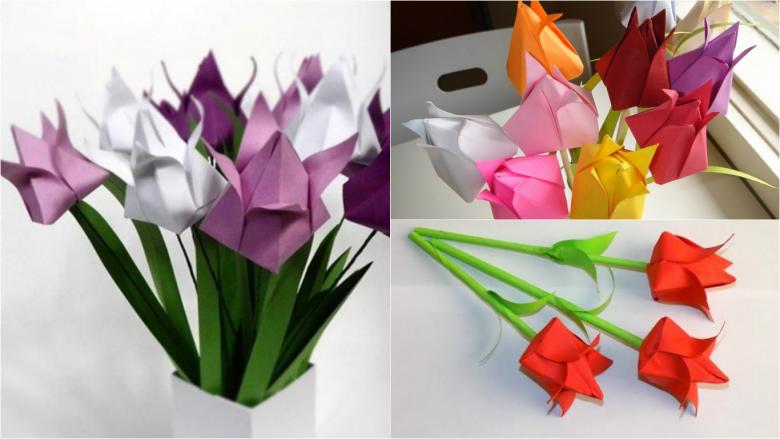
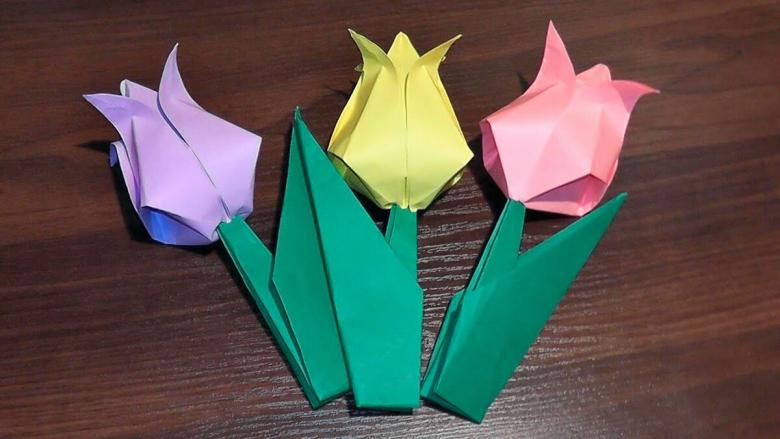
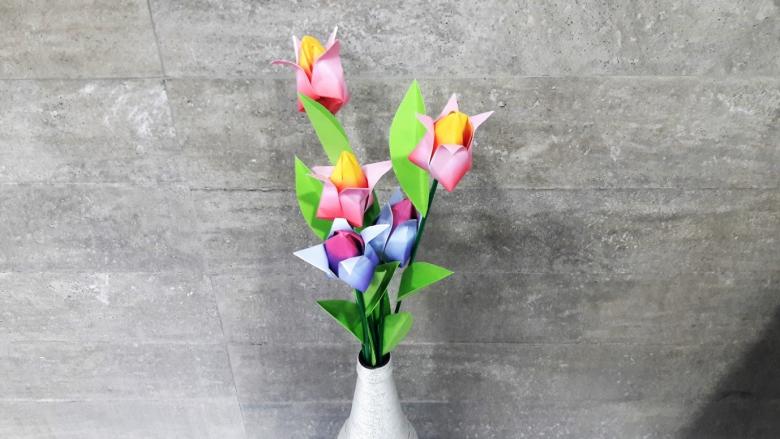
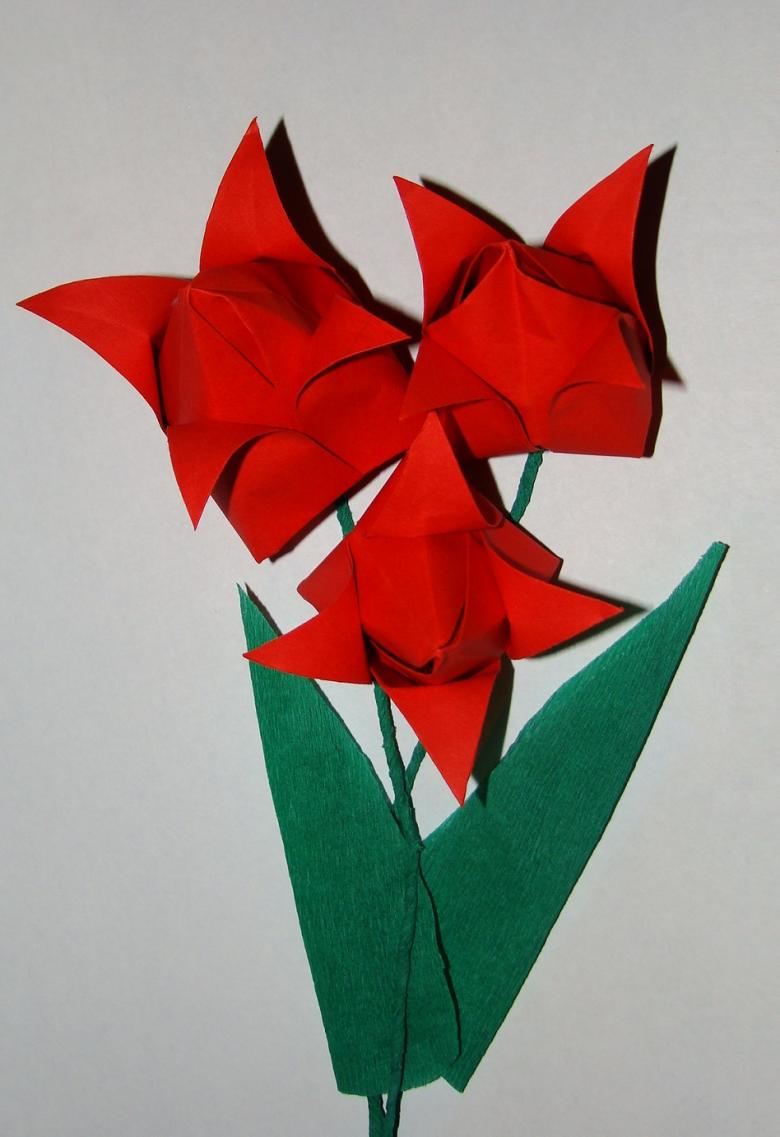
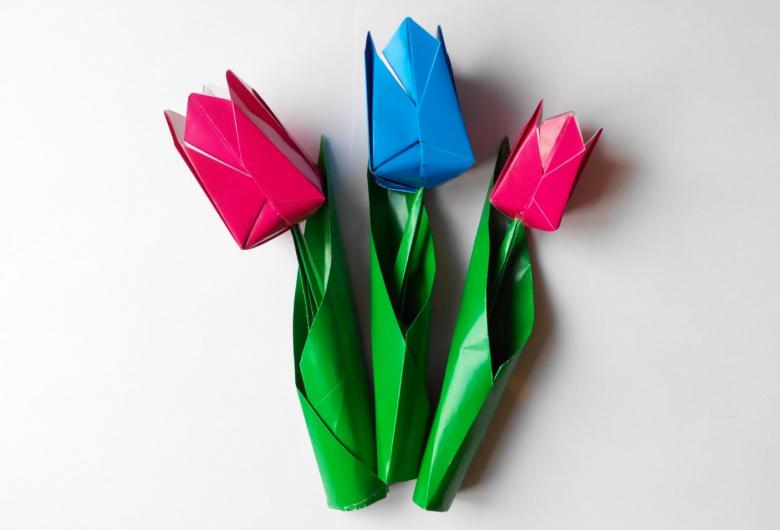
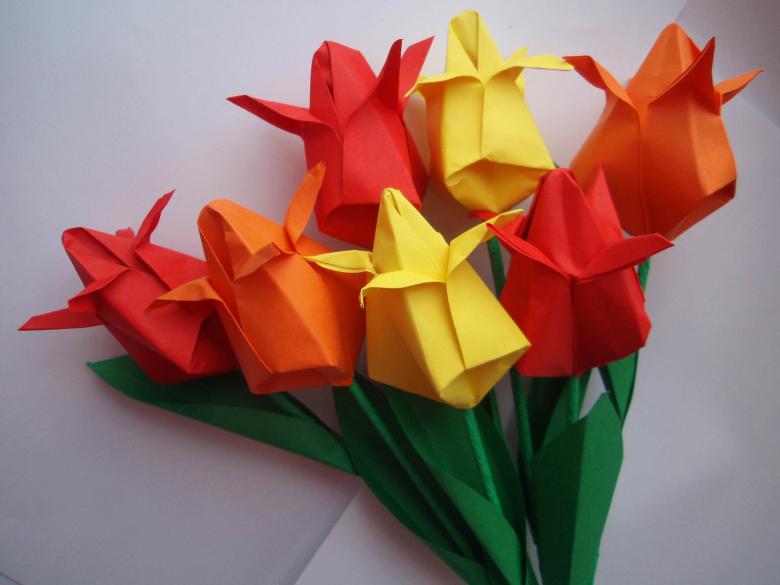
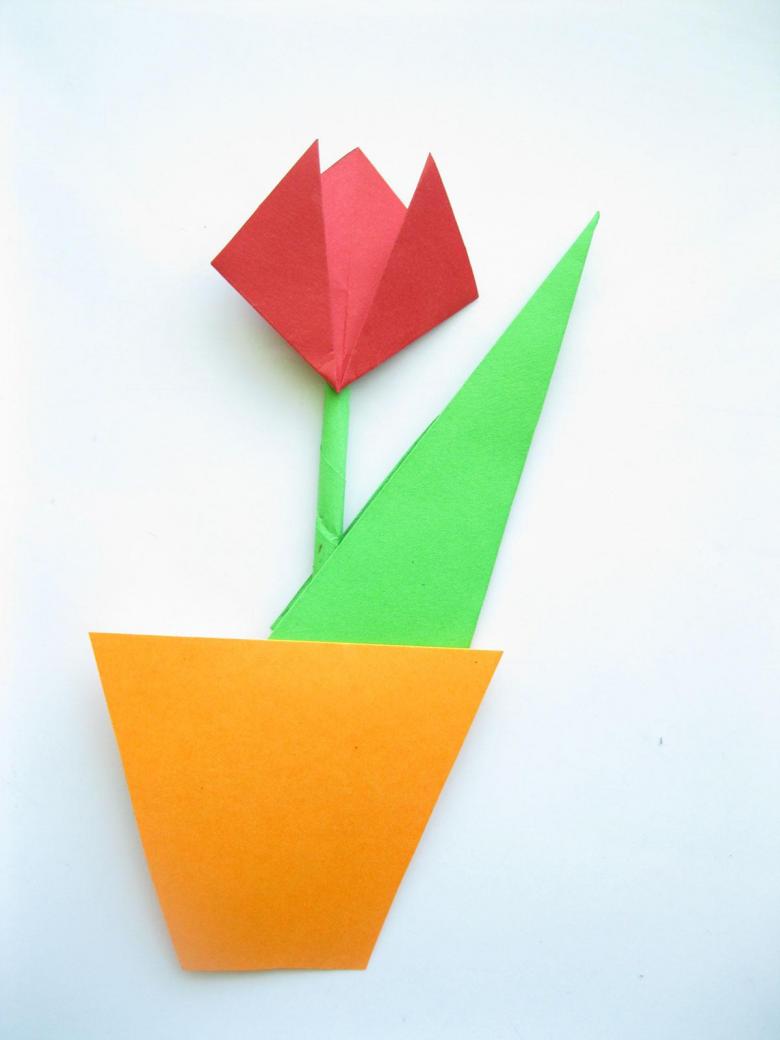
Bouquet in the style of origami
The technique of origami is considered by many to be incredibly difficult, but this is not so. So, take:
- Several sheets of colored paper or illustrated sheets;
- Scissors, ruler or pencil.
Step-by-step instructions for the craftsman:
- Cut a sheet of paper into squares;
- Fold the square diagonally;
- The side corners of the resulting triangle to bend and put one corner of the other.
- To create a leaf to take a square of green, bend on the diagonal and then expand; the square is marked by 2 triangles;
- The side flaps of triangles to bend inward to form a diamond of irregular shape;
- The halves of the diamond once again bend, aligning the adjacent edges;
- The lower part of the diamond bend upwards - the stem and leaf for the tulip is ready; only need to connect with glue the component parts.
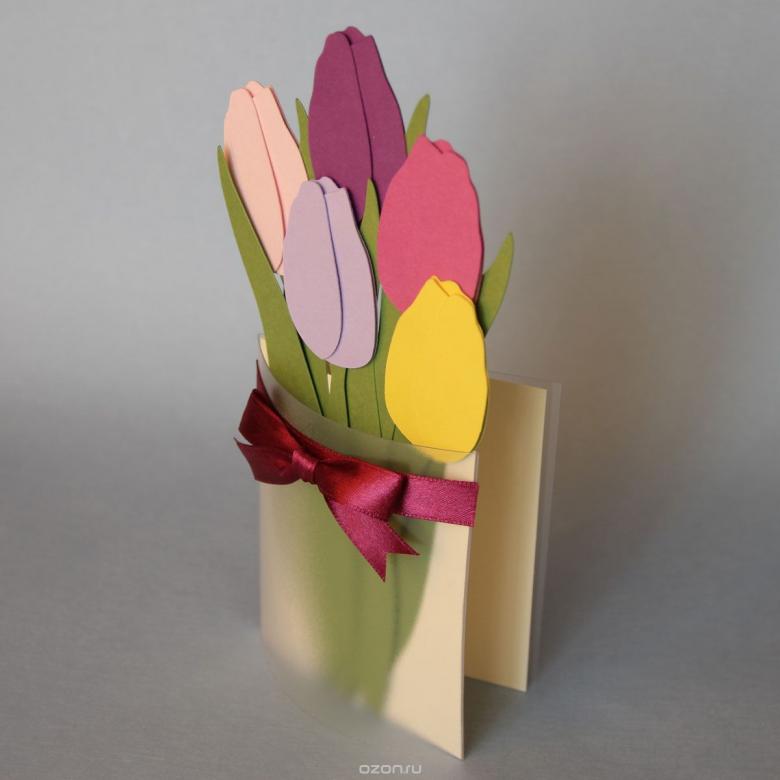
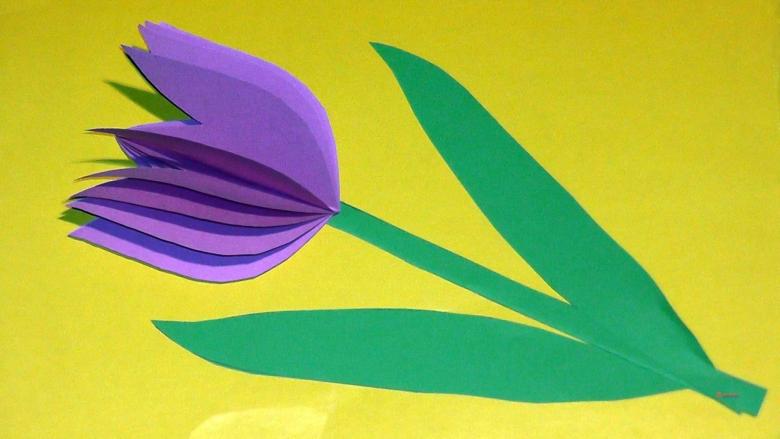
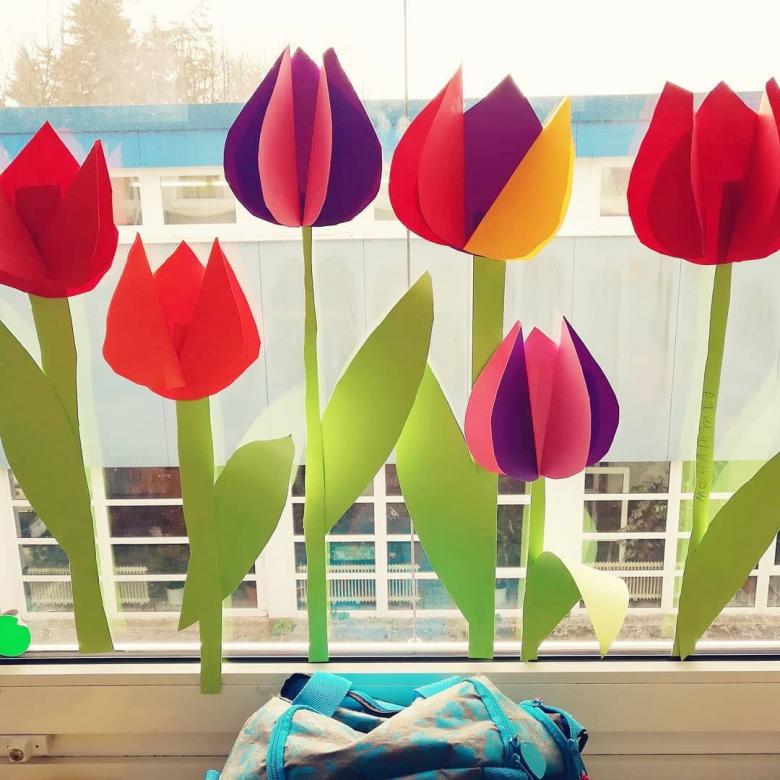
Making a tulip from colored paper using templates
For our craft we will need:
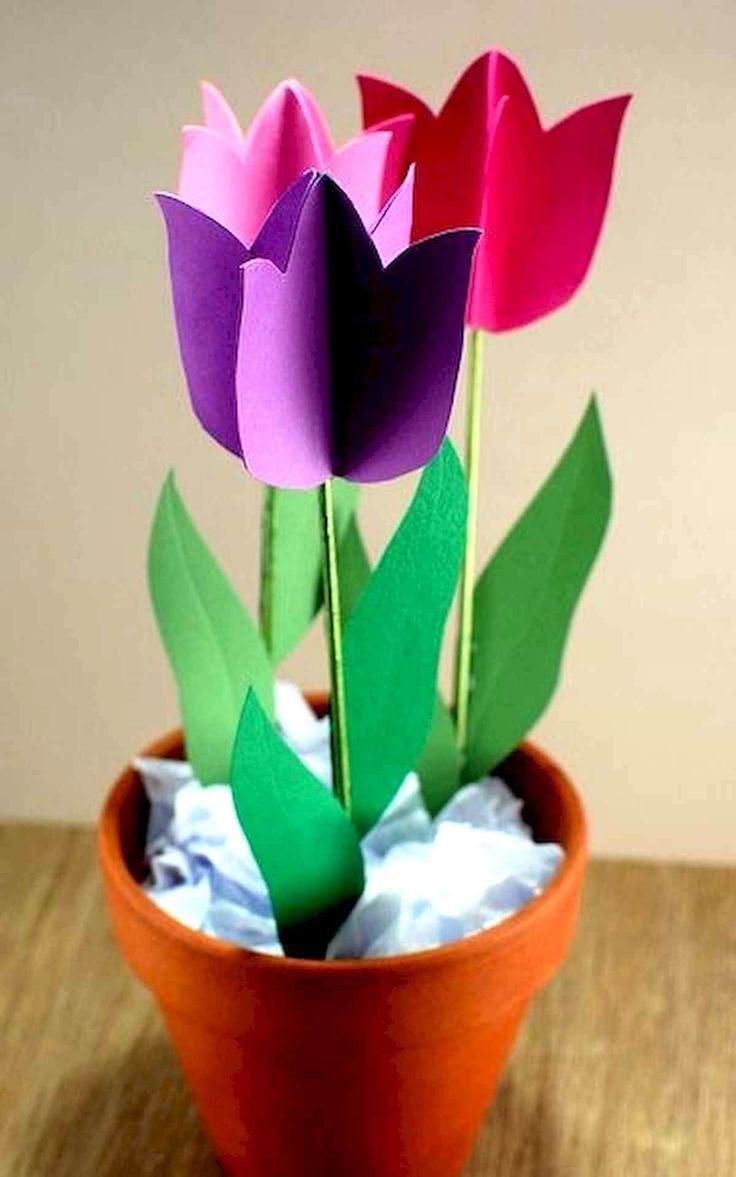
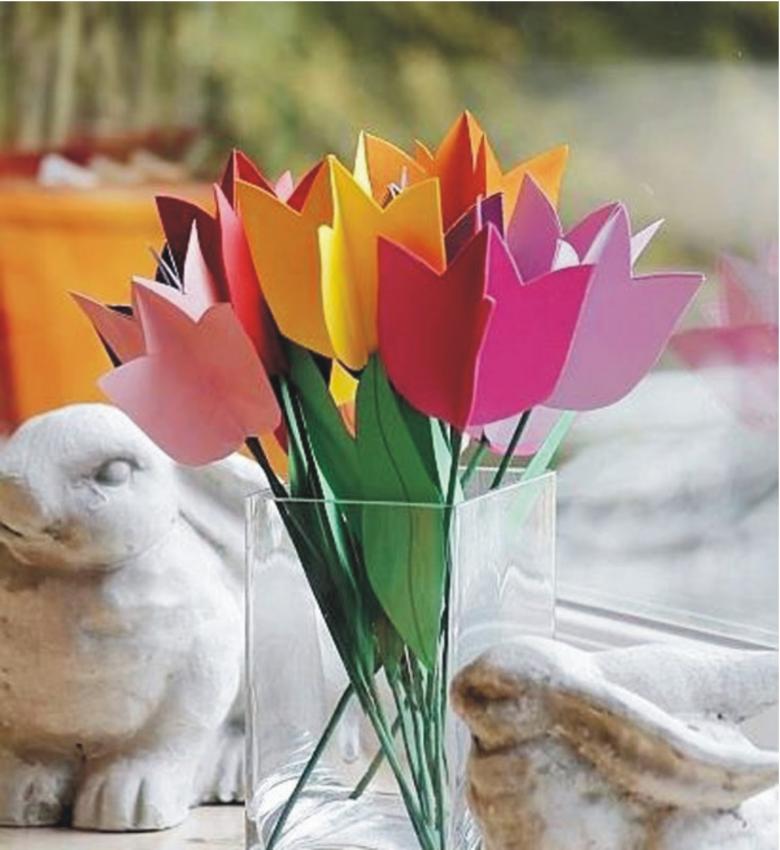
- Double-sided colored paper;
- Cardboard for making the template;
- Tight wire (aluminum is used more often);
- Glue, scissors.

Sequence of Actions:
- If you do not use a ready-made template, you need to prepare it yourself: on heavy cardboard draw two "daisies" with 6 and 4 petals, a sheet of any shape you like. Note that the template with 6 leaves should be 1/3 larger in diameter than the second template.
- Cut out the templates.
- From green paper, use a cardboard template to cut out the leaves of a tulip.
- Two colors can be used for the bud: for the inner bud, for example, white, and for the outer bud, a red or yellow shade.
- Thread aluminum wire through the centers of both "daisies" and bend the free edge.
- Adjacent wings of the blanks glue together: first glue the inner bud, then - the outer one.
- Glue the wire with a thin strip of green paper.
- Glue the leaves to the base of the flower.
Presented scheme can change: gluing the upper edges of the petals, we get not yet blooming flower.
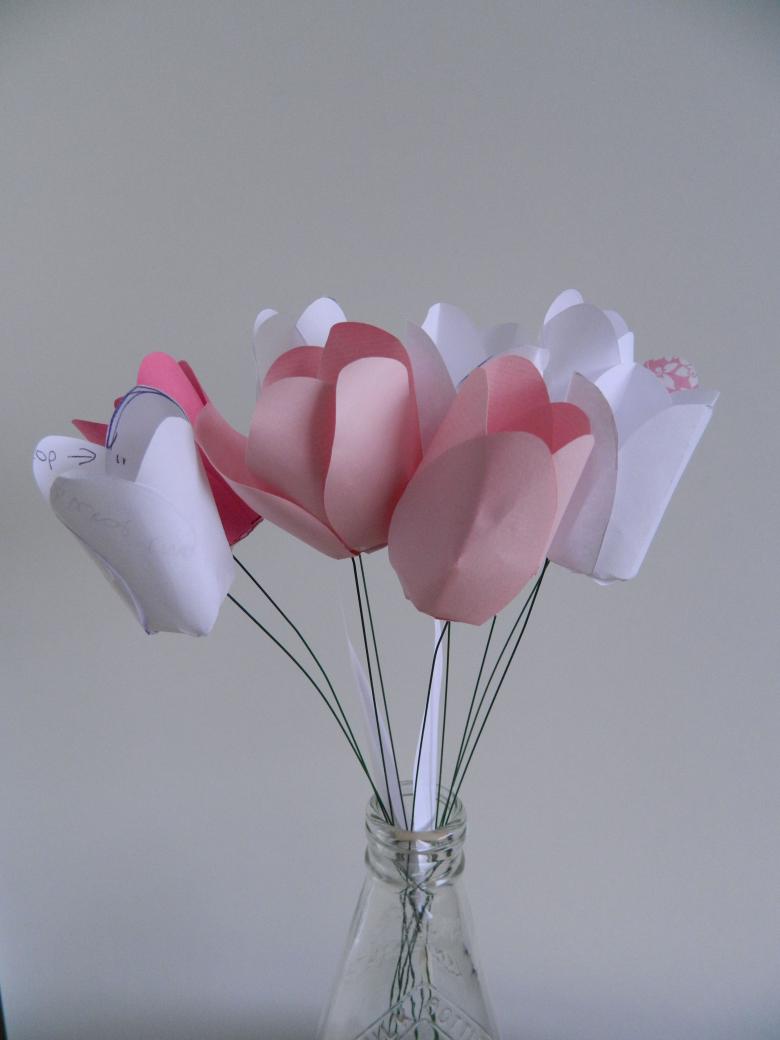
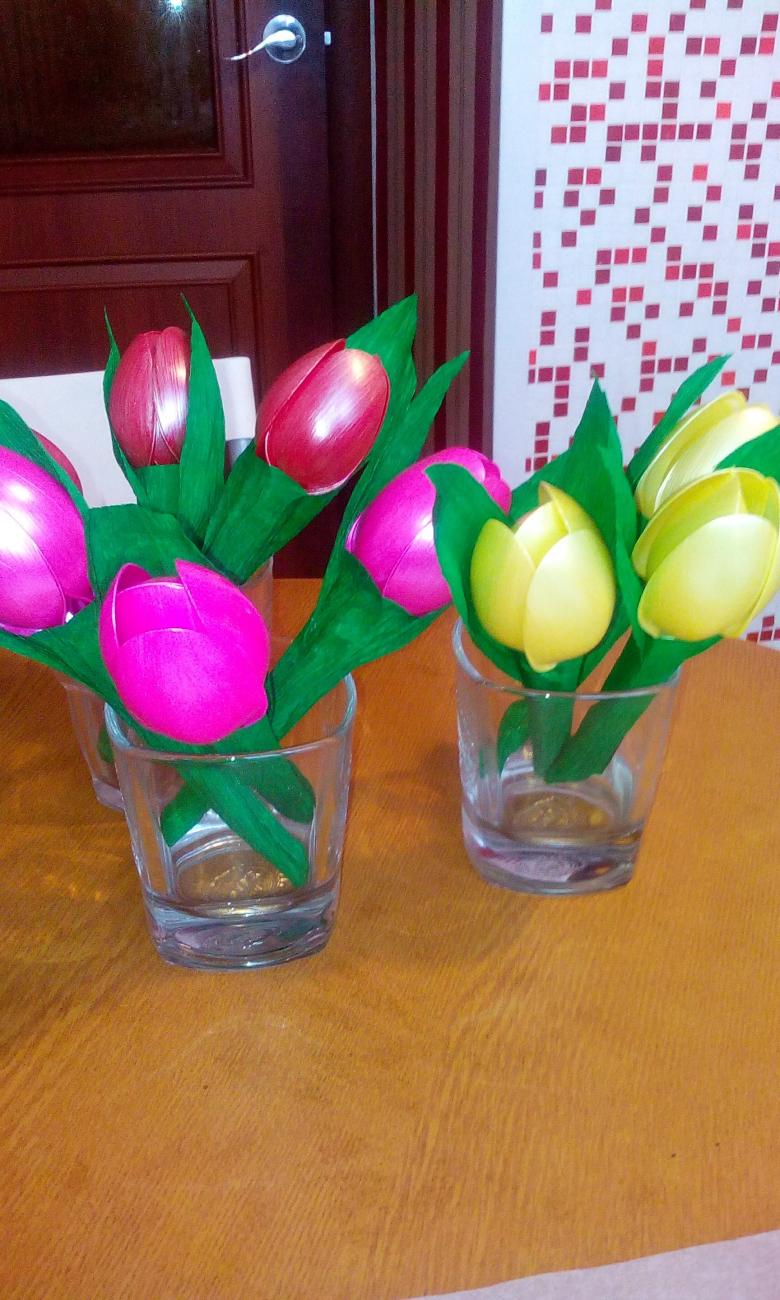
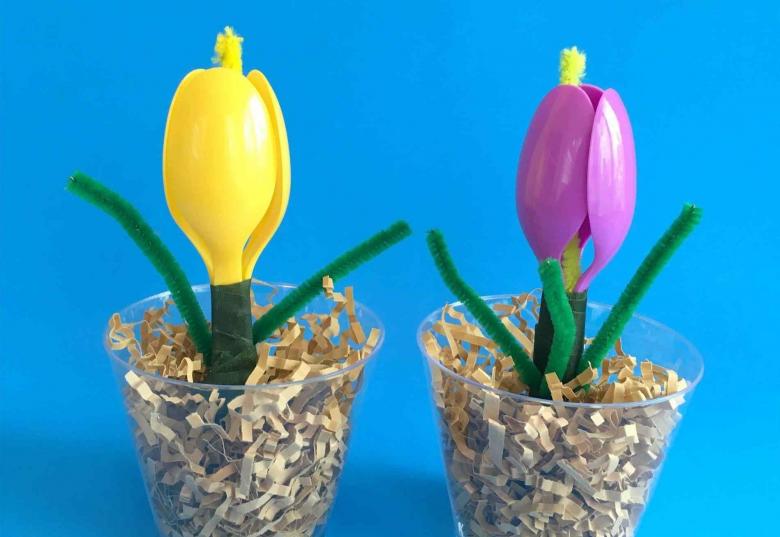
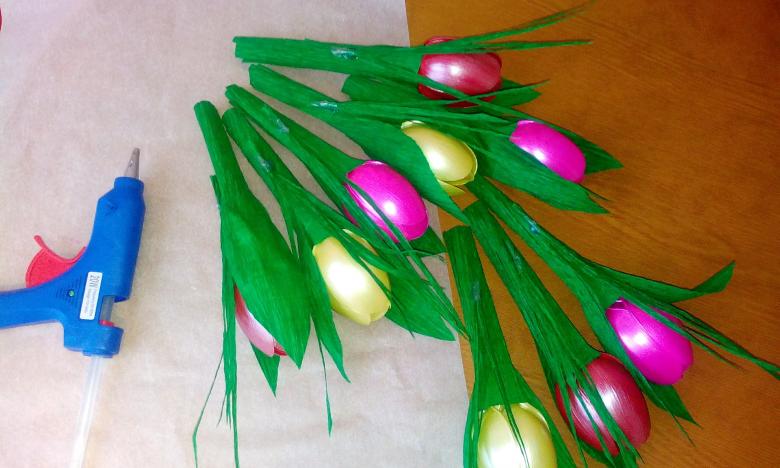
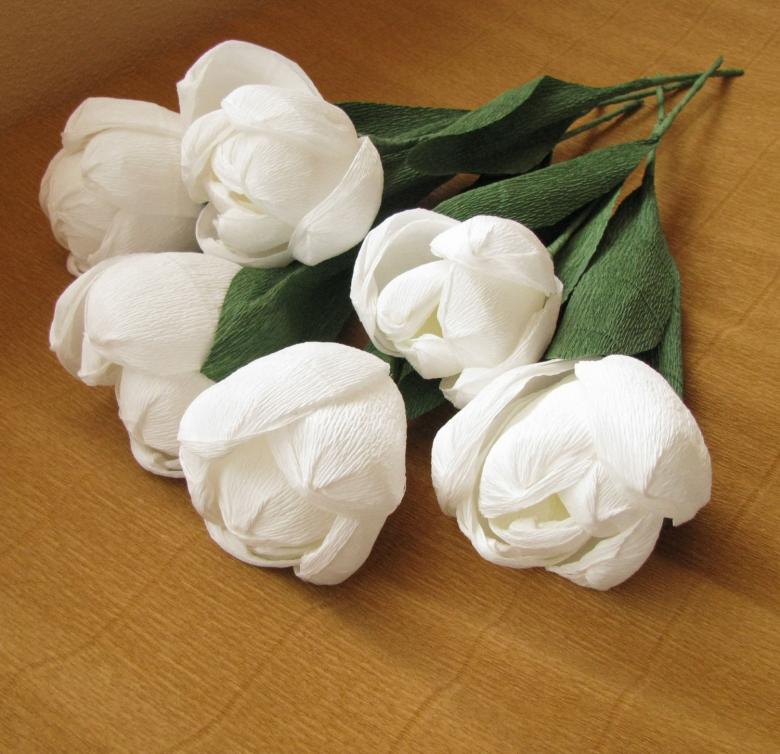
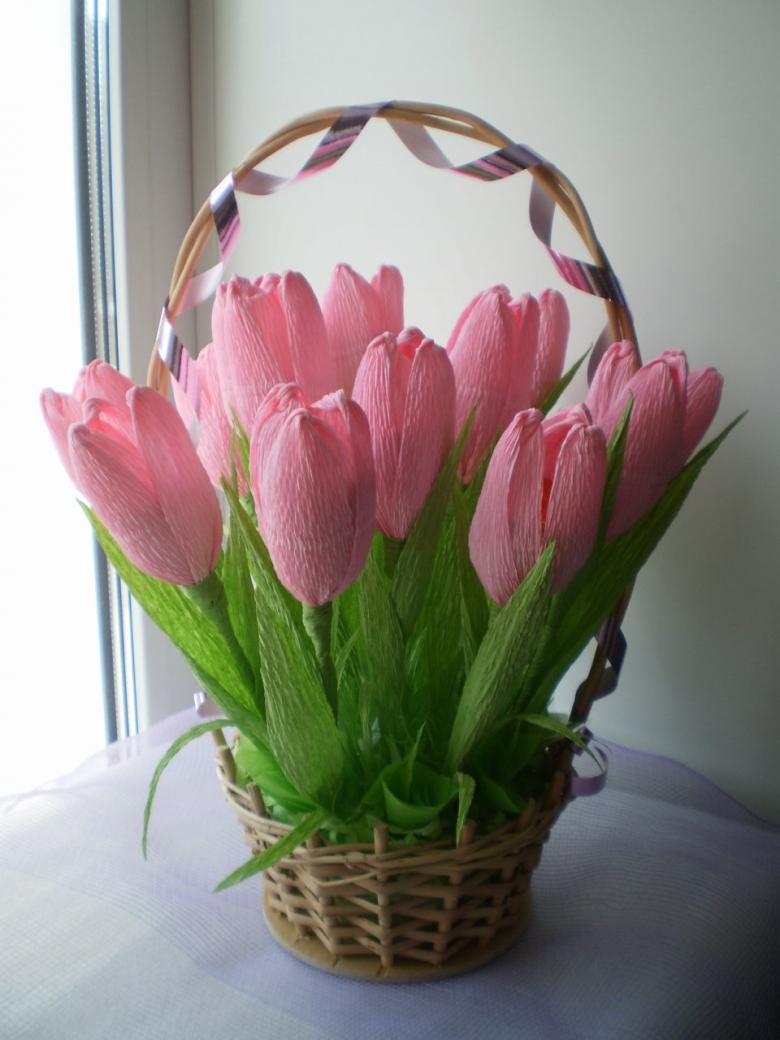
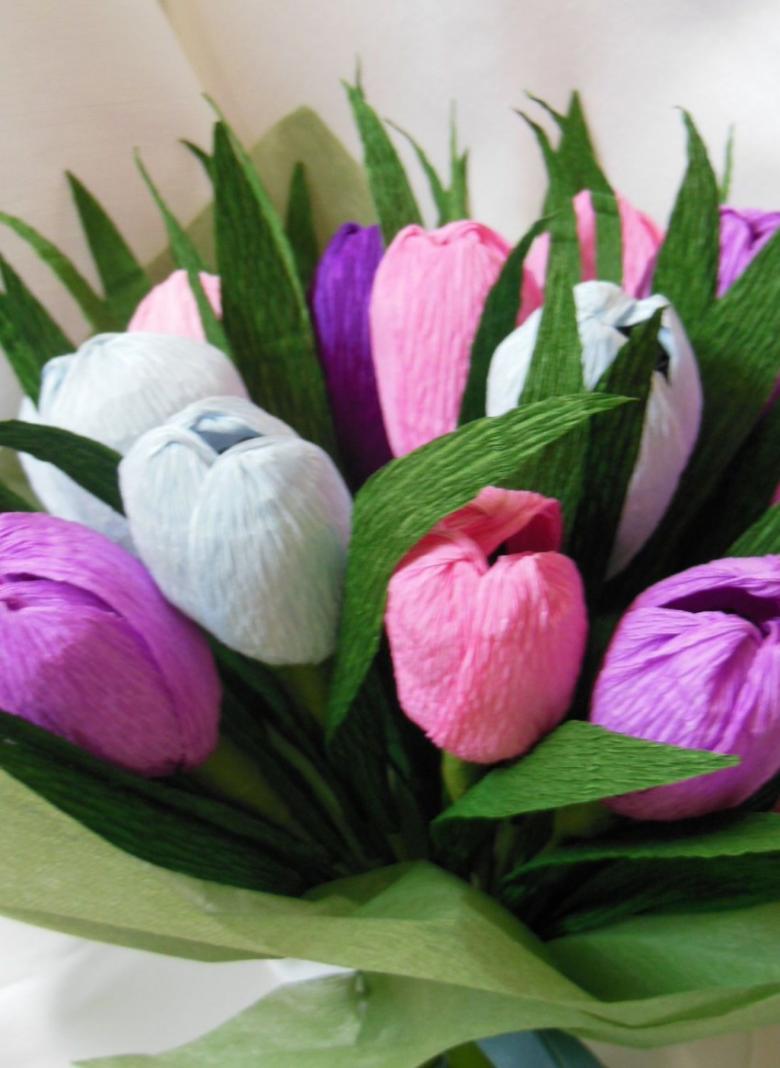
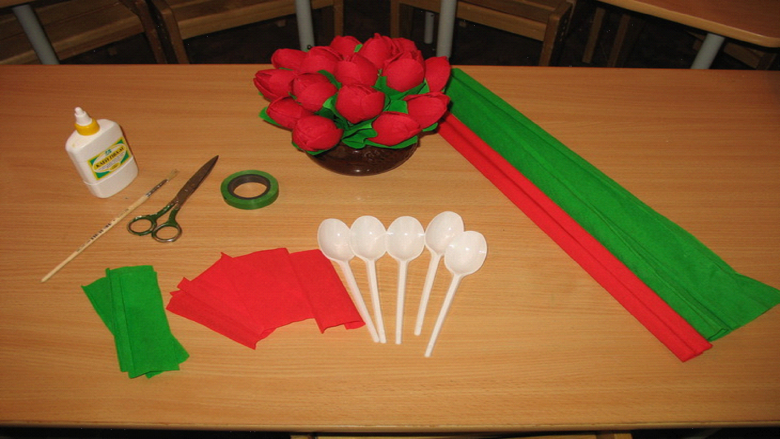
Bouquet of corrugated tulips with plastic spoons
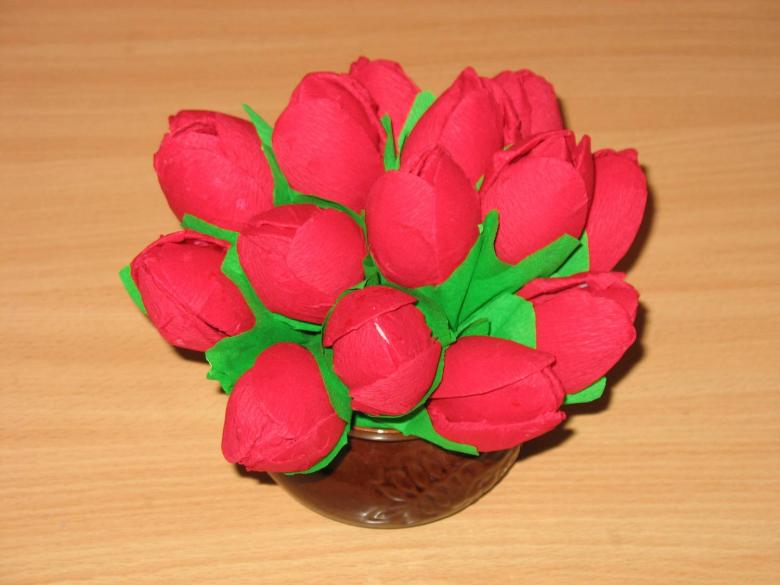
Let's add some plastic spoons to the standard set of materials, and instead of the usual colored paper, let's take corrugated paper. But the method of making it is significantly different. To make a bouquet of unusually attractive tulips, you need:
- Prepare 5 squares of pink corrugated paper (at the rate of 1 bud) and 5 plastic spoons;
- Place the spoons on the prepared squares, placing them diagonally;
- Wrap the corners of the paper and glue them in the center;
- To make one bud we will need 2 spoons, which play the role of flower halves;
- Turn the two wrapped spoons concave sides facing each other and glue them together;
- For a more lush flower, you can attach 2-3 more spoons on top of the base;
- From sheets of green paper, cut out bullet-shaped shapes, arrange them so that the edges of the sheets overlap each other. Wrap the stem with leaves.
- Stack several prepared tulips and wrap in foil or a special bouquet form.
Such a bouquet can be put in a beautiful vase, and it will please you all year long, regardless of the time of year.
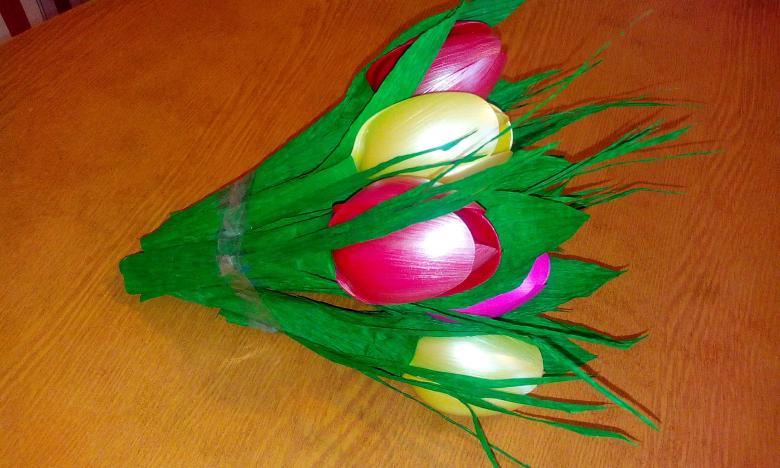
Tulips by quilling technology as a separate art form
This technology has already won the hearts of many art schools. For the future applique you need to prepare:
- Double-sided colored paper;
- The basis for the application (you can use an ordinary white sheet);
- A pencil, glue;
- Scissors;
- Accessories for decoration.
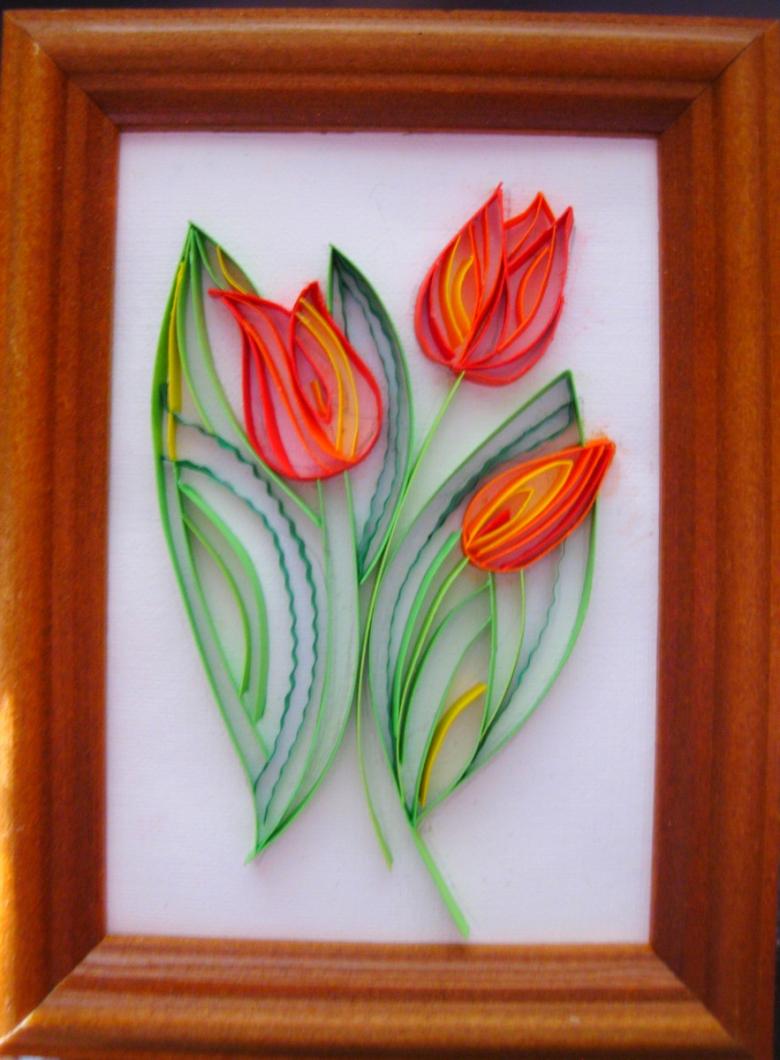
Some masters advise to use for twisting the main elements to use a special stick for quilling, but it is not necessary. This function can be performed by an ordinary pencil.
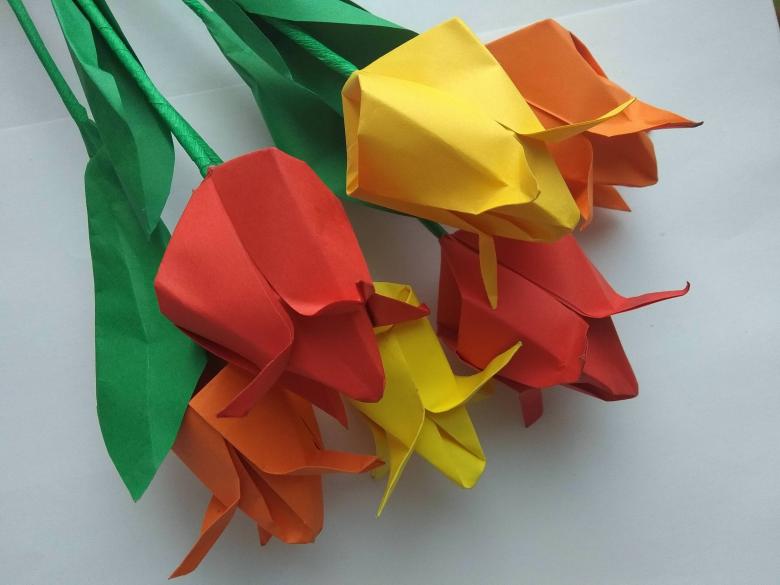
Here is a step-by-step instruction for making a tulip applique:
- Prepare several colorful narrow strips of paper.
- Twist the pink strips onto a pencil, remove the resulting ring, and press from one edge so that there is a notch. These will be the heads of the tulips.
- Glue the buds to the base for the appliqué.
- Ribbons of green color after twisting should be flattened at both ends to give them the shape of leaves. Add them to the application.
- Between the leaves and the flowers themselves glue stripes - tulip stems.
- The first row is ready, but the work is not over yet: we need to glue the second row of tulips to get the volumetric structure.
- Finish the creation of the appliqué by applying rhinestones, beads or curls of paper.
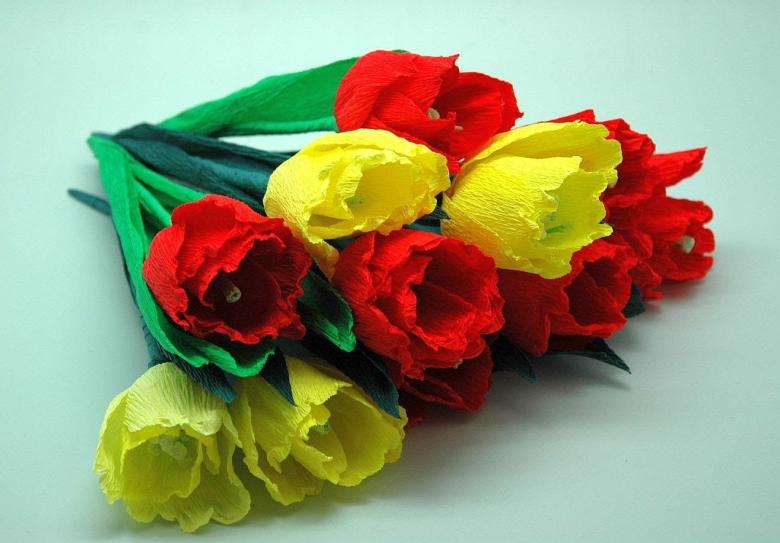
Realistic bouquet made of foamirin
The buds of such tulips really turn out as if they were alive. To create a handicraft, we use the following materials:
- pink foamiran for the petals; green for the leaves;
- long toothpick and awl;
- foil, cardboard for the template;
- green and pink art pastels;
- iron; foam pad; scissors; water; glue gun.
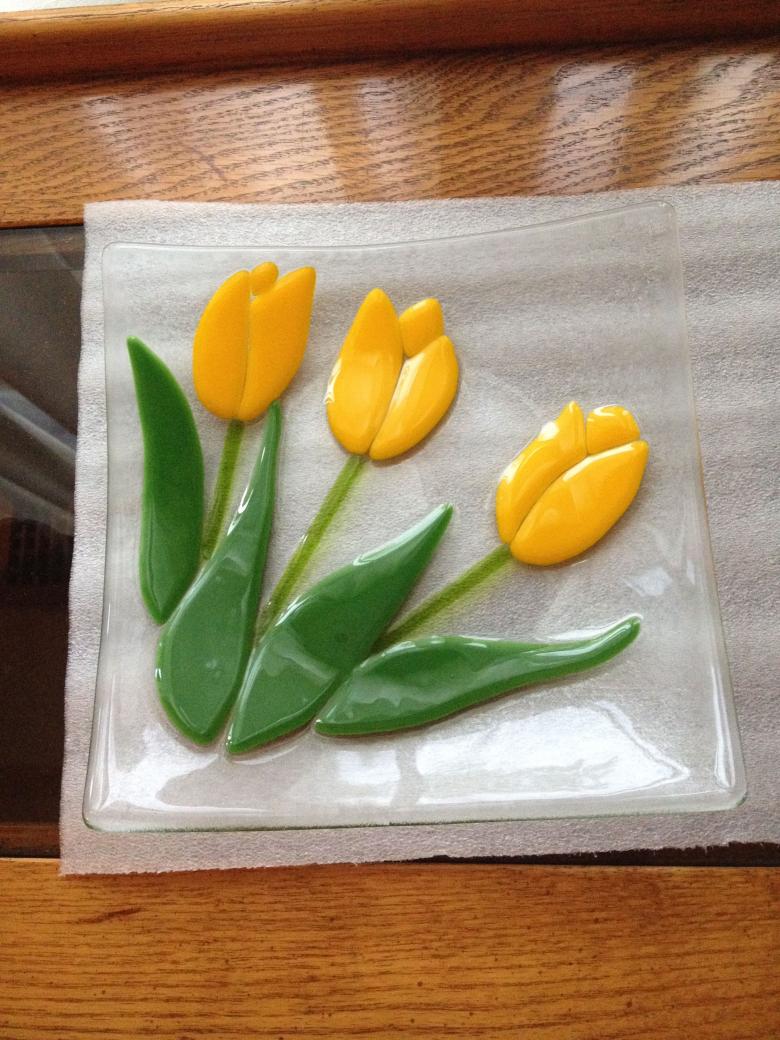
To get an absolutely realistic flower, act strictly according to the plan:
- We prepare a template in the form of a daisy with three petals.
- According to the pattern we cut out details from foamir.
- From foil form a drop of such size that the petals can envelop it.
- At the base of the drop make a hole with an awl, add a small amount of glue inside and insert a toothpick. The base of the flower is ready.
- Tint the petals, using sponge and pastel. Here the imagination of the master takes over.
- Warm up an iron and warm each petal separately: twist and smooth out the hot fabric.
- Consistently string several bases for the bud on a toothpick, gluing the middle of the petals and only slightly - their edges.
- From the green material, cut leaves of arbitrary shape.
- To give extra volume, warm the blanks with an iron. Shape the veins on the leaf with the point of an awl.
- Wrap the free end of the toothpick in green foamir and glue the leaves.
Now you can admire your work: in front of us is the most realistic tulip in the world.
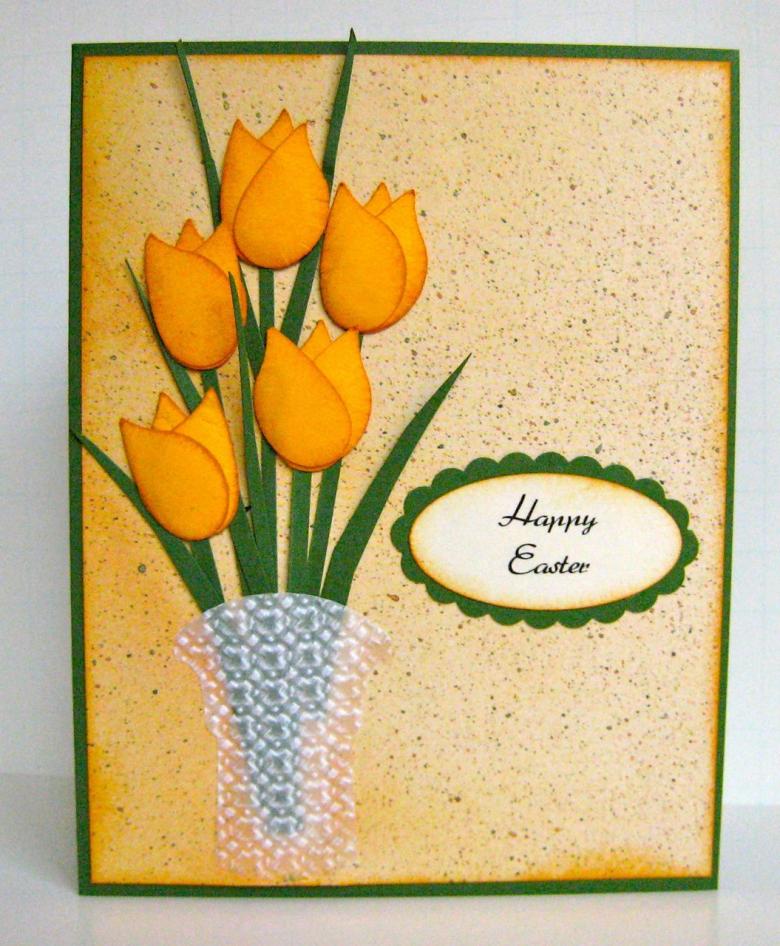
We have not looked at all the ways of making tulip crafts, but we tried to give maximum attention to each of the presented methods. As you can see, you can admire the beauty of the spring bouquet not only on March 8, but also on January 31.

