Knitting slippers with beads and crochet - tips on choosing yarn, scheme description, photo examples and tips
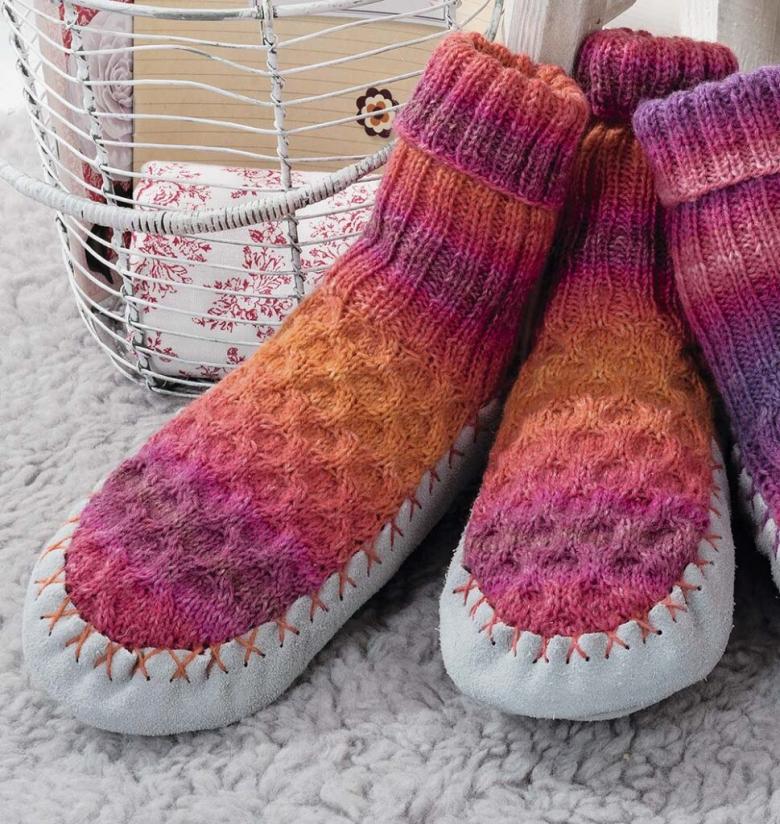
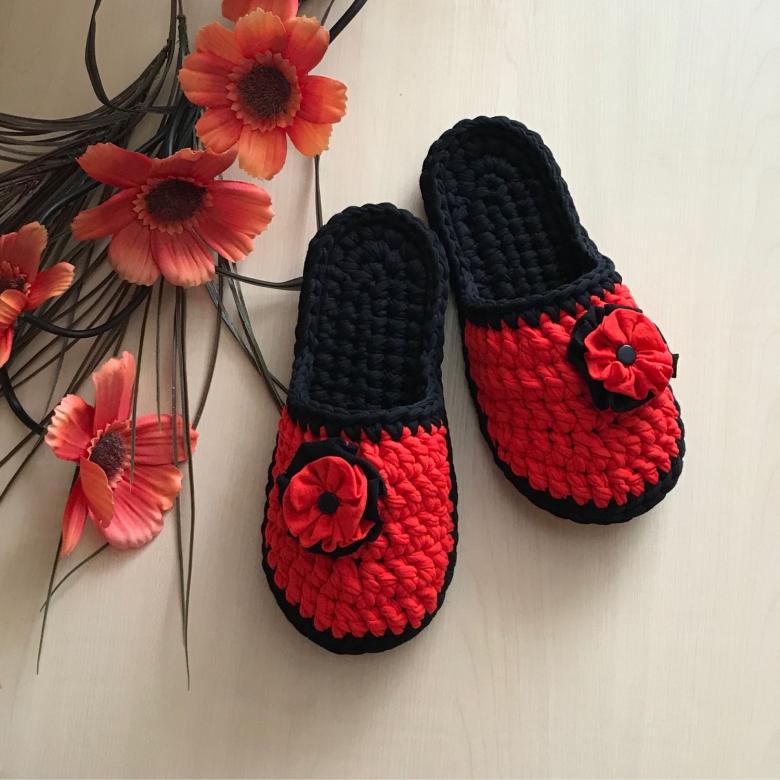
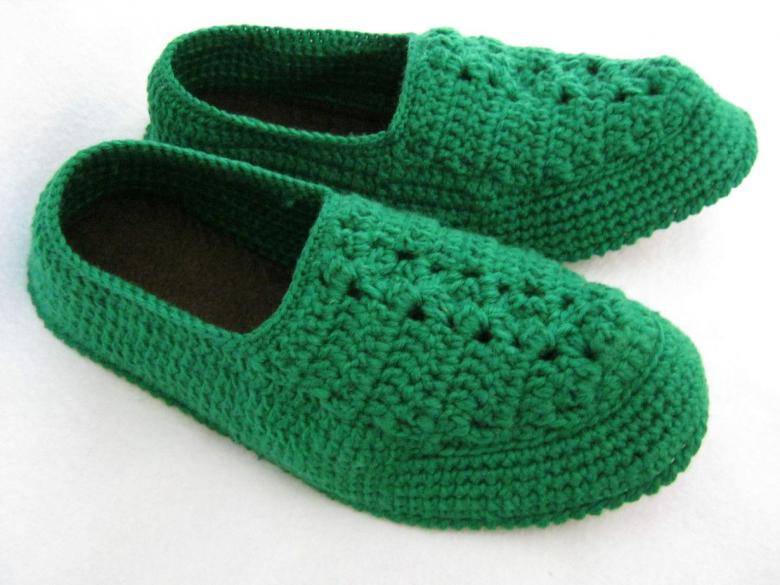
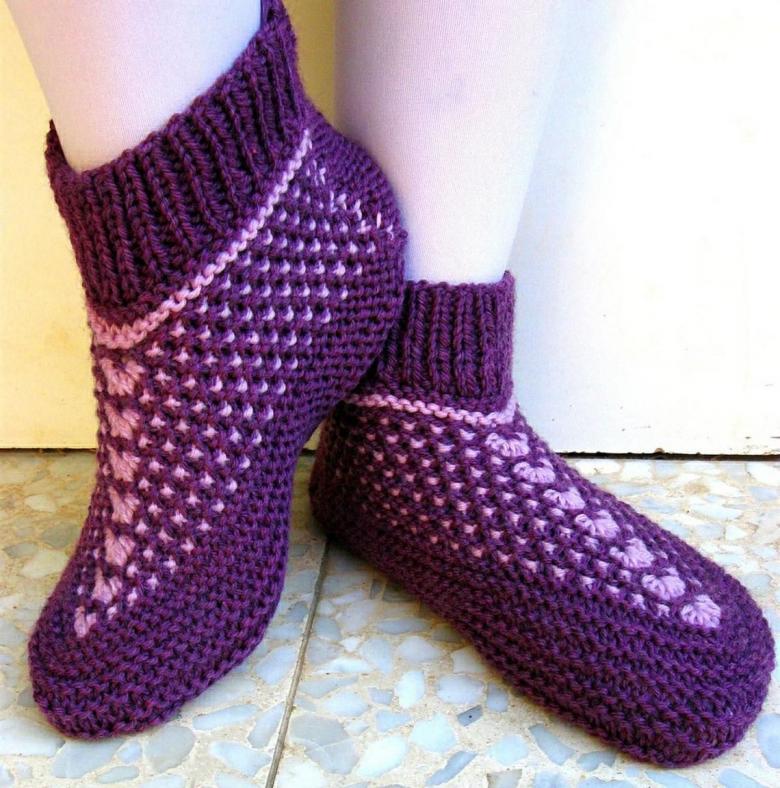
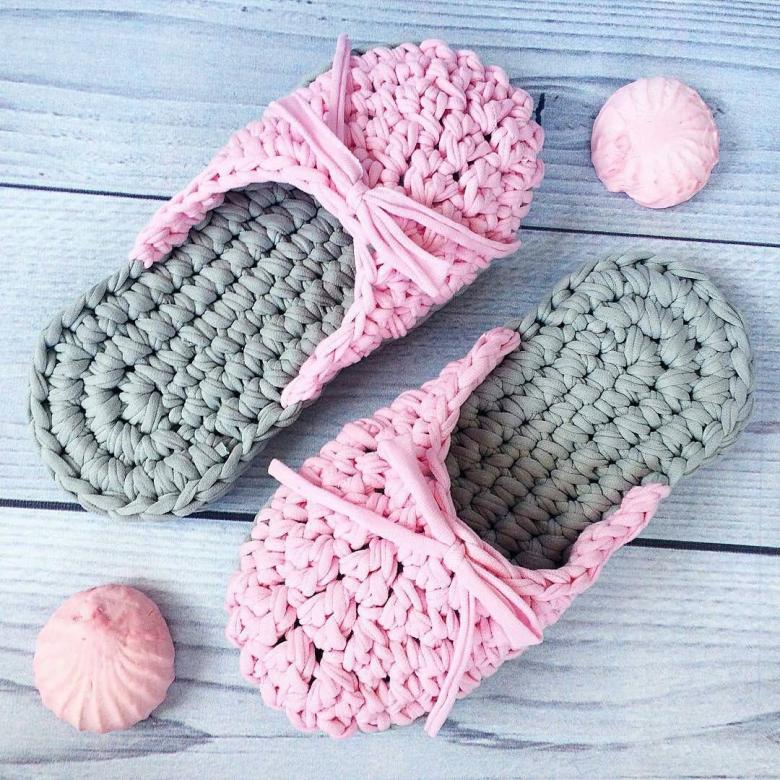
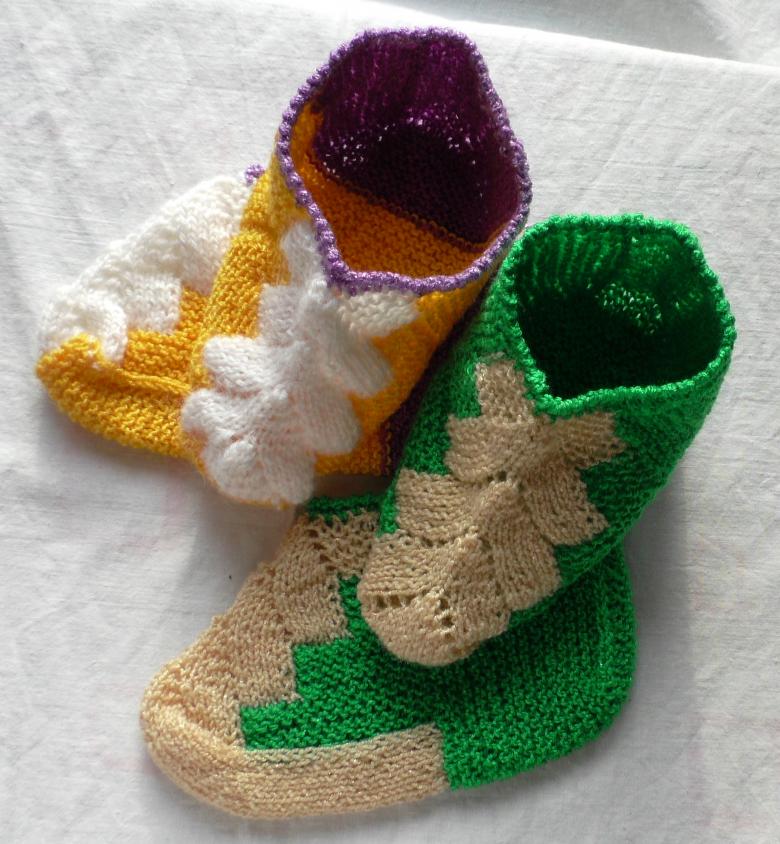
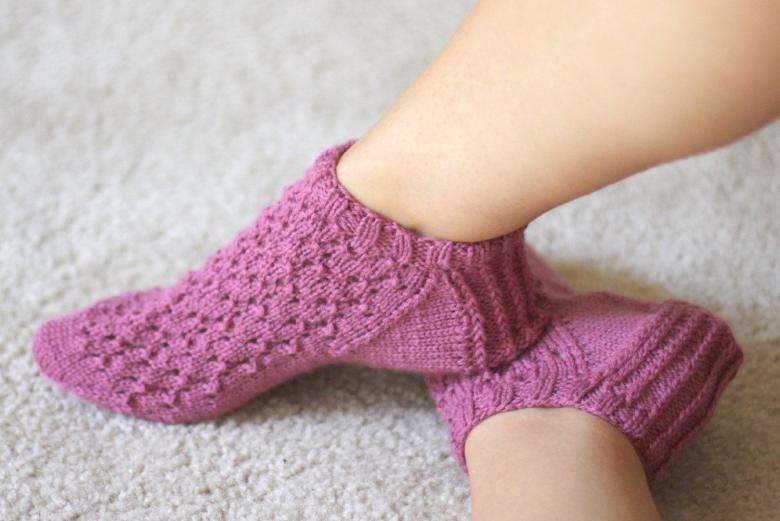
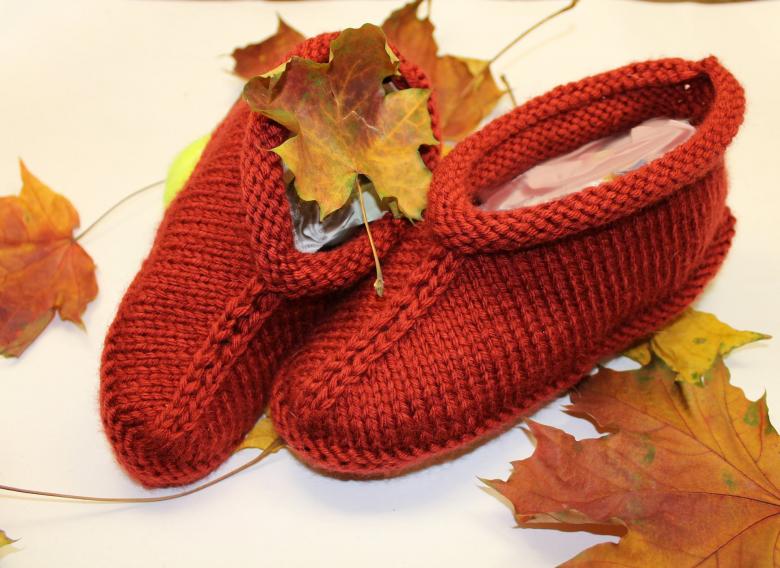
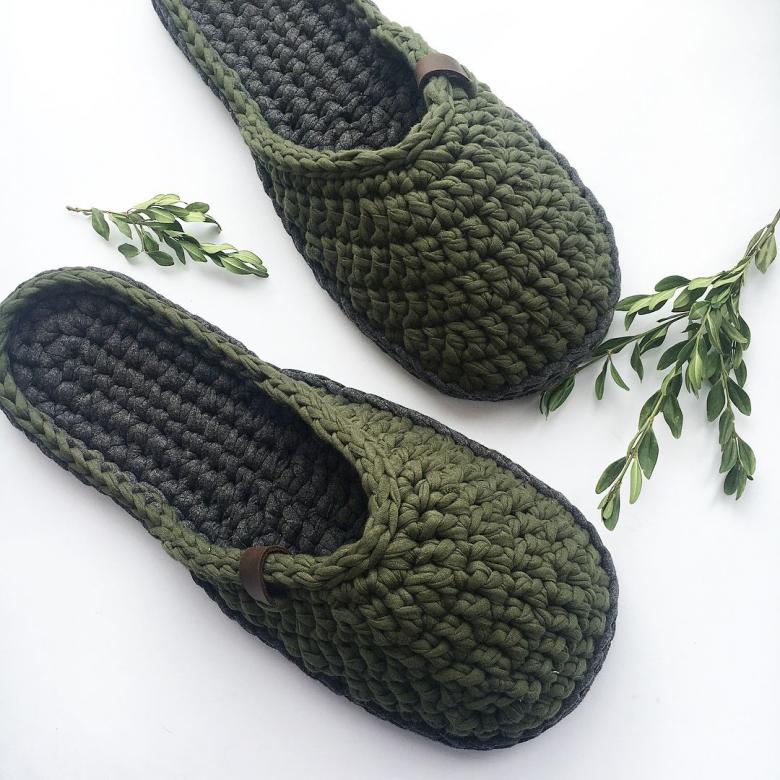
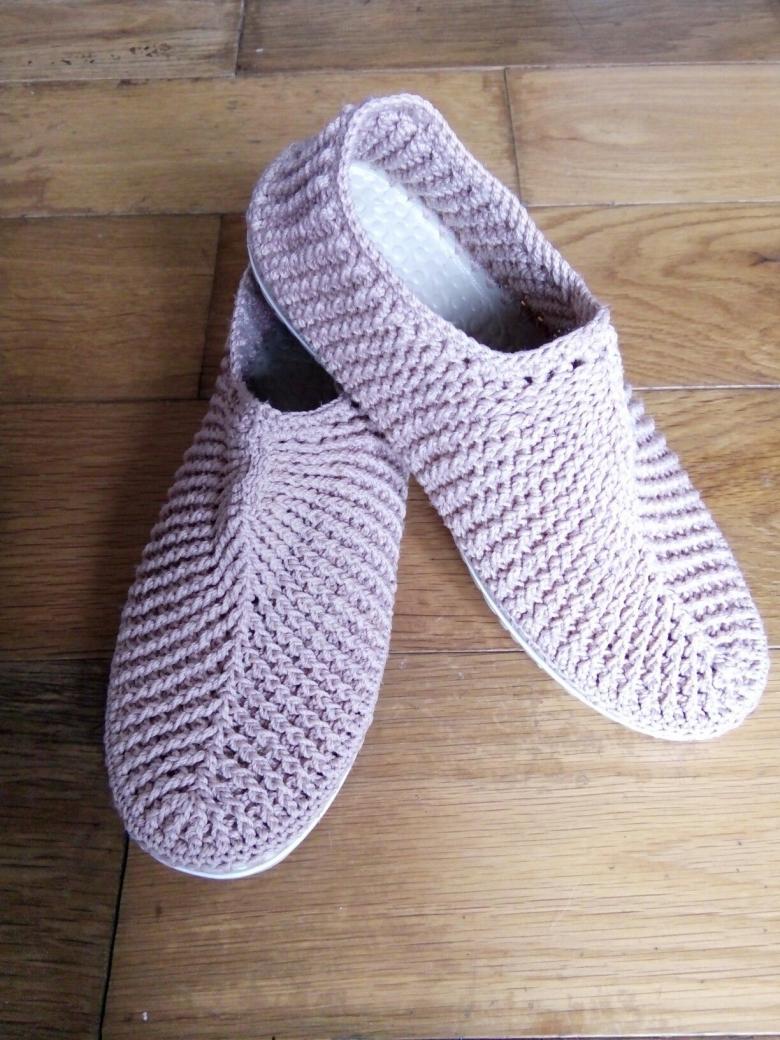
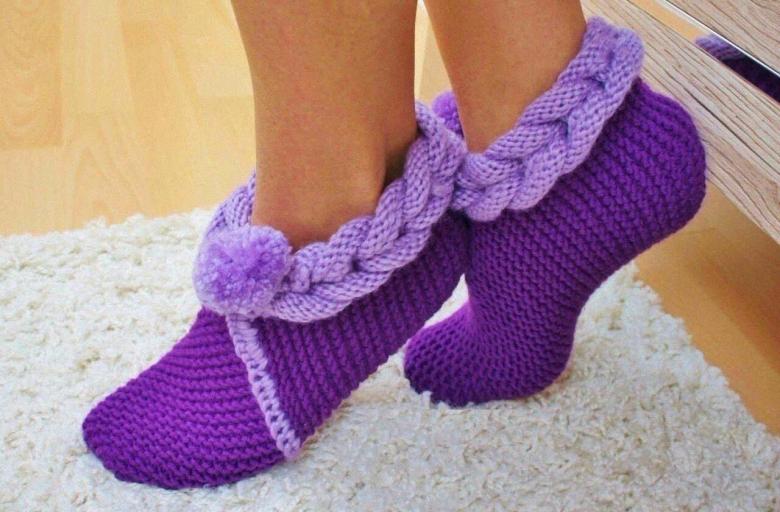
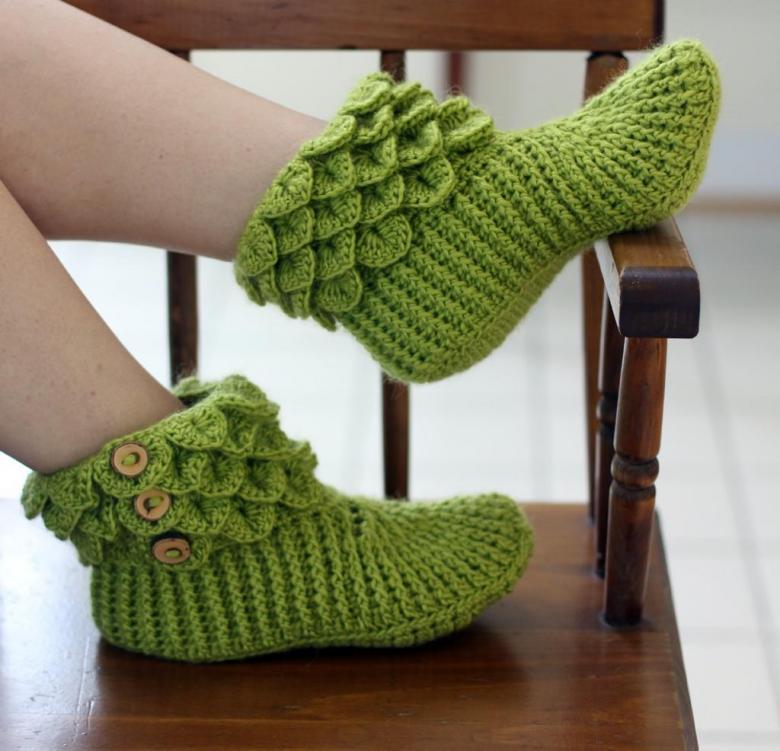
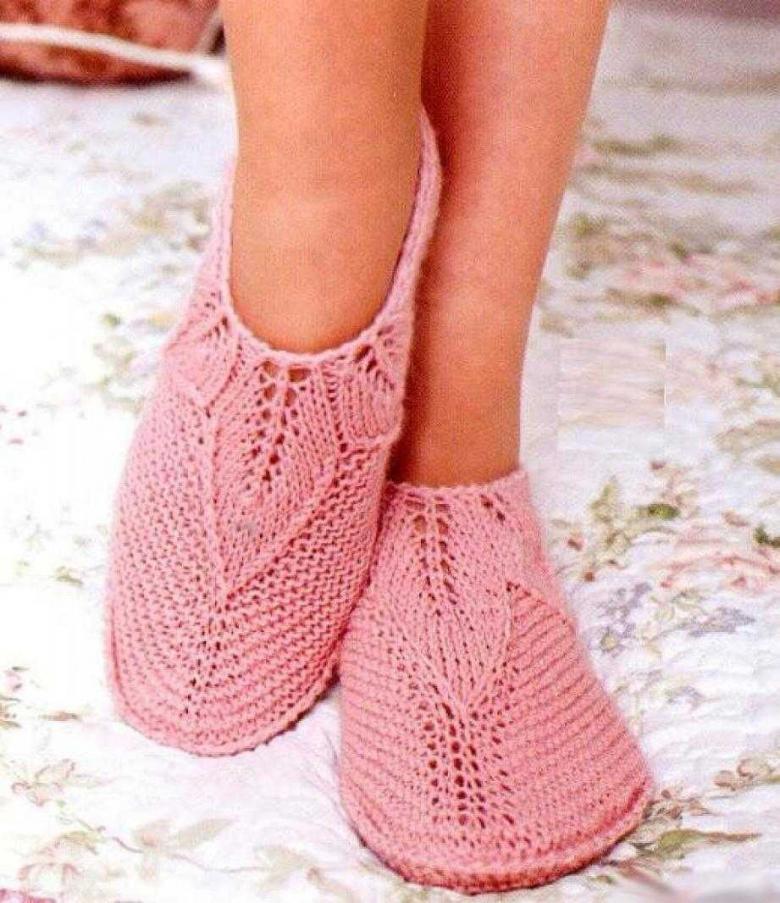
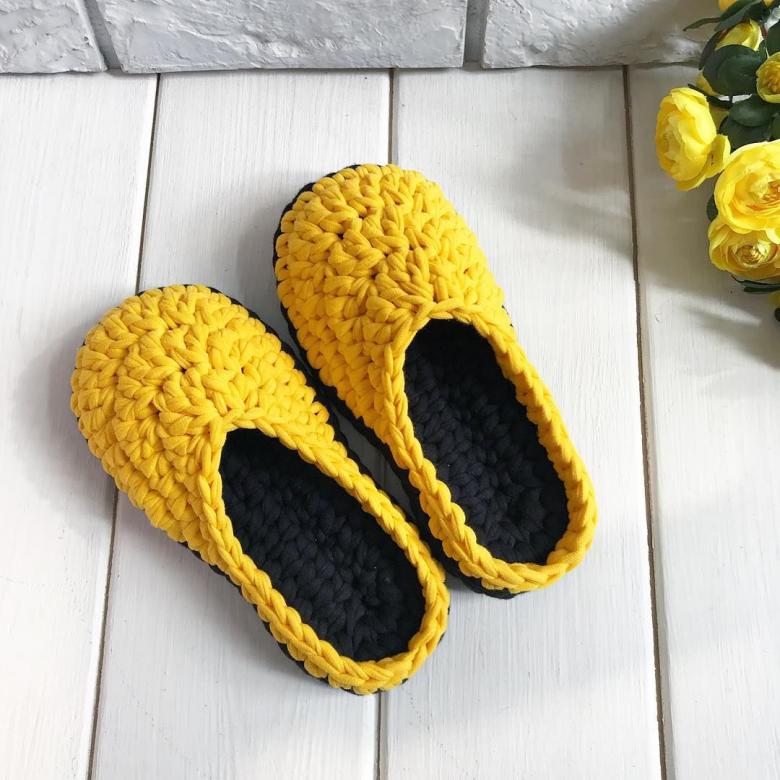
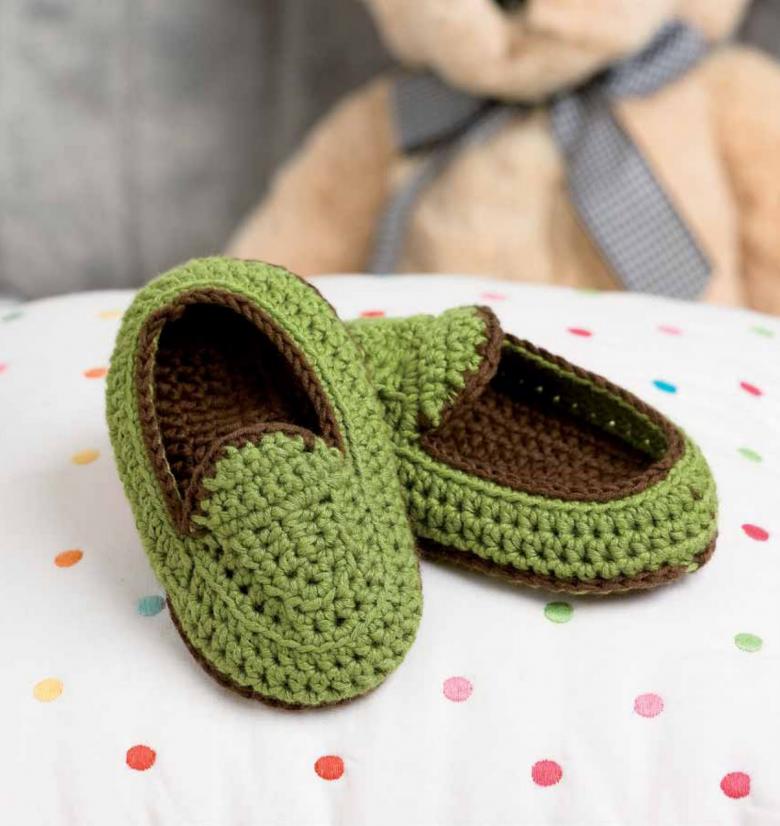
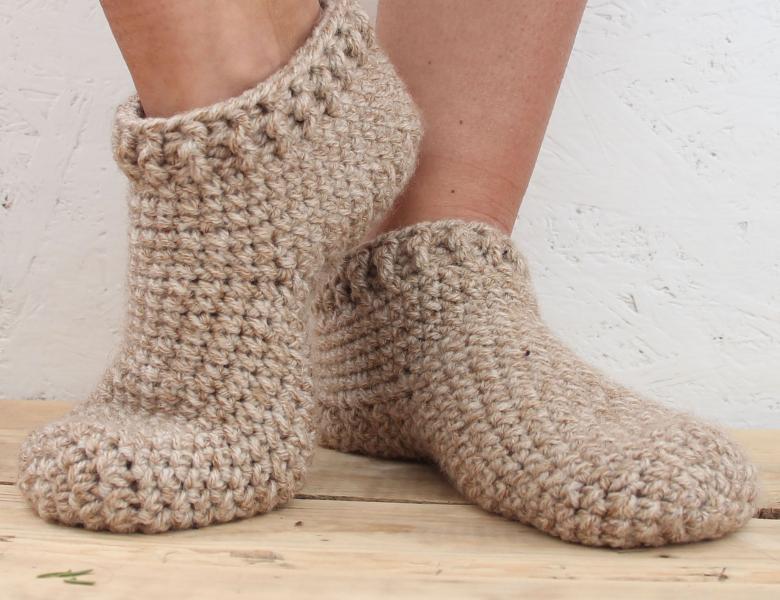
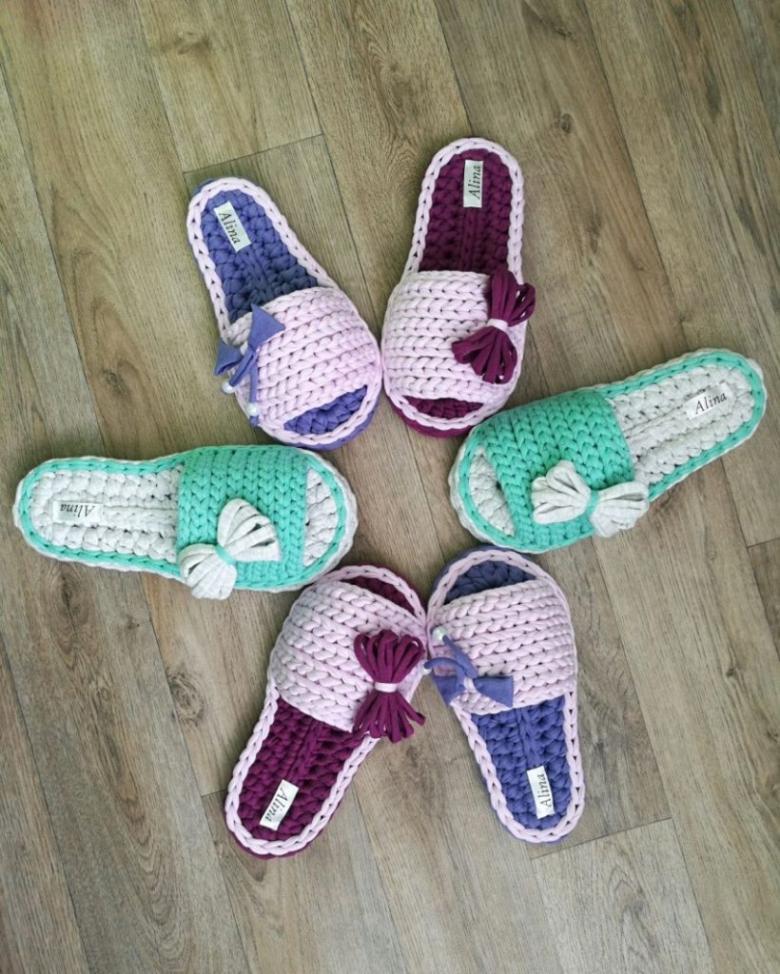
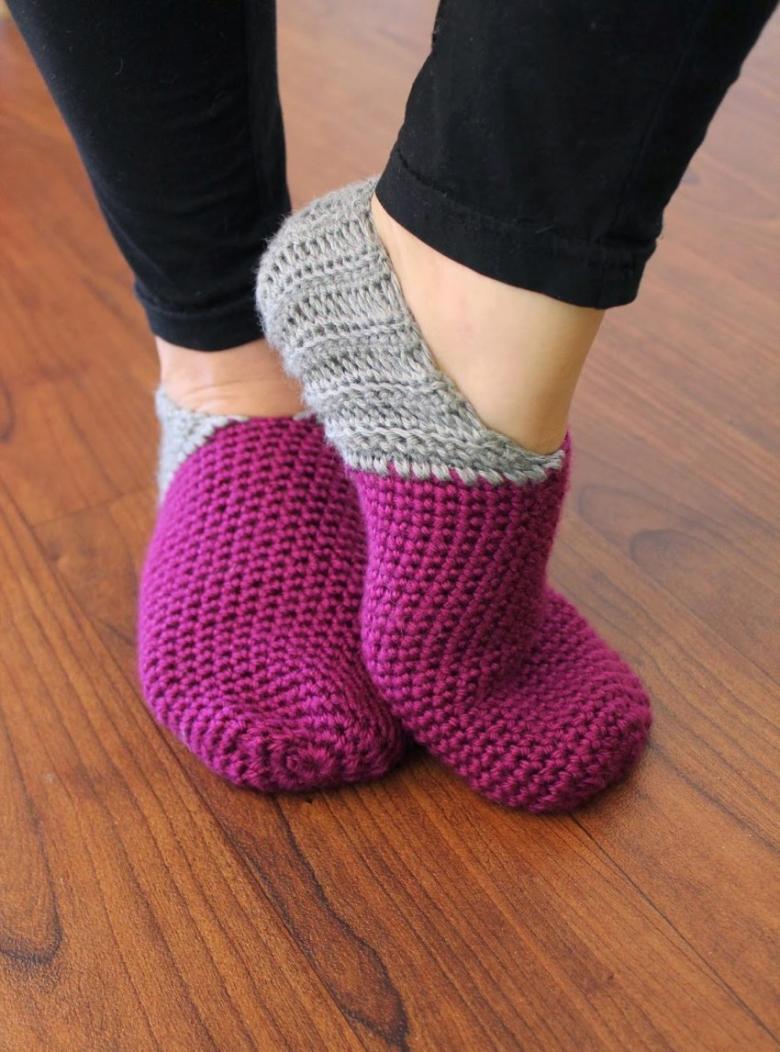
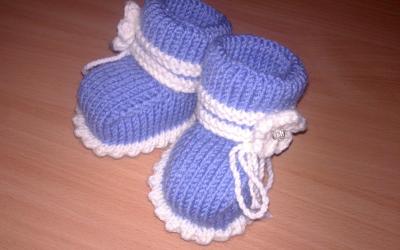
Not only can you knit yourself socks, baby booties, and homemade slippers. Pictures of popular models inspire, you want to get to work as quickly as possible, to create your own masterpiece. This is a stylish, bright element of home decoration. To cope with the task will help the master class.
What kind of yarn you need
It is better to choose woolen yarn, summer linen, soft acrylic. The sole is easiest to make from shoe insoles, fur, cardboard, rubber, leatherette.
Shoe size and home slippers pattern
Statistically, most people have foot sizes ranging from 39 to 44. If a person is said to have a shoe size 39, then the length of their foot is approximately 25 cm. For size 40 it is 25.5 cm, for 41 it is 26.5 cm, and for 42, 43, 44 it is 27 cm, 27.5 cm, 28.5 cm respectively.
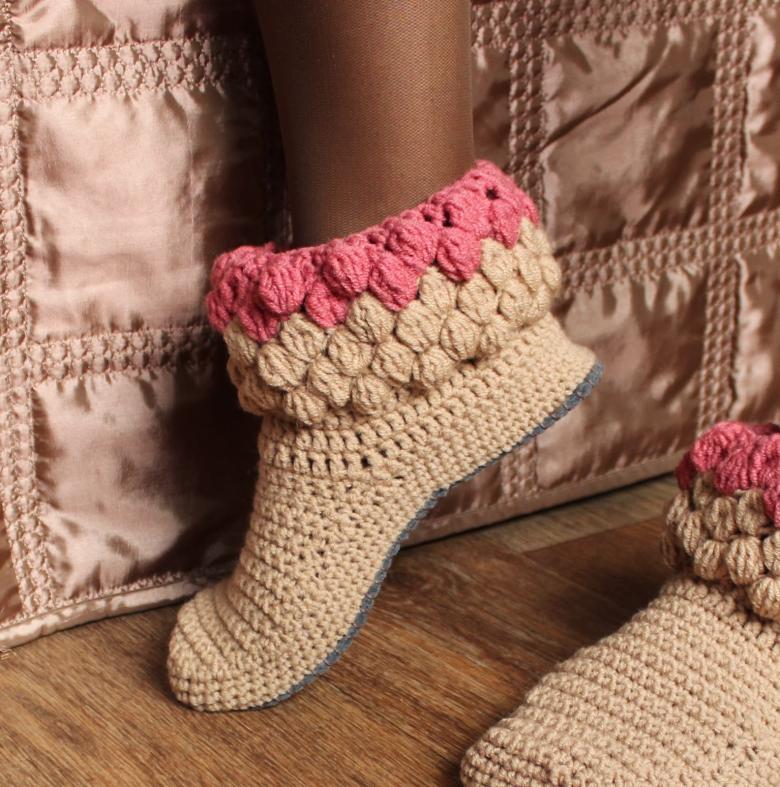
It is recommended to knit a sample, a small square of yarn to accurately calculate the dimensions of the future product, taking into account the density of thread, needles, features of the pattern. The descriptions are given for size 39 shoes.
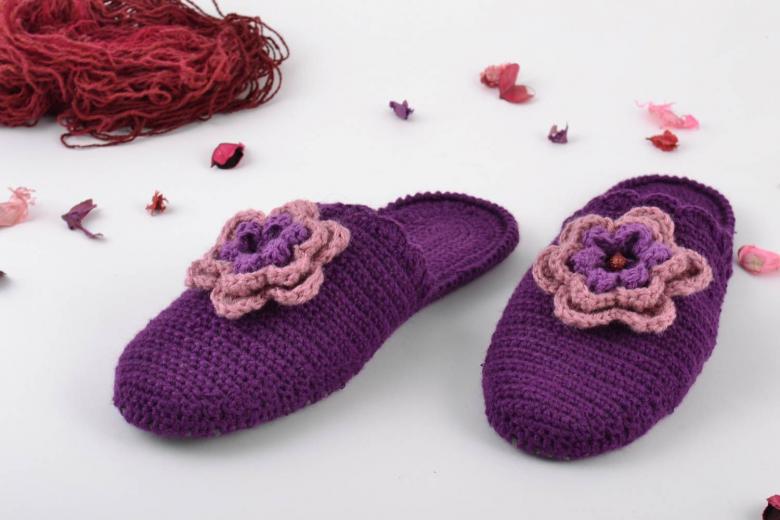
Three-part bootie
On the needles dialed 45 loops and begins a fascinating process of creating a beautiful thing with their own hands.
- Blot 20 cm (70 p.).
- Close row and cut the thread.
- Dial 15 loops.
- Knit a triangle, reducing one loop from each edge on the right side.
- Make two more exactly the same triangle.
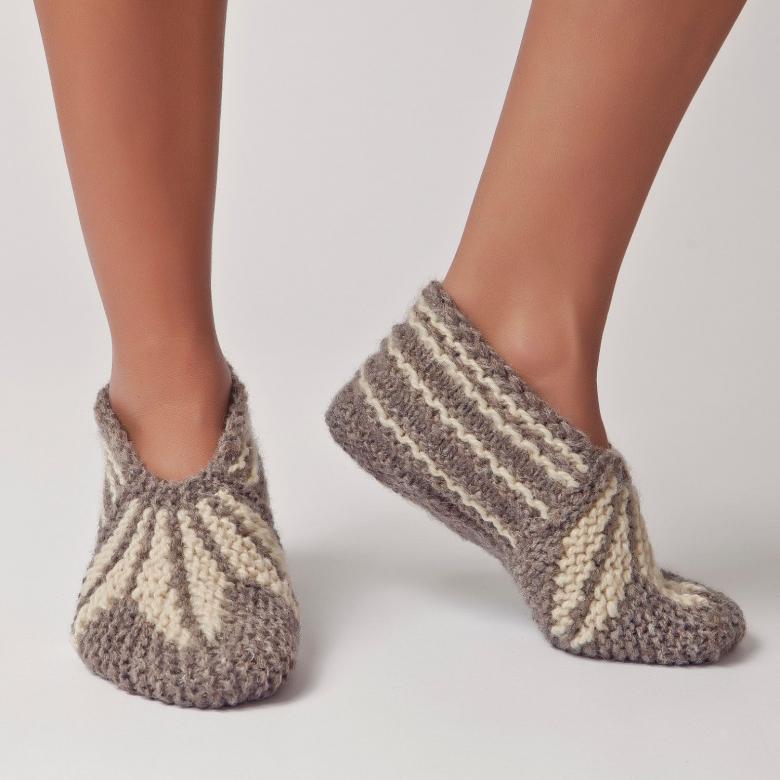
- Using thread, needle, or crochet join the parts - one triangle is sewn to the heel, the other two form an elegant pointed sock.
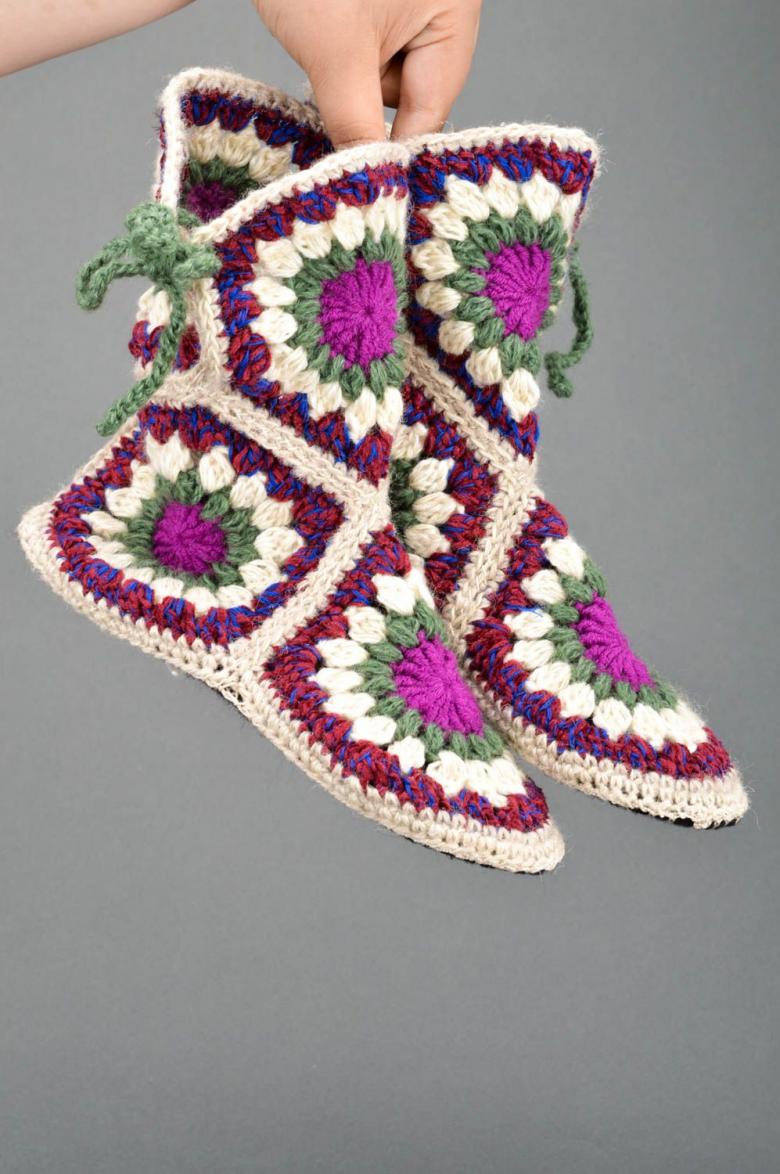
The decor of snakes-lightning, laces, the use of yarn of different colors is appropriate. A simple shawl knitting pattern or ironing can be replaced by checkerboard, rice, stars.
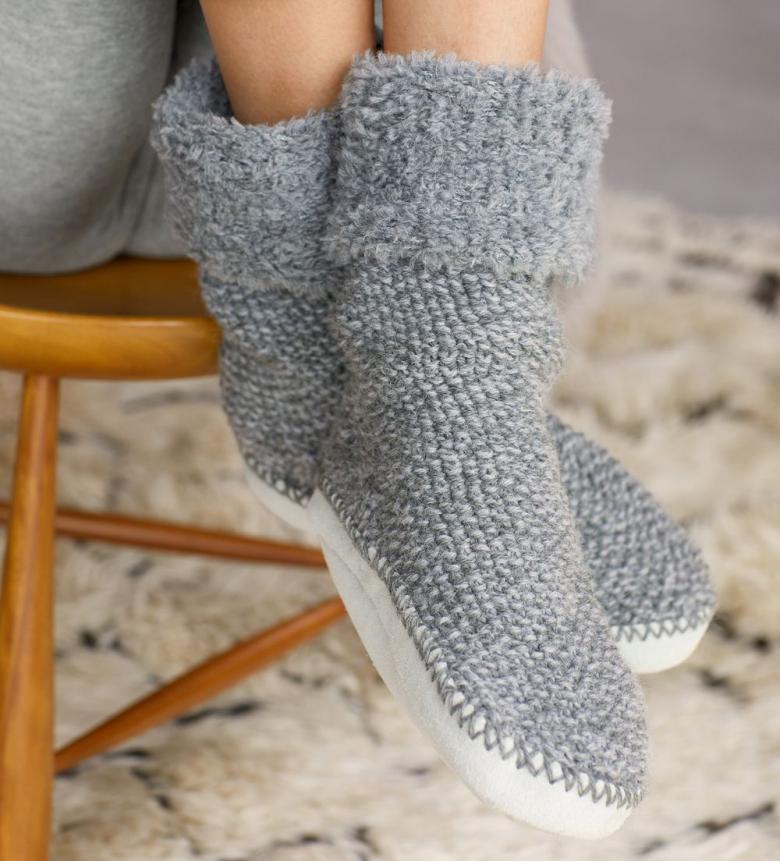
On three needles
Beautiful homemade slippers are not a problem to make from a single-color yarn, accentuating the two stylish pigtails on the toe.
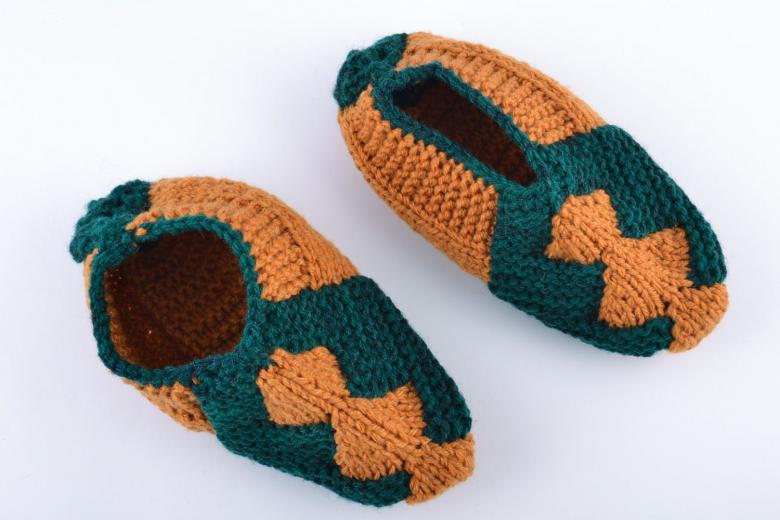
Sock slipper with pigtails
Any detail needs to be knitted carefully, carefully. The sock is the most difficult to make, since you need to knit pigtails. The description gives the simplest version with two braids. Instead of them can be created one braid more complicated, from three threads. Or it can be replaced by cones, openwork.
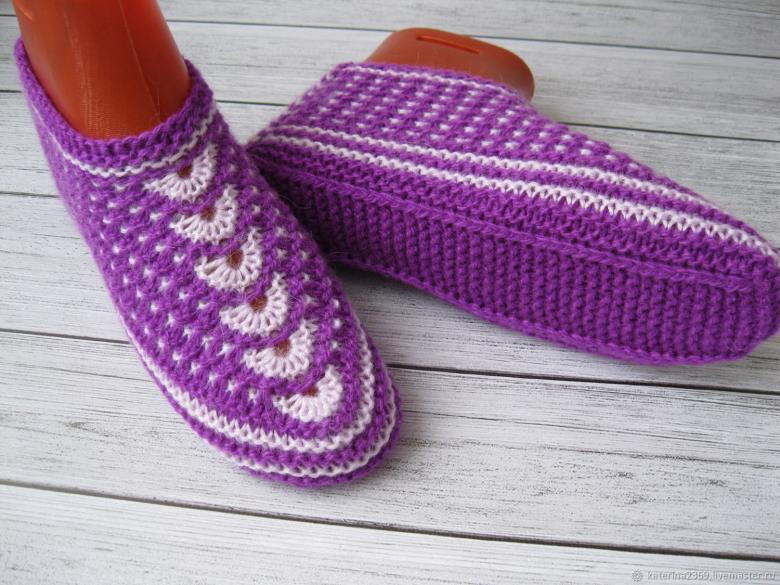
Sock with a pattern
With two braids sock slipper knit as follows:
- Dial 36 loops.
- Knit 2 cm crochet.
- The first 11 p. leave on a needle, the remaining 25 transferred to a spare or pin. They are not needed yet. They will be used to create the sole, the sides, and the butt.
- Then after a row add 1 st. on the edges. Should be 15 stitches.
- It should be binded 16 p., making 2 plaits of 4 l., with intertwining every 4 p. We get the top of the slipper, a length of 6-7 cm.
- The next few rows are knitted in a flat pattern.
- Removed by 2 p. on each side of the row.
- The last row is closed, cut the thread.
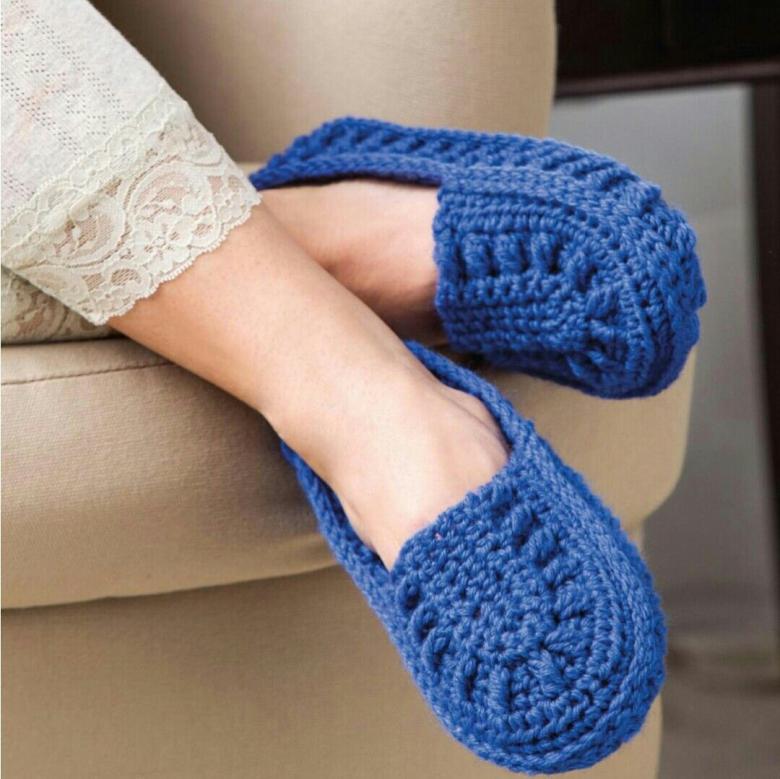
The sole of the slipper
It's time to knit those 25 loops, which were previously neglected. But before this should be out of the edges of the edges of an already connected part, to collect on the spokes of 12 p. They will help "roll" sock, work out the sole:
- A total of 60 loops should turn out - 12 on one side, 25 in the middle and 12 on the other side.
- Of these, knit a band of 2 cm.
- The product is divided into two equal parts, mark the center stitch of another color with a thread or pin.
- To create a curve in the toe area, a smooth transition of the sides into the sole, it is necessary to make a trim. For this purpose, on the sides of the previously marked central axis of the fabric (6 loops exactly in the center of the detail), two stitches together.
- Need to knit another 3 cm, reducing the stitches. The width of the sole will be 10 cm.
- The detail is ready, it's time to sew the slipper.
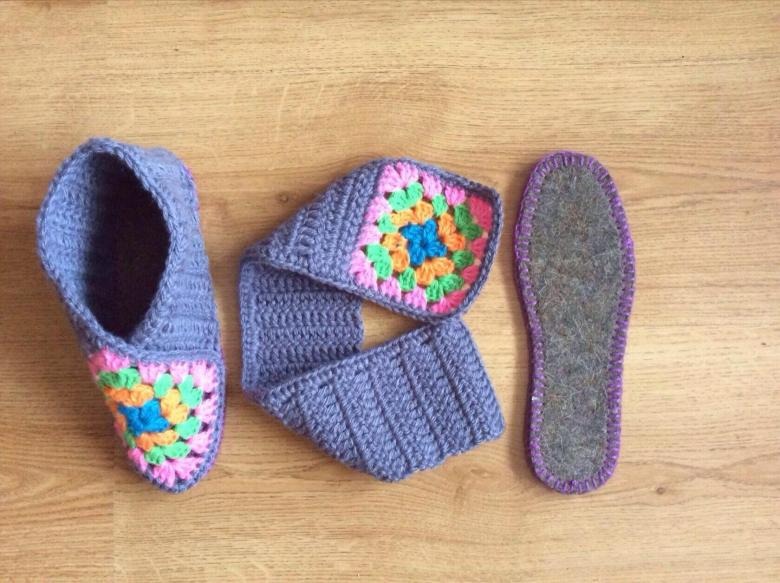
The second knit exactly the same. The difference between them can be determined by the direction of weaving braids on the sock, sewn insoles or none at all.
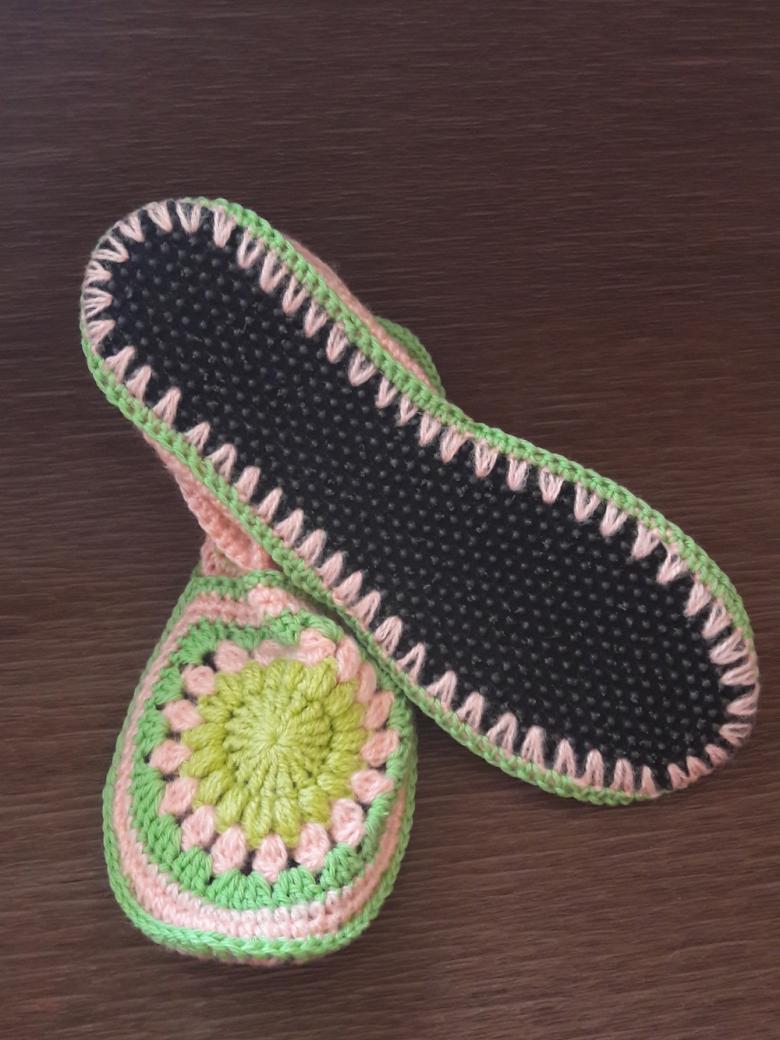
With open heel
A classic model - flip-flops with an open heel. Step by step instructions will help to make them with your own hands using needles and yarn.
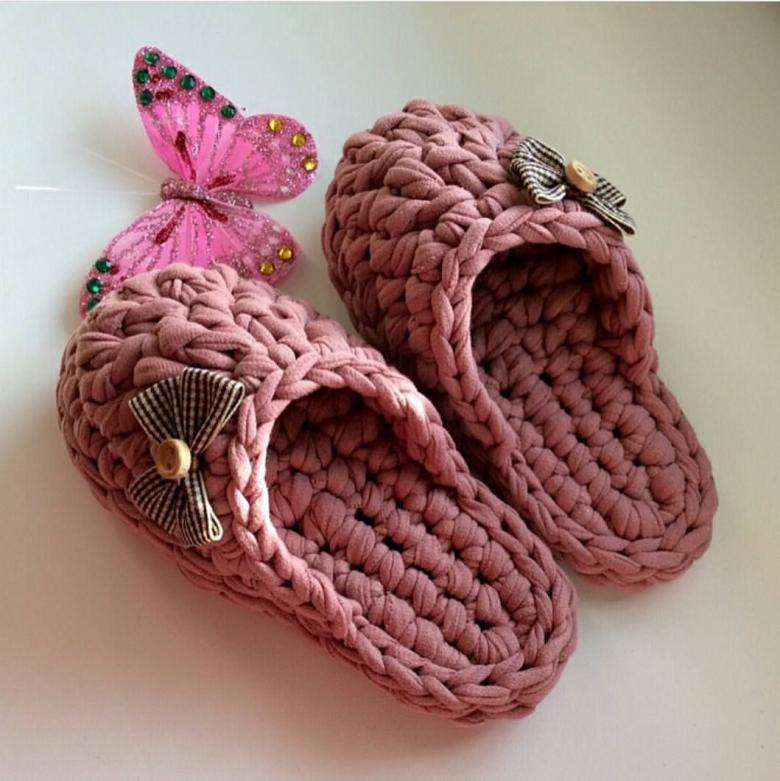
The first part
The work begins with the creation of a sock:
- 10 sts are dialed.
- The first row is the wrong side.
- The second is the right side. In it on the edges make an addendum.
- The third without additions.
- In the fourth again make hinges.
- Should be formed soon 16 p. After this without additions knit 12 cm of the fabric.
- Divide the piece into two parts, close 5 sts on each side of the center line. This will leave 5 sts on 2 spokes. Between themselves they are not connected by thread, they are needed to create a smooth sock line. They are reduced by one from the central axis.

The second part of the product
After completing the first part, it is necessary to knit the sole. Do this as follows:
- Dial 10 sts.
- Blind 6 pct., on the right side making the beginning and end of the hook.
- Knit without adding 15 cm.
- Begin to remove a stitch on each edge, so that the heel is rounded.
- Close the back and sew the top of the slipper.
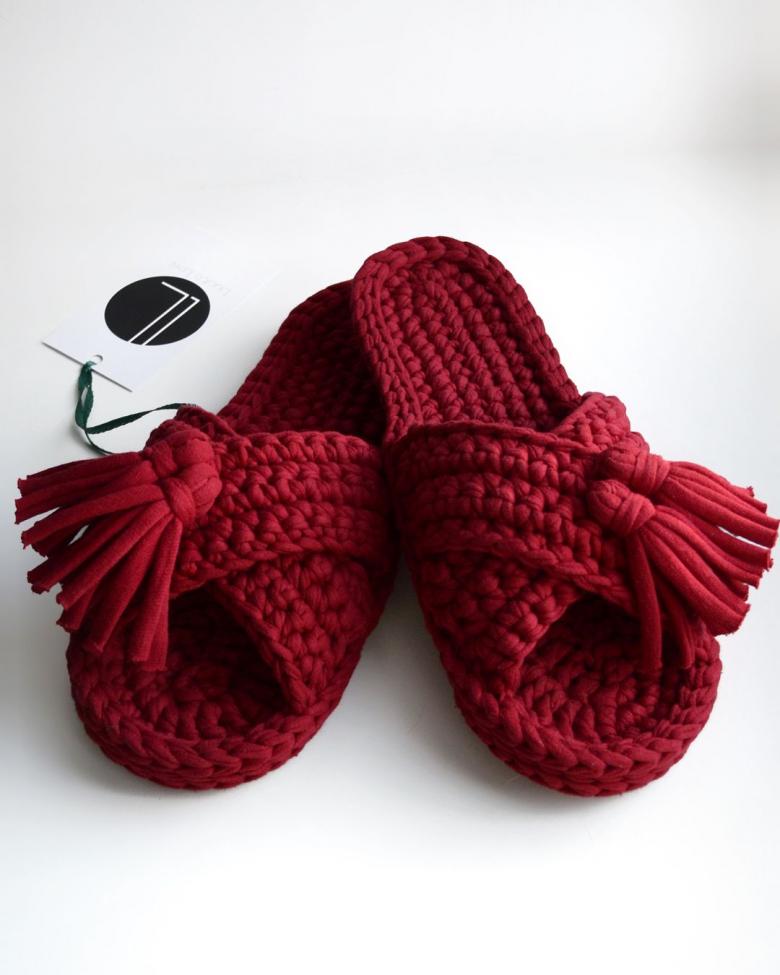
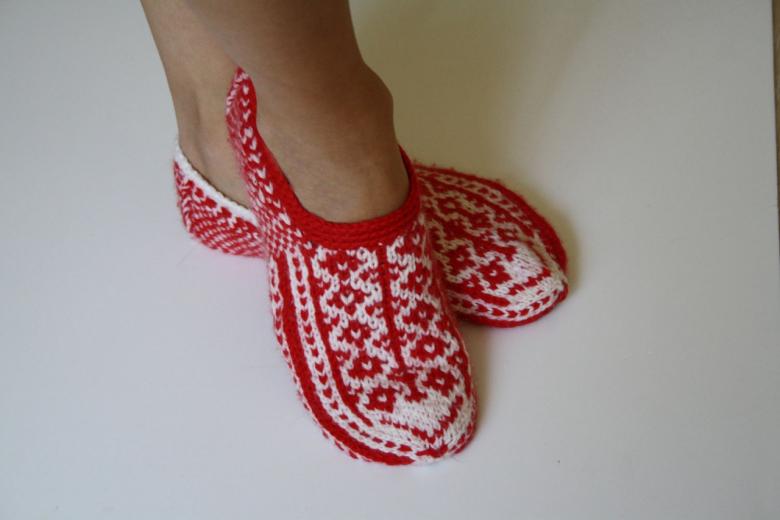
This is a great option for guests and homeowners. They can be monochrome, multicolored, with a pattern, a pattern, embroidery, without it.
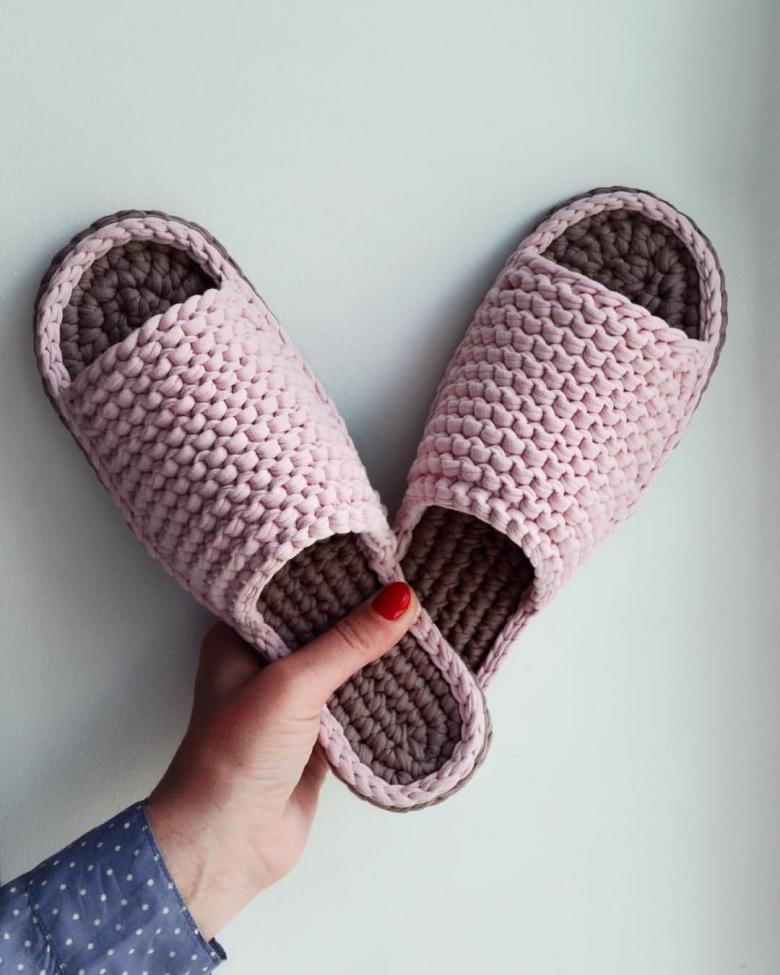
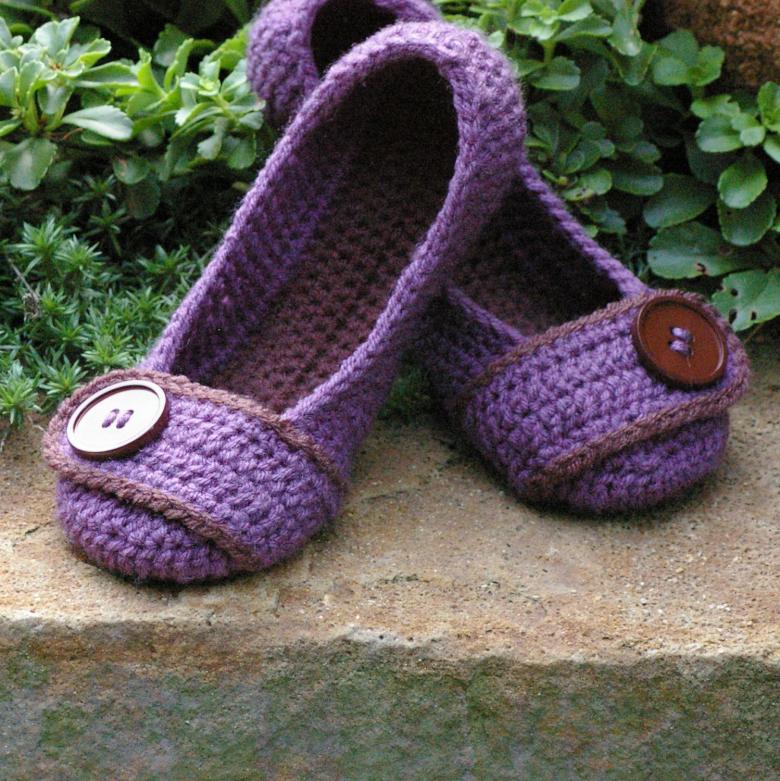
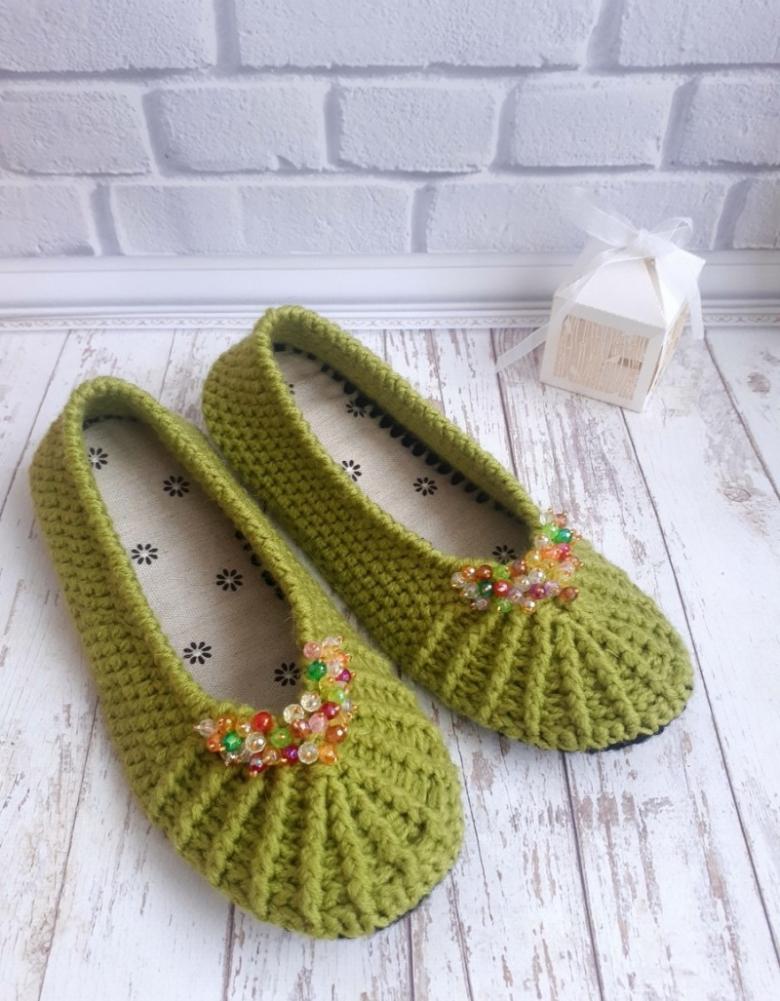
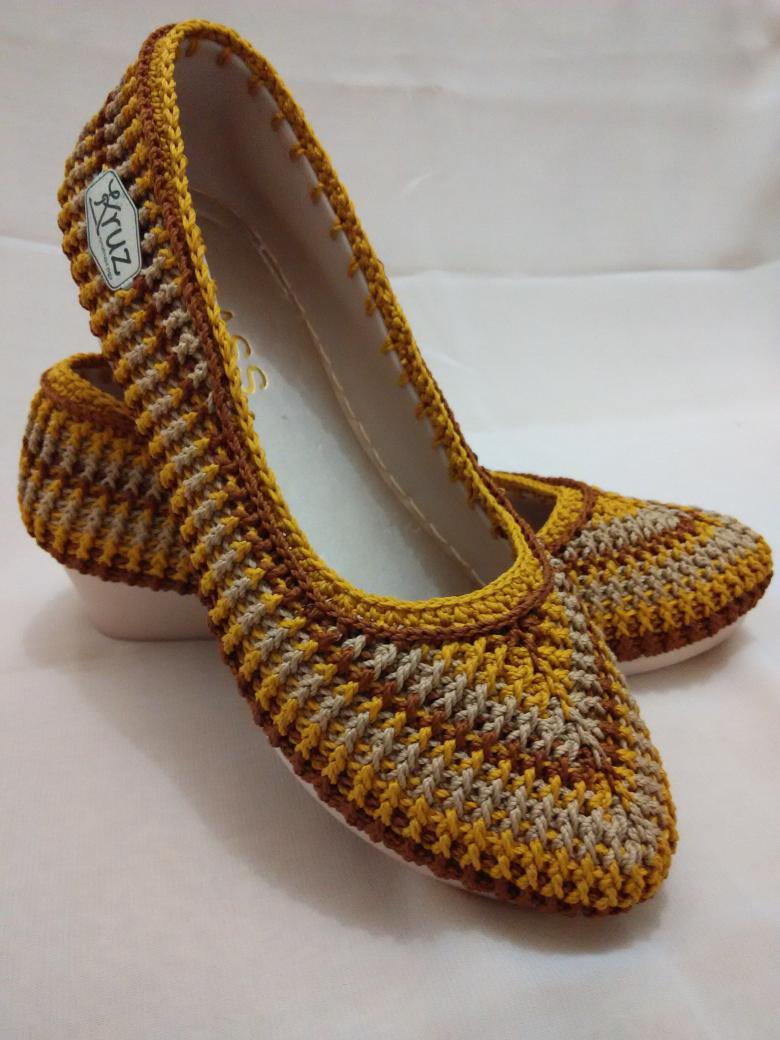
Sneakers in the form of ballet shoes with embroidery
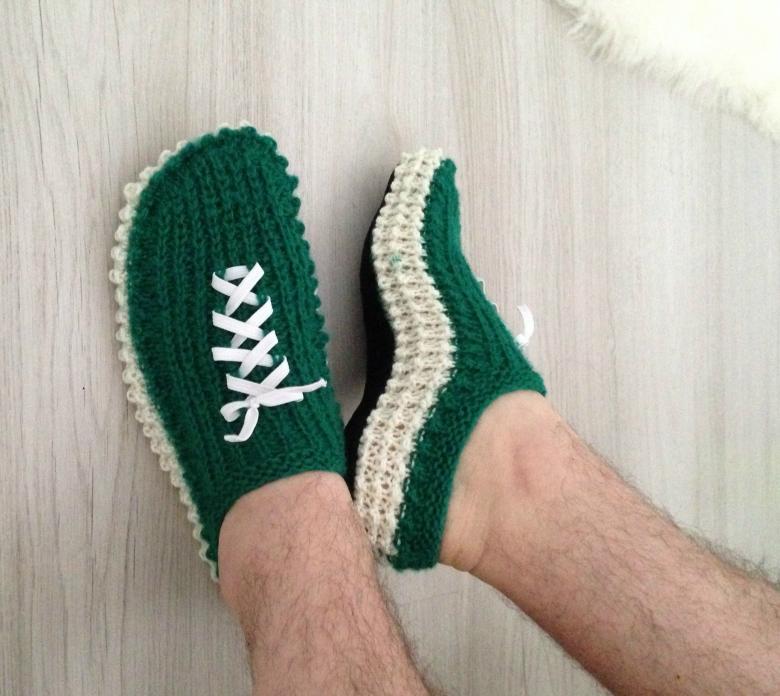
Slippers-balettes or sneakers, this is the model that best suits pajamas, tracksuits. Make them as follows:
- Collect 34 loops.
- Take off the edge, knit 32 sts.
- In the second row, having removed the cropped line, knit 10 Ls, 1 sided, repeat the pattern.
- The third row is knitted as the first, the fourth as the second.
- For size 39 slippers should be knit a total of 22 cm (65-70 ppm).
- Reaching the middle of the fabric, you need to change the pattern scheme.
Extension for the toes
To be comfortable in slippers, they should not limit the flexibility, mobility of the foot. It is necessary to add a few loops:
- The first row of the toe part of the slipper is knitted in this way - the cropped, then 11 l., an addendum (from 1 st. two 2), 8 l., again addendum., 11 l. Repeat the sequence.
- The second consists of the selvedge, 10 l., 1 out, 12 l., 1 out, 10 l., the second selvedge.
- The third row consists of 2 stitches, 34 l. It and the previous one further alternate.
- The last couple of centimeters of the fabric should be carried out with a 1x1 rubber band.
- The loops are not closed, threaded on the remaining thread, tying. The edges of the product is neatly stitched at 8-9 cm or tied with an invisible stitch with a hook.
Joining parts and decorating
The canvas in the end is divided into three sectors by a pattern. It is very convenient, practical. The pattern can be completely different, the way you want. But with such a division, all parts are sewn faster.
It is done as follows:
- on the heel, the central strip must be pulled together with thread;
- The other two parts to sew with a needle or tie an invisible stitch with a hook.
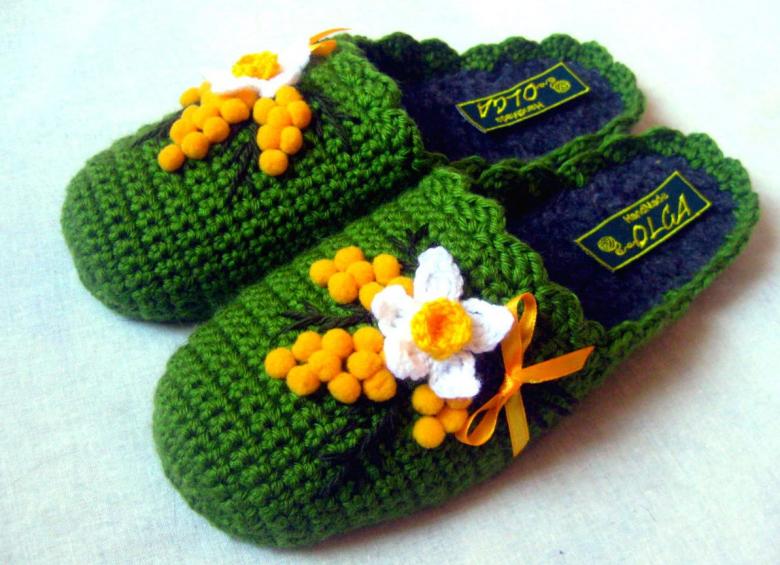
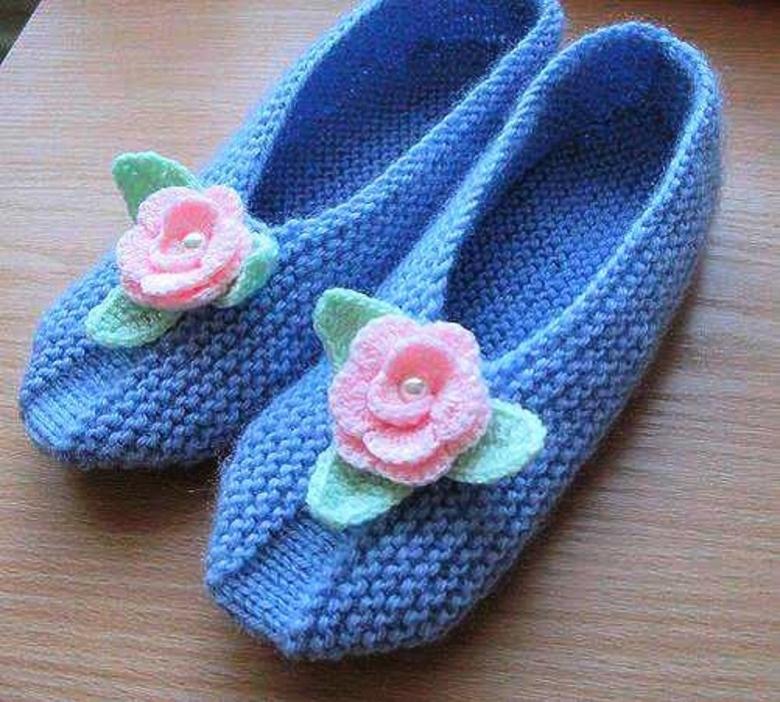
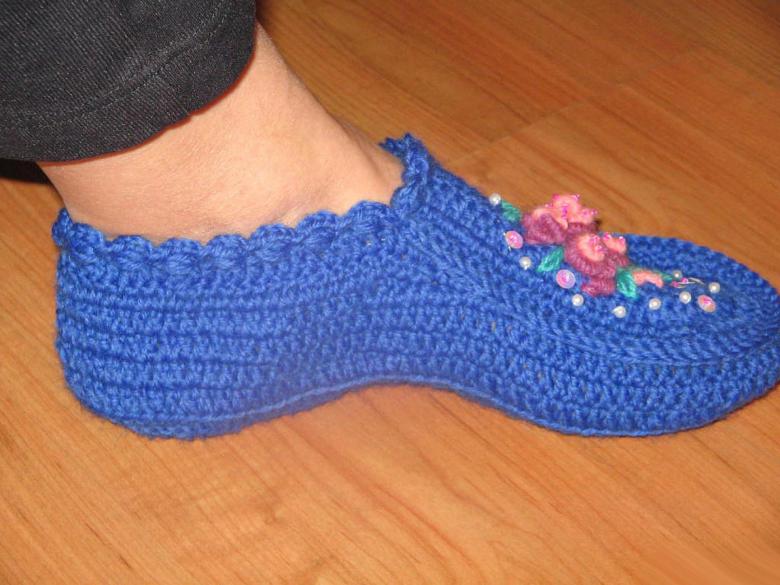
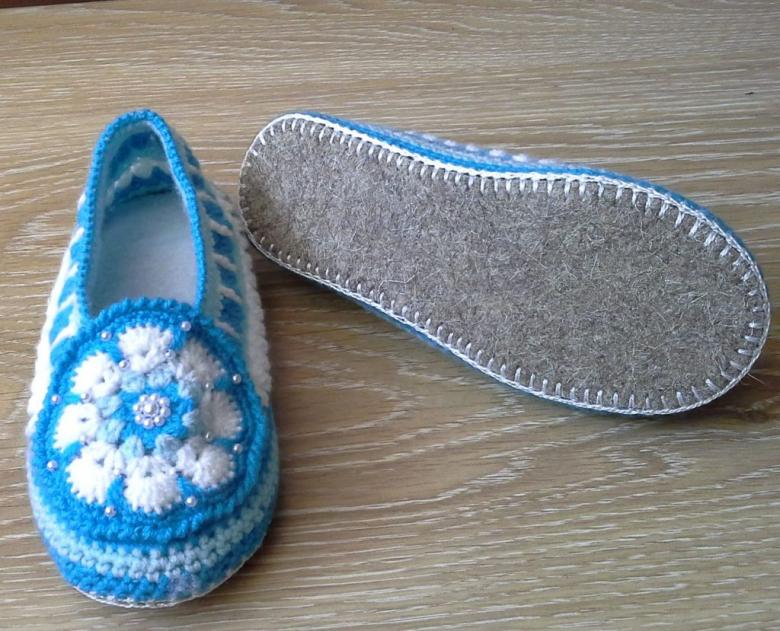
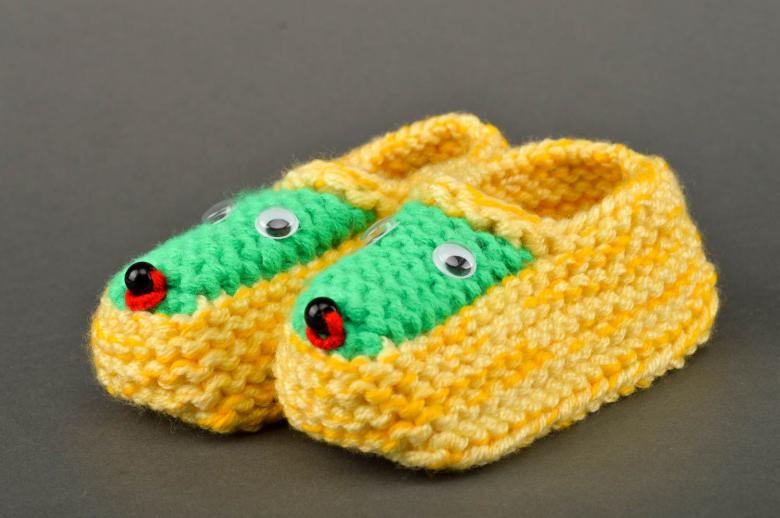
The slipper is ready. It remains only to decorate it with applications, embroidery, pompoms, beads, ribbons, sew insoles.
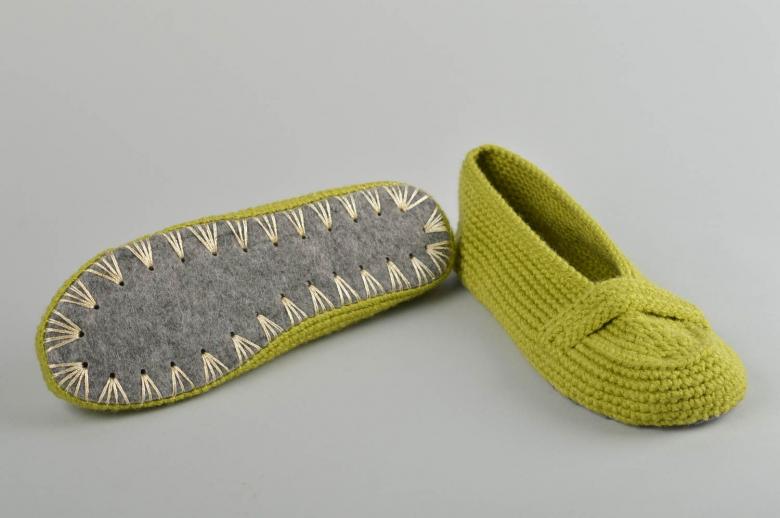
The indisputable advantage of crocheted slippers - they do not clutter the shoe shelf in the hallway, easily fit in the closet, washed in an automatic washing machine. Tie any of the above models can be fairly quickly. The work usually takes from a couple of days to several weeks.

