Knitting heel socks with his own hands - a step by step description of popular techniques with photo examples
All novice needlewomen first master the basics of knitting on needles with socks. Tie the product with their own hands is not difficult, in addition, such a thing is always needed in everyday life. The only problem facing newcomers is the creation of the heel.

When knitting heel it is important to correctly calculate the loops and understand the scheme of their additions and subtractions. If you make mistakes in the work at this stage, it will be impossible to wear a sock, because it will not sit on the foot well.
Tip! Before you start studying the textual instructions, you should watch a video with a master class on knitting heels in different ways. This will help you better understand the description of all the steps to create this important detail on knitted socks.
There are quite a few ways to design this detail with needles. Beginners should learn a few of the easiest ones, which will be described below.
Straight heel
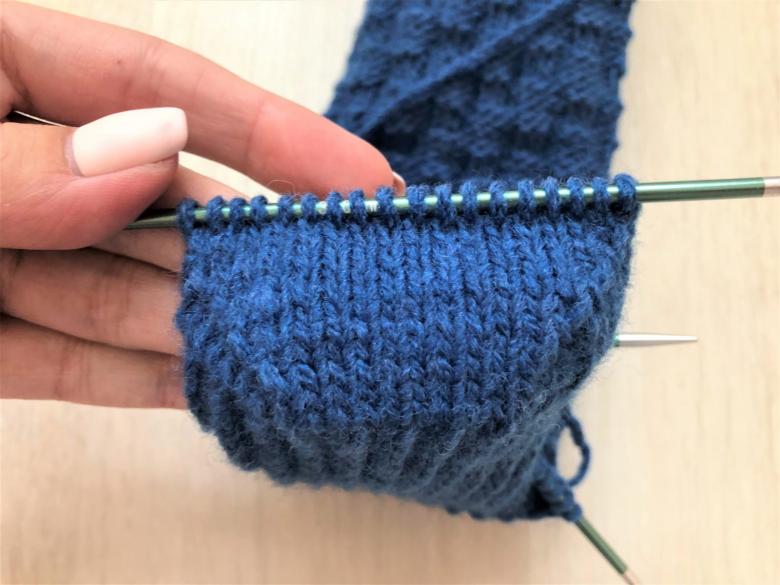
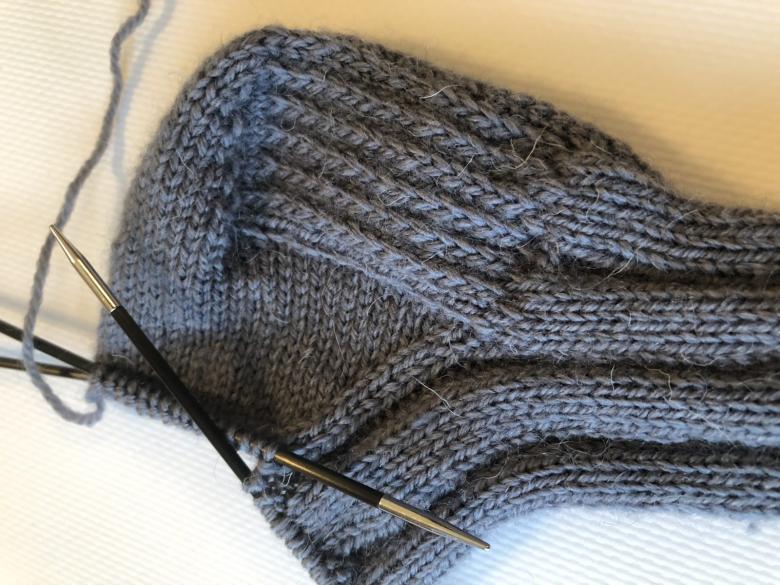
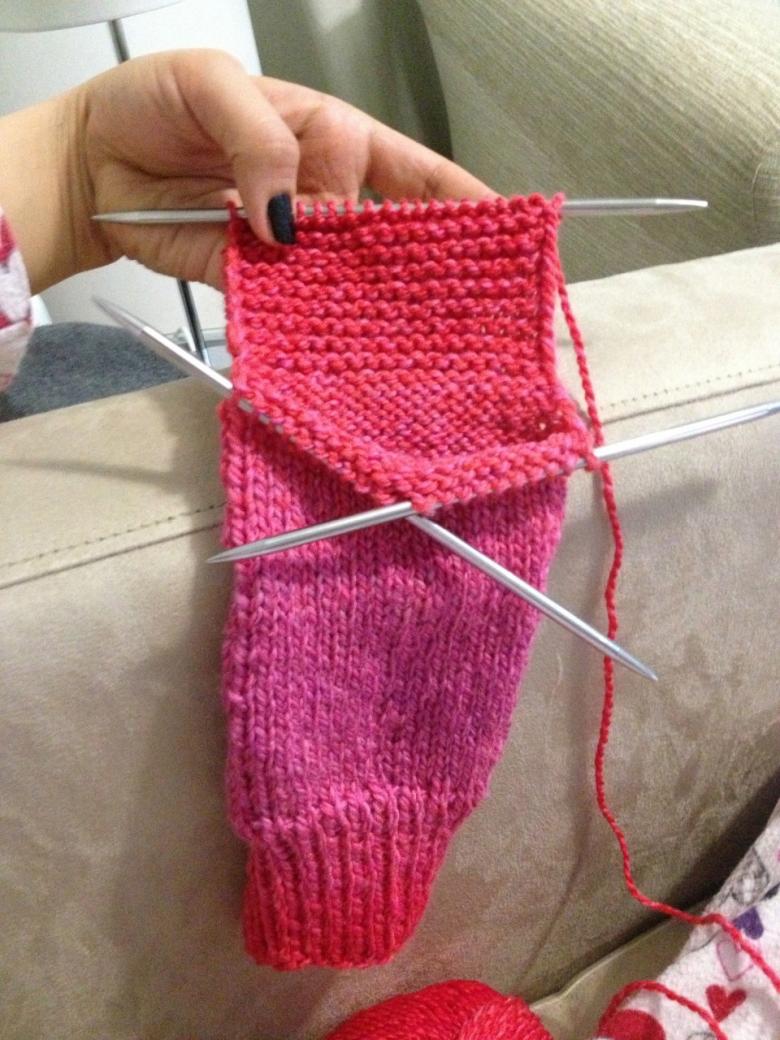
After the rubber band is bound and ankle sock on 5 spokes, you need to move on to perform itself heel. To do this, the loops are divided equally and knit on 2 spokes - the 1st and 4th. The 2nd and 4th spokes are not used when working. The 2nd and 4th spokes are not used. The 1st and 4th spokes are not used.

First the piece is knit on height. As soon as the number of stitches on the tied edge is equal to the number of stitches on one spokes, you can move on to the heel.

You can also use the calculations from the size chart. There are the following dimensional parameters of the height of the heel of the sock:
- for women - 5 cm;
- for men - 6-7 cm;
- For children - 3-4 cm.

When you reach the desired height, you should stop on the front row and proceed to the abatement in a row to give the part volume. To do this, divide the total number of loops by 3. If it is not divided, the remainder is added to the area in the middle.

If there were 18 loops on the spokes, then 10 should remain in the middle, and 9 pieces on the sides. The first row on the wrong side is done in the ducking. Tie a row of the first part, go to the center section, in which the last loop is knit together with the first of the third half.

In the front row, knit from the third section, which becomes the first. Everything is knitted in the right side of the row. The last stitch of the center piece is tied together with the first stitch of the side piece.

Continue in this way until the entire set of side pieces and the last stitch of the central piece are finished. When only the center piece is left on the needle, the heel segment is finished with a front row.
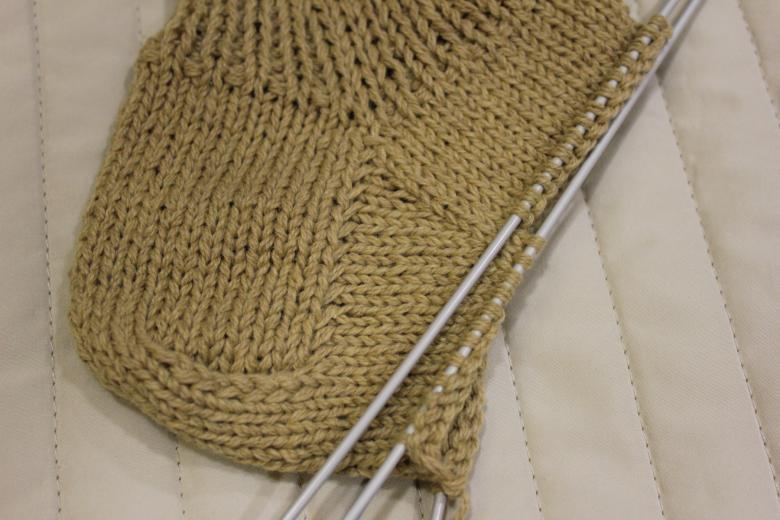
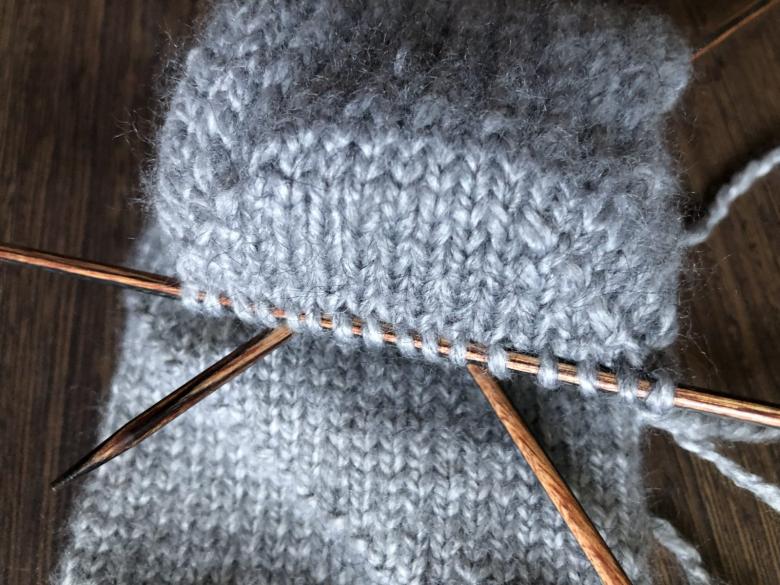
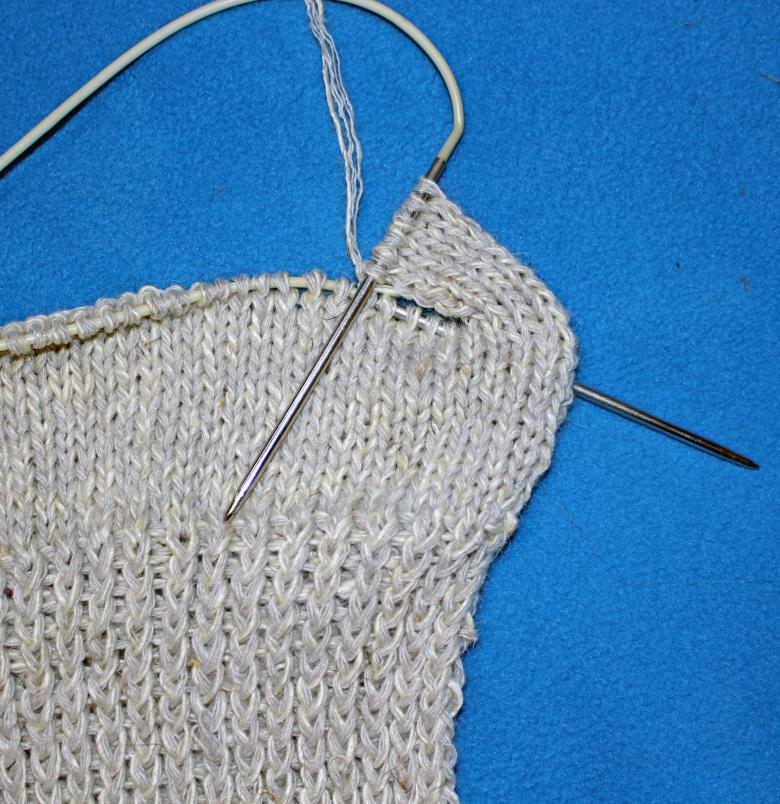
Then the edge of the connected part is threaded on the needle, and knitting continues in a circle involving two unused needles. Simple heel is ready, then knit the product in a circle. The extra stitches are removed at the end of the 1st spokes and at the beginning of the 4th in every second row, until they are the same amount on all four needles. Next, knit in a circular knit pattern until the end of the pinky. Then begins to knit a sock.

Heel knitting in boomerang technique
Another easy way to form the heel of a knitted sock. Beginners should learn a few simple patterns, trying them on specific models of socks.
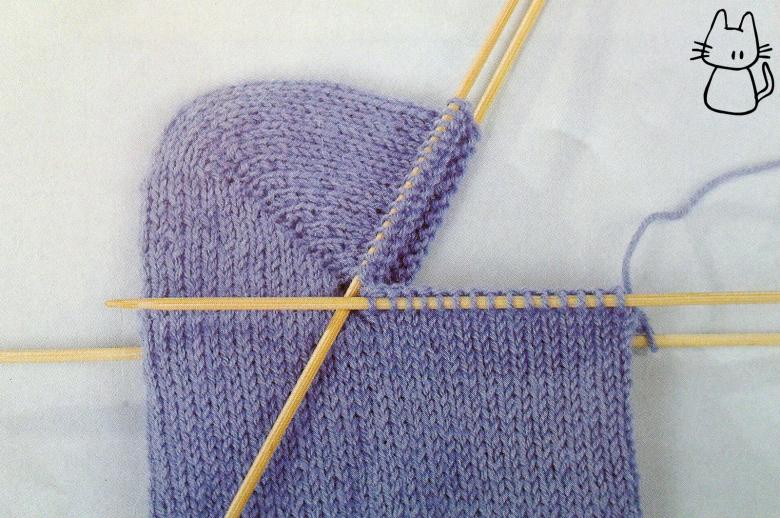
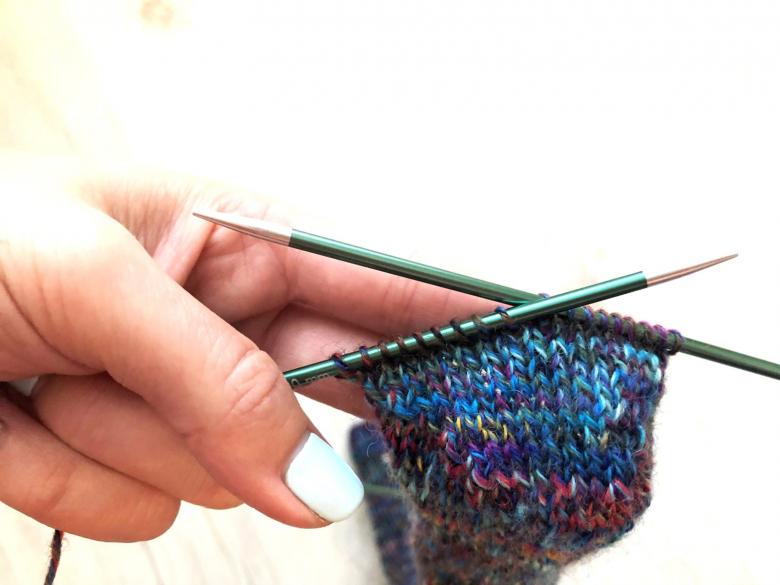
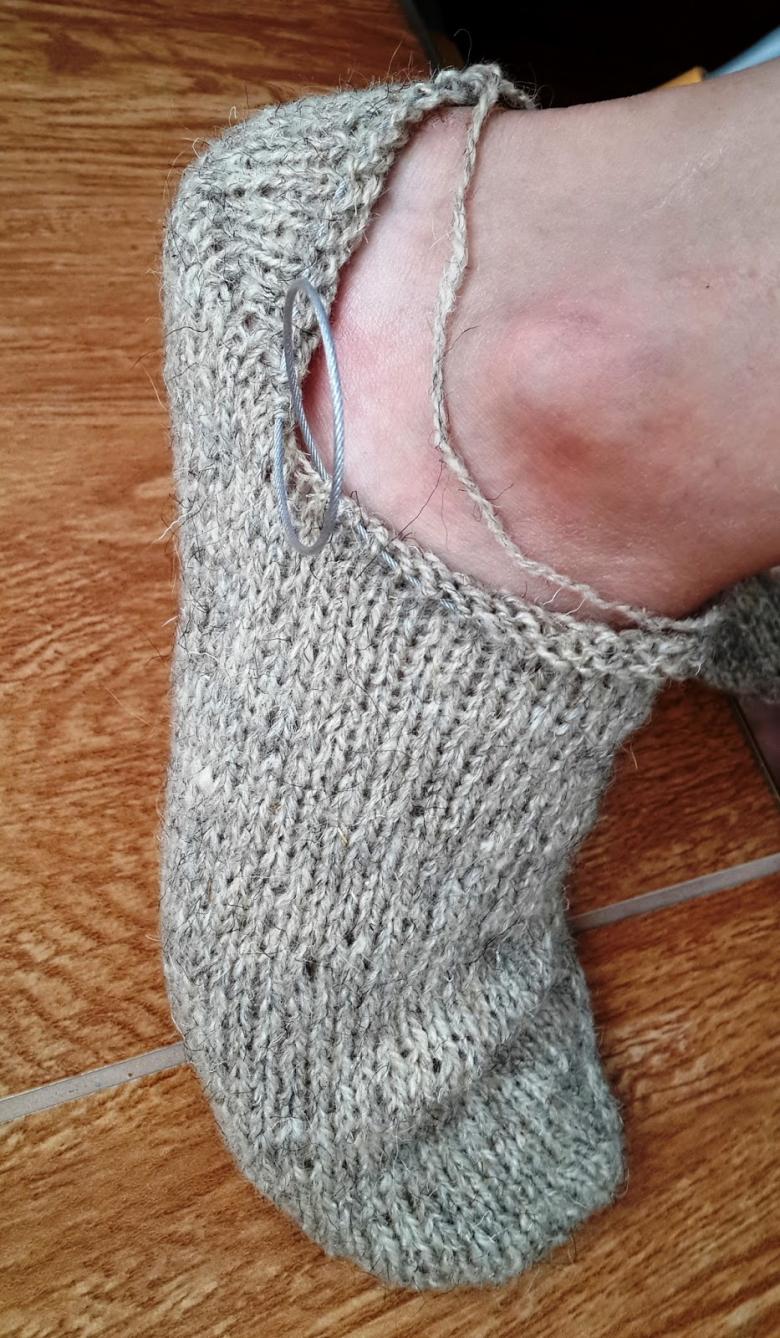
Sock is also knitted on 4 spokes in a circular pattern. After the rubber band and the ankle part are formed, the entire work should be divided equally and half should be transferred to the 2nd and 3rd knitting needles. In the working half, the 1st row is knit with the obverse. In the 2nd, you need to make a double loop by pulling the thread through the first one. Then knit a row that ends with a double stitch.

All double loops are not knit, but are simply taken off, tightening with the working thread. This is done until half the number of loops that were left at the beginning of the work. This will be the central part of the heel. Knitting continues on the central part. The back row of the central part begins by knitting the first double stitch.
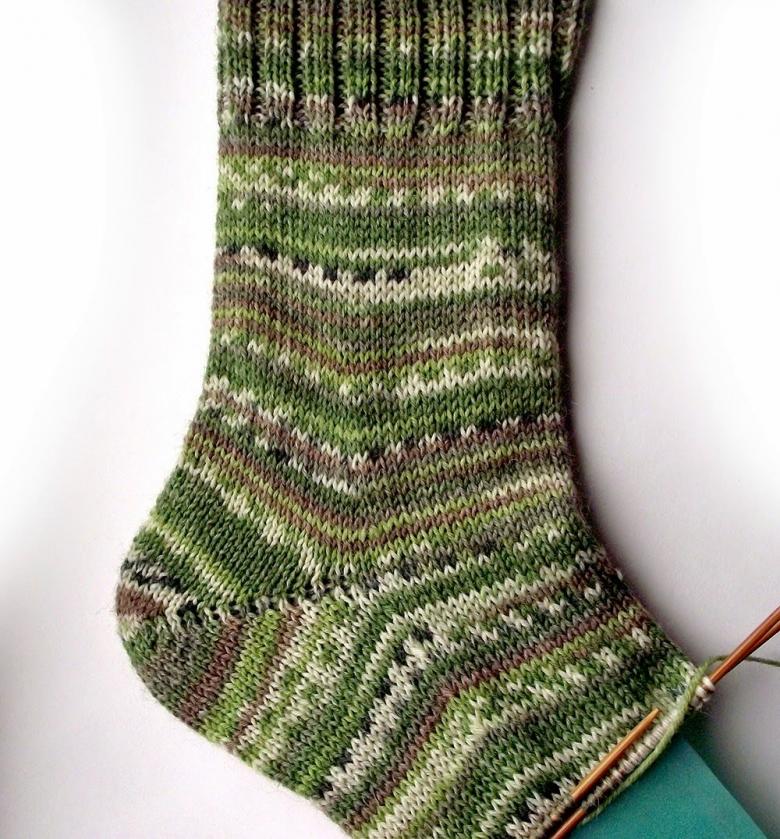
Then the product must be turned over, and use one stitch from the side of the needles. In the new front row, make the first stitch a double stitch, then knit a double stitch and make the last stitch, adding a new stitch from each side part. All double stitches in a new row are tied as single stitches.
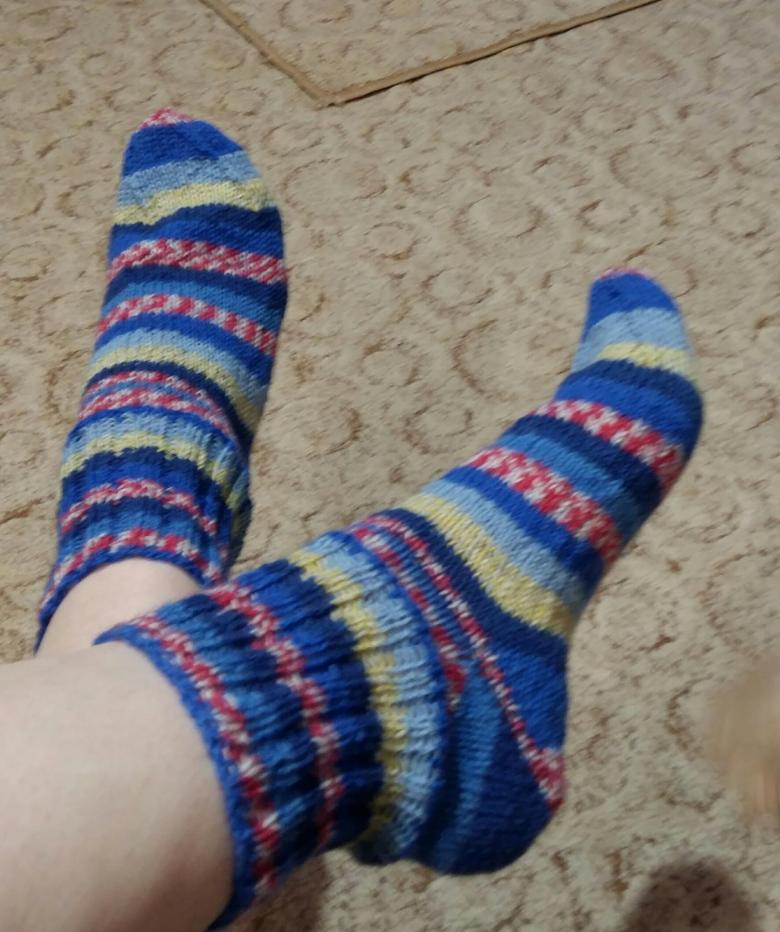
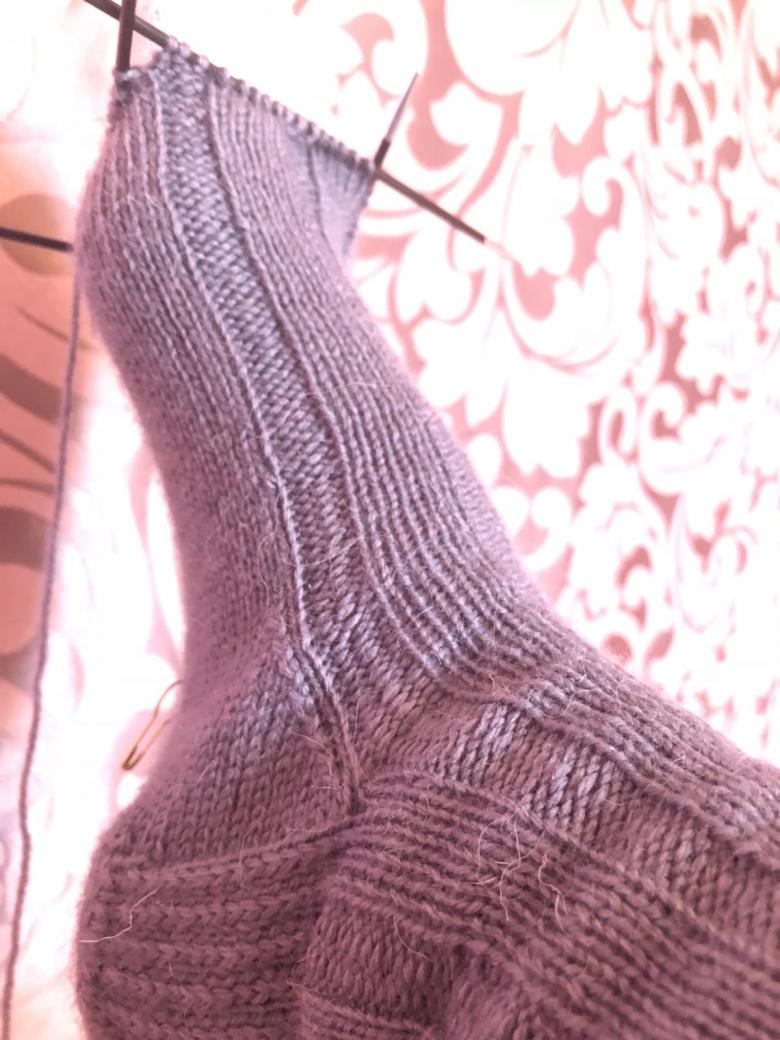
This technique is called turning. First, the center stitches are reduced by tightening, and then added with the gradual involvement of the side stitches from the previously unused needles. The heel is finished when the 4 needles have the number of stitches from which the work began.
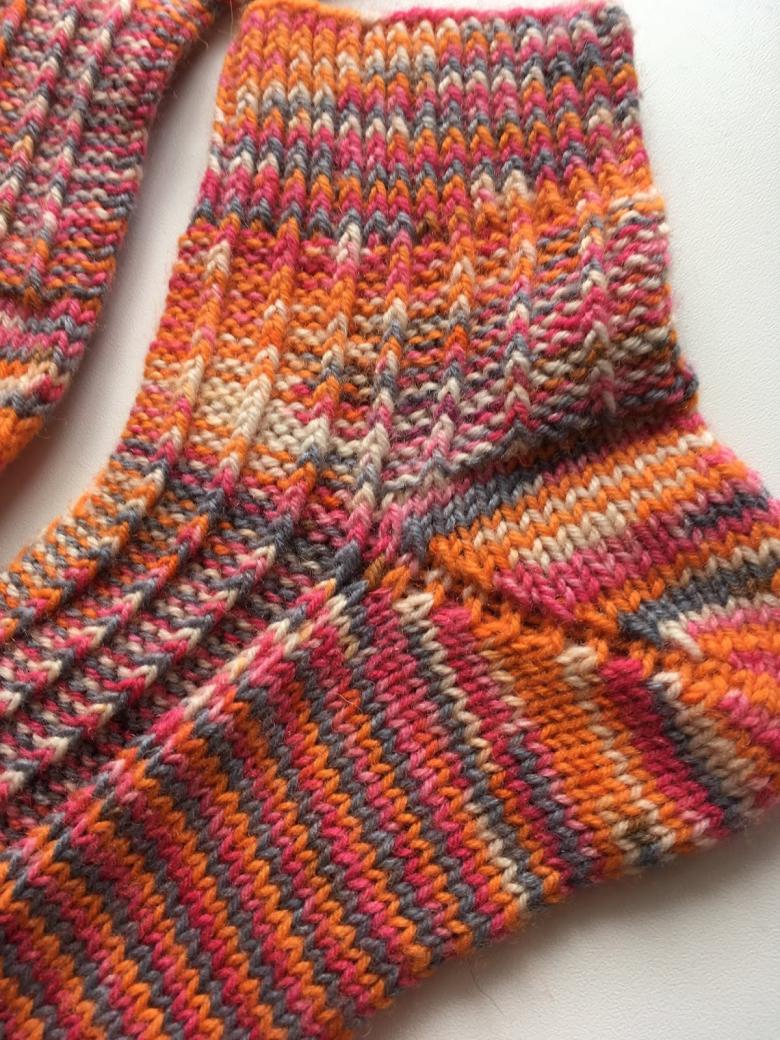
After that, the usual circular knitting of the sock without adding and removing to the toe is used. The peculiarity of this technique is that the finished product has no lifting wedge, as in a simple "granny heel.
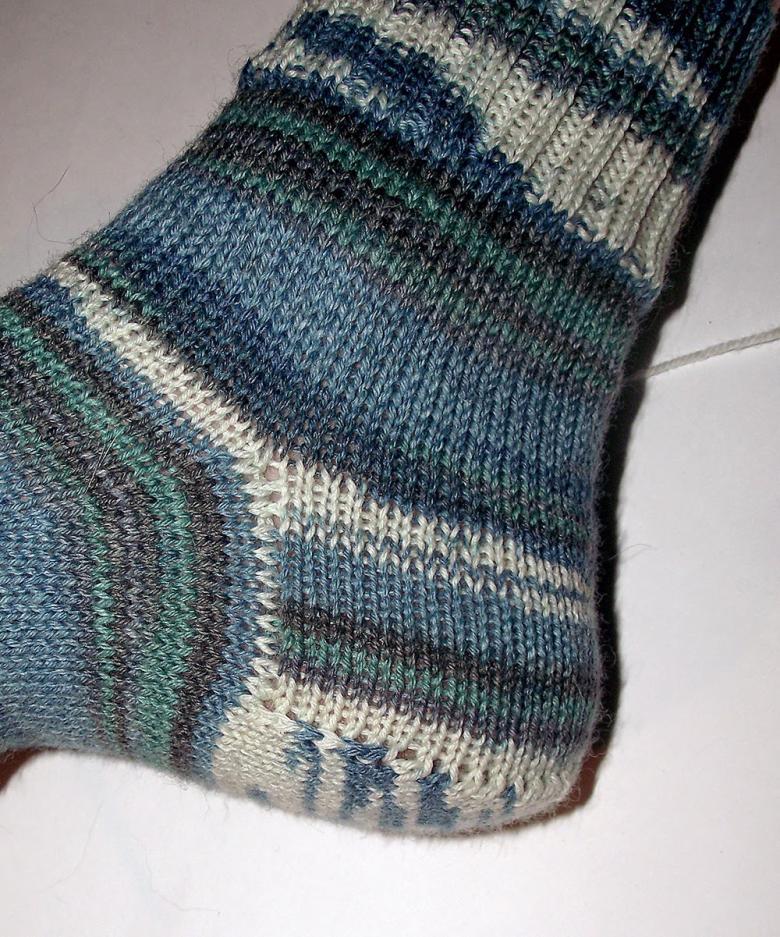
Forming the heel of the sock in the technique of French knitting
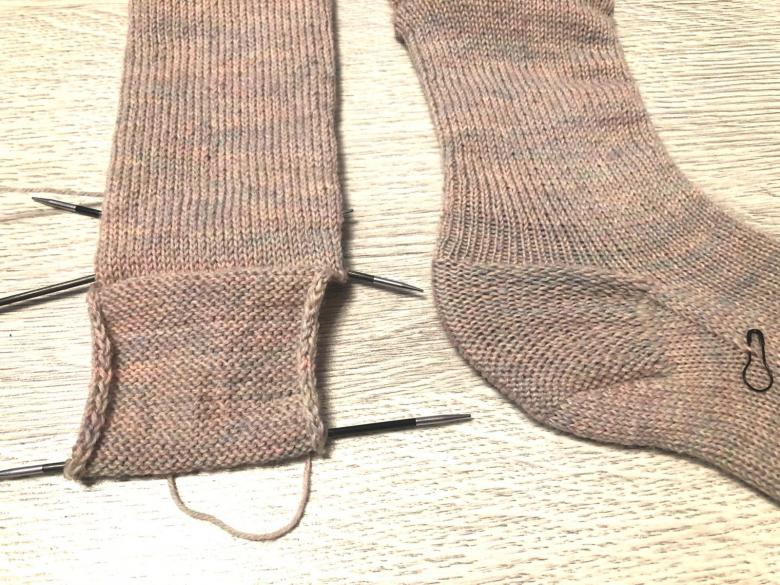
This technique is similar to knitting a straight heel. It, too, highlights the three parts of the fabric when doing this part of the sock. The difference is that the central part is smaller.

Heel is knitted from the wall and the turning segment. Various patterns can be used to decorate the walls. The element of the turning part is knitted with stockinette knitting.

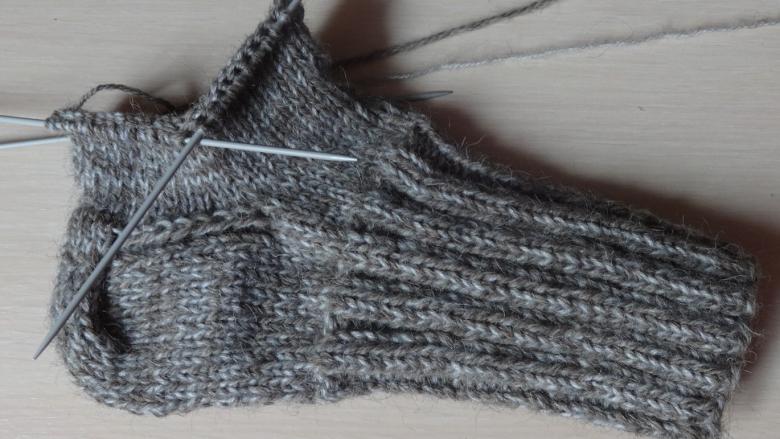
According to this technology in the work are used only loops of the sole. There should be as many as there are on the outer part. Left to work loops are divided into three segments. The center should get an even number, on the sides of the number should be odd and greater by one.

First knit 9 rows in the central part up. Then the product is turned 90 degrees and perform a perpendicular lift on the left side part. To do this from the edge of the central part, knit a front row that uses a perpendicular loop. The sock is turned over, make a hook and knit a row with the wrong stitches.
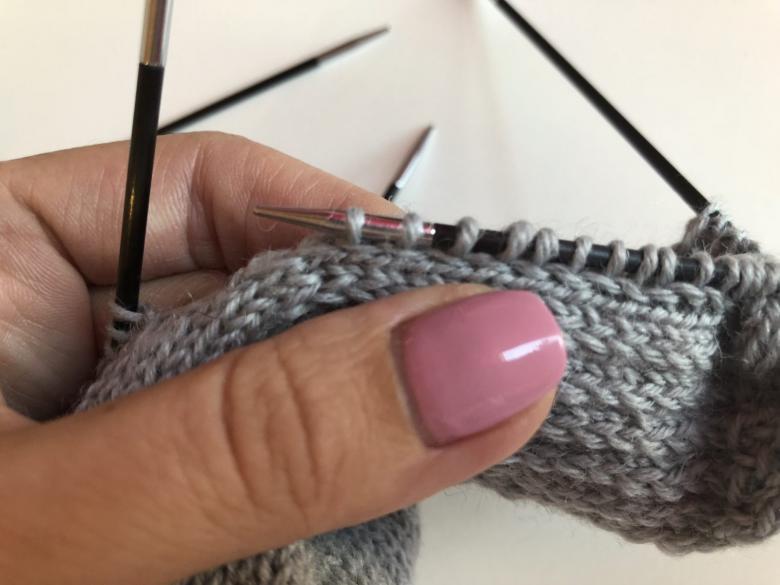
Then the second perpendicular stitch is taken again. So you need to lift perpendicular loops on both side parts until the height of the center and sides is the same. Then move on to knitting with 4 needles.
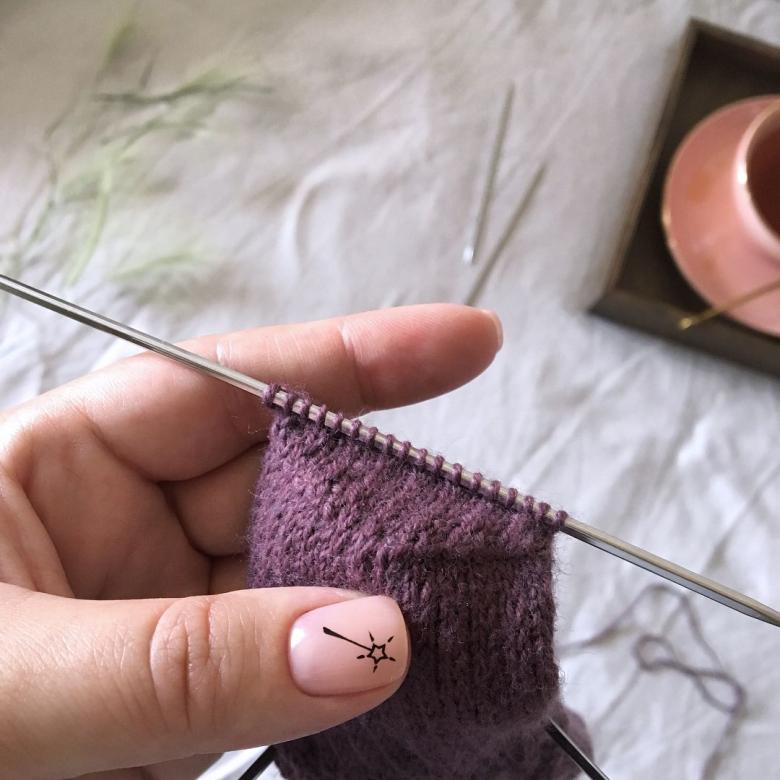
The heel in the "kerchief" technique
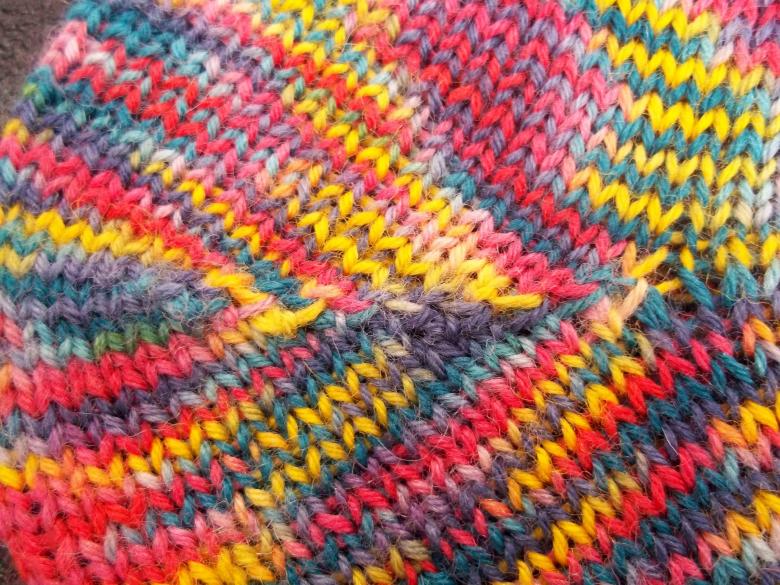
This technique is similar to the French technique. Three parts of the sole is also used. The result is a corner in the center, which resembles a kerchief.

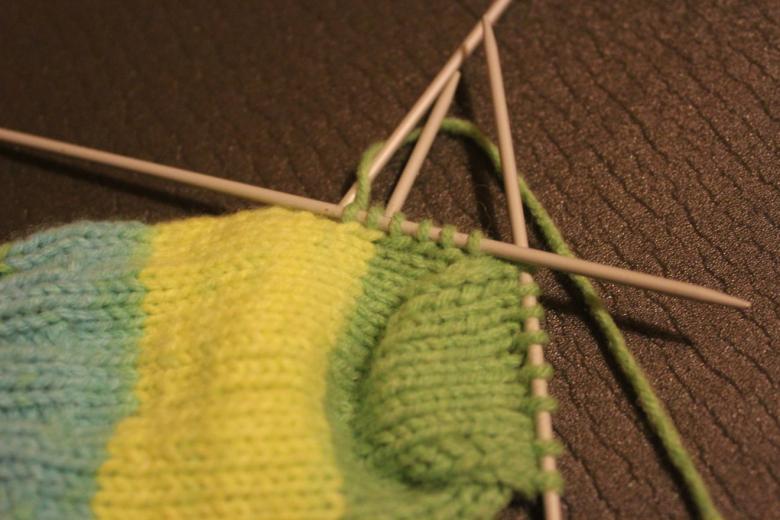
First, you need to leave in the work half of the loops, located on the side of the sole. Throw the rest on the 2nd and 3rd needles. Begin knitting a square stocking knit height, which should be as many rows as the number of loops left on the central part.
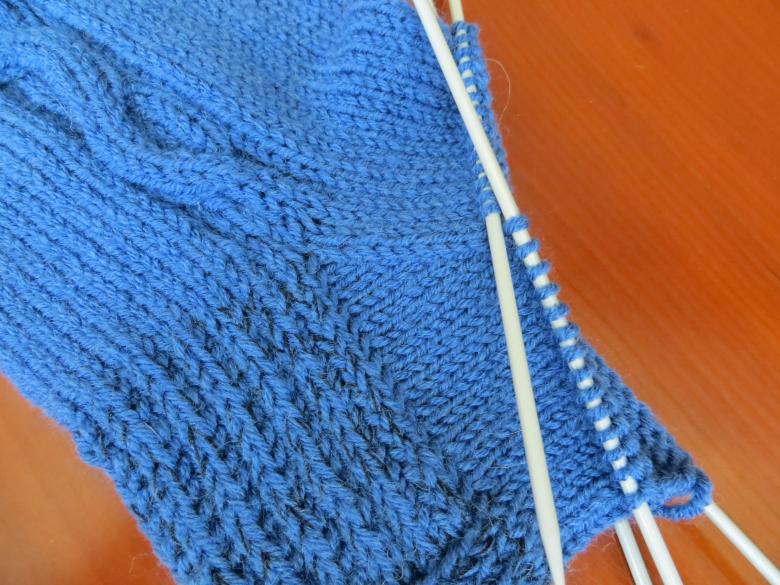
After that, the working part of the fabric is divided into three segments. In the center should remain on 1 loop more than on the sides. Then begins stocking knitting the central part, during which the sides are removed from the loops - one on each side. This should be done until the needles of the side parts are empty.

When the cup of the heel part is ready, you should move on to the knitting lift in the form of a wedge. To do this, use the loops from the 2nd and 3rd needle, adding new ones to create the desired height. The height is calculated individually with the help of a special size table.
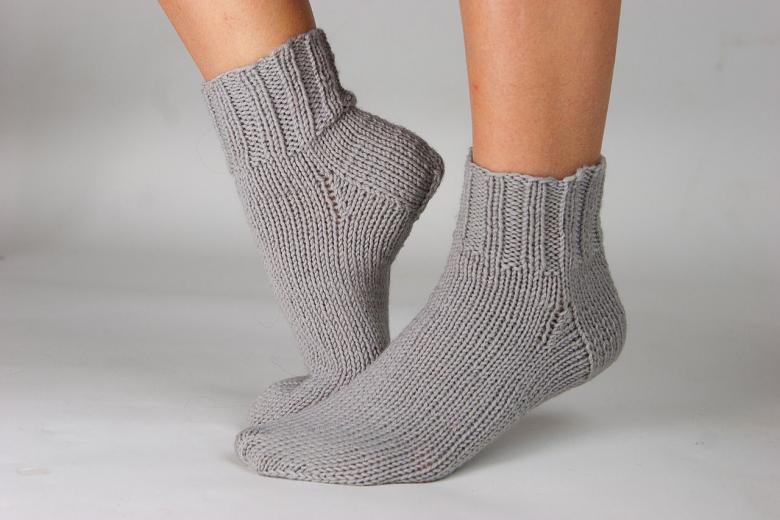
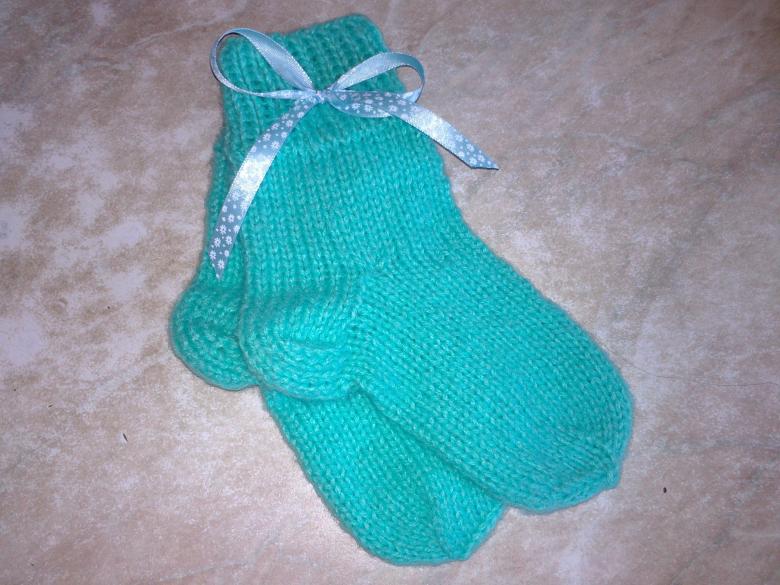
By mastering these simple techniques, you can knit a collection of socks of different designs for yourself and your loved ones. Socks knitted in wool will keep you warm not only in the wintertime outside. They can also replace the traditional house slippers. Heel knitting technique will help to fill a beginner knitter's hand. After her it is easier to learn different ways of knitting sleeves, shelves and collars of products.

