Handmade crafts on the tales of Bazhov - a selection of interesting master classes with photo examples
Ural fairy tales - a source of ideas share of creativity. In schools and kindergartens often hold exhibitions and contests of crafts based on Bazhov. Characters of fairy tales are embodied in various techniques and materials.
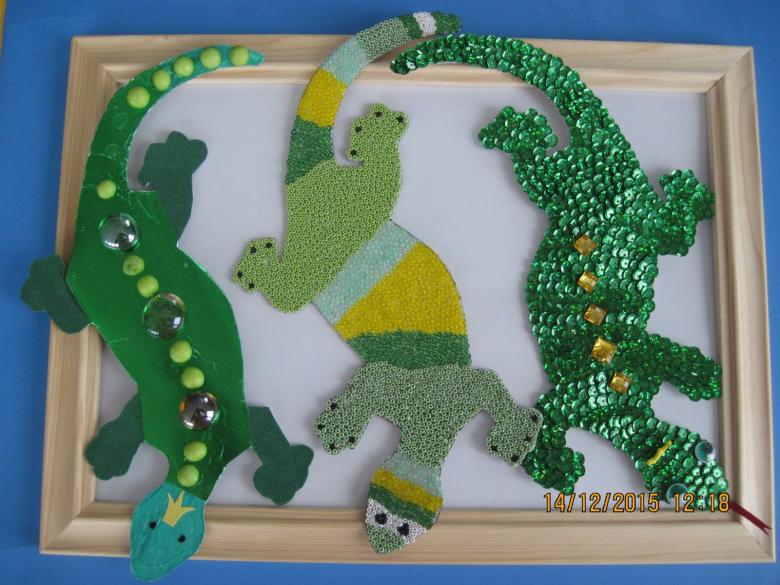
Children especially like such an activity, because they have the opportunity to embody in a craft their perception of the fairy tale.
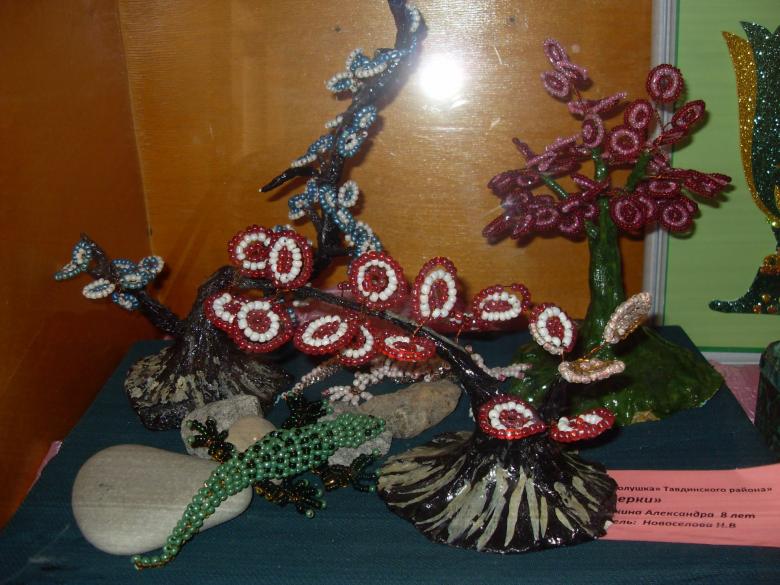
Lizard on a rock
To make a handicraft you will need:
- 1 sheet of thick cardboard;
- Medium-sized stone, preferably with a smooth surface;
- 3-4 small stones;
- Acrylic or gouache paint;
- green plasticine;
- glue gun.

First, we make the base of the handicraft. Paint a sheet of cardboard brown. The biggest stone is painted green. When painting, we add black and brown strokes, achieving a mottled effect. Small stones are colored the same way, but with a predominance of dark green.
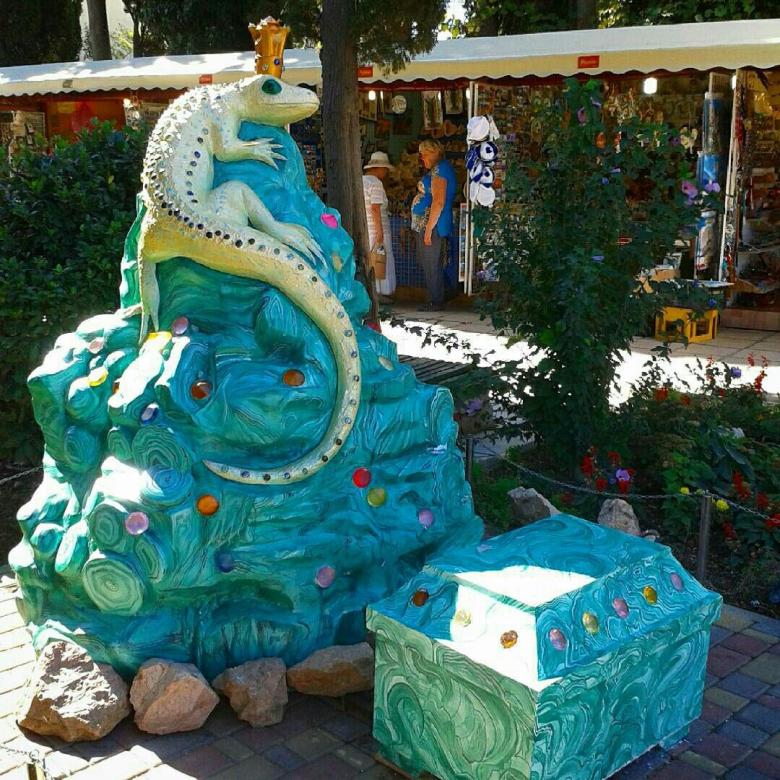
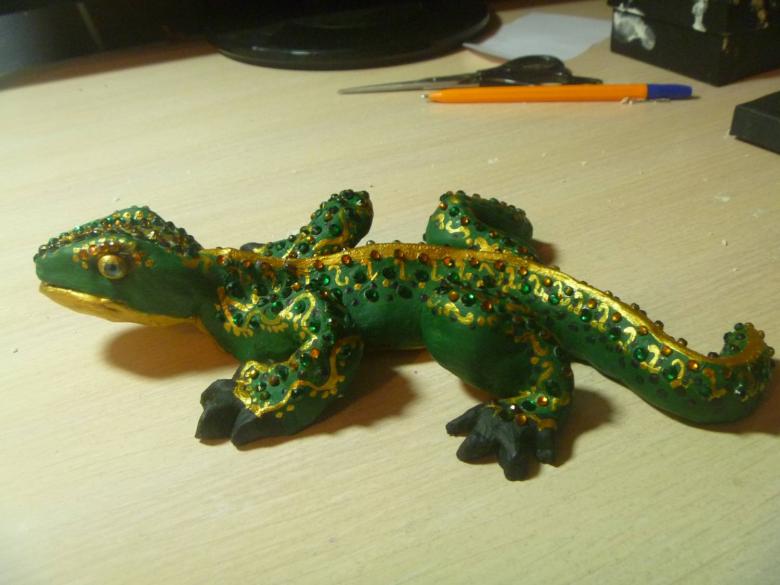
Next, let's model a lizard out of clay. Size is up to you, the main thing that the lizard was not larger than the stone base. On the head of the lizard do eyes of black or dark green beads, fix a crown.
Assemble the composition. Glue a large stone on a cardboard base. We glue with a glue gun, use a lot of glue. For strength and stability, make 5-6 points of glue.

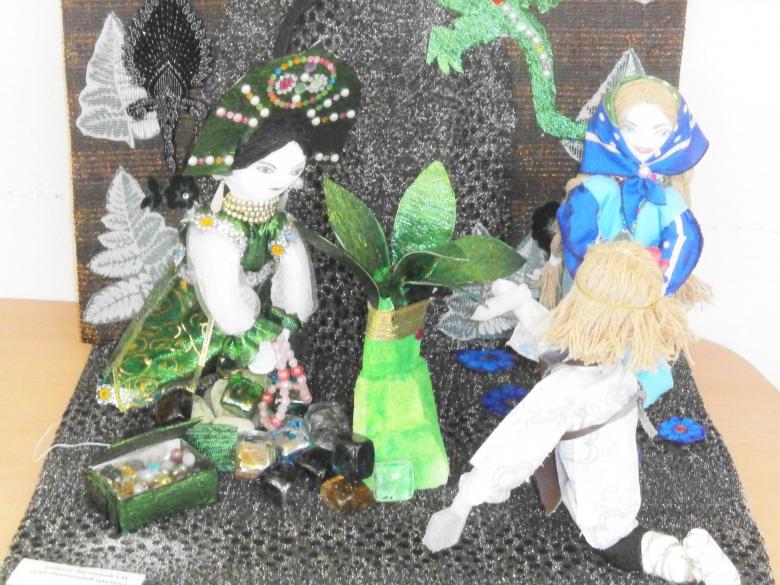
Take small stones and a lizard and add up the composition. Imagination will tell you how best to arrange the figures. Remember that the lizard was not hiding, but watching Danila master.

When the best option is found, secure all the elements with a glue gun.

To complete the craft, you can add gold sequins on the stones or fill the remaining space with artificial crystals to match the gems.
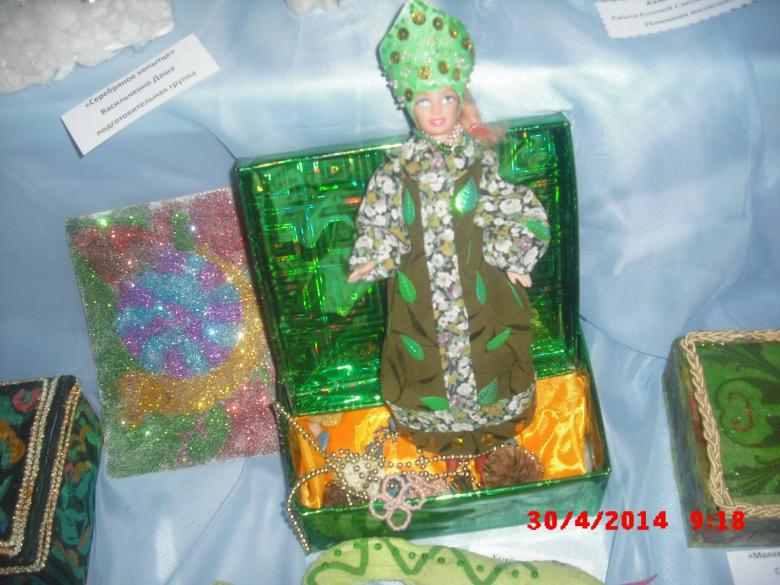
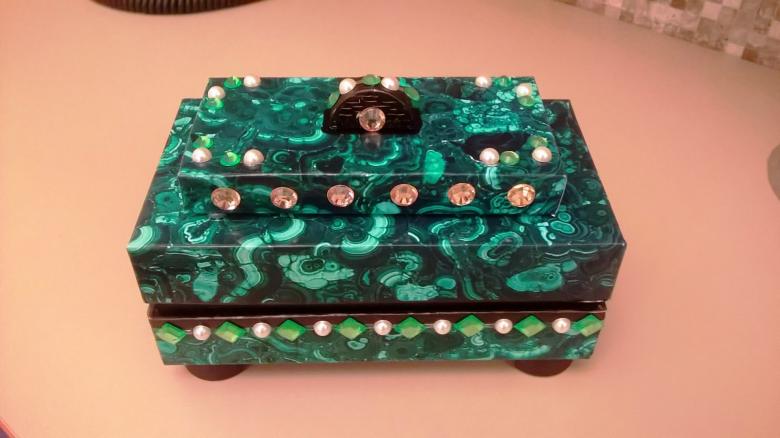
Malachite casket detailed master class
Materials needed:
- Cardboard at least 3 mm thick.
- White acrylic primer.
- Acrylic paints: two shades of green, black, gold.
- Texture paste.
- Metallic decorations.
- Handles, hinges, feet.
- Stationery knife, cutting mat, pencil, ruler, glue, medium grit sandpaper, brushes.
From cardboard cut out parts - 2 rectangles of size 13x18 cm, 5x13 cm, 5 x 17.6 cm. One large rectangle will be the base of the casket. Glued to the base of the short side first, then the long.

Mark the location of the loops, stepping back from the edge of 4 cm, and glue them. One side of the hinges will be on the side, the other on the lid.
Cut out two rectangles of cardboard measuring 5.3x18 cm and 12.4x17.4 cm, glue them, closing the hinges.
In the middle of the cover glue a rectangular piece measuring 9x14 cm. Check the indents from the edges, they must be the same.
Then we primed the entire surface of the future casket, inside and out, with acrylic primer. Particularly carefully primed cardboard cuts. The primer can be removed from the metal hinges with a damp cotton swab.

With a stiff dry brush, apply a thin layer of texture paste in wavy motions over all surfaces. After the paste dries, attach the handle to the edge of the lid. To attach it, use glue and brads - buttons or nails with a flat, flexible leg of soft metal. Such nails are usually included with the handle.

Cut out a rectangle 1-1.5 cm wide and as long as the inside of the casket. We glue it so that from the inside this fixer just goes between the sides. At the same time it will cover the legs of the brads. Prim this part.

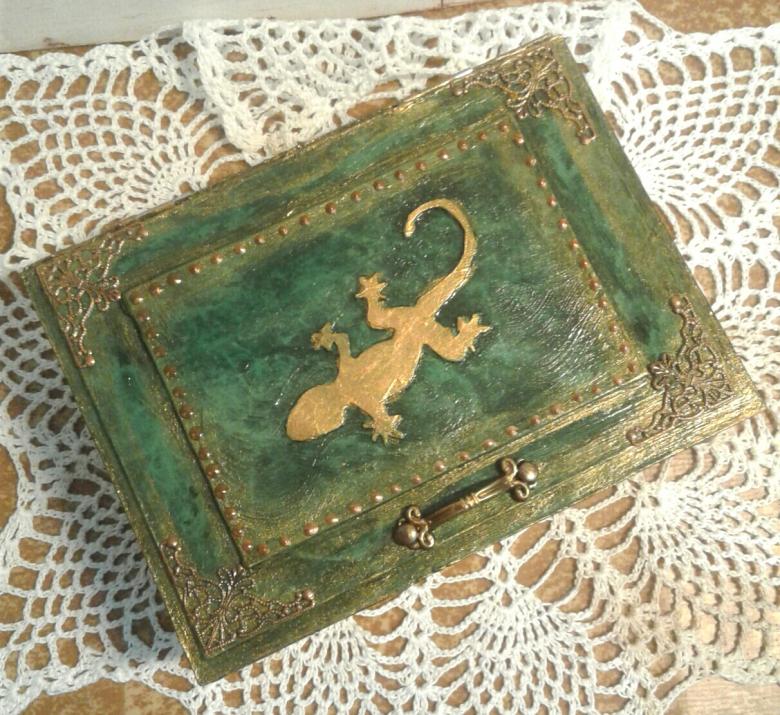
Print out the lizard stencil on heavy cardboard and cut it out. You can take several different stencils. It is convenient to cut with a layout knife.
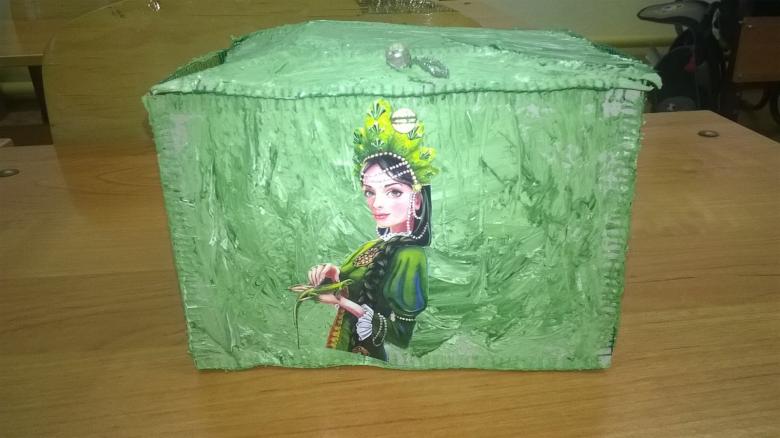
Through the stencils we paint the silhouettes of lizards with texture paste on the sides of the box. If desired, you can place three-dimensional silhouettes inside the box or on the inside of the lid.
After drying, all irregularities are smoothed out with medium grit sandpaper.
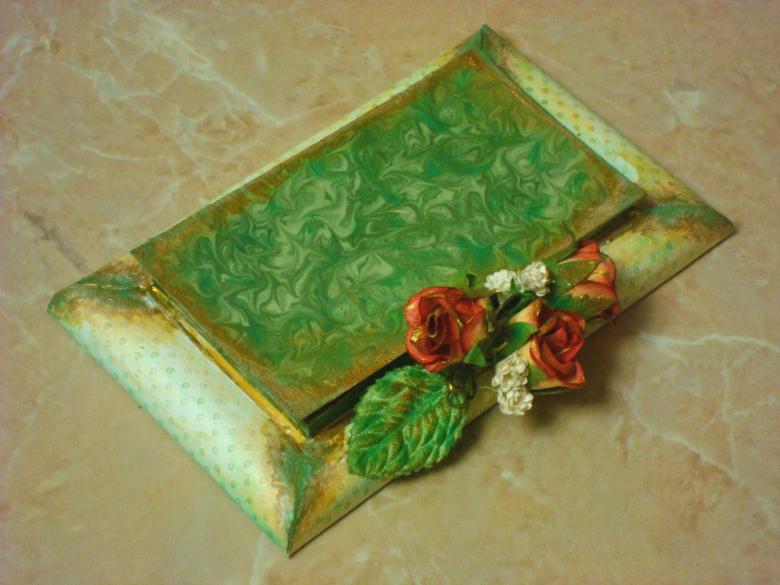
Mix two shades of green acrylic and paint the surface of the box. Decorate the lid with transparent drops of drops. After drying, paint the droplets.
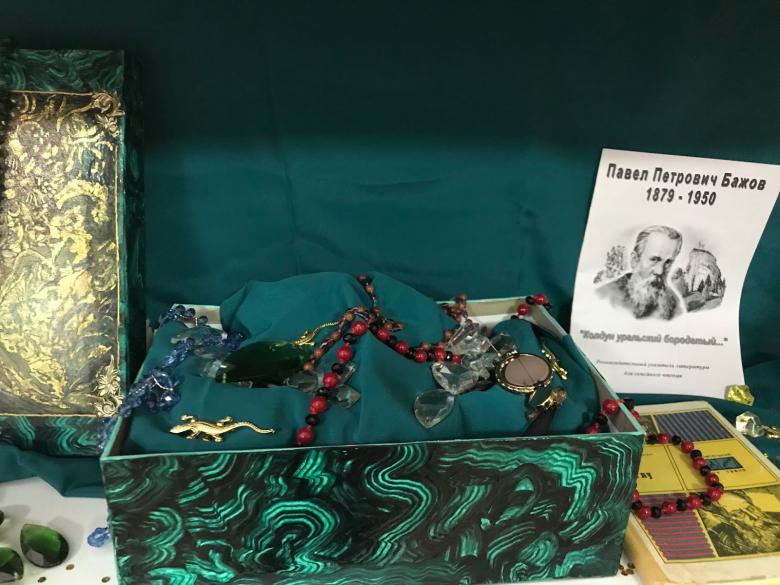
Create malachite stains:
- We paint part of the surface with strongly diluted water black paint;
- Immediately blot the surface with crumpled paper, each time with a new one. Pieces of paper are matched to the size of the area to be painted;
- Smooth a little by lightly touching the paint with a dry stiff brush.
On the dry surface of the lid glue the metal corners. Then we glue the legs with superglue.

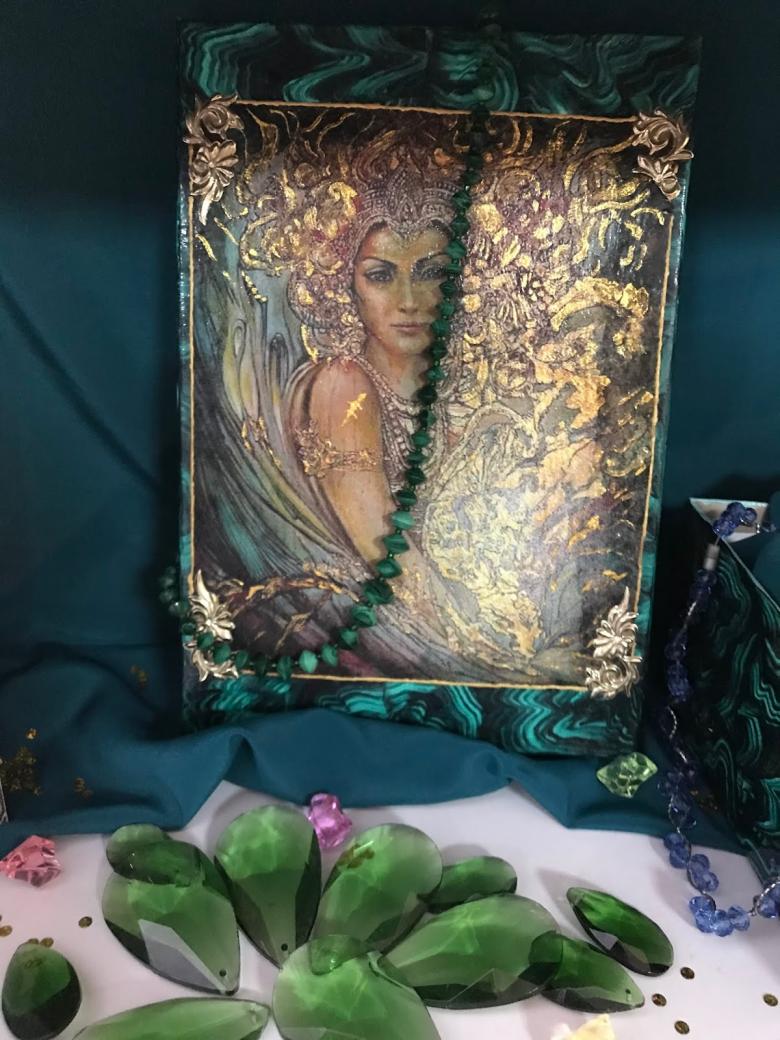
Tint the lizard silhouettes on the box with gold acrylic. Then we decorate the box with metal elements, beads, artificial or natural stones. For a finishing touch, we stain the whole box with gold acrylic and then varnish it with a matte finish.
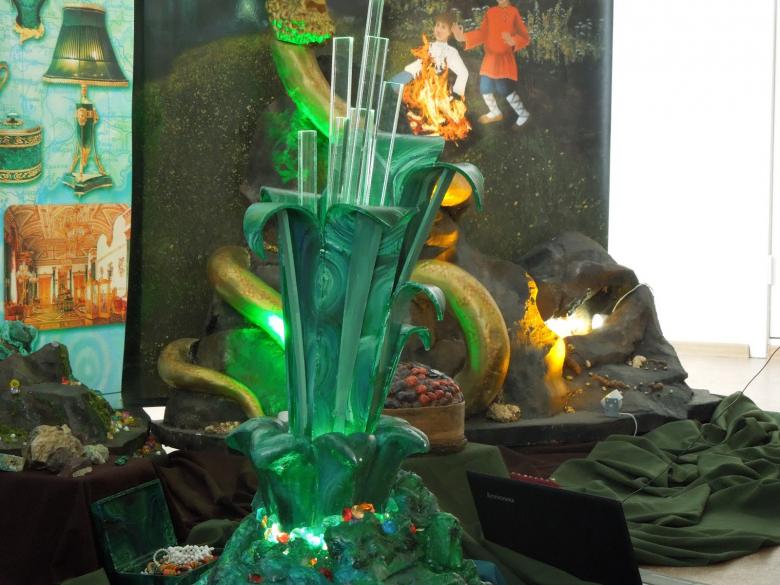
If this method of manufacturing seems time-consuming, you can use self-adhesive malachite film and ready-made elements in the form of lizards, monograms and scrolls. They are sold in stores for creativity or crafts.

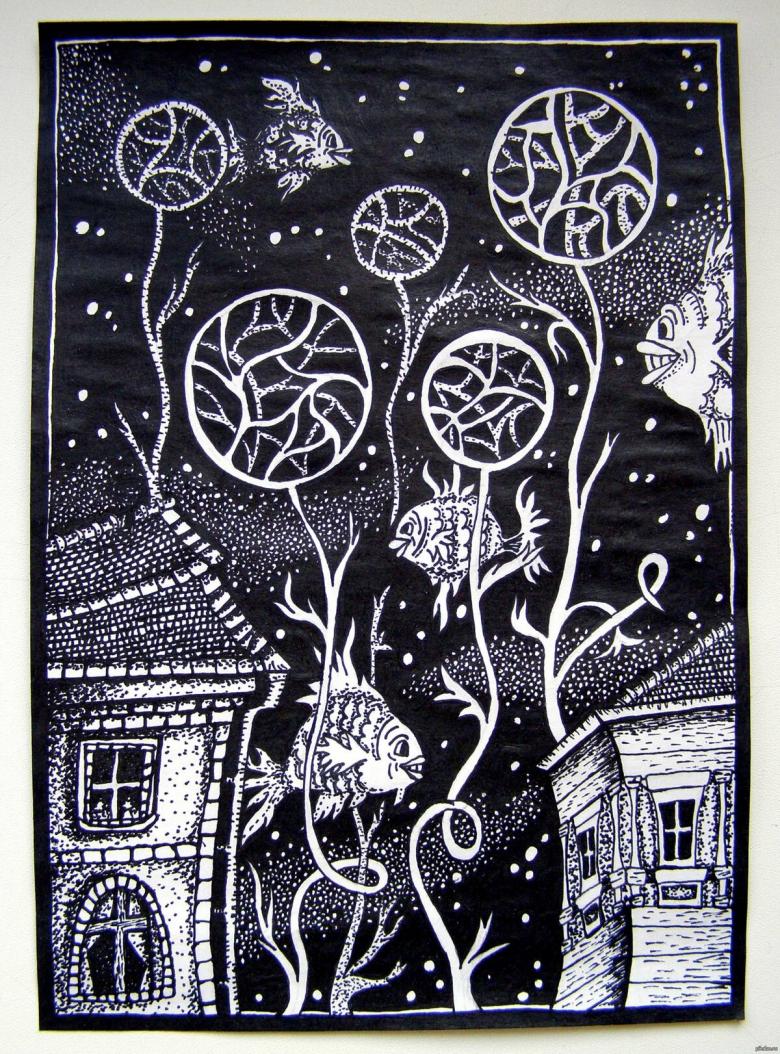
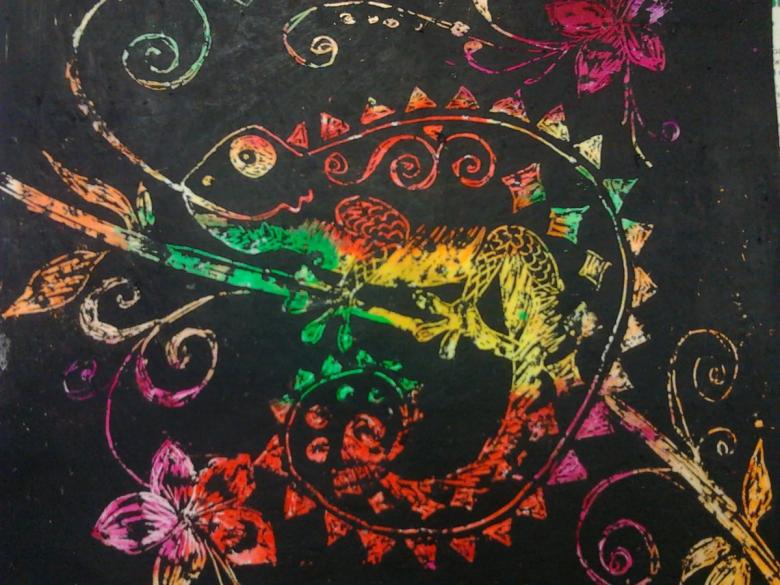
Painting in the technique of grattage is an easy way
Grattage technique is a scratch drawing with a sharp object on a black background. Full technology for the preparation of the basis for the drawing is quite difficult, but you can use an easy option.

You will need a sheet of cardboard, black acrylic paint and a sharp object for scratching the drawing. You can scratch with a quill, a needle, or a sharpened wooden stick.
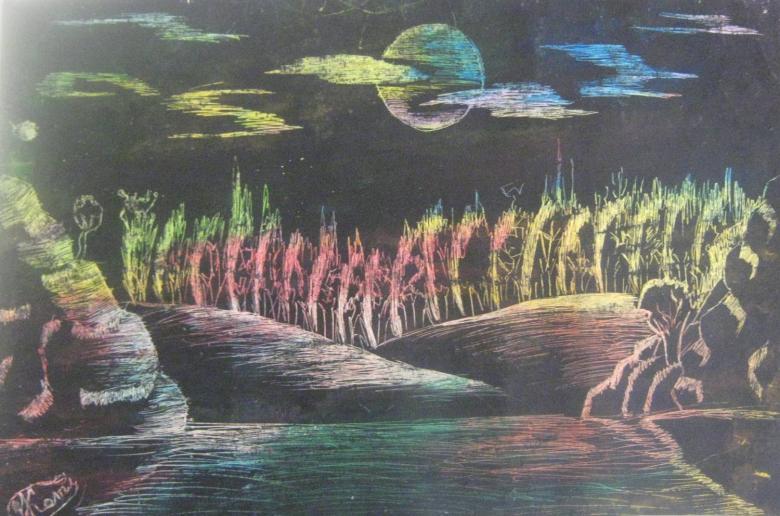
Cardboard can be white or colored. To create a panel based on the story "The Silver Hoof" well suited cardboard blue, Ognevushka - Skazka will look expressive on a base of orange. If you do not have the necessary color, you can simply paint the cardboard with wax crayons.
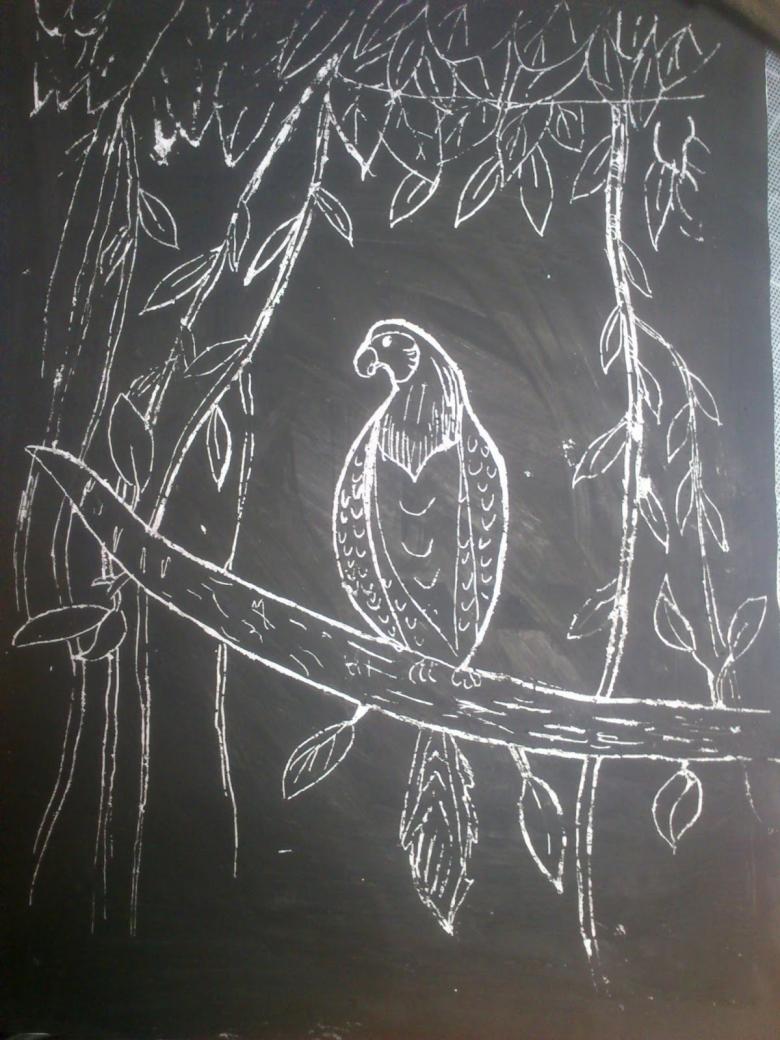
Next, cover the colored cardboard with a thick layer of black paint. Paint is applied gradually, layer by layer. If the basis is colored with wax crayons, perhaps the first few layers of paint will be rolled. Mix the paint with a small amount of shampoo - this will make the job easier.

After drying, the base is ready. Now with colored tracing paper or by hand, draw on the black background. It is not necessary to trace small parts and a lot of pressure on the pencil.
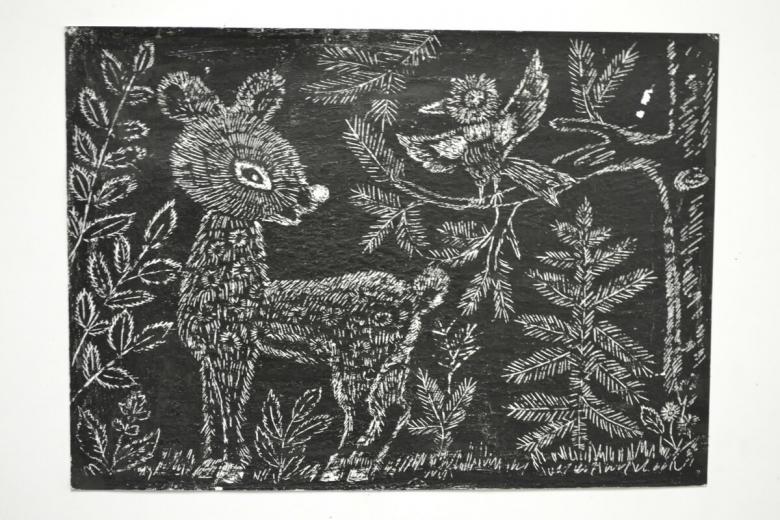
For small children, it is better to draw with a white pencil, so it will be better seen.
Let's proceed to the main stage of the work. Take a stylus, and begin to remove a layer of black paint on the outline of the drawing. Gradually the black background will show up on the drawing. It will be colored or white, depending on what base was taken.
Frame the work. In this form it will decorate any exhibition.
Quick and easy handicrafts
If there is no time or skills can make a simple handicraft.

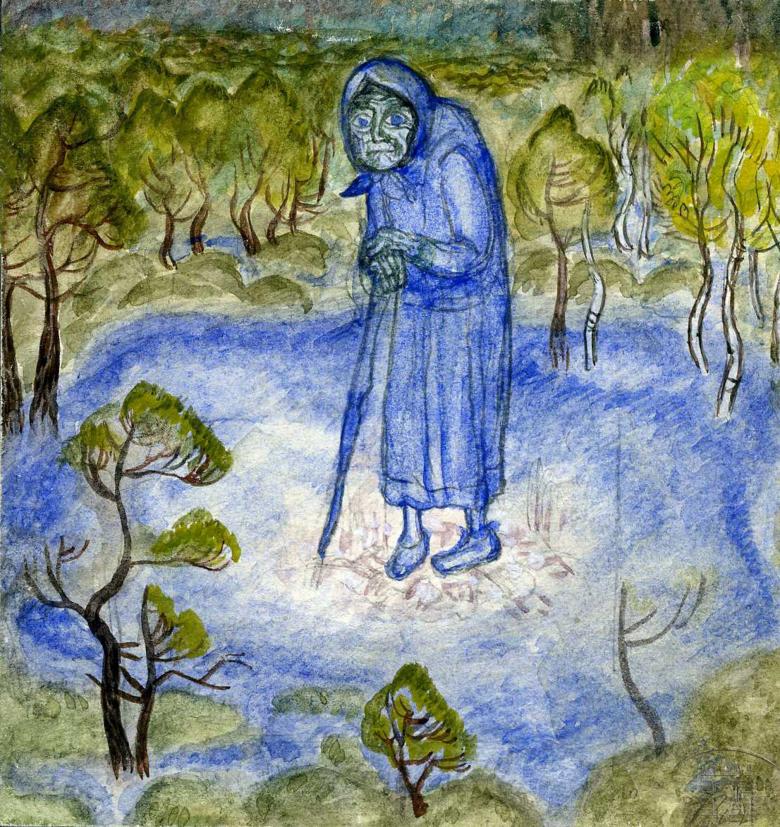
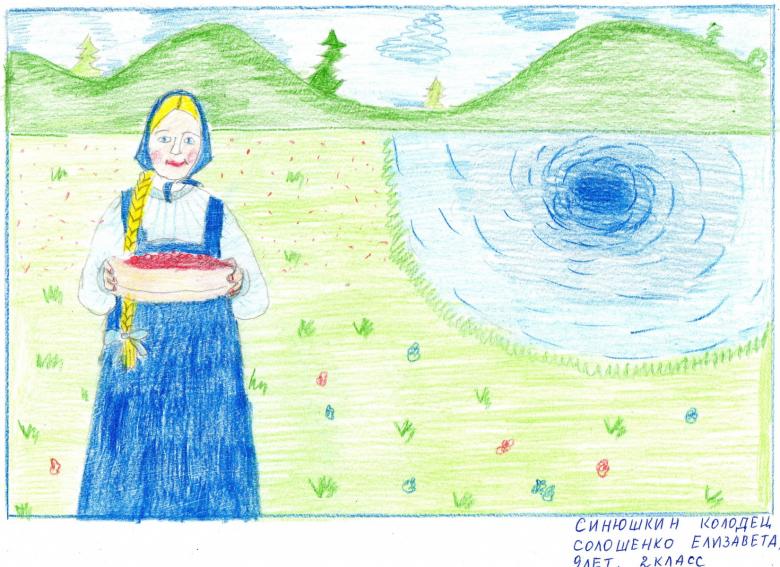
A sinyushkin well
For this handicraft take a thick twig or wooden sticks. They can be uneven, with bark or its fragments, with knots.
Fold the sticks in the shape of a well, as if you were making a log cabin. For greater stability, make hollows at the joints of the sticks.
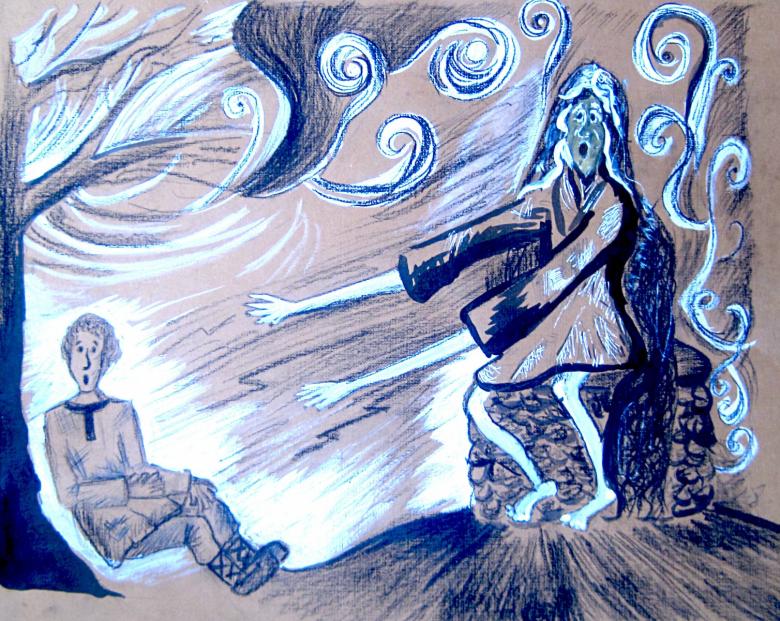
Set the well on a cardboard stand of brown or green, place a blue feather or a doll in a Russian sarafan. That's it! Even a child can do this job.
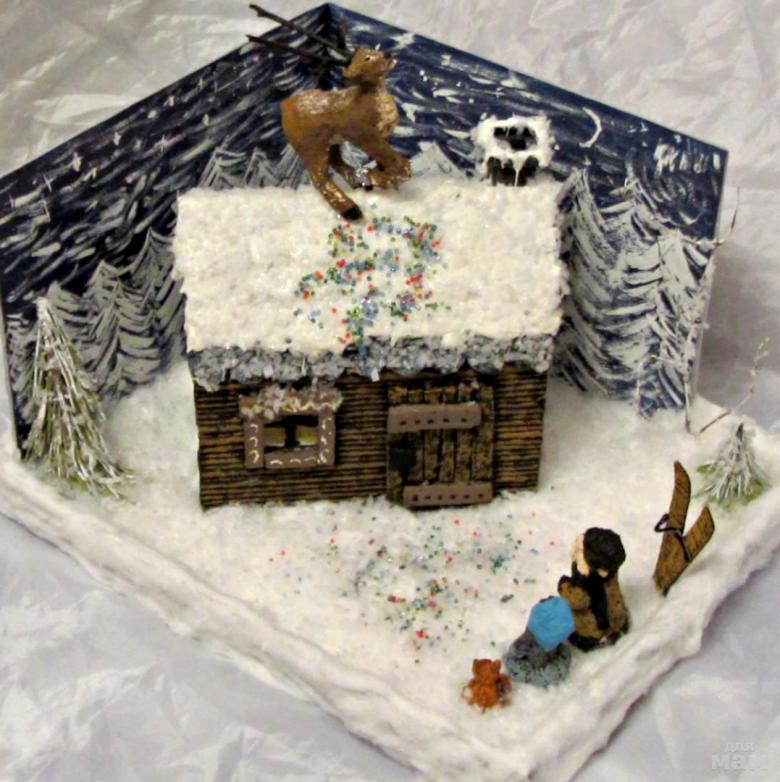
Silver hoof
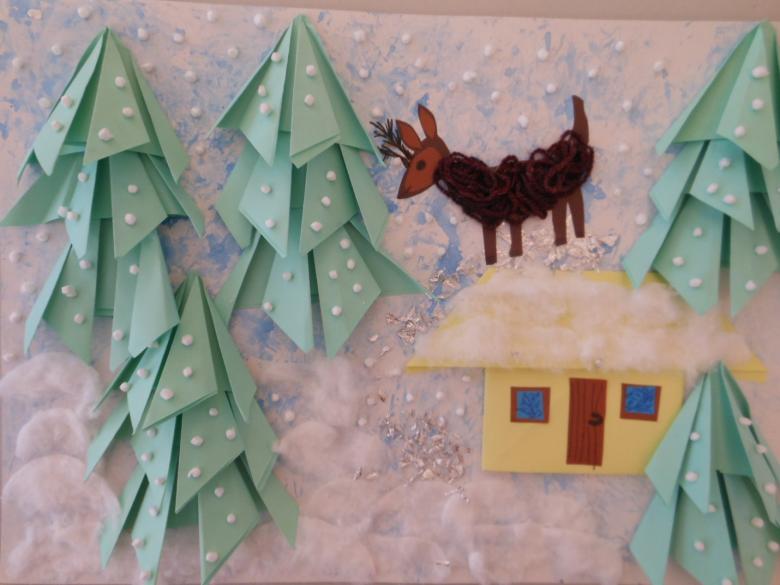
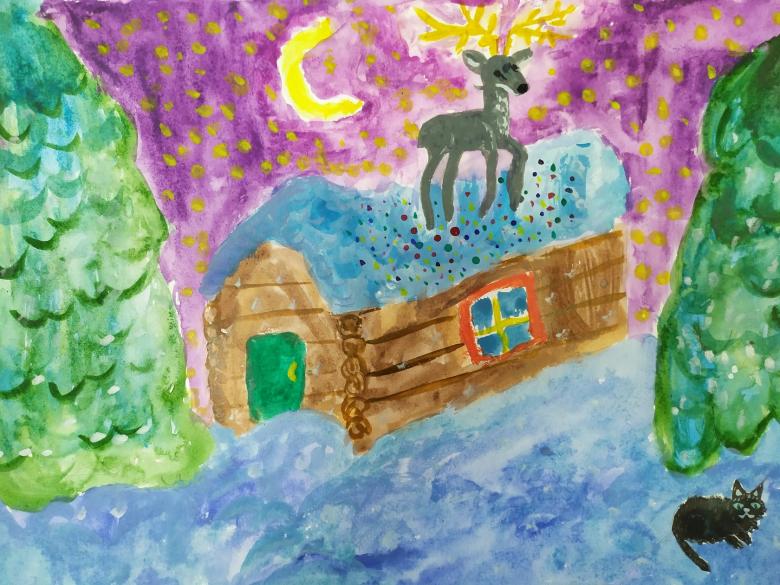
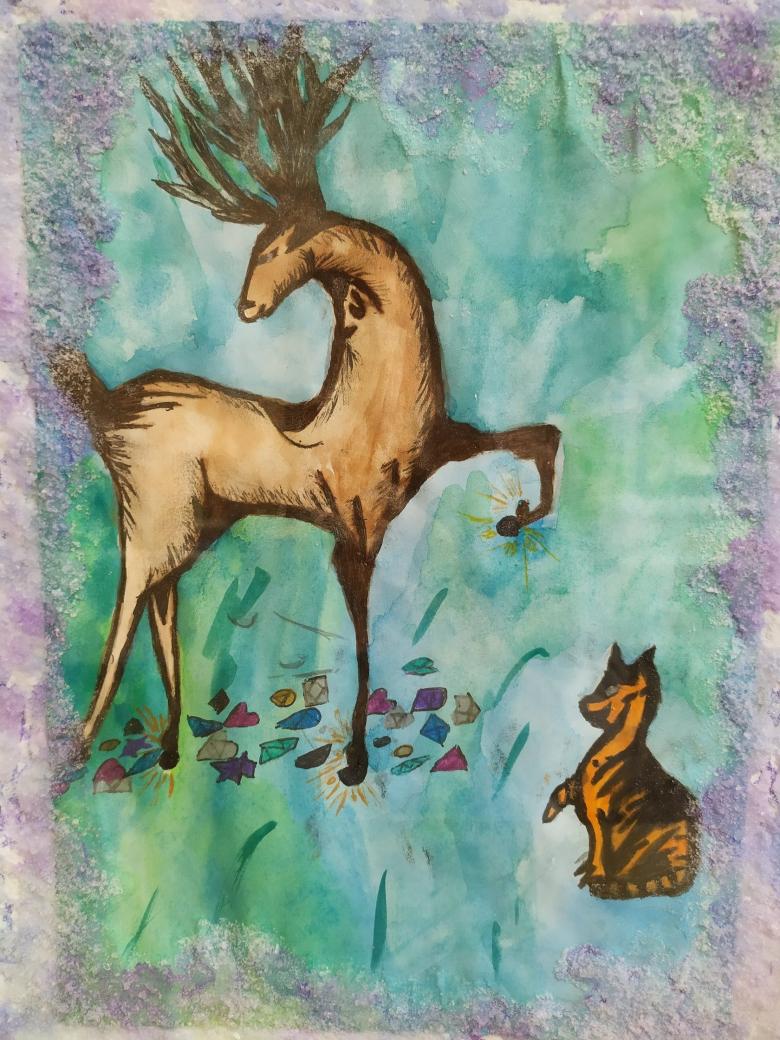
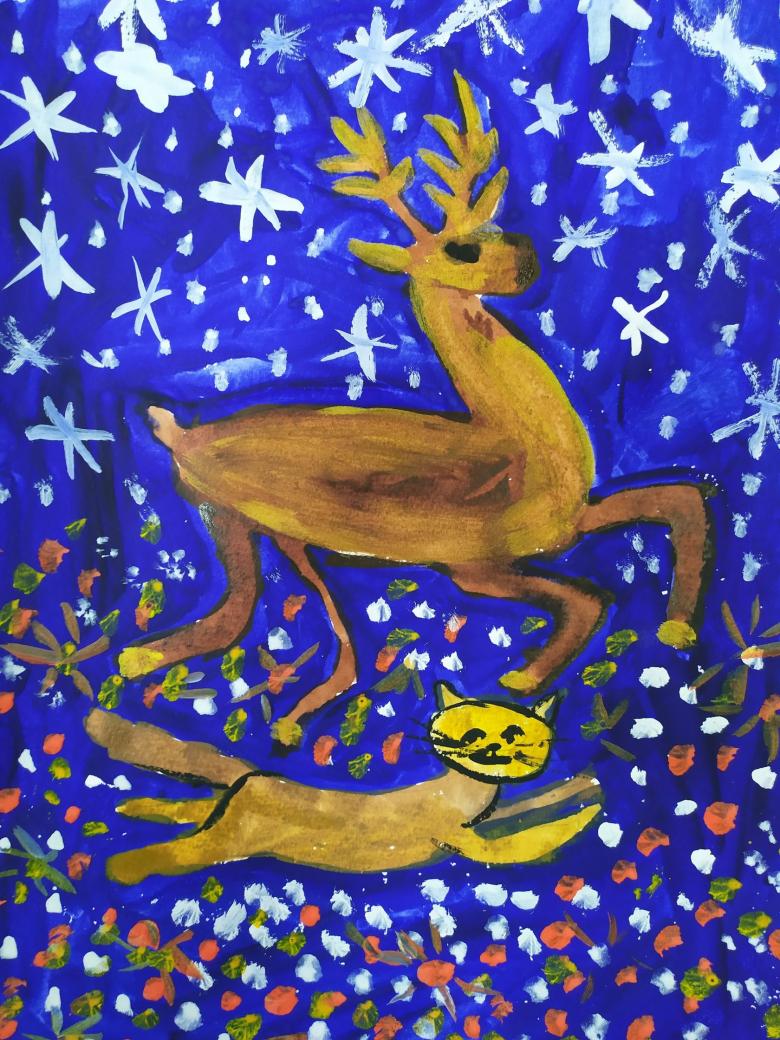
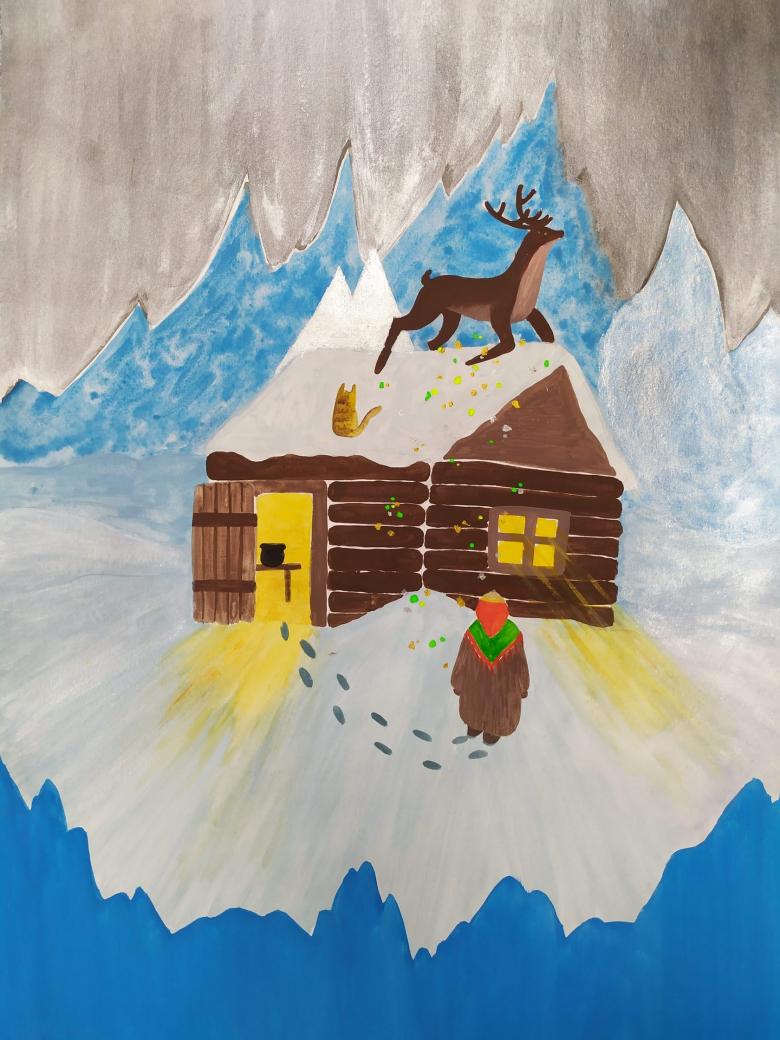
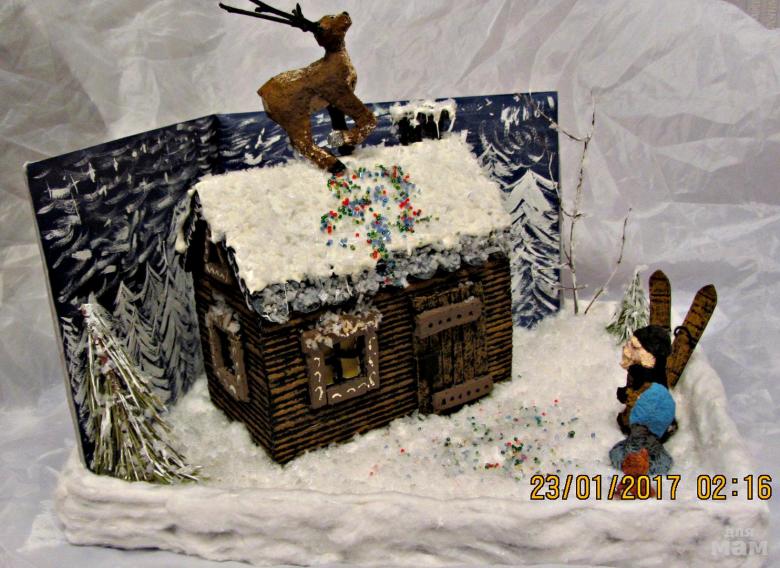
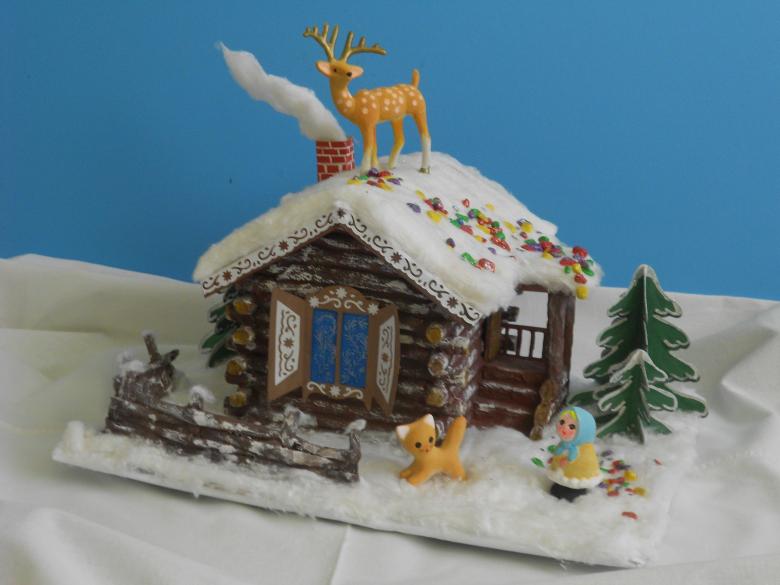
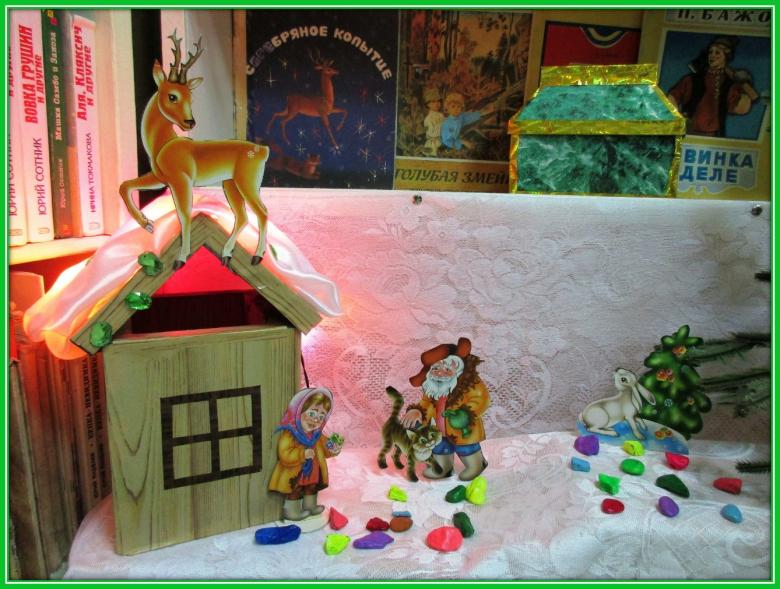
Place the ready made figurine of the reindeer on a stand, attach colored pebbles near it. You can add absorbent cotton imitating snow. If there is a figurine of a cat - put it next to it. If you want, you can decorate the hooves and antlers of the deer with rhinestones.
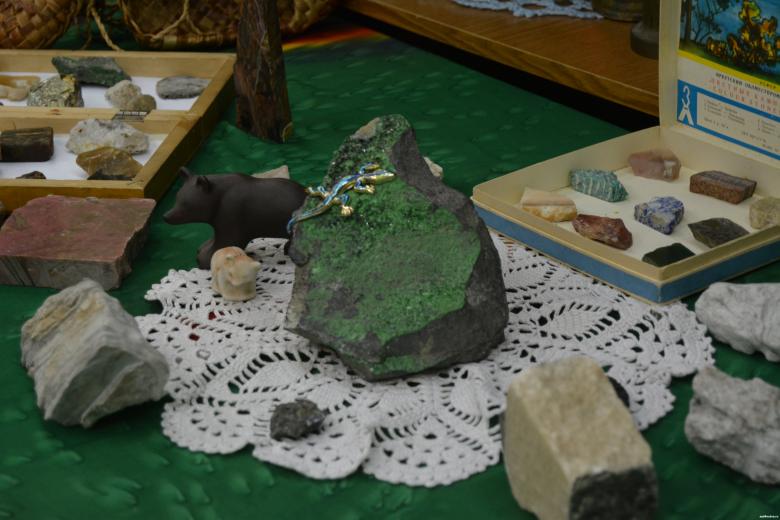
Collection of Ural stones
Cover a box with a low rim with colored paper and line the bottom with corrugated cardboard for crafts in dark blue. Use a glue gun to fasten the mineral specimens in even rows. Decorate the box with lizards. Done!
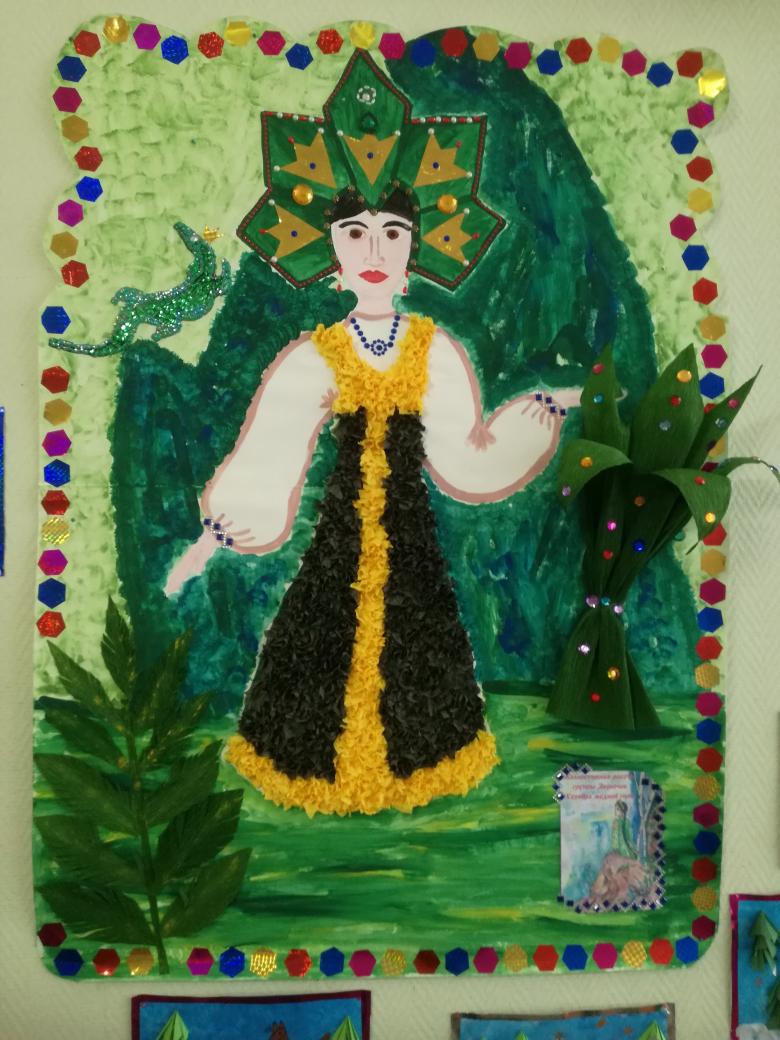
Do crafts together with children. Read the tales of Bazhov, imagine what the characters of the tales might look like and start making crafts. This will expand the child's horizons, introduce them to the work of the Urals writer and develop imagination.

