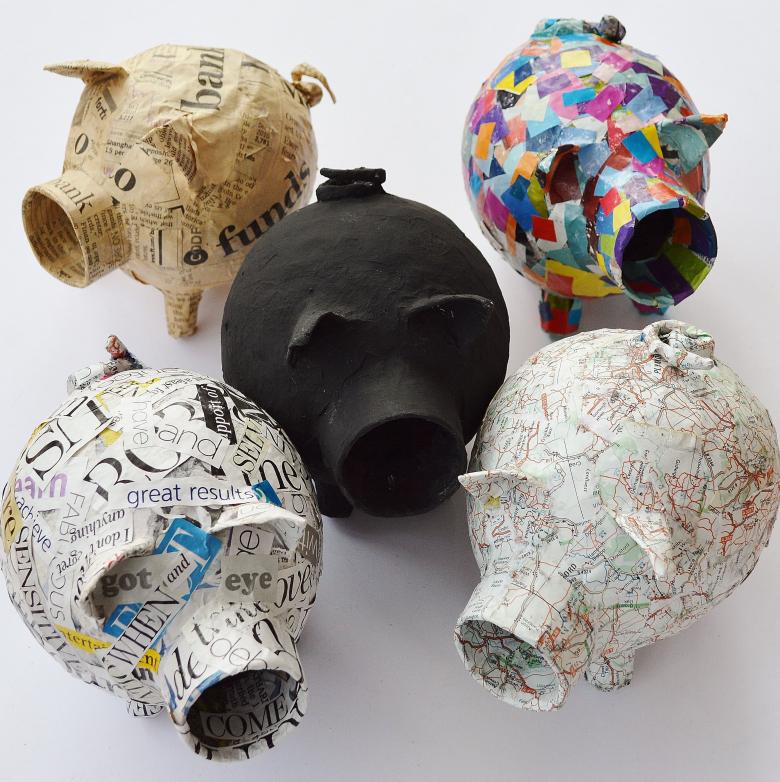
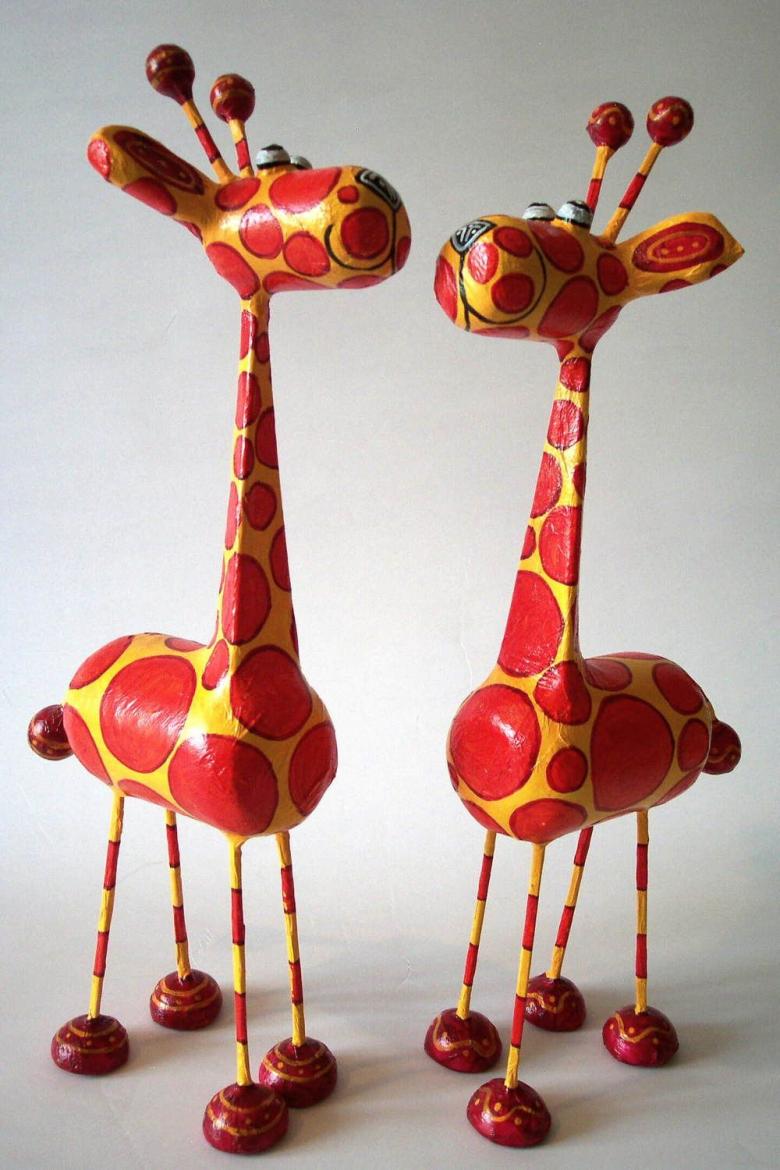
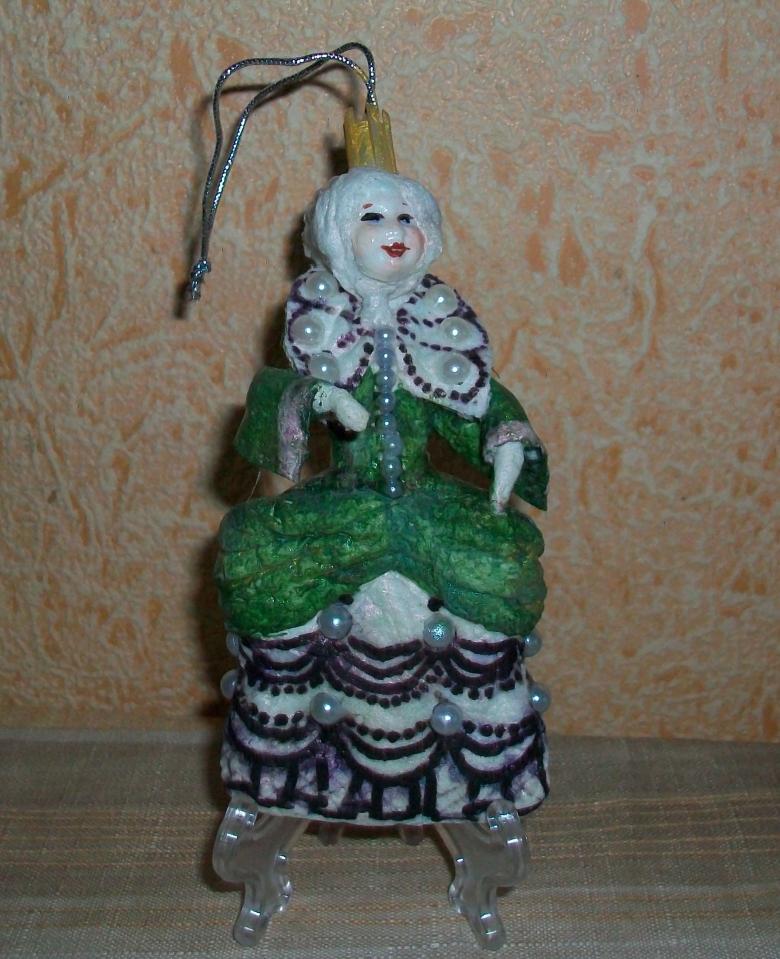
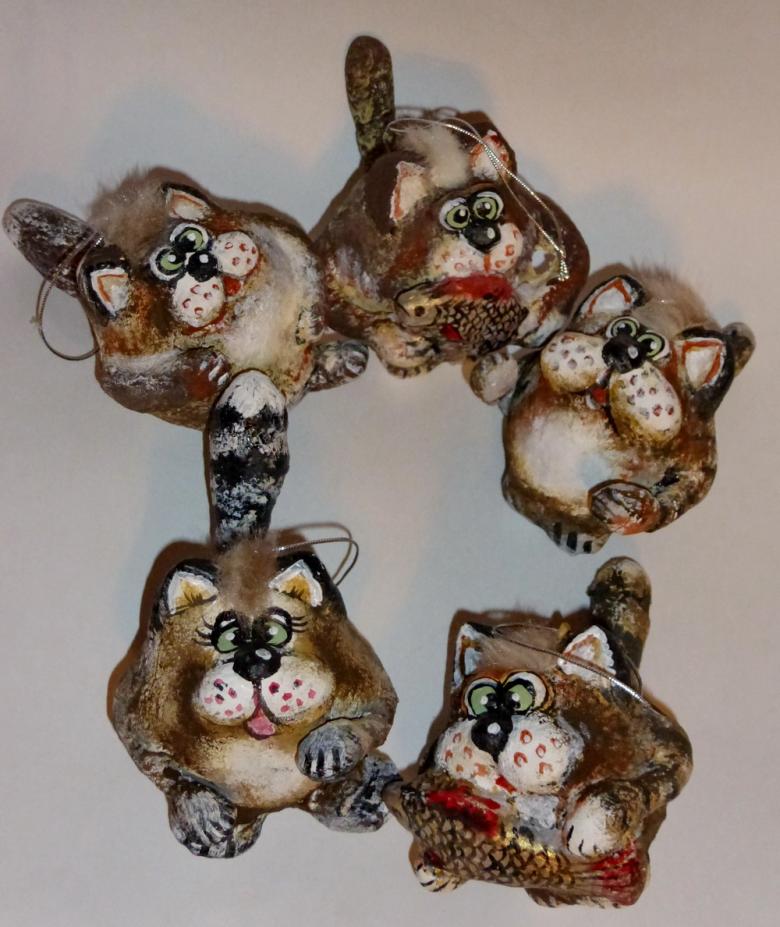
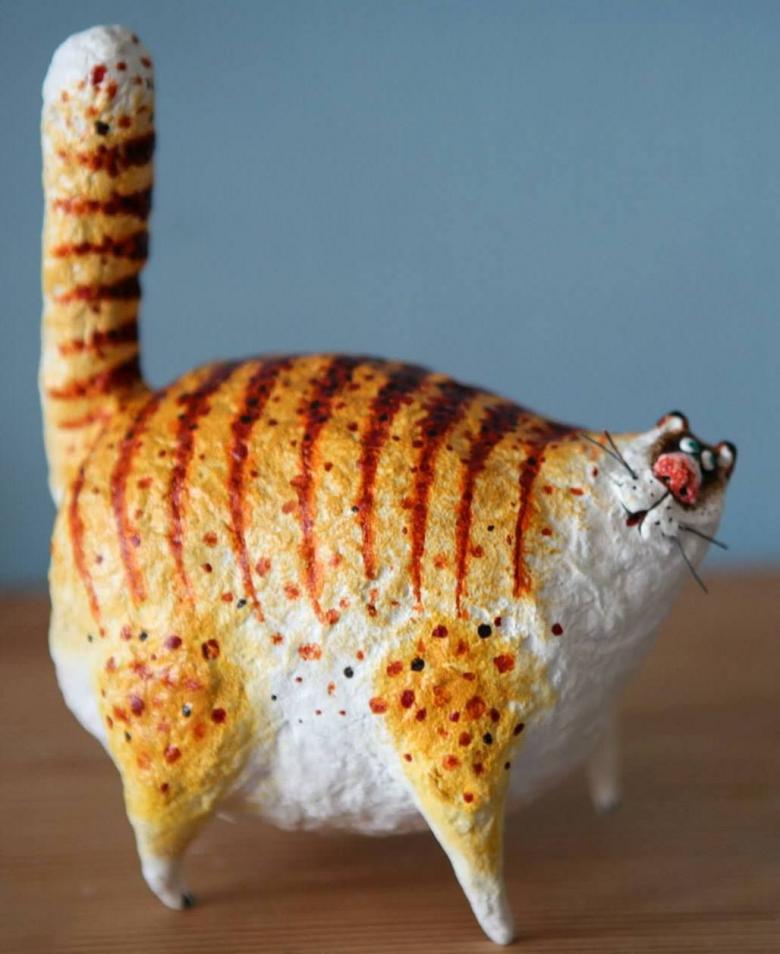
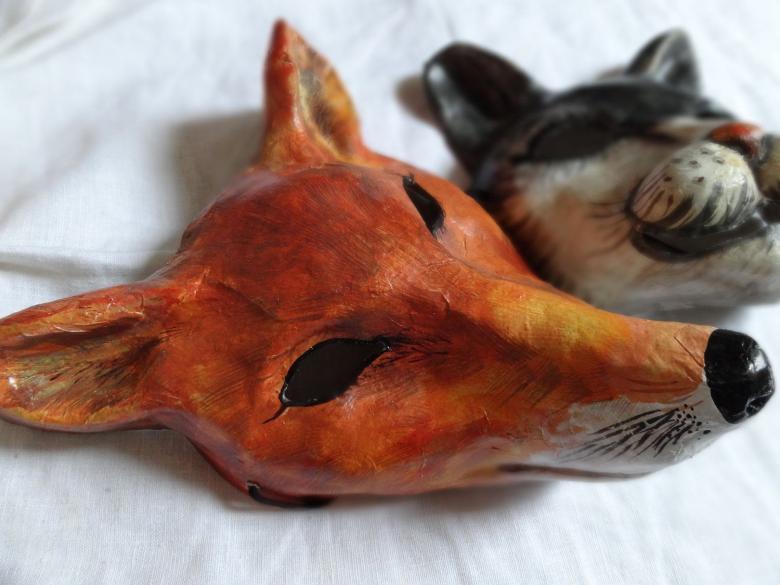
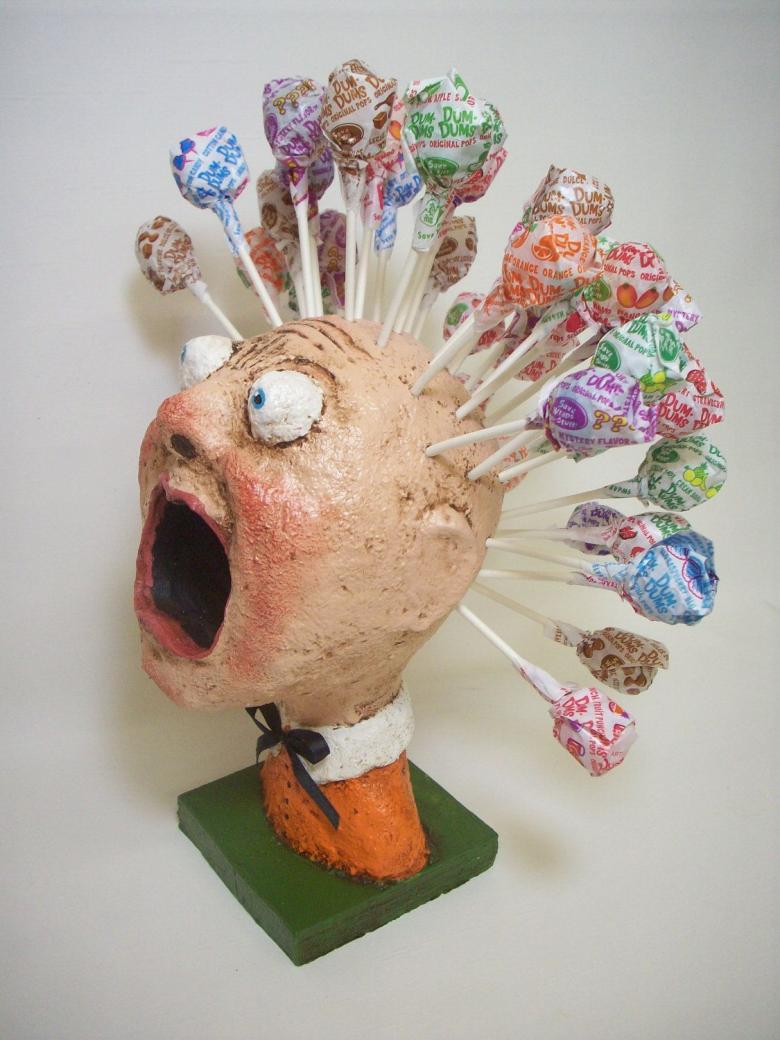
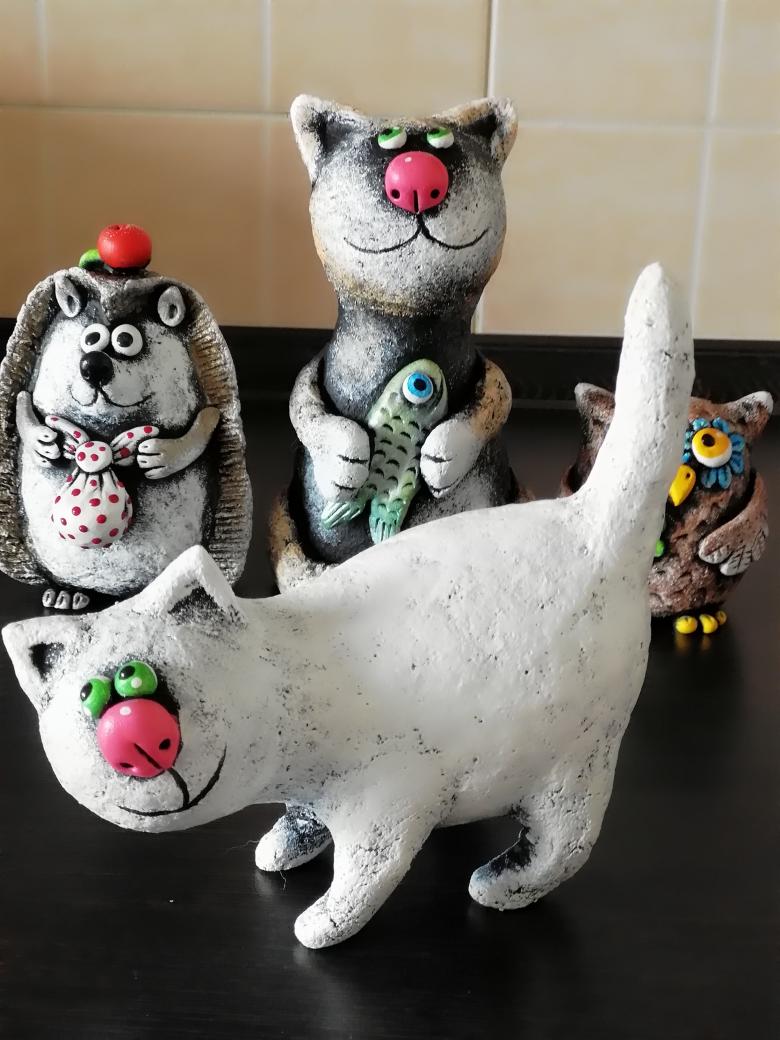
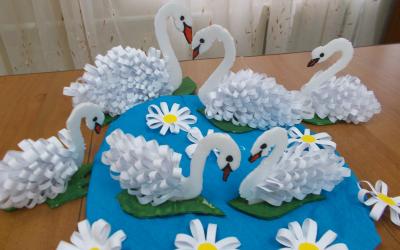
A selection of interesting step by step master classes with photo examples - papier-mache handcrafts
The French papier-mâché technique is available and not complicated, but a little time-consuming to make. Therefore, you need to be patient and your Christmas mood will be decorated with a Christmas angel, an original Christmas toy and a carnival mask!

Papier-mache technology allows you to make all kinds of things with your own hands: from props for the theater circle to stylish decorative home decorations and can be used in classes with children of all ages.
Basic materials and tools
1.Paper:
- newsprint
- office
- toilet paper
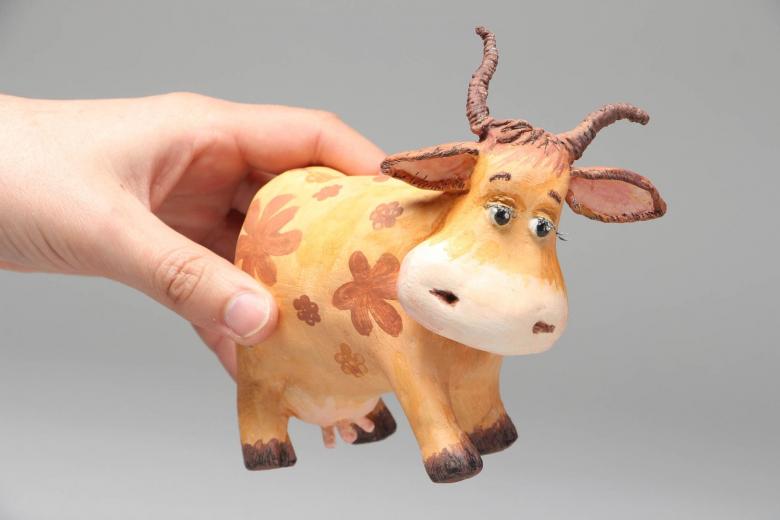
The fact is that there are two ways to get a paper layer on the form: a set of layers of pieces of paper and the application of a homogeneous mass. Sometimes both techniques are combined in one work.

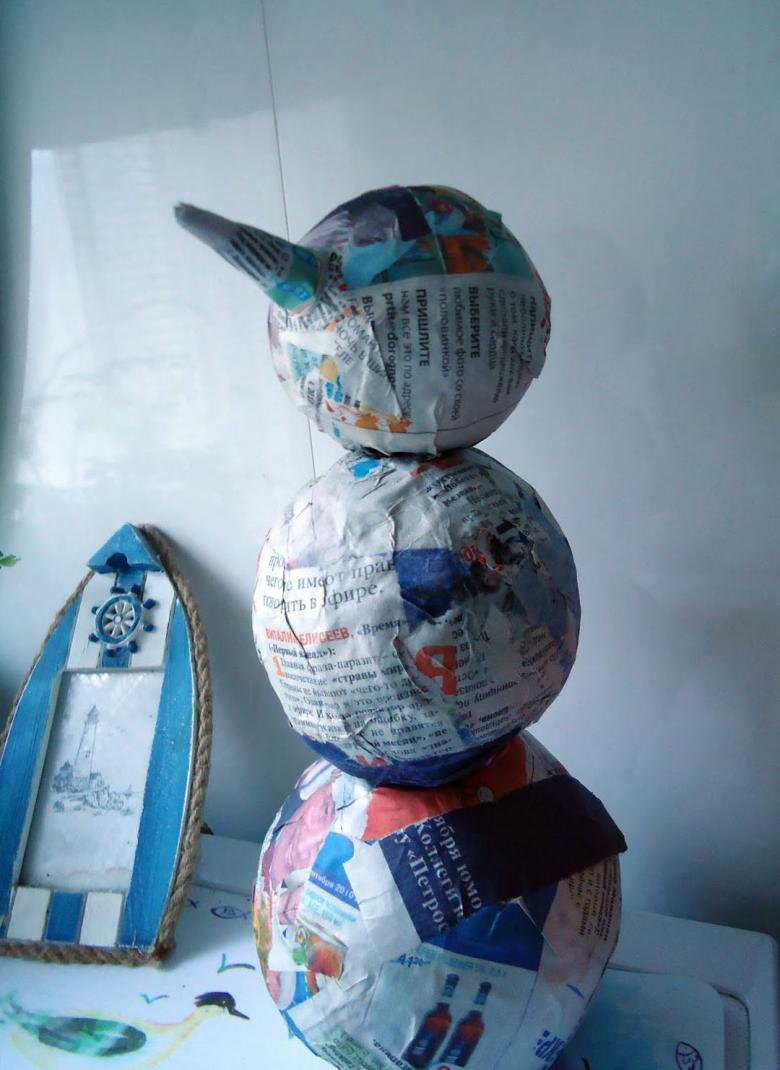
a) Tear the paper into pieces. The smaller the piece, the smaller the size of the pieces. But do not cut it into identical squares!)
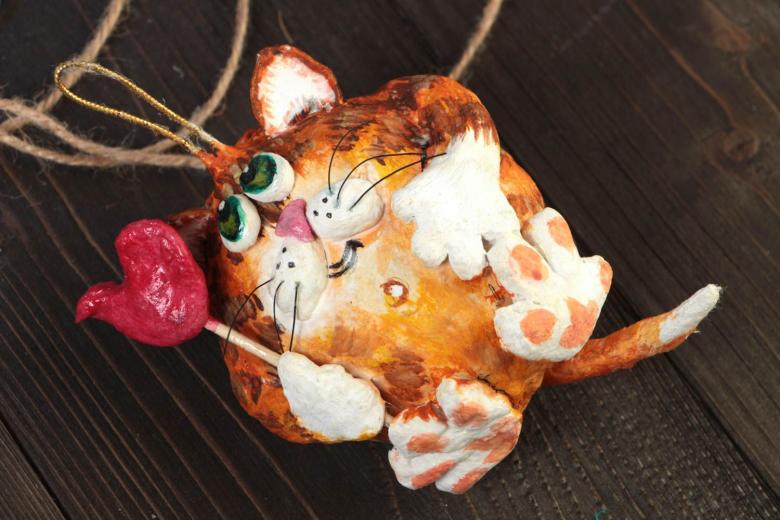
Attention! The first - second layers are always put on the water, it is a layer that allows you to separate the dried work from the form. All subsequent layers are placed on the glue. You can glue each piece or brush a layer of glue over the entire piece at once.
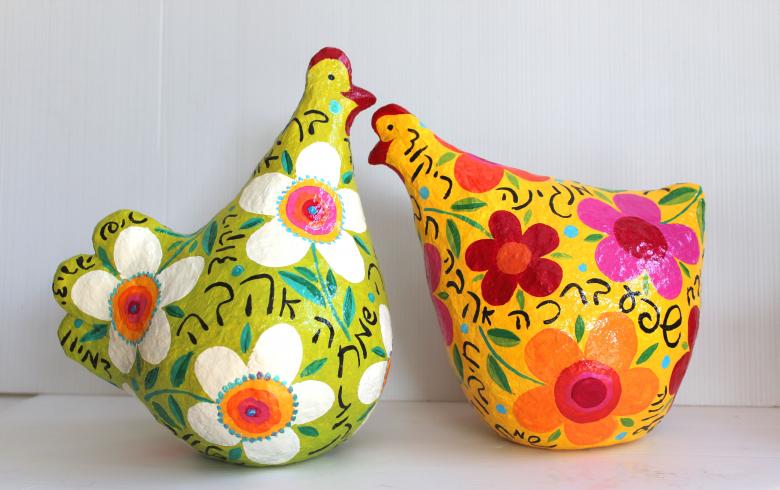
A little tiphak: alternate layers of paper of different colors. That way you'll know exactly which layer you're going for!
Put 2-3 layers and let dry well.
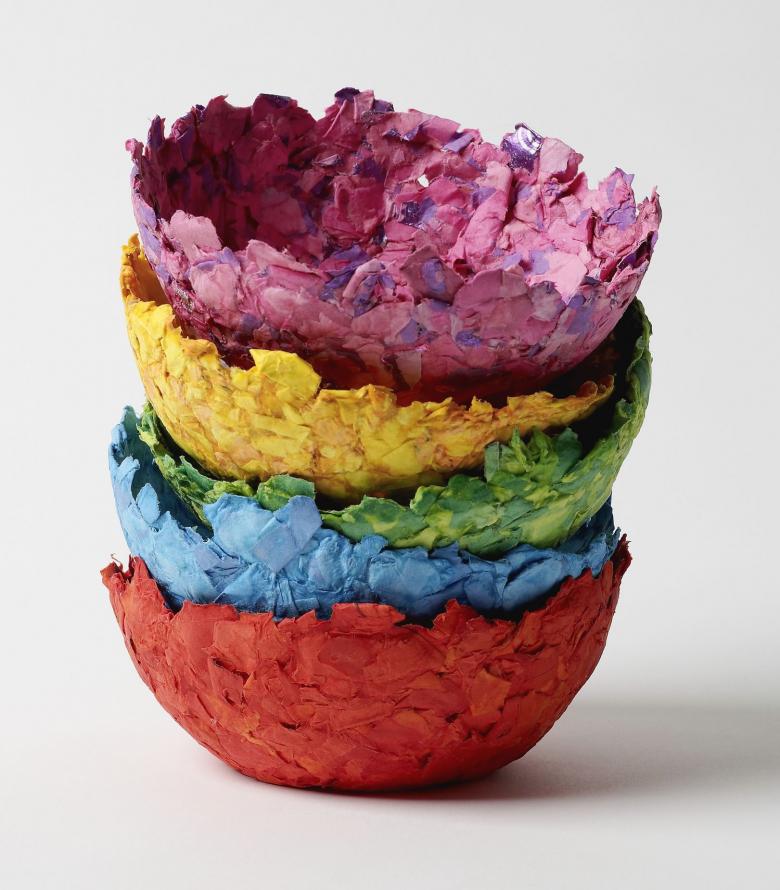
b) You can make a mass out of toilet paper.
Don't use the cheap, gray one, it doesn't dissolve in water and contains small debris! Take a quality, single- or multi-layered paper, it is easy to dissolve and does not give clumps.
At the same time, the mass will acquire the desired color shade, if the paper was tinted.
- Pour 250 ml of PVA glue into a bowl. If it is very thick, add water. Tear the paper along the perforations and add one piece at a time to the glue. Stir until you get a homogeneous, thick, doughy mass. You will need about half a roll, about 40 grams, if you weigh it.
- We add 1 tablespoon of liquid soap and 2 tablespoons of refined vegetable oil as plasticizer. Knead it!
- Then we add 50 grams of starch and 100 grams of white wheat flour. Hands lightly moistened with oil and continue to knead the mass like dough, sprinkling the table with flour, until homogeneous. It should not stick to your fingers.
- If you plan to store it for a long time, pour 1 teaspoon of lemon juice into the mixture and store it in the fridge, wrapped in polyethylene.
2.Glue take any wallpaper glue, PVA, flour paste.
It is better to buy PVA glue in buckets in construction stores. If it is too thick, it can always be slightly diluted.
Glue is easy to make yourself out of flour:
- In a saucepan we boil 1 liter of water. While the water is boiling, dilute flour in 0.4 liters of cold water, sprinkling and stirring well with a spoon. You should get a saturated, cloudy solution, but it should not be too thick!
- We pour our solution into the boiling water, stirring constantly. Be careful not to get scalded!
- Once the resulting kissel is cooled, strain it through a sieve. Store in a fridge and close in a jar.
3. single-color plasticine. You can buy ready-made sculpture clay, but it is cheaper to take colored clay and mix all the colors until homogeneous. We will use it to make the model.
4.Tanks for glue and water.
5. flat bristle brushes of different sizes and thin round, columnar or synthetic brushes, stacks.
6.Rags (rags), foam sponges.
7.Scissors, a knife with removable blades, medium and fine sandpaper (nulling).
8.Plaster. The papier-mâché technique requires a base on which layers of paper will be applied. Most often a form is used, in or on which layers of paper, smeared with glue, are put. If you need a large number of identical products, it is best to use plaster molds, as they will absorb excess moisture and the product will dry faster!
9.Metal culinary foil, gouache or acrylic paints, tempera, decorative cords, rhinestones, sequins, beads, silicone moldings, toothpicks.
In terms of materials, I think that's it, you can get started!
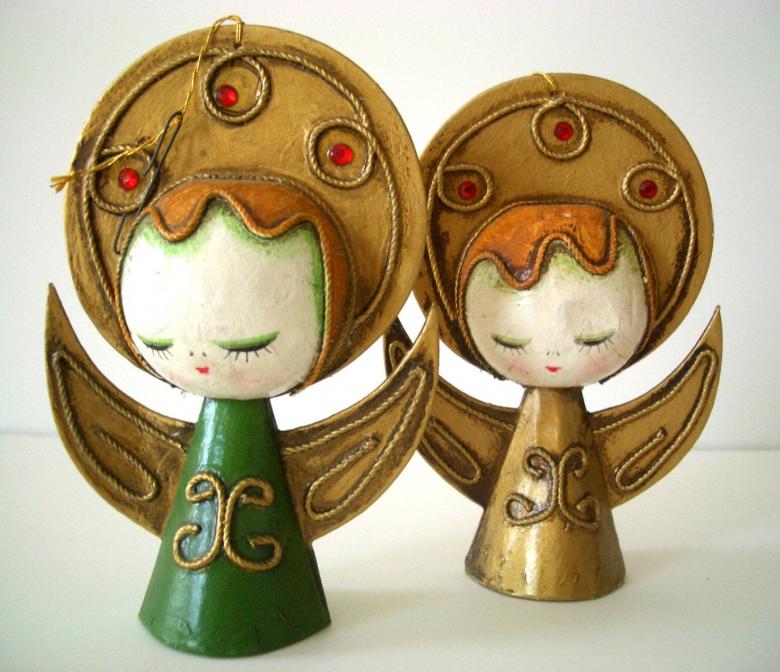
Christmas Angel
Let's try to make, for starters, a simple work - a Christmas angel!
- Body and head. Choose if you want to make it in layers or out of the filling. If from the mass, then form a cone and a ball out of metal foil, completely cover them with our composition in an even layer. Let dry, and join together on a toothpick, smeared with glue.
- On the head, model the hair, make the desired hairstyle. Eyes, mouth, nose and ears are not dabbed!
- On the body in relief form the hands: sleeves of clothes and hands.
- Cut out two wings from cardboard, joined together by a partition. Coat them with our wonder compound, first on one side and then on the other. Using a stitch, imitate feathers, glue the wings to the angel on the back side. Dry the product.
- Painting and decorating - this is a separate task! Decide on a color scheme: cold or warm. Cool colors include blue, blue, purple, green. Warm: yellow, red, orange, brown. Cover everything except the face and hands with the dark tone! Then, with lighter paint and a broad brush, lightly touching, underline the protruding relief: on the hair, wings, torso.
- Dot the eyes and draw a happy smile!
- We glue an easter mound, a Christmas star, or a flower made in silicone molding to the hands. You can buy ready-made moldings.

Now our angel is ready!
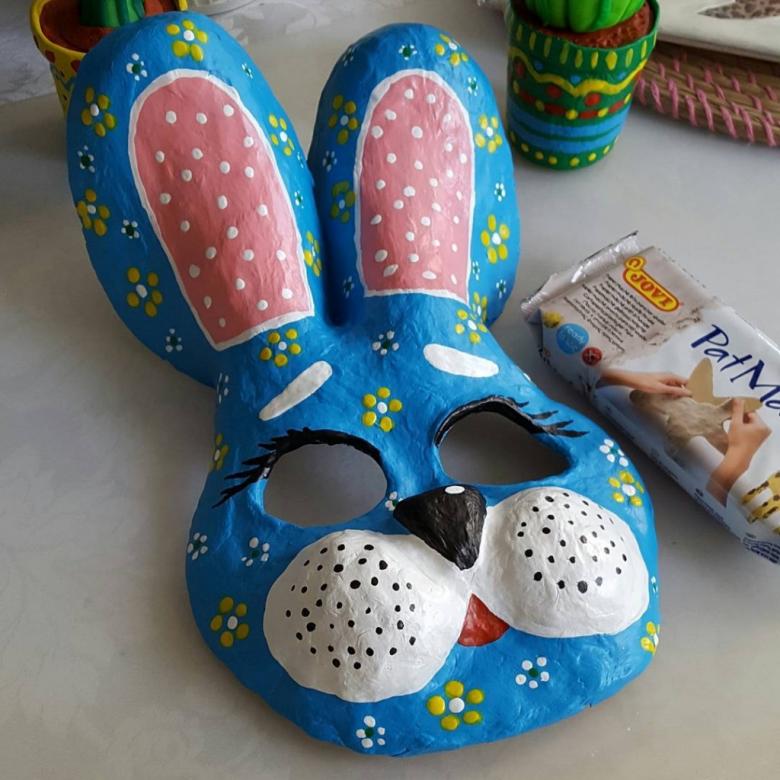
Sometimes there is a need to use different masks: in a theater circle, in a costume show or you just want to decorate the interior of an apartment, and on sale what you need is not available or very expensive. Not to worry, now you'll learn how to make everything yourself step by step!

Carnival Mask
- We make a preliminary precise sketch on a scale of 1:1 on heavy paper. We cut it out along the contour and get a template. Using pencil, trace the contours of the mask on a plywood board;
- To save plasticine, in the center of the future model we put wooden or styrofoam bars. They should not protrude beyond the model;
- We begin to fill the volume to the desired size. According to the sketch perform modeling of all parts;
- Important moment! All parts of the model must work to the output, that is, have no hollows or locks that will interfere with the removal of the product!
- You can use a piece of hacksaw blade when leveling the surface, and you can use Vaseline for perfect smoothing.
- Once the model is ready, let's proceed to the main part: the paper layer. Now it is necessary to choose what technique to use: a sticker in pieces or a mass? The fact is that when typing in pieces, the surface of the product turns out uneven. If it will work on the image of the mask and enhance it, then fine. But if you want a smooth surface, then after drying you need sanding with sandpaper, and this is a very time-consuming process.
- In this case, we will be helped by the mass that we kneaded. It will give a smooth and even surface!
- We dab the model with petroleum jelly. Evenly layer the paper dough.
- Important moment! After the layer is wilted, make eye slits and attachment holes until completely dry! After the polymer dries, it will be much harder!
- Modeling in this technique allows you to work out all the fine details at once! After it is completely dry, carefully remove the mask from the model. If there is no way to separate them, it is better to sacrifice the plasticine base and take it out of the mask piece by piece;
- Clean the edges with sandpaper, removing all burrs.
- Paint with gouache and PVA or acrylic in the desired color. Add decorative and theatrical elements necessary to create a certain image, ribbons or a rubber band for fastening.
You can go to the masquerade ball!
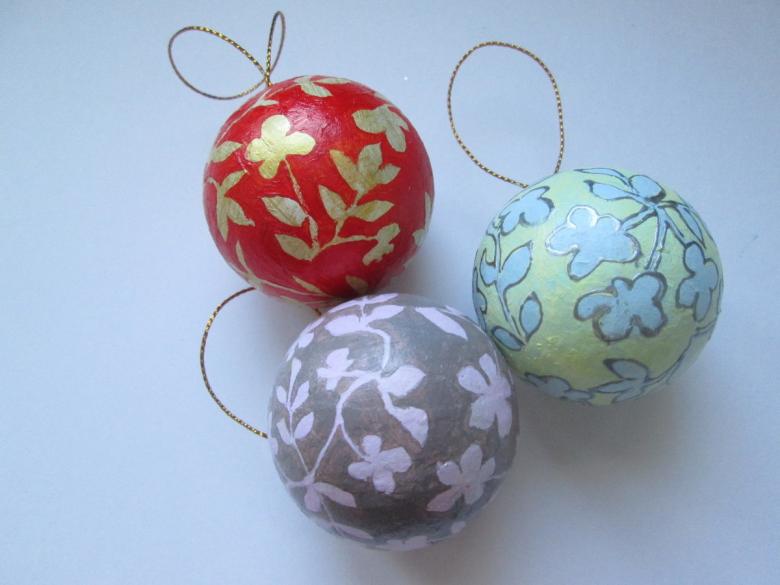
The toy on the Christmas tree
- To make a toy, we'll take a plastic ball of the right size as the basis;
- Let's make a set by gluing in layers, described in detail above, option A. The number of layers is 5-6;
- On the dried product mark the circumference of the pencil cut line. Carefully cut the ball into two halves, remove from the base;
- Now the halves need to be connected. Before gluing, insert between them a decorative cord in the form of a loop. At the end of the loop tied a button or a few matches, which will keep the cord from tearing out;
- Along the seam we put a couple of paper layers and once again paste the paper of the desired color. Let it dry.
- If we will perform painting in gouache with PVA or acrylic, we decide whether it will be plot or ornamental. Decorating with ready elements in the form of beads or rhinestones is done either freely, or clear lines and in an orderly fashion, in the form of an ornament. But even if you just wrap the ball in foil, it will turn out quite spectacular!
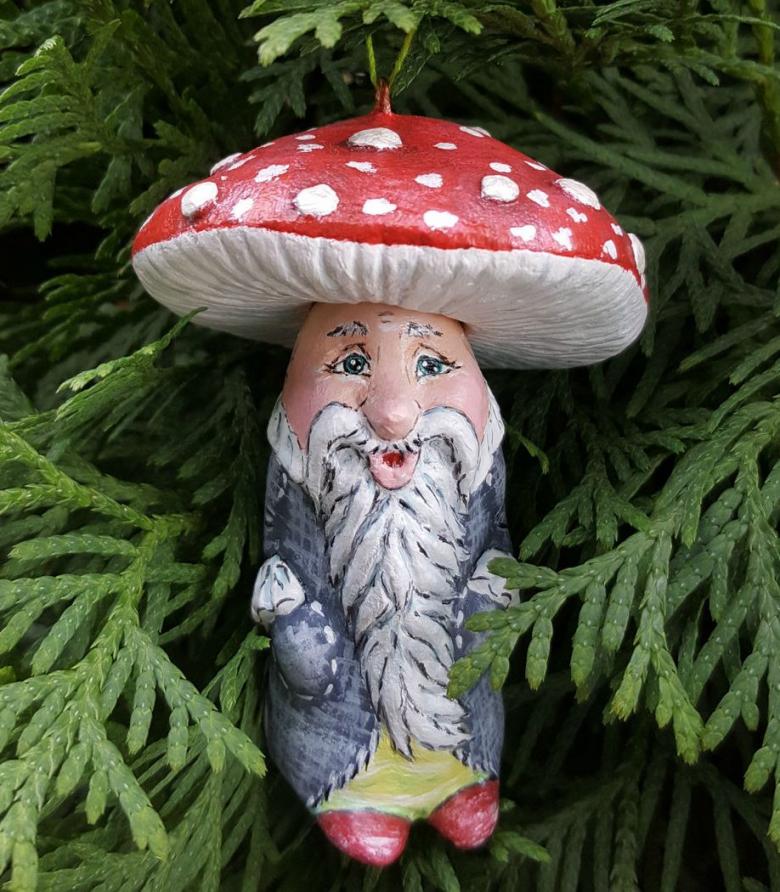
Christmas toys, masks and angels, created by our own hands, carry the warmth and creative energy of the author, which is so lacking nowadays in modern products from the store.
Handmade, vintage effect, "vintage", help to recreate the atmosphere of a real holiday from our childhood!


