Handmade Fairy Tale-themed crafts from paper, nature and recycled materials - master classes, photo ideas, examples
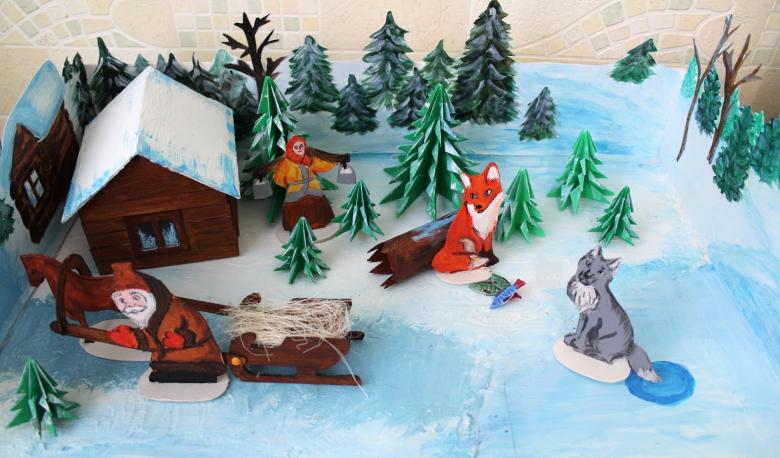
Familiarity with the world every child begins with fairy tales. Those told by mom or dad, grandpa or grandma, brother or older sister. And when the child grows up, he or she together with the parents tries to show the world his or her vision through crafts and drawings on the theme of the favorite fairy tale.
Of course, skills are lacking. And parents, with a huge variety of types of work and material, just do not know what to give preference. Therefore, it is necessary, together with the baby, to take their time to learn different techniques of execution, learning new and working through old
Natural materials
"A cone makes the best Bears!"
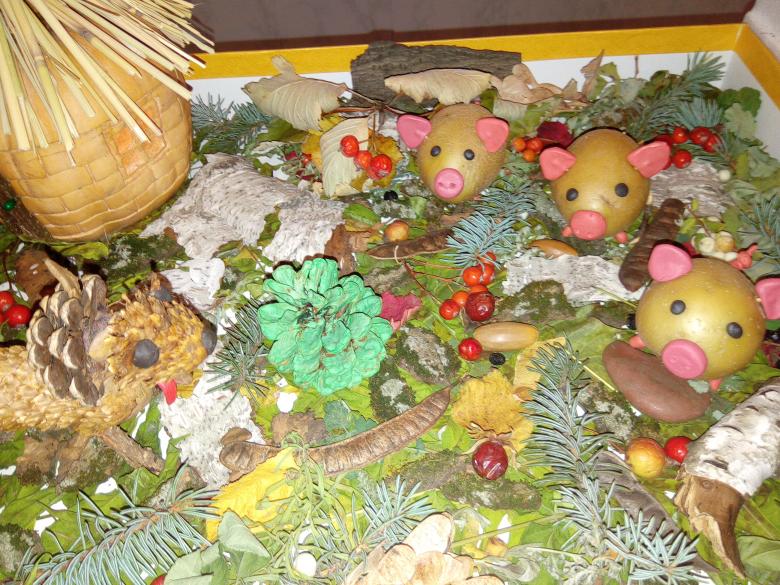
Cones are an incomparable natural material. In addition to decorative, it brings a health-improving and mentally-developing effect. Firstly, in order to
Collect cones for crafts - Need to go to the pine or spruce forest. Naturally, one child in the woods parents will not let go. So we get a family outing in the fall forest. And if you do get out, you should enjoy the walk, breathe the fresh, not polluted air. This is a health-improving effect.
Mentally developing is the process of action on the fingertips. They have receptors associated with all organs in the human body. It turns out that going over the bump with the fingers, we affect positively the entire body. Including the brain. That's what good cones bring the normal cone!
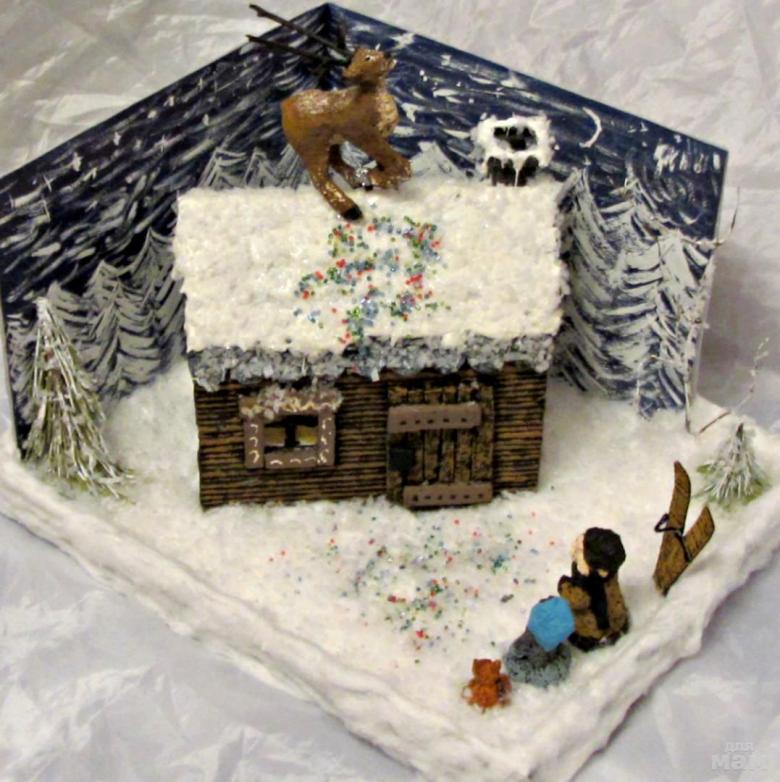
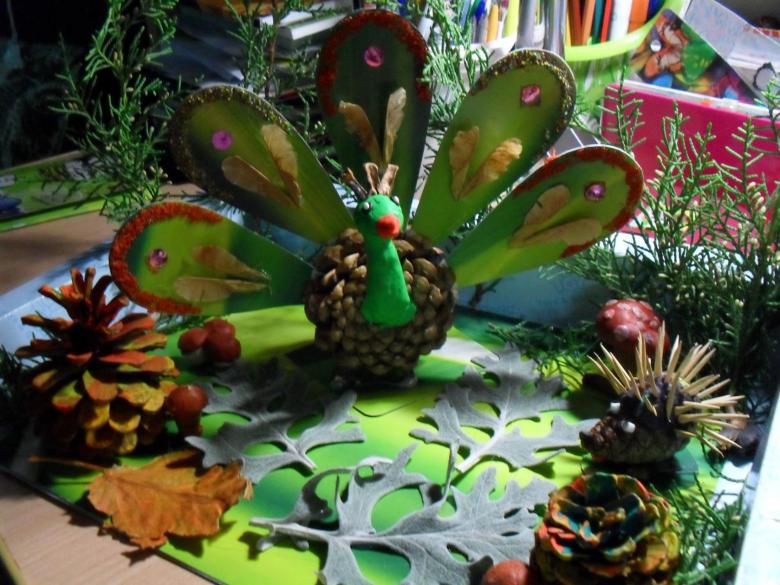
Cones are the basis for many fabulous crafts.
- First, they are rigid, which means that the handicraft will not be deformed. Secondly, they are easy to paint.
- Thirdly, perfectly combined with each other. And with other natural materials-shells, acorns, plasticine leaves.
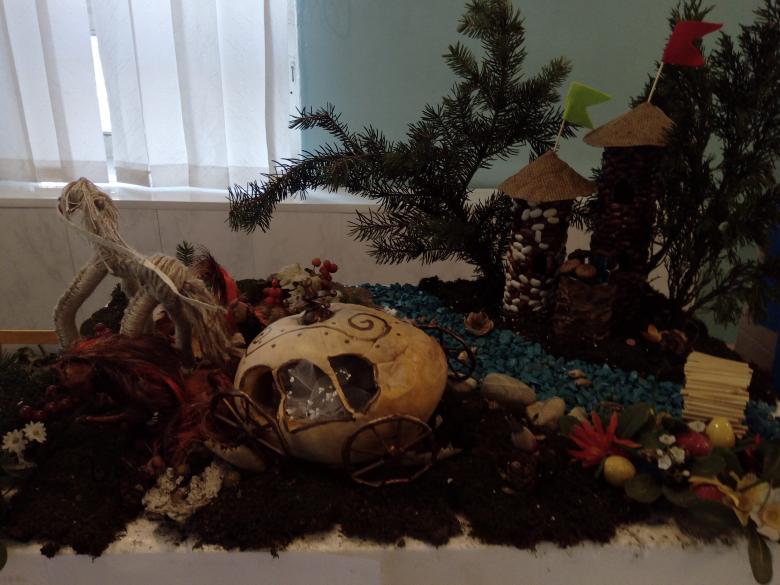
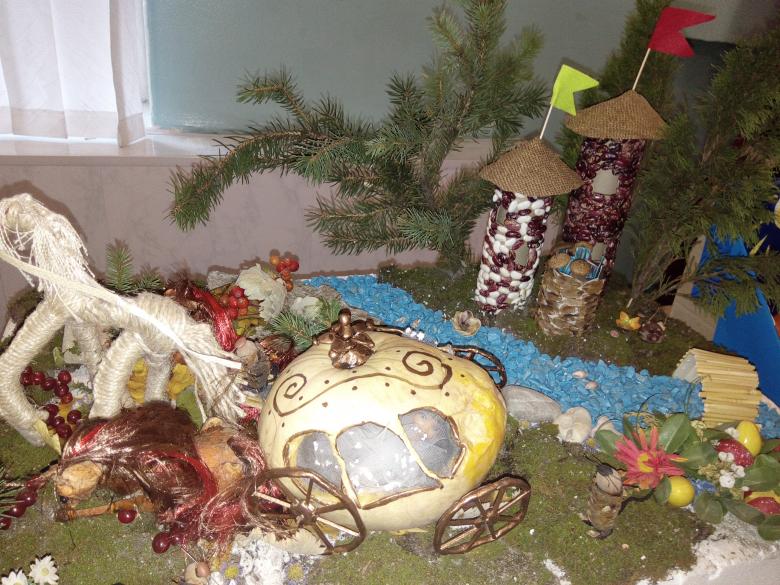
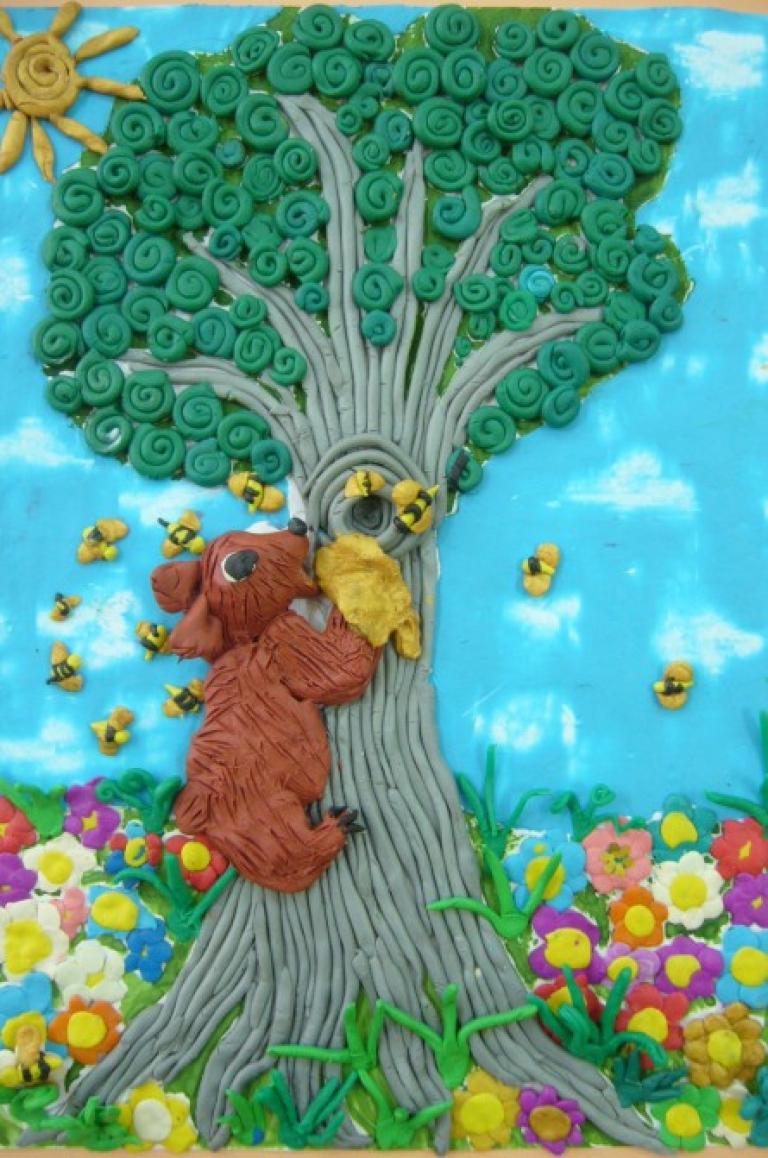
- Space for imagination is huge. Starting with simple bears, foxes and hedgehogs, up to the whole compositions in the forest clearing. Just thoroughly dry the cones.
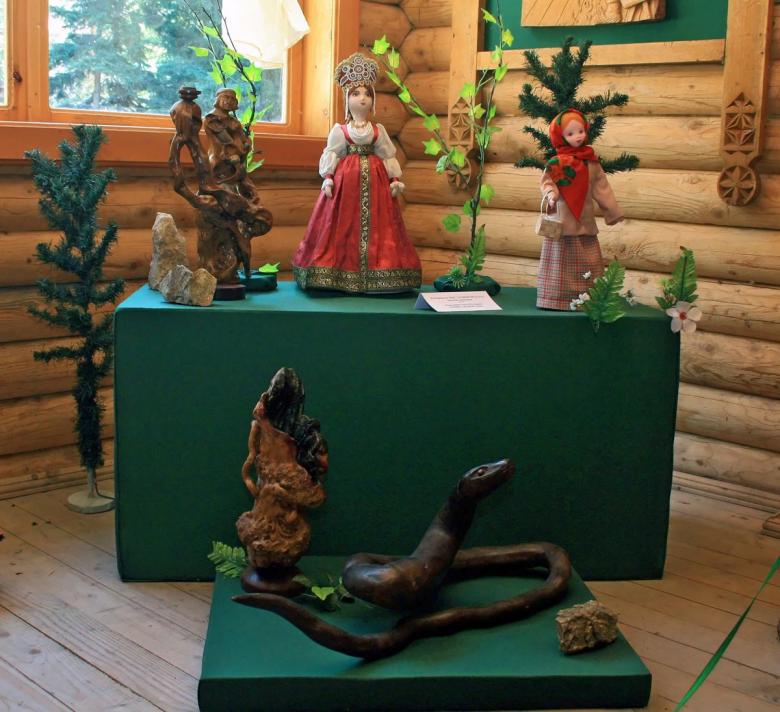
"The leaves are different over fairy tales..."
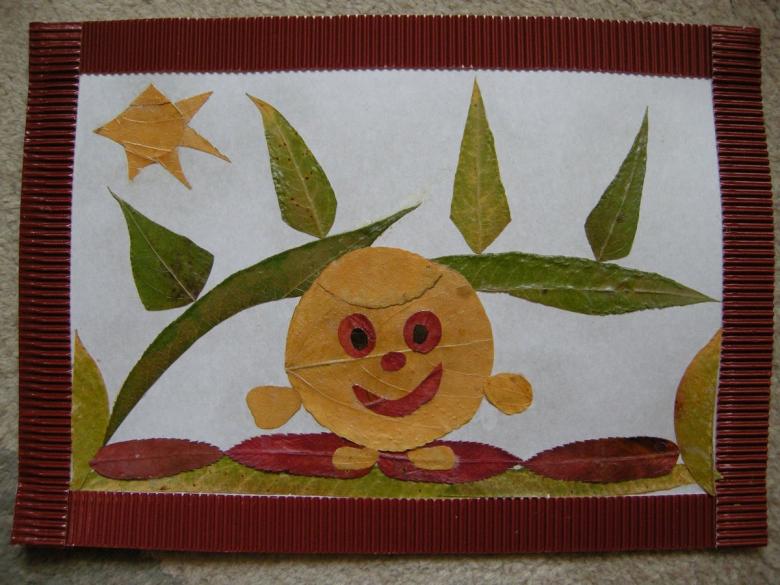
They are thin. Used more for applique. But raw leaves are not suitable for work. Often the leaves are placed in albums. So they dry for 2 weeks. The desire to start work is huge? Simply shift the leaves on paper, stacked. This method allows leaves to dry in 3-4 days.

Looking for a photo or drawing needed for the future craft. Mom or dad good at drawing? They can help your baby to create blanks for a beautiful craft.
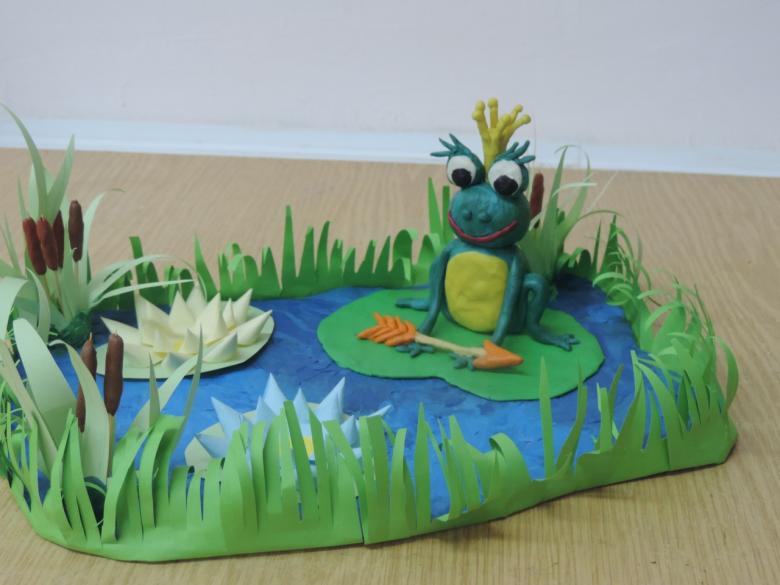
Create a sketch, picking up leaves. The leaves can be painted. Use a combination of colors, giving the leaves a new unique, distinctive shade. It is better to use transparent glue. This way the harmony of the color scheme will not be disturbed.
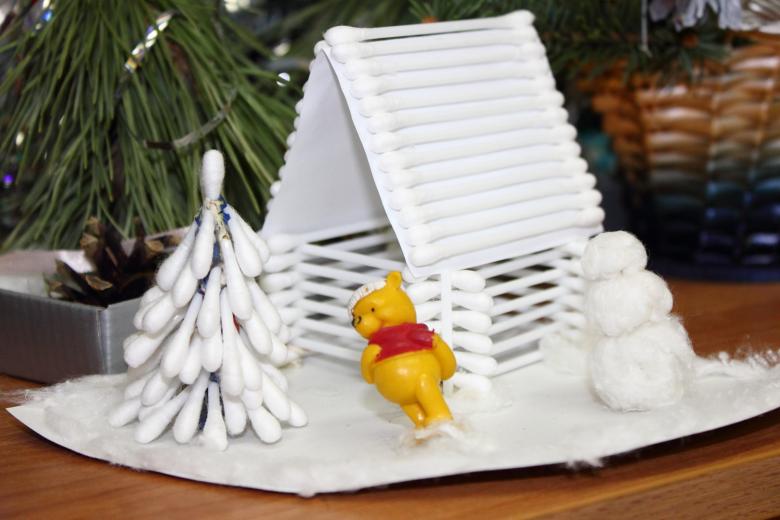
The work is dry? Frame it. Use colored paper as a background. Or you can draw it. But leaves will stick worse to paint. In the process of leaf applique, children's imagination is limitless: the Firebird, the Goldfish, chickens, the Wise Owl, and, of course, the Magic Tree.
"A fairy tale calls us to the sea..."
After a summer vacation at sea at home, no doubt, there are shells. Then, of course, they lie and dust at home, but the hand does not rise to throw them away. And then you urgently need to do crafts baby in kindergarten or school. The night before, and he just remembered. Do not worry, but rather go to the shelf (drawer) with shells and get them.
Sort the clean ones separately, and the dirty ones (with black plaque and clam residue) separately. We put the latter in boiling water, using tongs to remove the dirt. Then put the shells for thirty minutes in a chlorine solution. Then we spread them on a clean towel. We wait for them to dry.
Shells are strong material. Twigs, leaves, cones and even acorns can be attached to them with glue or plasticine. They have no equal when creating marine compositions.
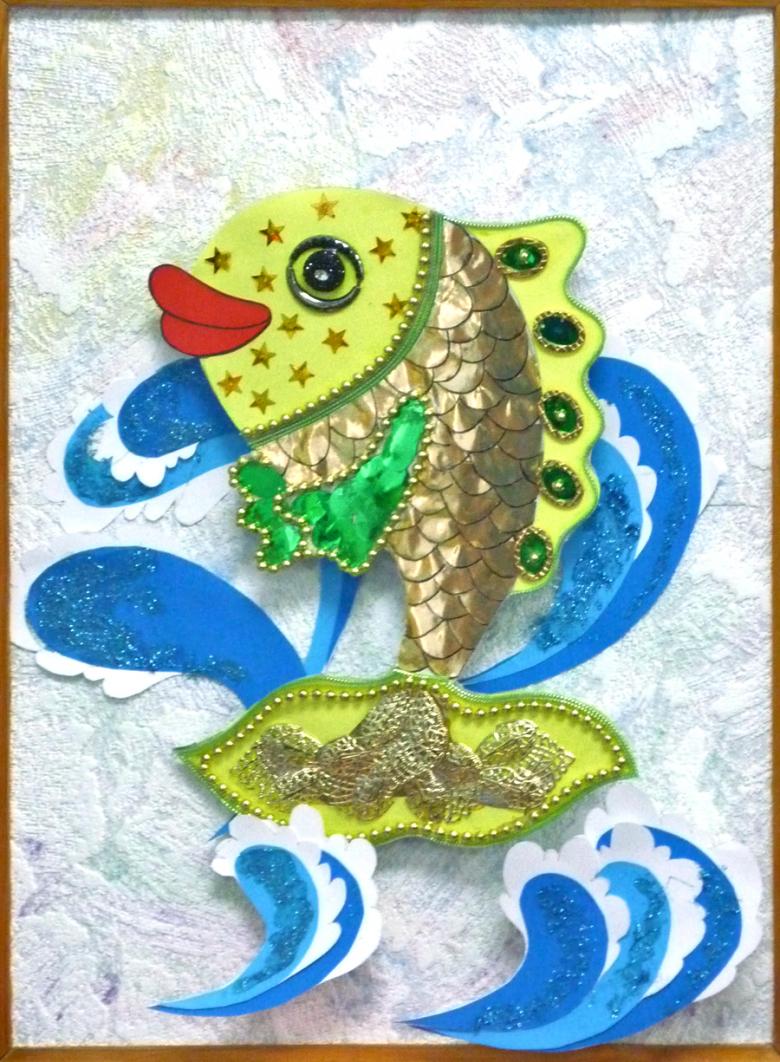
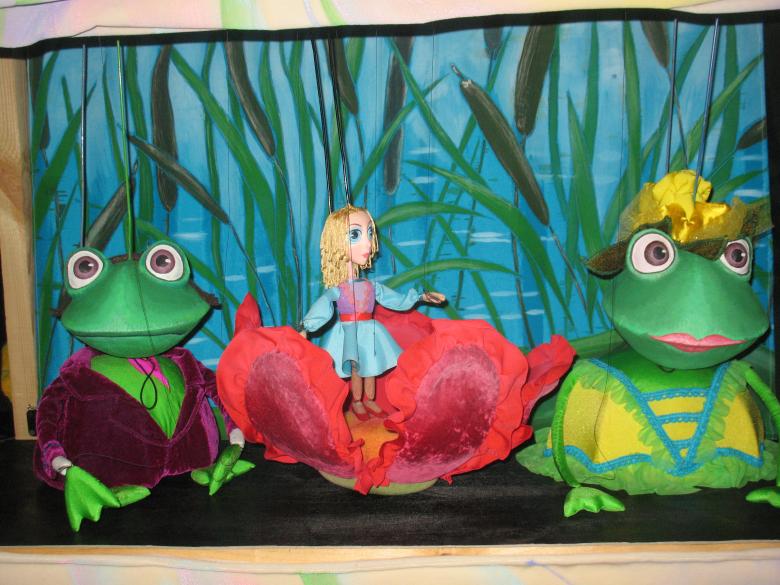
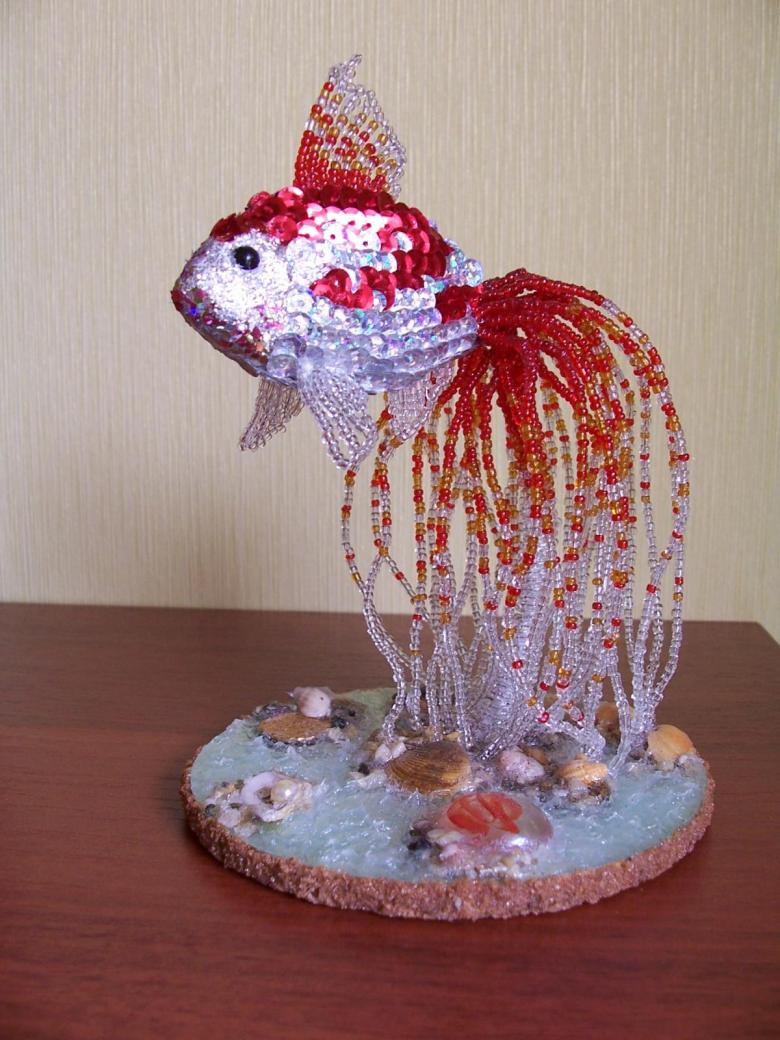
How much time do we need to make a paper or clay lily for a craft for Andersen's fairy tale "Thumbelina"? And here we just cut out a green sheet of cardboard, and attach with plasticine a peerless-beautiful lily of seashells. Frogs can be made out of seashells. And even a goldfish. Previously take PVA glue and mix with yellow gouache. Paint the shells on the outside. We wait until it dries, and then glue. Take glitter varnish (now on sale quite a large assortment) and, varying the distance, apply it to the workpiece.
If there is bronze powder, you can also use it to give a golden hue. Pre-coat the sink with acrylic varnish, then sprinkle it with the powder. It perfectly lies on the surface of the shell and gives a unique golden hue. With colorless glue we glue eyes with eyelashes and the fish is ready.
Shells are good that they can be used in applique. The work turns out volumetric and very original. If the house is still a lot of seashells, you can take to school and arrange a master class on making fairy-tale-themed handicrafts from seashells at the technology class. Classmates will be delighted. After all, there are a lot of ideas for seashell crafts.
Paper and cardboard
"From magic curls we will create a fairy tale..."
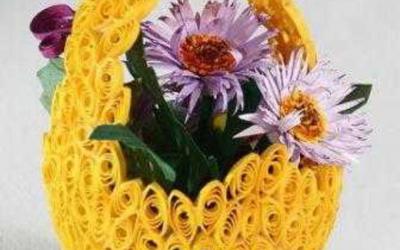
The original process of creating crafts "paper twisting" (from thin strips of paper) called quilting, came from England. Since paper was a very scarce material, the rest of it was not thrown away, and wrapped around a feather. Hence the name "quilting" - "bird's feather".
At the heart of any craft of this technique is a module. And modules are different. Each reflects its own shape. Can be in the form of a drop, a star, an arrow, bird legs, petals and even eyes.
To give the craft extra volume uses fringe. For this strip of paper is cut on both sides, and then twisted.
The technique is different. In the first case, we create a form contour for a future craft from a strip of paper of the same width as the workpiece - modules. Then it is filled inside.
The second option is easier. We just pencil outline the outline of the future craft on the sheet, and then glue the modules to each other so that we have the desired image.
In the process of using paper ribbons of different colors. It turns out quite original.
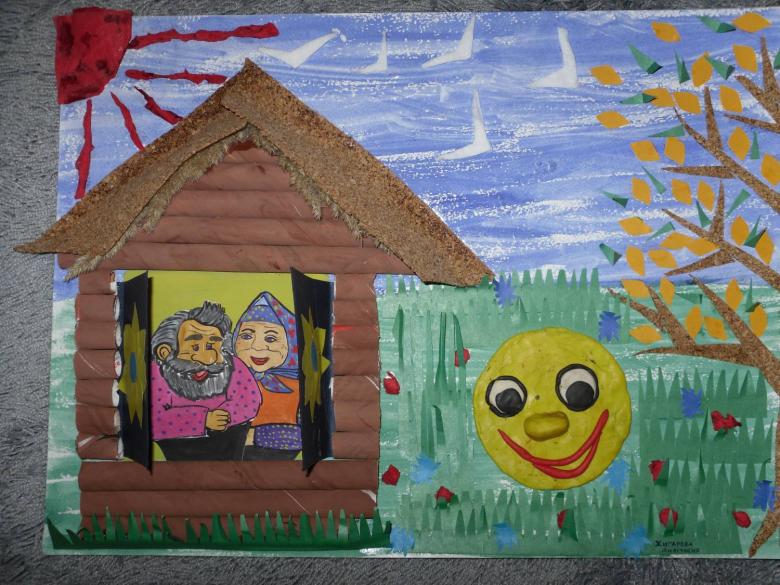
This method is used to create a variety of compositions. From the garden with magic apples and the Firebird to the blue sea with the goldfish. Here you can make at least all the characters from "Winnie-the-Pooh". And as for the beard of Karabas-Barabas and the blue hair of Malvina, there's just room for creativity. If you want to have a spiral beard, be my guest. And maybe try a curl?
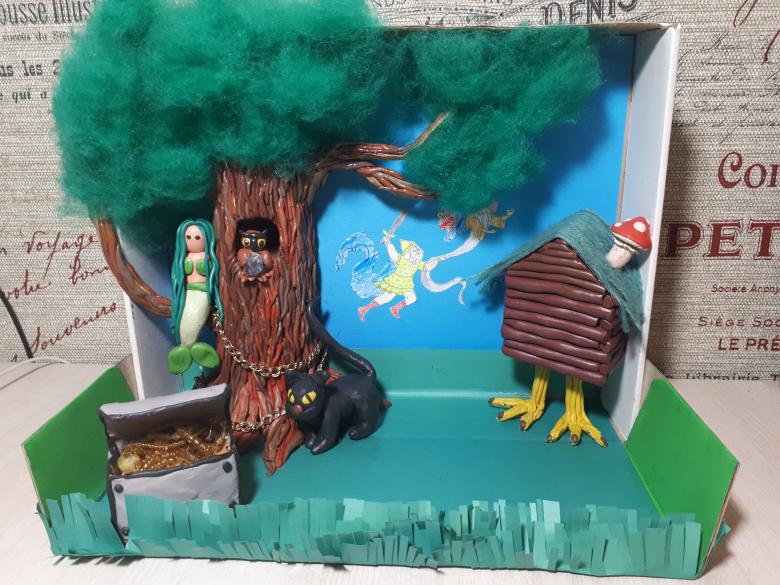
The method is so simple and not expensive, that the compositions are made in different formats from regular album to Watman sheet.
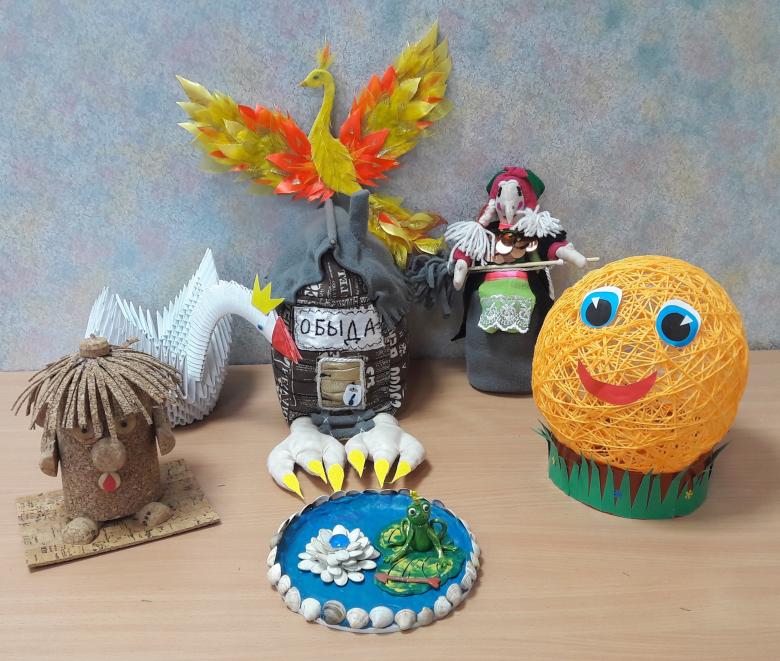
Invites us to the magical art of Origami
Japanese art of folding paper so accustomed to our country that even kids in kindergarten are doing fine with the simple works. For crafts good to take double-sided paper.
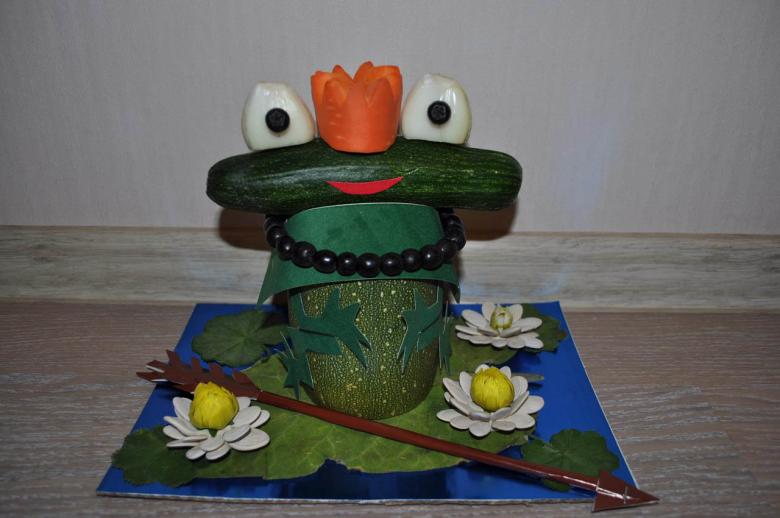
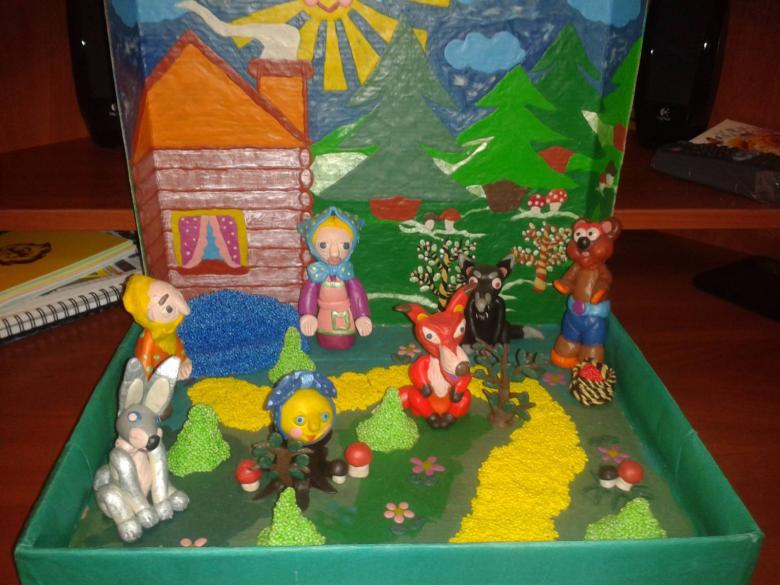
Illustrate the fairy tale "Kolobok" in this technique is great. So that the Kolobok does not turn out angular, it can simply be made round by cutting it out of paper.
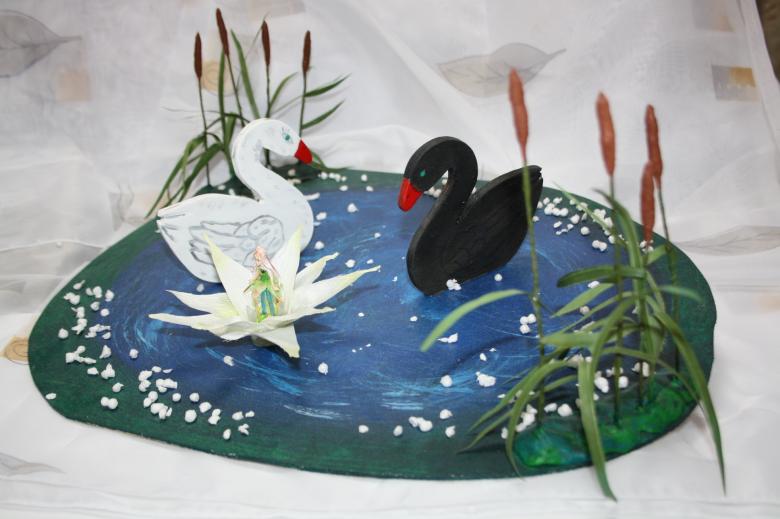
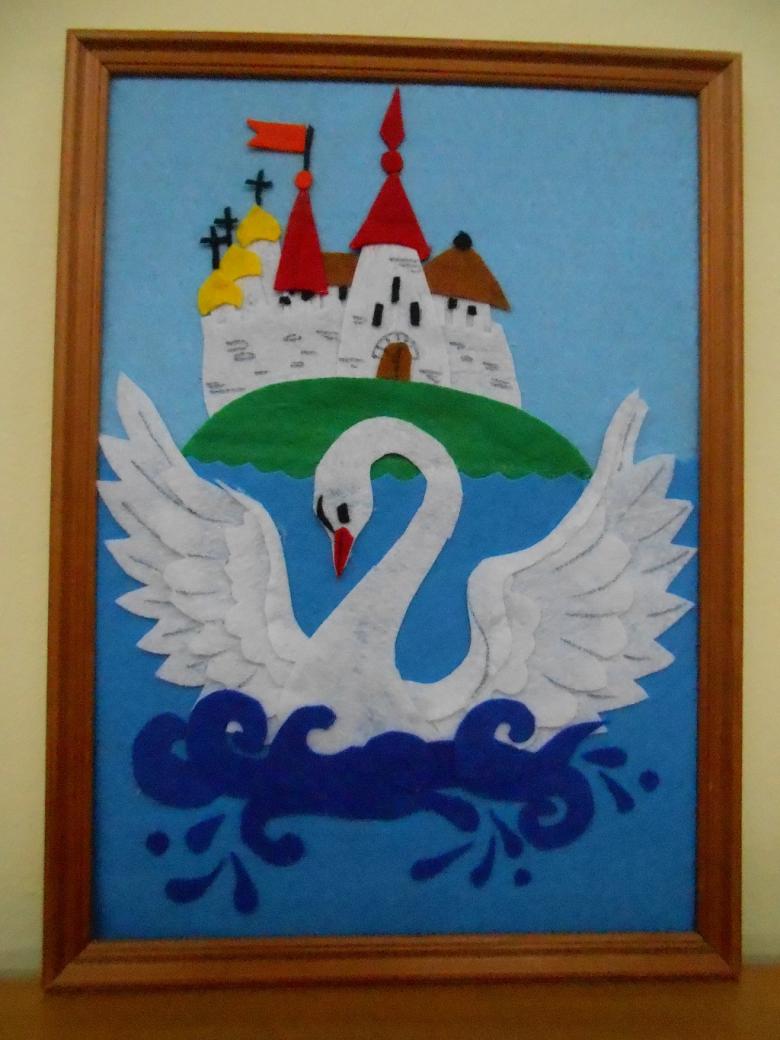
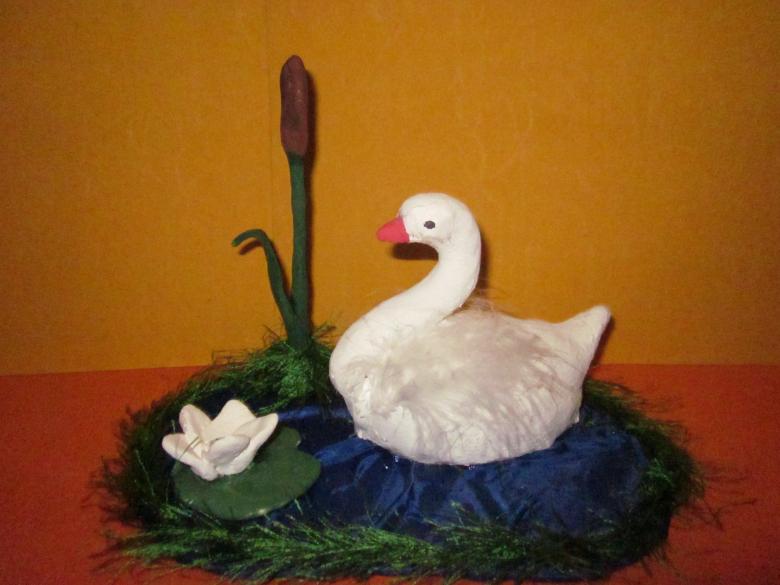
To create crafts for "The Tale of Tsar Saltan" by Alexander Pushkin, origami is also ideal. And with the elements of quilting (sea) and applique (The Tsarevna Swan) composition in any contest will take a prize.
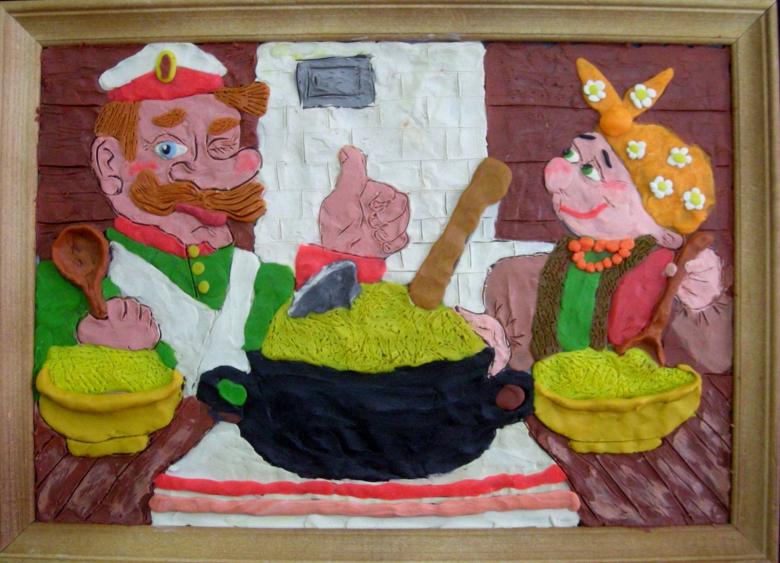
With magical applique we will enter a fairy tale.
This method is used everywhere and always. We begin to work with it in kindergarten and elementary school. And in middle school, when we have to do an urgent handicraft for the contest, we can't do without it. It is clear that the work of a 1st grader will be very different from a 7th grader in quality and level of execution.
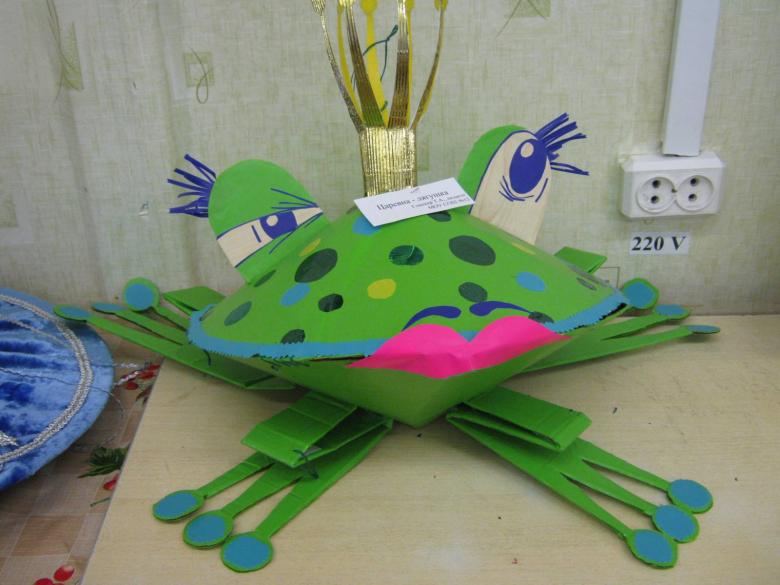
But fairy tales are fairy tales. They are eternal. Therefore, the main characters in any fairy tale is best done using this technique. Yes, and you can additionally add various decorative materials-paillettes, beads, feathers.
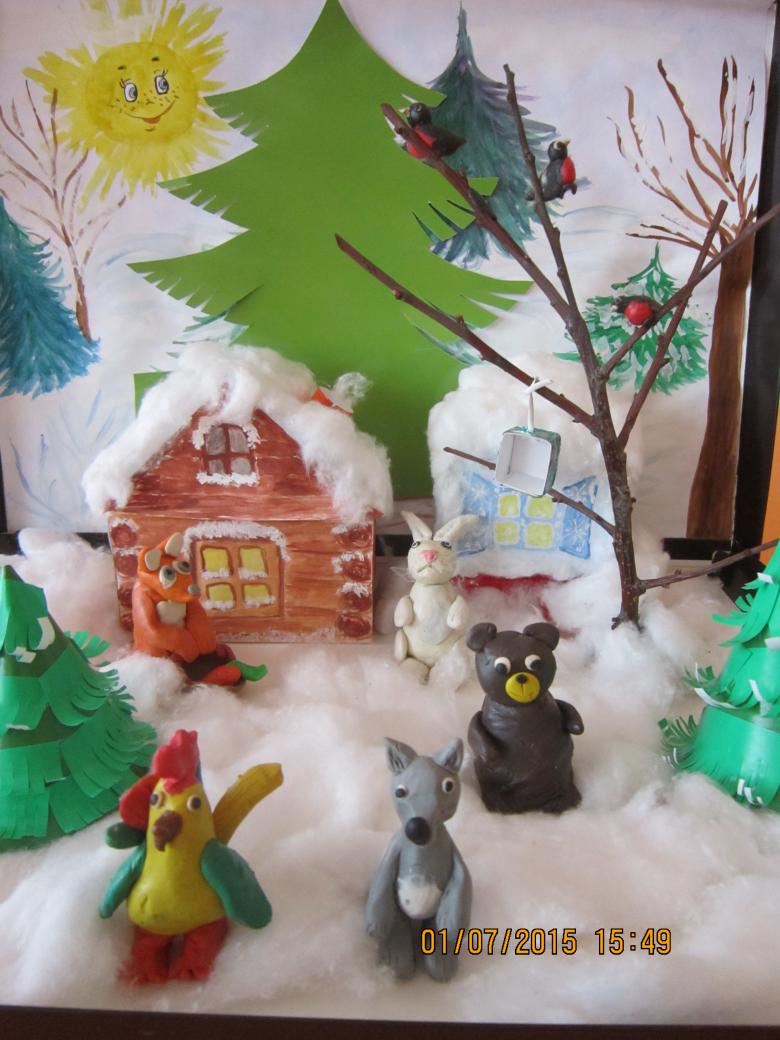
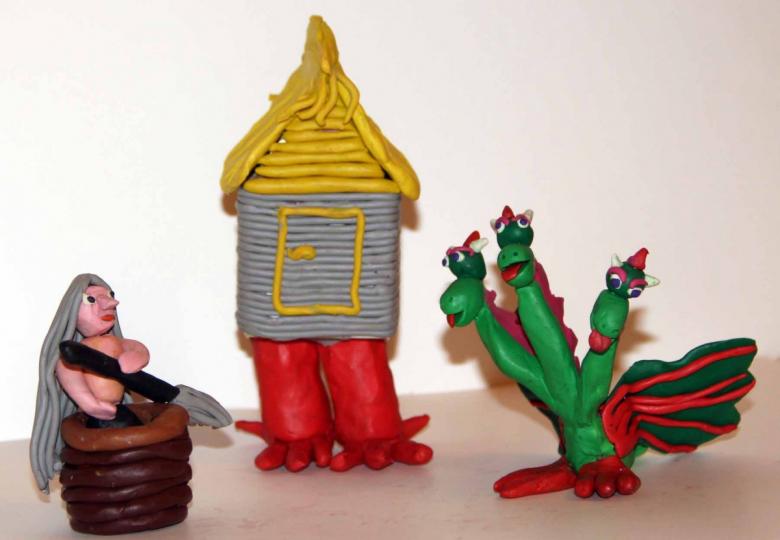
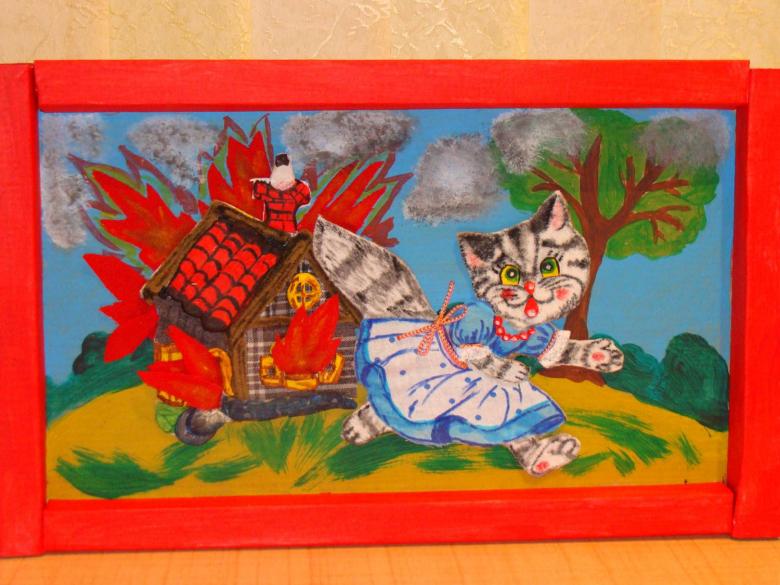
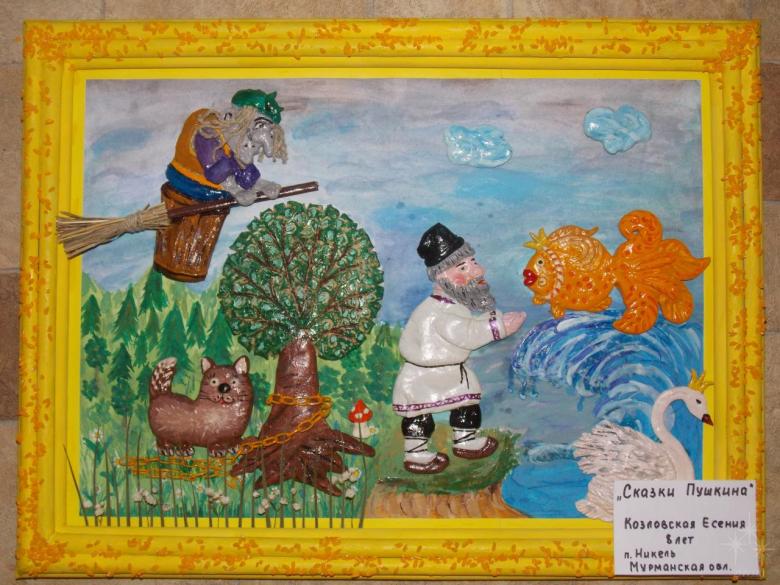
The famous prologue to "Ruslan and Lyudmila" can also be made with applique. Cat-applique. Chain weave from the rings. The oak tree can be made with the help of quilting. And you can also applique, using paper of different colors. Koschey, stupa, Baba-Yaga also turn out better by applique.
Hand-made materials
With the world on a button to create a fairy tale
They are at home with everyone. If you gather all the old unnecessary things, cut them off the buttons (preferably flat), and let the material for crafts, everyone will be happy. The child gets material for creativity (and free). And my mom free space in the house.
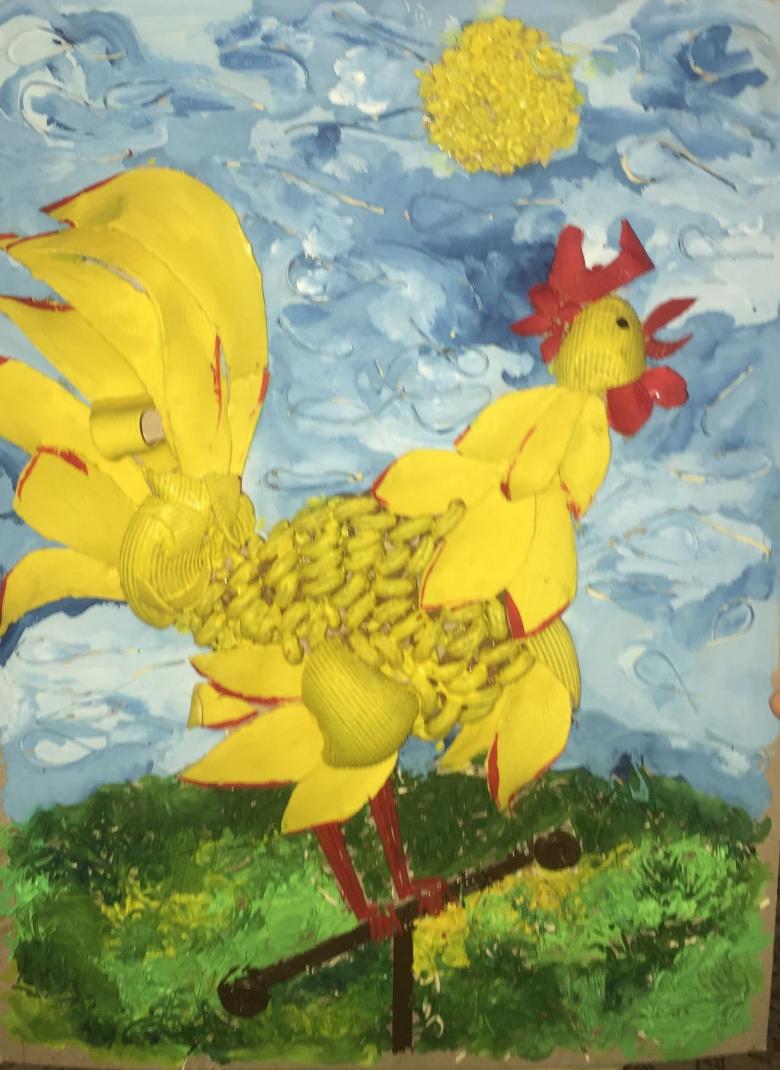
The method of working with buttons resembles the technique of quilting. Also create an outline-template and fill it with buttons. Here you can use different diameters together. Especially the original tail of the Rooster, the hero of many Russian folk tales. The crown of the "wonder tree" Chukovsky also can be created with buttons. Here you can and run wild fantasy. It is possible that the buttons on the legs will do here. Then you need to use stronger glue, or sew the buttons on the cardboard.
"The Clouds are Runaway Horses."
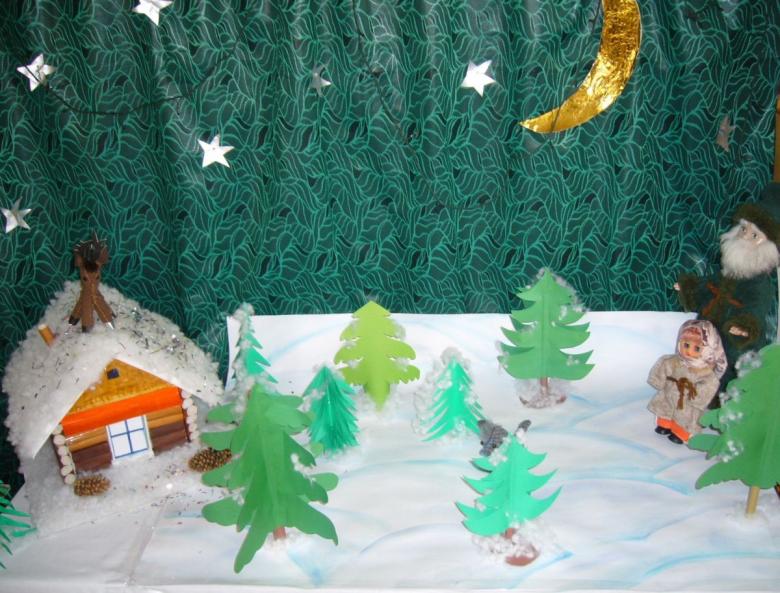
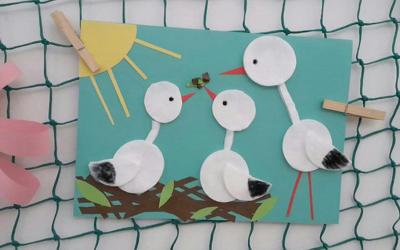
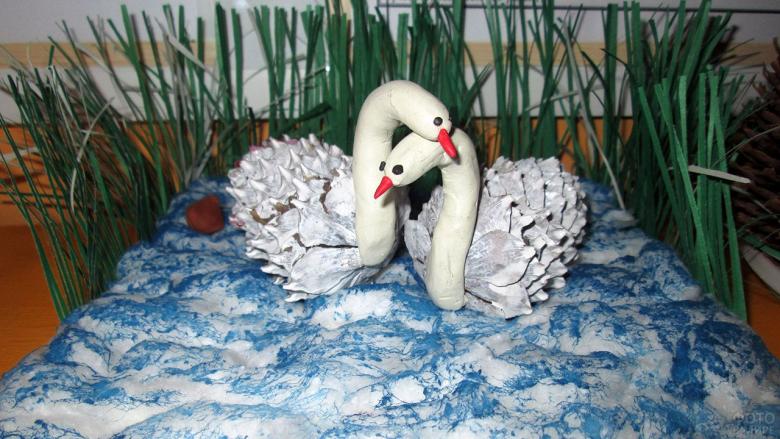
Moms always buy cotton pads. They are quite cheap. And any mom would be happy to share a couple or three with her baby to create a unique composition. "The snowman-postman, the same Princess-the Swan, framed in feathers-beautiful! And clouds in the sky!
"Let's put together a fairy tale out of fabric."
Patchwork - that's where the various scraps piled up at mom's house will come in handy. Yes, and old outfits (their own or doll's), which have not yet lost their marketable appearance, can be used here.
The simplest technique of this style is called "well. It is based on a square, which is trimmed with fabric in the form of strips. If the square in the center is red, such a block is called a "hut." If blue, then the "well." But this is a classic option.
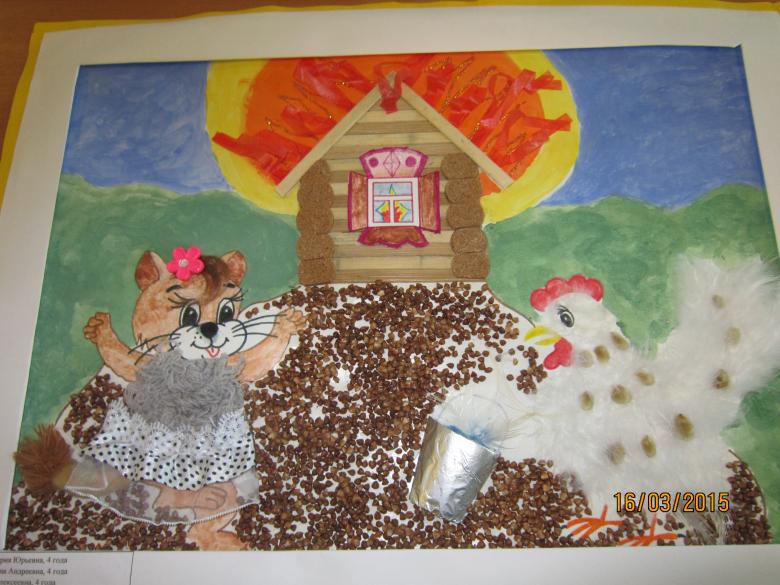
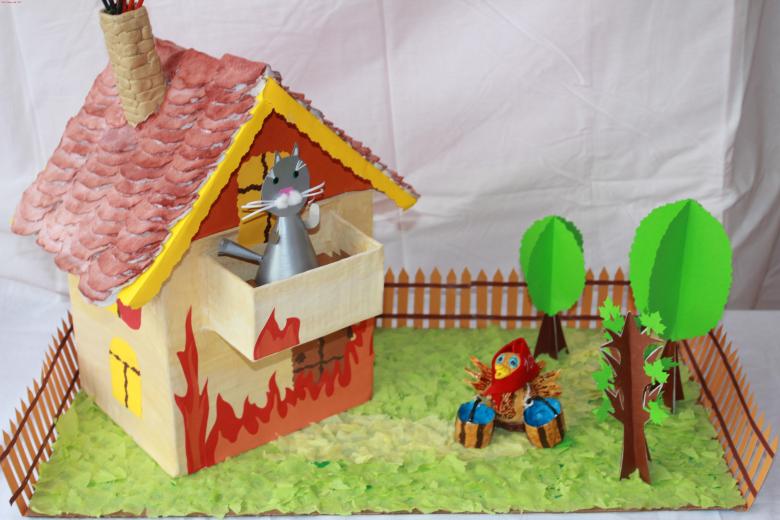
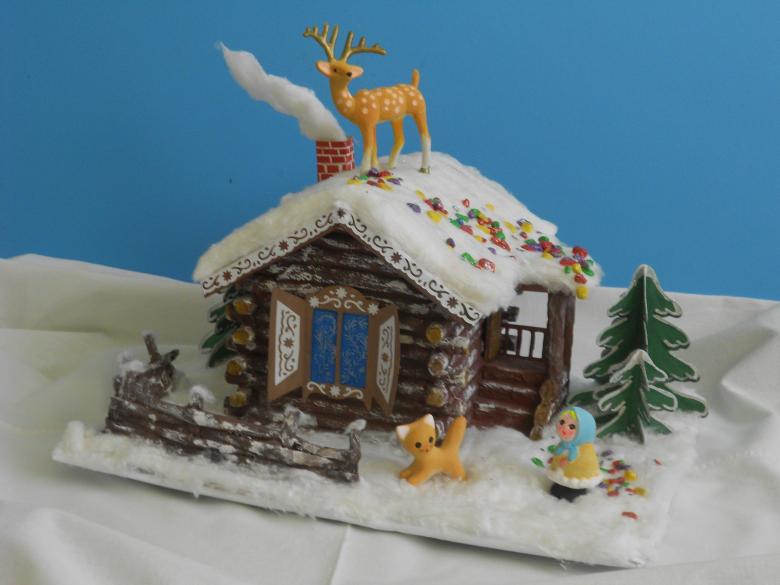
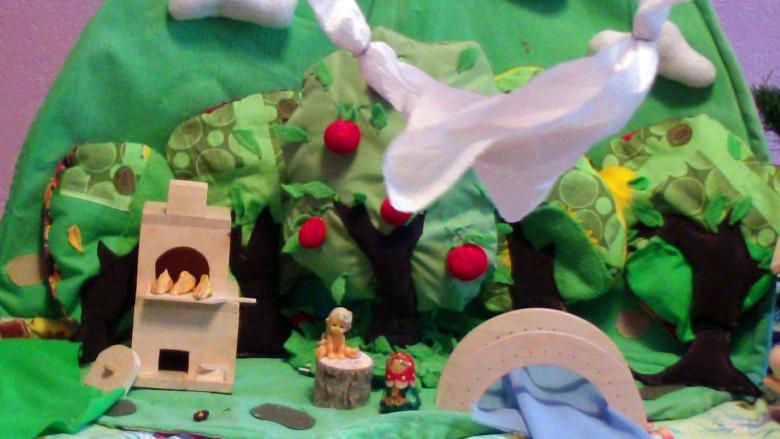
All masters have long experimented with color as they wish. Here and "Zayushkin's hut," and "Winter Animals," and "Teremok.
There is also a technique called "triangles. You can use it to make a Hedgehog with a magic wand. A little more complicated is "The Mill. Well, that just begs for "Puss in Boots" by association.
Variations in techniques a great many. The main thing is to apply them. Remember, the best creative handicraft is made by a child with his parents! No matter what it will be-complicated or simple. The main thing, a joint idea and interesting creative family interaction!

