Handmade candy crafts - master classes for all holidays, photo ideas and examples
All our lives consist of a series of birthdays of our loved ones, anniversaries, various holidays or just visiting friends. And on the eve of each there is the eternal question - what to give as a gift to be original and at the same time suitable for any event?
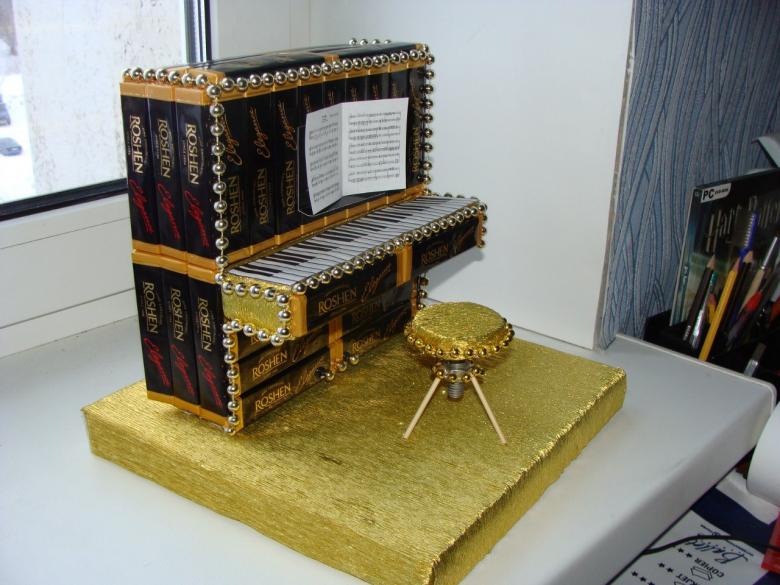
The most universal are candy gifts, because almost everyone loves sweets at any age. However, to give as a gift just a box of chocolates - it's so banal! Let us tell you a secret: even candy can be presented in a very original way, this gift will be remembered for a long time and every time the memories will evoke joyful emotions!
Birthday gifts
It is customary to present birthday boys and girls with candy, bouquets, and cakes to the table. And what if these gifts are combined in an unusual mix?
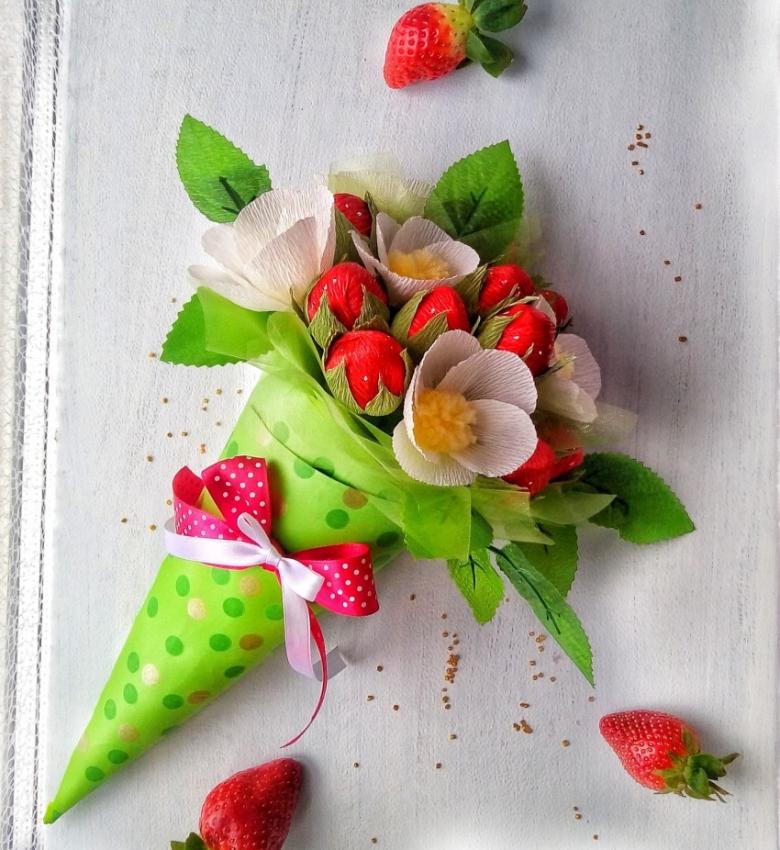
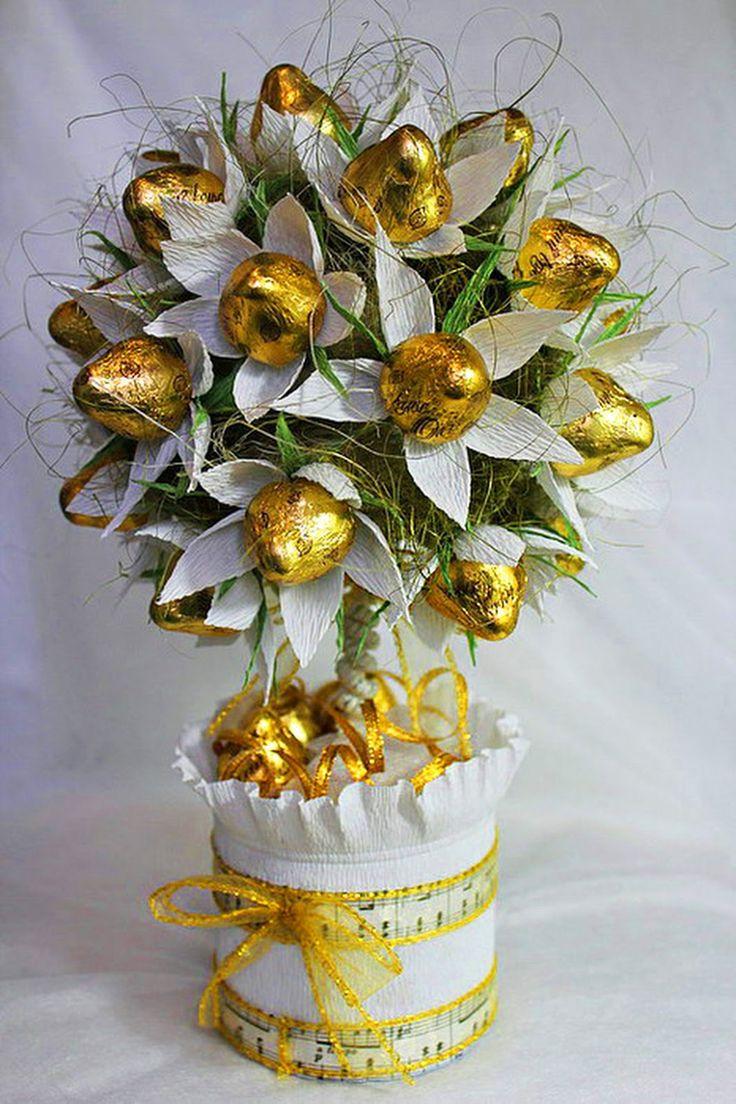
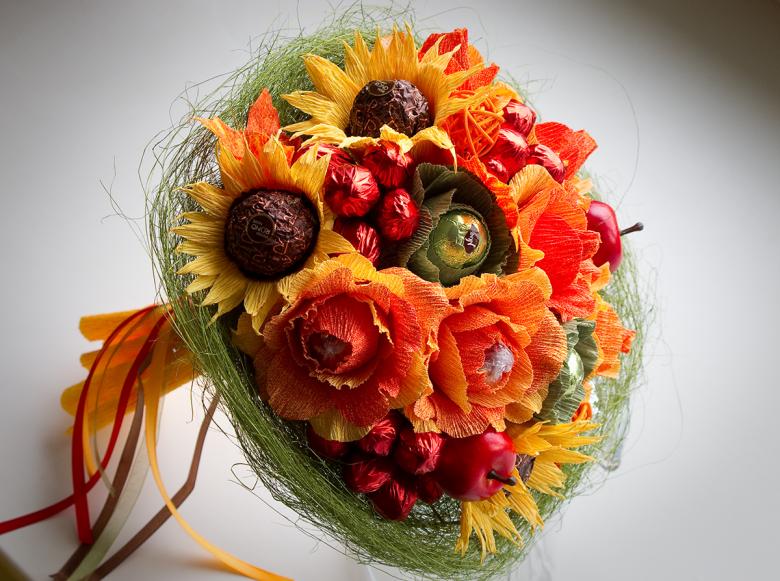
Bouquet of candy
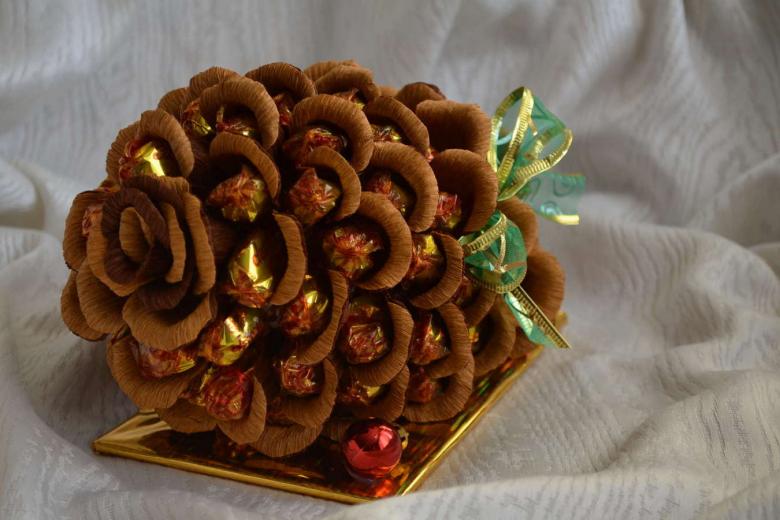
A wonderful gift for the birthday girl will be a floral bouquet of candy. Such a handicraft is not difficult to make, you need only a little talent, a drop of taste and a little diligence, as well:
- candy itself (any candy will do, but it is better to take light, round shapes),
- corrugated paper to make flower buds and petals,
- wooden skewers, long,
- decorative threads,
- duct tape,
- ribbons,
- glue (or better yet, a glue gun).

Corrugated paper should be cut into sheets (8*12 centimeters), blanks folded in half, the ends rounded. Then we take candy, fasten each candy with duct tape to the ends of skewers and tightly wrap the floral "petals", fasten with string. Shape by stretching the edge of the corrugation. We should have a "rose" on a skewer, and a candy inside the "rose".
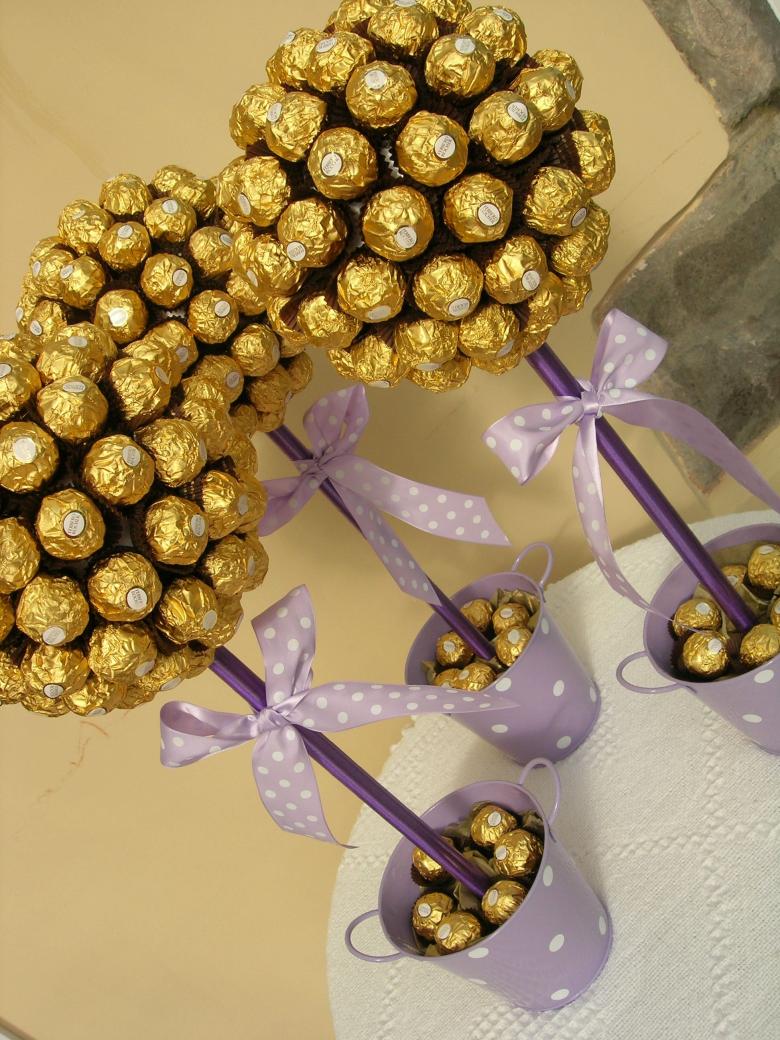
Now form the "leaves". You need to cut rectangles out of green paper (about 0.7 * 10 centimeters), round off the ends. Each flower requires 4-5 "leaves", which should be glued to the base of each "flower" so that they were just above the "petals". You can twist the ends a bit to make the whole "flower" look more realistic. Green paper also wraps the skewers and glue the ends.
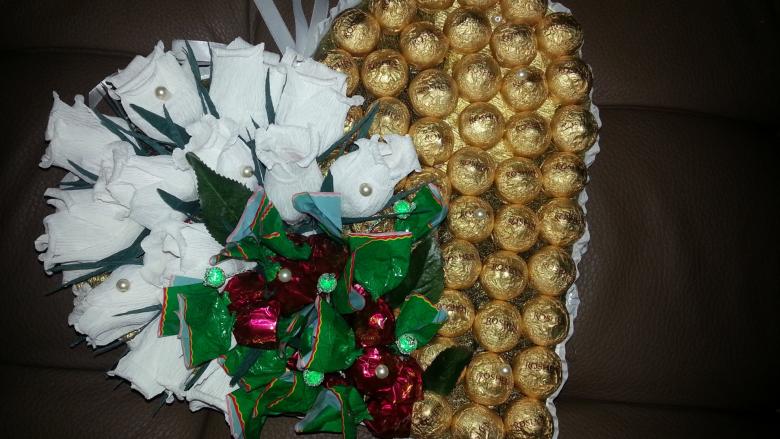
Assemble a flower bouquet in a spiral. We wrap it in corrugated paper, tie it with thread, use decorations - organza and ribbons. As an addition to the original idea - you can decorate the handicraft with beads, bows. You can also put the bouquet in a decorative basket. Our original sweet gift is ready!
Candy cake
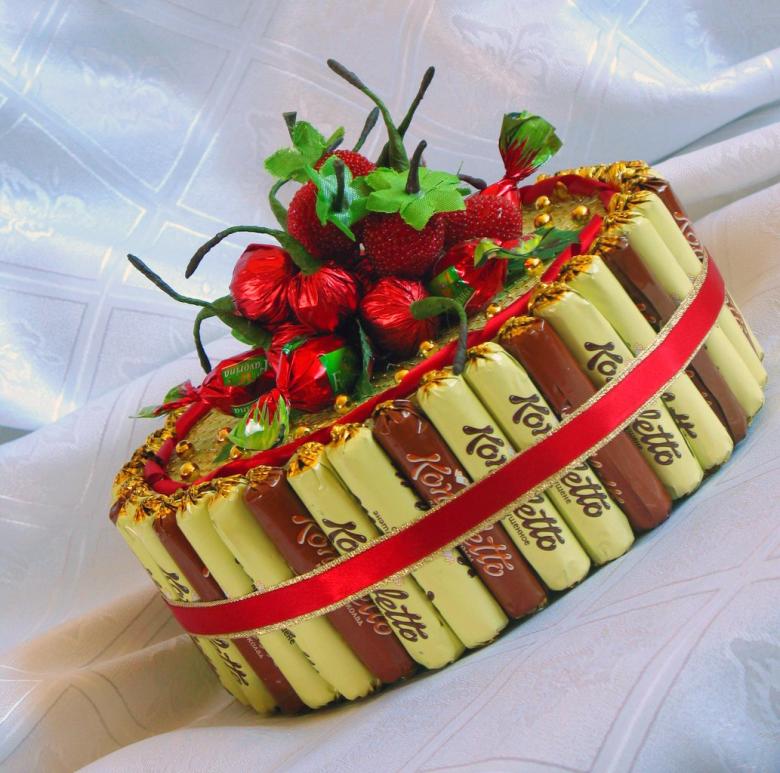
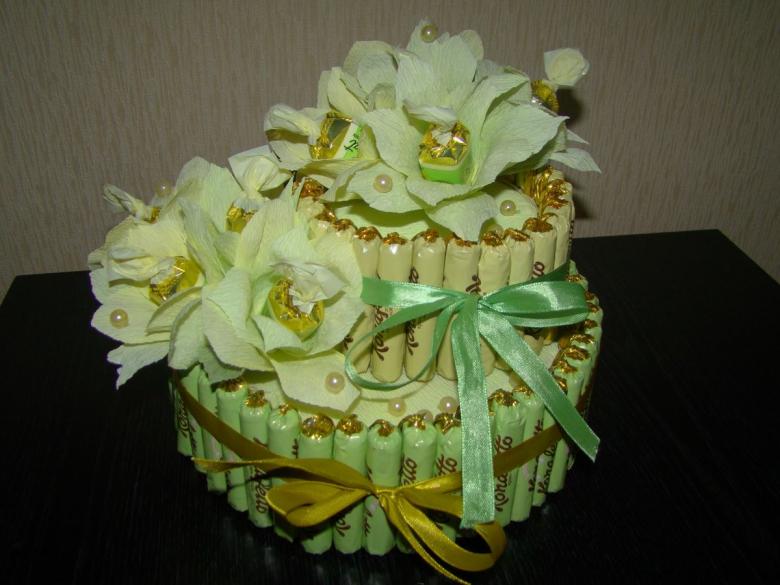
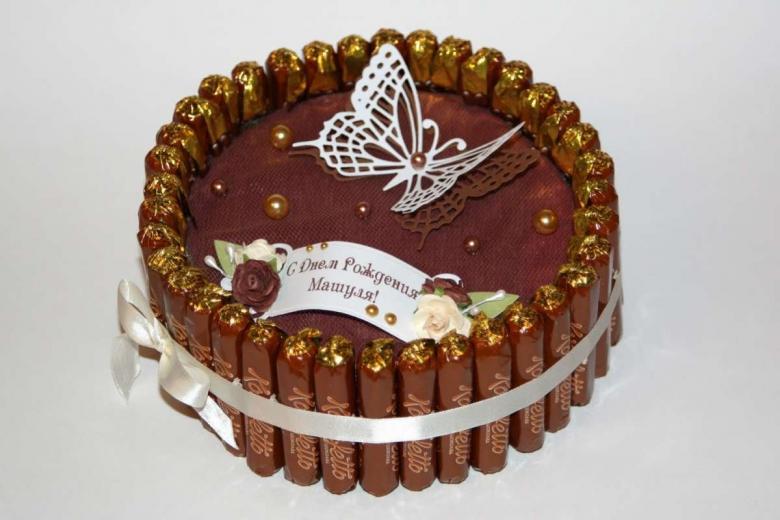
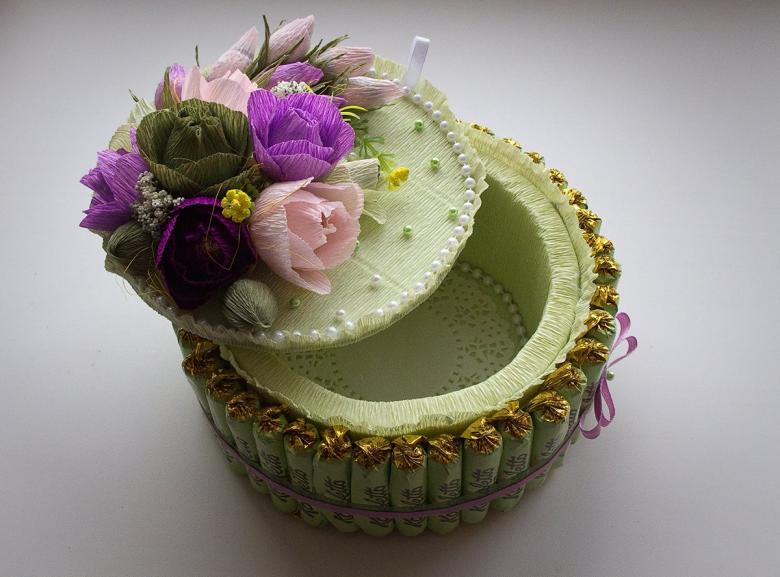
Another no less cute idea is a cake made of candy. It is suitable as a gift not only for children and women, but also for men. The cake can be made one-, two- or even three-tiered.
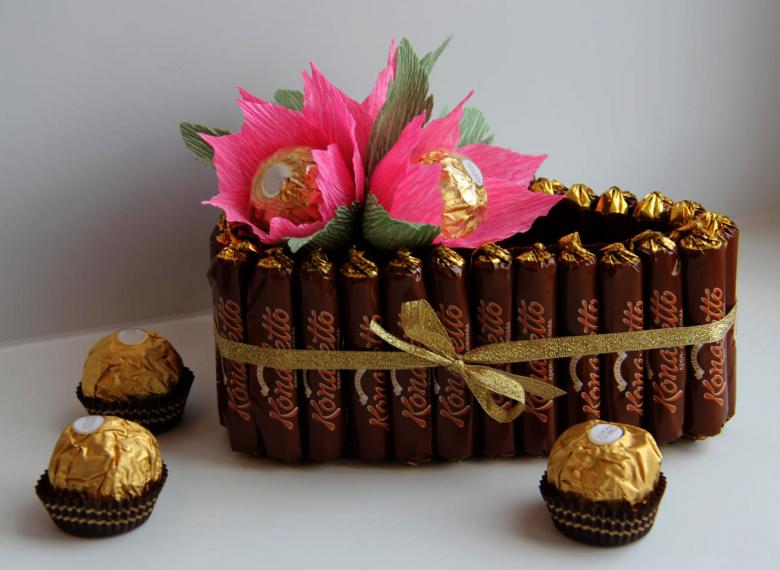
For the work you will need:
- Candy, having an oblong cylindrical shape, or small chocolate bars,
- glue,
- beads, satin ribbons, small candy caramel in colorful wrappers for decoration,
- Cardboard circles for the base (you will need as many tiers as you want).
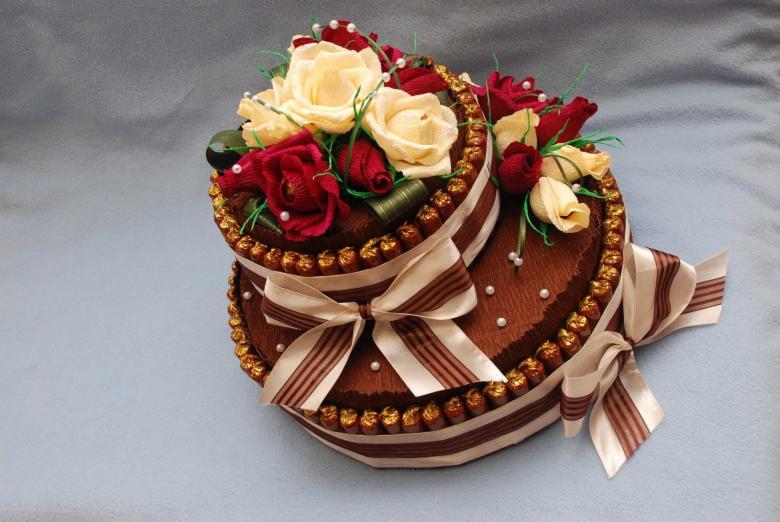
The main tier of the cake is the bottom one. It should be strong enough to withstand all the subsequent tiers together and glued candy. You can also use a tray or flat plate as a base. All the cardboard bases of the tiers should be covered with craft paper or painted with acrylic paints.
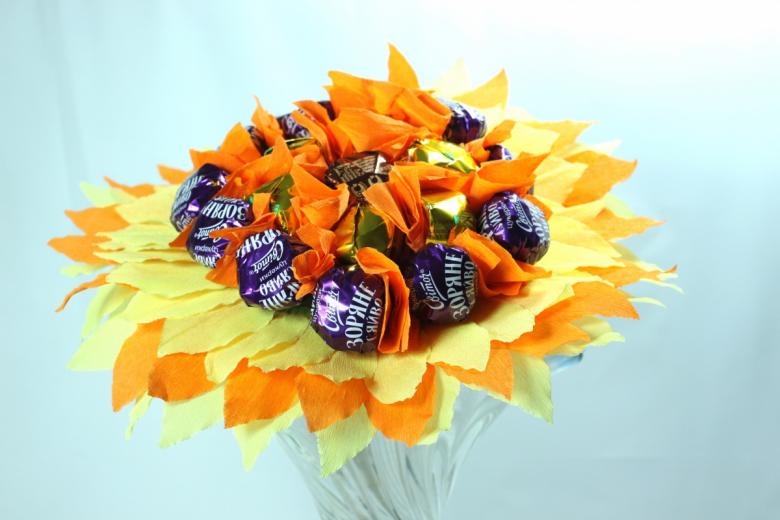
Assemble the cake in a spiral, from the middle to the edge, alternately gluing the oblong candies, placed vertically, with each other. Be sure to use candy wrappers only, since the candy is in the wrapper. The glue must not get on the candy.
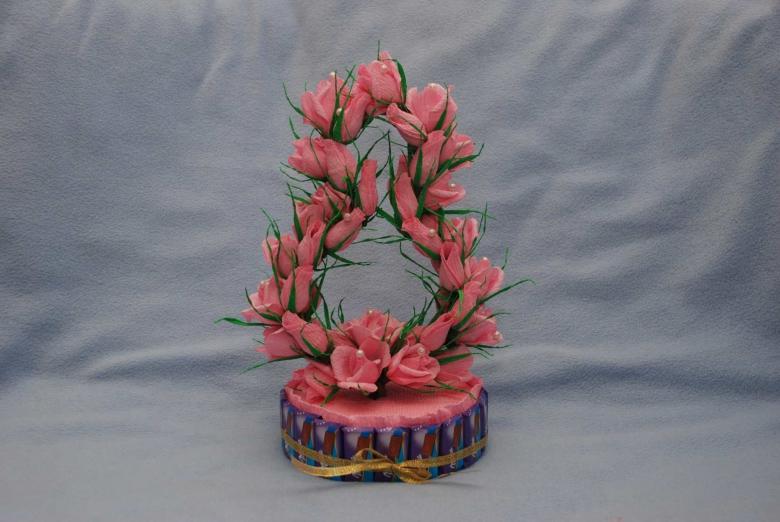
Different tiers can be made with different kinds of candy. Each tier should be tied with a satin ribbon to decorate and further strengthen the structure. The cake can be decorated with beads, bows, decorative flowers, butterflies, ladybugs, small toys - as the imagination suggests!

Candy toys for children
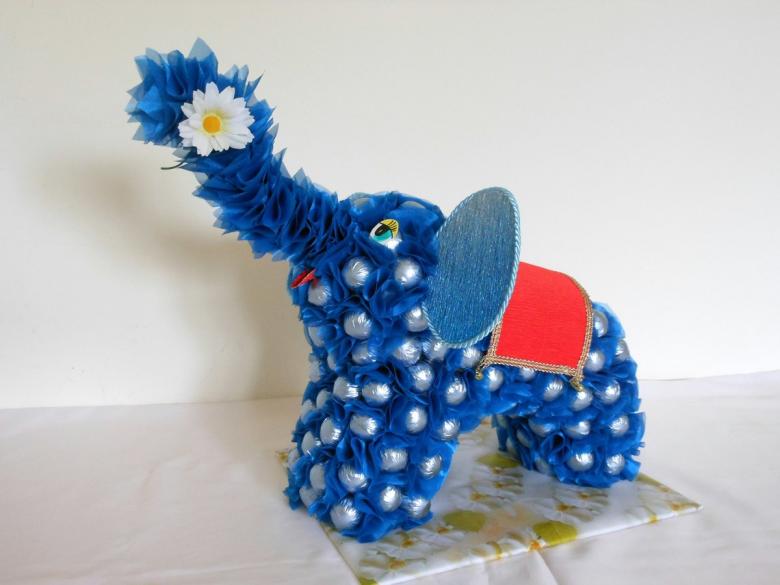
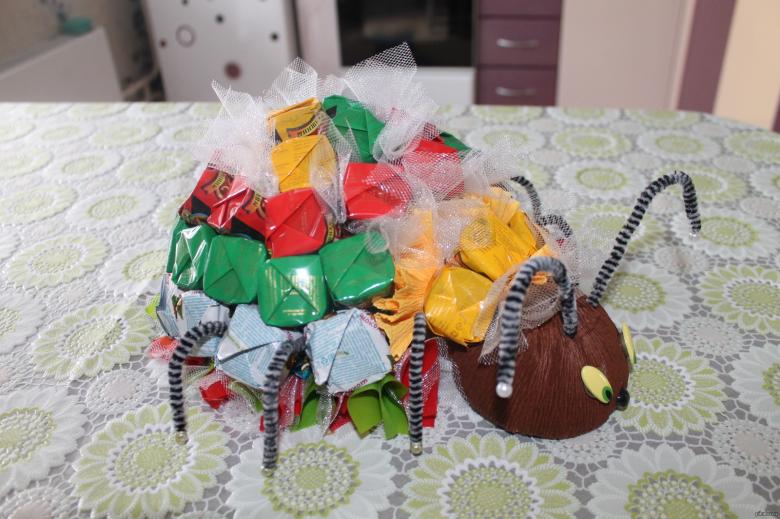
To please a child, you can give him the toy, almost entirely composed of candy. To create it, go with any delicious candy in bright wrappers. This beauty can be made in any style: for both boys and girls.

A doll in a dress made of candy
Such a gift will always be remembered by the little princess! The technology of making is very similar to the process of creating a bouquet of candy, so we will need almost the same components:
- candy (rounded shape, lightweight),
- Corrugated paper in the same color as the candy wrappers,
- Toothpicks made of wood of sufficient length,
- Styrofoam,
- cardboard,
- decorative threads,
- ribbons, bows, organza, rhinestones
- duct tape,
- glue.
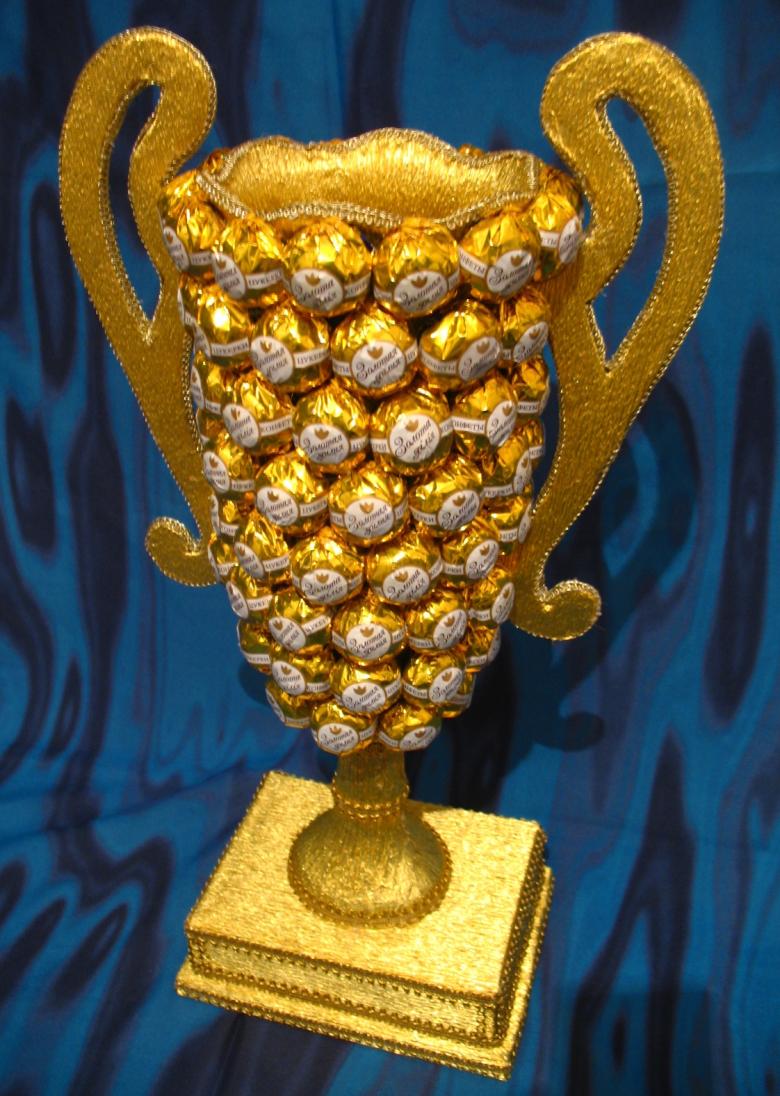
To begin with, you need to make the doll stable because she will have to try on a heavy crinoline with sweets. Make the base from foam plastic in the form of a hollow rectangle in which to put the future chocolate fairy so that it stands vertically. Then cut out a circle from heavy cardboard, cut it to the center and wrap it around the doll's waist. You get a cardboard skirt, the function of which is to hold the top of the future candy dress beautifully. Now wrap the corrugated paper around the doll together with the base so that the paper fits tightly, forming the shape of a fluffy ball gown. Gently fasten the paper with glue. Then start decorating our dress!
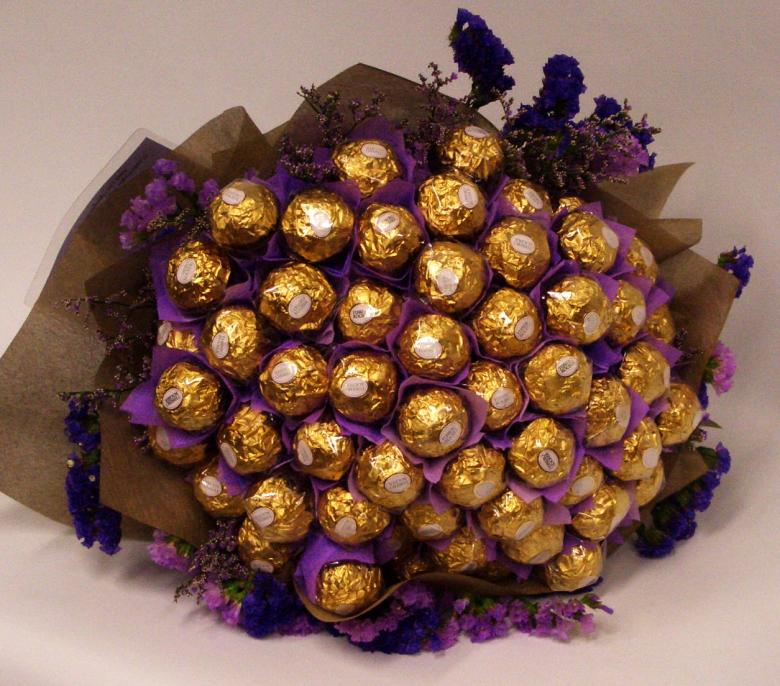
Using the same technology as for candy bouquets, we make florets: connect some candy with toothpicks, wrapping petals of corrugated paper. Wrap the remaining candy with small scraps of organza - they will give our dress puffiness.

We start to decorate the dress from the bottom up, piercing the foam base with toothpicks. The bottom tier is made of candies with organza, the top - with flowers. Rows of candies should be placed close to each other, in staggered order.

The dress can be supplemented with jewelry from beads, rhinestones, bows. It remains only to do the doll's hair, give her a small bouquet - our candy princess is ready!

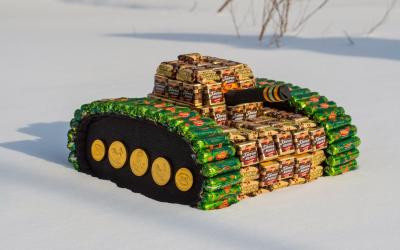
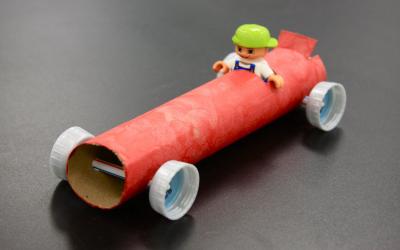
Candy car
And here is a gift that every boy will like! All boys love cars, and if the toy vehicle will be with a "surprise", the joy of receiving such a gift will be double.
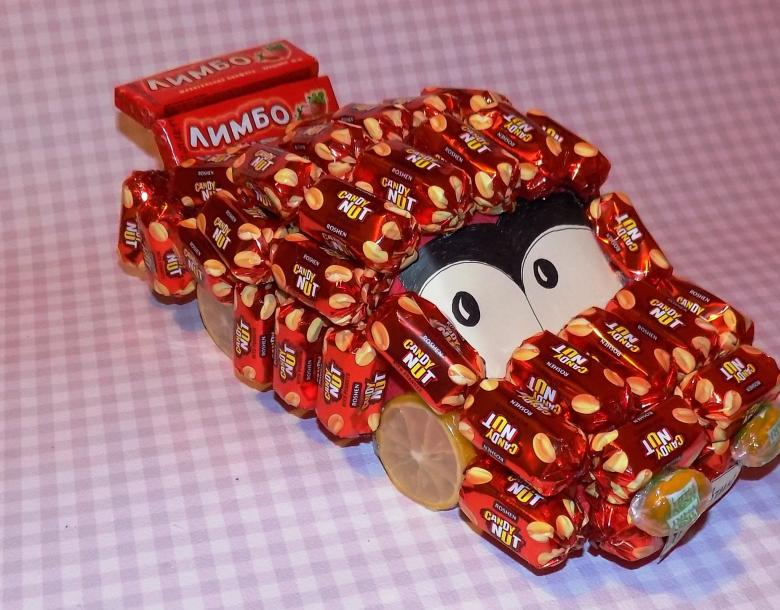
We will need:
- Rectangular candy wrappers (for the body),
- two round candies in a shiny or light-colored wrapper (for headlights),
- Styrofoam,
- corrugated paper in a masculine shade (not all boys will be happy with a pink car),
- heavy cardboard,
- glue.

To begin with, you need to create the body of the future sweet car. It can be made in two ways: glue it from cardboard or cut out of Styrofoam. Accurately cover the ready frame with corrugated paper.
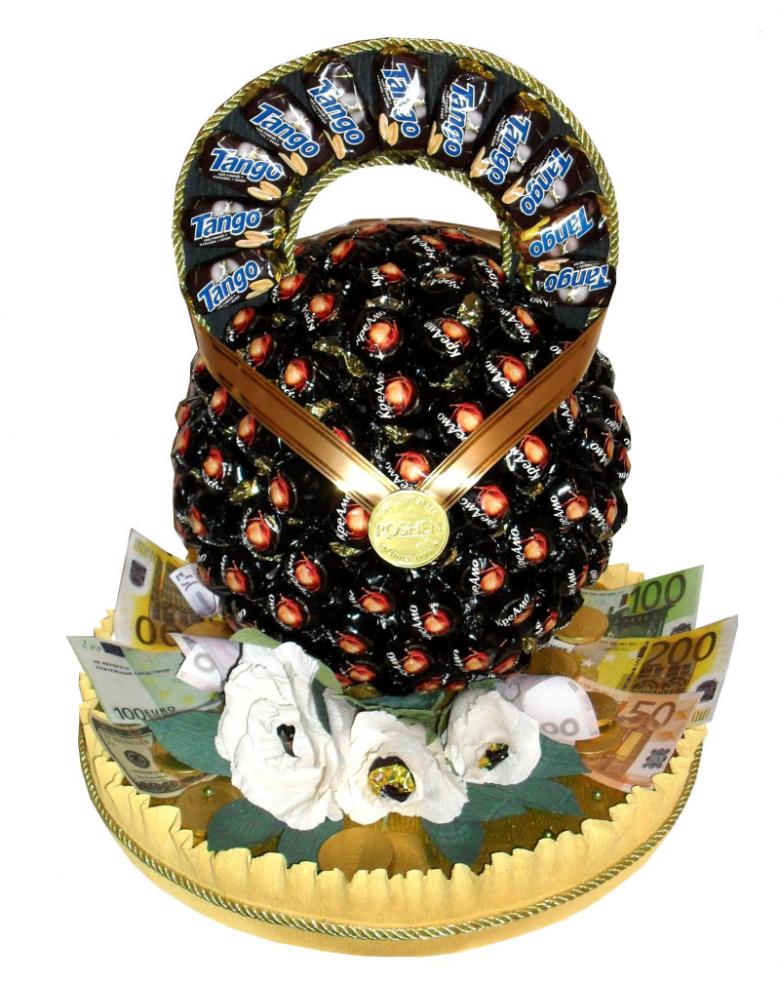
Cut out four circles from the cardboard. These will be the wheels of the car. They should also be covered with paper and glued to the side of the car.
Now you can start gradually gluing the candies parallel to each other to the surface of the body, usually in one layer.
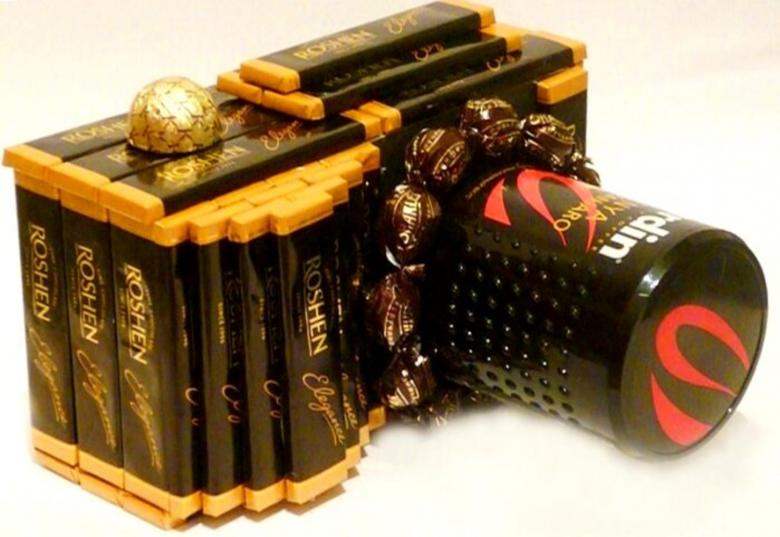
Don't forget the "headlights" that need to be glued to the front of the car. Headlights can also be made from two lollipops, pre-wrapped in shiny foil. We have no doubt that from such a beautiful gift the child will be absolutely delighted!
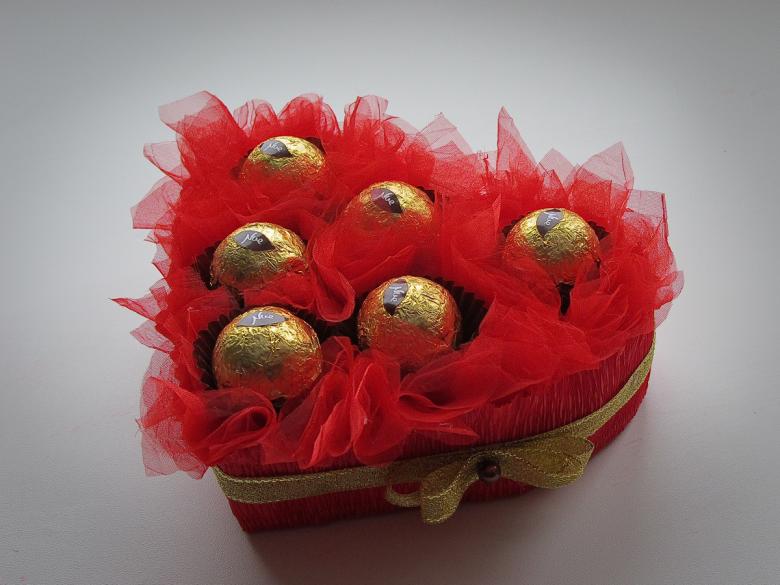
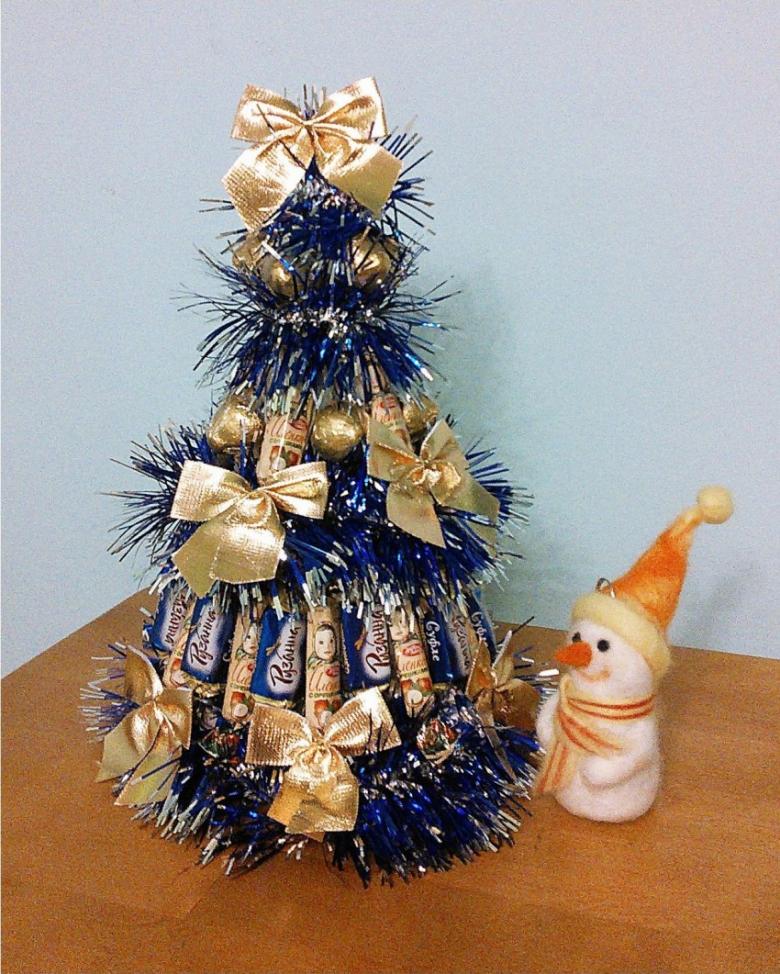
New Year's tree out of candy
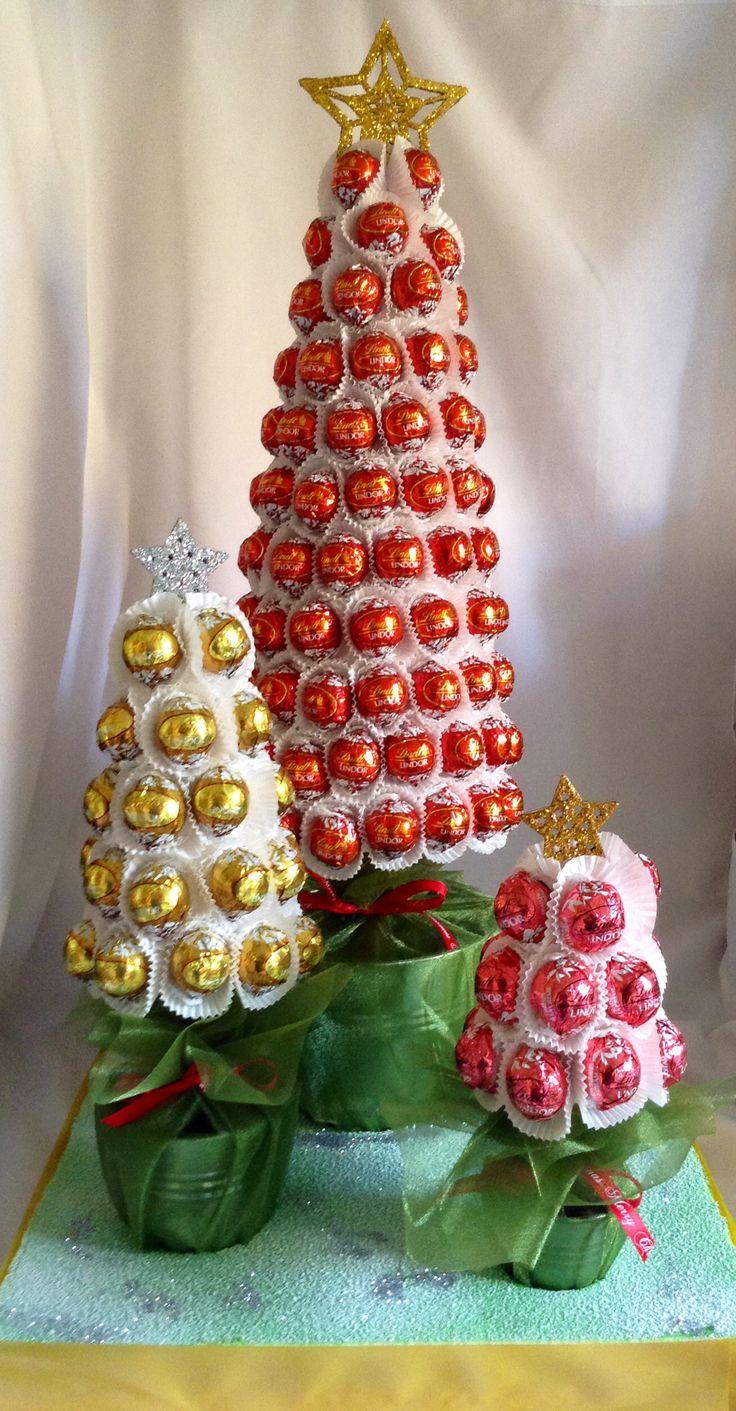
Well what a New Year - and without a Christmas tree! Sweet New Year's Eve beauty out of candy and tinsel can be made together with children. The technology is simple enough, so this versatile gift will not take you much time and effort.
For the creativity we will need:
- candy,
- Christmas tinsel,
- shiny corrugated paper,
- thick cardboard,
- stapler,
- glue gun,
- newspaper.
Start with the base of our future Christmas tree. To do this, take a thick sheet of cardboard and roll it into a cone. Secure the ends at the bottom with staples using a stapler, apply glue to the joints. Level the bottom of the pattern so that the cone was standing firmly, not wobbling - this will depend on how stable our Christmas tree will be.
Before you glue the bottom of the cone, stuff newspaper inside very tightly. This is required to give a craft for stability. Considerably facilitate the process of using a ready foam cone, which can be purchased in stores for creativity. Insert a small piece of wire into the top of the cone. It will be needed at the very end of the process to fix the tinsel.
Cut corrugated paper into strips (5*60 centimeters) and begin to spiralize the cone. This is done so that if there is a gap between the tinsel, the Christmas tree will still look nice.
With a glue gun accurately begin to glue the tinsel (7-10 centimeters), taking your time. Tinsel and candy need to pick up so that they match the color scheme. After the first tier of tinsel is glued, we start to glue the candies. Usually the bottom tier requires no more than 4 pieces. It is very important that they are placed opposite each other to maintain stability. And then alternate a row of tinsel, (glue tightly) and a row of candies, which are placed in staggered order with respect to the previous sweets.
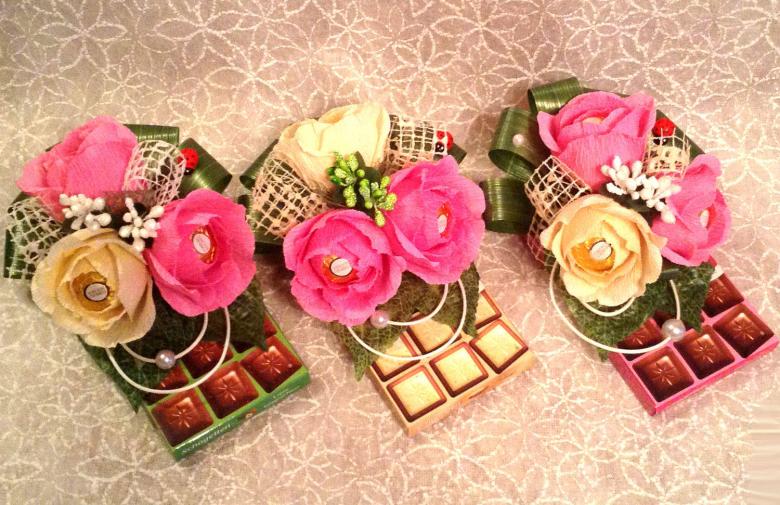
As you approach the top of the cone, you need to gradually reduce the number of candies in the rows. At the very end of the wire secure the tinsel either by wrapping it around the wire, or put it on the glue. The top can be decorated with a Christmas ball or bow. With such an original gift, you can make a great photo to remember the holiday!
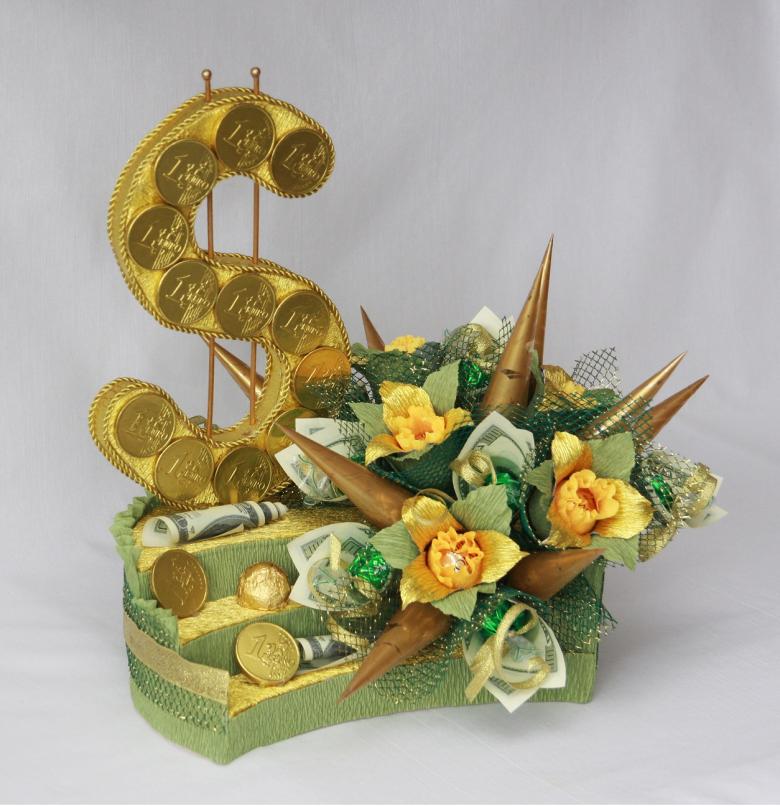
As you can see, nothing special is required to create gifts from candy. The basic materials that are needed for creativity are confectionery in wrappers, beautiful paper, glue, decorative decorations, as well as imagination, taste and originality of performance.
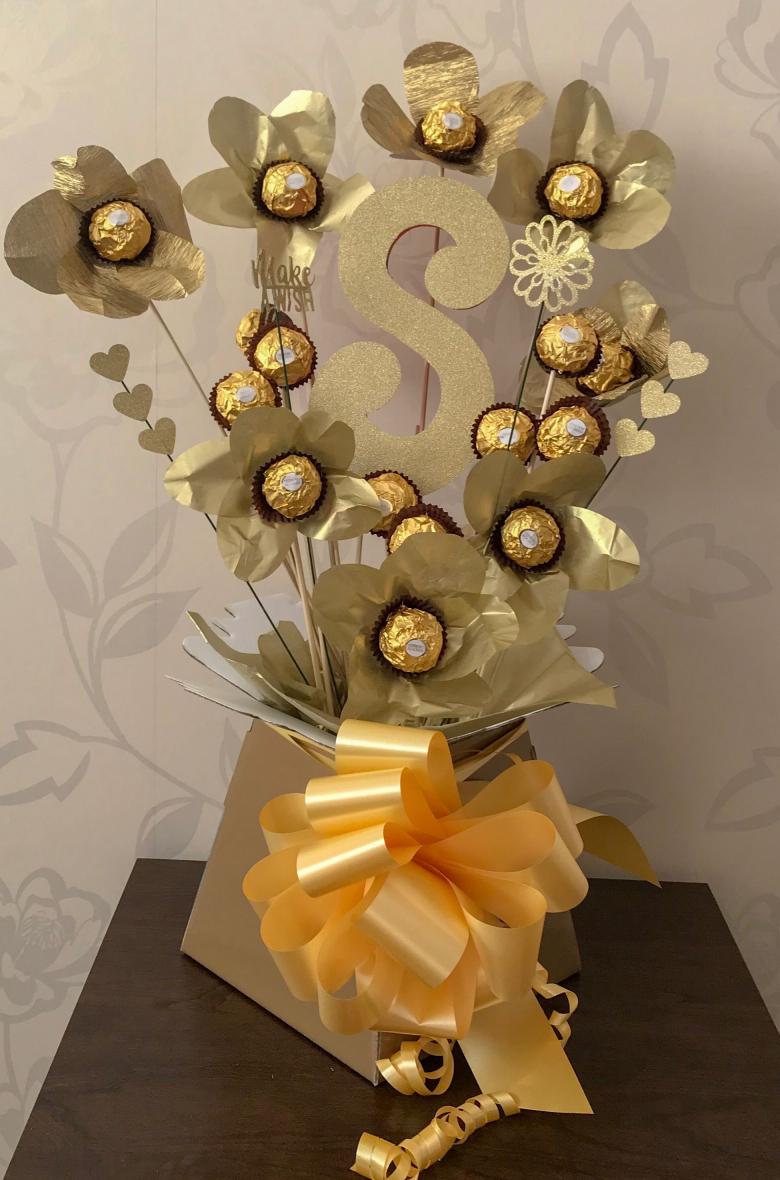
The idea to give gifts from candy is very exclusive and easy to perform at the same time. Such a gift makes it clear how dear you are to the person to whom you present the result of your own creative master class. After all, the dearest gifts to your heart are the gifts made by your own hands!

