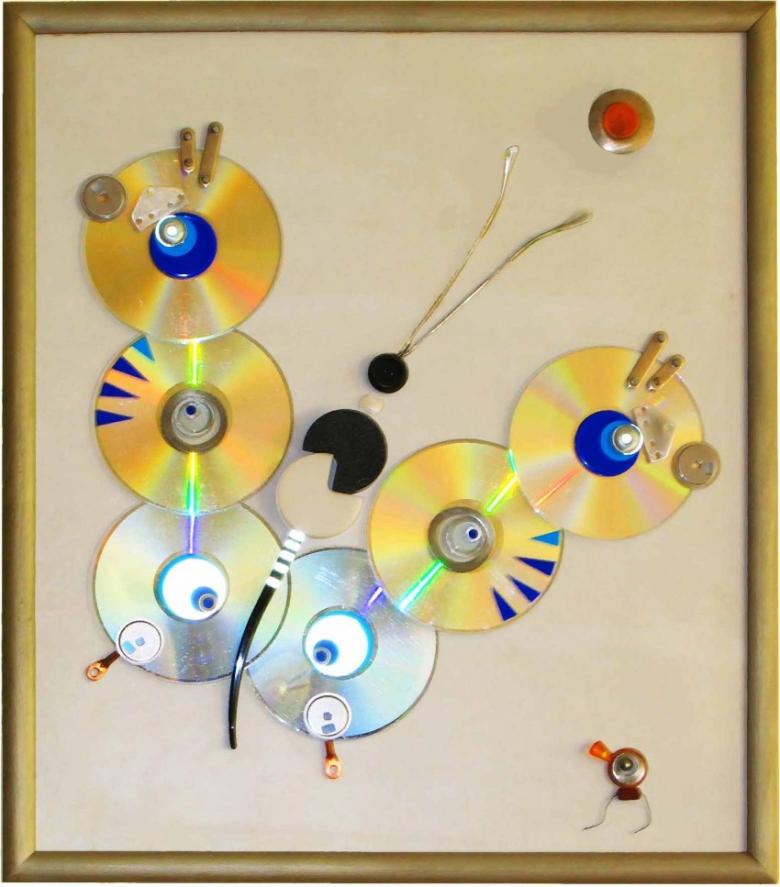
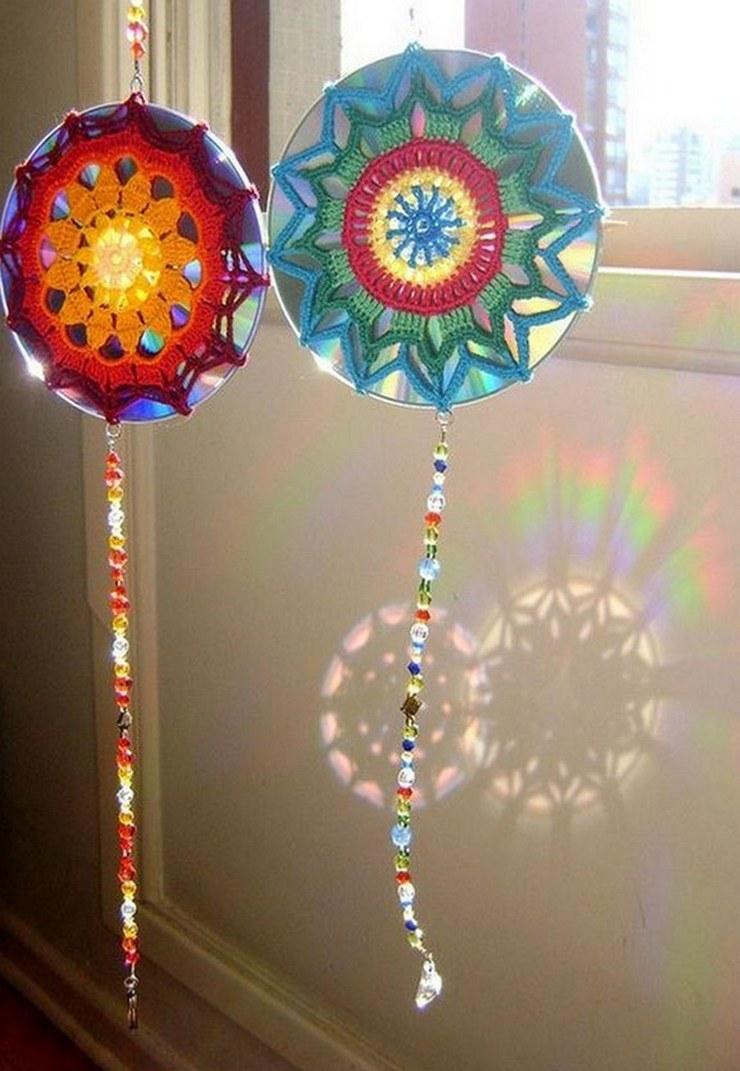
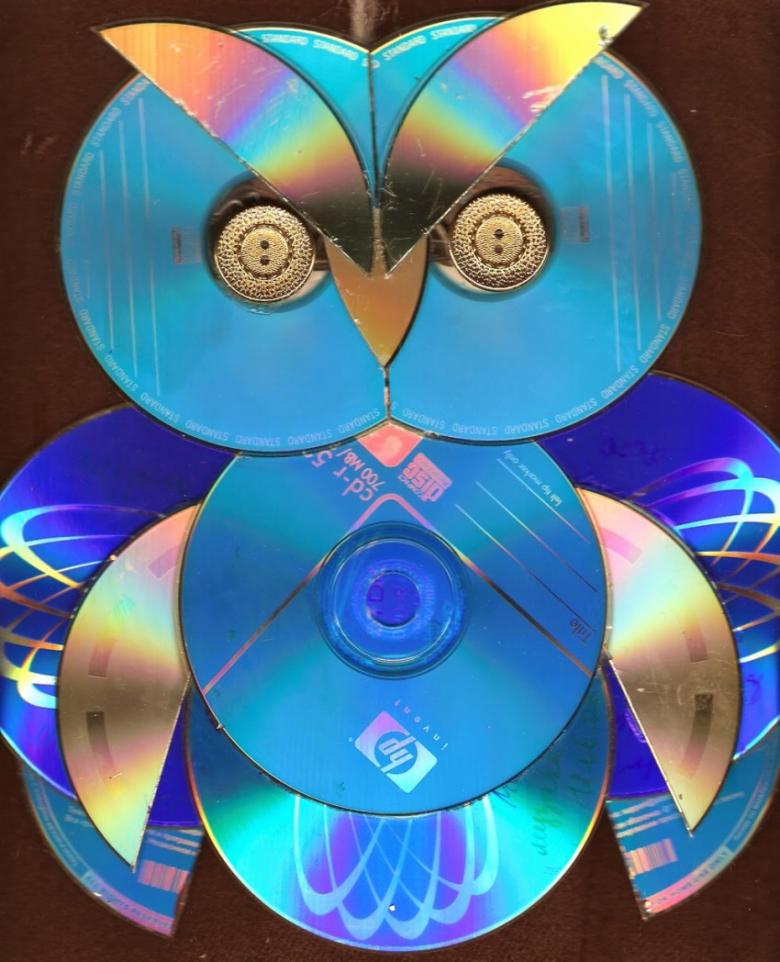
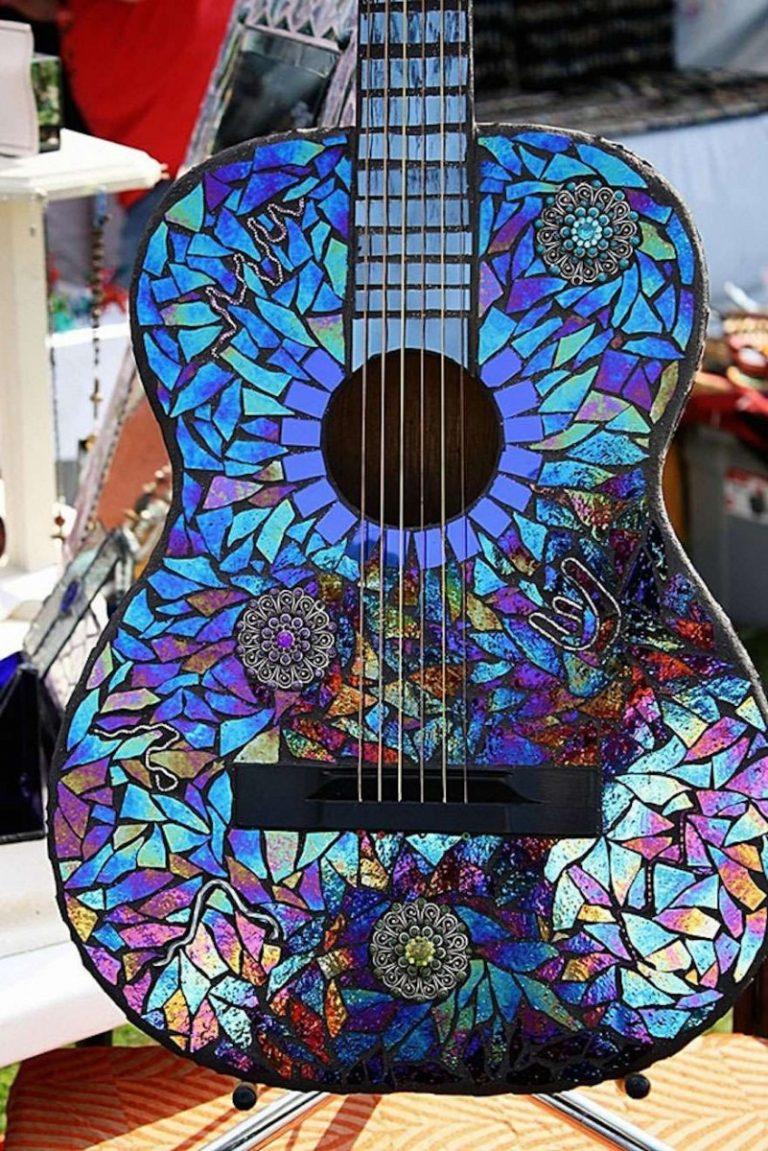
Computer CDs crafts - a selection of interesting master classes with photo examples
CD disks play before USB - flash - drives and are rarely used nowadays. Many people have accumulated impressive collections of CDs that are already outdated, obsolete, deteriorated and do not reproduce information. Creative people know how to give a second life to unnecessary things. From round "plates" you can make interesting crafts and products useful in everyday life.
CD Covering
If you have too many CDs, you can make something fundamental out of them. Owners of private homes have found an original use for this material - laying the roof instead of shingles. Disks have high strength, and if they are properly stacked, they do not let moisture through. With such a coating, the roof will be protected for many years. Approximate plan of action for laying the roof with discs:
- Prepare 120 pieces per 1 sq.m.
- Attach discs to plywood or other wood board with small nails.
- Secure to the roof with the prepared sheets of plywood.
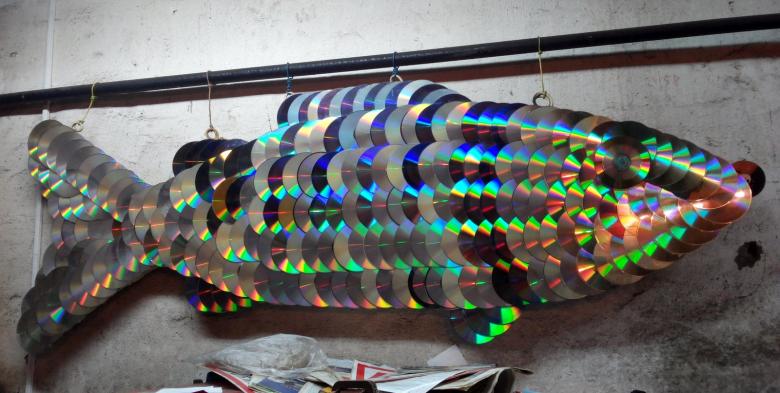
"Plates" are placed in staggered order. In the first row close to each other, in the second - over the holes of the first row.
If you put the discs glossy side up, they will play in the sunlight, visually decorating the house. If the matte side is on top, the coating will not differ from ordinary tiles in appearance.
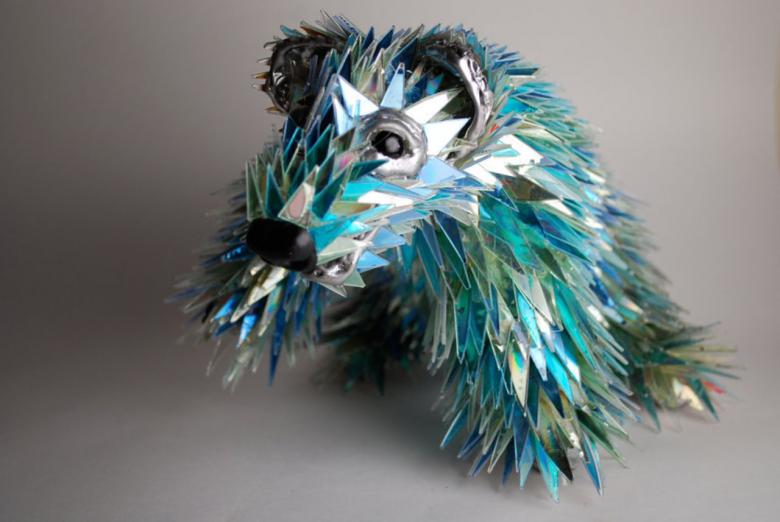
Rigid Curtains
The original design element is the curtains made of discs. They bring modernity to the interior, add freshness and positivity. The set of tools is ridiculously modest:
- computer disks;
- paper clips;
- drill bit.

In each disk make four diametrically opposed holes closer to the edge. Then, using a paper clip, the units of round material are paired with each other, placing them in the same plane. You can form a rectangular cloth or use your imagination and give it another shape.
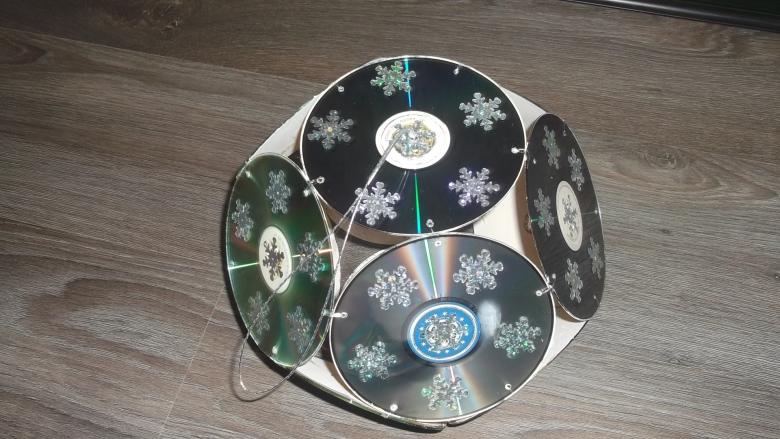
The resulting curtain is fixed on a traditional curtain rod. Some craftsmen cut on the marking a small circle in the center of the disk and string them on the curtain rod, turning them into holders of the cloth.

Grips for curtains
A real highlight in the interior can become curtain holders, if you approach their creation creatively and with soul. Grips are used to hold curtains during daylight hours and give them an elegant silhouette. Purchased holders look boring. There are many pictures of holders published on the Internet on sites devoted to needlework. Many hostesses are interested in creating a beautiful accessory with their own hands.

To work you will need:
- two discs;
- a sharp knife;
- compasses;
- hot glue;
- satin ribbon width of 1 cm;
- flowers from satin ribbons or lace, artificial flowers;
- beads, beads;
- Chinese hair stick, any wooden or plastic stick.

The step-by-step plan looks simple:
- Step back from the outer edge of the disk one and a half to two centimeters;
- Draw an even circle with a compass;
- Cut with a knife along the line, cut it off;
- Wrap the ribbon around the circumference, fasten the tip discreetly with glue;
- Decorate with flowers in the technique of kanzashi, to fix the curtains use a chopstick.
The color of ribbons and decorations should be chosen so that it is in harmony with the coloring of the curtain material.
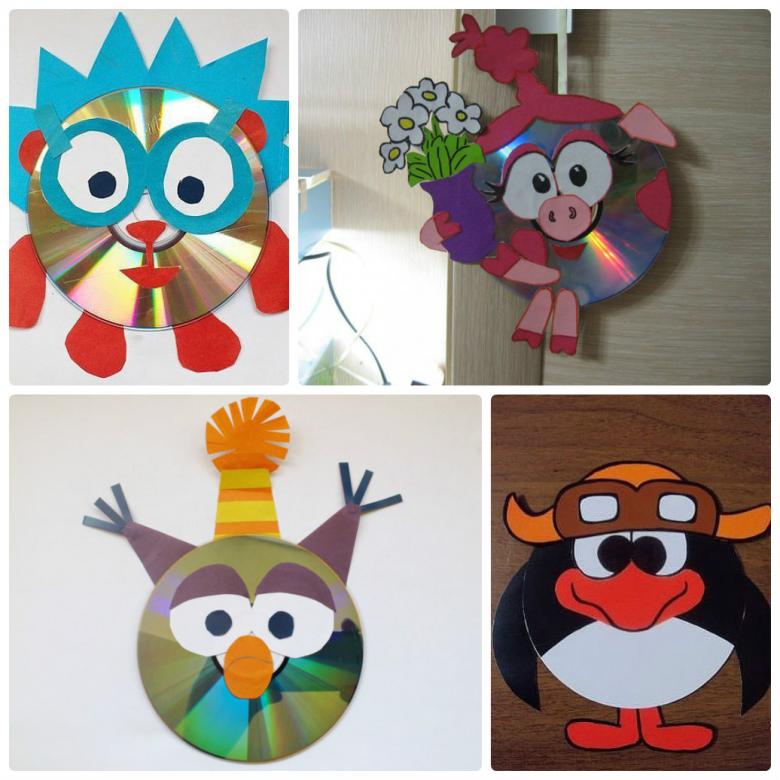
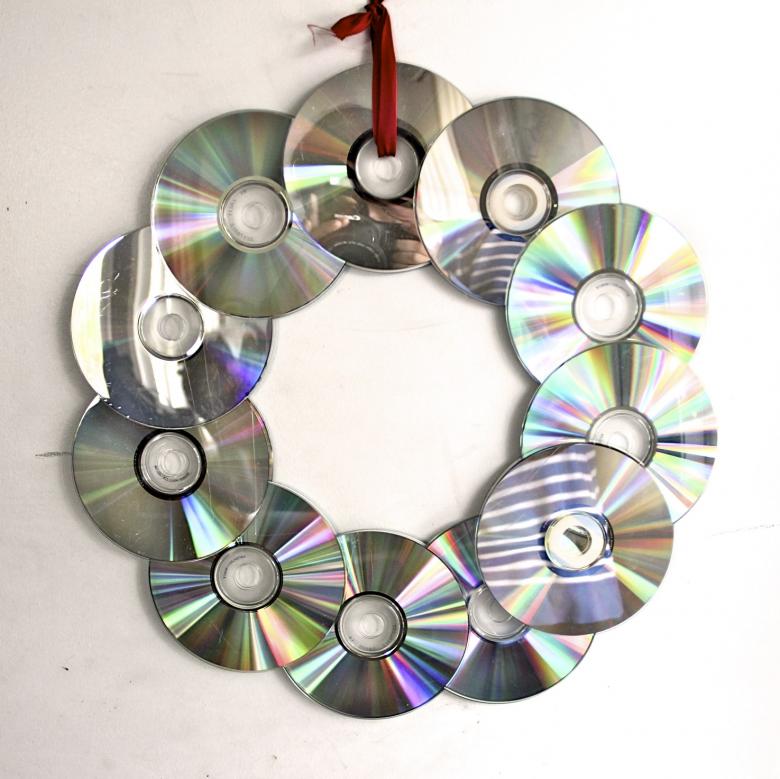
New Year decoration
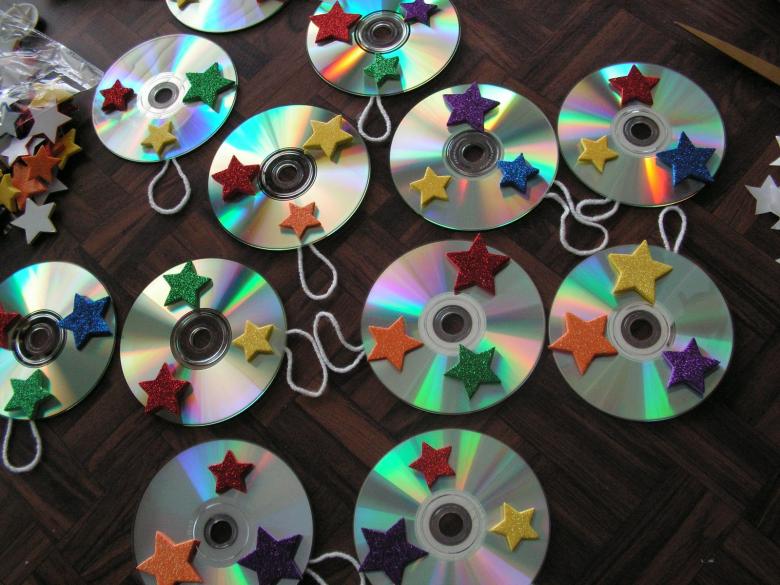
On the eve of the New Year's Eve, people begin to think about decorating their homes. In addition to the traditional tinsel, we want to add something original. A great option would be balls made in the technique of hand-made from disks.
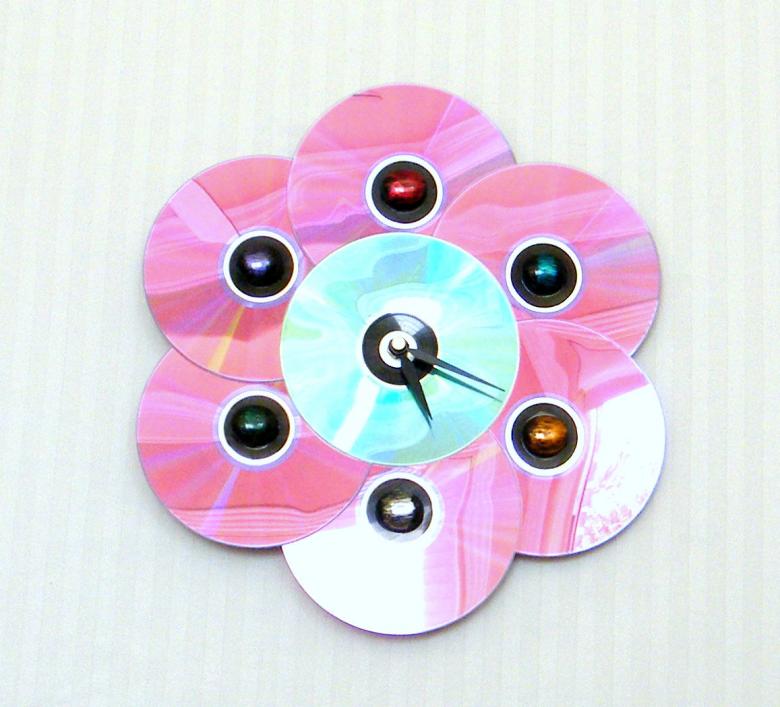
To implement the idea will be useful:
- Unneeded old "plates";
- Hot glue;
- Wide tape with lurex;
- Scissors;
- A transparent Christmas tree ball.
The master class on making a toy is simple, but very entertaining:
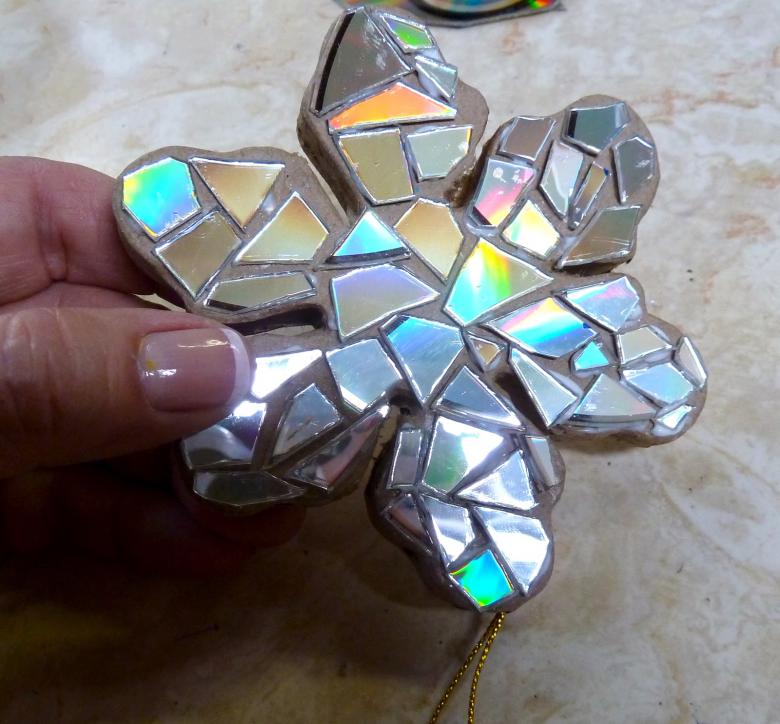
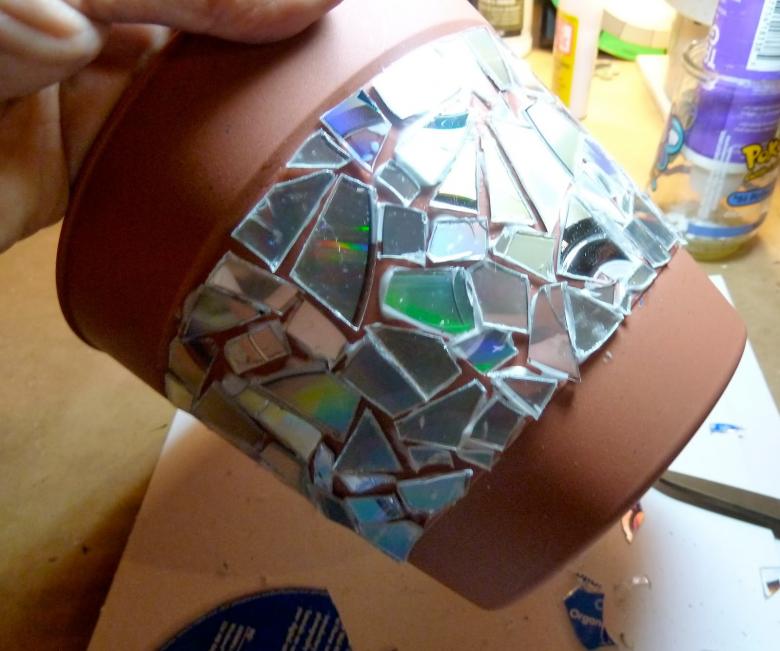
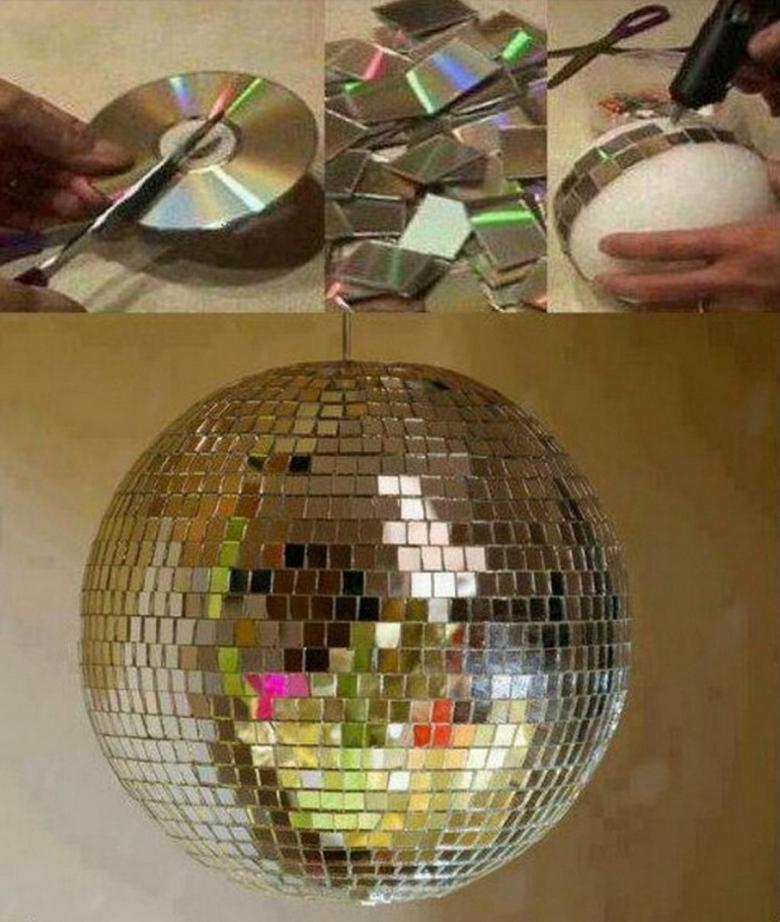
- With scissors, cut the disk into small pieces of polygonal shape (the minimum length of one of the sides - 0.5 cm, the maximum - 1.5 cm);
- Remove the metal holder from the ball and place a piece of ribbon with lurex in the hole;
- Insert the holder back in;
- Using hot glue, "plant" the shards on the surface of the ball as a mosaic.
In the same technique, you can decorate elements of holiday clothes, such as the collar. In the light, the mosaic will shimmer beautifully, creating a New Year's Eve mood.
Photo frame
A photo frame, like a book, is considered the best gift. And if it is made with your own hands, it becomes even more valuable. To make a picture frame, you will need materials:
- thick cardboard;
- computer disks;
- hot glue or PVA;
- scissors;
- A tube of black paint.

It is important to choose a good, thick cardboard, because it will be the basis for the product. Step by step instructions are as follows:
- Cut two identical rectangles from cardboard;
- Cut a round window in one of the rectangles for a photo;
- Glue the two cardboard blanks on three sides, through the fourth side will be inserted a photo;
- Cut the disk into small pieces of different shapes and sizes;
- Glue the pieces of disk to the side of the cardboard pocket where the window is cut out;
- When the glue dries, fill the gaps between the elements with acrylic paint from a tube.
You can furnish the photo frame with holders to place it on a vertical wall or on a table.
Candle holder
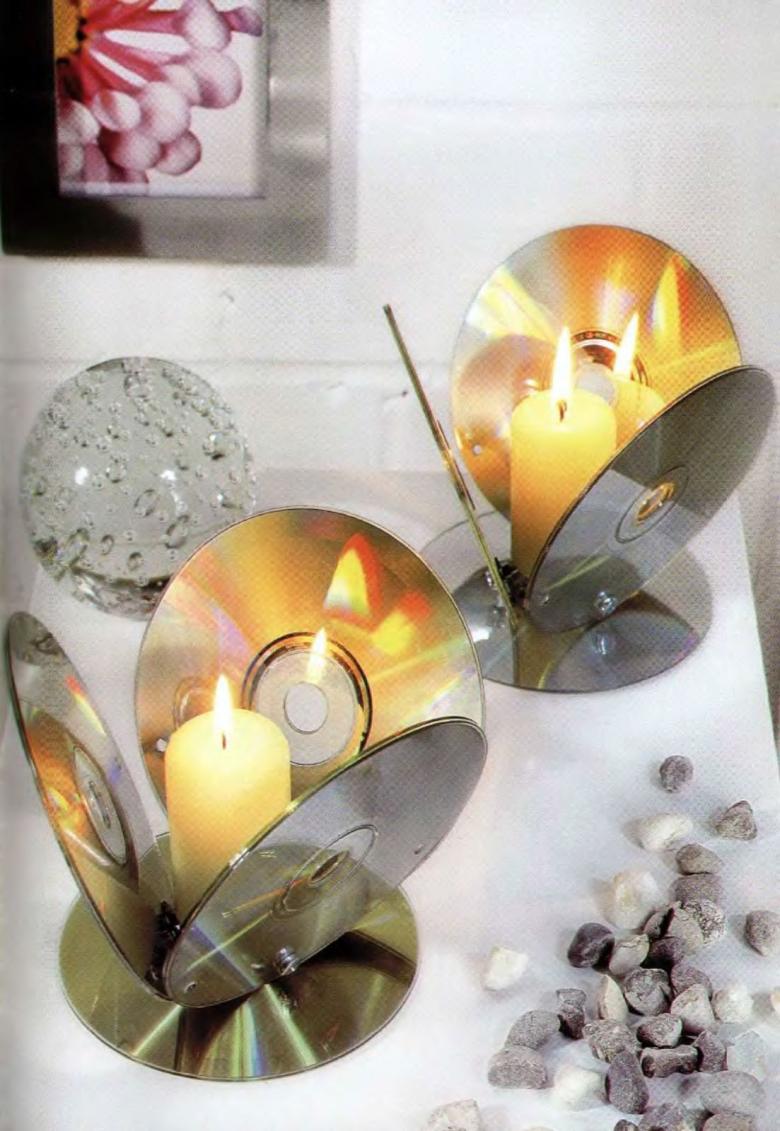
For the craft you need only one CD and many glass beads. Using hot glue, the balls are glued on the outer contour, and then on top of each other. The result is a textured glass wall.
In the center, a candle is placed on the melted wax. If a candle is lit, the room is filled with romance and coziness, and the shimmering sheen from the balloons fascinates the eye.

Cup coasters
Useful items make everyday life comfortable. Cup coasters protect the tablecloth, the surface of the table from accidental drips of tea, stains from food.
Materials will be needed:
- discs;
- scraps of fabric;
- ballpoint pen;
- stuffing (synthetic or foam rubber);
- Needle and thread.
To make one stand, you need to prepare two scraps of cloth and one piece of foam rubber. The size of the cloth cut should be such that it is possible to cover the disk and bend a couple of centimeters on the back side.
Step-by-step master class:
- Take two discs;
- Place a piece of foam rubber on each circle;
- Each disk of foam wrap the cloth and hem the back side;
- Add two discs folded inward;
- Connect disks keyhole stitch on the contour;
- Sew on the loop.
Original coaster is ready.
Windmill for villas
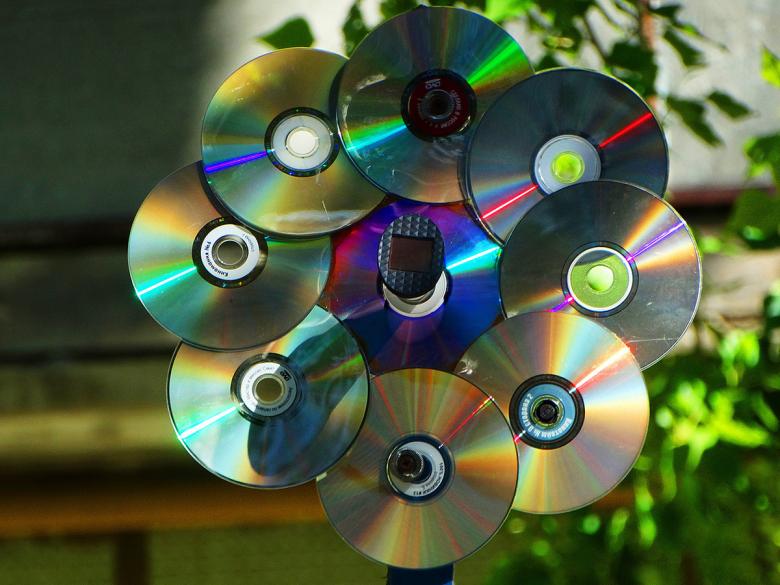
Windmill from CDs looks unusual. Artisans decorate the garden, vegetable garden, homestead plot with it. The wind vane shows the wind direction, and at the same time serves as an original element of garden decor. To make it, you need skills with tools.
As the basis for a homemade wind vane take the wheels from a scooter. The wheel is clamped in a vise and with the help of a saw make notches in the rubber, up to five pieces in diameter. The discs are inserted into the grooves and fastened with epoxy glue. Thus, the wheel of the wind turbine is obtained.
Next, a rocker for fixing the wheel is made. Drill a hole in a wooden bar from the end, fix the base of the wind turbine at one end, and the tail of the wind turbine at the other end. The balance point is measured and a hole is drilled in it for the holder. Disks have low weight, well give in to the movement of air, so the wind vane is sensitive to the wind.
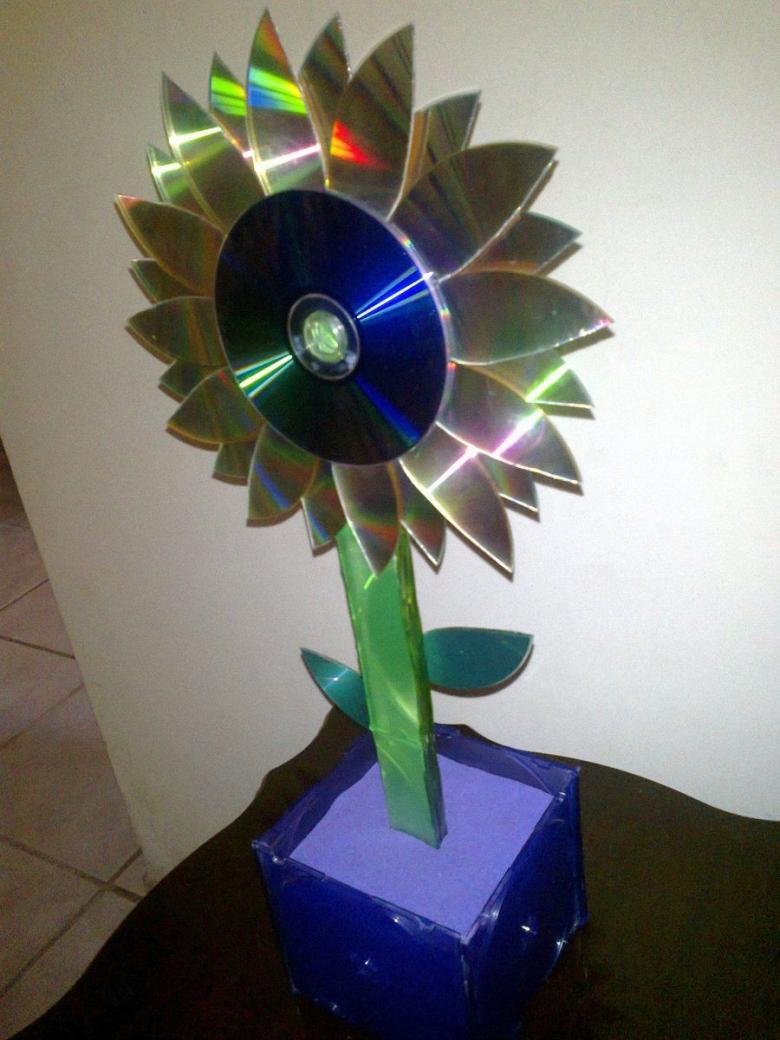
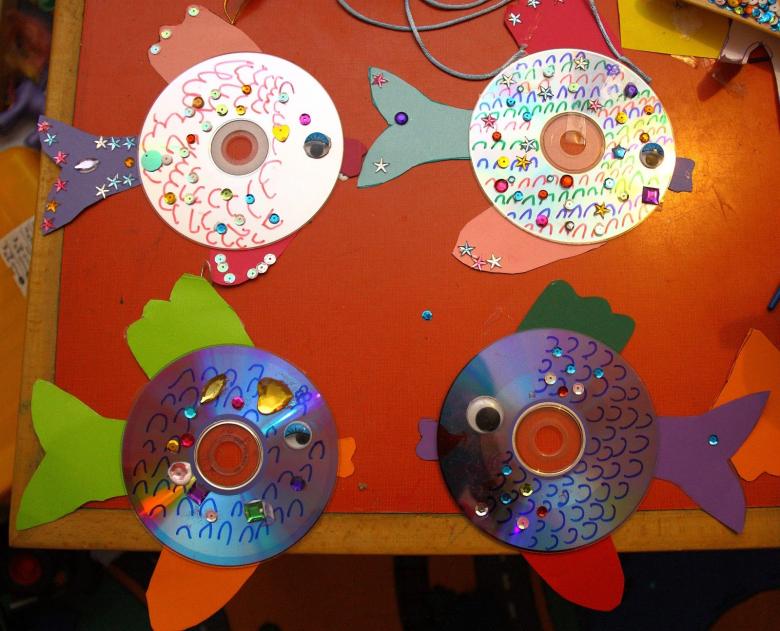
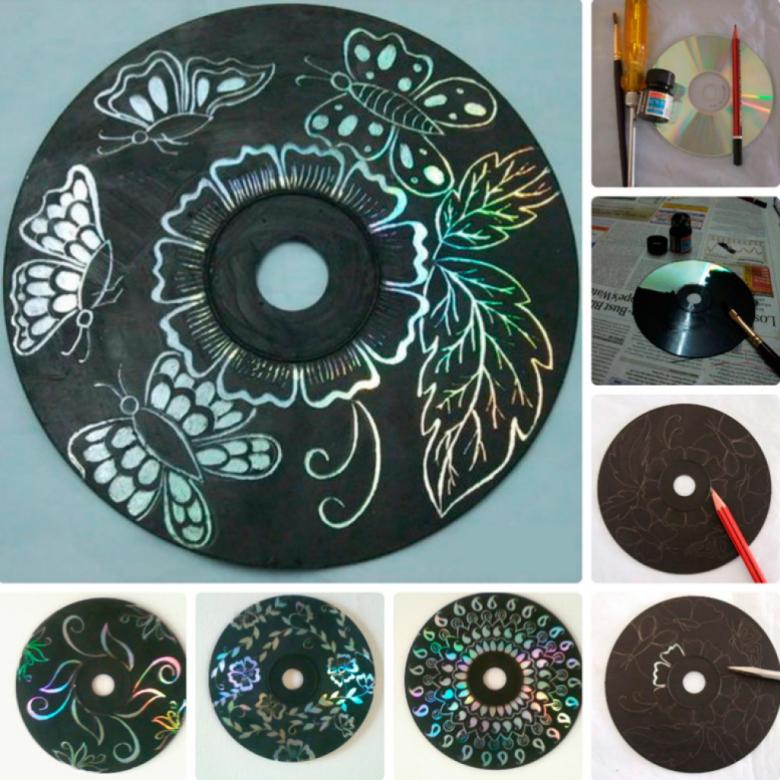
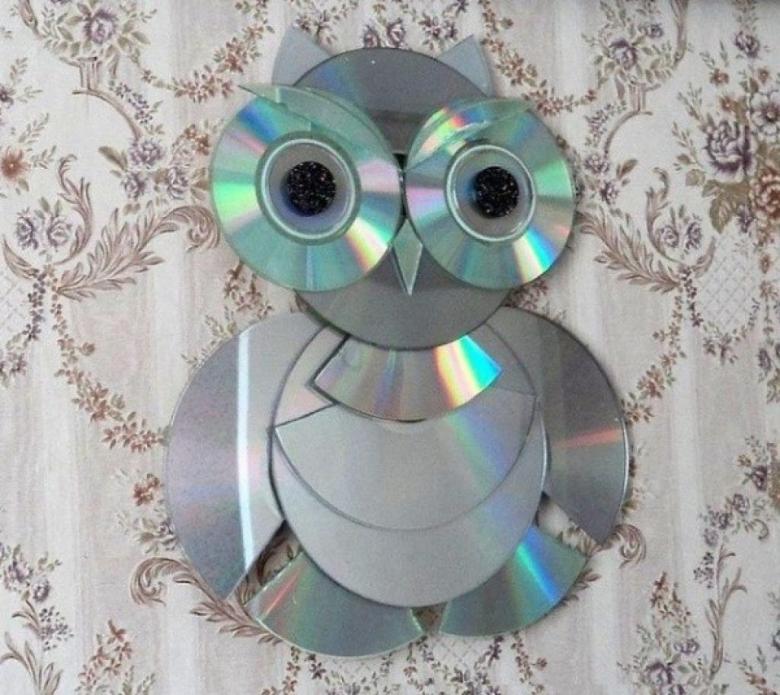
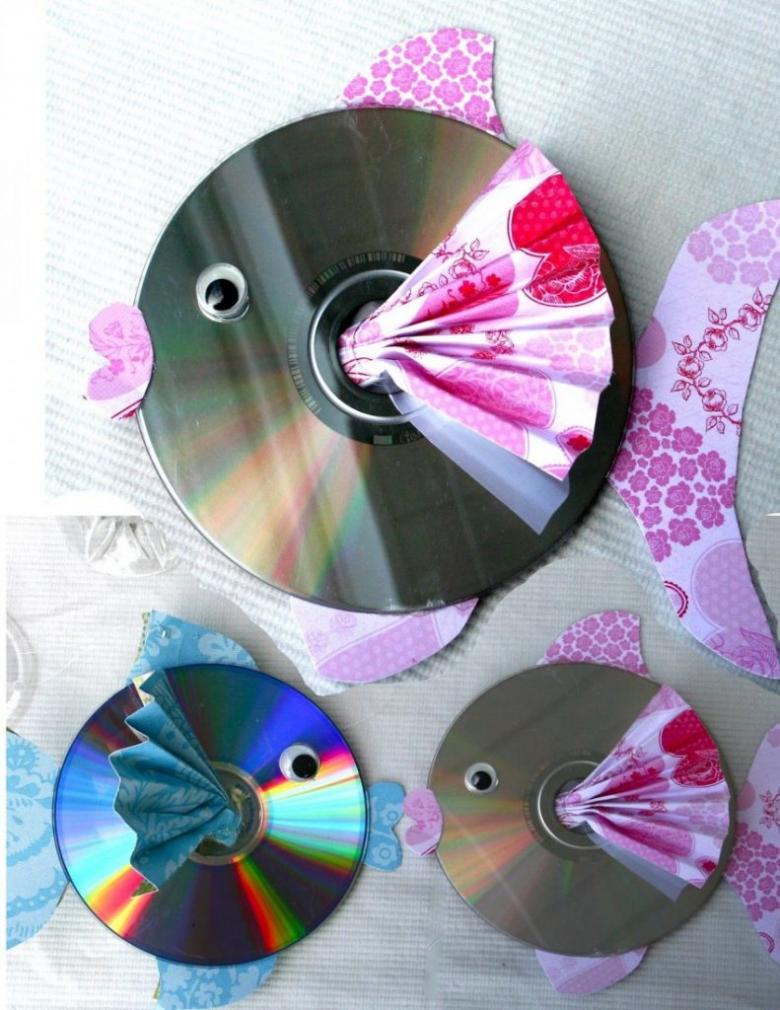
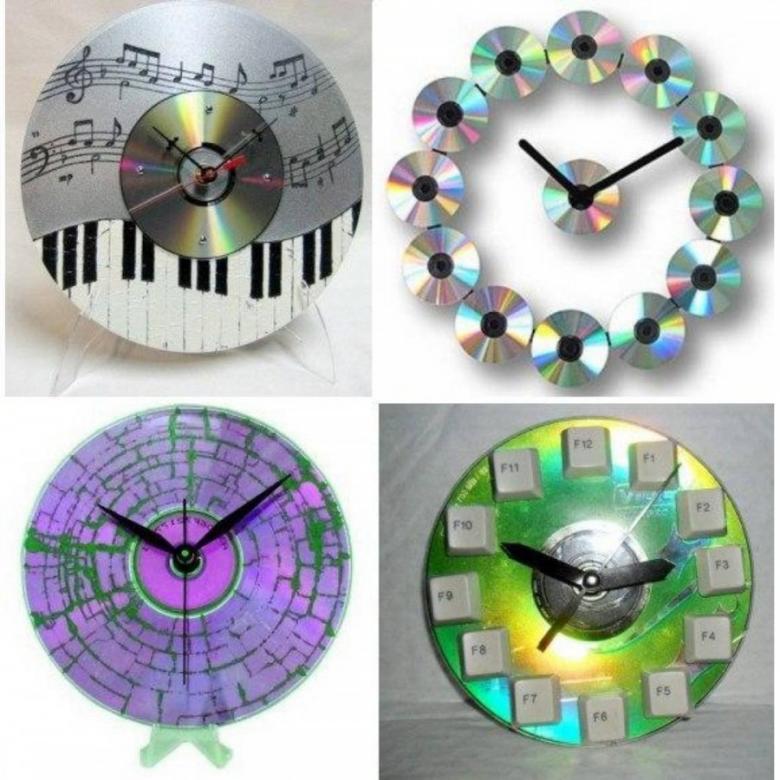
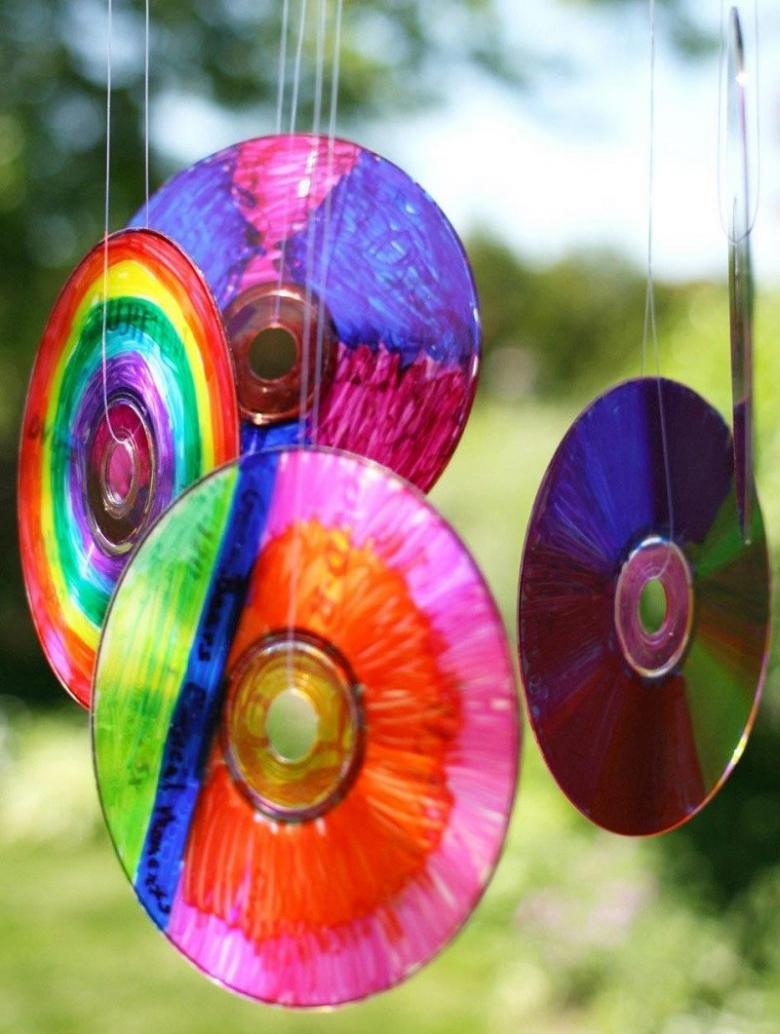
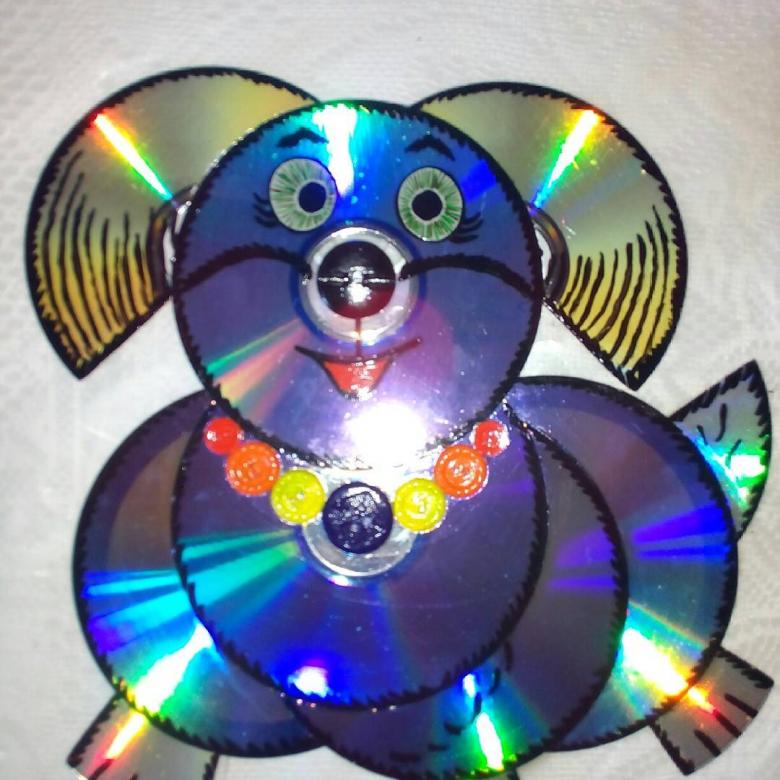
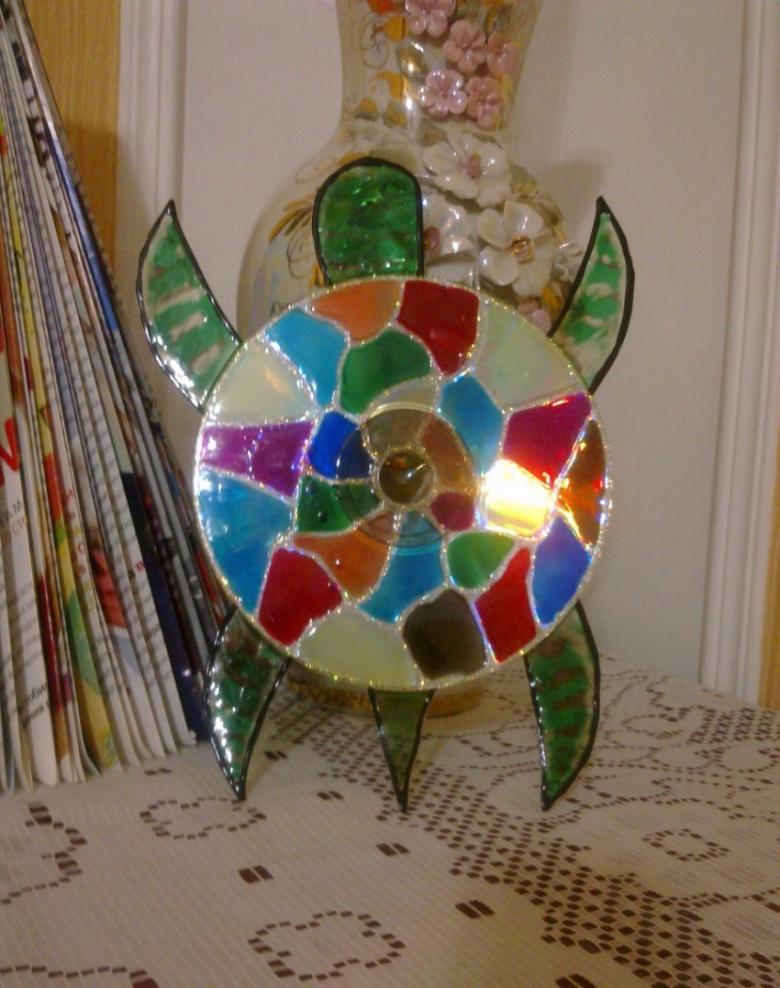
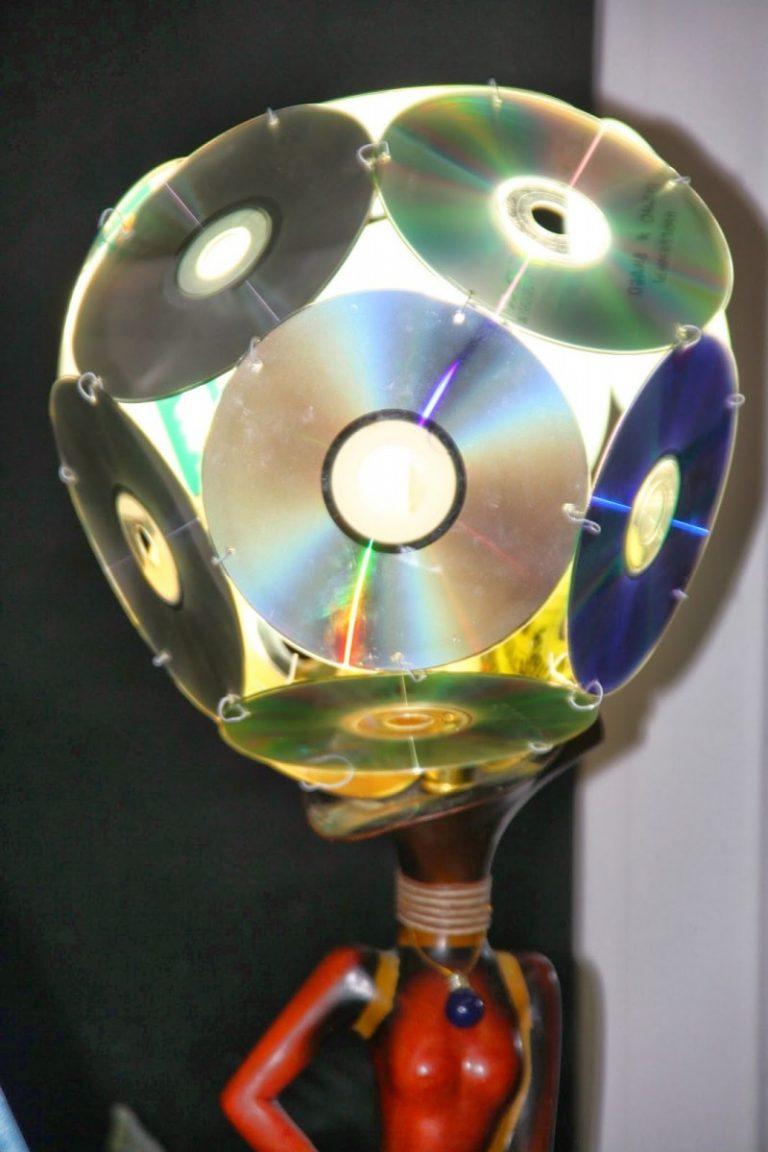
With a lot of imagination and creativity, old computer disks serve as a good material for creating original crafts. Even a child can cope with some of them. Souvenirs from disks have a mirror effect, beautifully shimmering in the sun.

