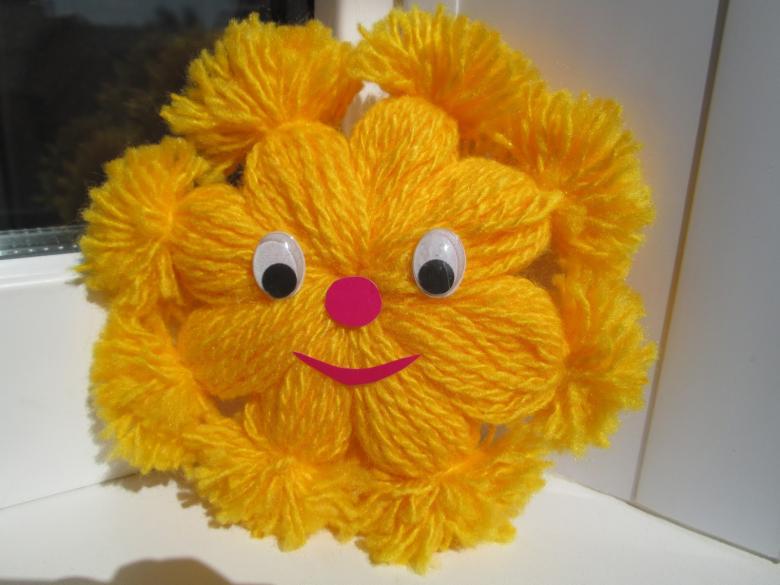
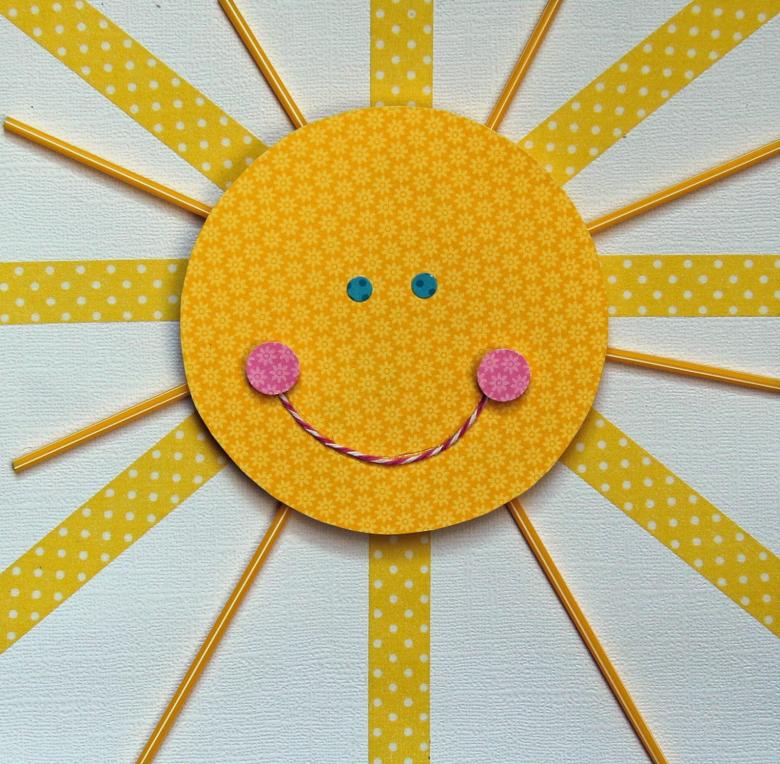
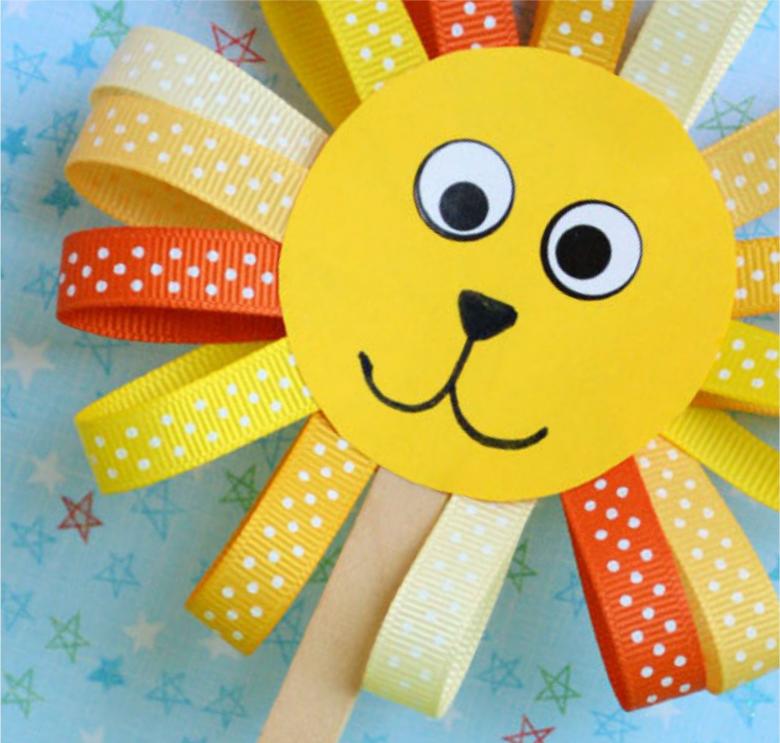
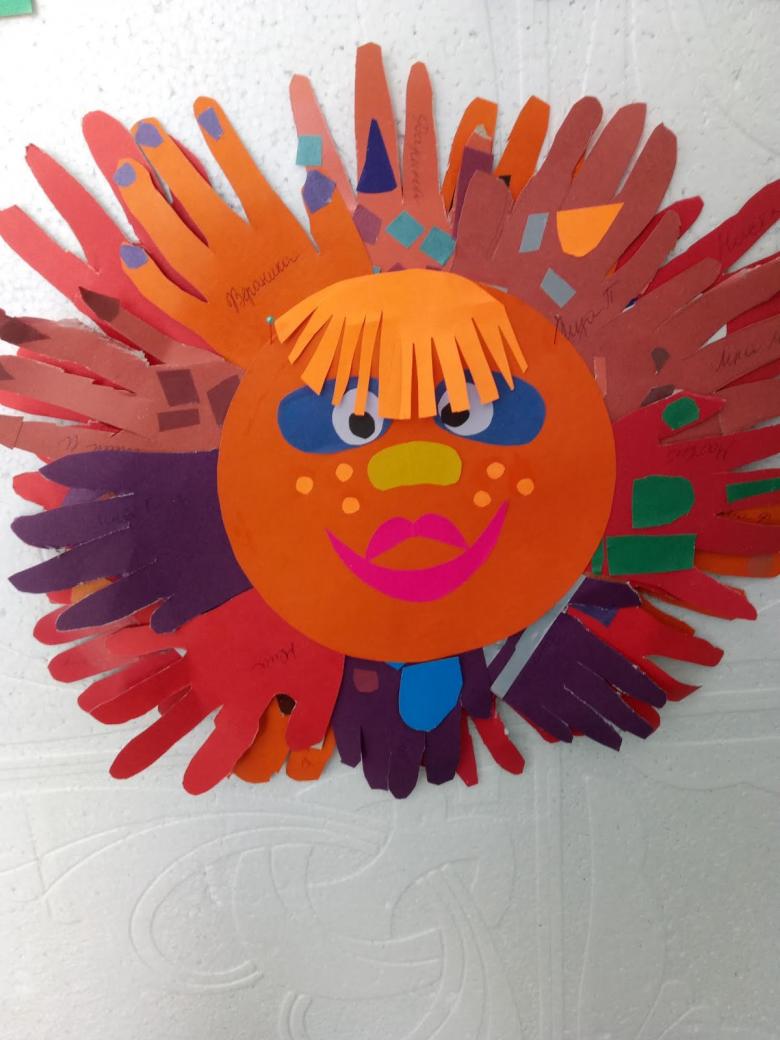
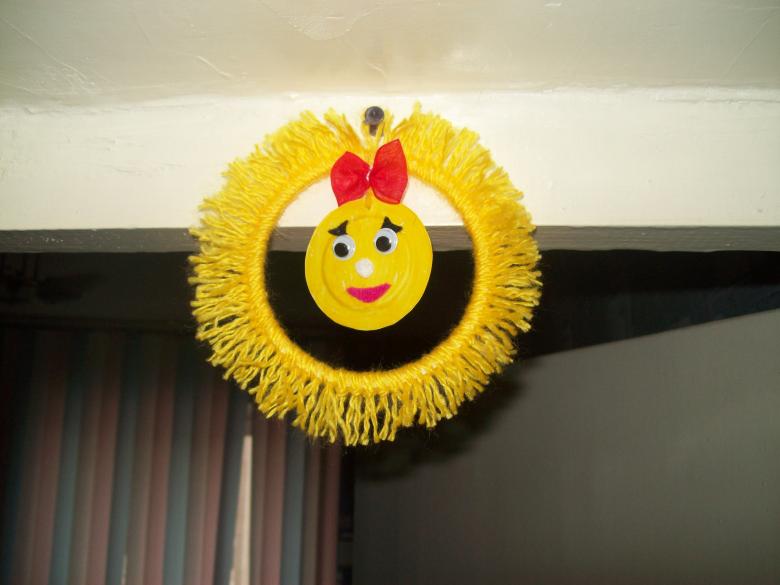
Sunshine crafts with their own hands - 4 interesting master classes for beginners with photo examples
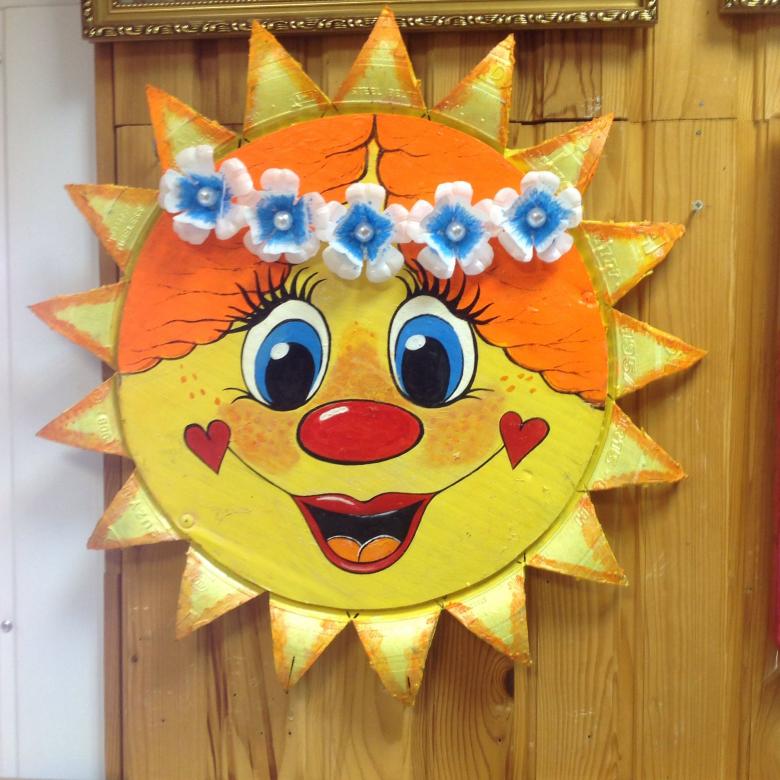
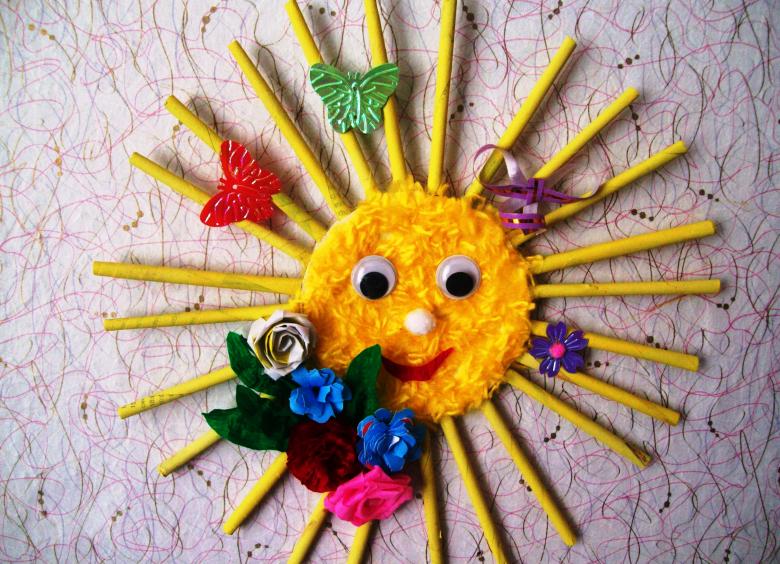
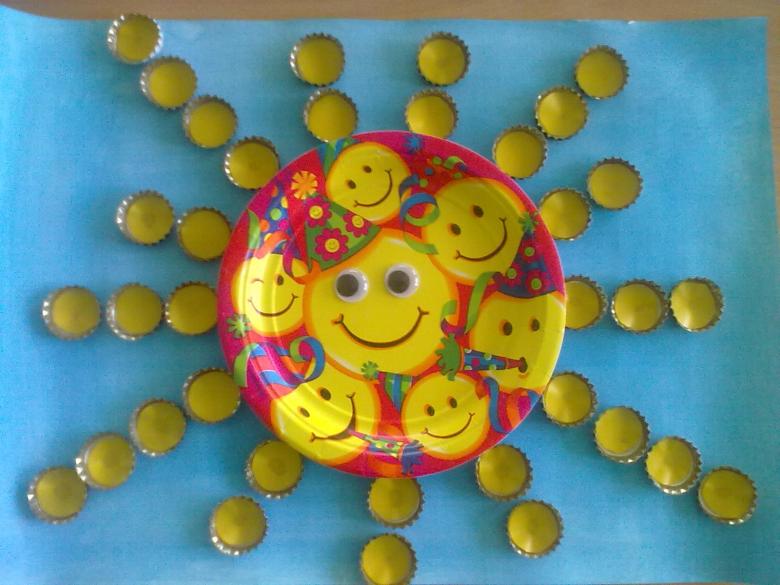
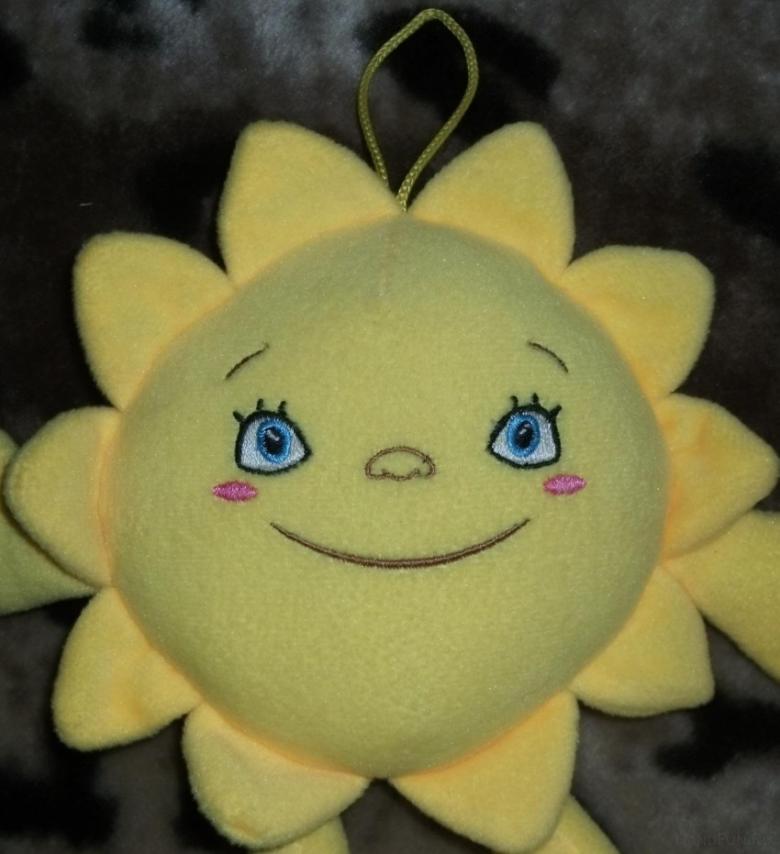
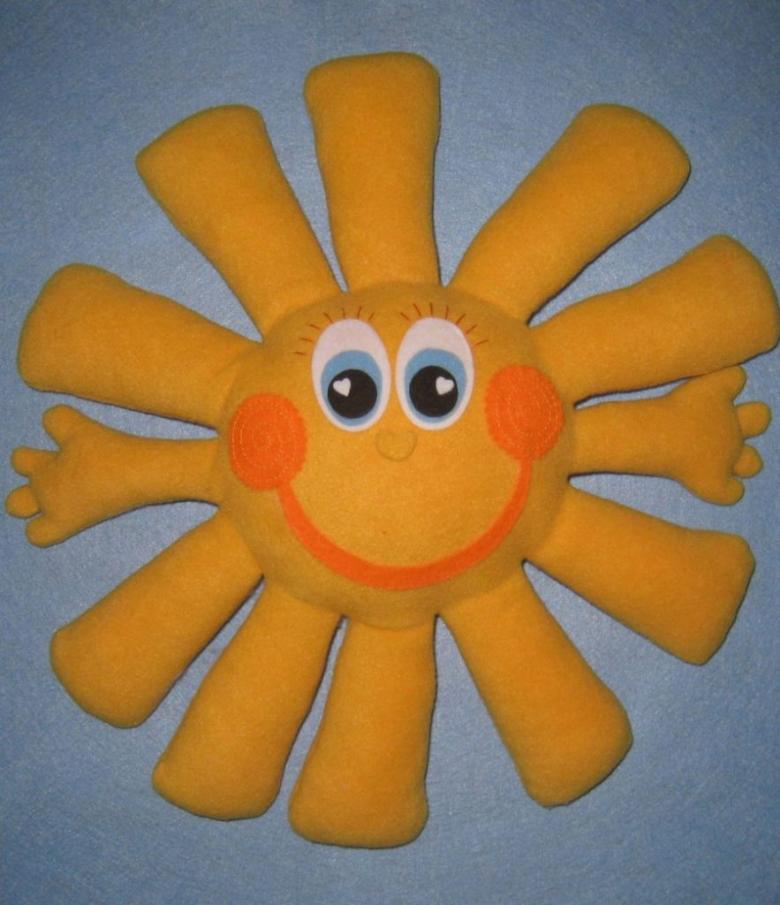
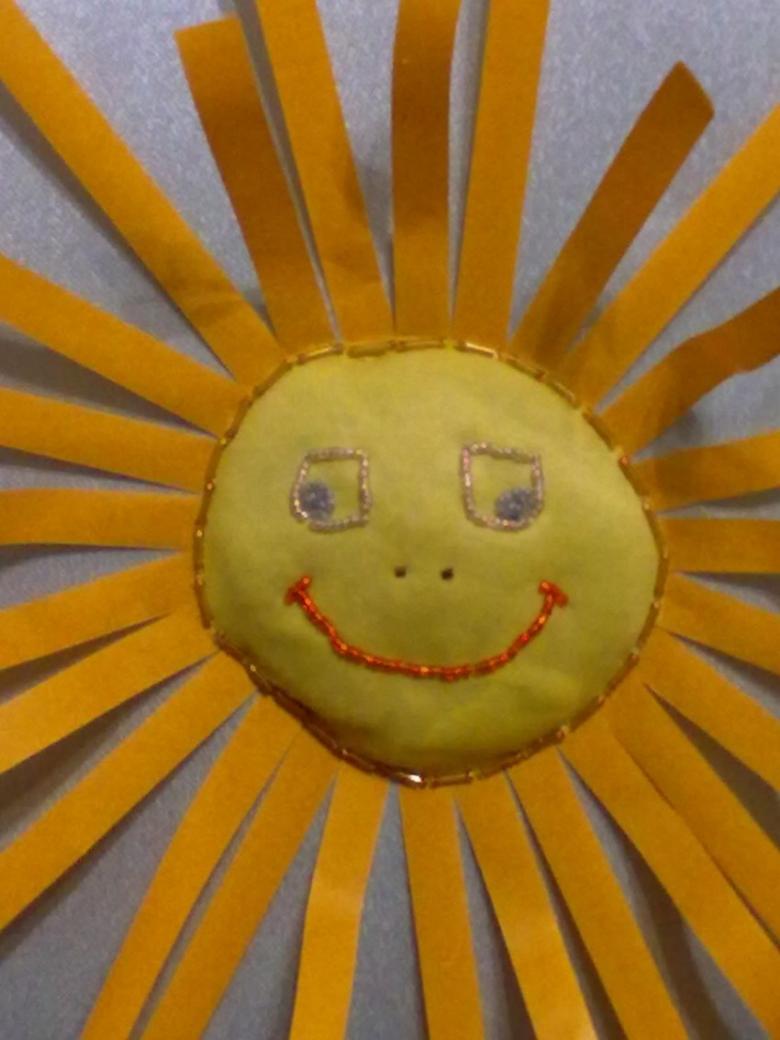
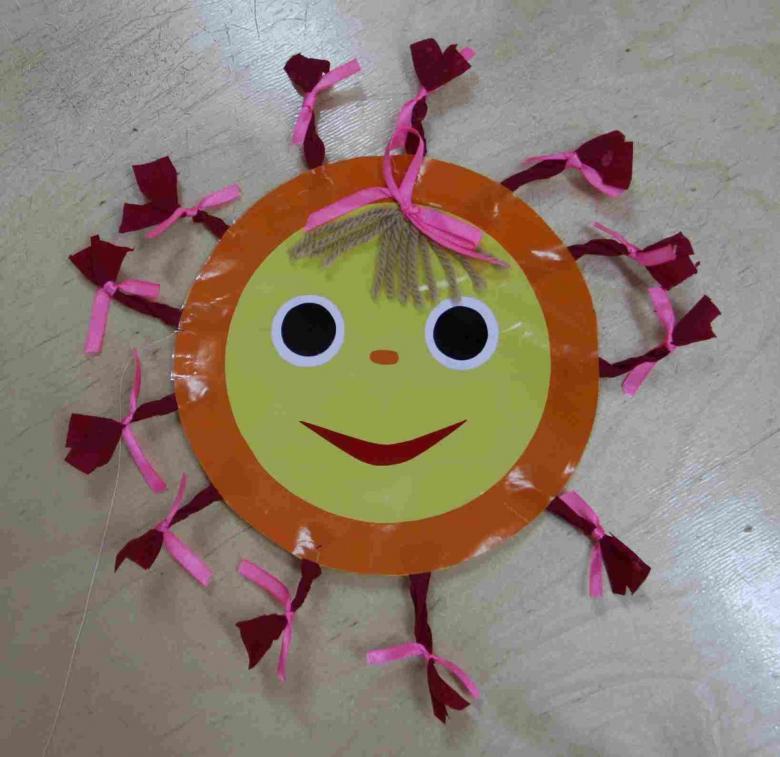
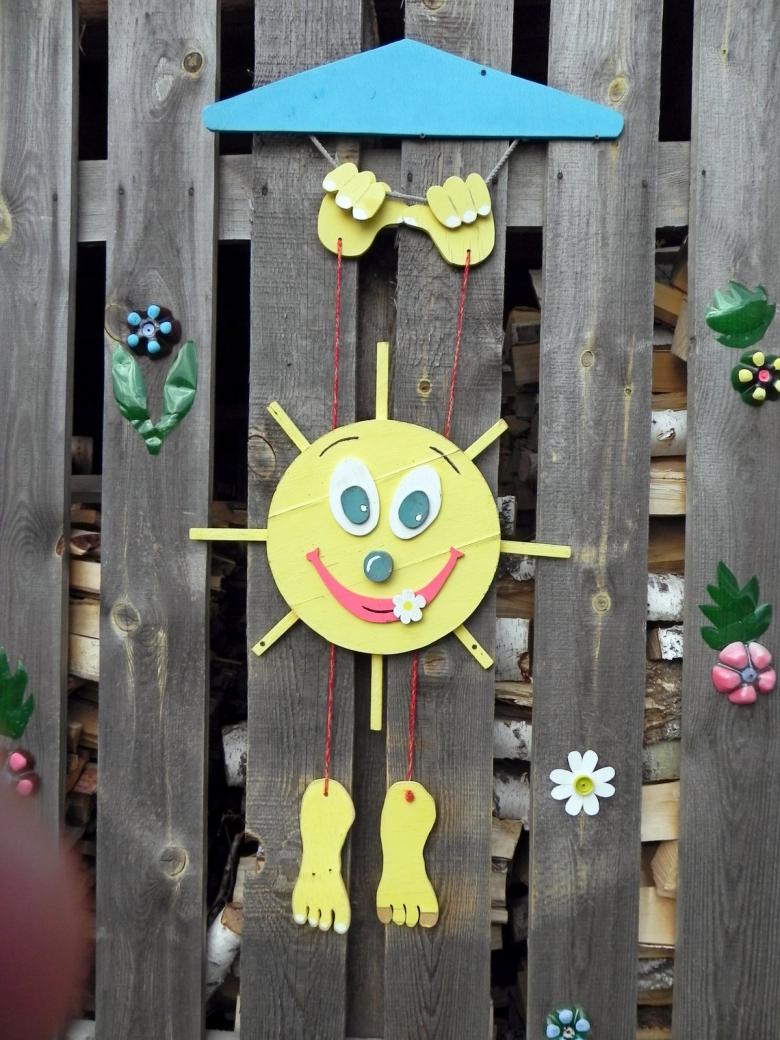
The crafts that parents do together with their kids are beneficial to both. Adults communicate with their children, relax and strengthen their family. Toddlers learn to create and make things with their own hands. Therefore, to strengthen the bonds of friendship and in addition to make a necessary thing for school or kindergarten, make the proposed options for crafts on the theme of "sunshine. In addition, it is this version of the fake quite often required in kindergarten or junior high school for the festival of the Pancake week (meeting of spring).
Necessary materials
Before you start directly to make a craft, you need to get the following tools and materials:
- Colored paper.
- A thick cardboard as a base to give stiffness to the structure.
- You can also use foil.
- Glue.
- Absorbent cotton.
- Glass beads or glass beads.
- Lace fabric or ribbons.
- Buttons.
- Thread.
- Pencils or markers.
- Acrylics.
- Brushes.
- Ruler and scissors.
Prepare additional handy materials - plastic plates, fallen autumn or spring green leaves, CDs or old records, corrugated paper, clothespins, material such as kapron and more that will come to mind.
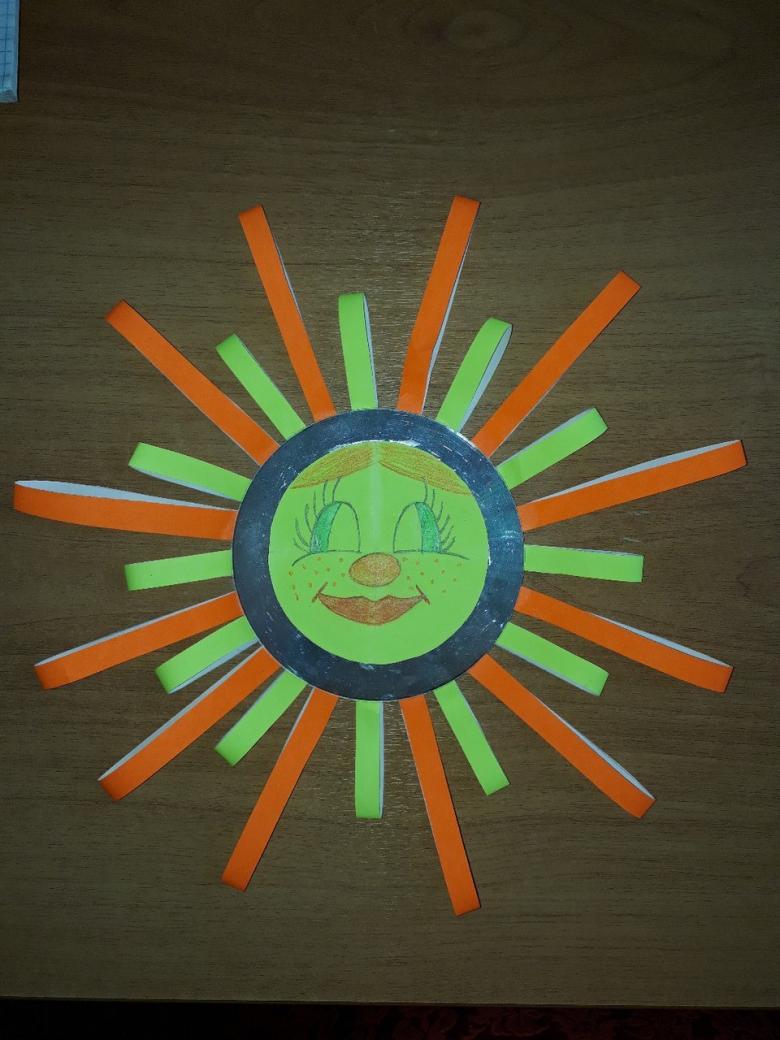
Options for the handicraft
The number of variations of "sunshine" crafts is simply endless. The result depends on you and your child's imagination.
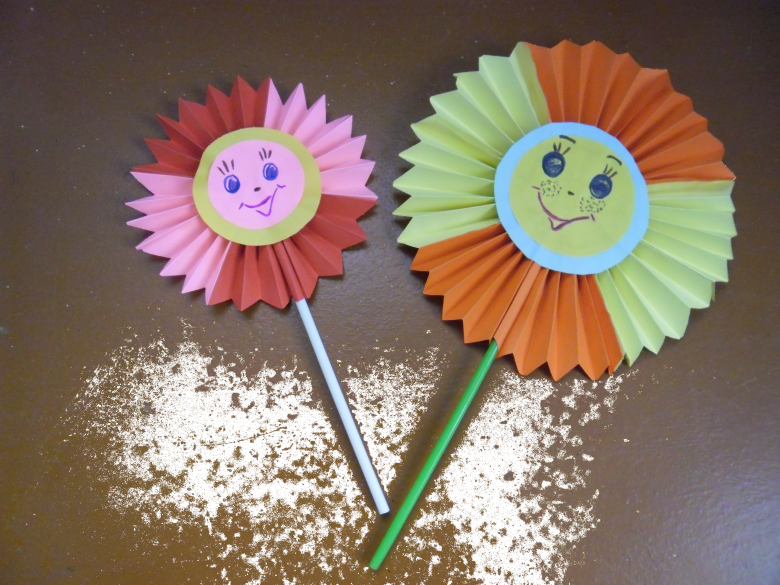
A clothespin and cardboard sunshine
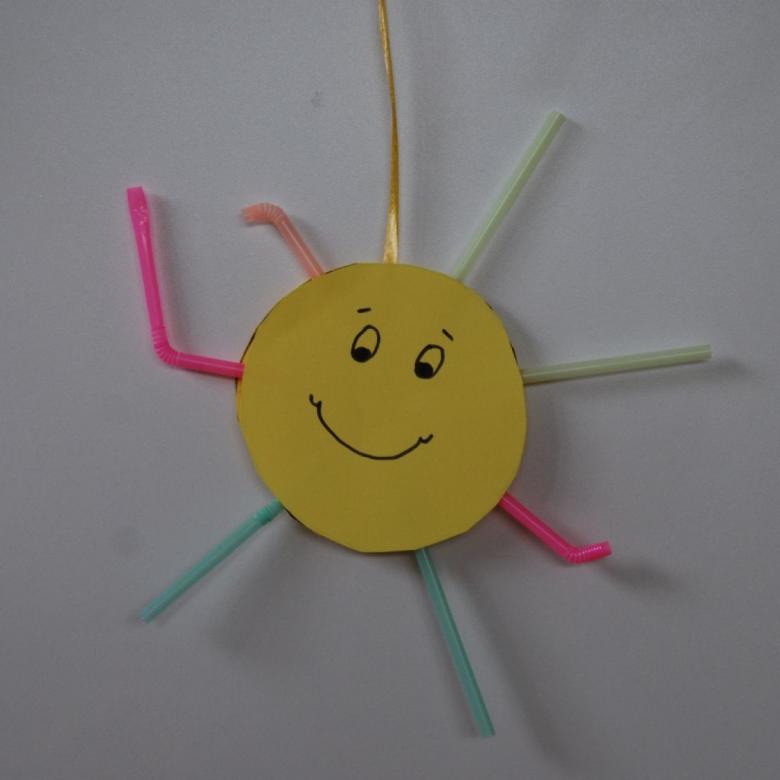
The simplest option, which is suitable for small children - the sun, made of thick cardboard and clothespins.
Sequence of execution:
- It is necessary to take a plate or CD disk. It is necessary to make an even circle.
- On the cardboard, draw a figure with the selected object.
- Cut out along the contour with scissors.
- Draw a cheerful face of the sun.
- Take yellow clothespins. If there is no such color, it is necessary to paint what you have with acrylic paints.
- After drying, you need to attach clothespins around the perimeter of the sun so that they form rays.
- At the top make a hole to which to attach a thread. Such a sun will be a suspension.
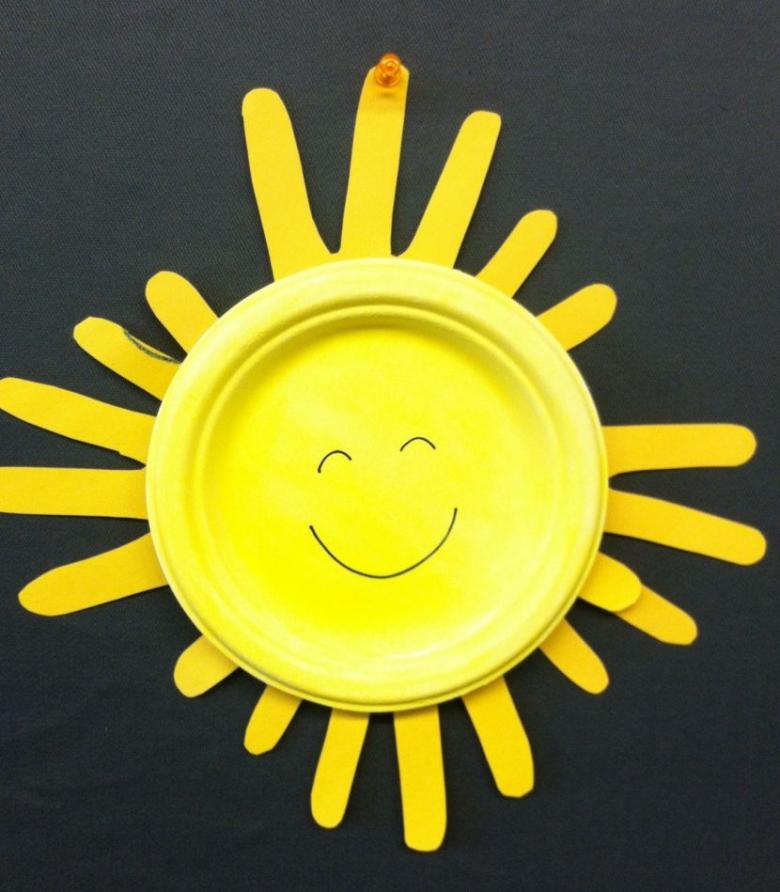
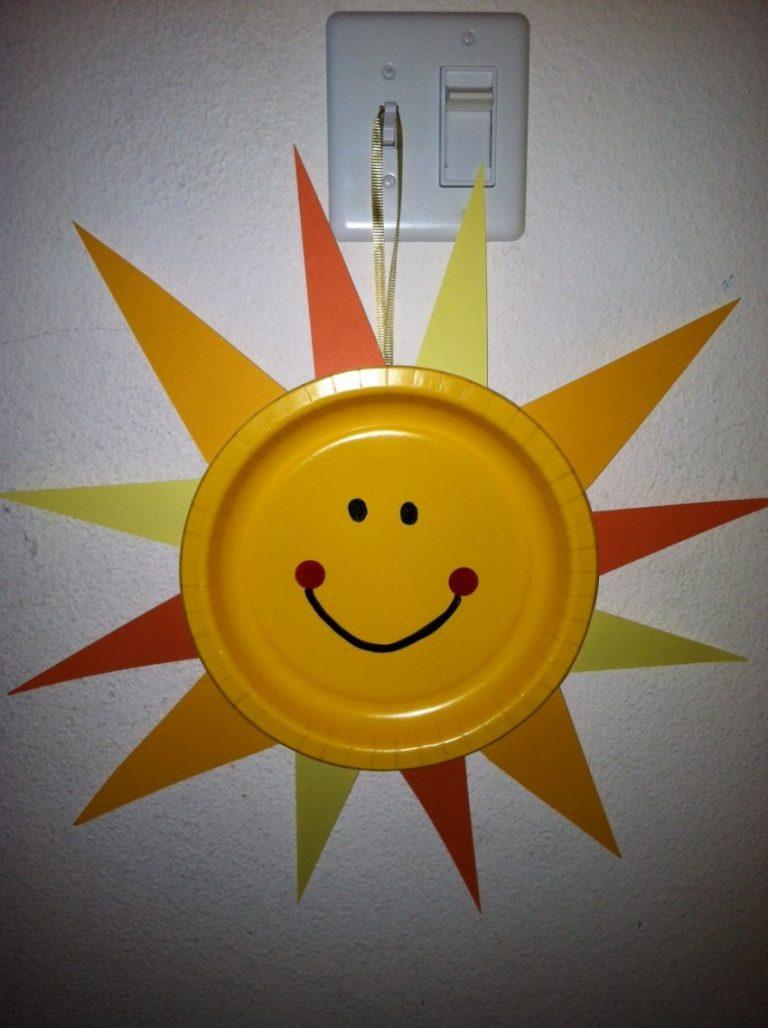
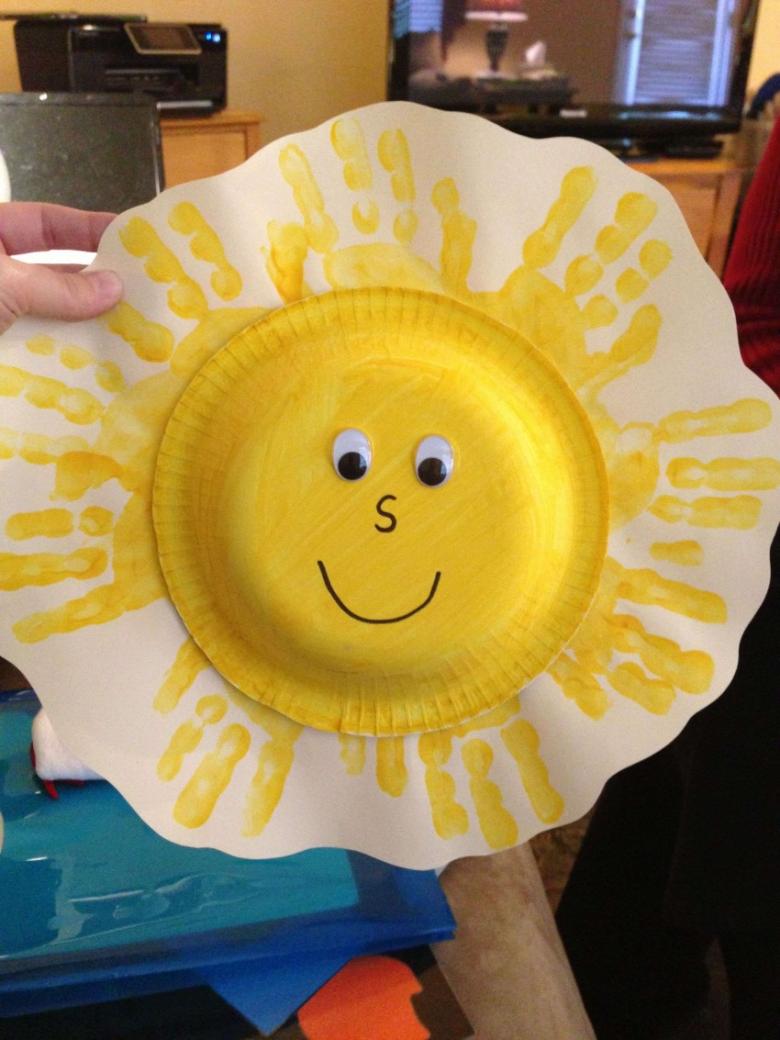
The sun from a plastic plate
Also an easy option for crafts, suitable for kids.
It is necessary to prepare materials such as:
- Plastic yellow plate of any diameter.
- Paints, preferably acrylic, and a brush for them.
- Dense cardboard.
- Scissors and glue for plastic.
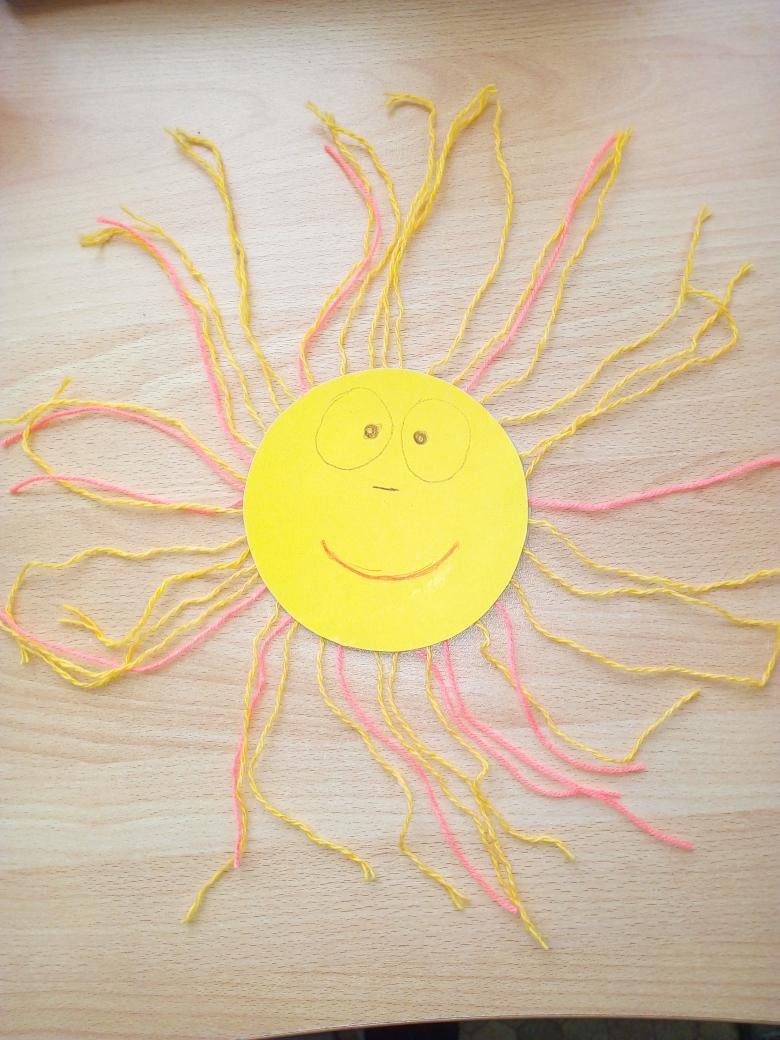
Step-by-step instructions for making a craft:
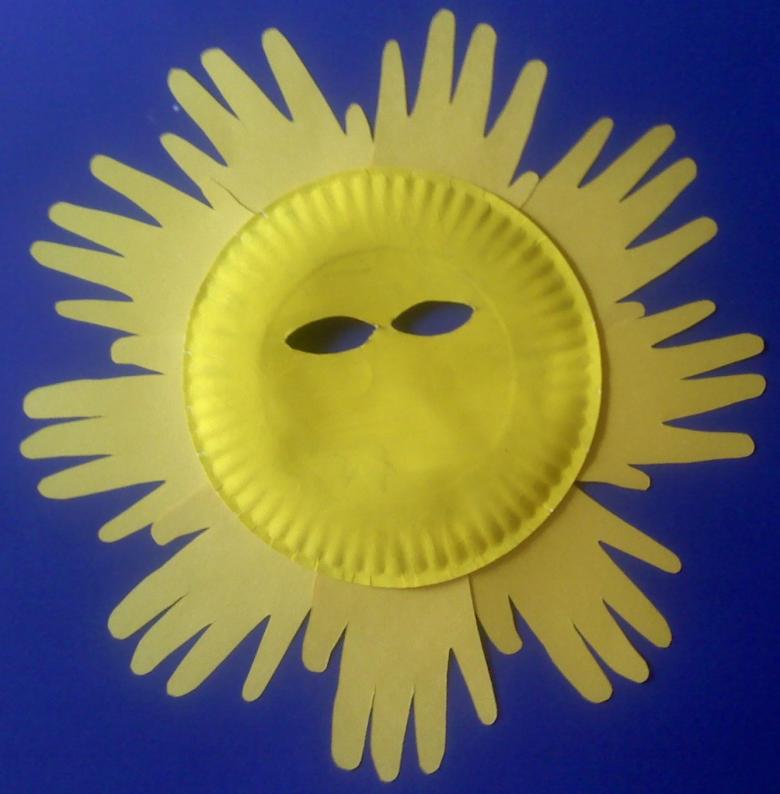
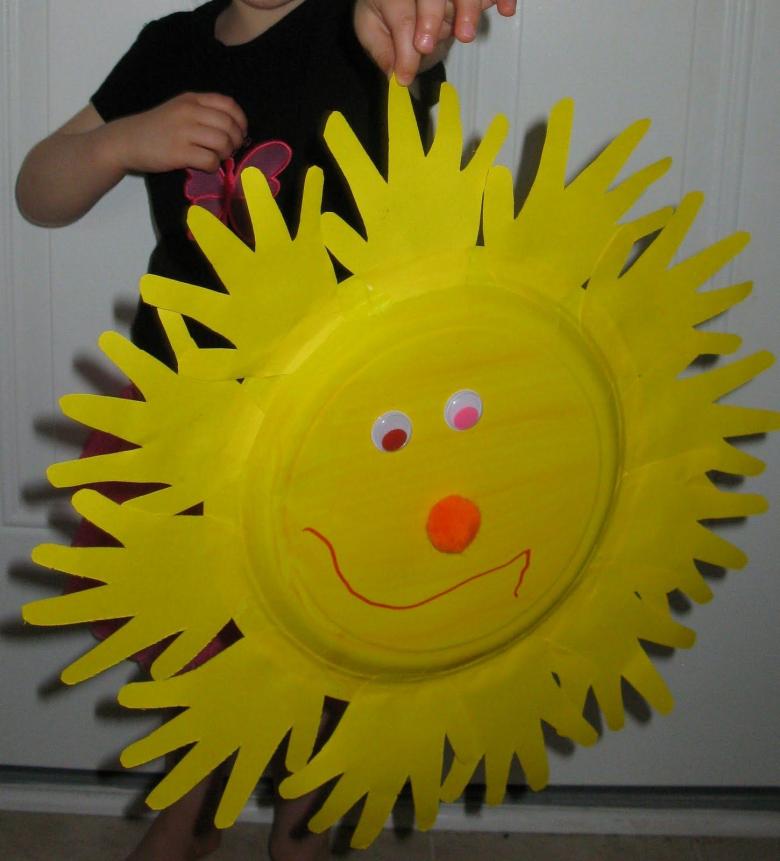
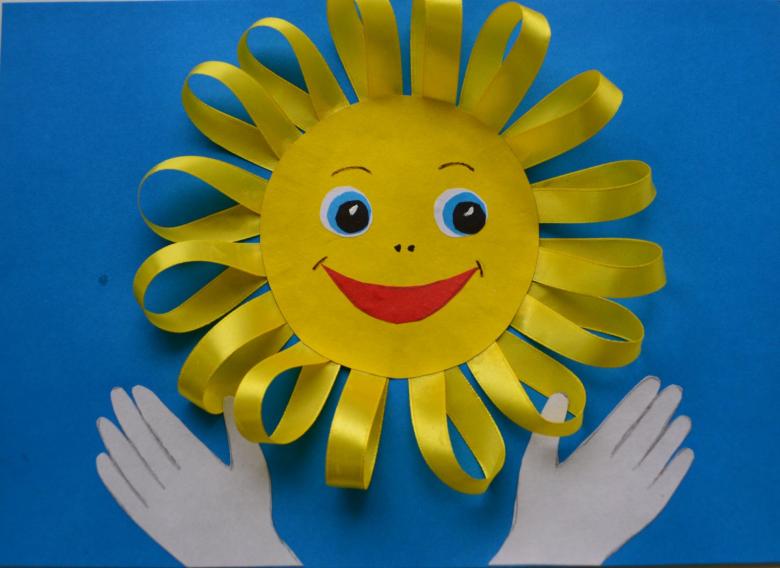
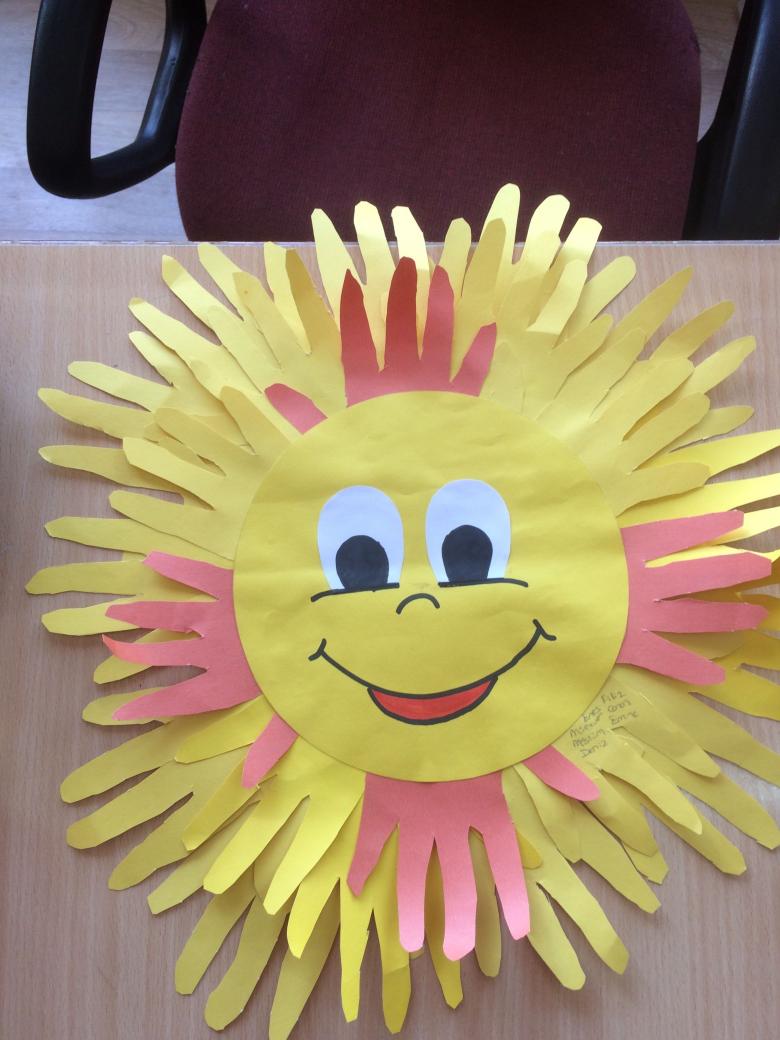
- Take a yellow plastic plate and turning it upside down, draw a funny face on the bottom. Use permanent markers for this. They will stick to the surface accurately and won't smudge.
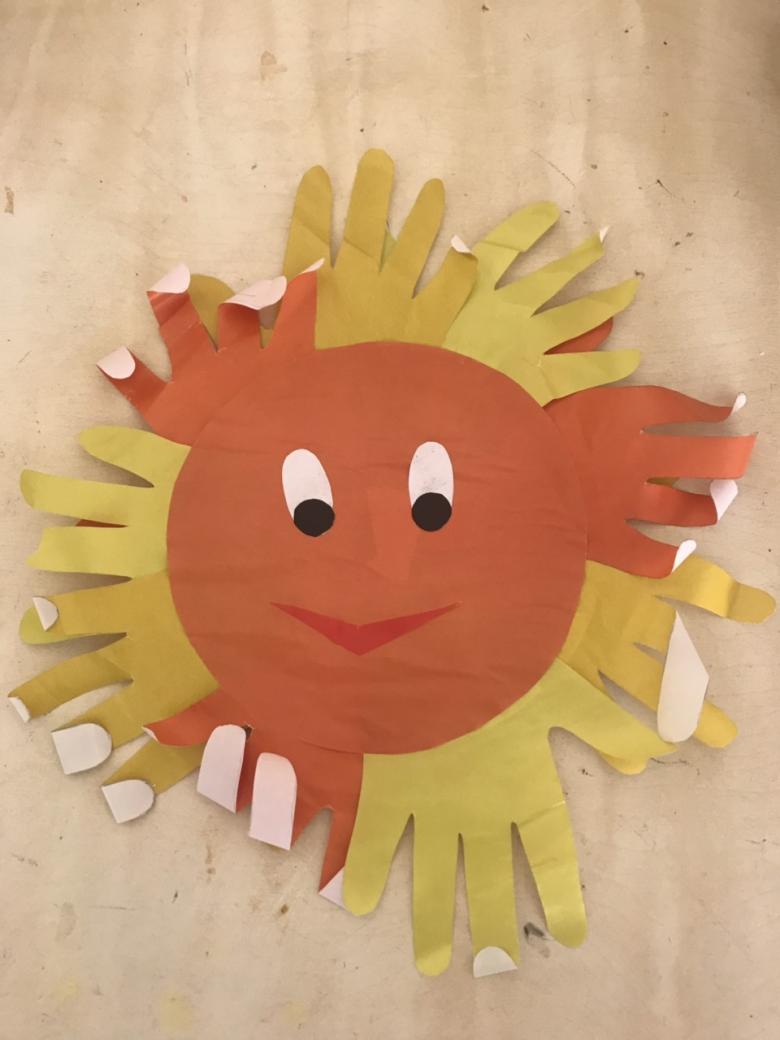
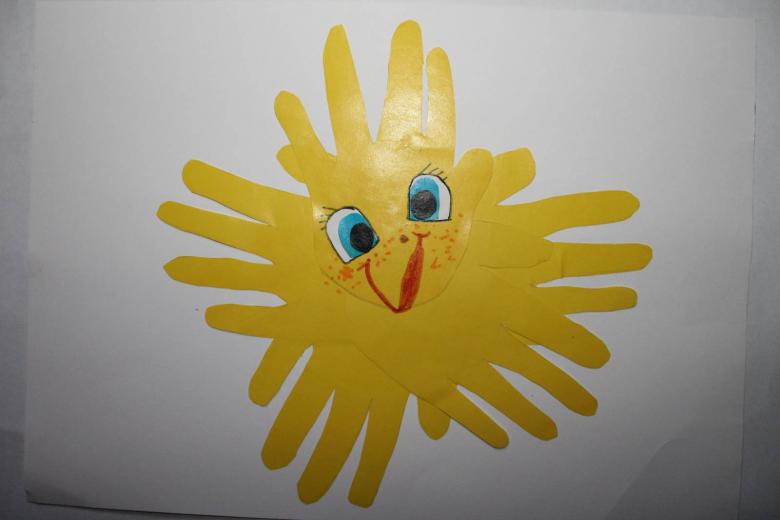
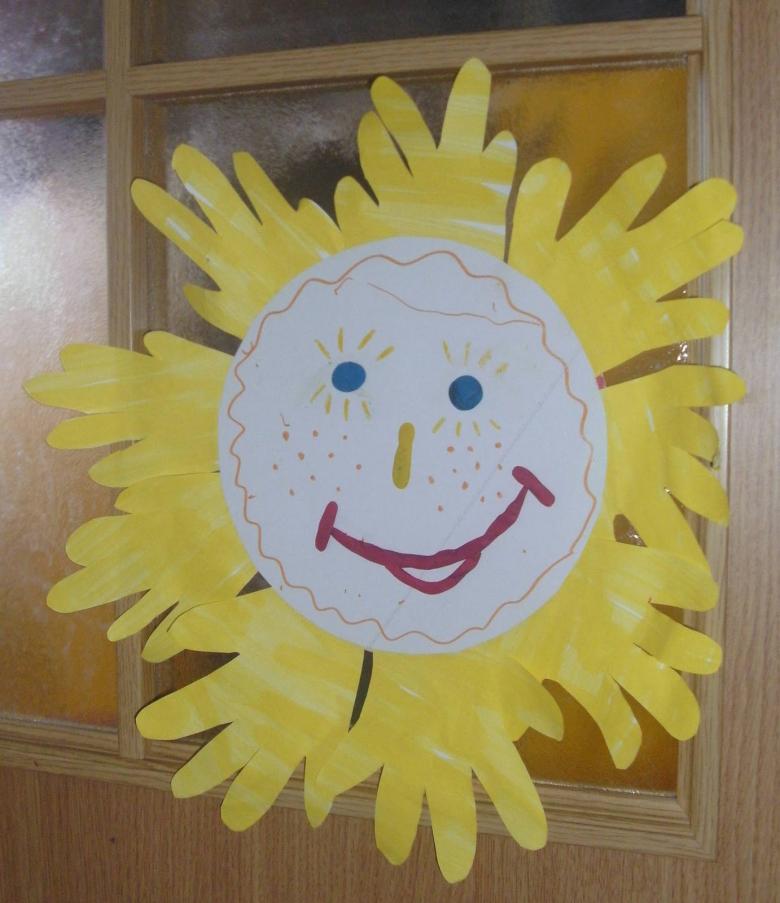
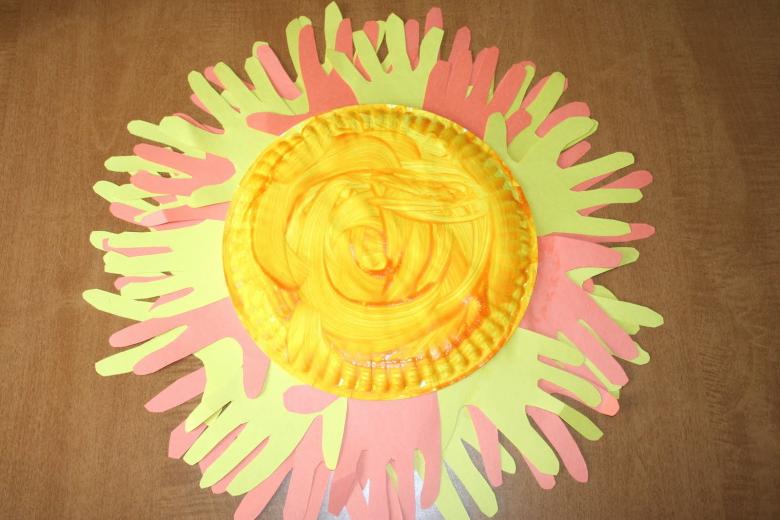
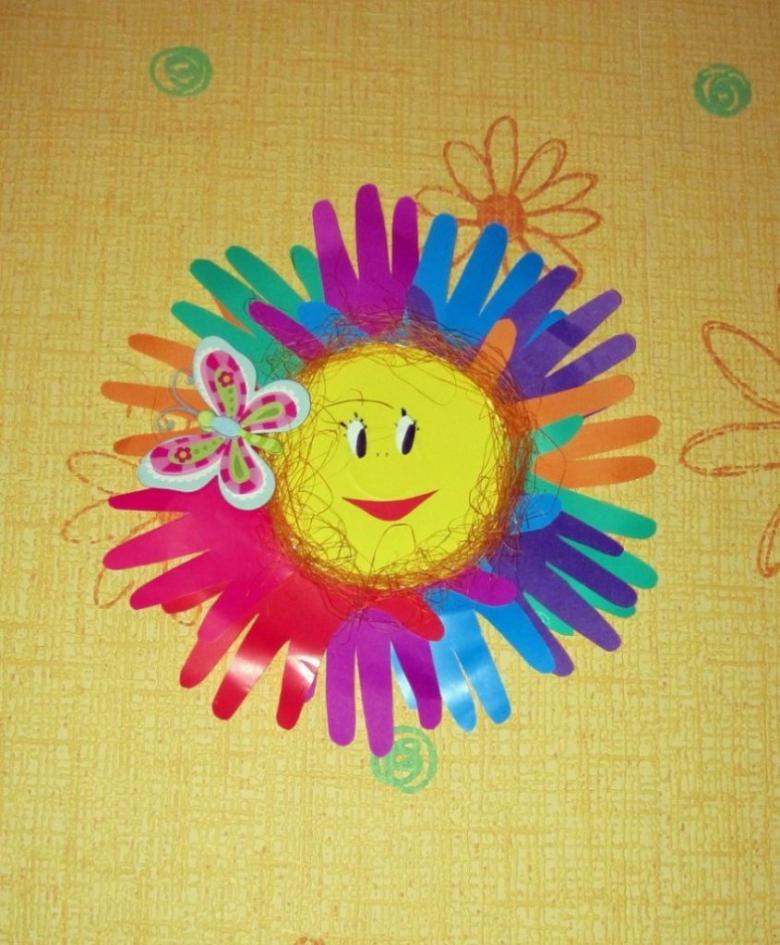
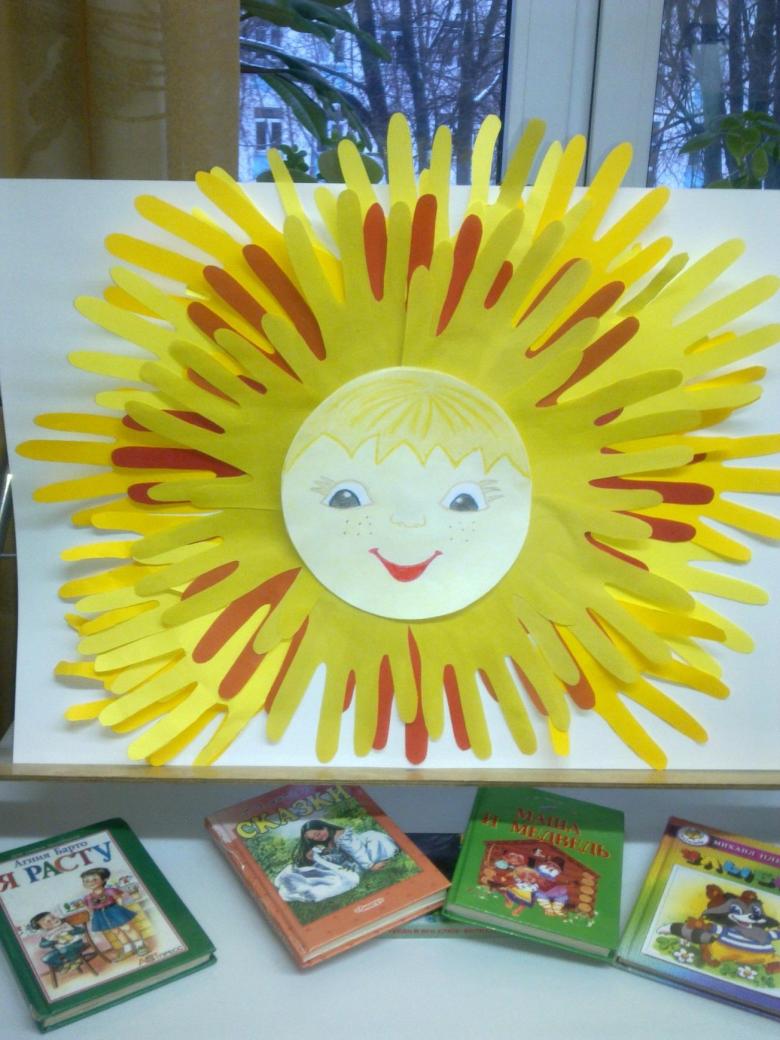
- Draw palms on yellow cardboard.
- They do not have to be identical, but still the size should be approximately correct.
- Cardboard elements are cut out and glued to the back of the plate.
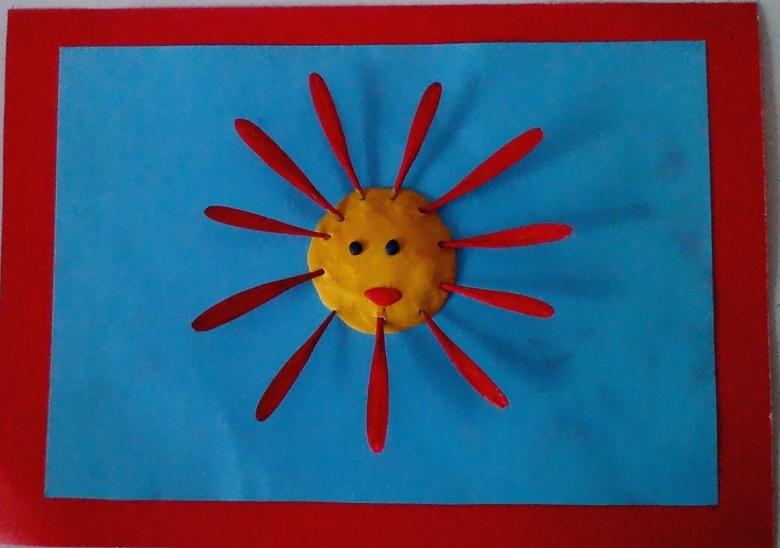
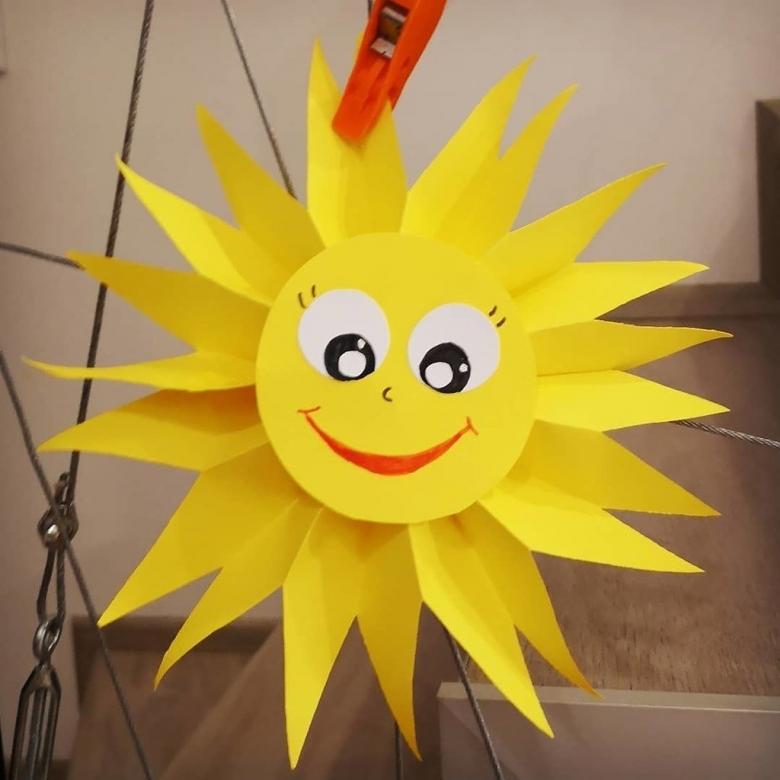
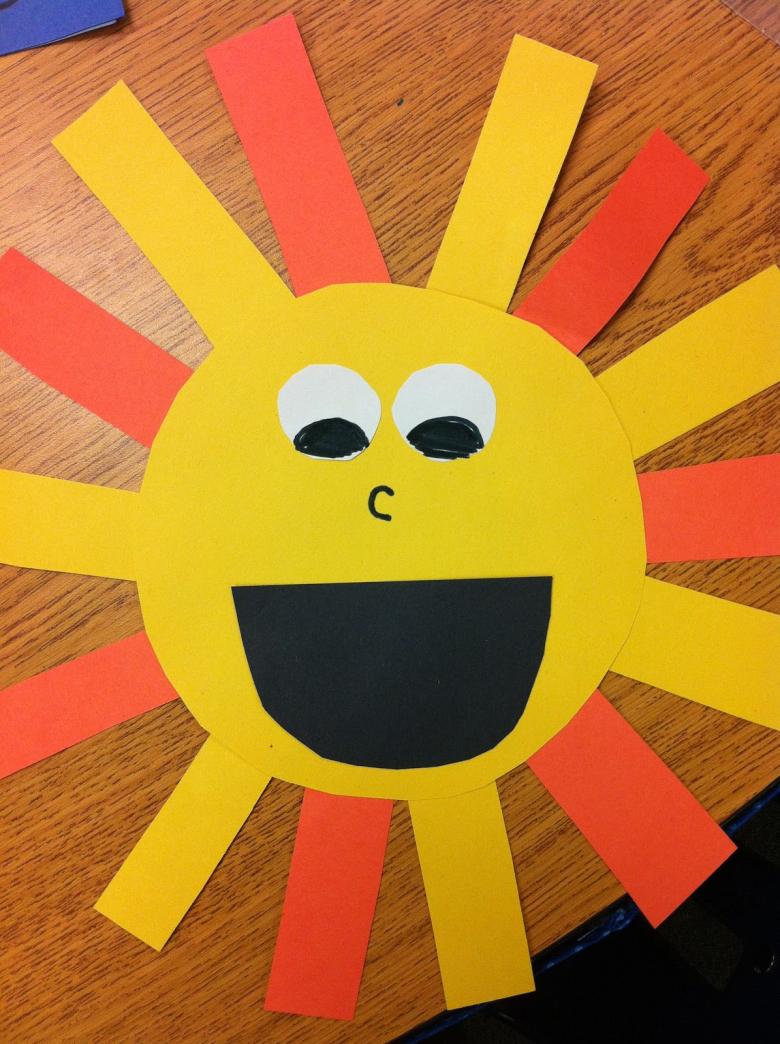
- Instead of palms, you can cut out funny-looking rays.
- As an option, you can turn the plate not upside down, but as she is accustomed to.
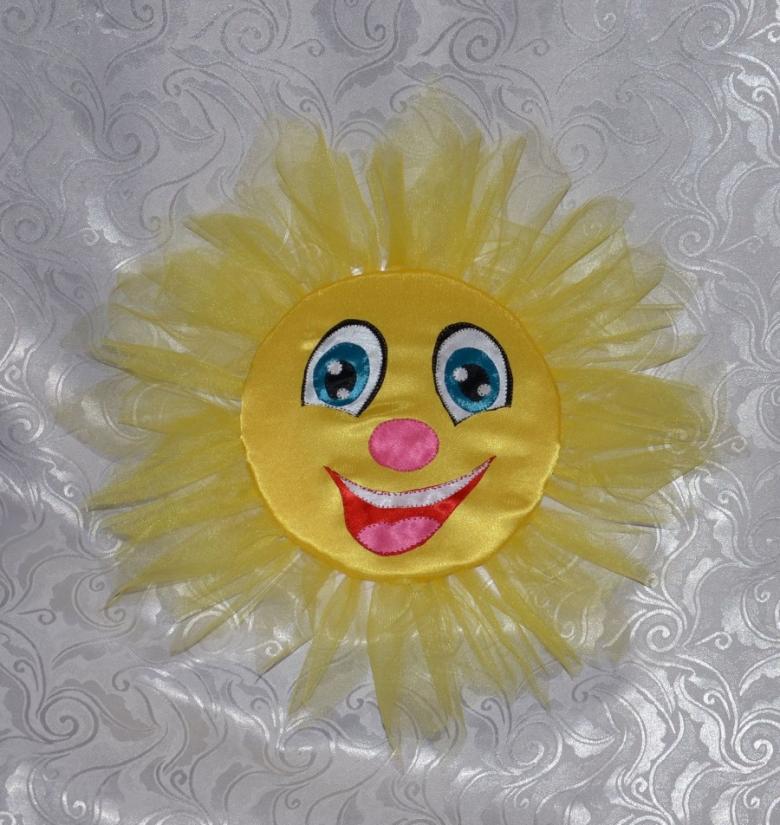
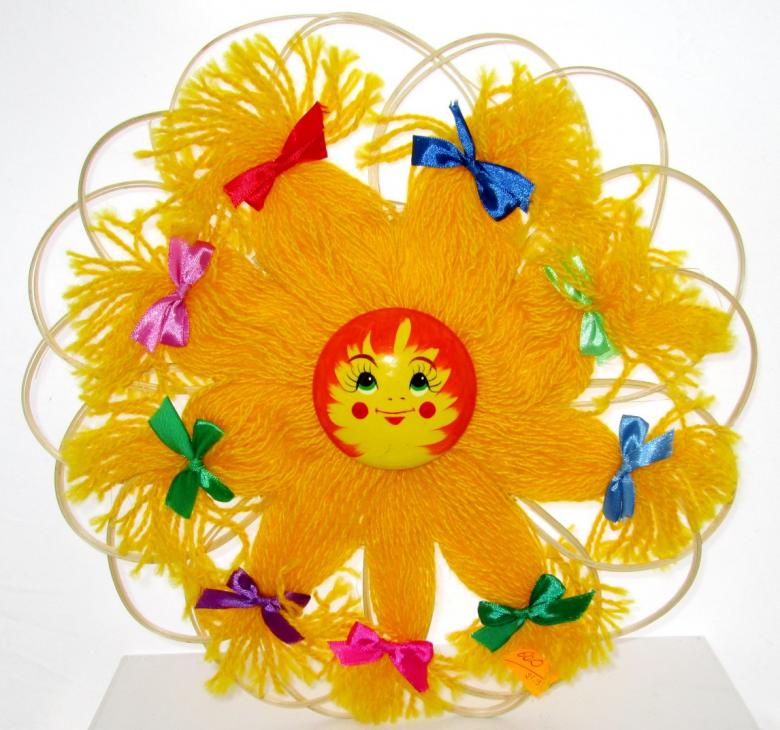
A sun made of corrugated paper or organza
Such a handicraft will require patience and attention. It is better to perform it with a junior high school child.

Of the materials you should prepare:
- Dense cardboard of yellow color.
- Corrugated paper of the same shade. If you want, you can replace it with yellow or white taffeta or organza.
- Strong glue.
- Scissors.
- Thread.
- Flash pens or colored pencils.
- You can use absorbent cotton.
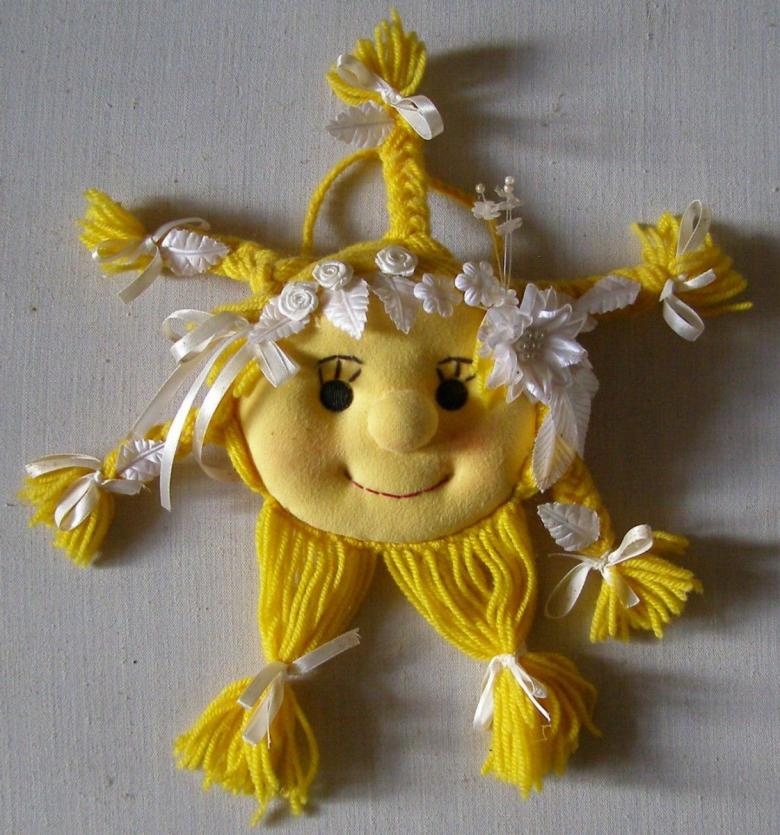
To make such a sun with your own hands, you need to perform the following actions:
- Using a compass or a plate, draw a circle on heavy cardboard. Make two identical parts.
- Cut out both with scissors.
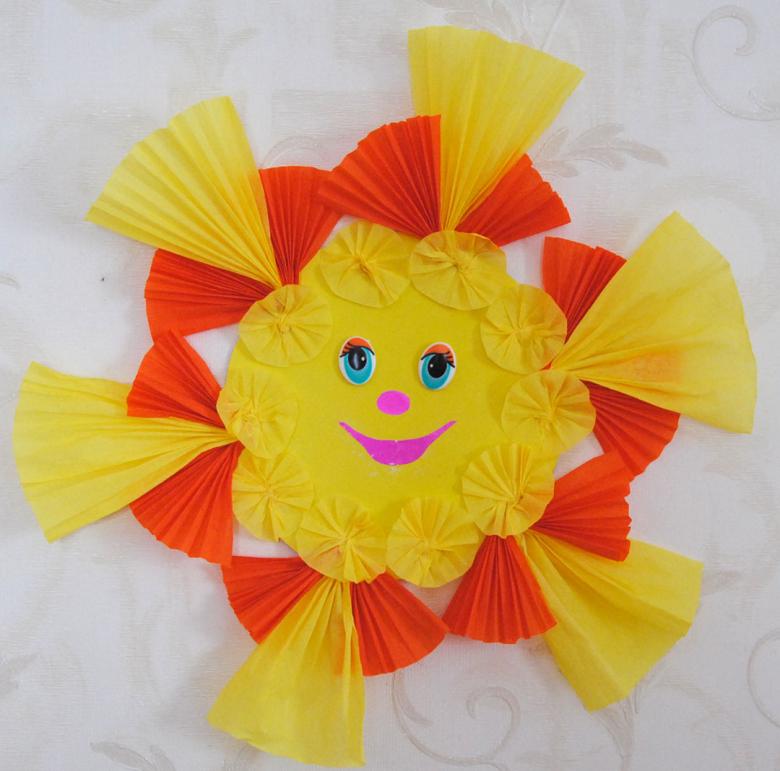
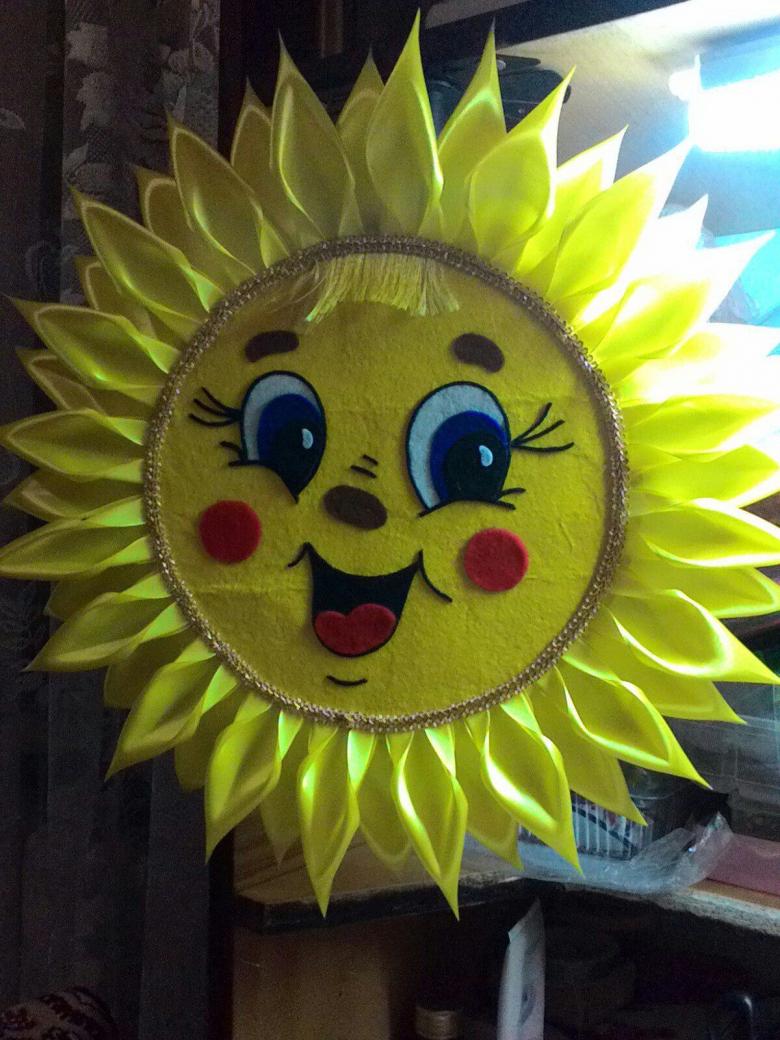
- It is necessary to take corrugated paper and cut out of it rectangles measuring approximately 3 cm by 8 cm.
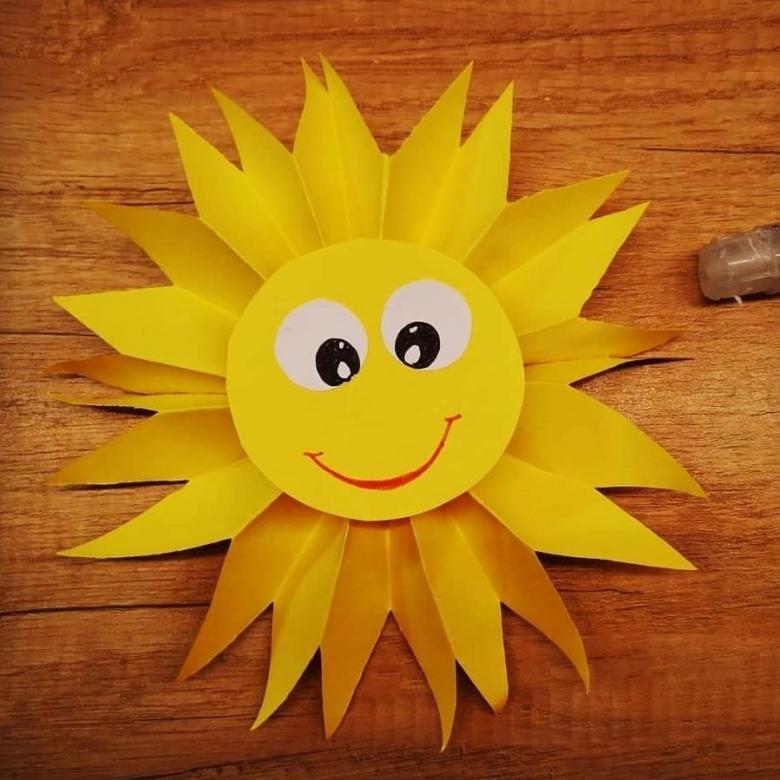
- Corrugated paper (or fabric) to gather at one edge of the accordion and fix it with a thread. This will be a ray of 1.
- Repeat the action several times. The maximum number of rays will create an ornate sun, giving the finished product an attractive appearance.
- If you prefer corrugated paper - fabric material, you should take only one that holds its shape well enough and does not sag.
- When the rays are made, they are spread out on one of the cardboard circles. After that, glue them securely, flattening the assembled part.
- Put the second circle on top - measure its correct location. Grease the inside of the circle with glue and fix it to the top. Thus the rays will be placed between two layers of cardboard and fixed with glue. When the design will be glued, it is important to draw a pretty face of the sun.
- If there is a desire, you can make him either a hairdo or eyebrows out of absorbent cotton. The cotton is also fixed with glue.
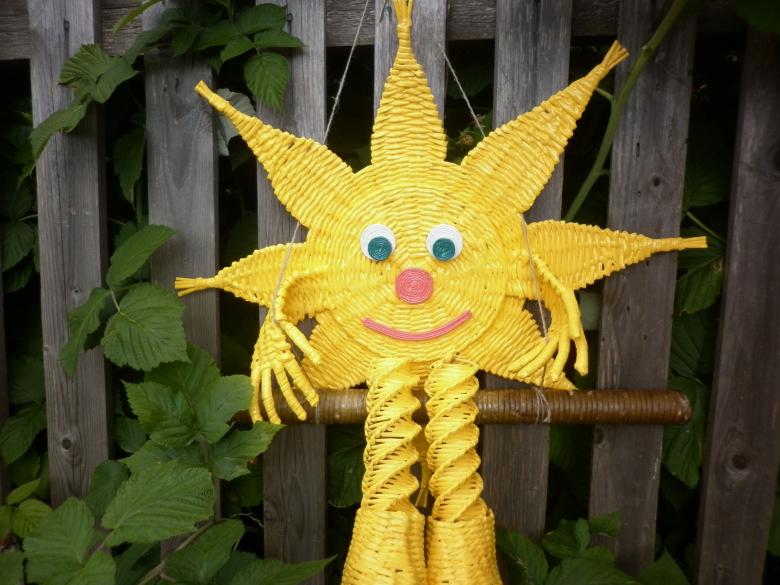
If you make such a handicraft of sufficient quality, using the presented master class, it can be used as a gift.
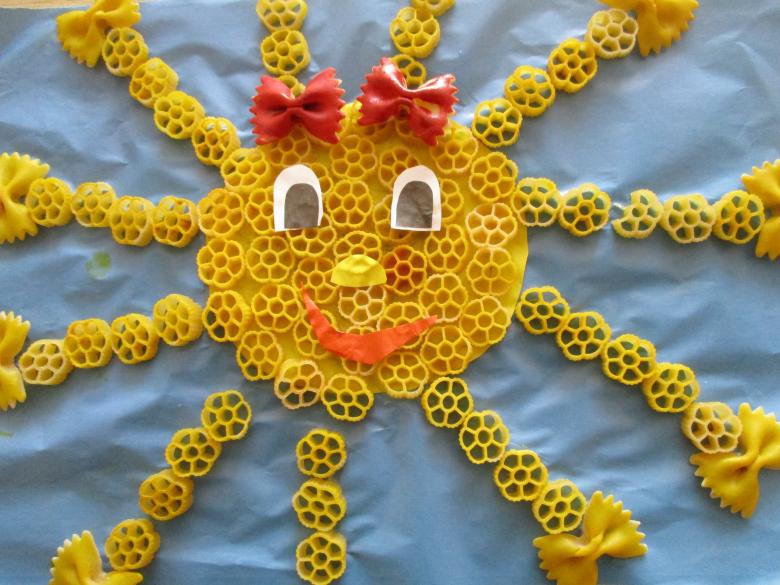
Sunshine out of computer disks
For such a product, it is important to choose disks that have a yellowish bright color.

In addition to CDs, prepare the following from materials and tools:
- Beads.
- Glue a strong fixation.
- Lace or pretty material.
- Yellow cardboard. If possible, it is necessary to replace the cardboard with foil of any shade.
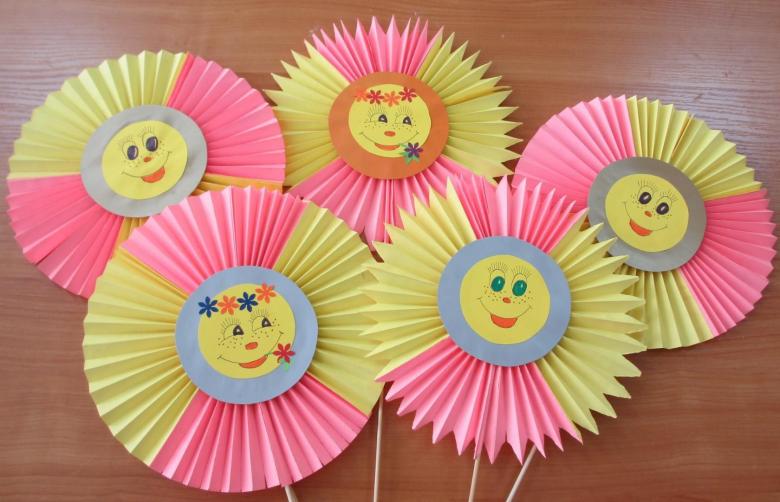
Next, the following steps are performed:
- It is necessary to pre-clean the disk with a cotton disk soaked in water.
- Then cut out a circle from heavy cardboard or foil smaller in diameter than the disk, but large enough to cover the center hole. Center the two elements before you begin to mount them, so that there is no misalignment.
- Glue the cut out part to the disk.
- Around the perimeter of the circle, use beads and lace to create decorations. When gluing the beads, use a minimum of glue, otherwise the work will get sloppy. Glue the fabric and beads with clear glue, otherwise the residue will be visible.
- Do the same on the outer perimeter of the disk.
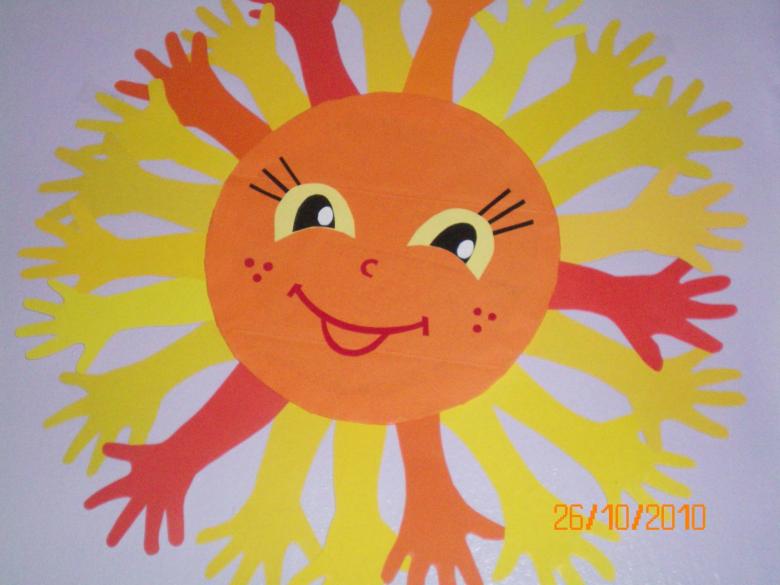
Such crafts are more often made for spring holidays. The number of variations is limitless and depends only on the imagination of the parents and the child involved in the process. If there are doubts about which option to use, you can look at the many photos presented on the Internet.

